Date and Toffee Pudding

Date and Toffee Pudding

Celebrations galore! New Years Eve, happy birthdays of niece and nephew, kids back from college for winter break and  me just excited for the new year to begin on the right note! Anything good or auspicious is always invited by making something sweet! So here I share Date and Toffee pudding as a harbinger for peace, calmness and healthy new year that also lets you achieve your personal goals in life!

The chance to taste this exquisite pudding was at Rasika over anniversary celebrations! It was warm, sweet, with a bit of caramel and fruits, topped with ice cream! More interestingly it had the dates as a  base, which made it even more delicious for me. Dates are something I enjoy,(pun intended)!  The iron and fibre in dates pack some powerful nutrients in a colorful warm dry fruit, and hence are often used by soldiers on the front to get their instant shot of energy,

I enjoyed learning how to make caramel syrup, as had no clue about it earlier, and the brown liquid reminds me of rolling melted gold over a brown date pudding. I personally preferred this without the ice cream but with some fruits in it. Best would be to serve it with the ice cream on the side, so you can pick and choose what you want to taste.

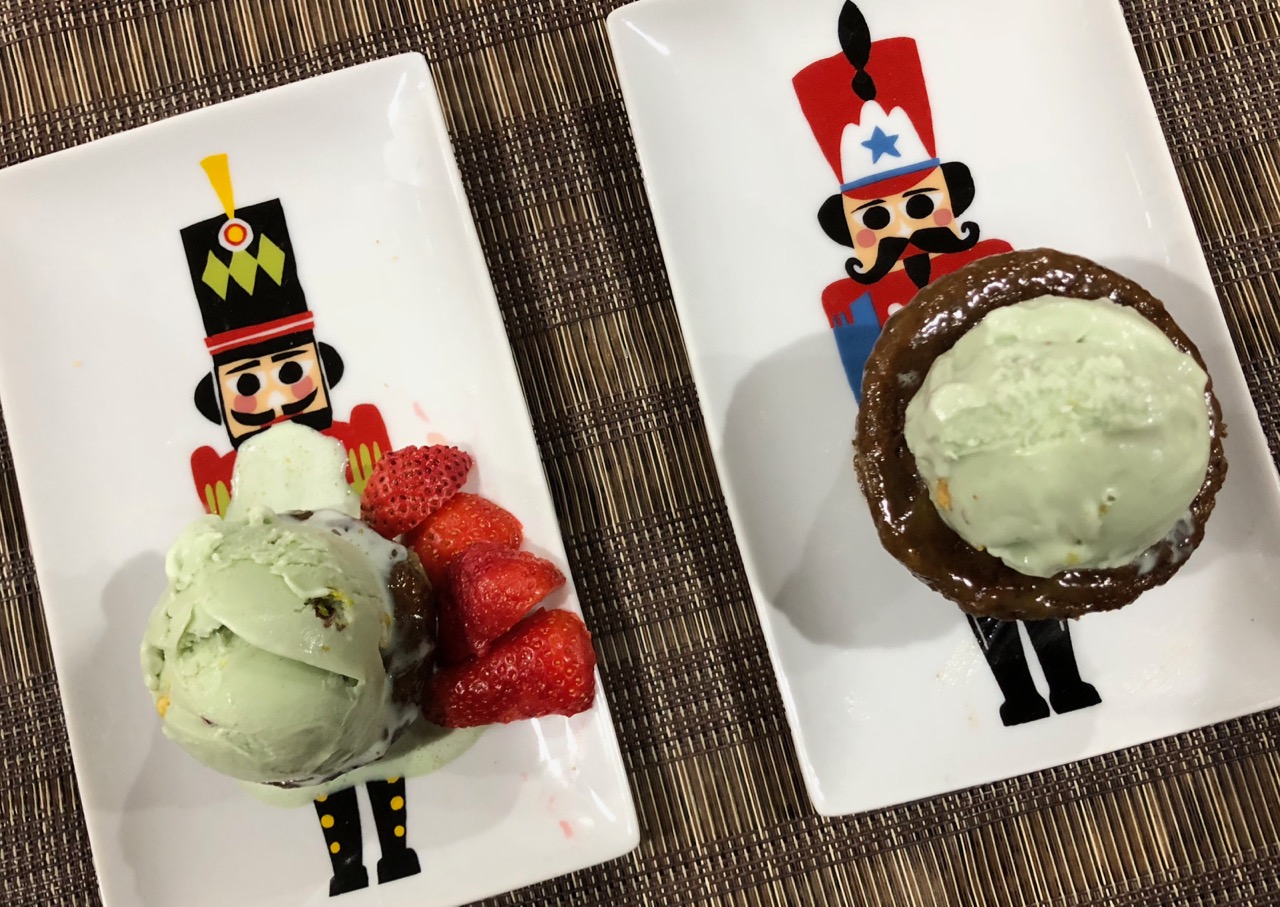
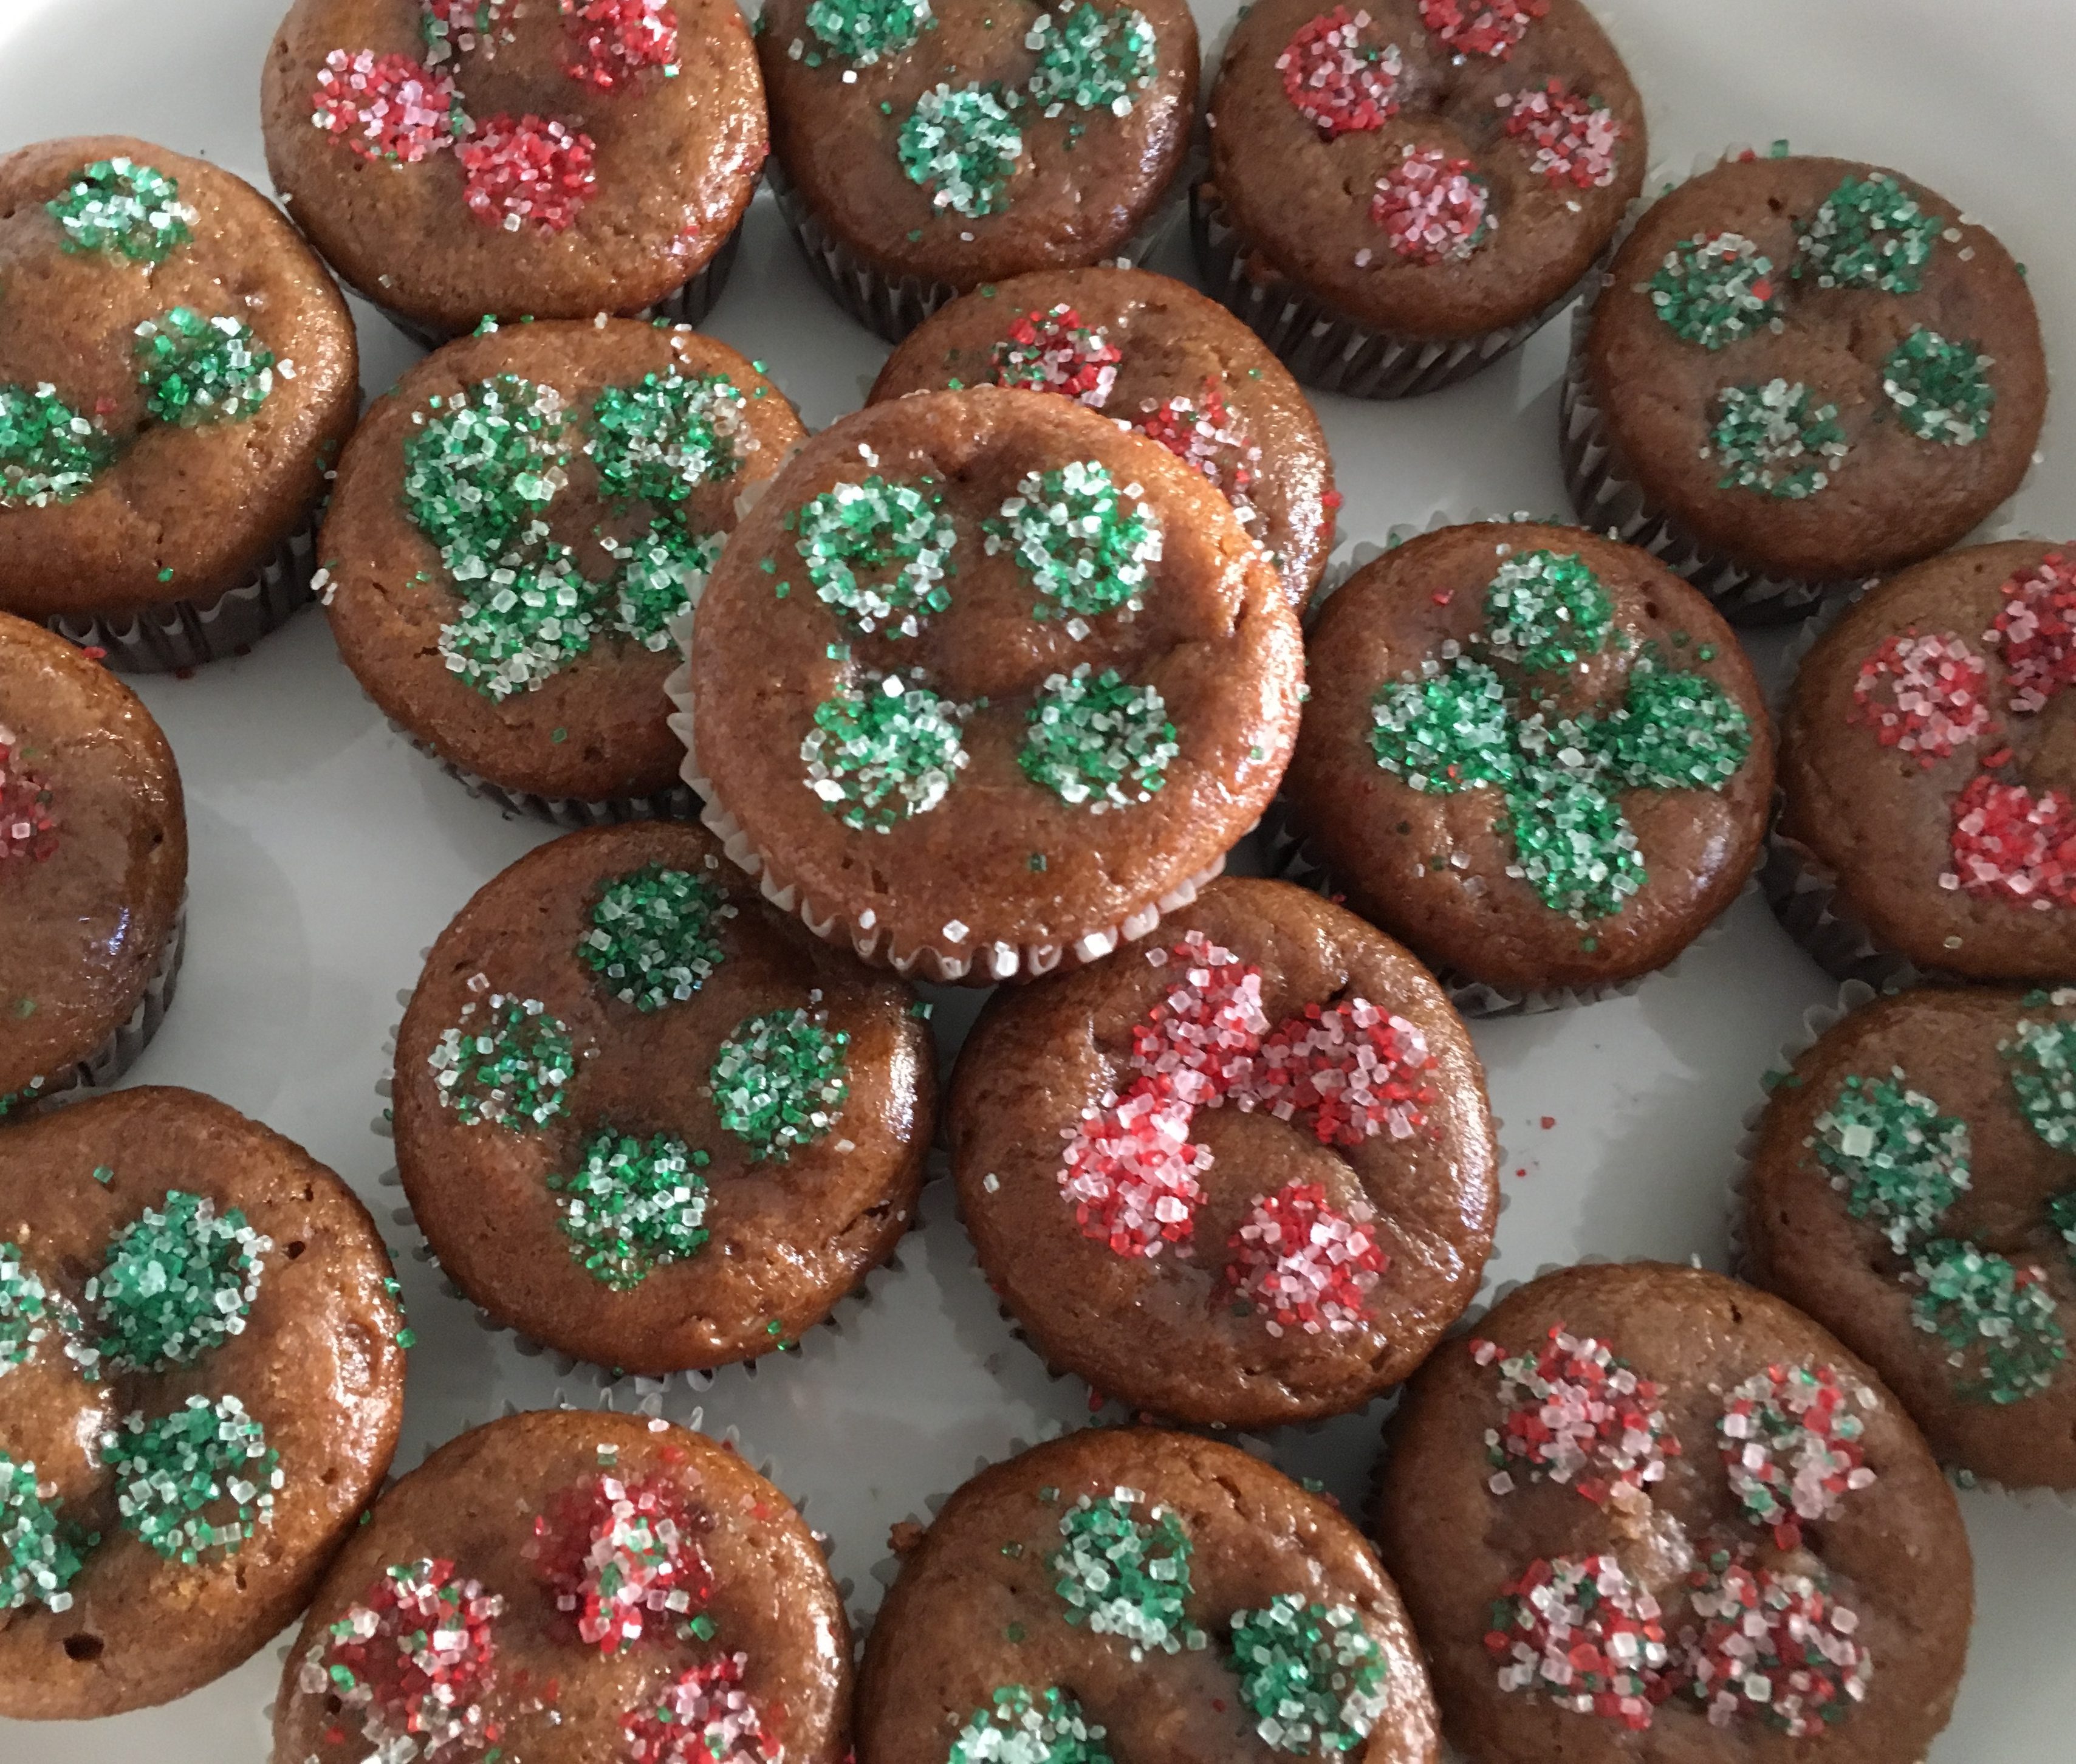
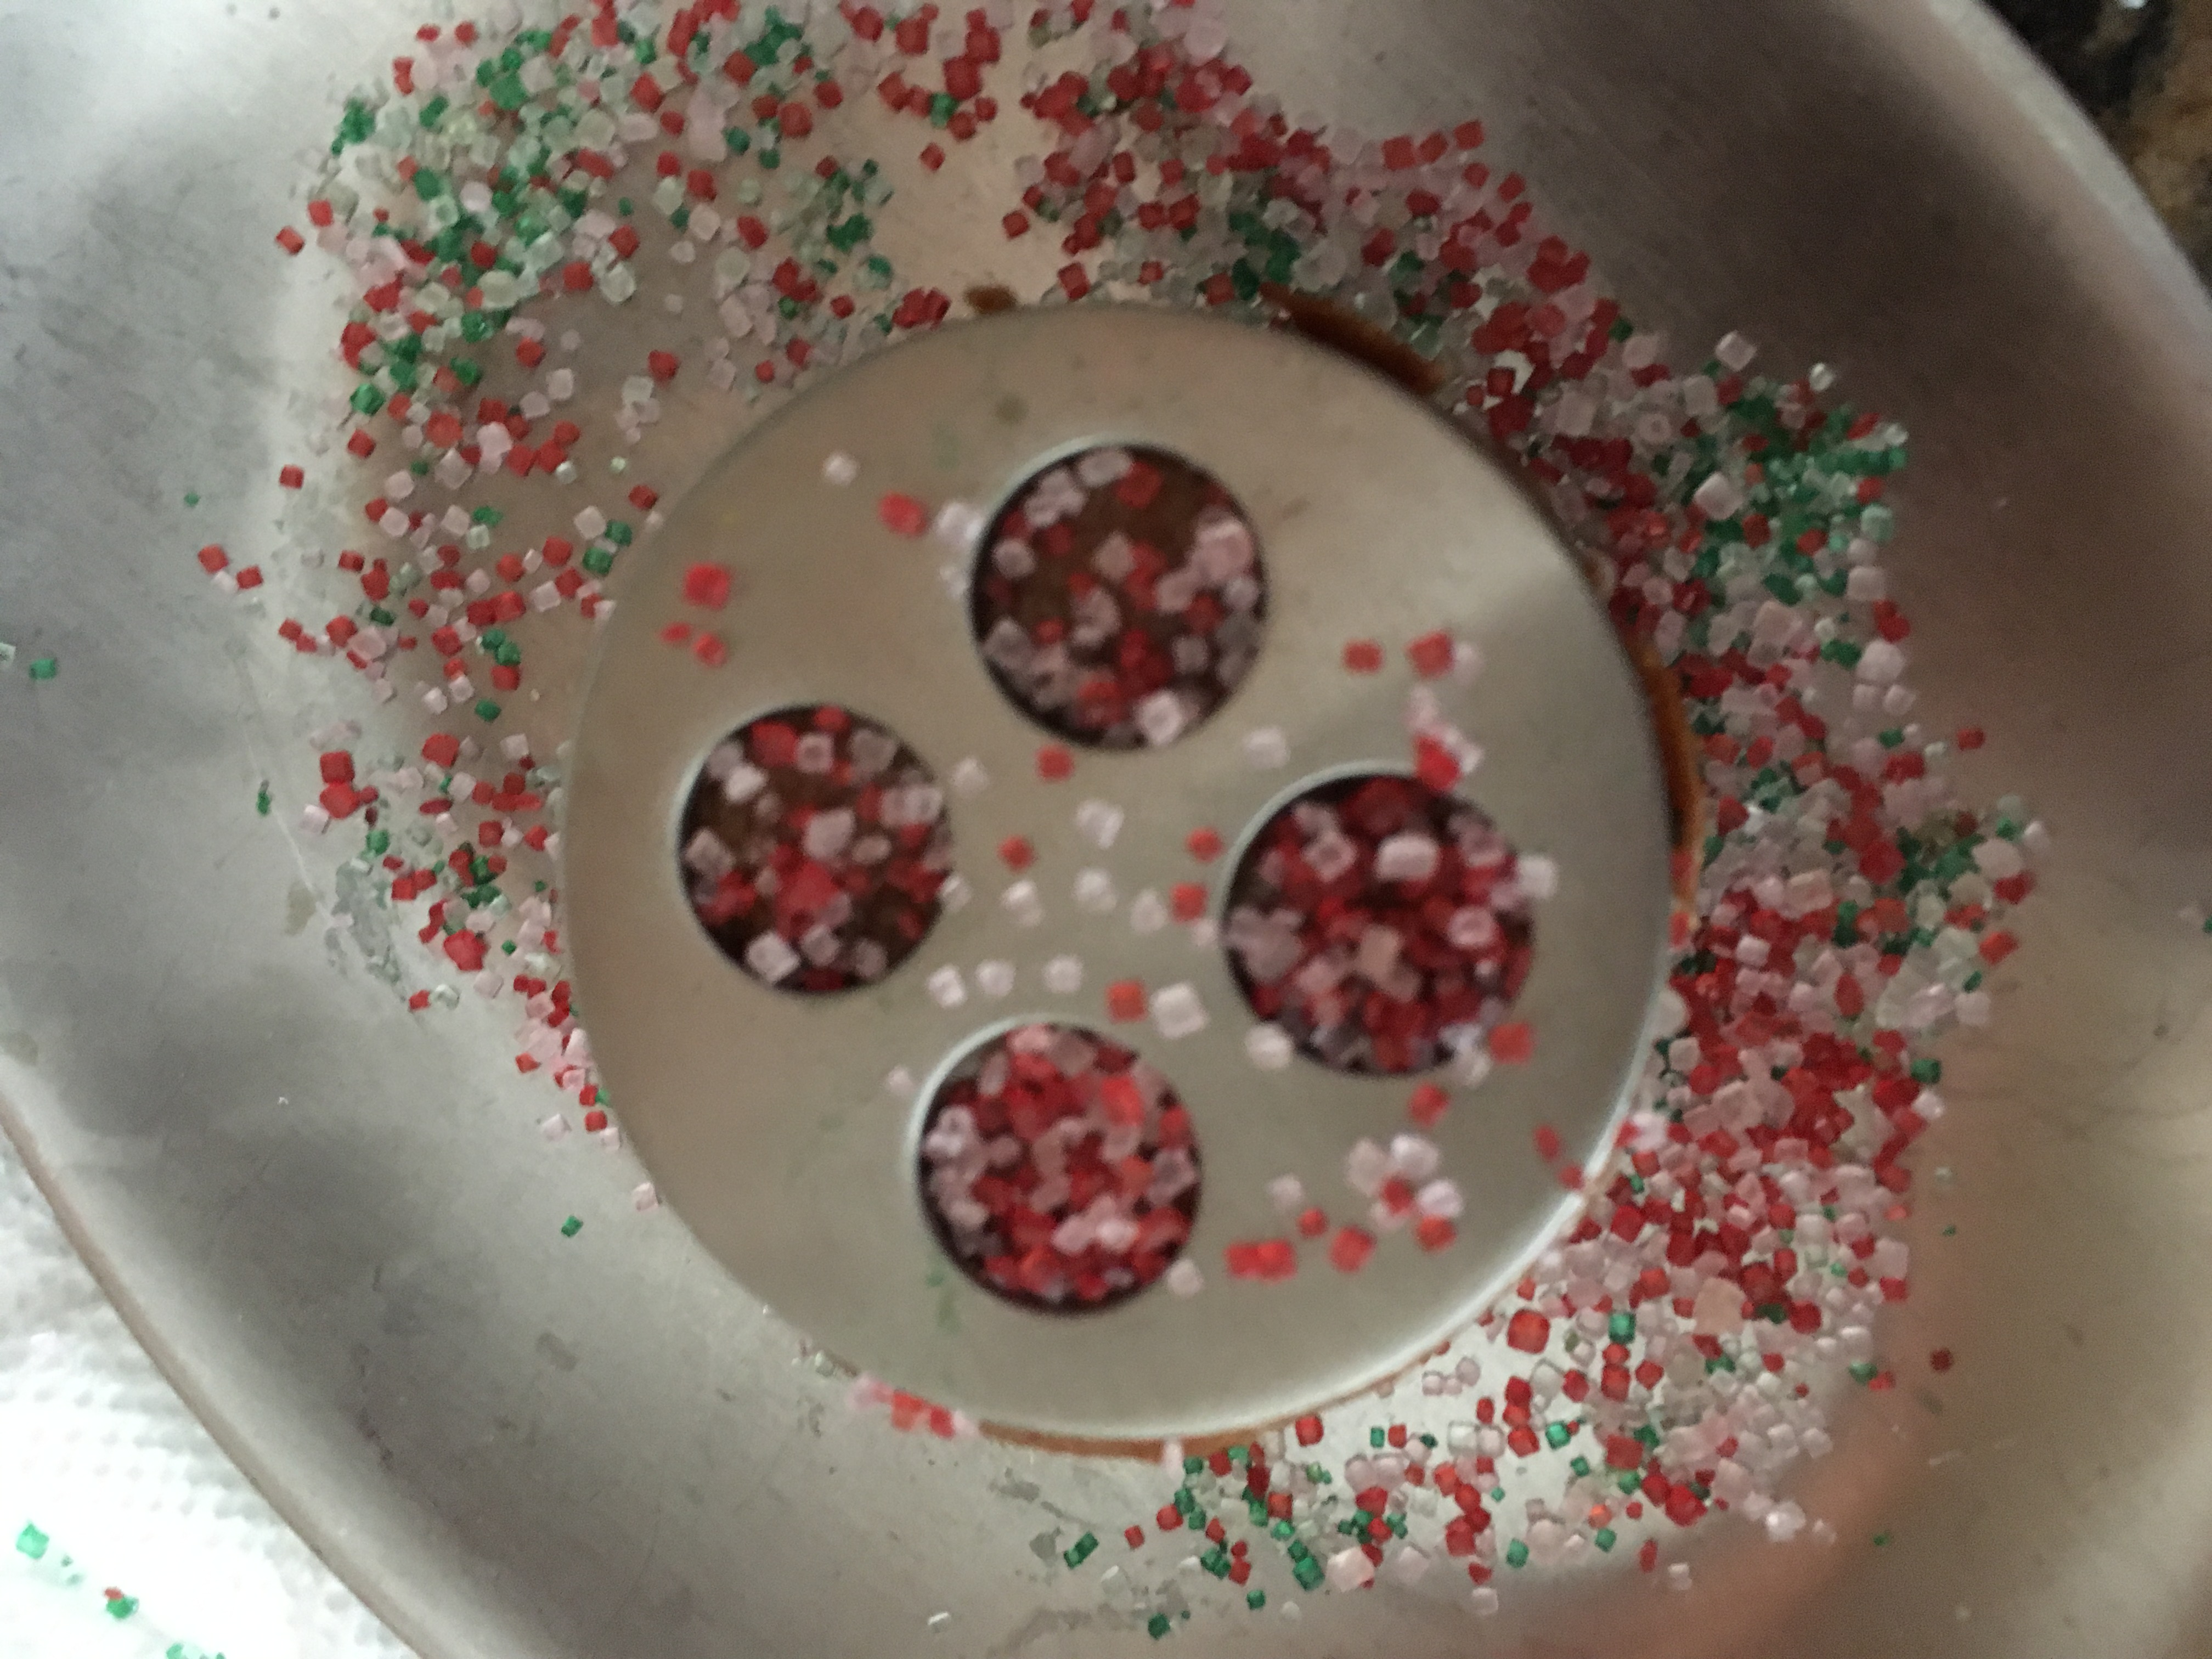
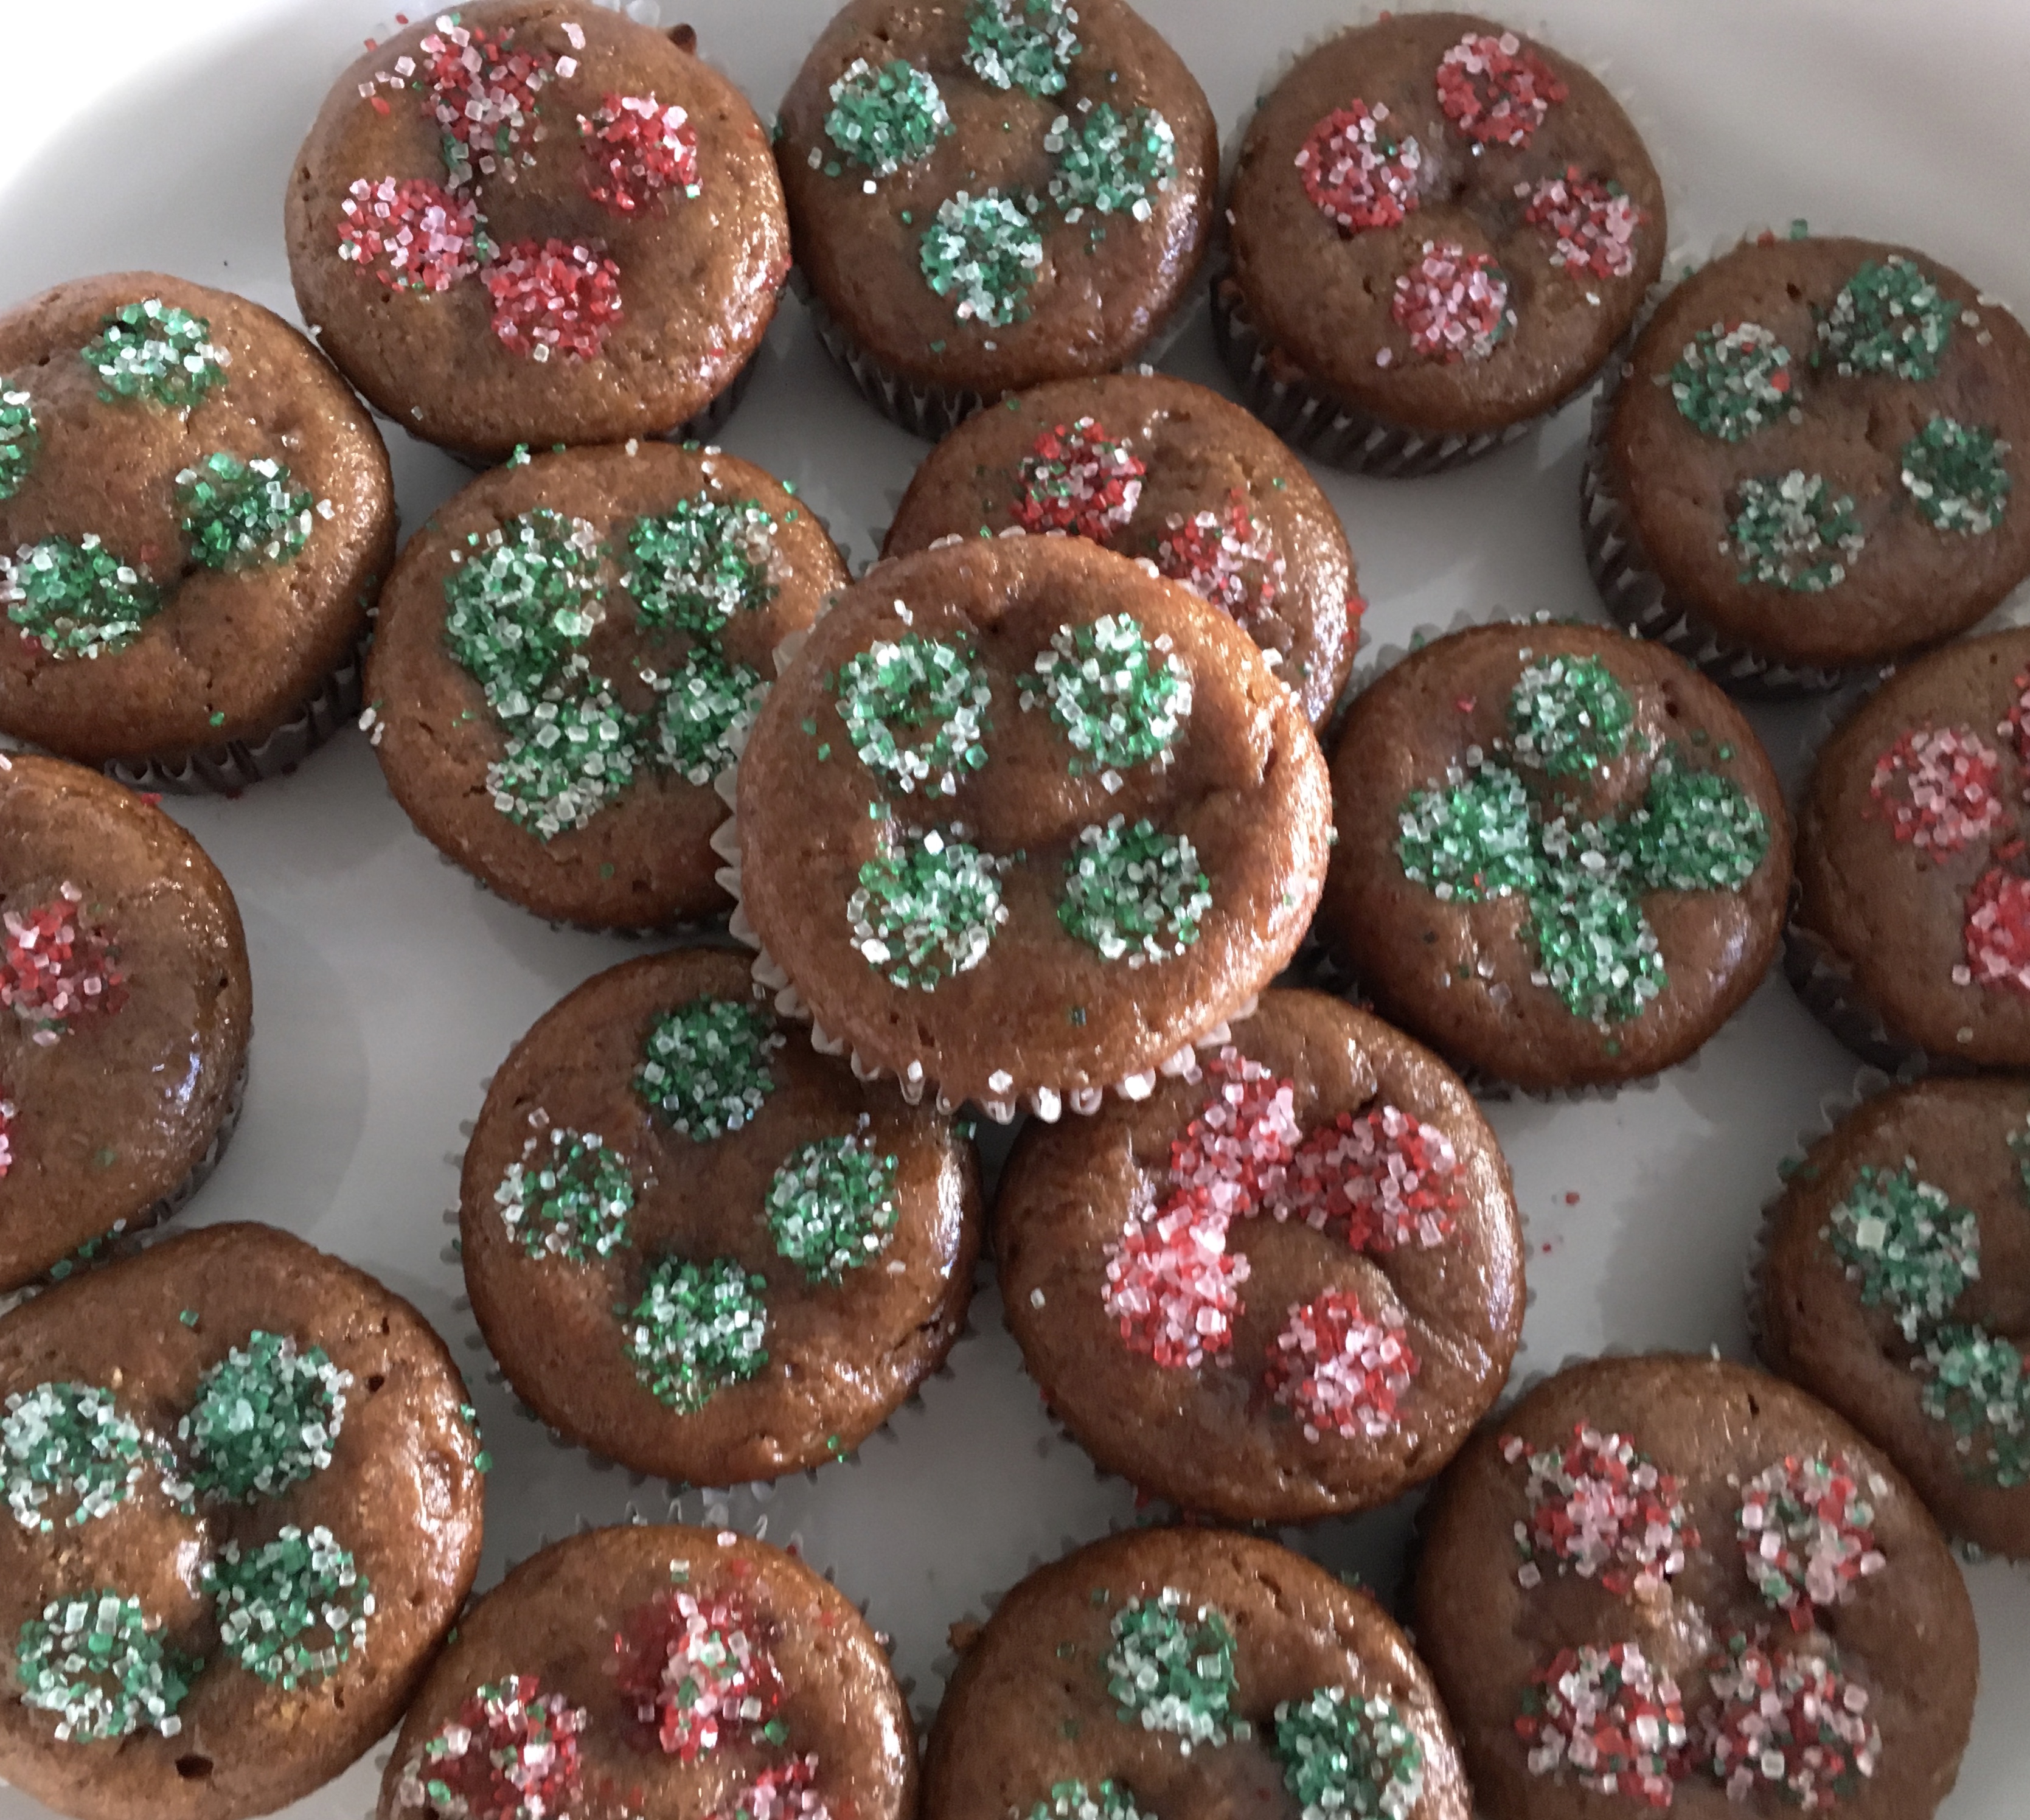
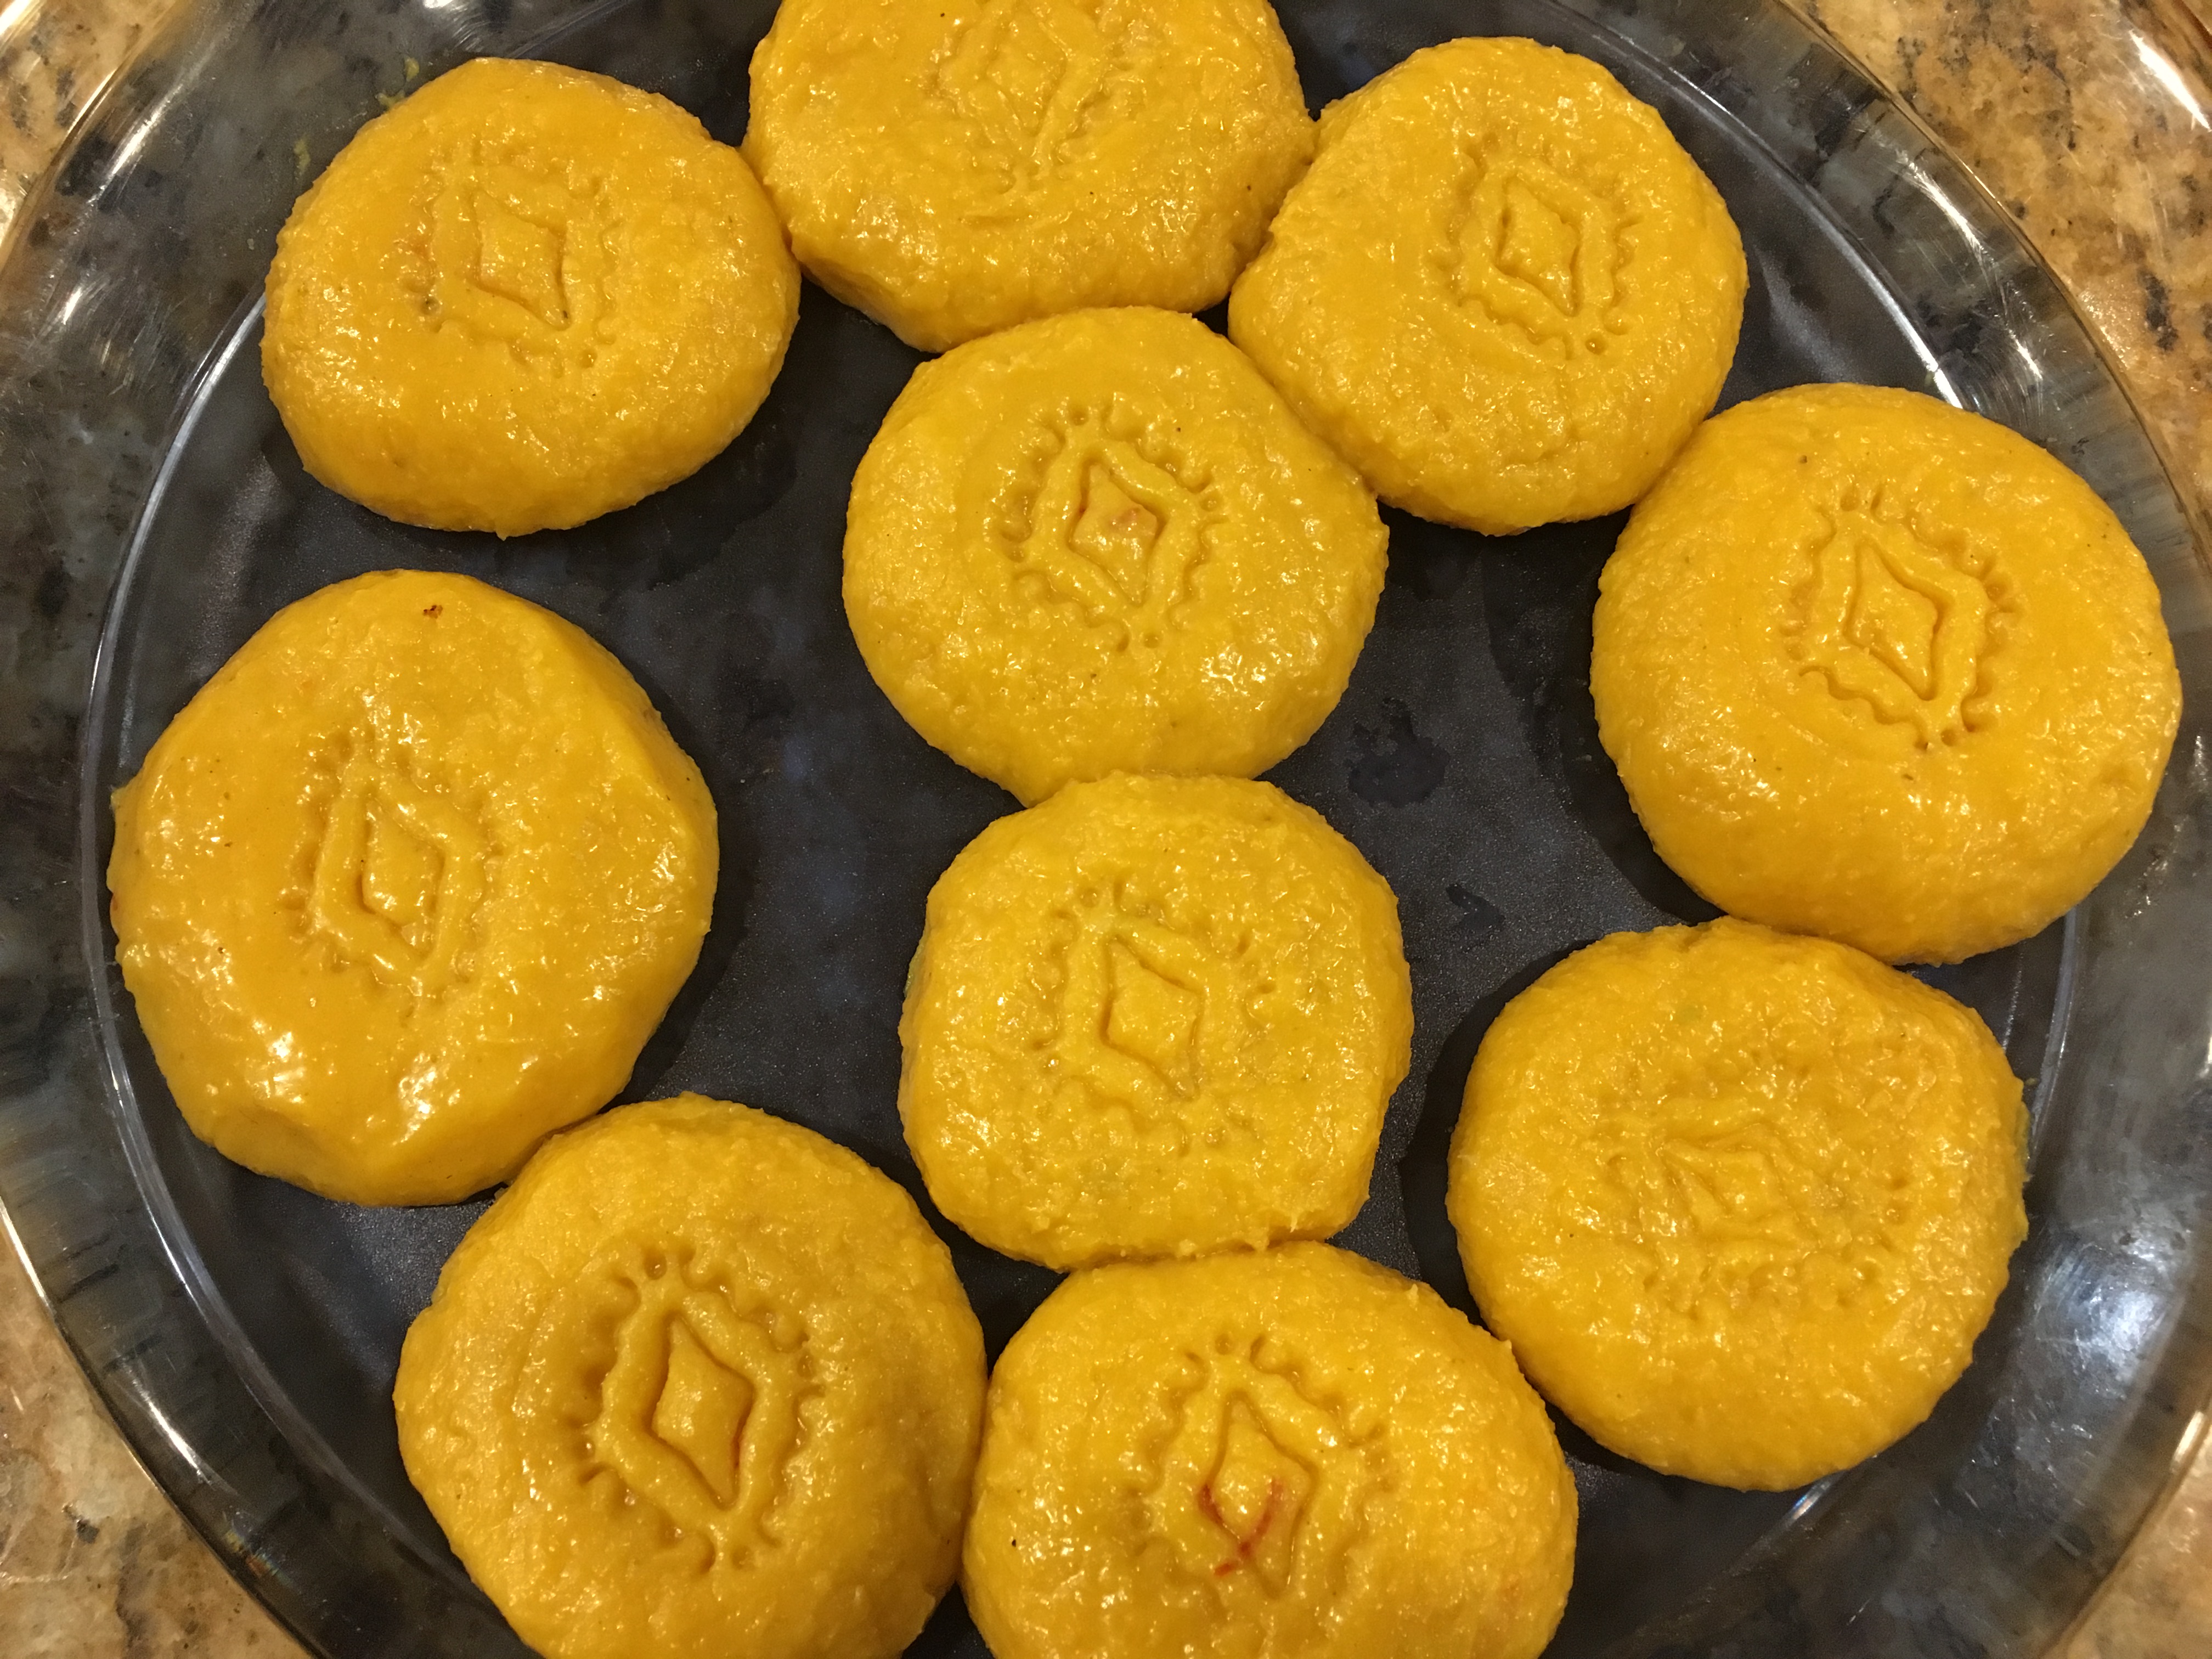
The shape at the restaurant was simple muffin shape, however I wanted to make it more fancier, as well as try something new in the baking shape. Recently I came across this ice cream corn kind of moulds, which to a garden lover like me looked more like small flower pots! The fruits arranged in the center made it a more real flower pot. The recipe has been adjusted  for making it egg less.

The taste is exquisite, so is the shape making this Date and Toffee pudding, one of a kind! With the sweetness of dates, gold of caramel, colors of fruits and coolness of ice cream, I wish all of you a very Happy New Year and a spectacular 2018!


Print Recipe
Date and Toffee Pudding
A warm pudding with caramel syrup, fresh fruits and ice cream
Date and Toffee Pudding
Course Dessert
Prep Time 20 min
Cook Time 30 min
Passive Time 20 min
Servings
pieces
Ingredients
Making of Date Pudding
Making of Toffee Syrup
Course Dessert
Prep Time 20 min
Cook Time 30 min
Passive Time 20 min
Servings
pieces
Ingredients
Making of Date Pudding
Making of Toffee Syrup
Date and Toffee Pudding
Instructions
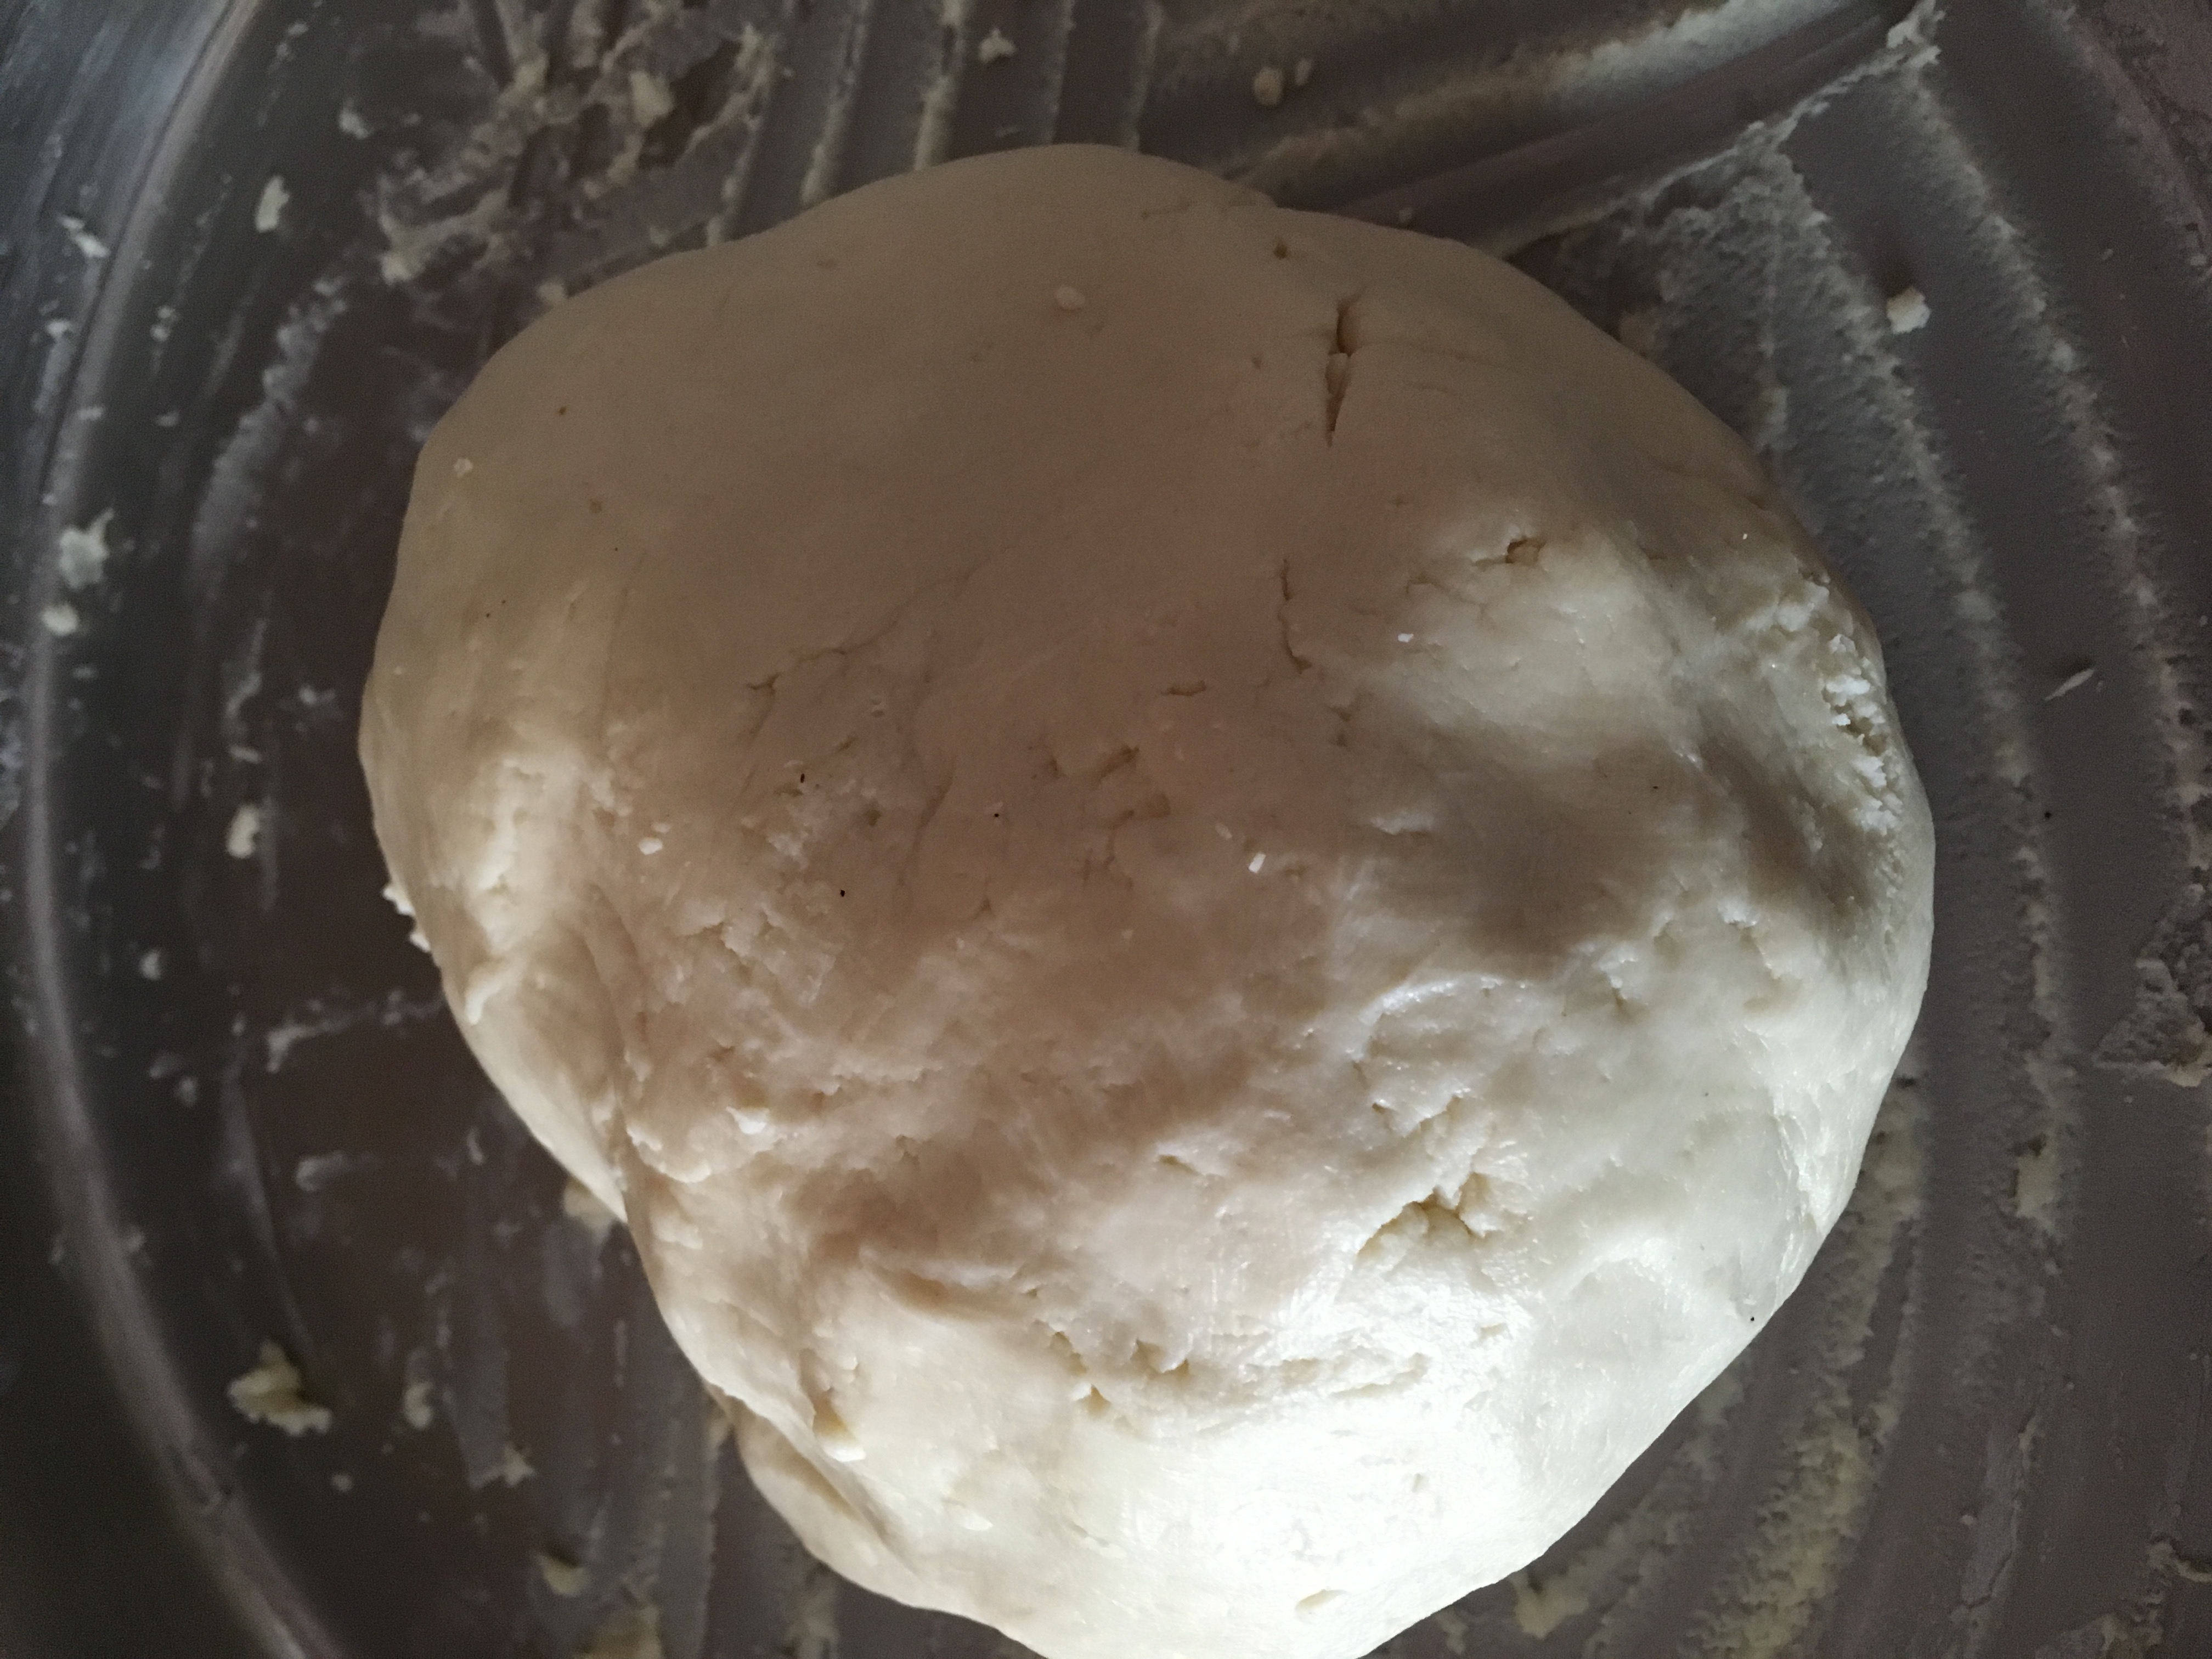
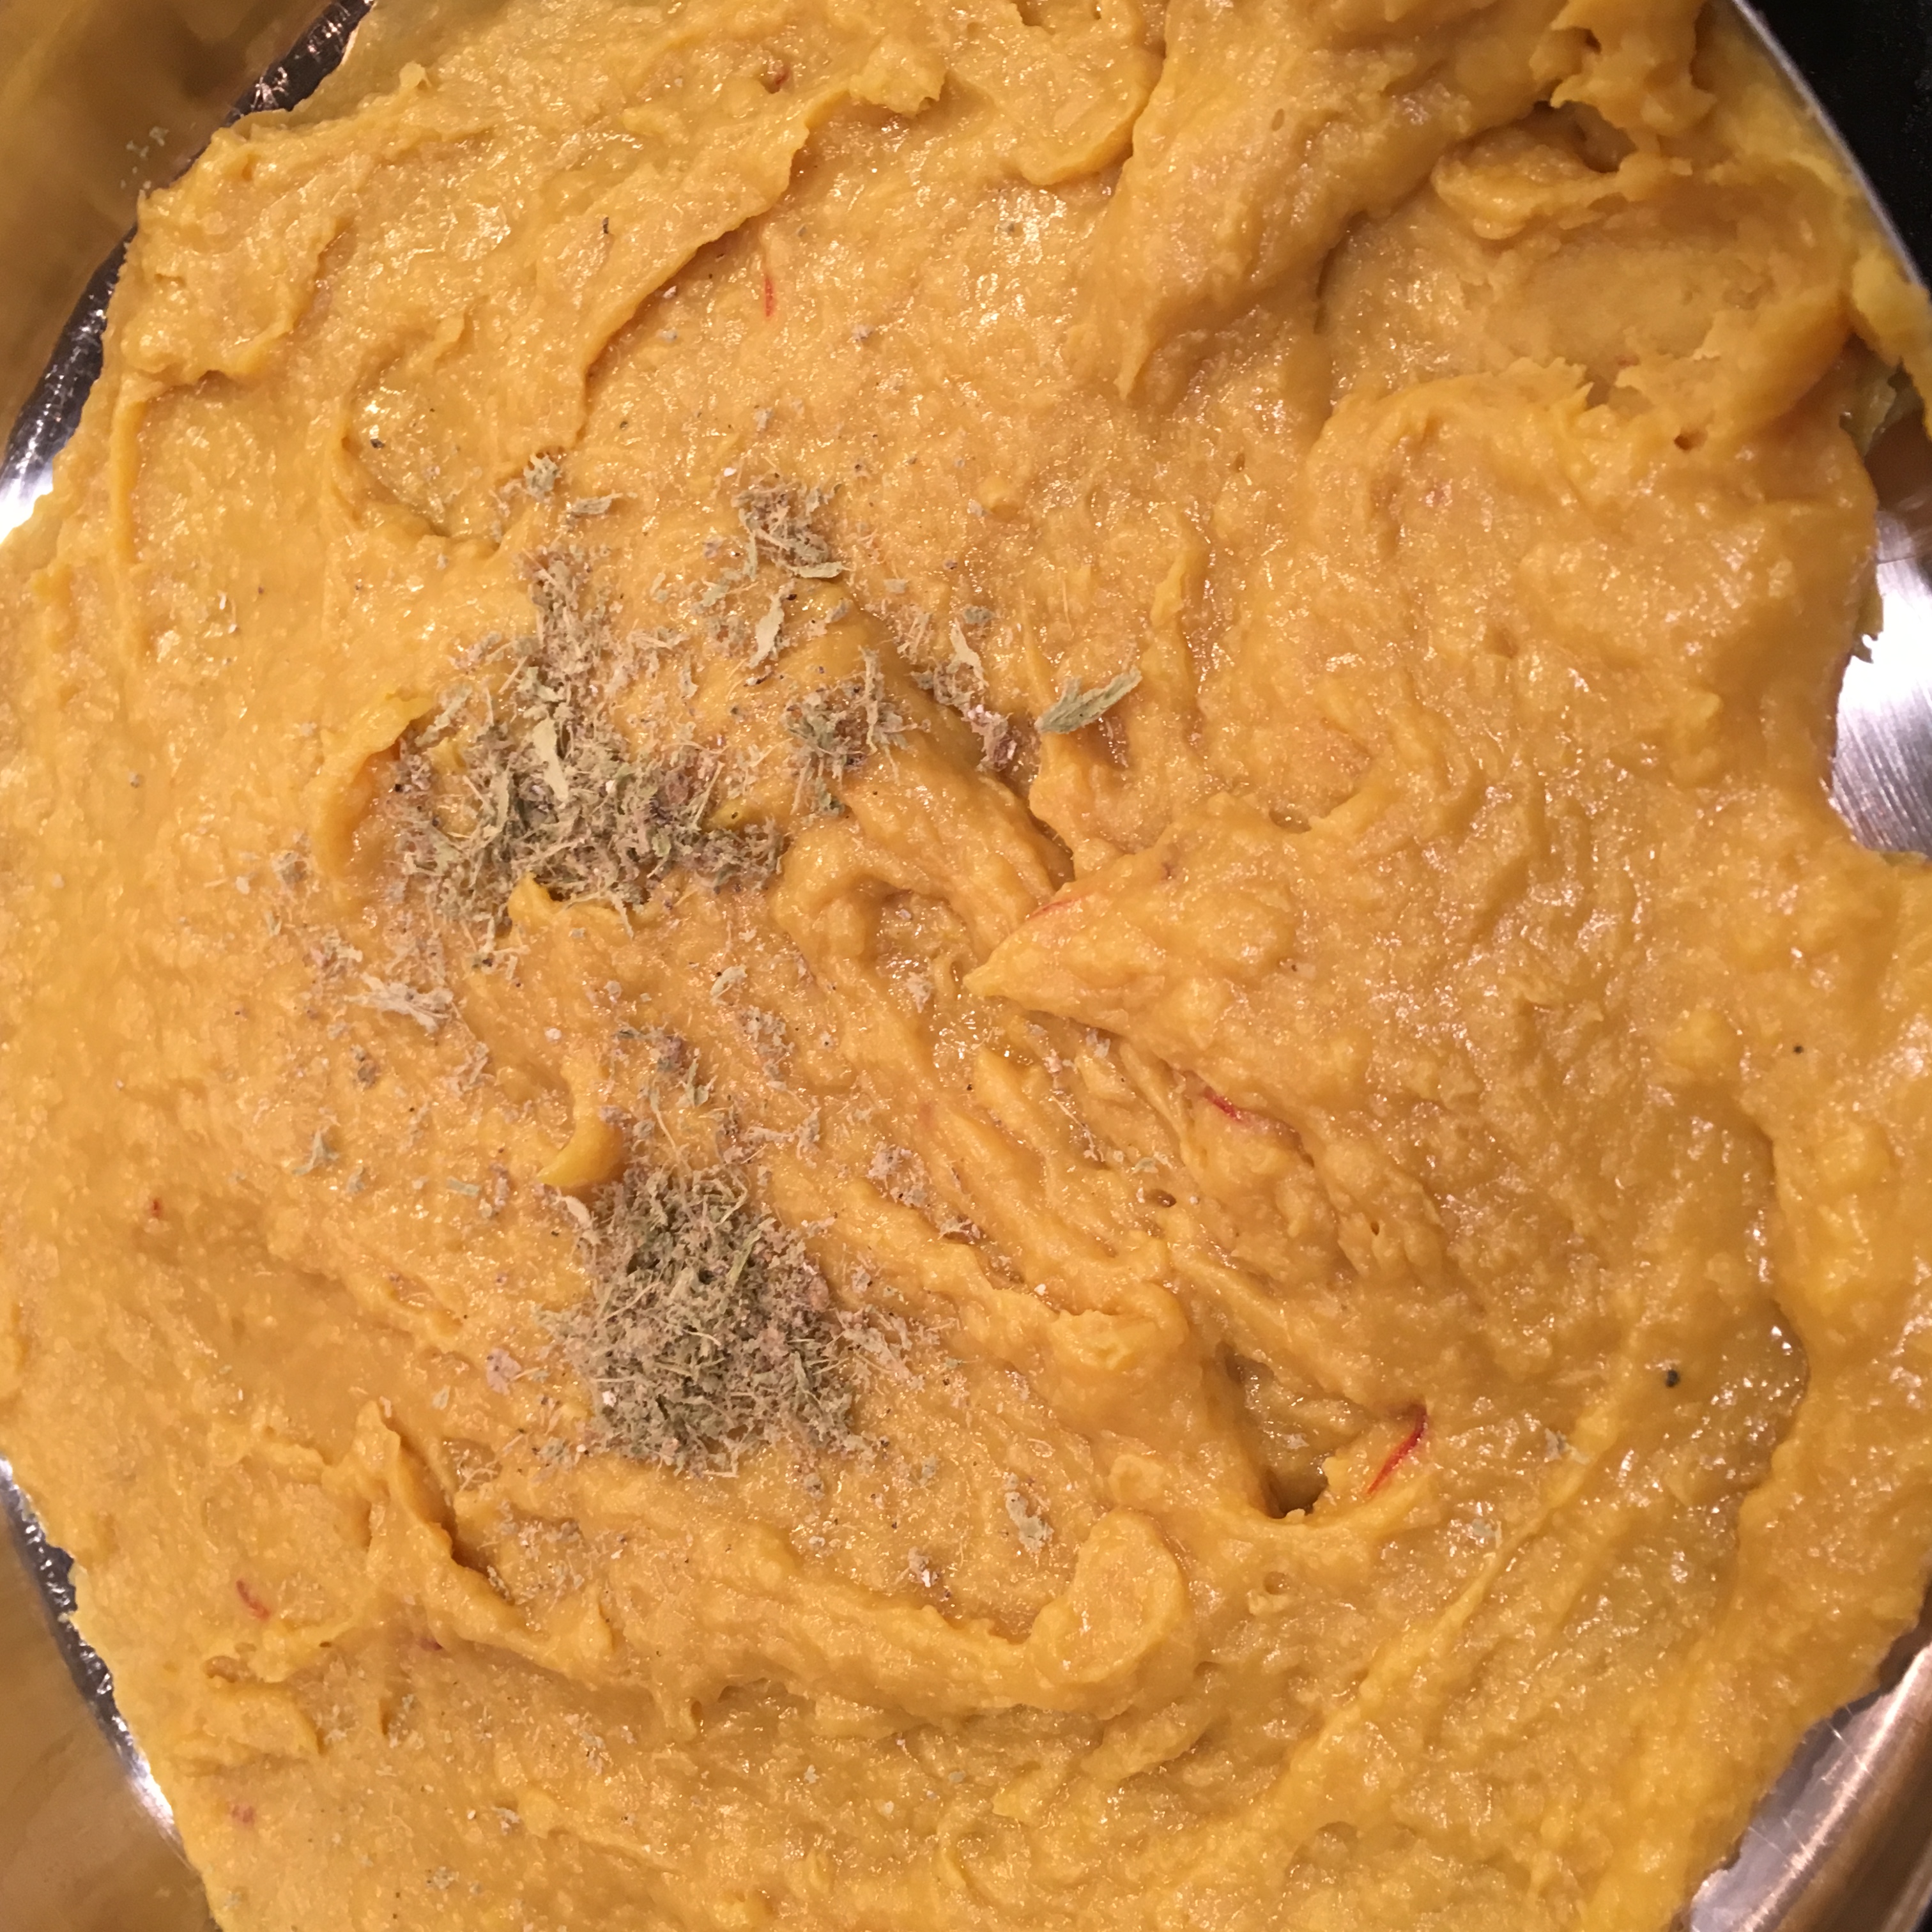
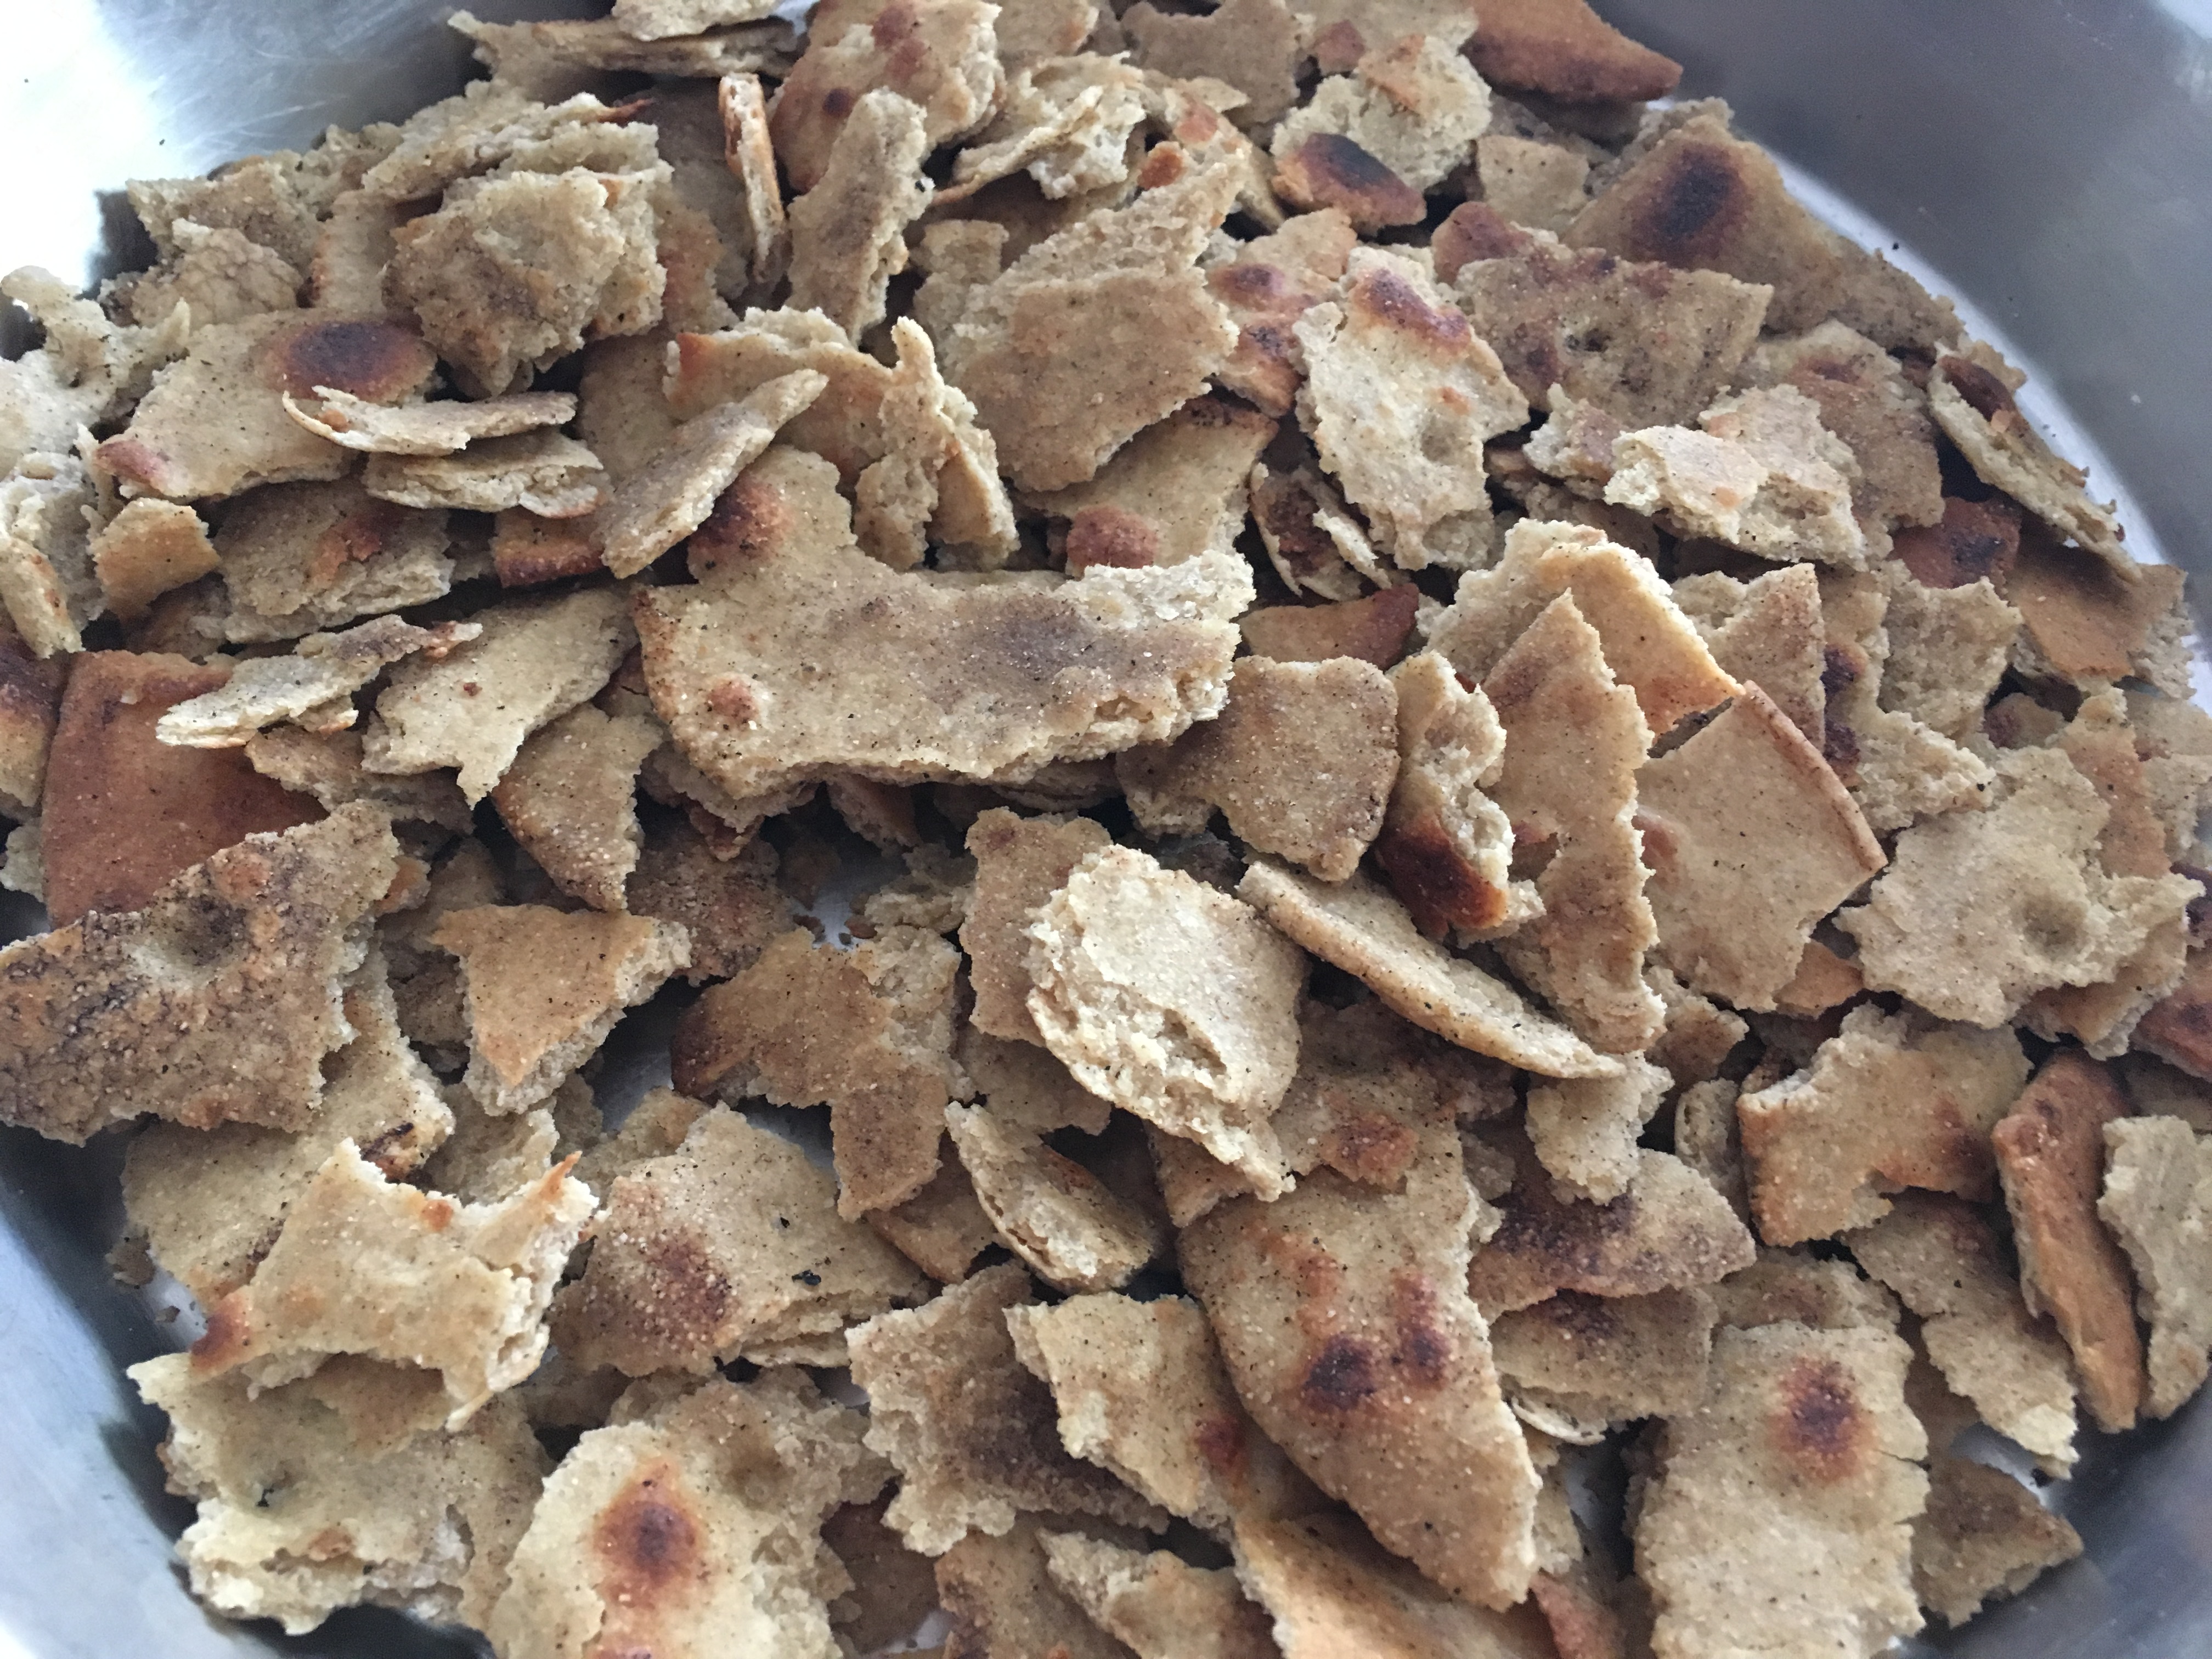
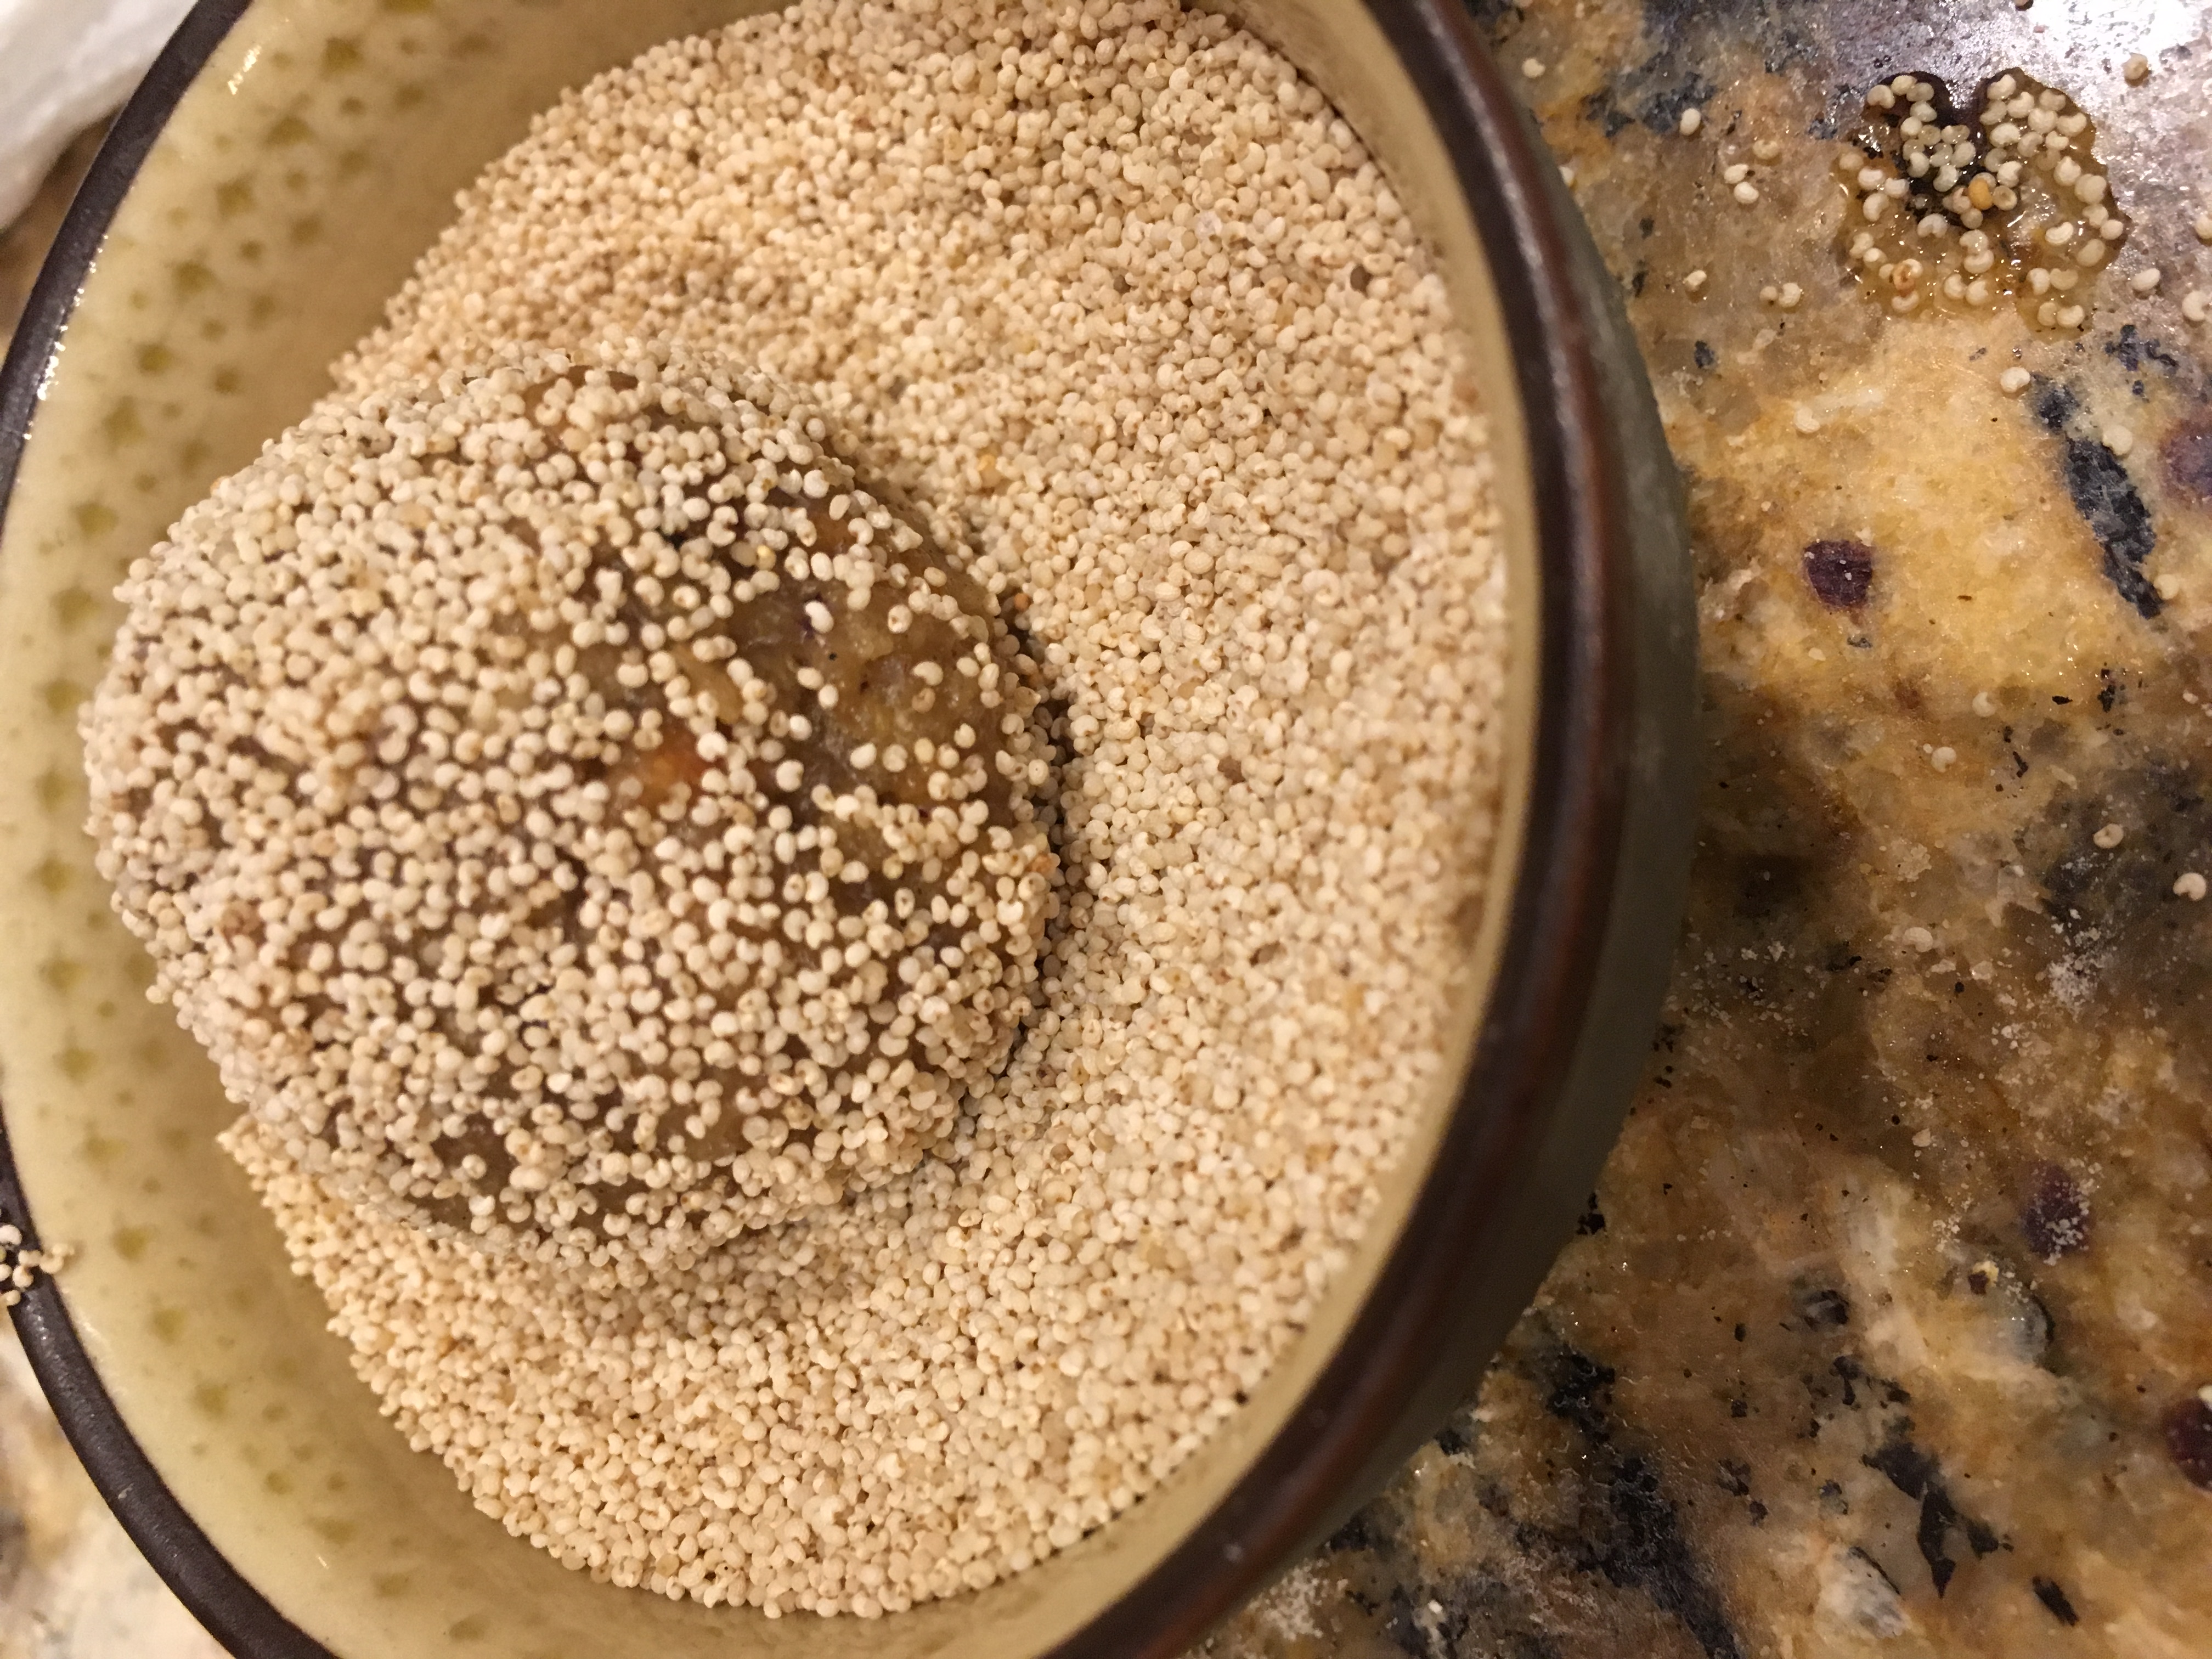
  1. Finely chop the dates in a grinder till it becomes a round ball.
  2. Add baking soda and warm water and let it rest for 20 minutes.
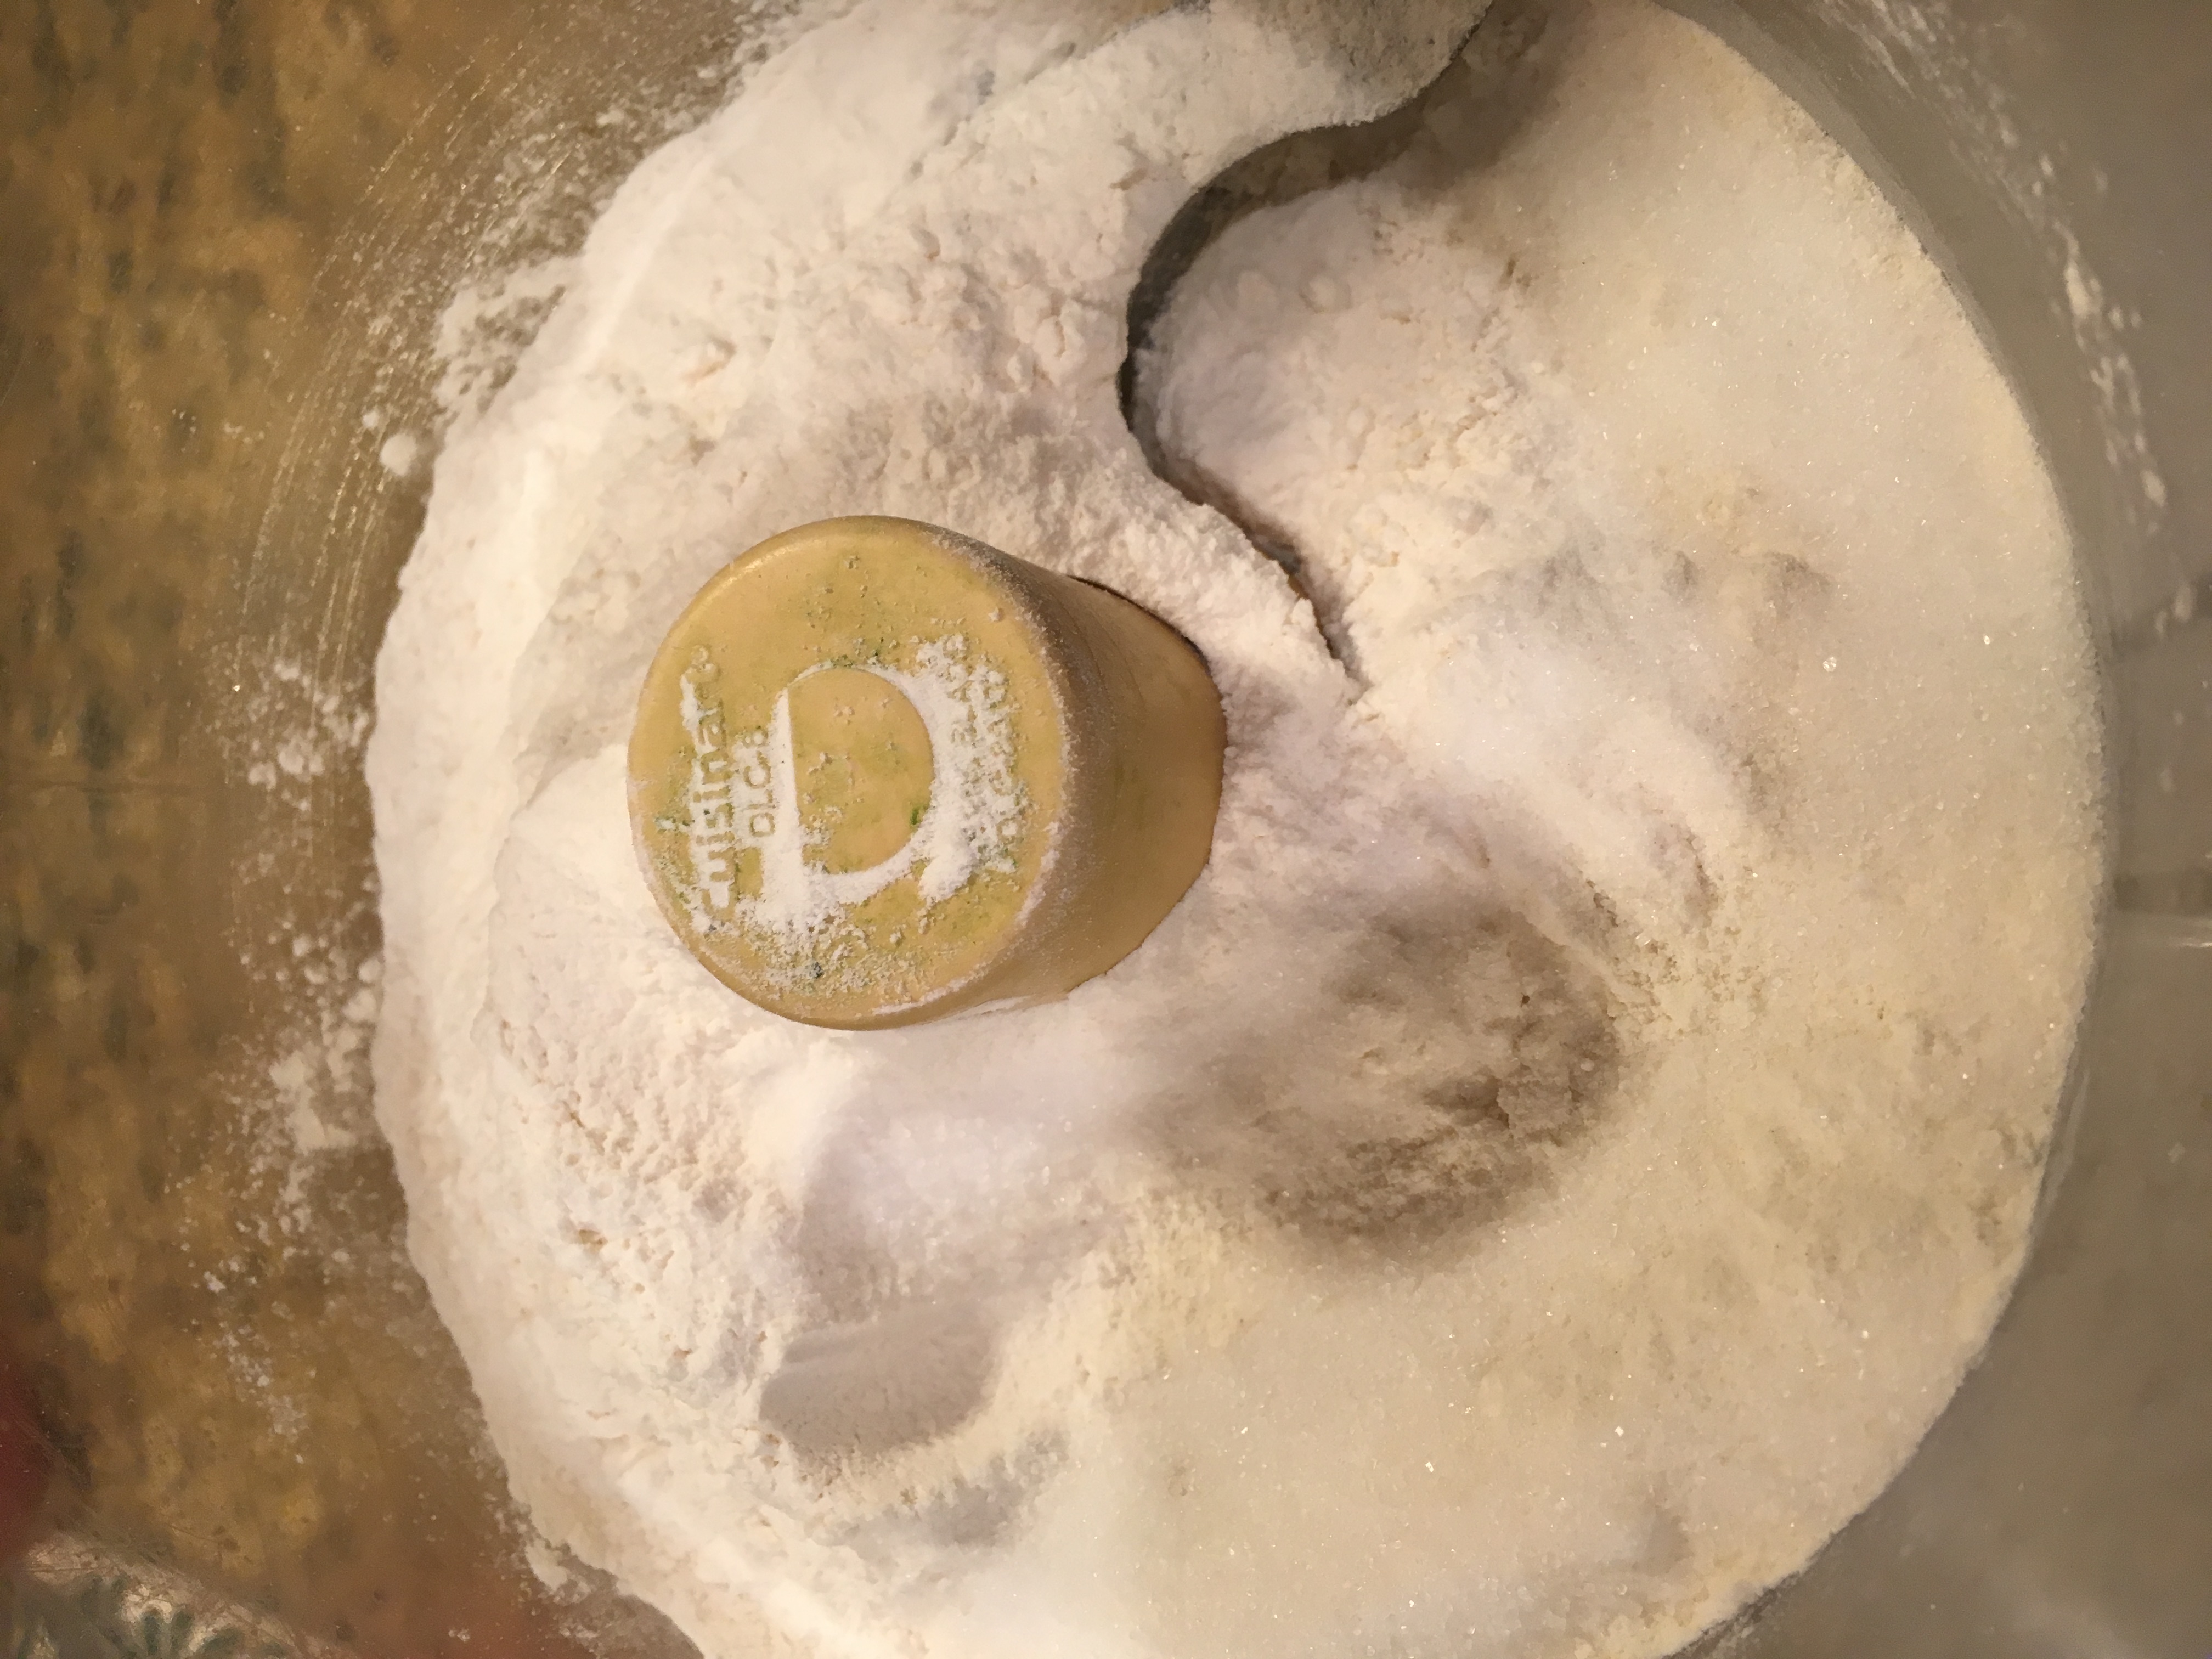
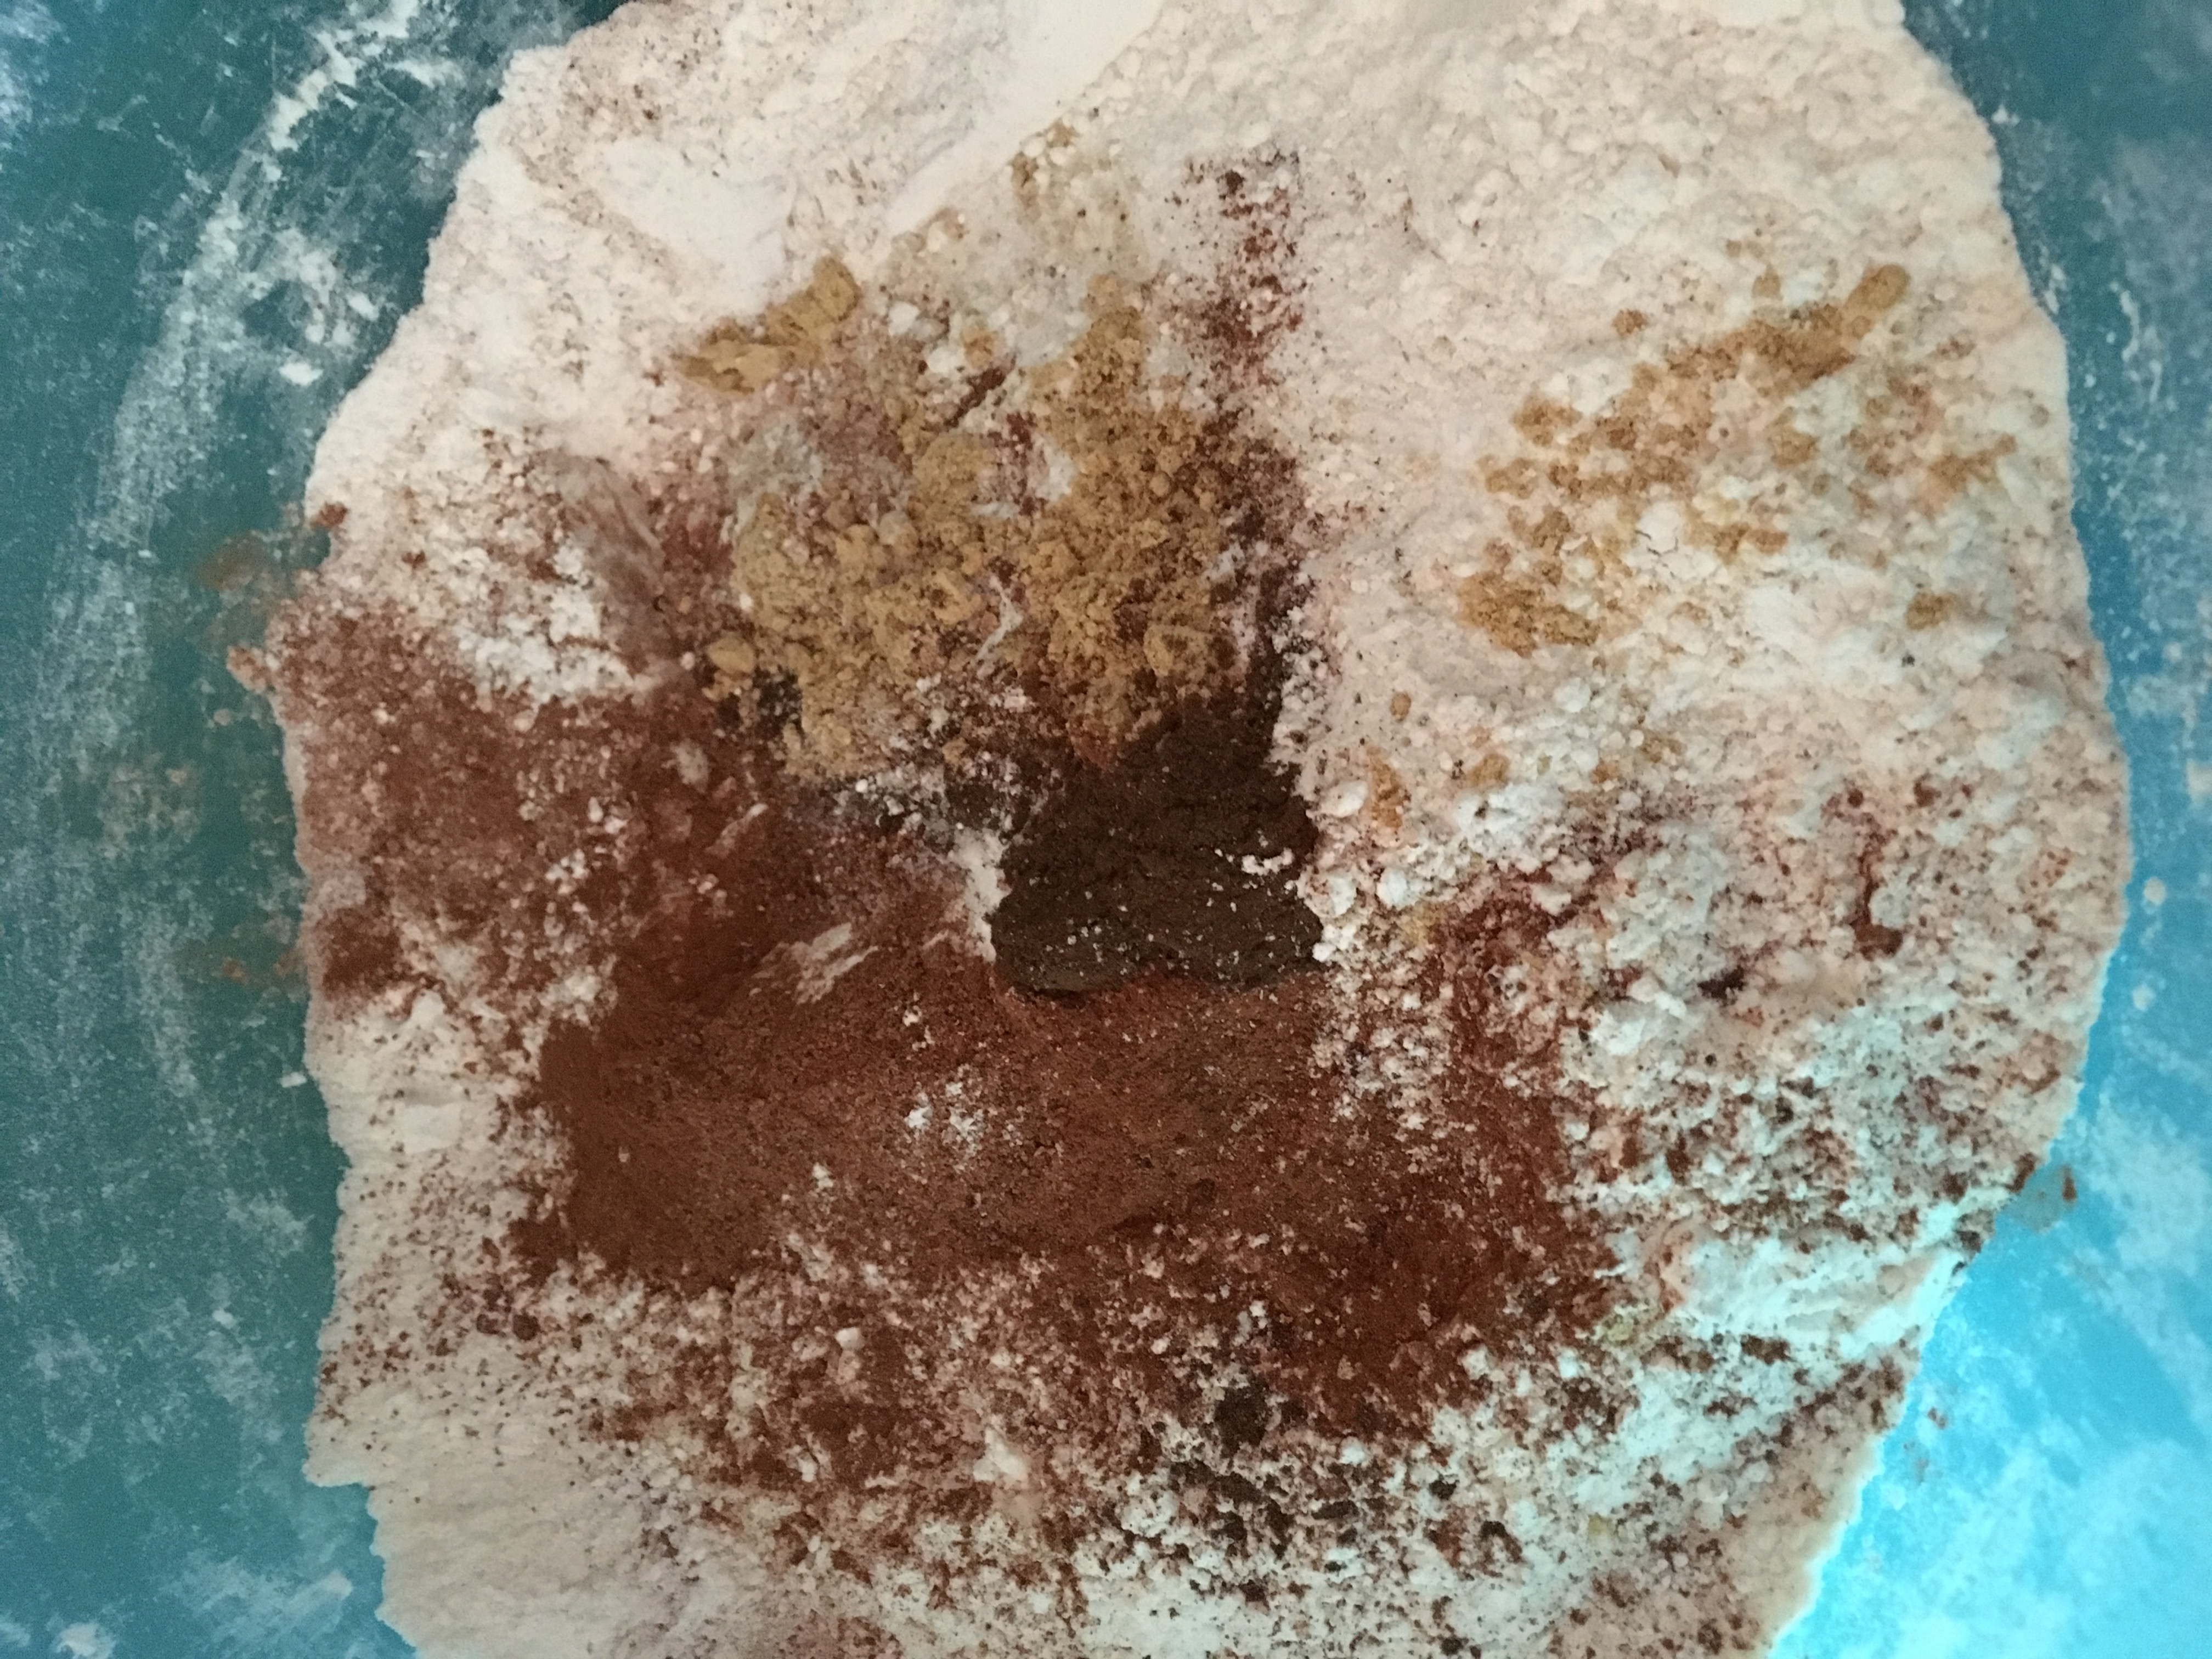
  3. Mix the all purpose flour, salt, and baking powder in a deep bowl.
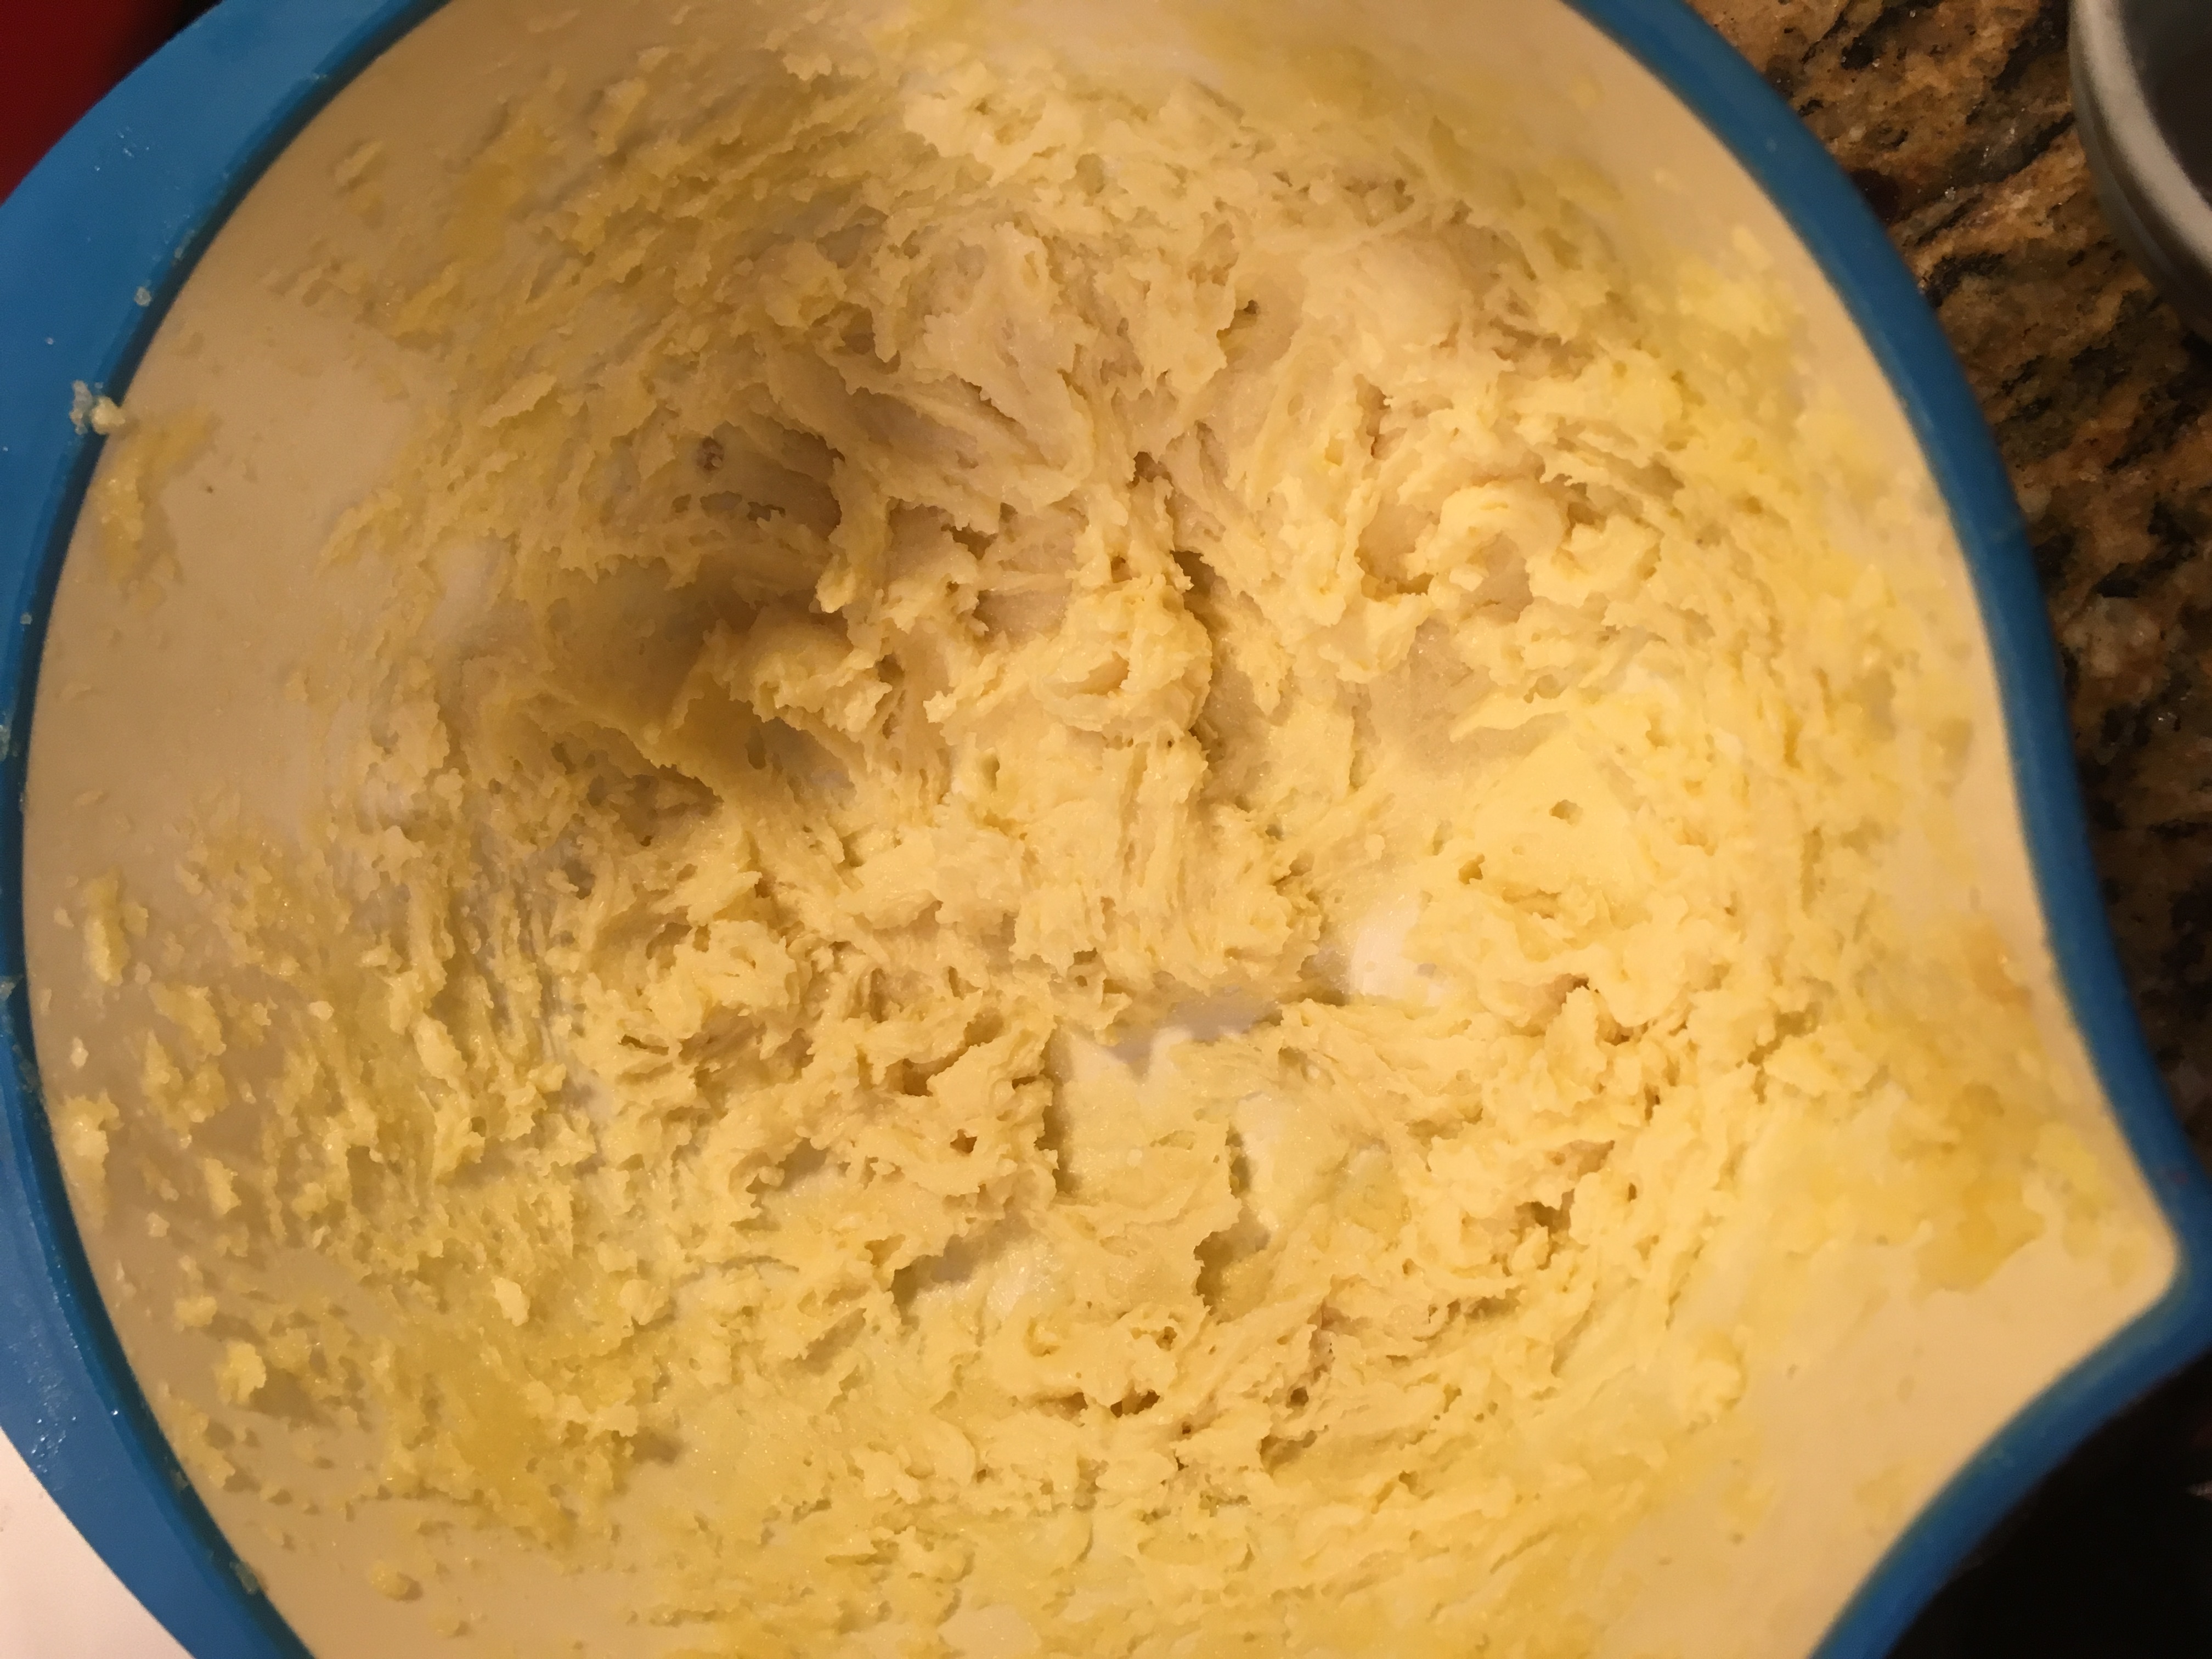
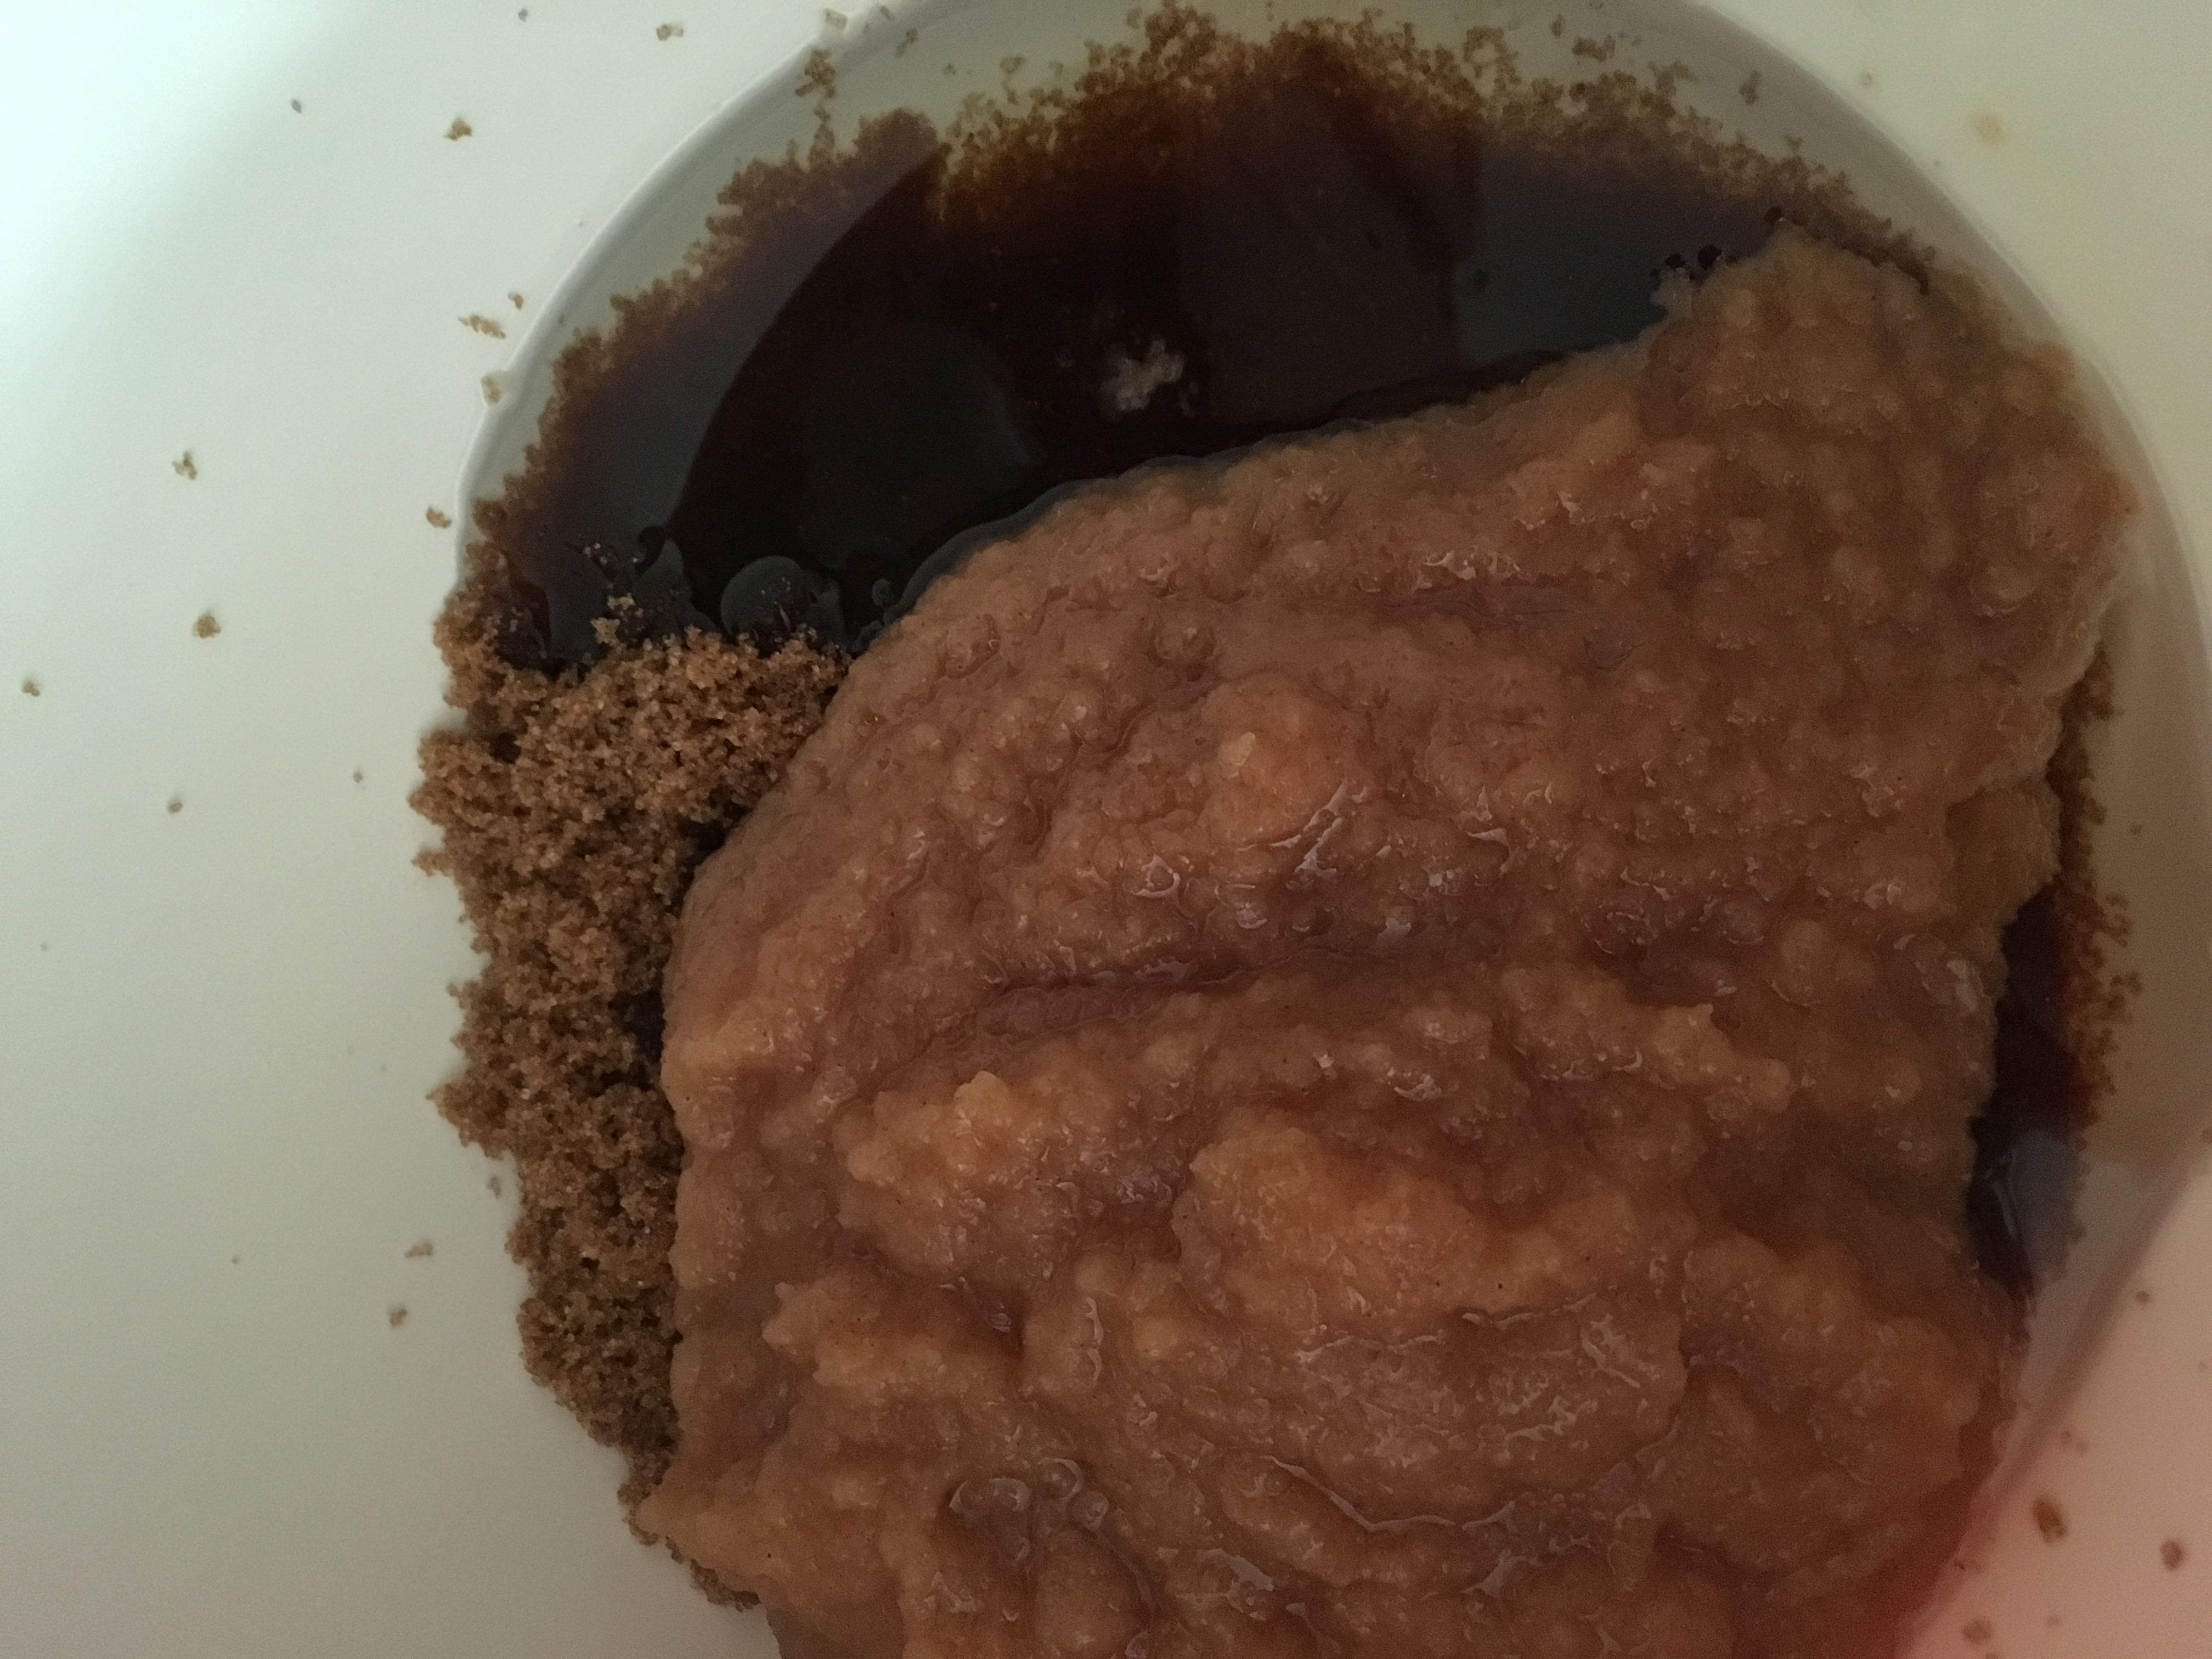
  4. With a whisk blade, fluff the butter for 5 minutes, till the butter is 3 shades lighter. Add 1/2 cup of brown sugar and mix in for a minute.
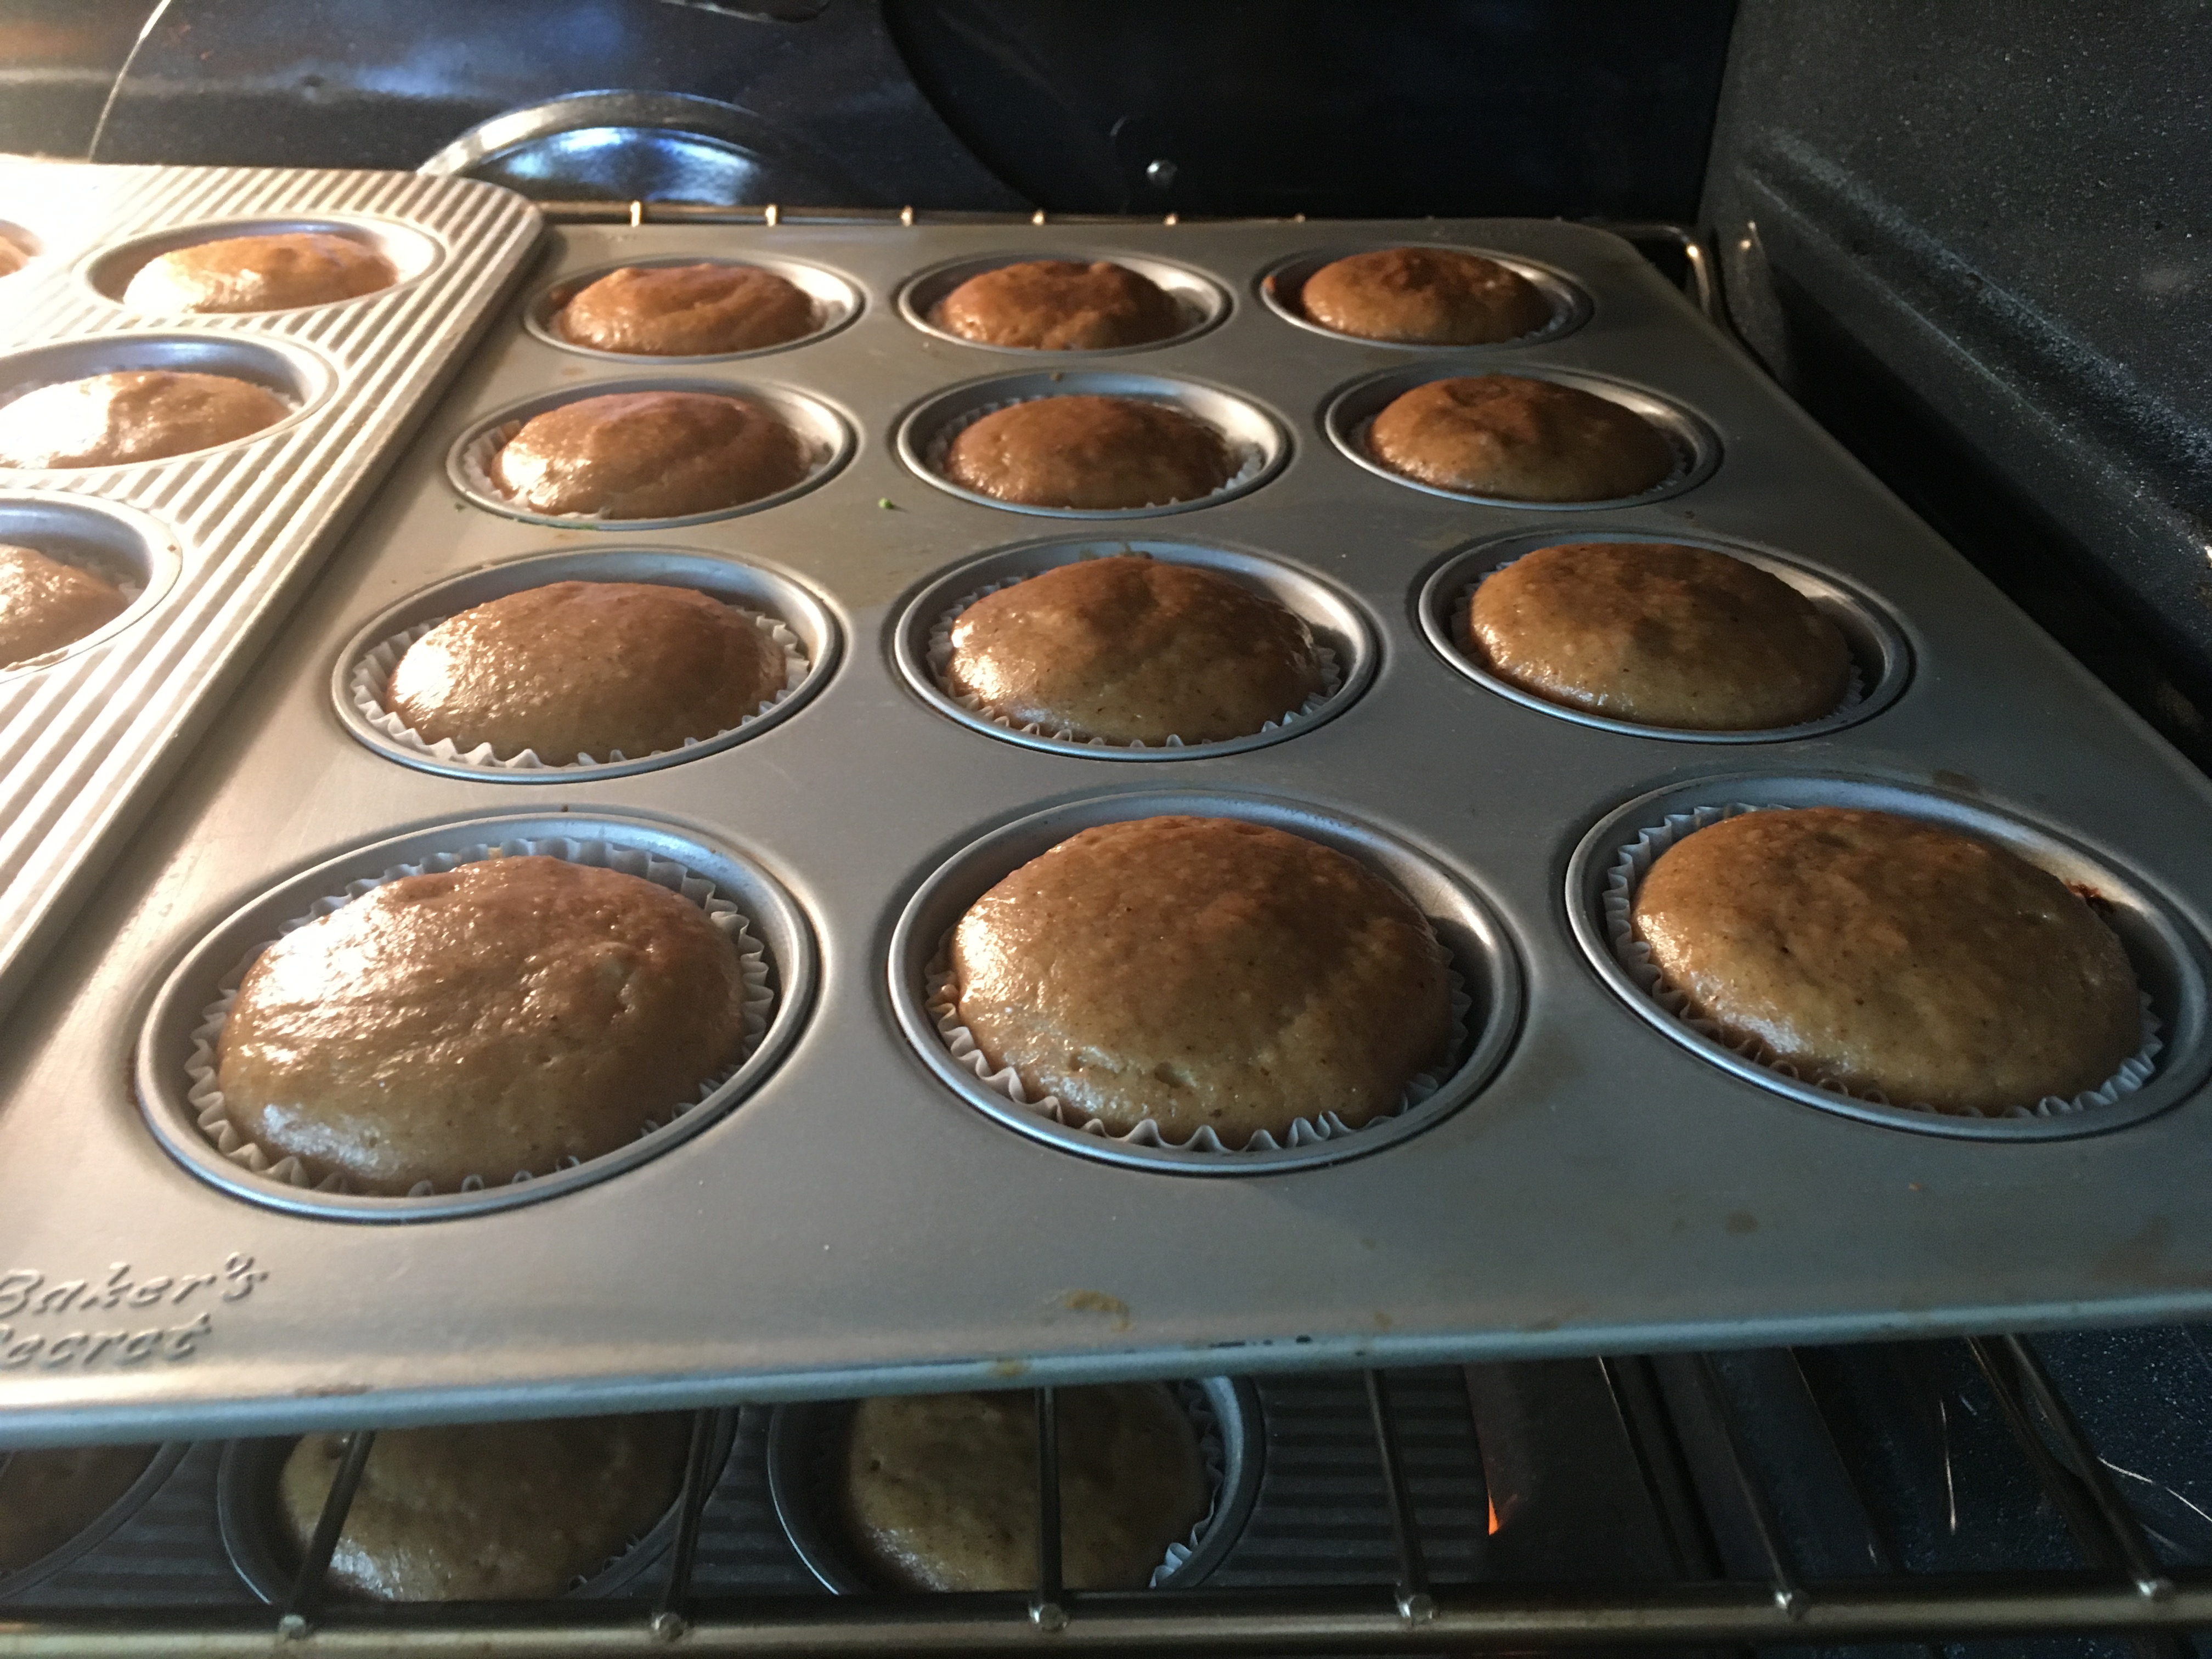
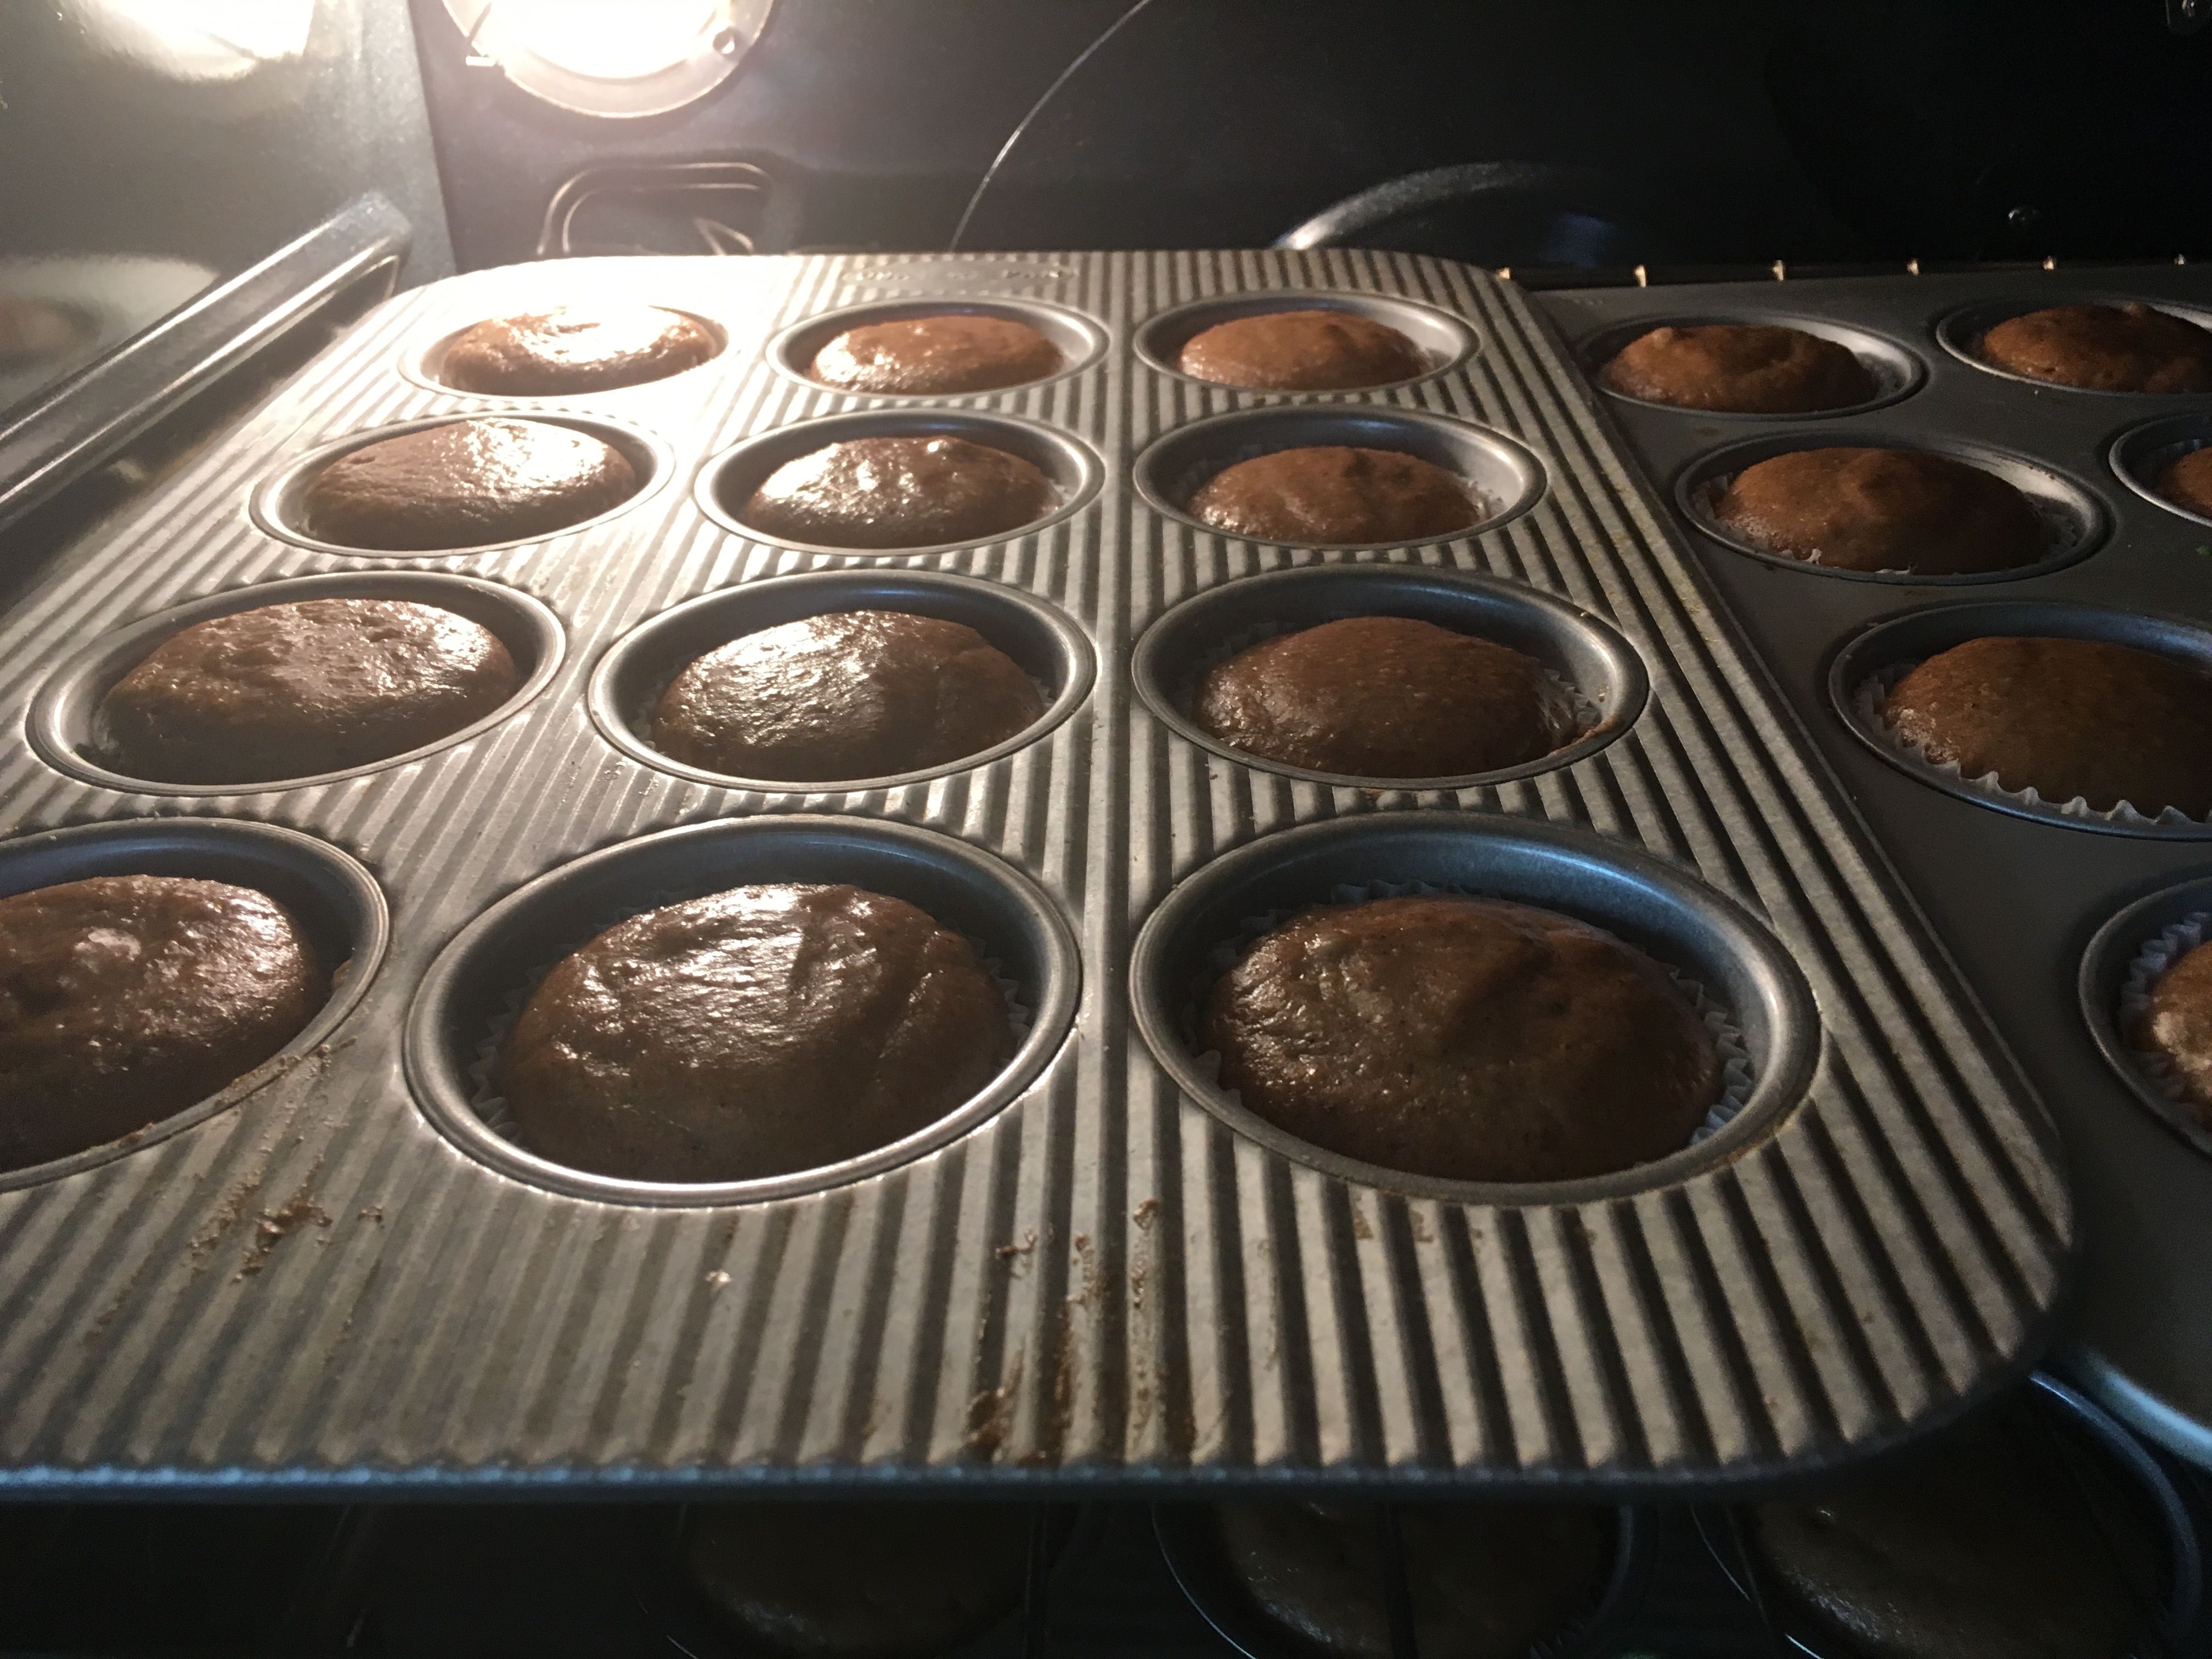
  5. Pre heat the oven for 375 degrees at convection oven or 350 degrees regular oven.
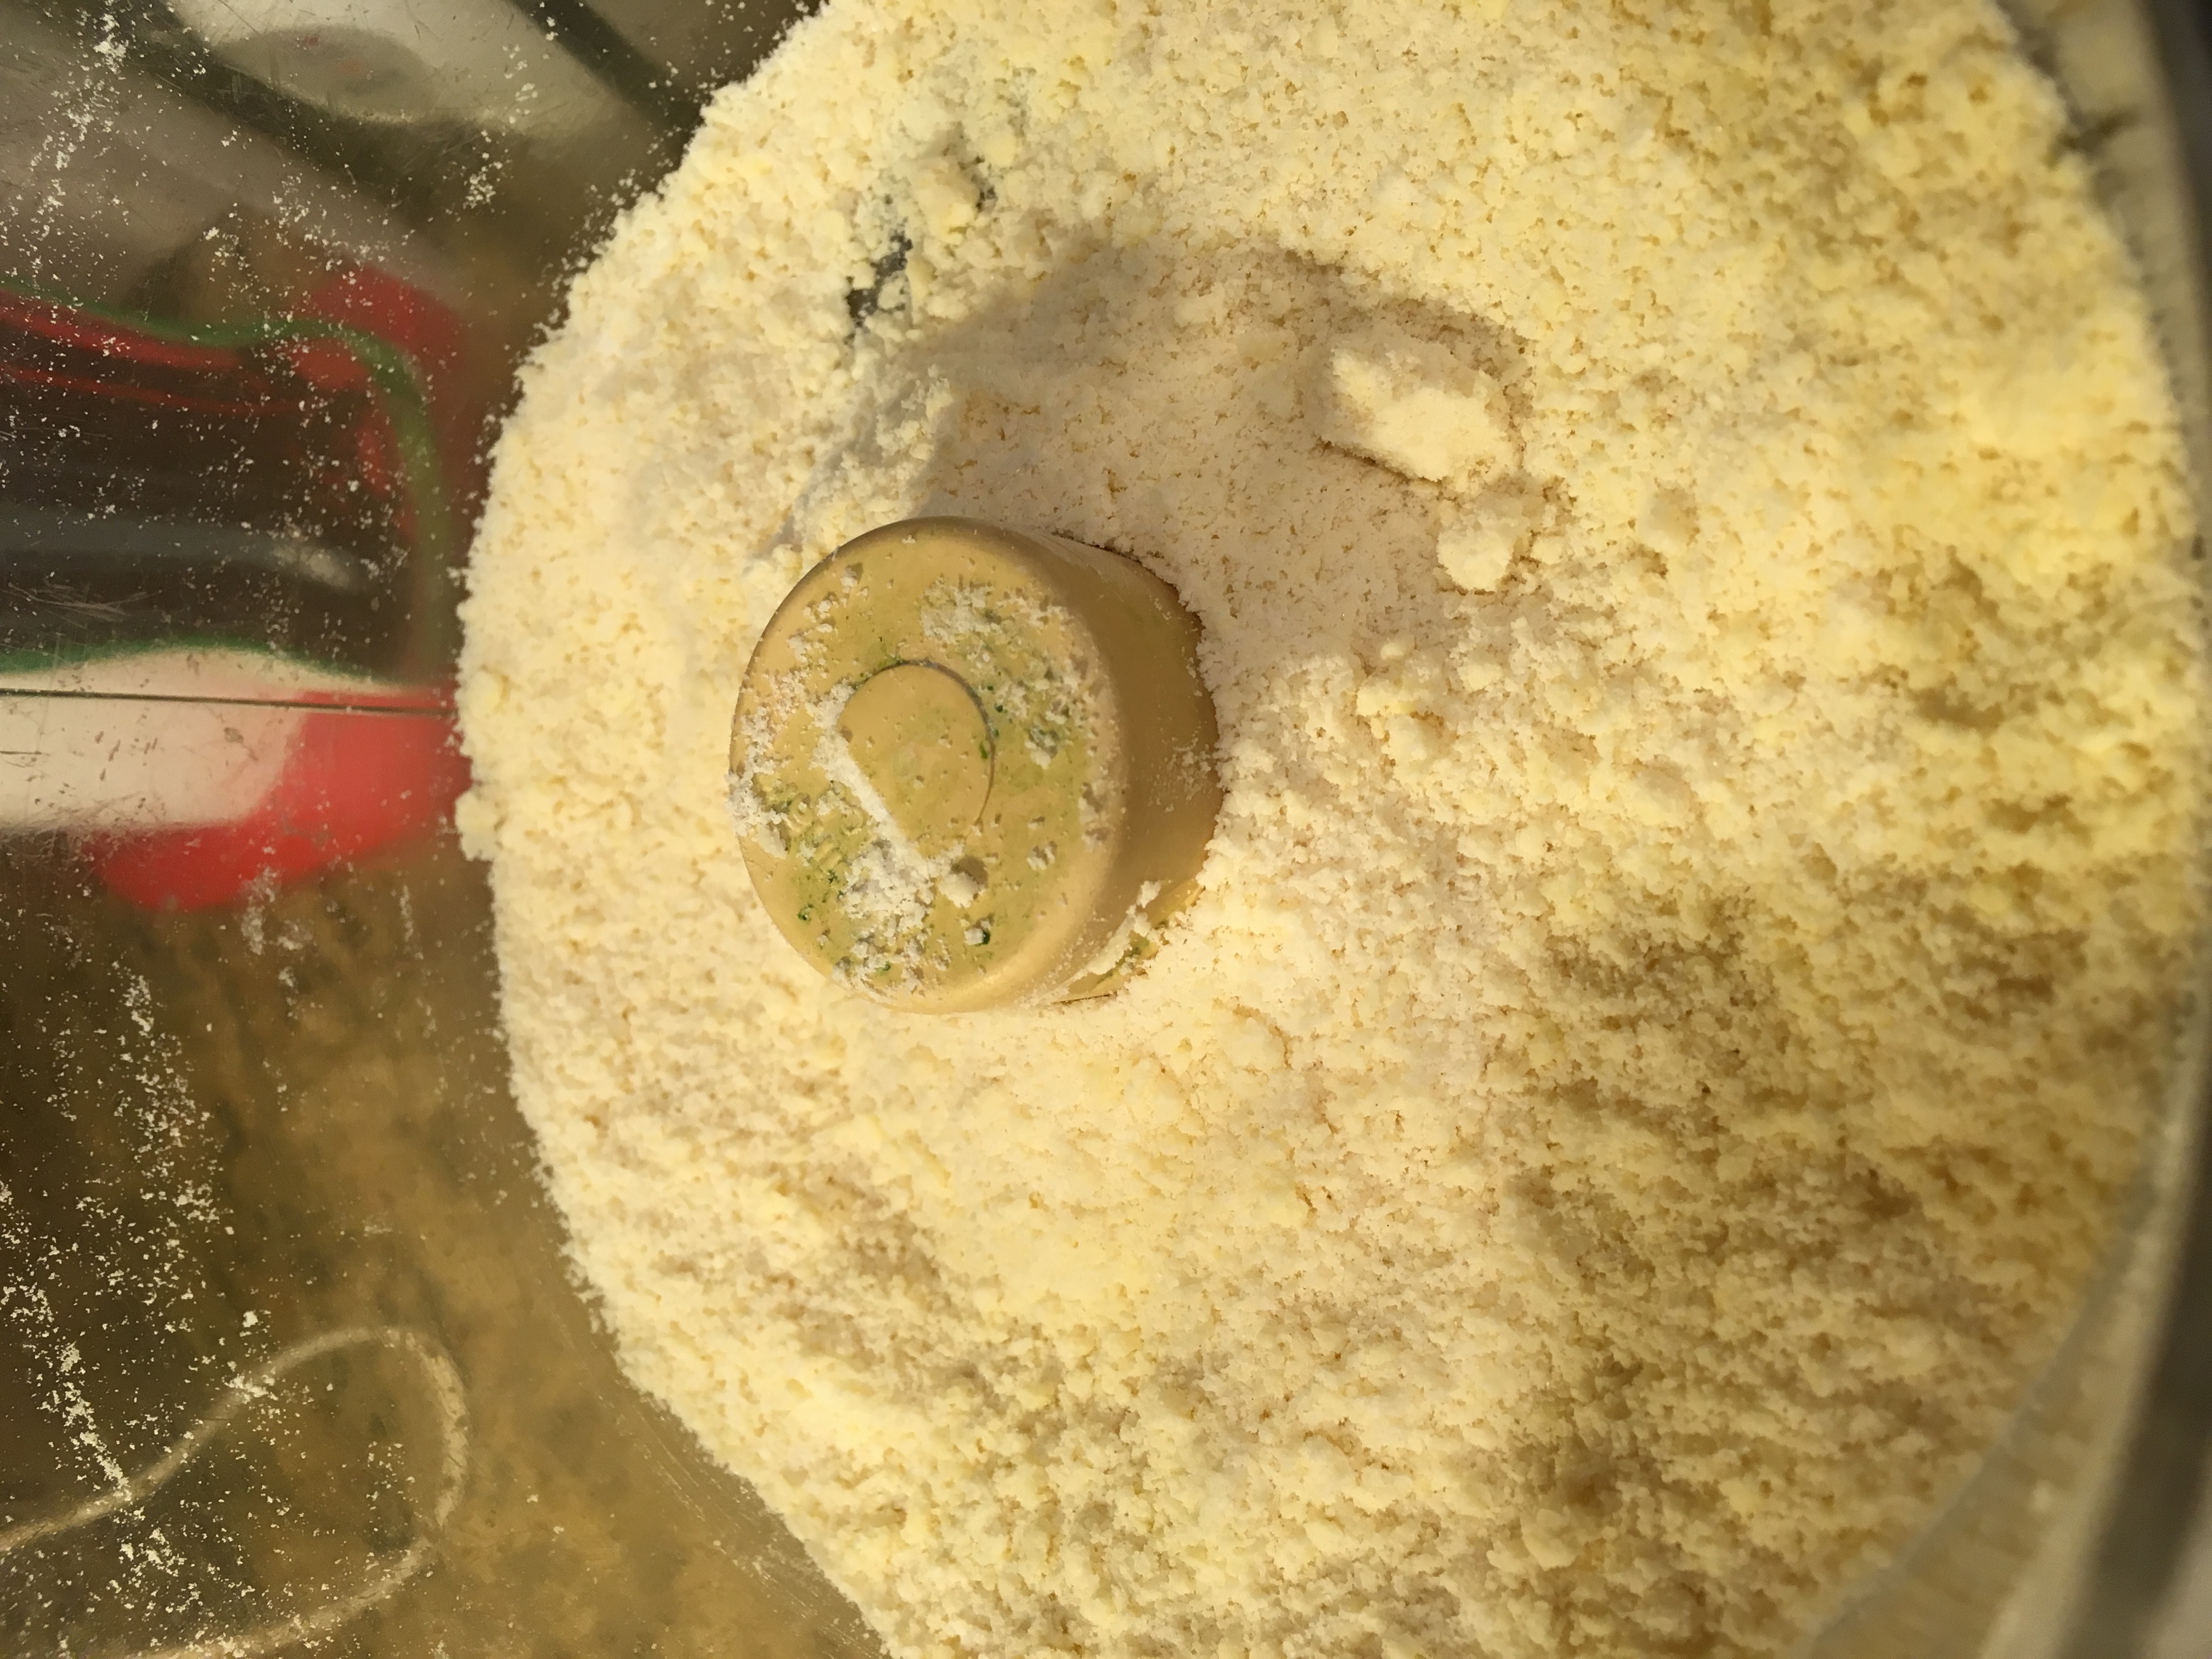
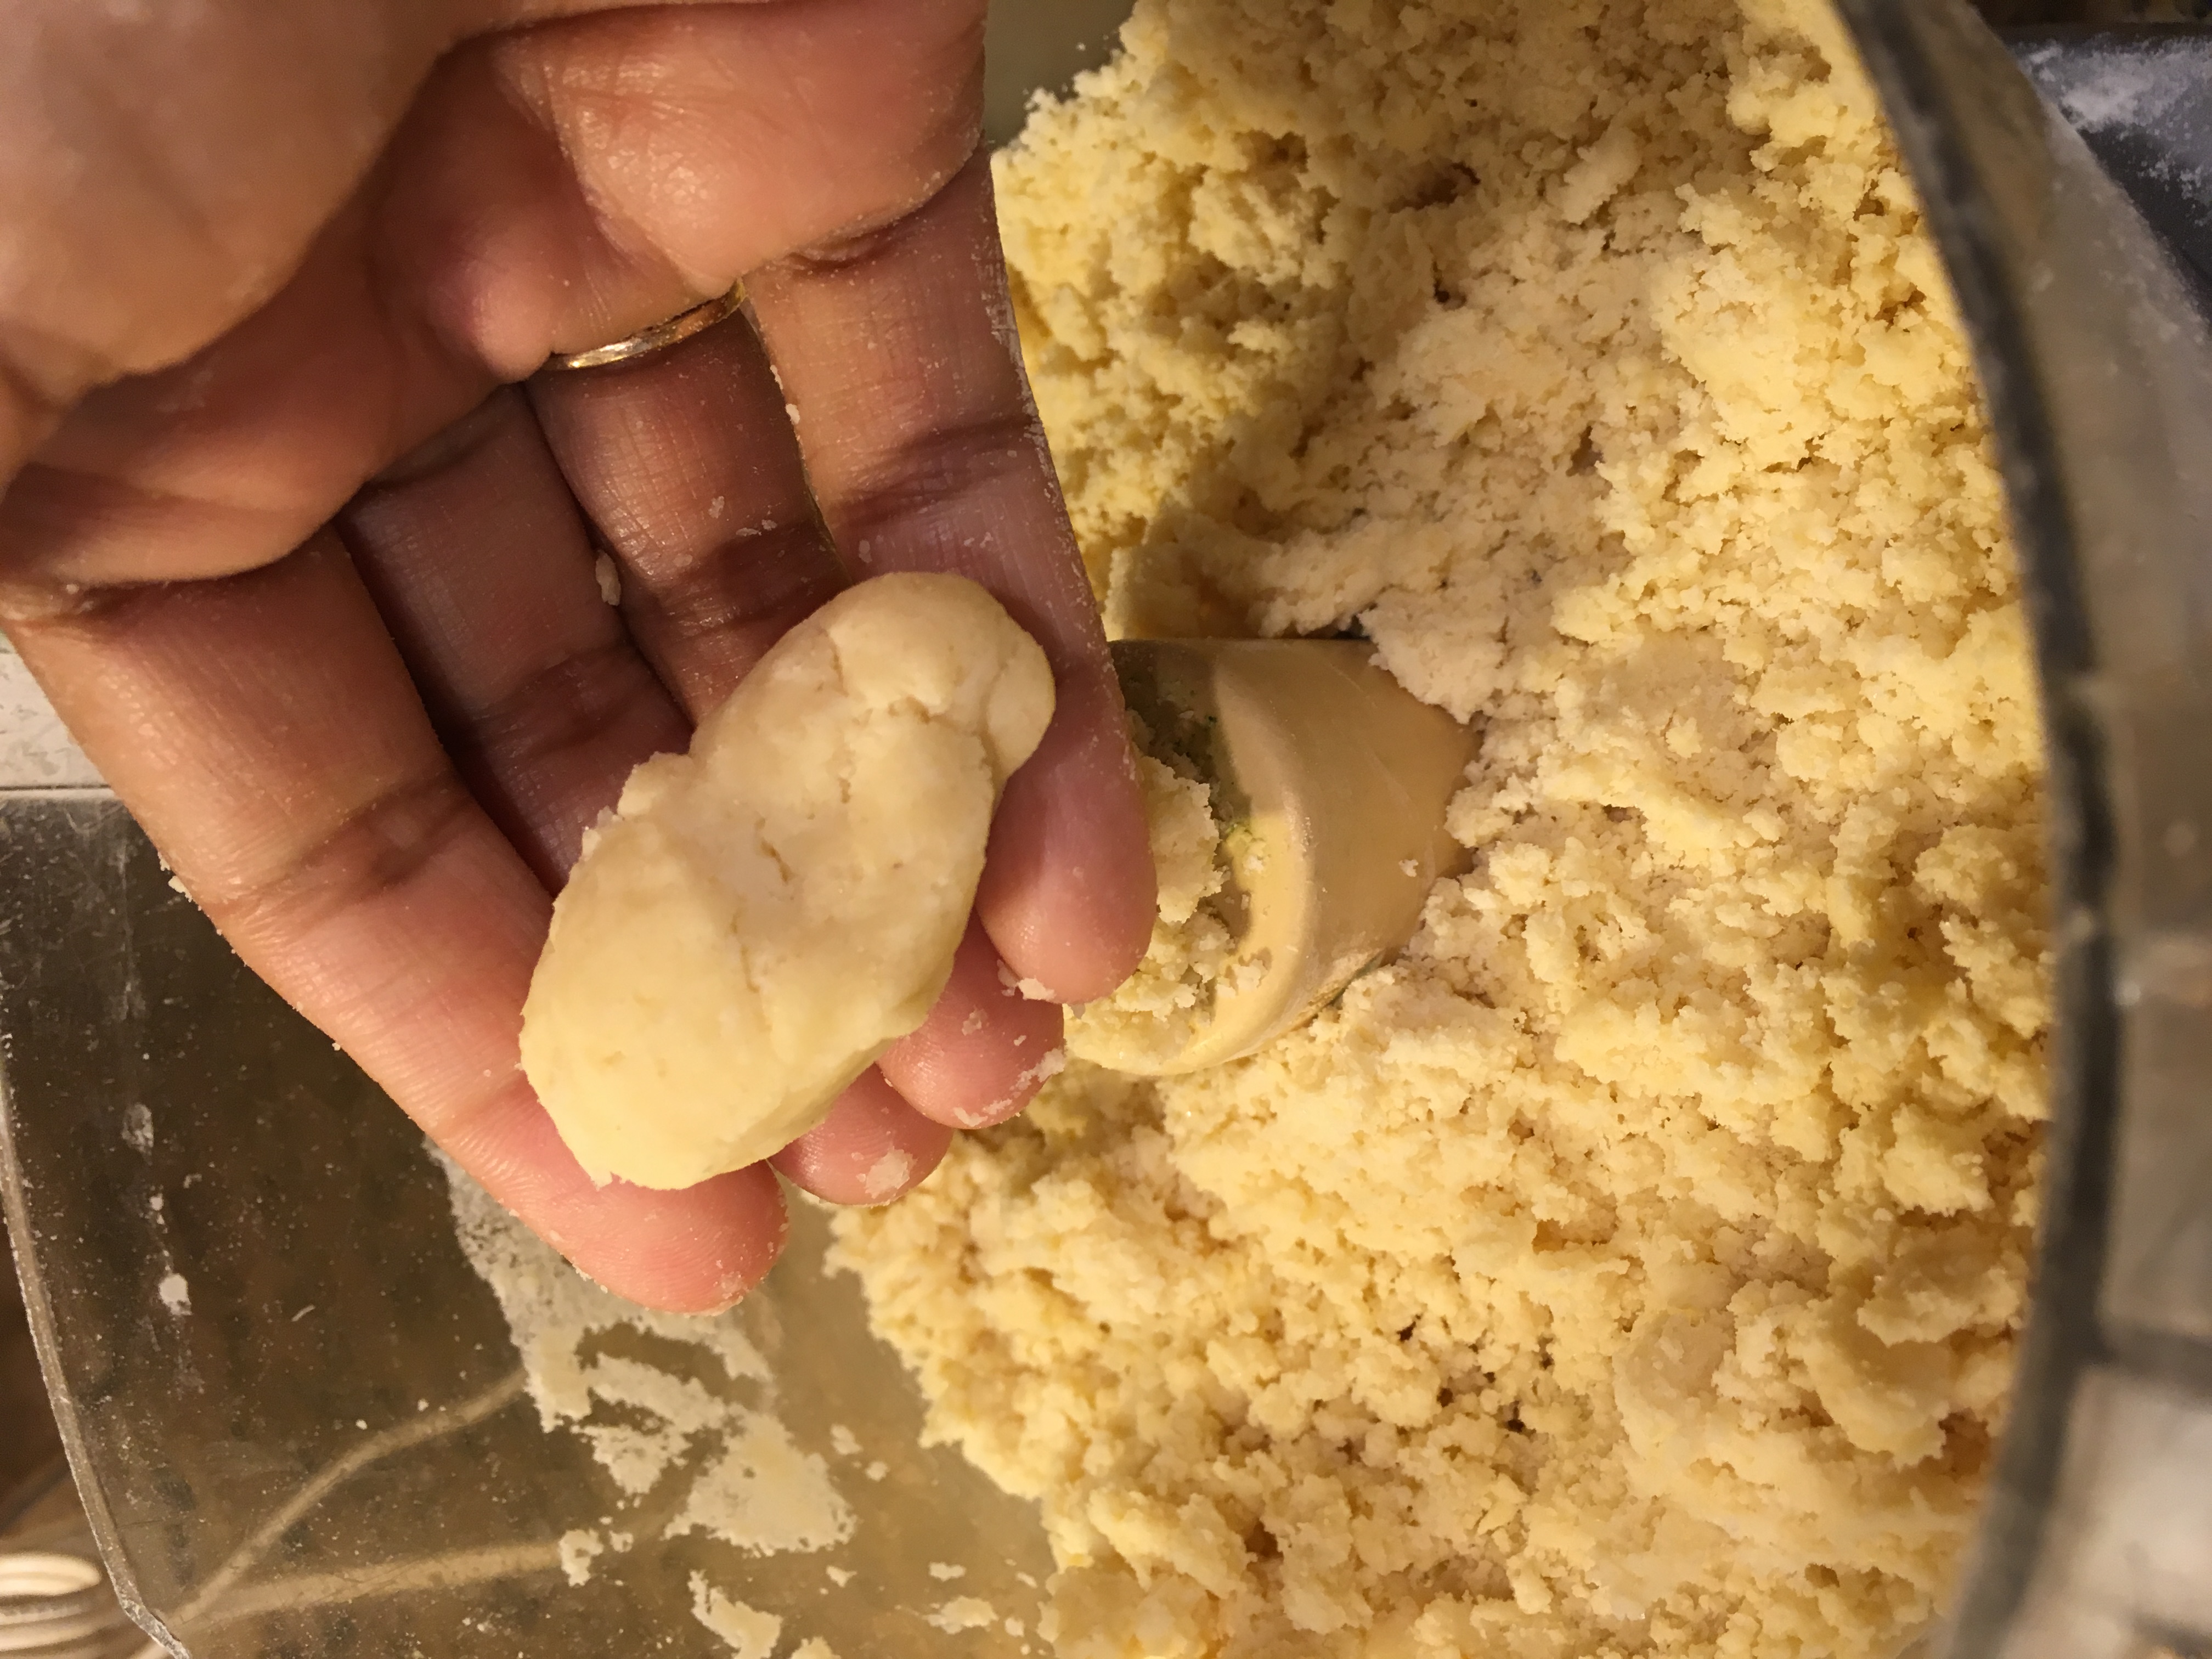
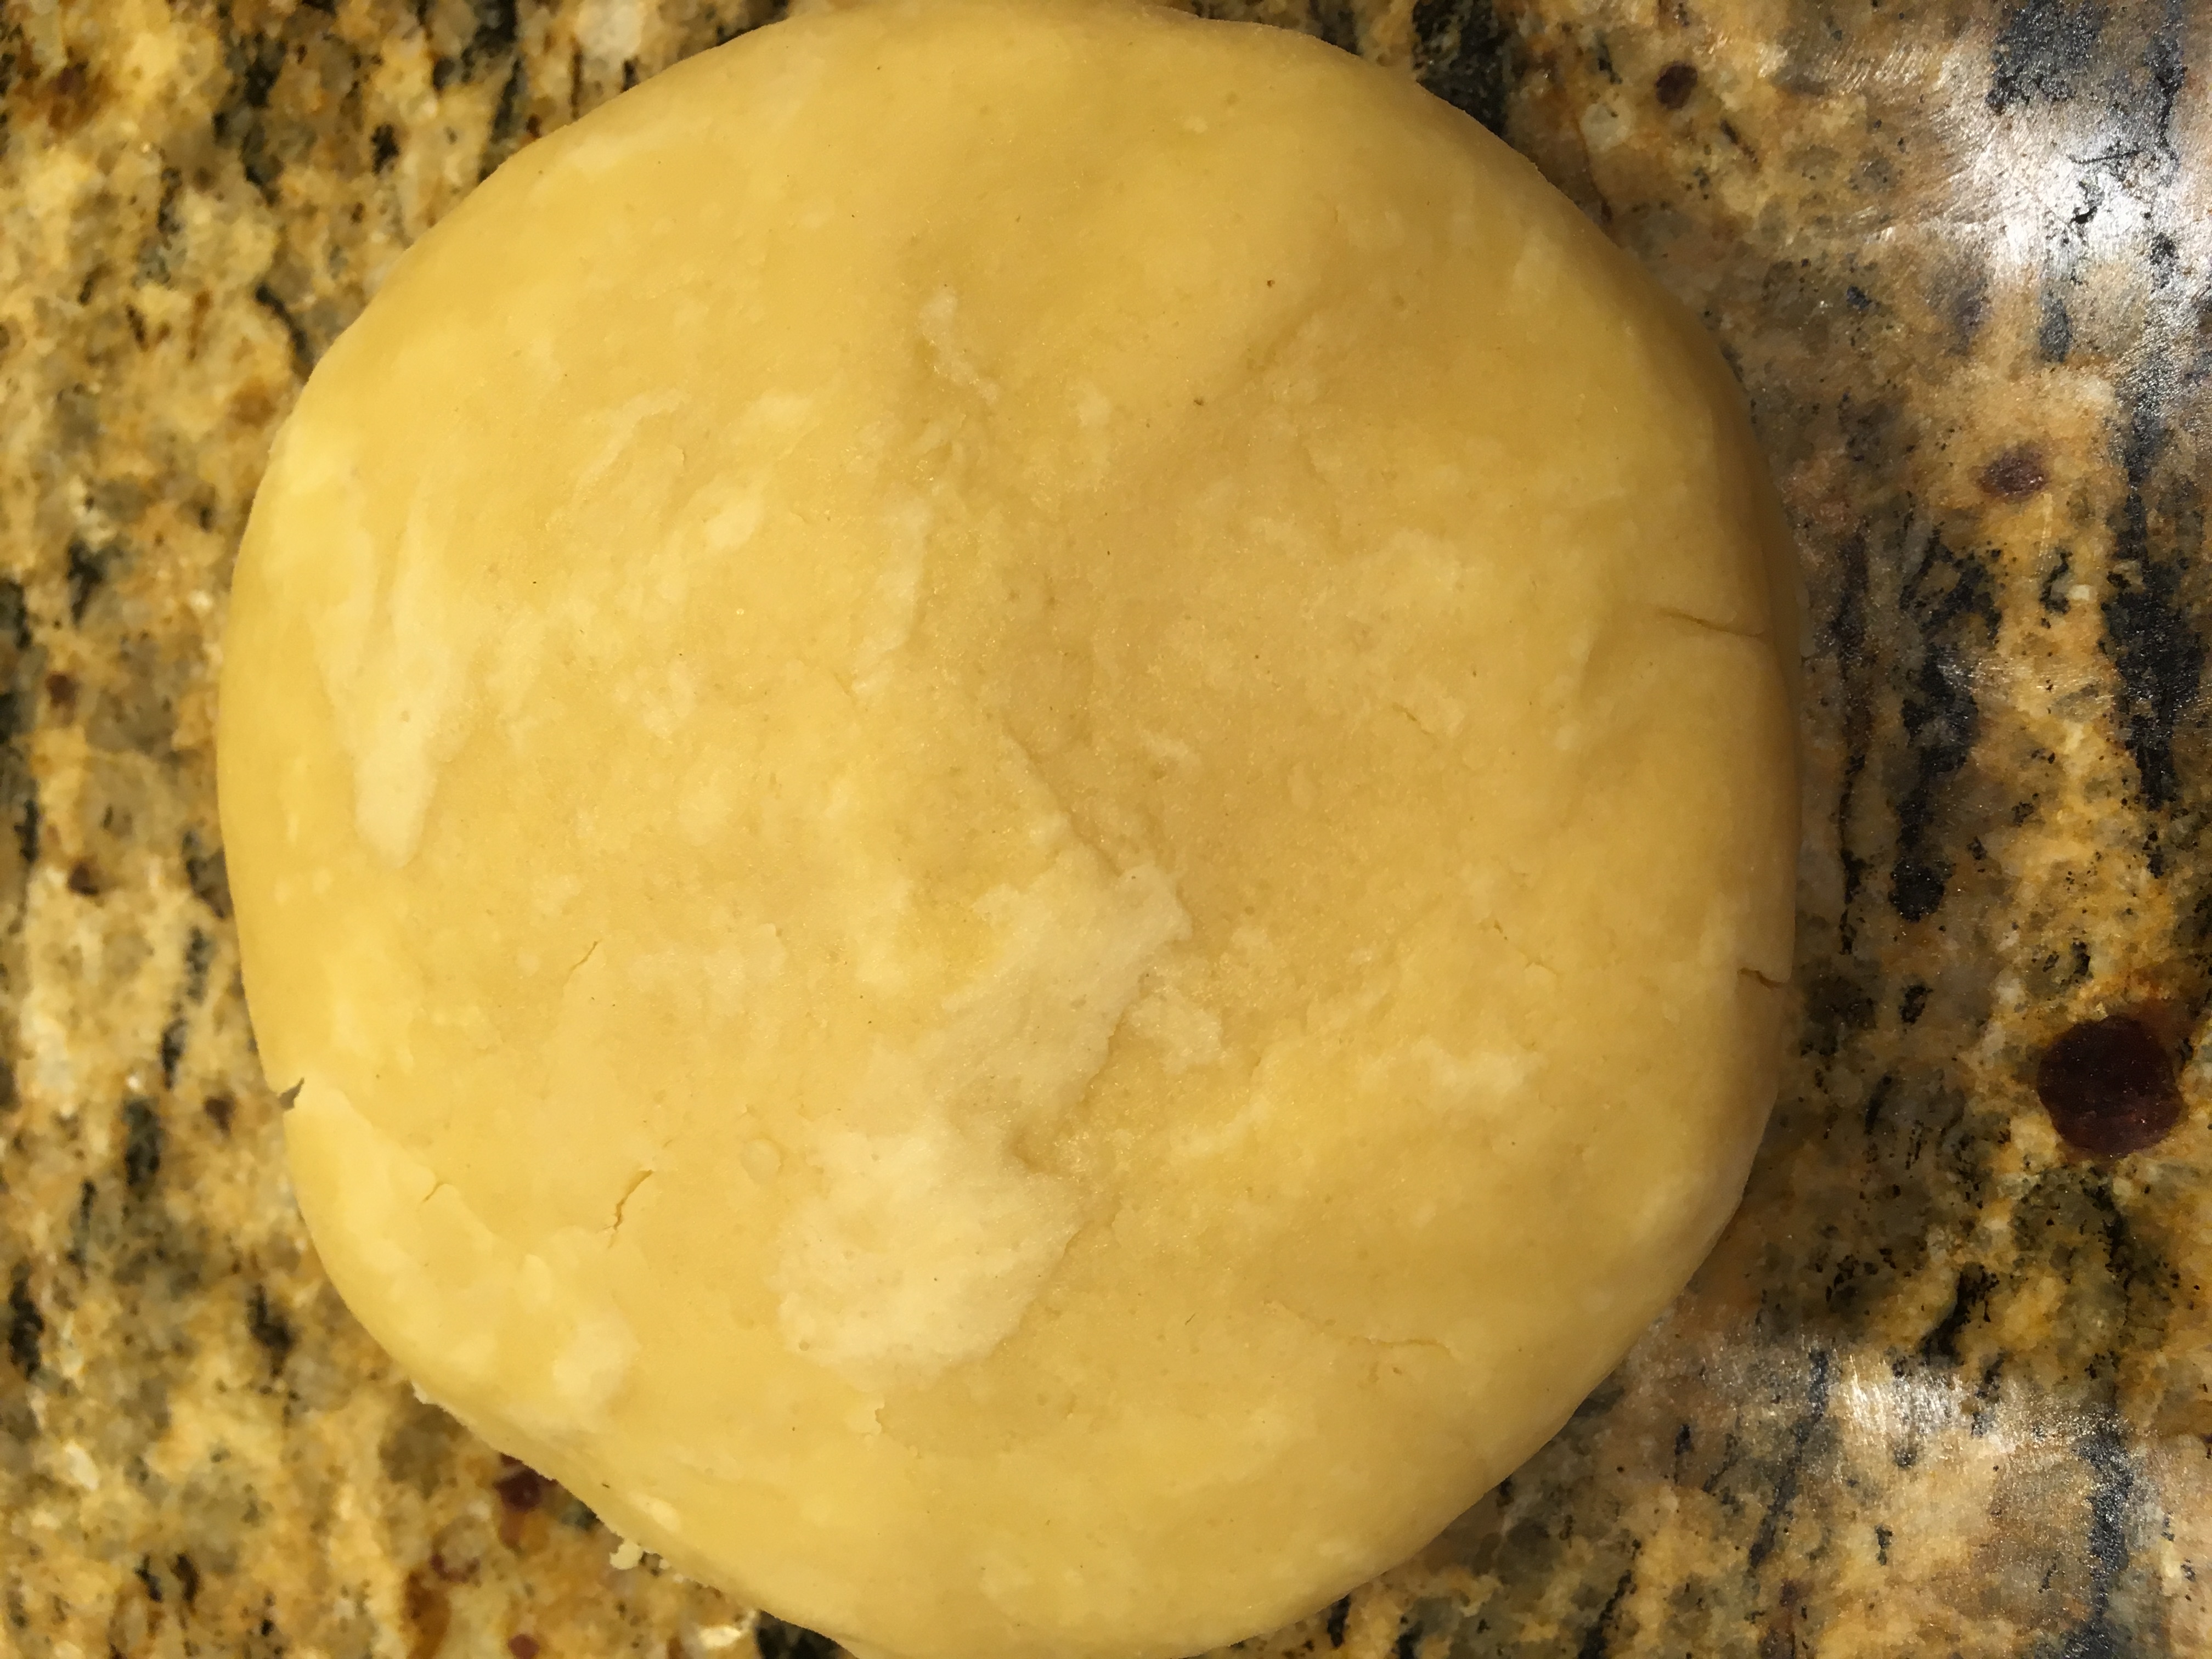
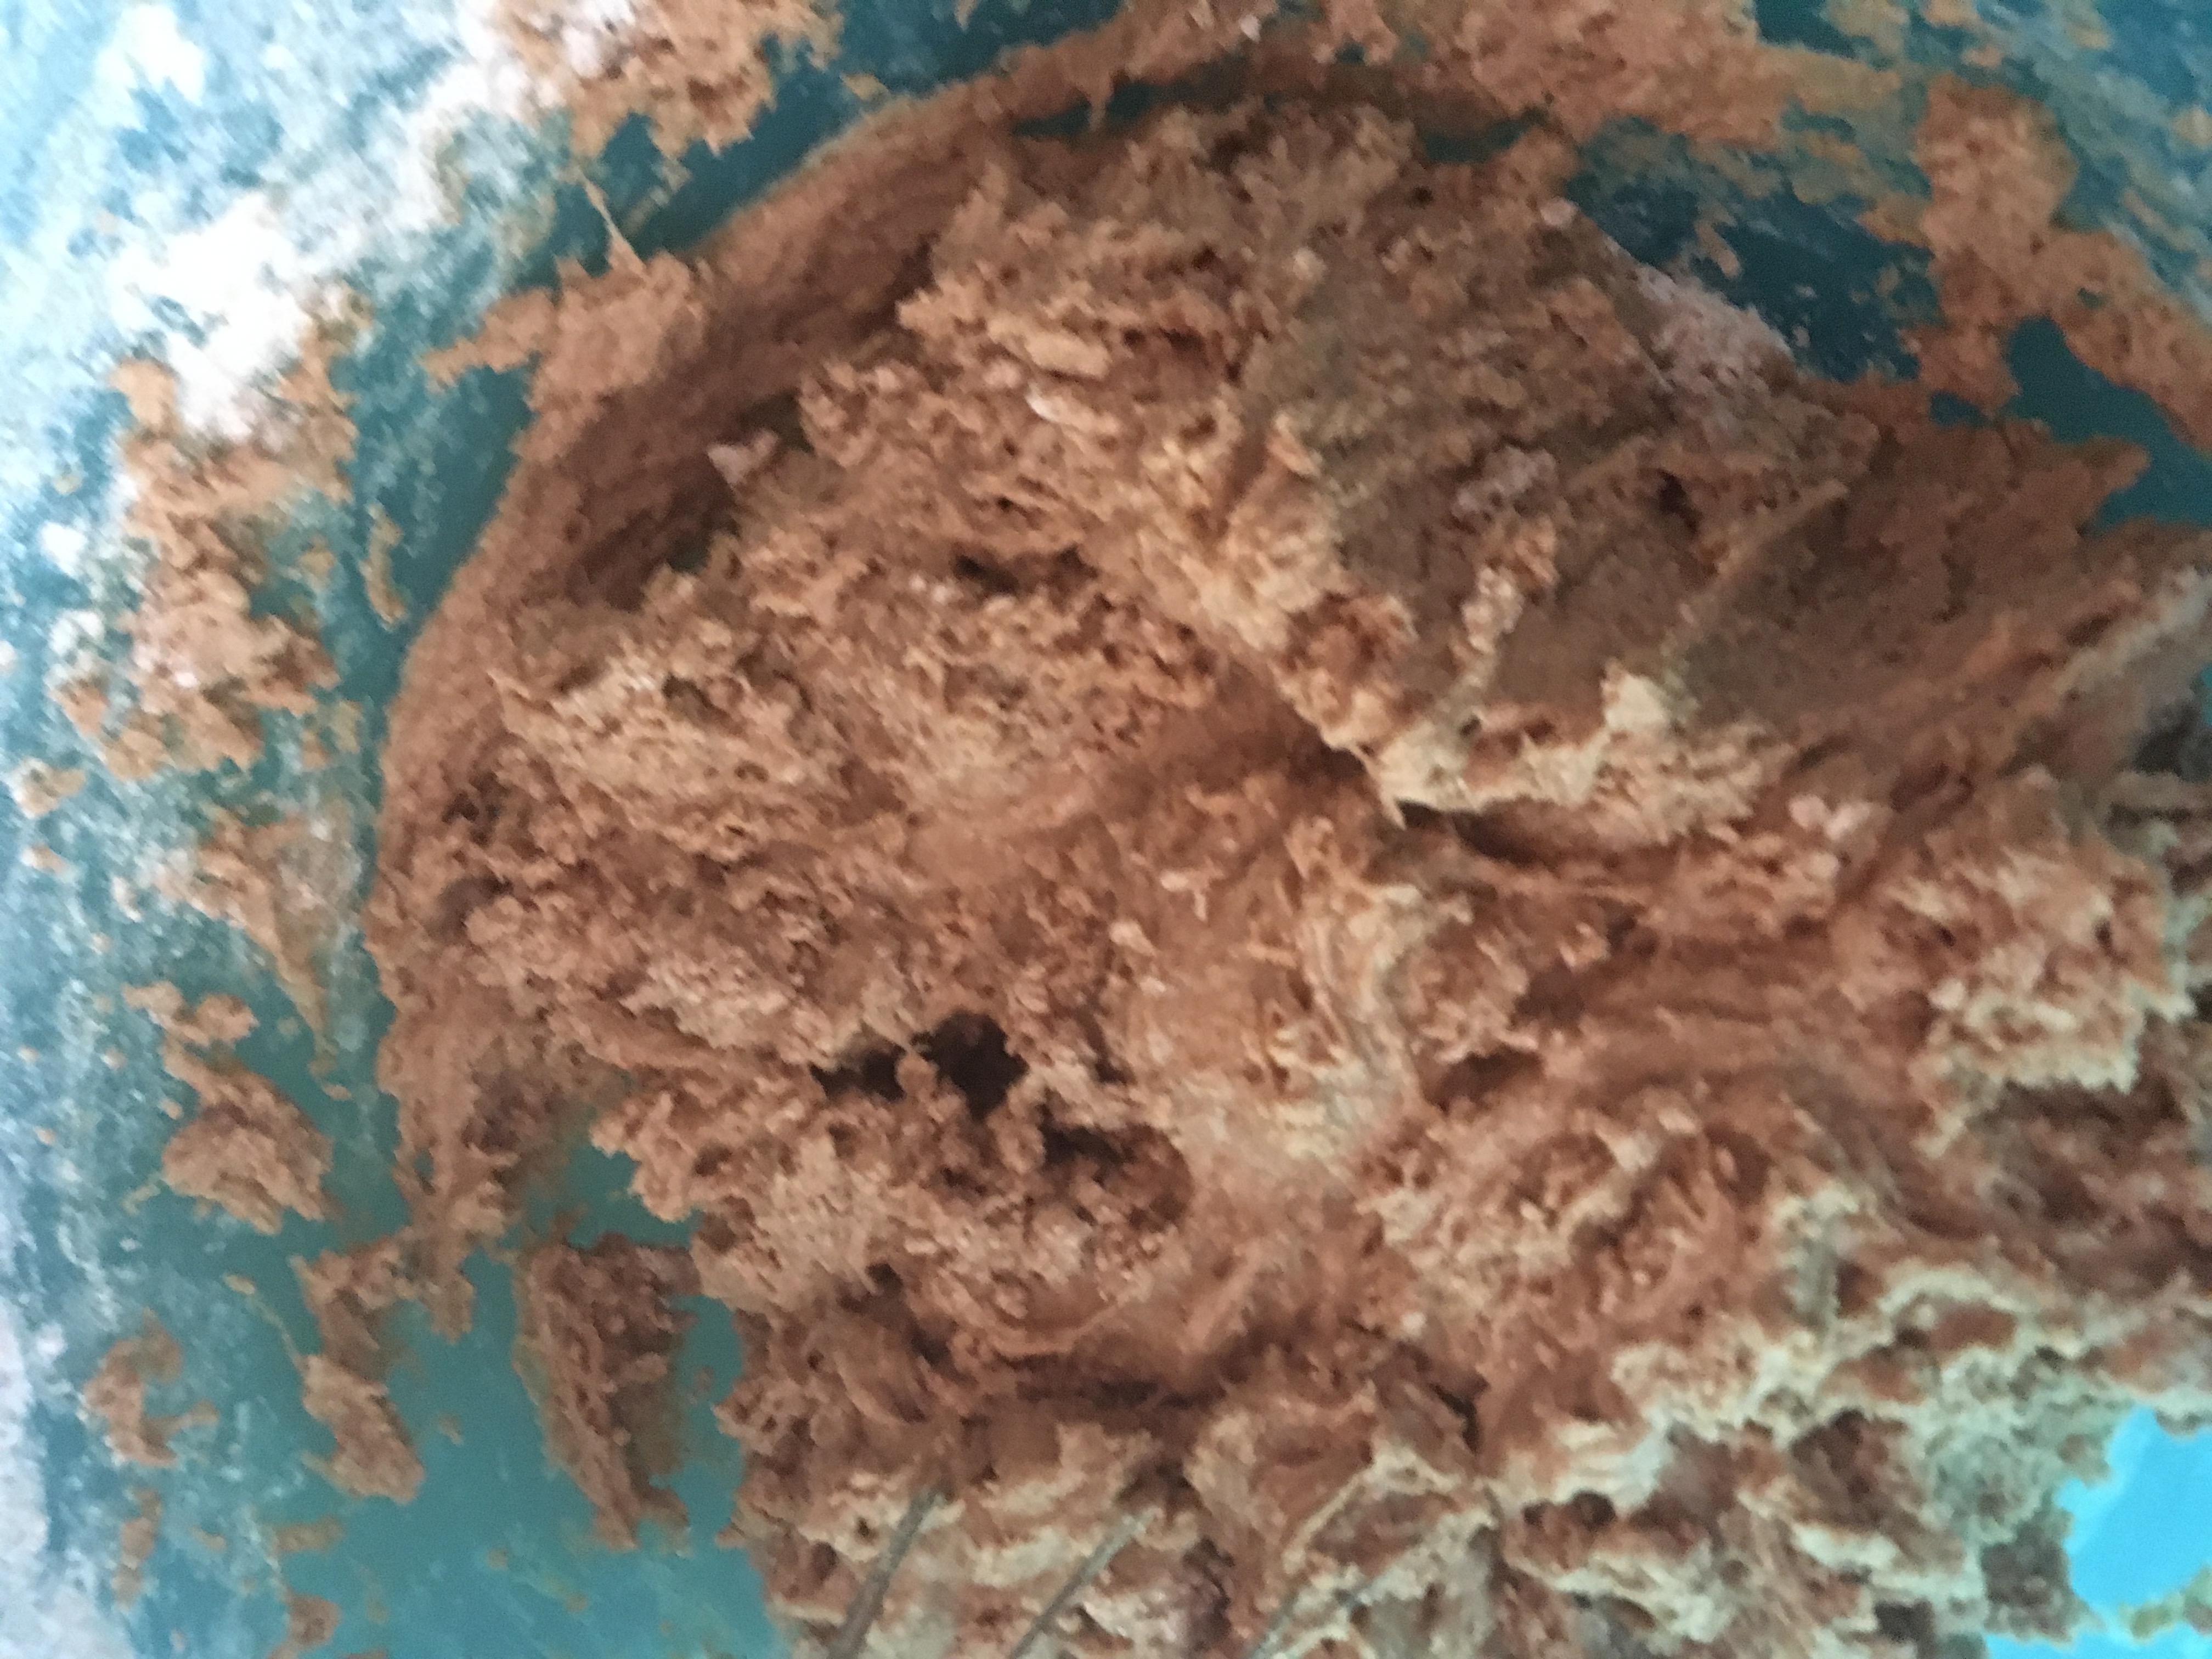
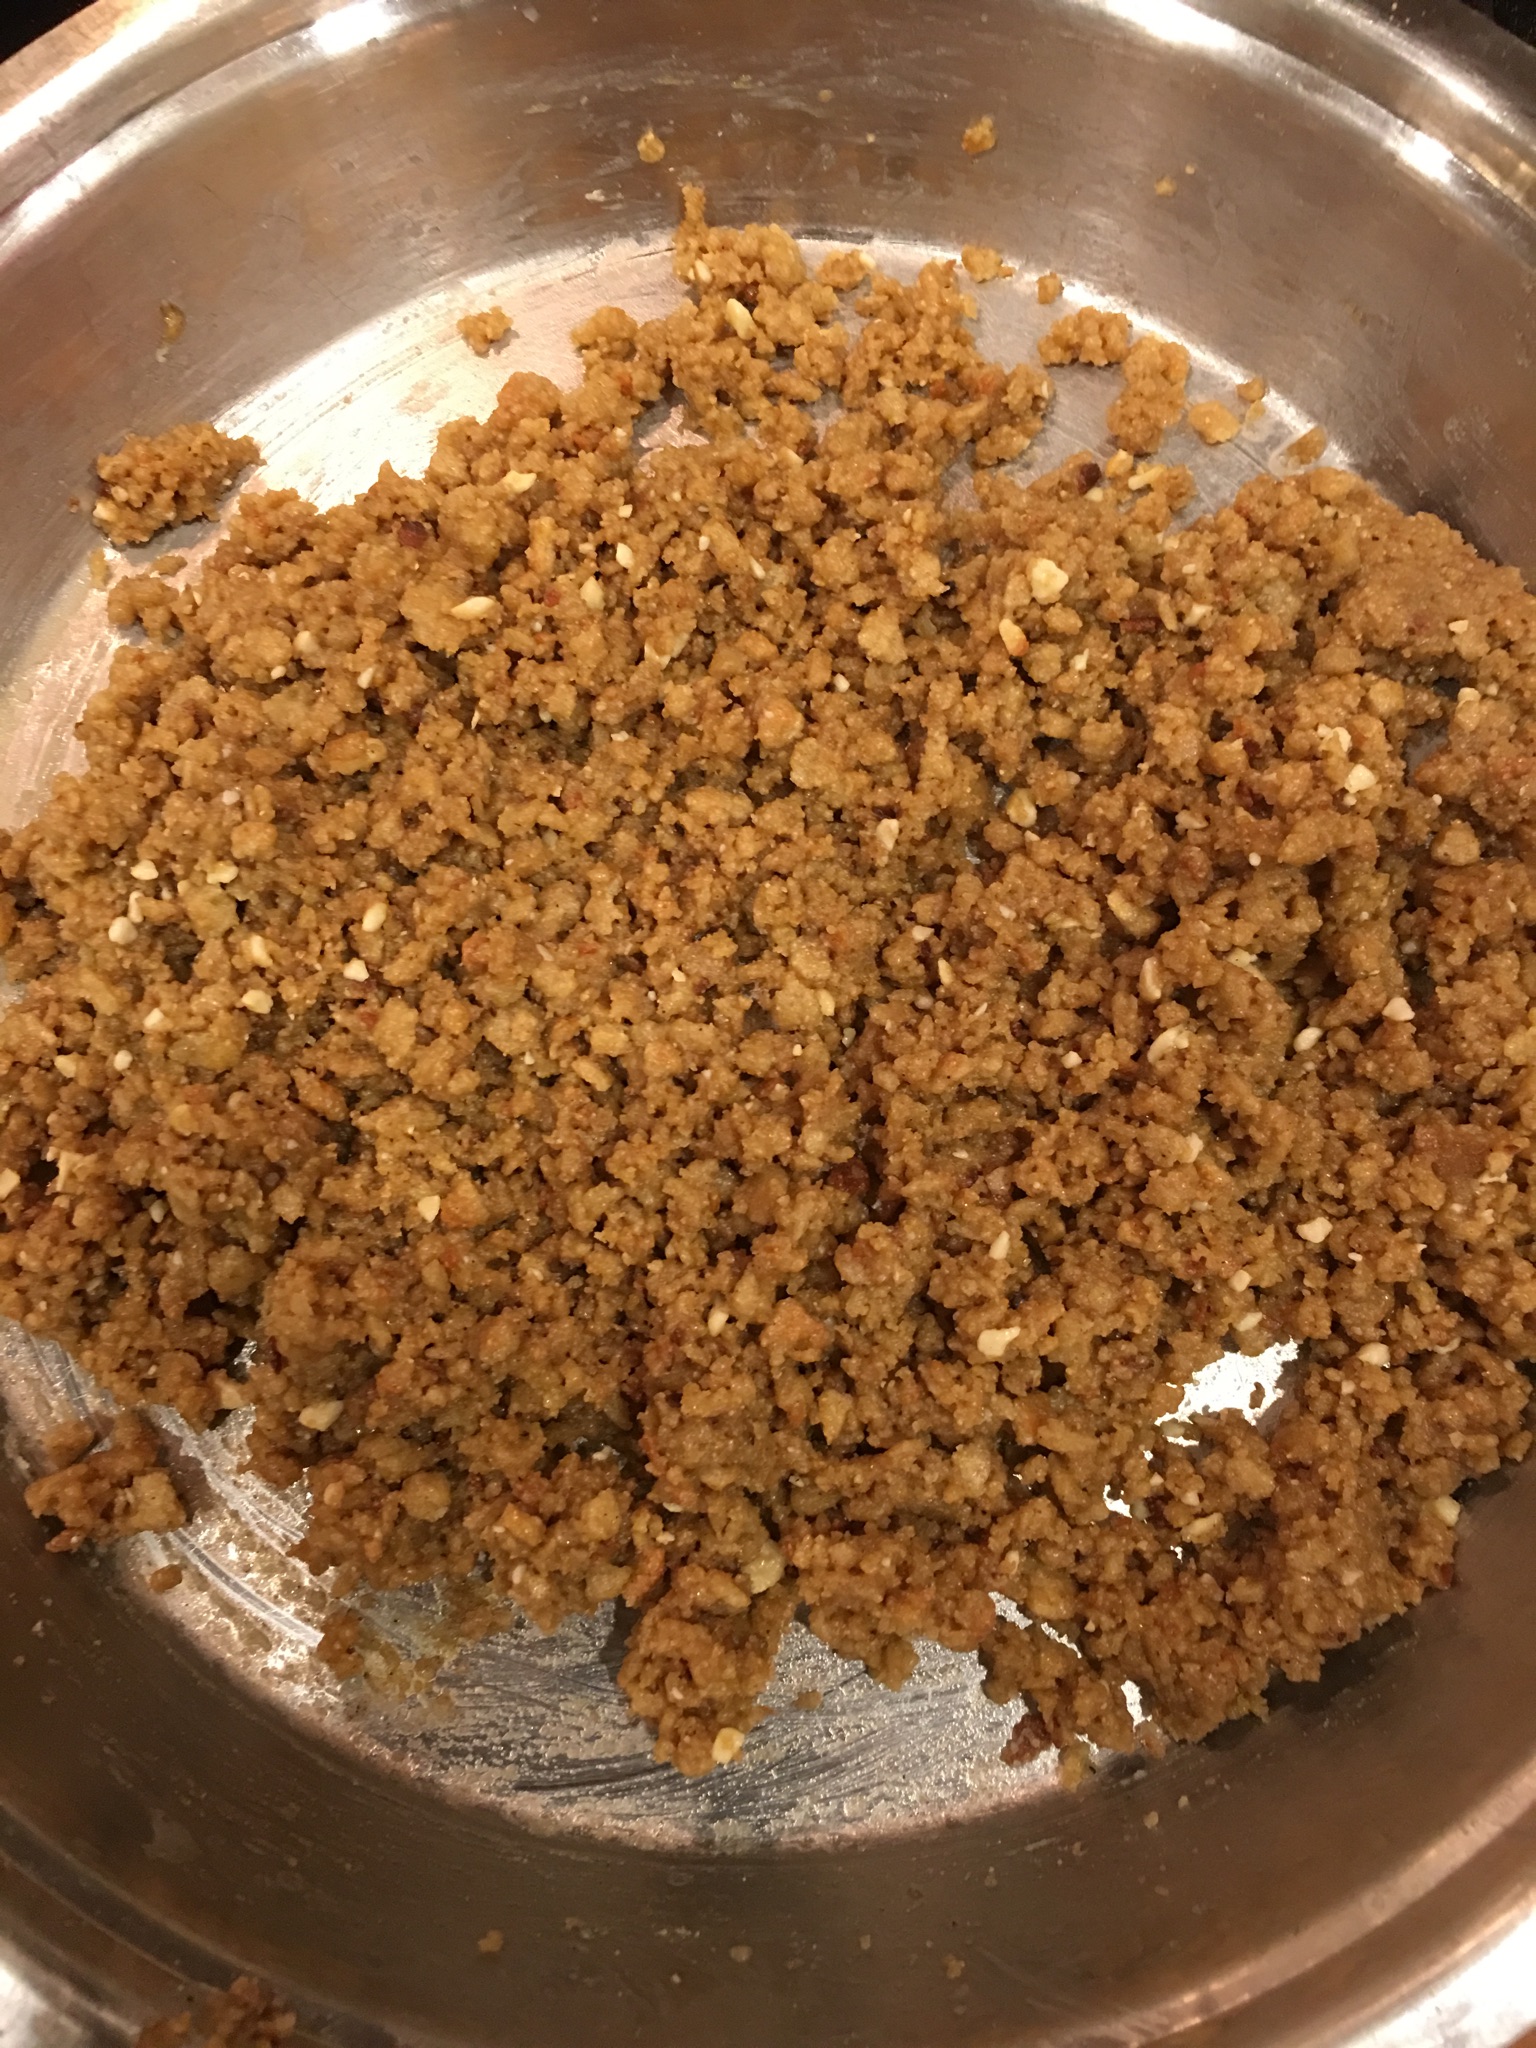
  6. Combine the soaked dates, butter sugar and flour mixed with all ingredients.Add apple sauce and water and blend well everything into a batter for about 4 minutes.
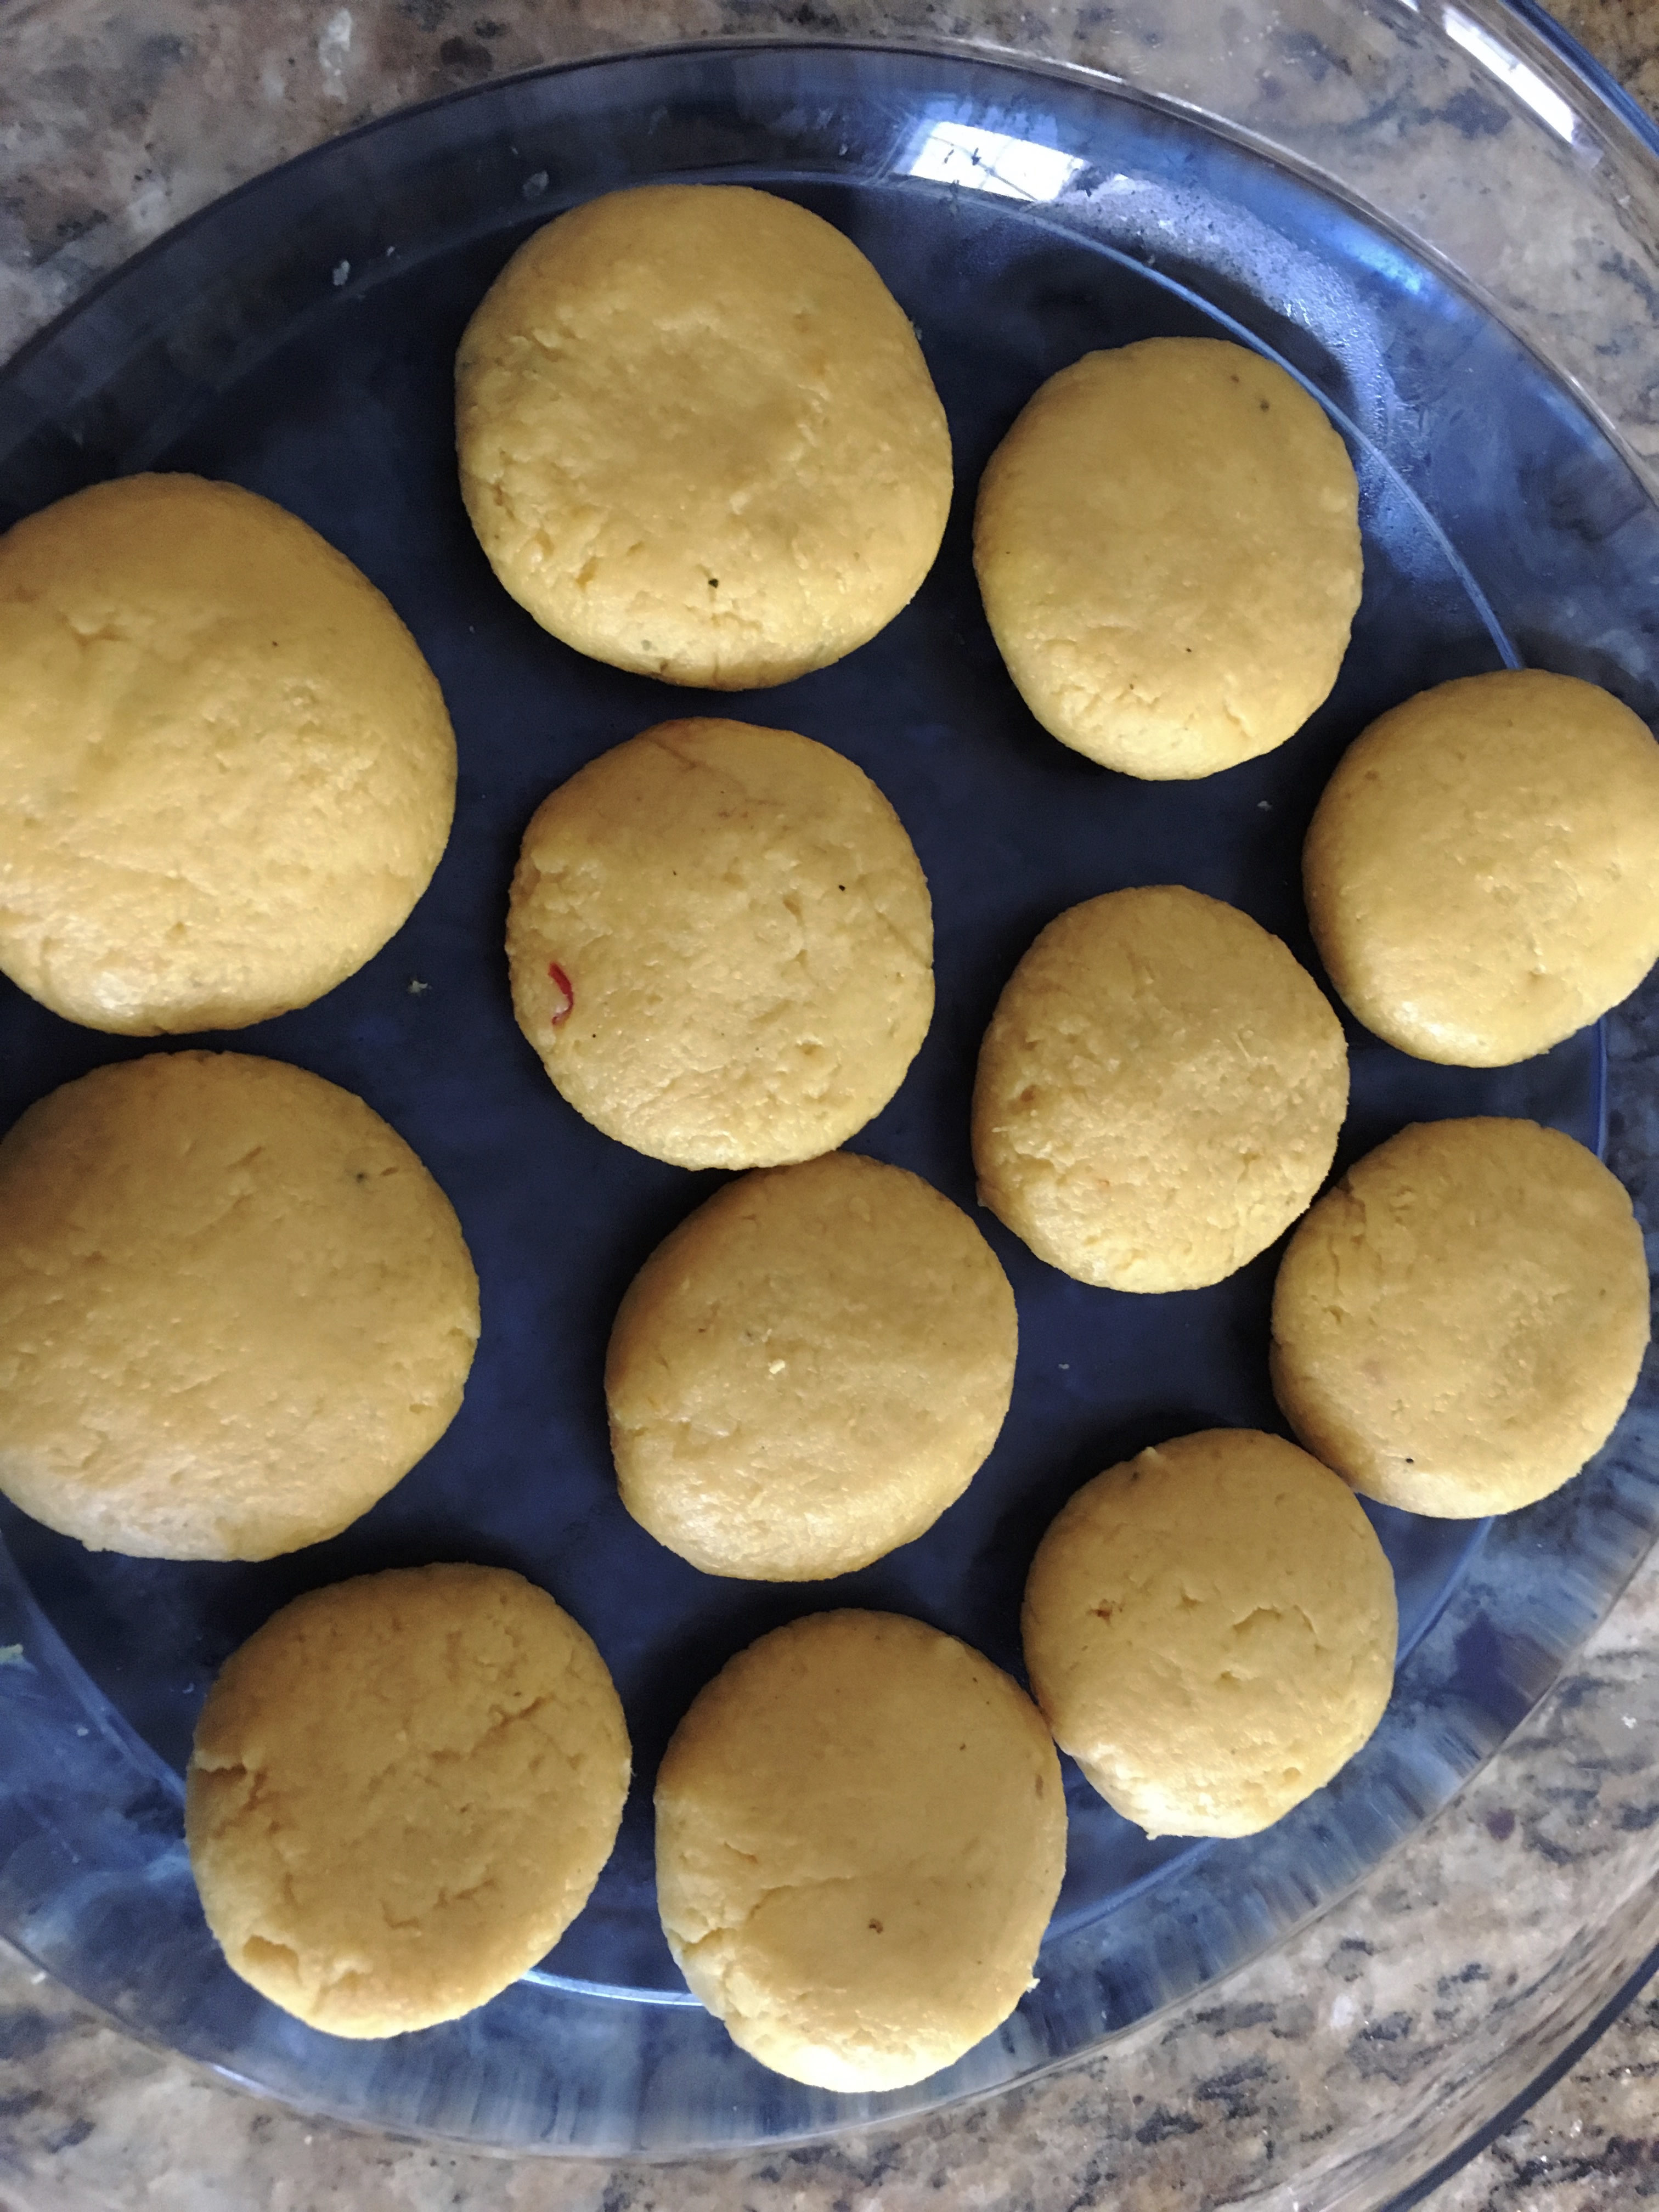
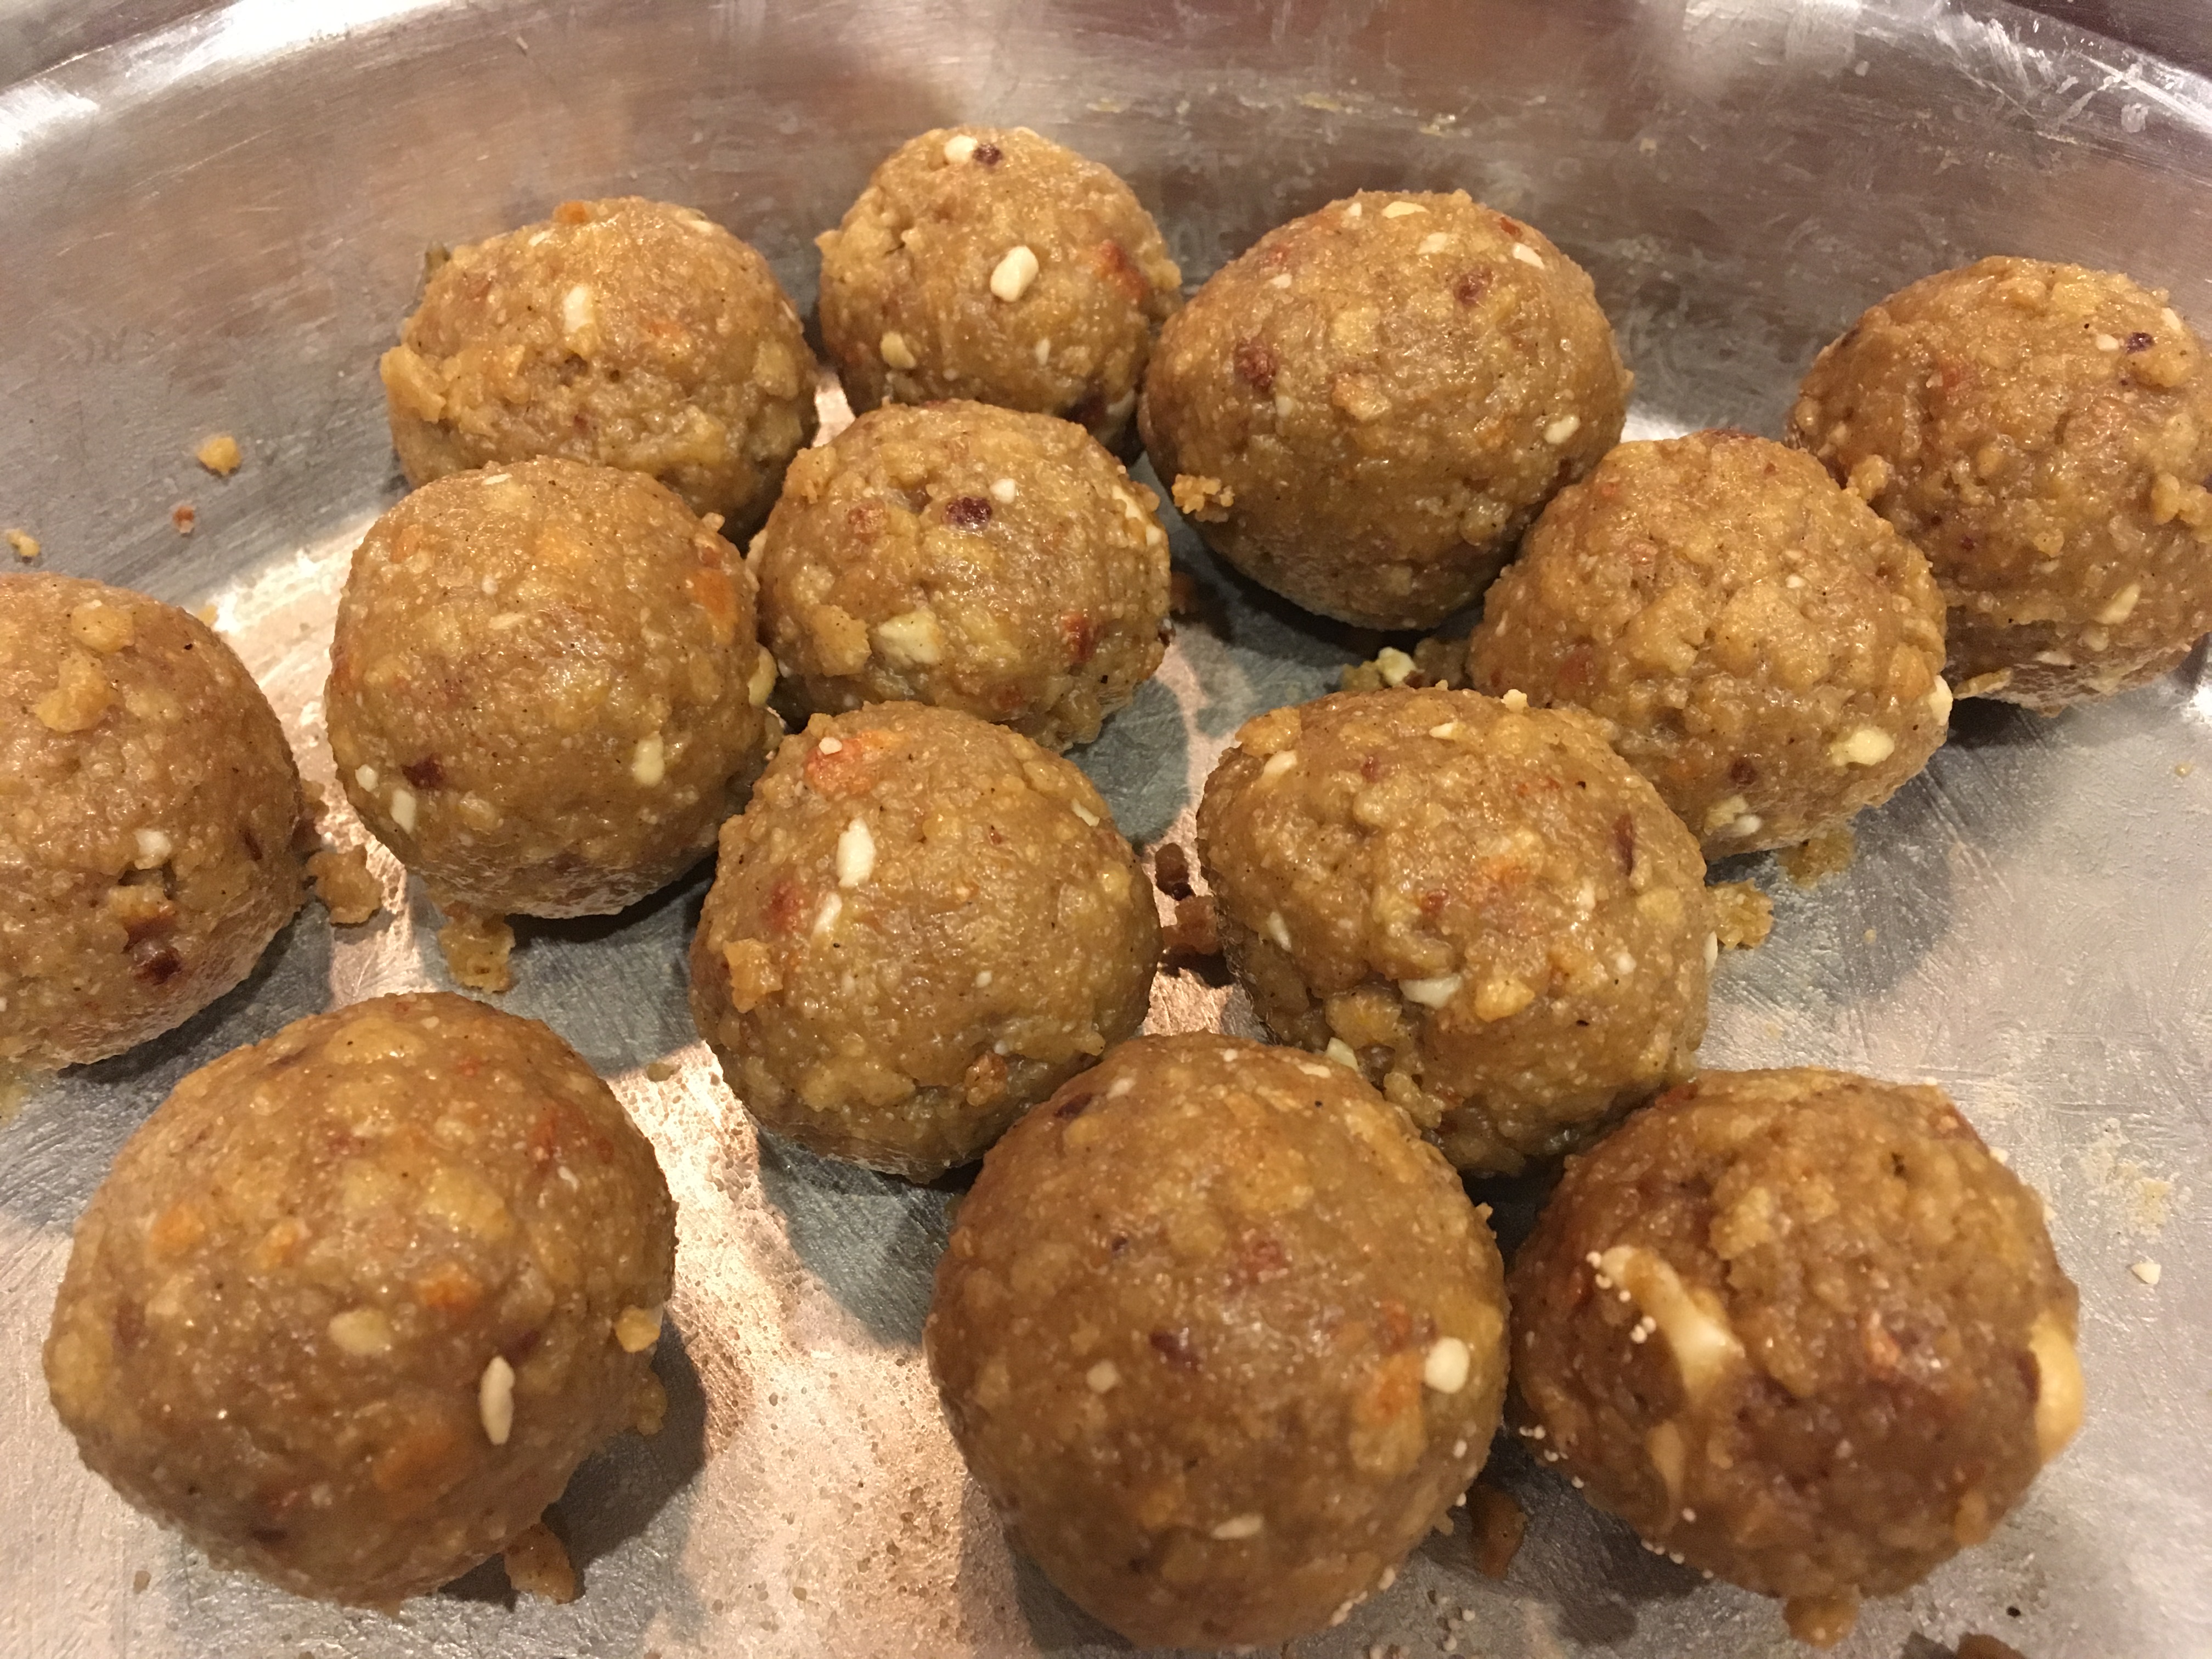
  7. Great the muffin moulds or cone moulds thoroughly with ghee or butter. Fill the batter
  8. If using a cone mould, layer the filled cups tray with the indent tray to make a cone shape
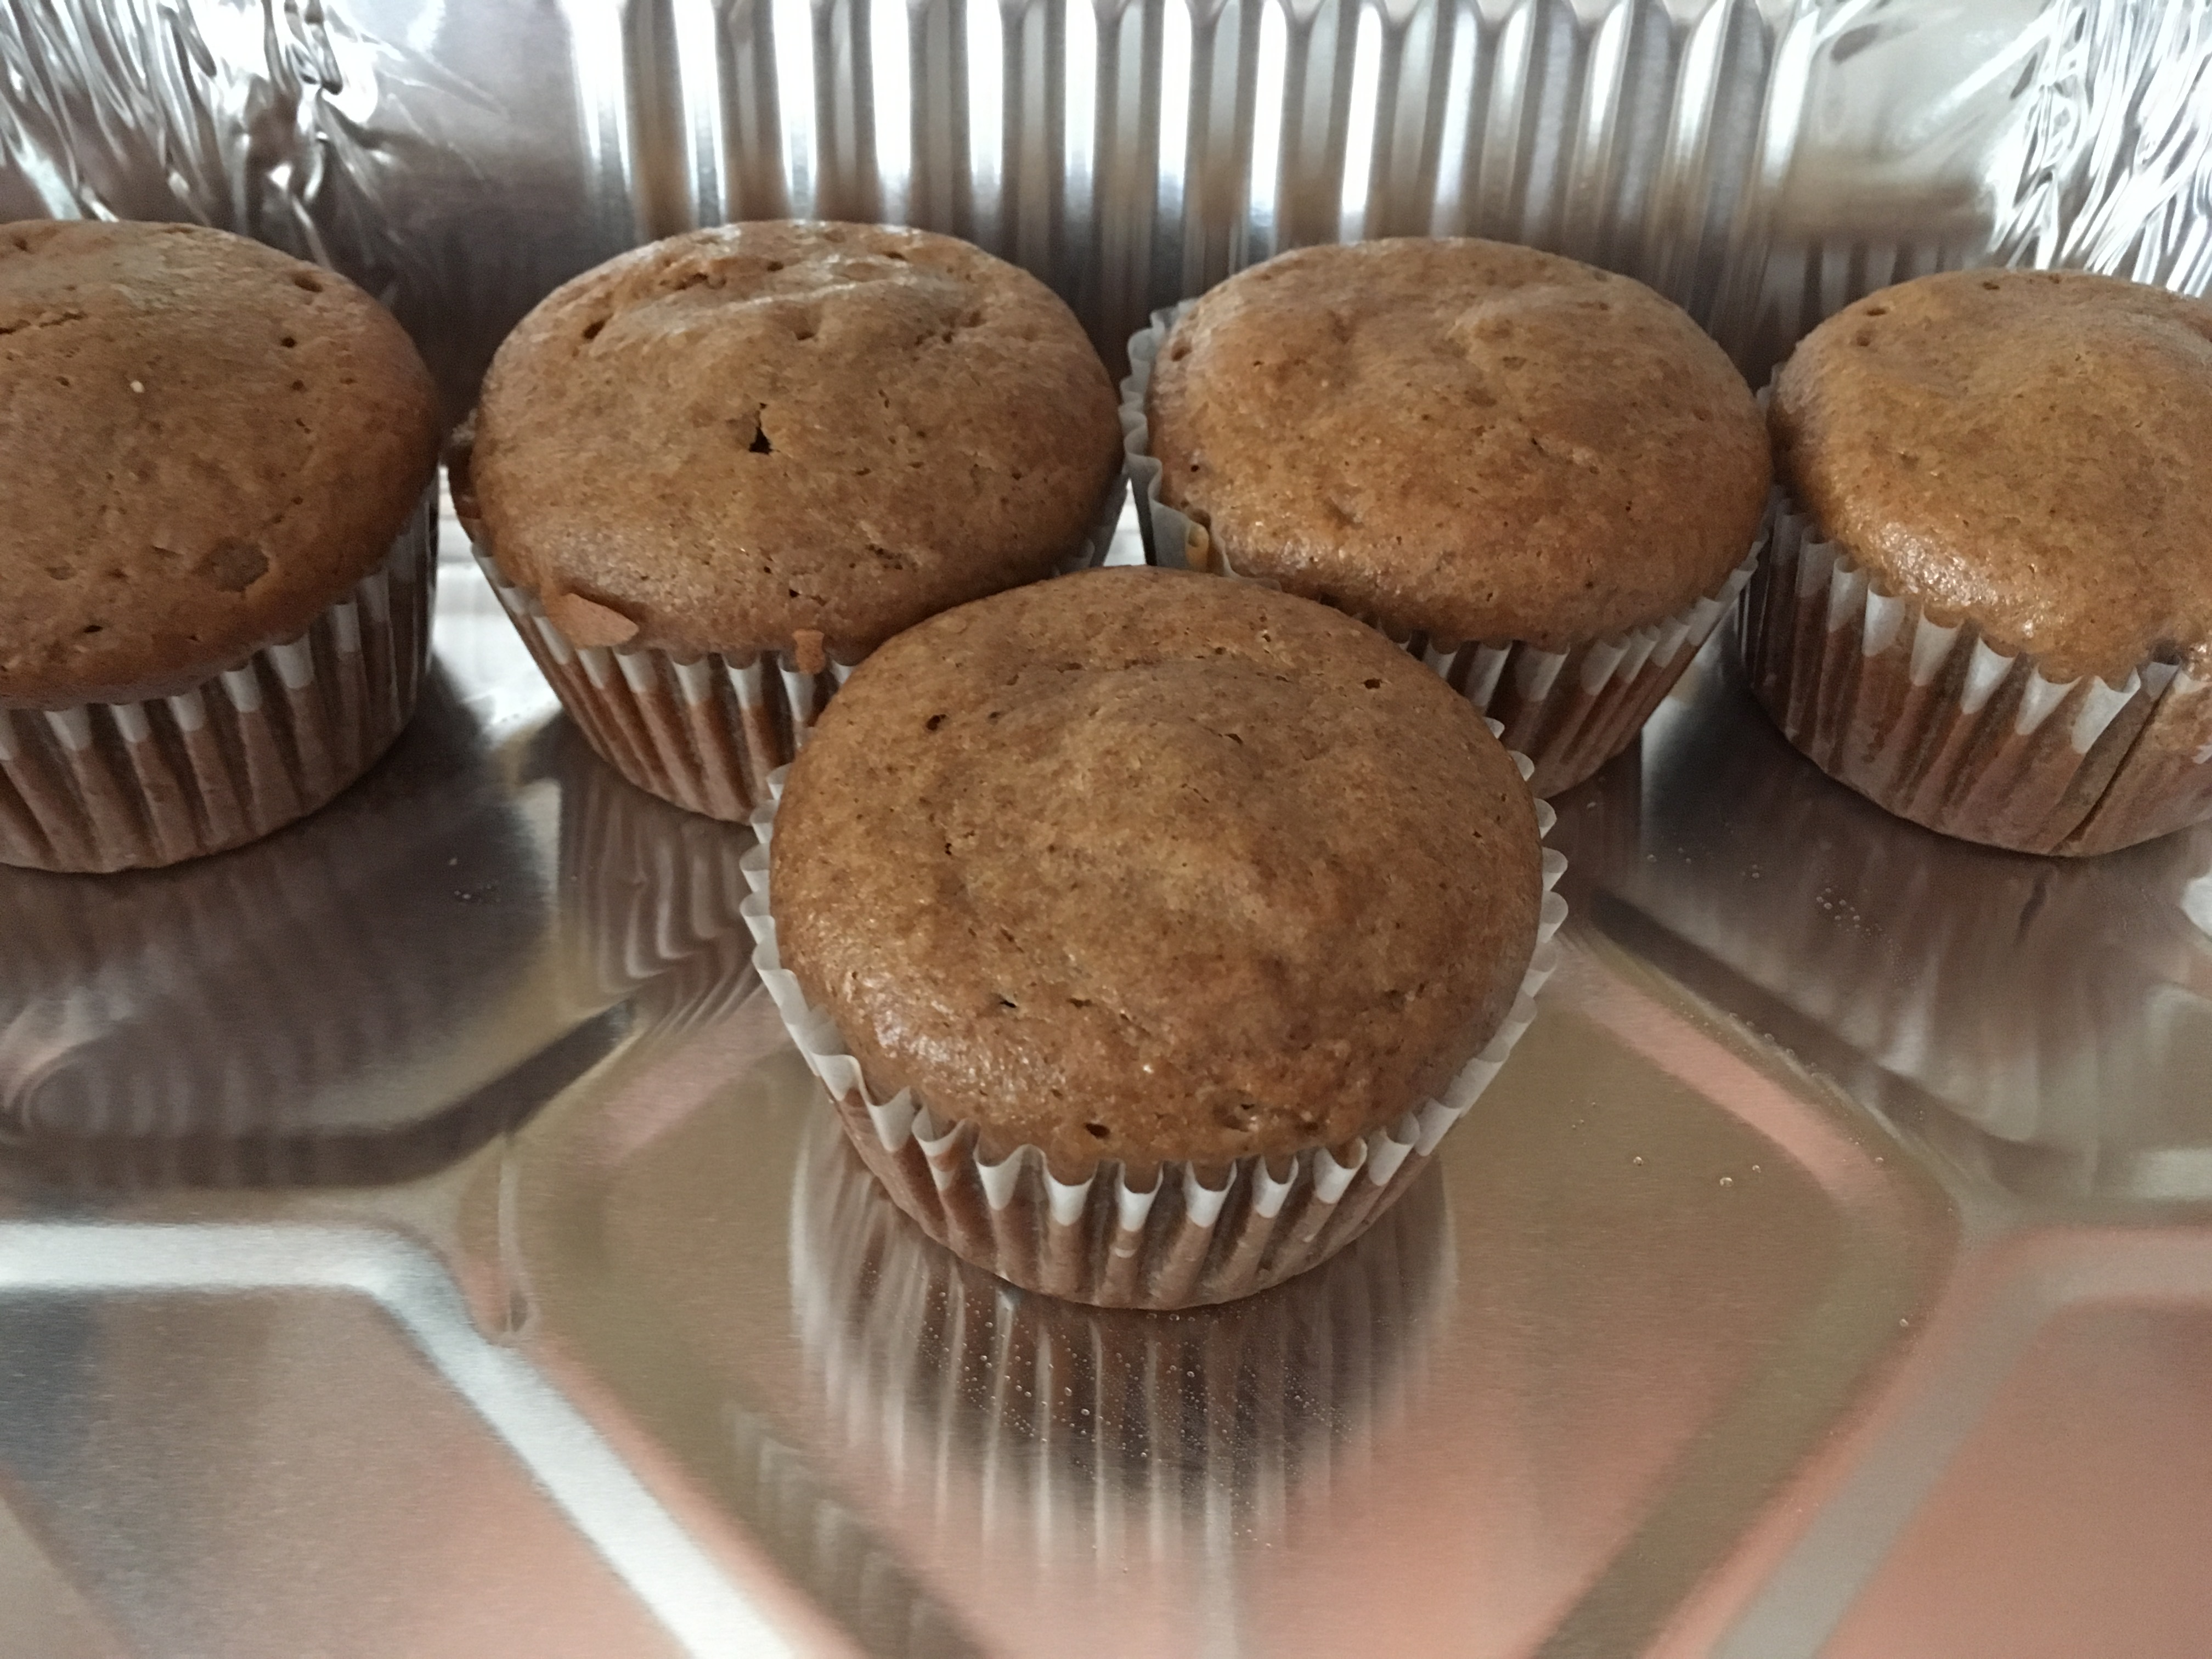
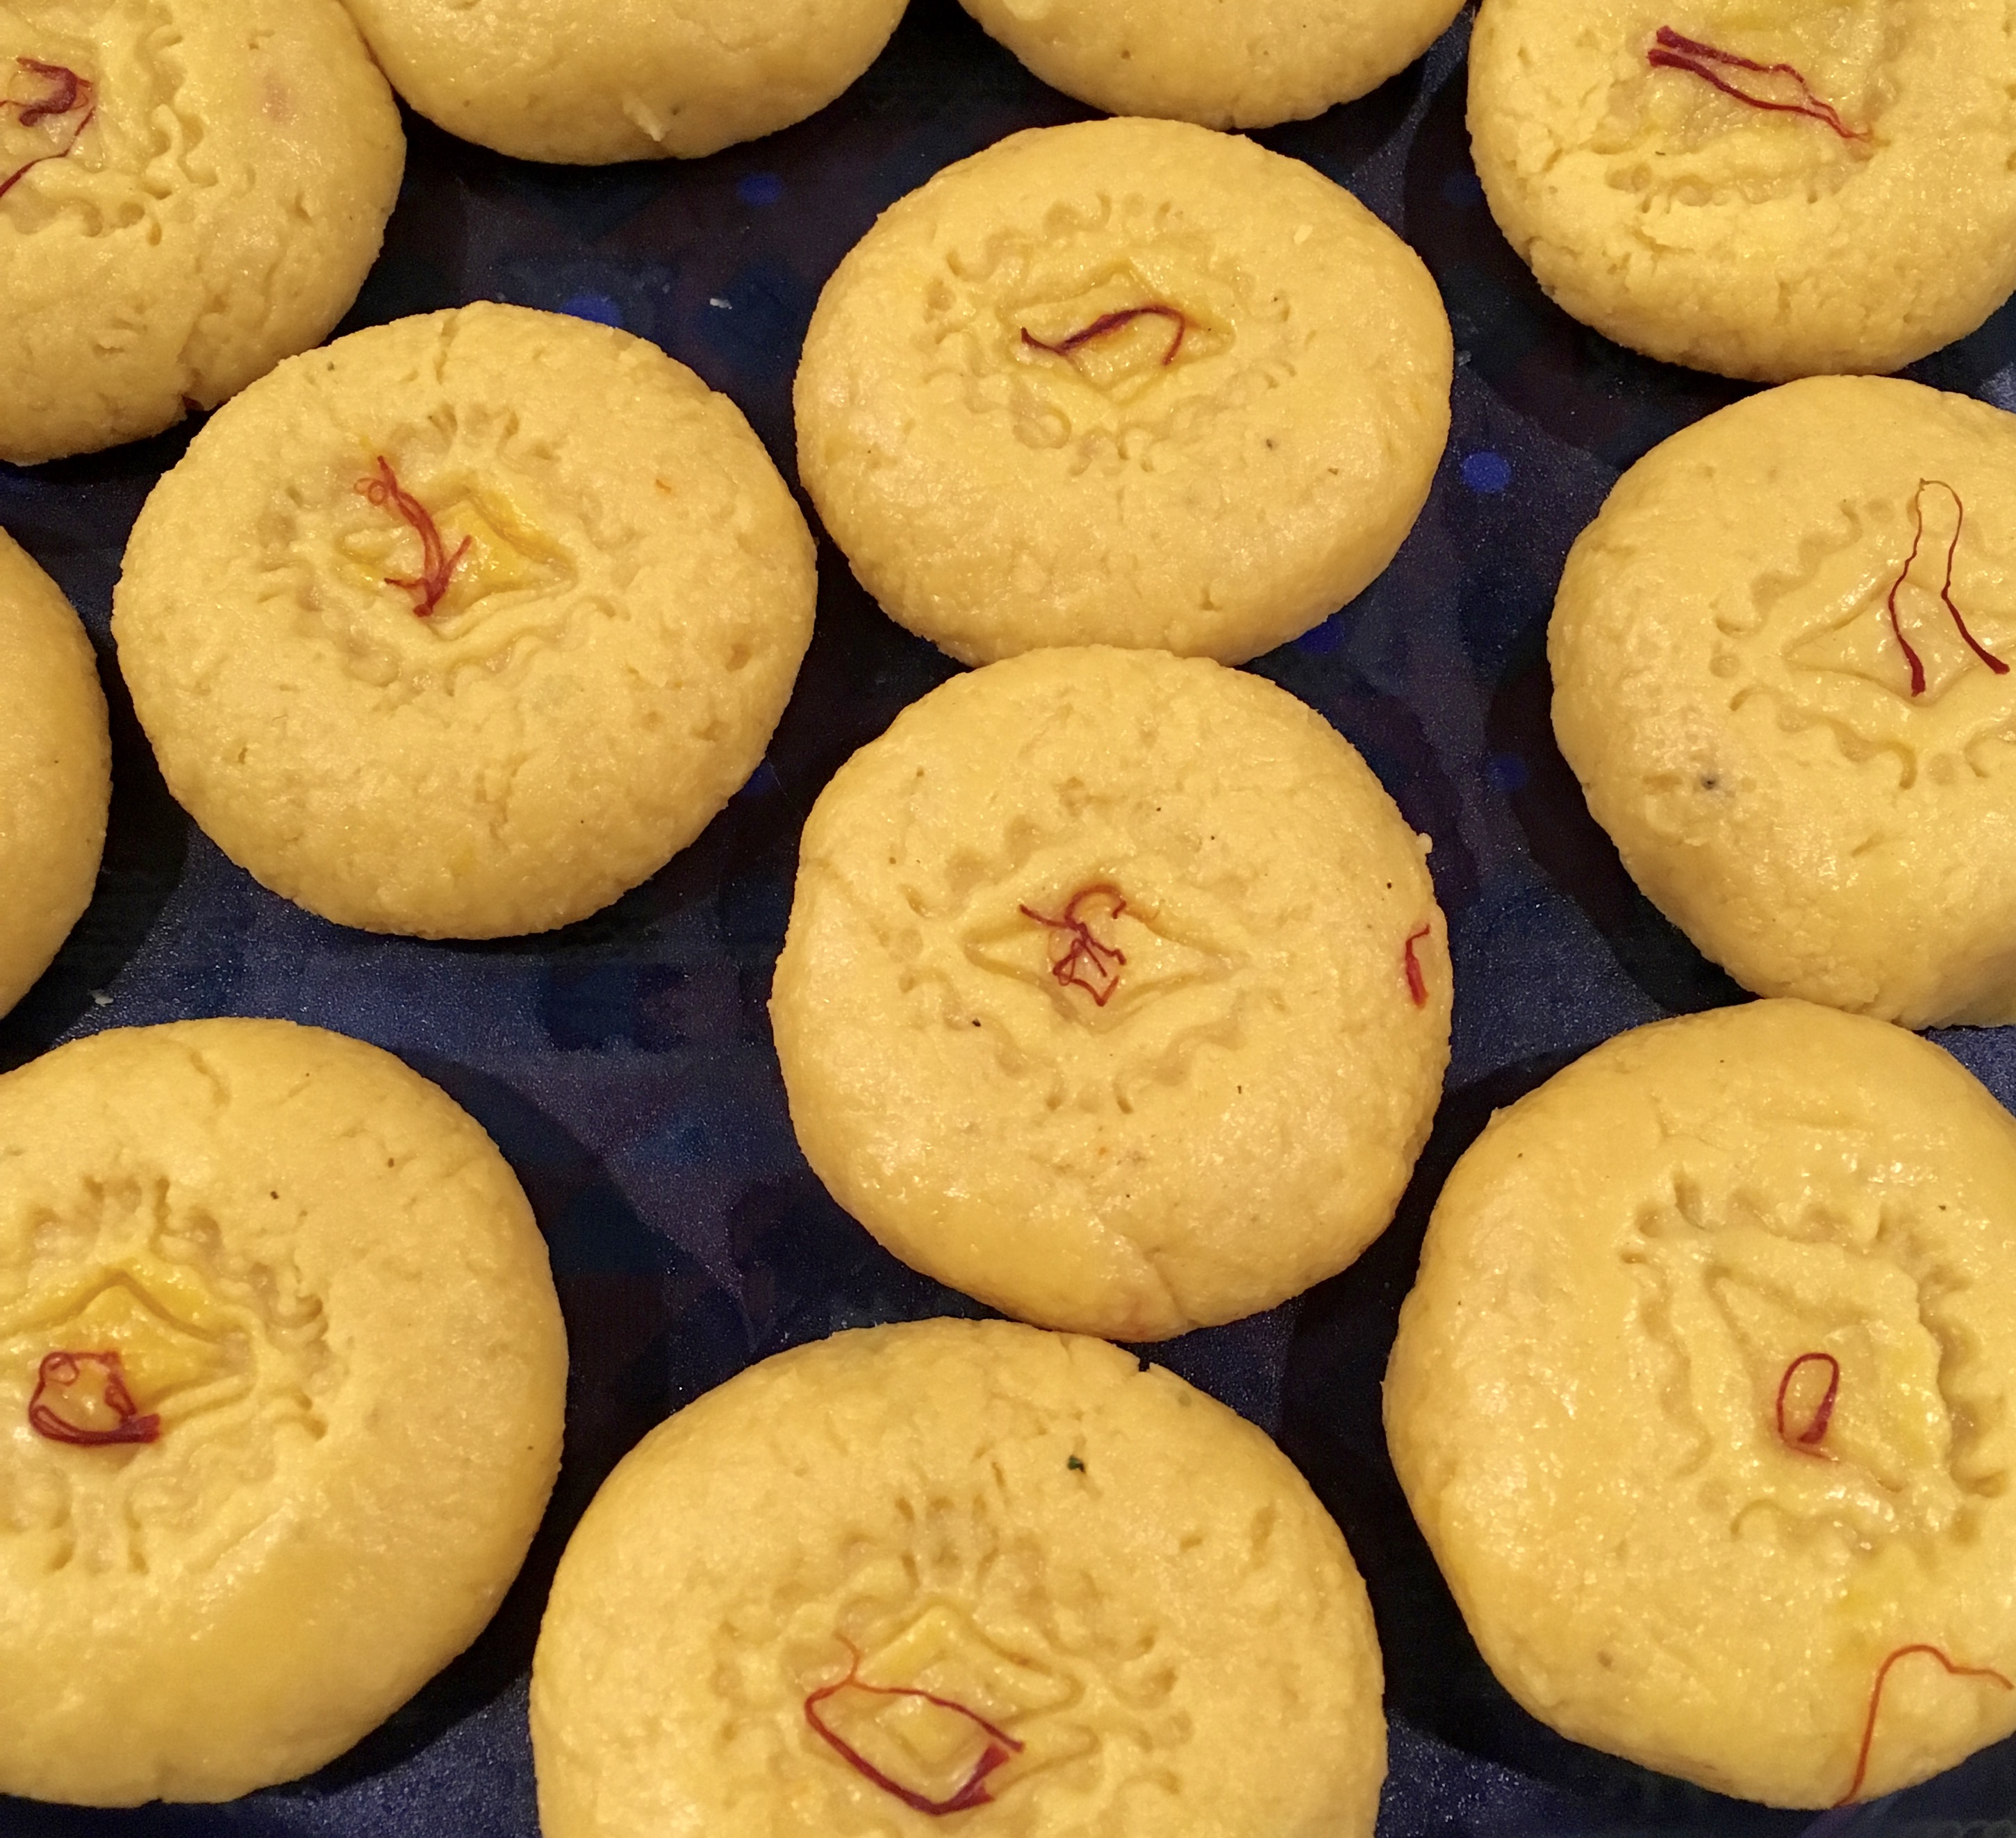
  9. Bake on the second rack for 30 minutes. Remove from the oven and cool for 10 minutes,
  10. Cover slightly so that warm air can escape.
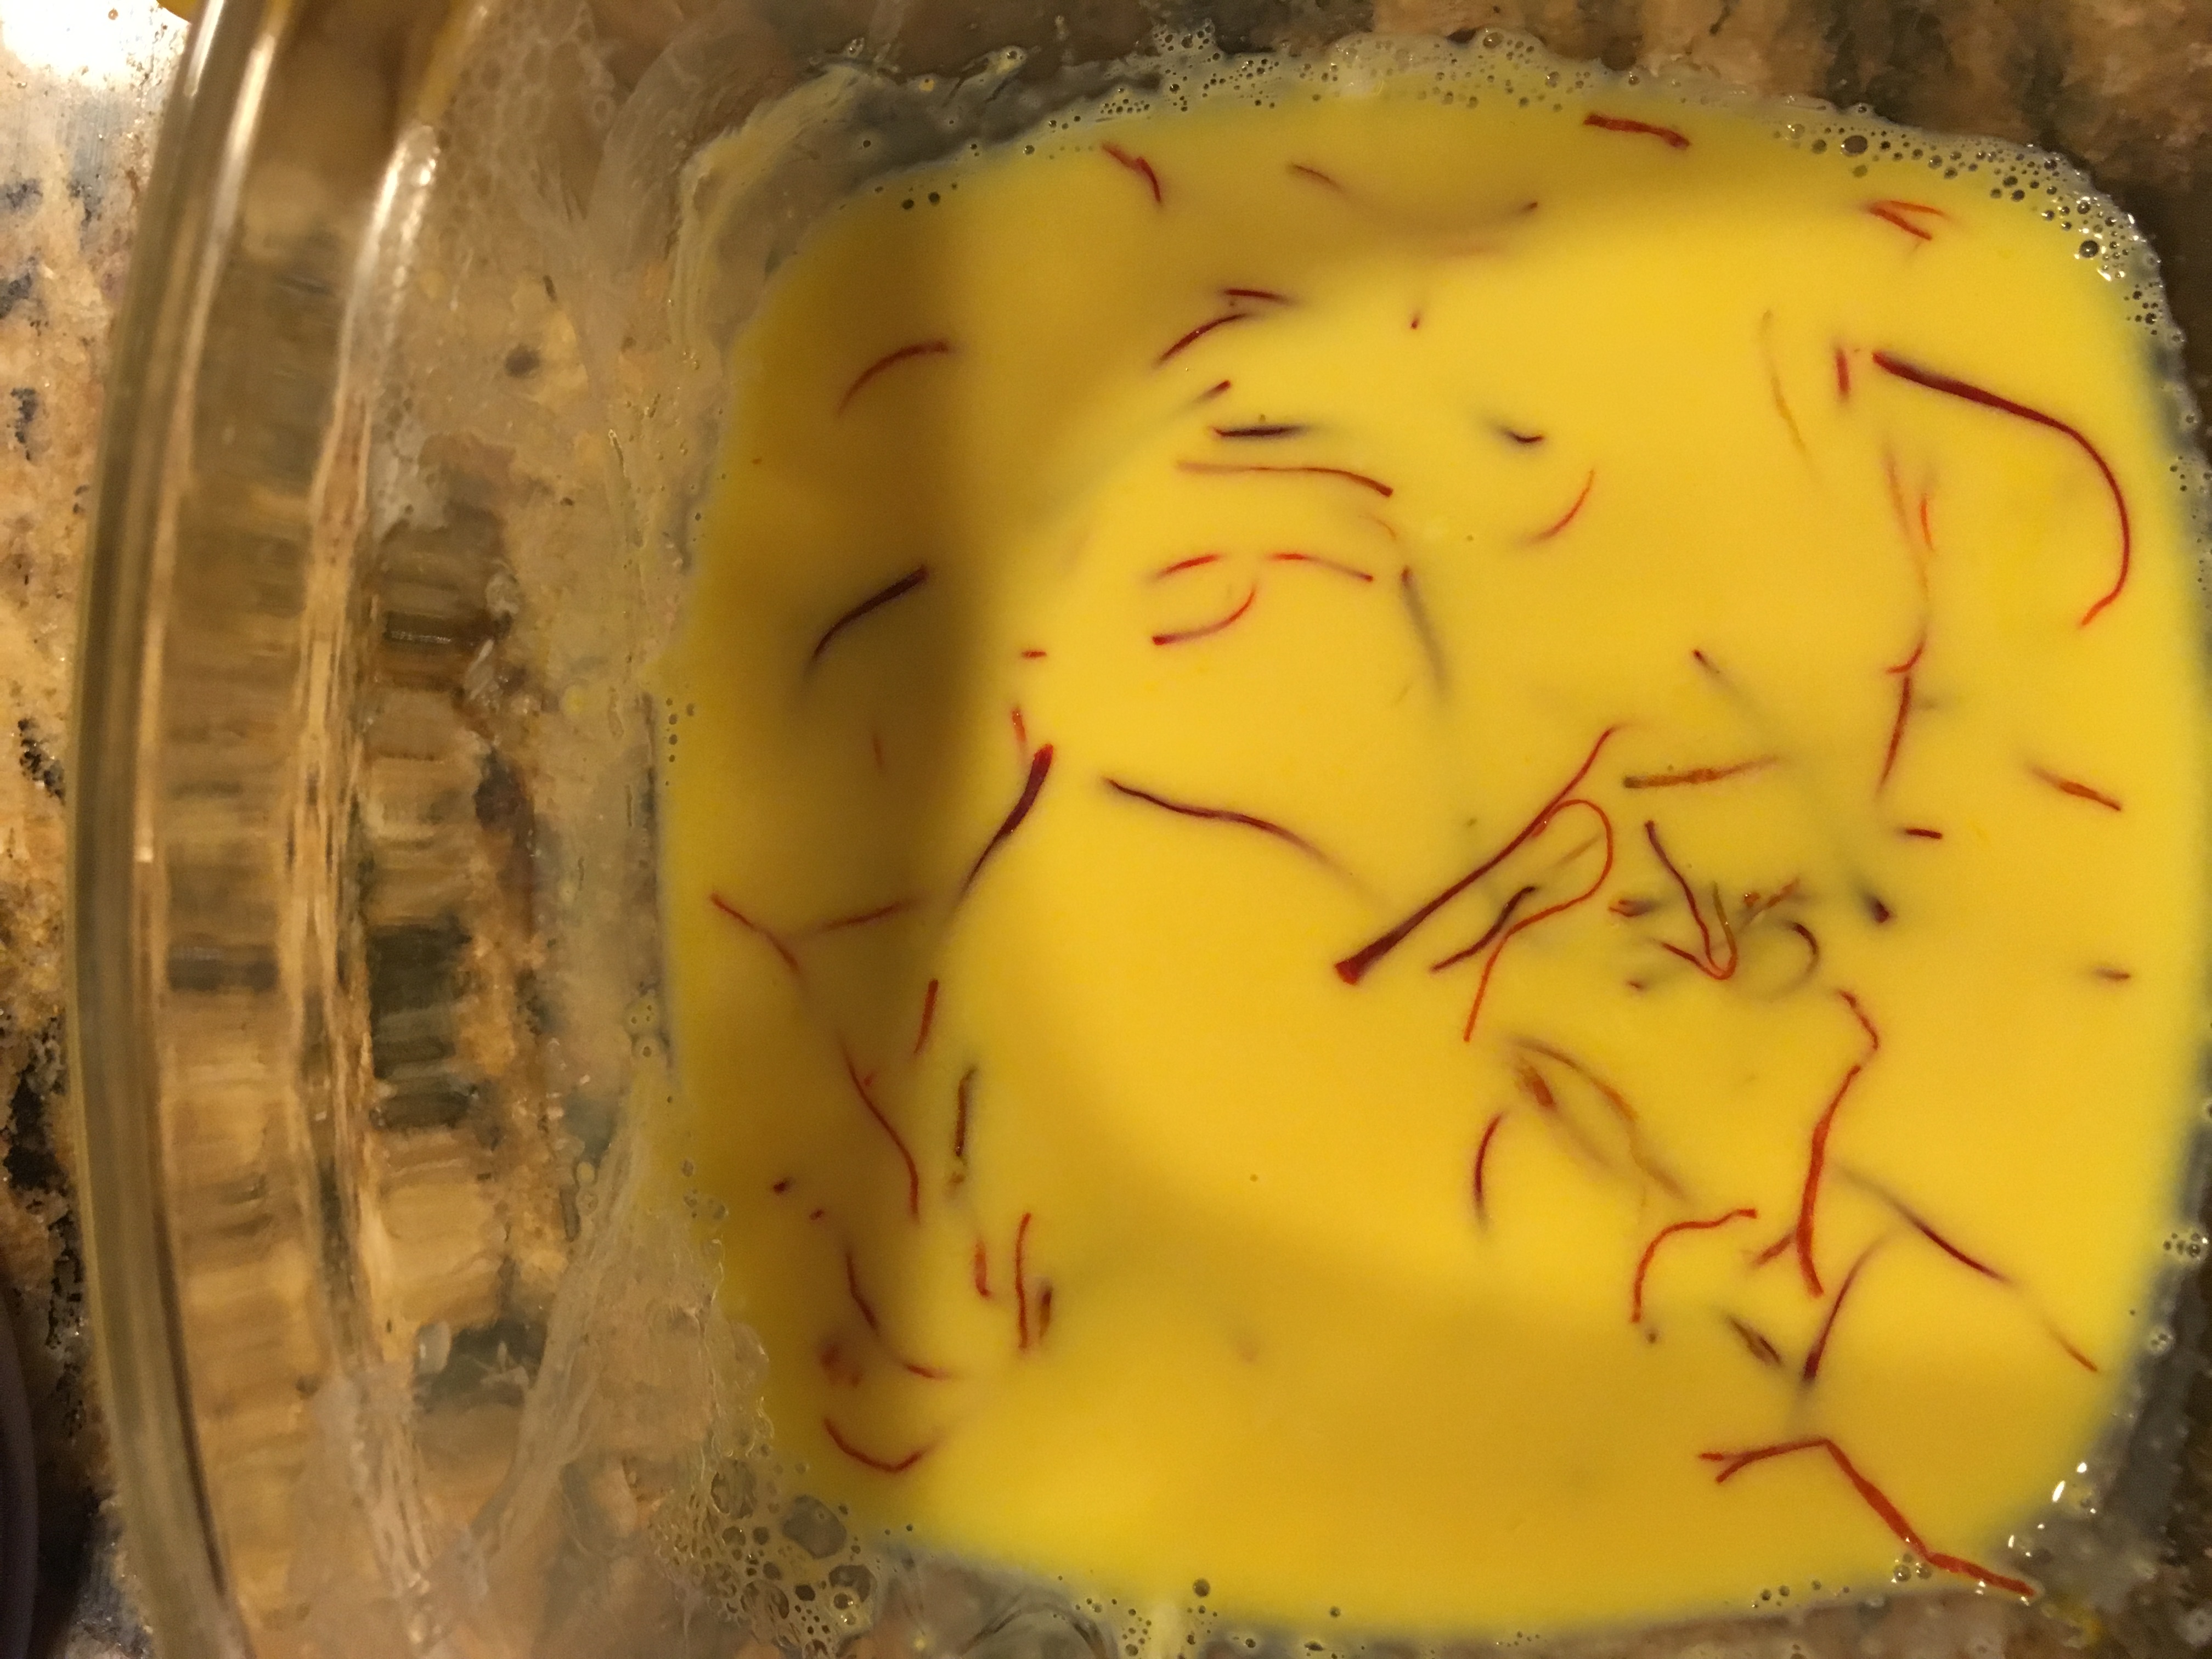
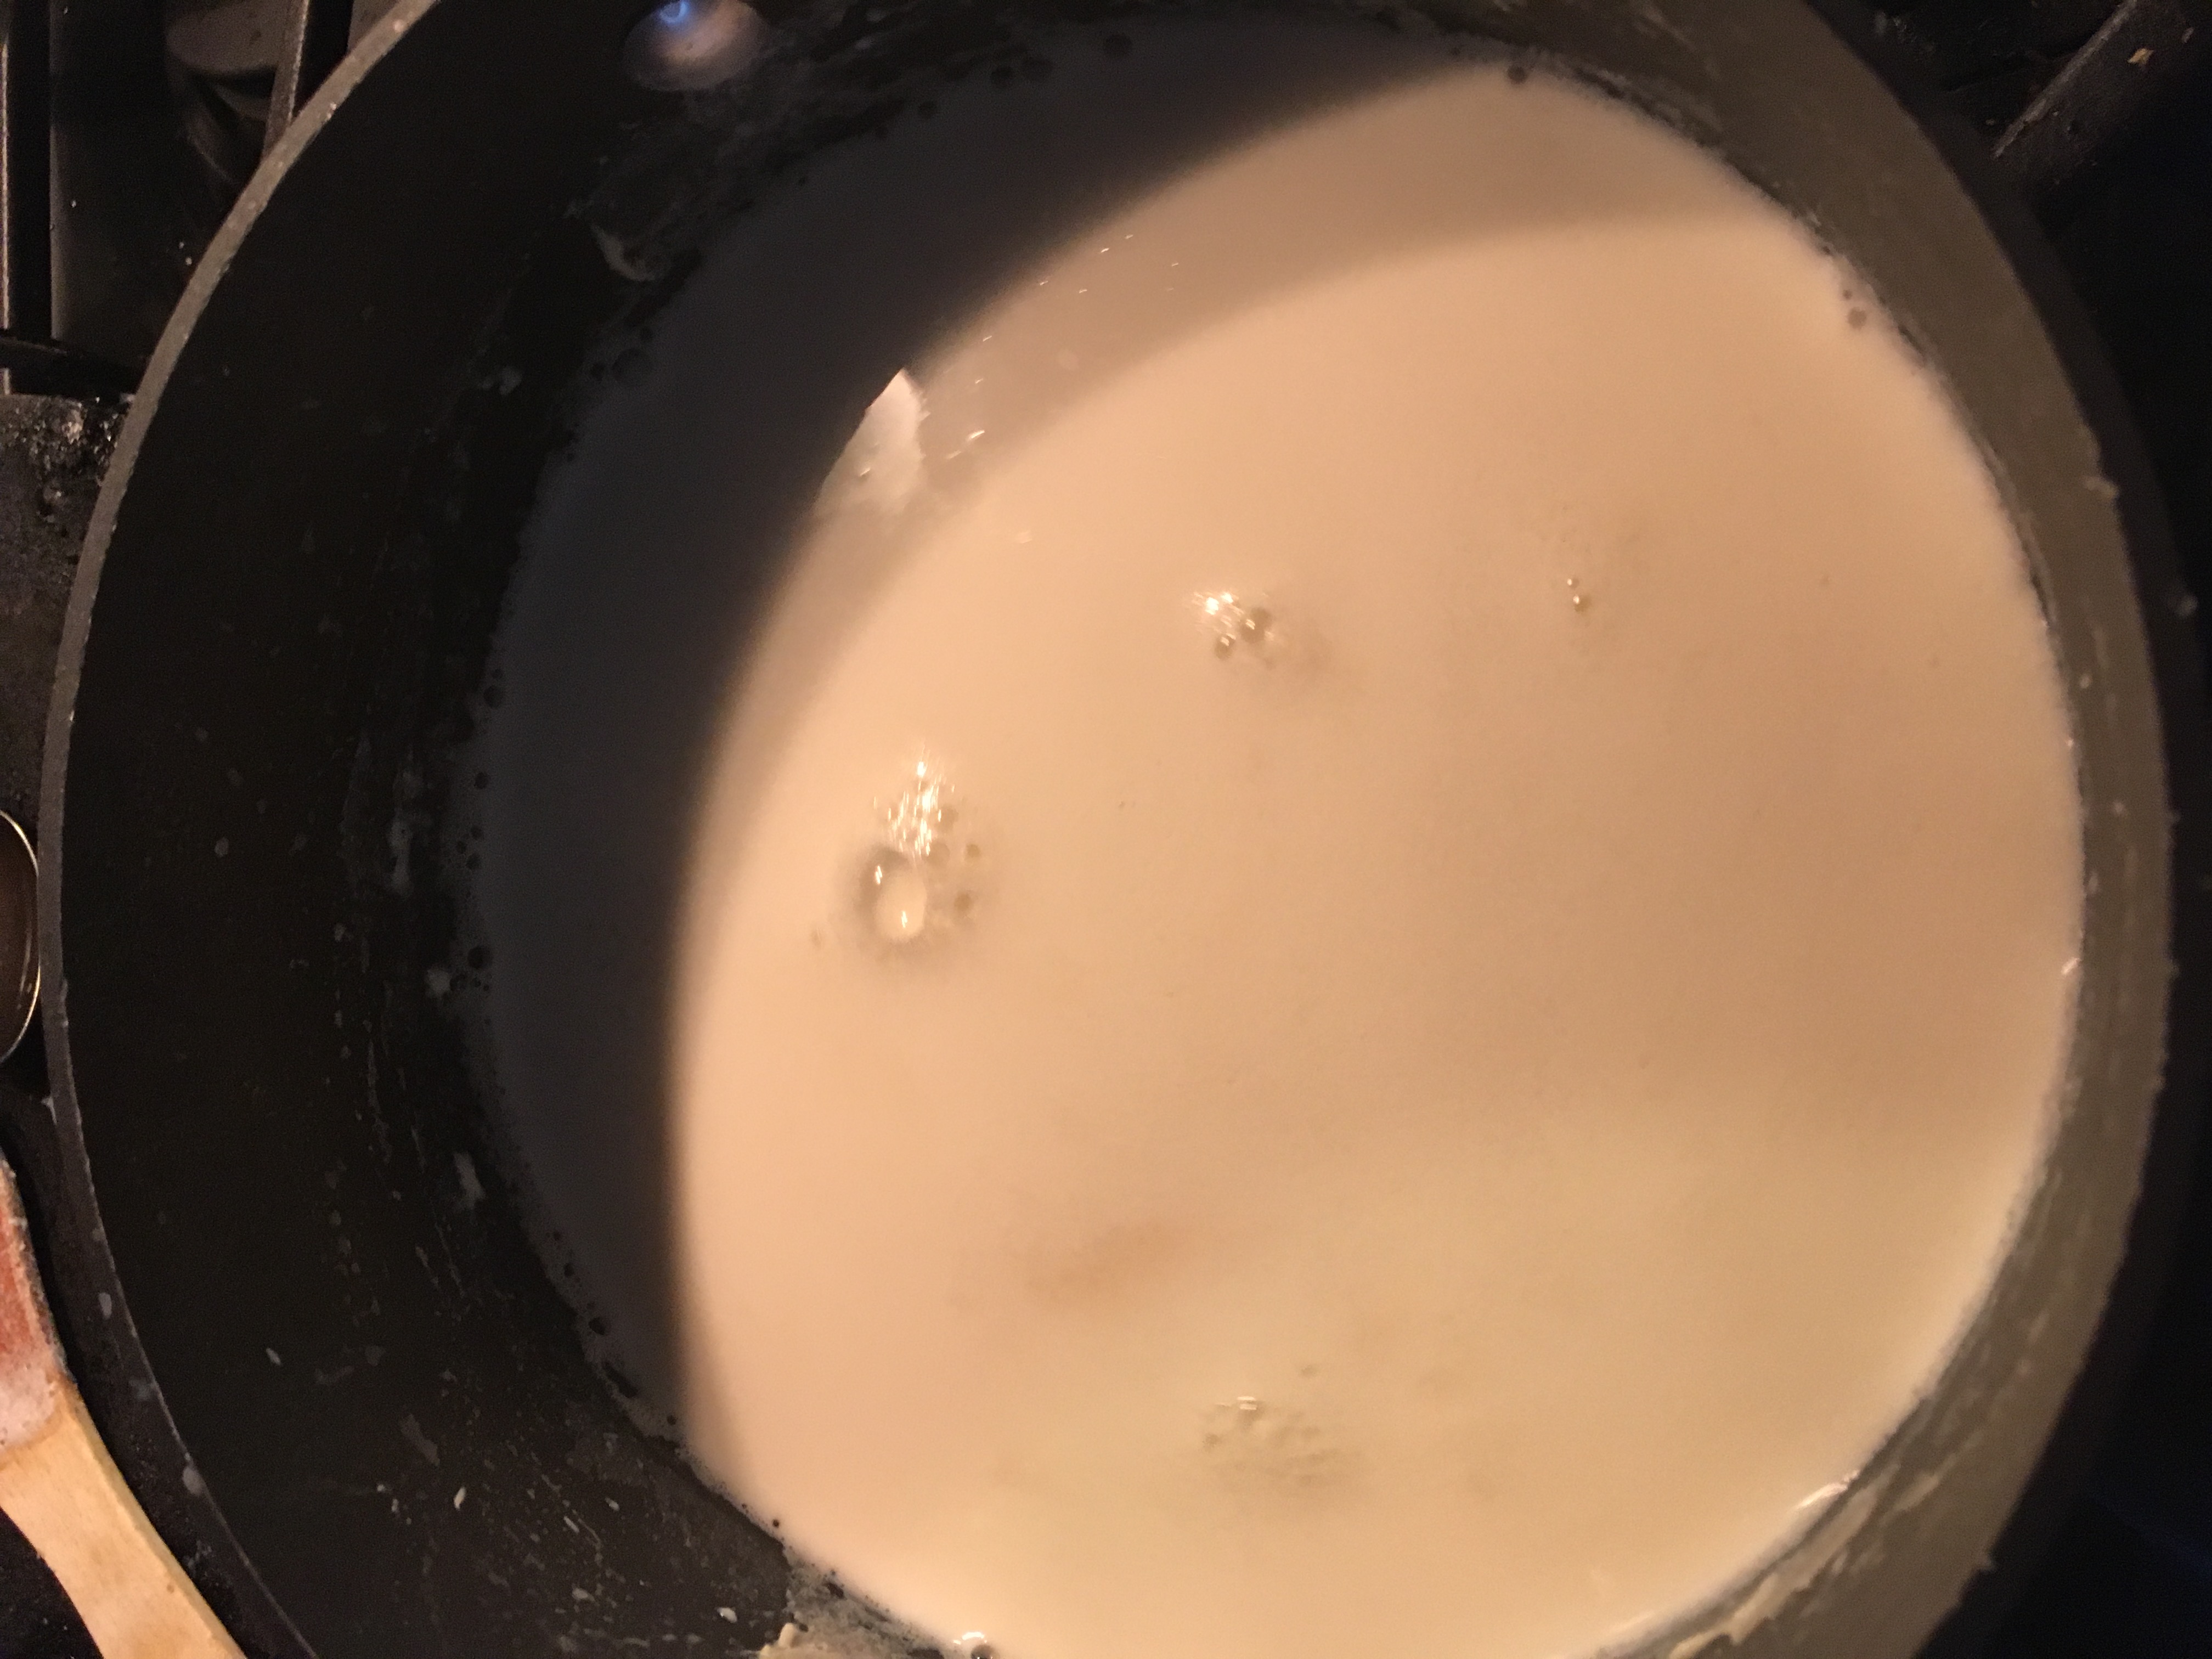
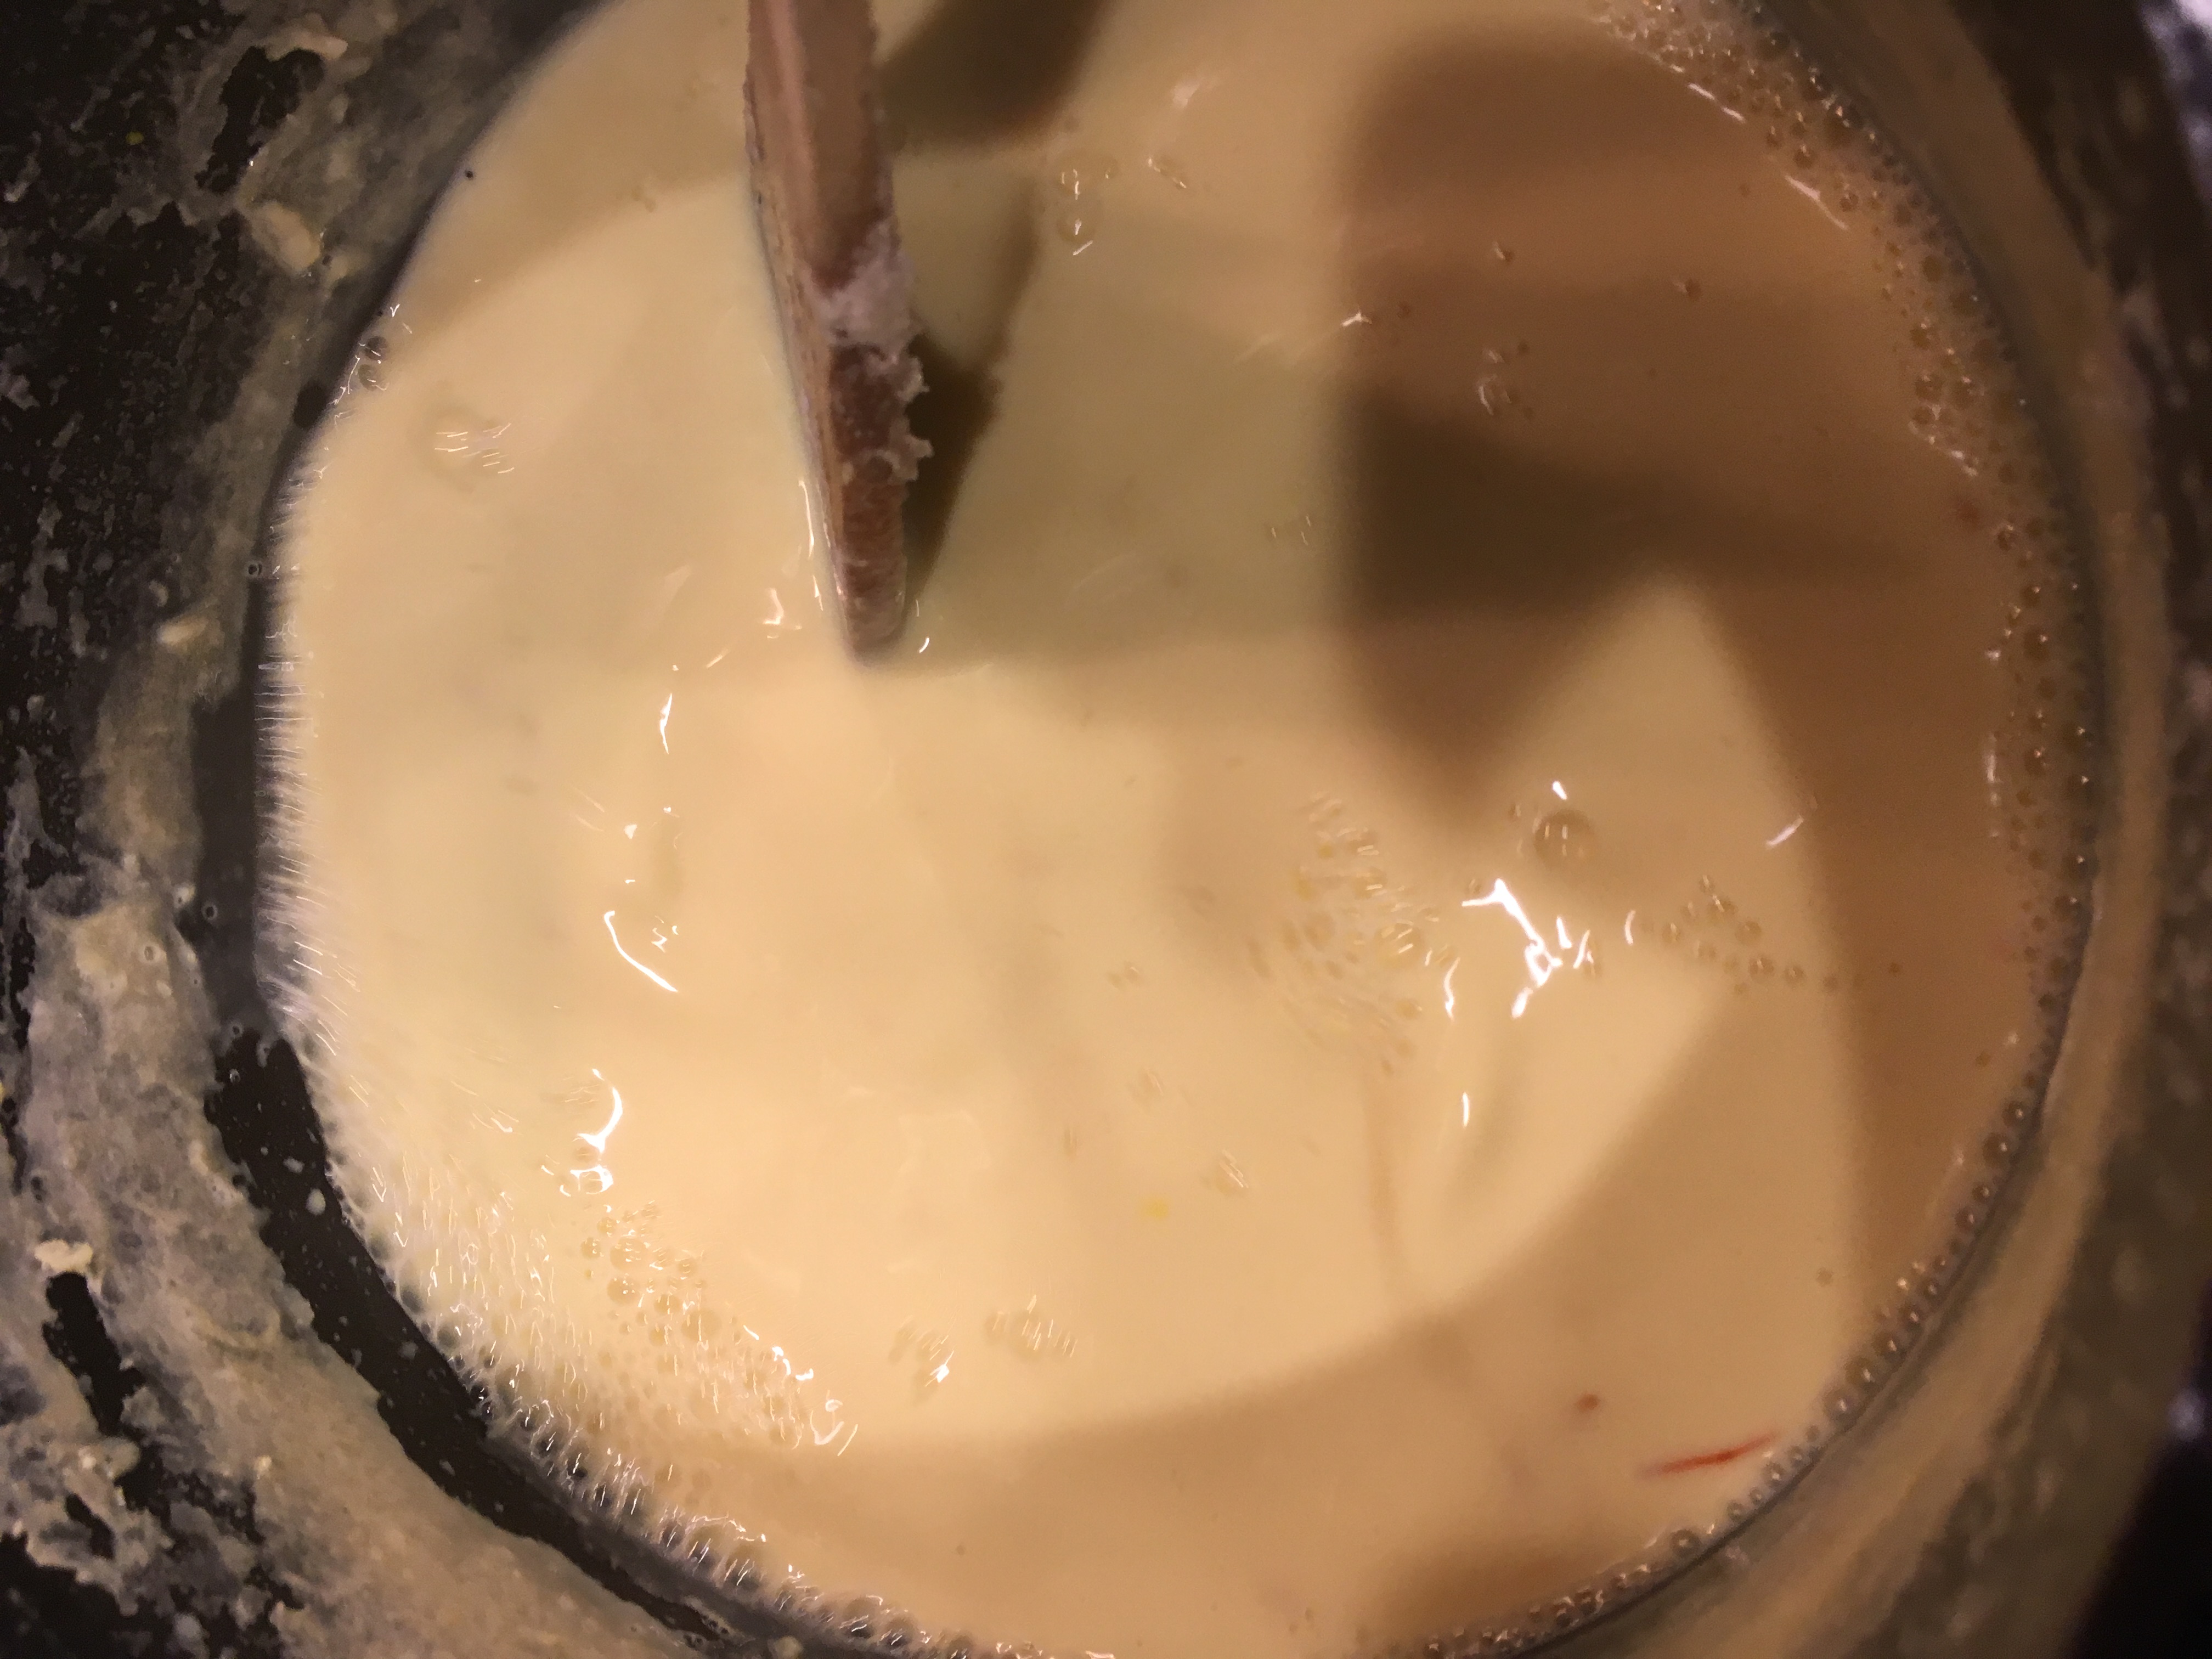
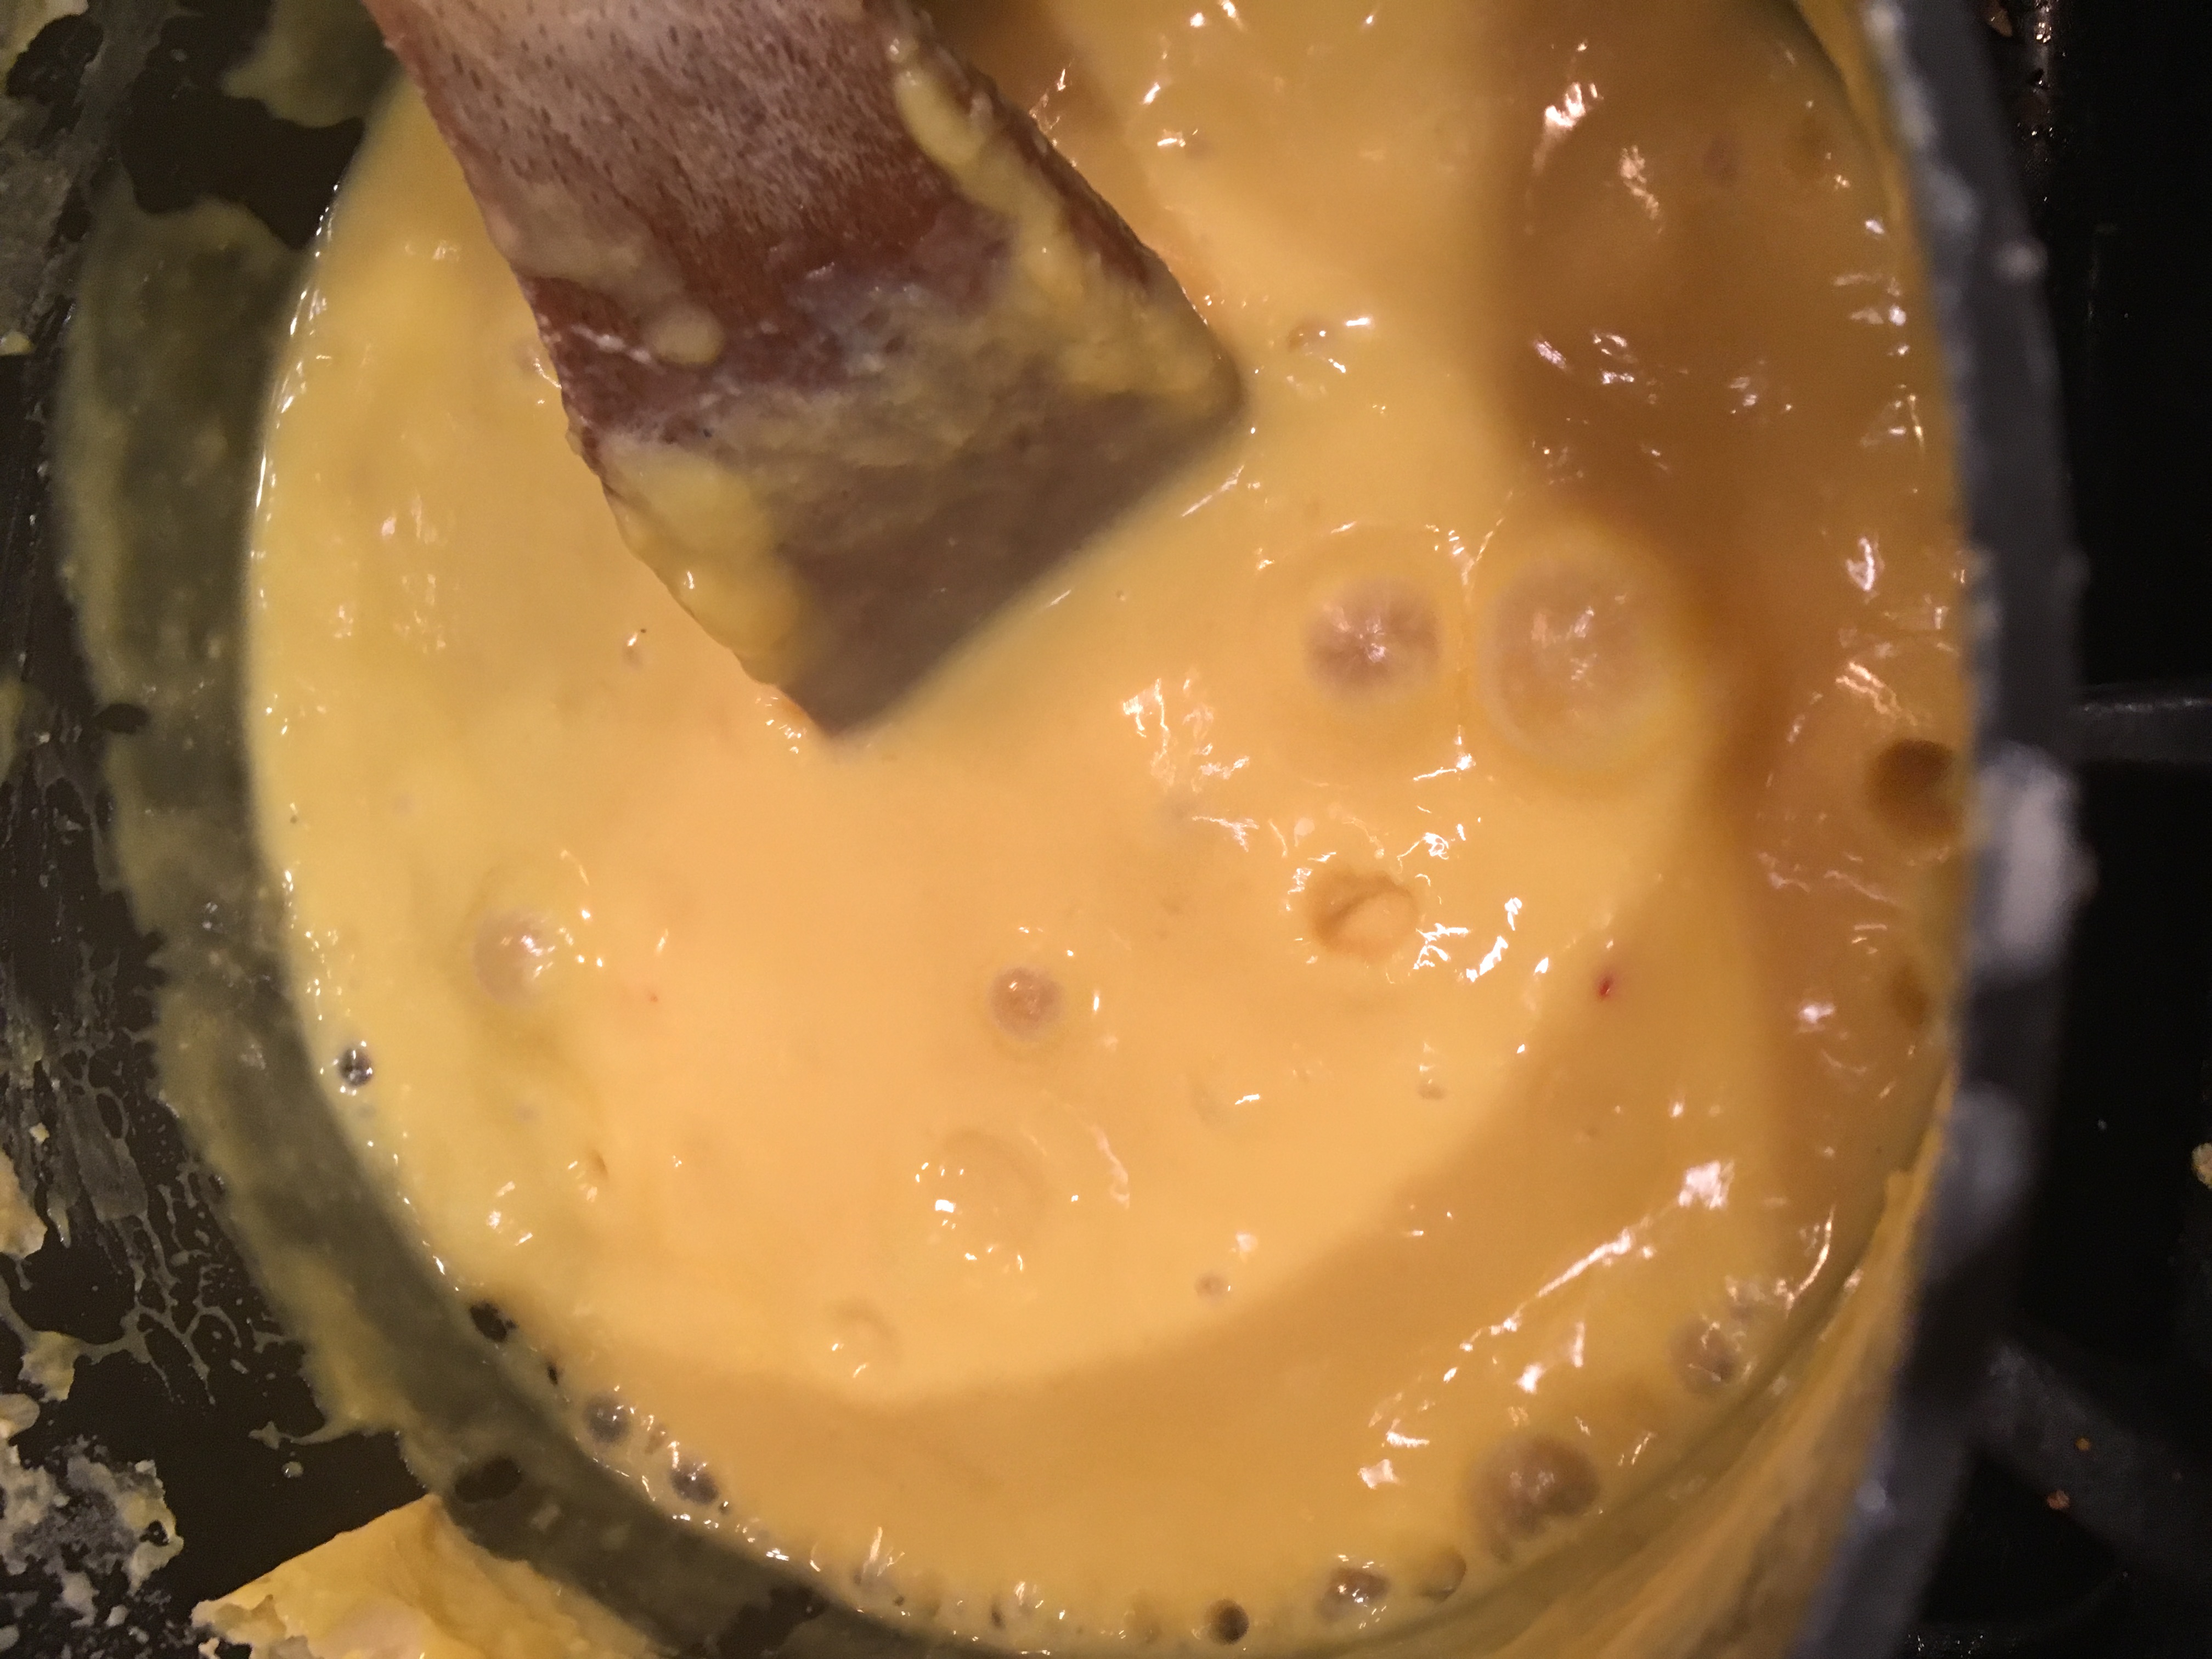
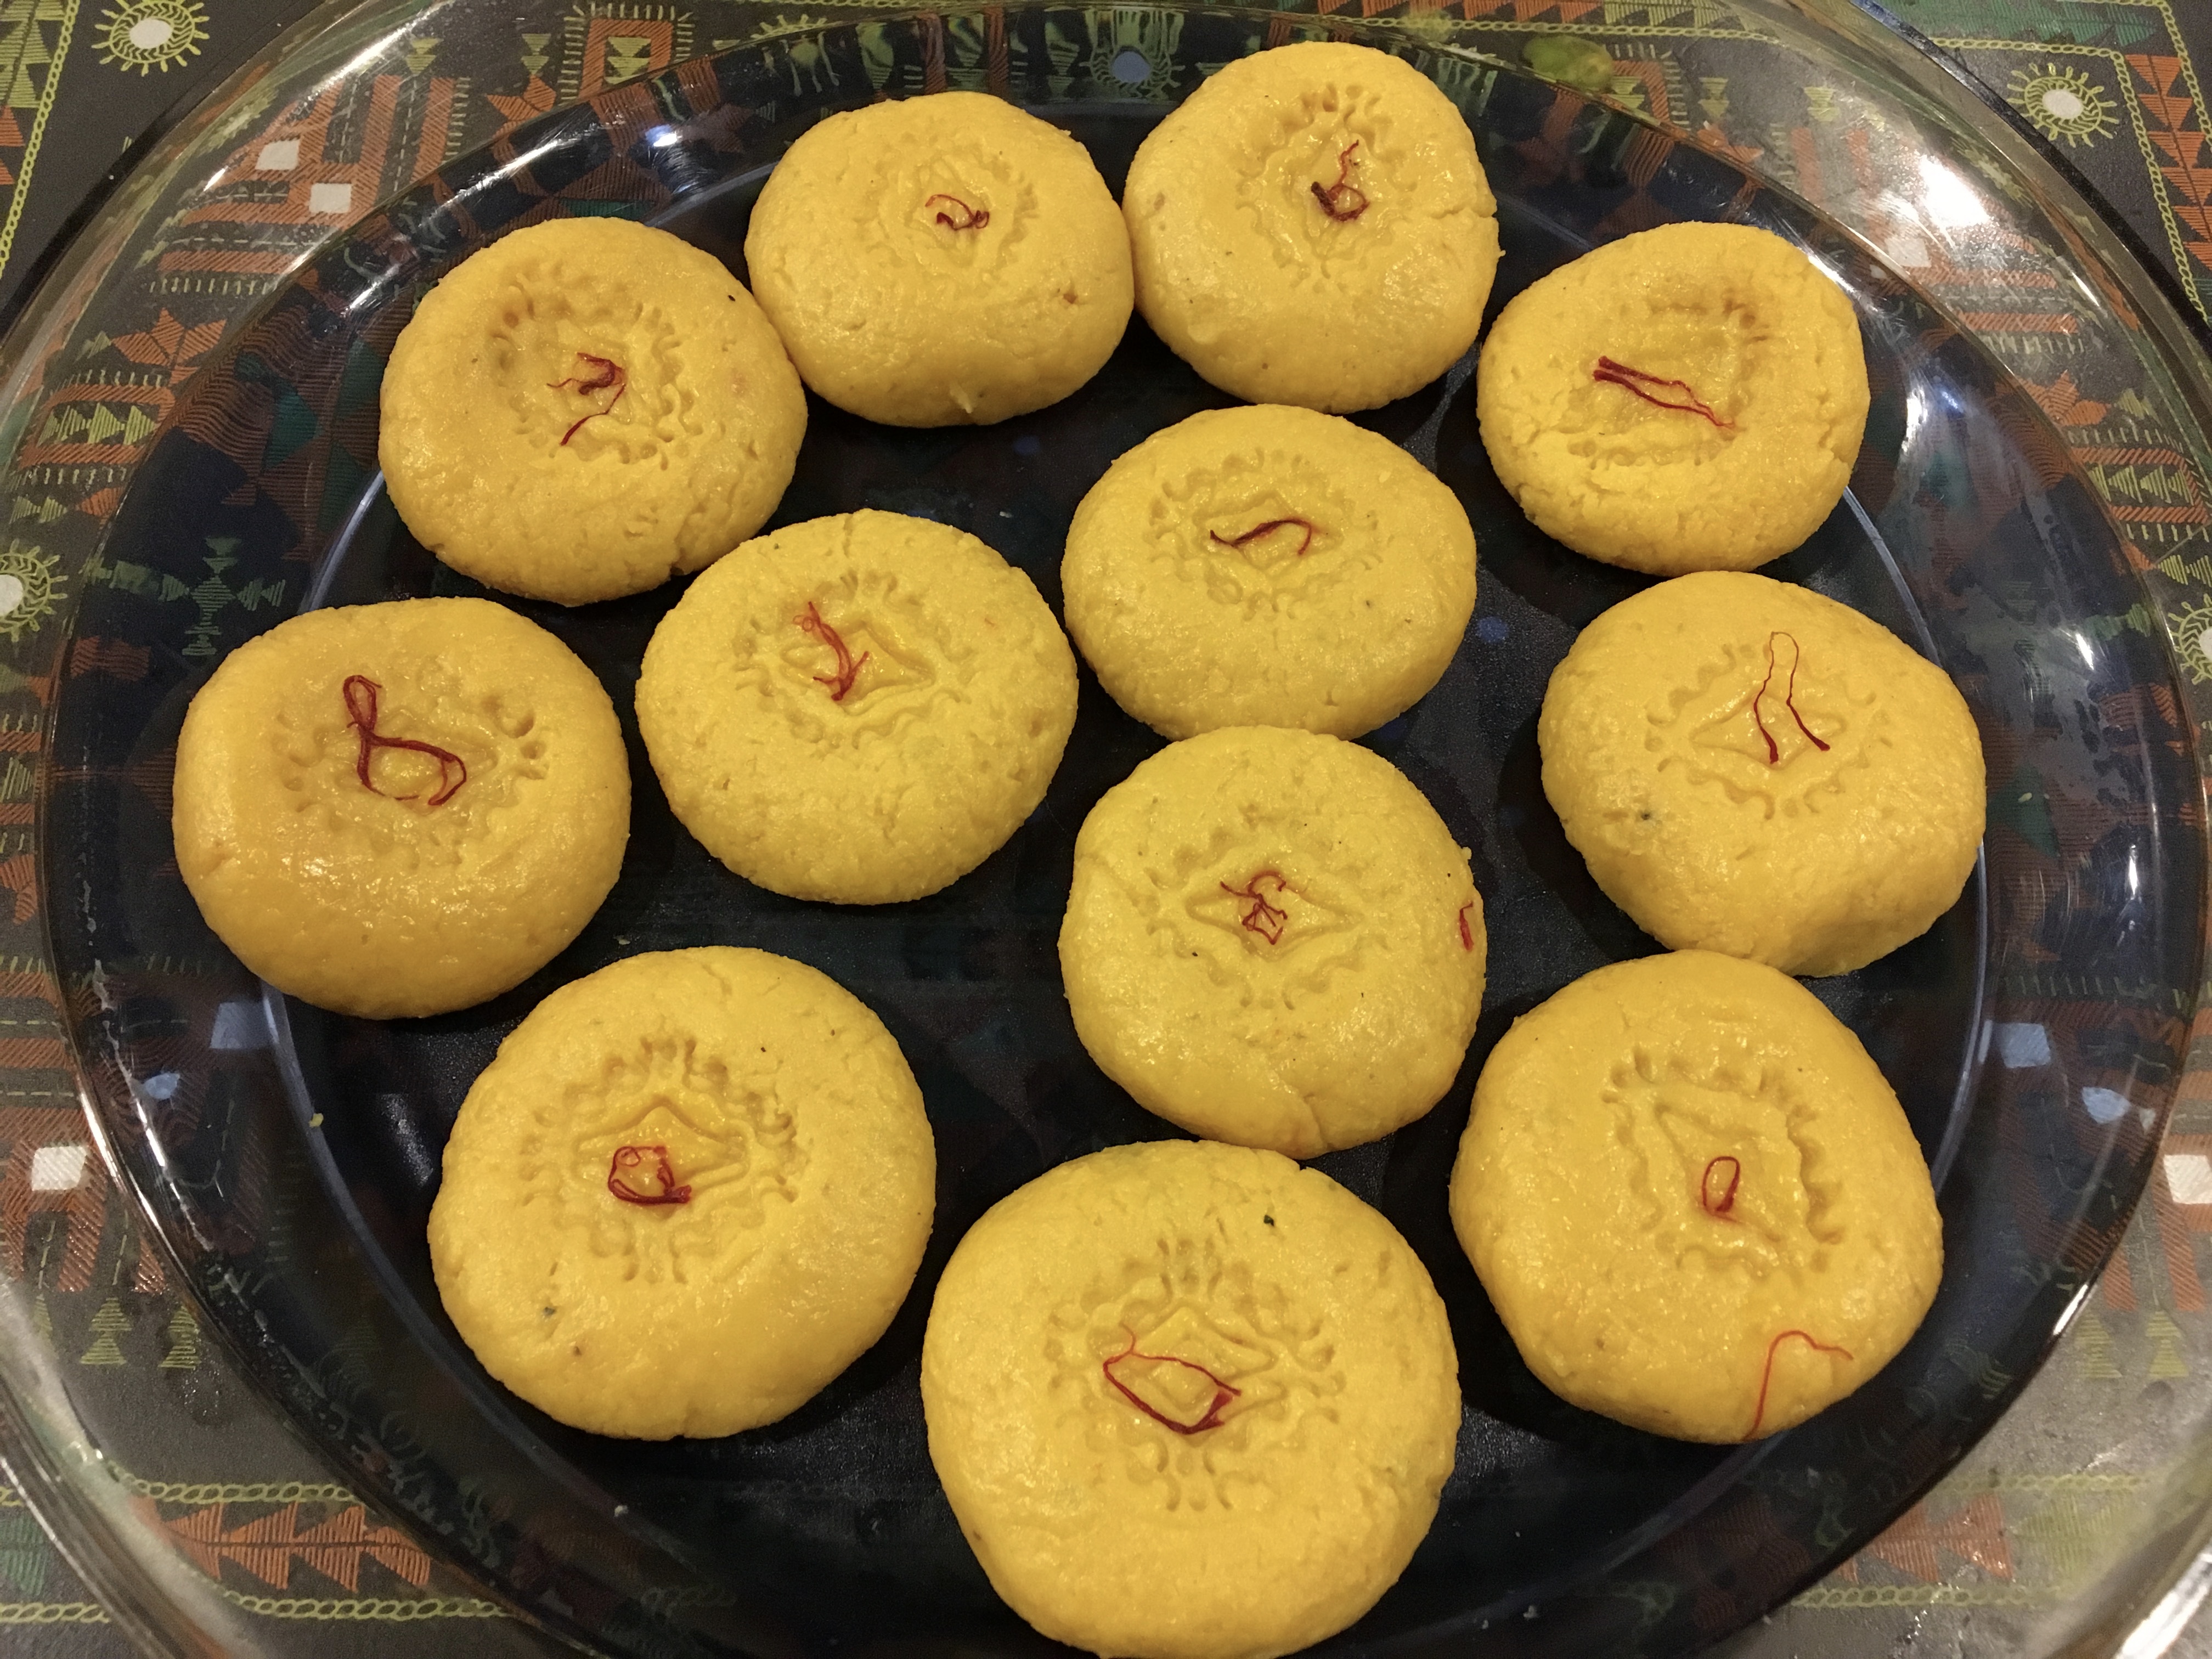
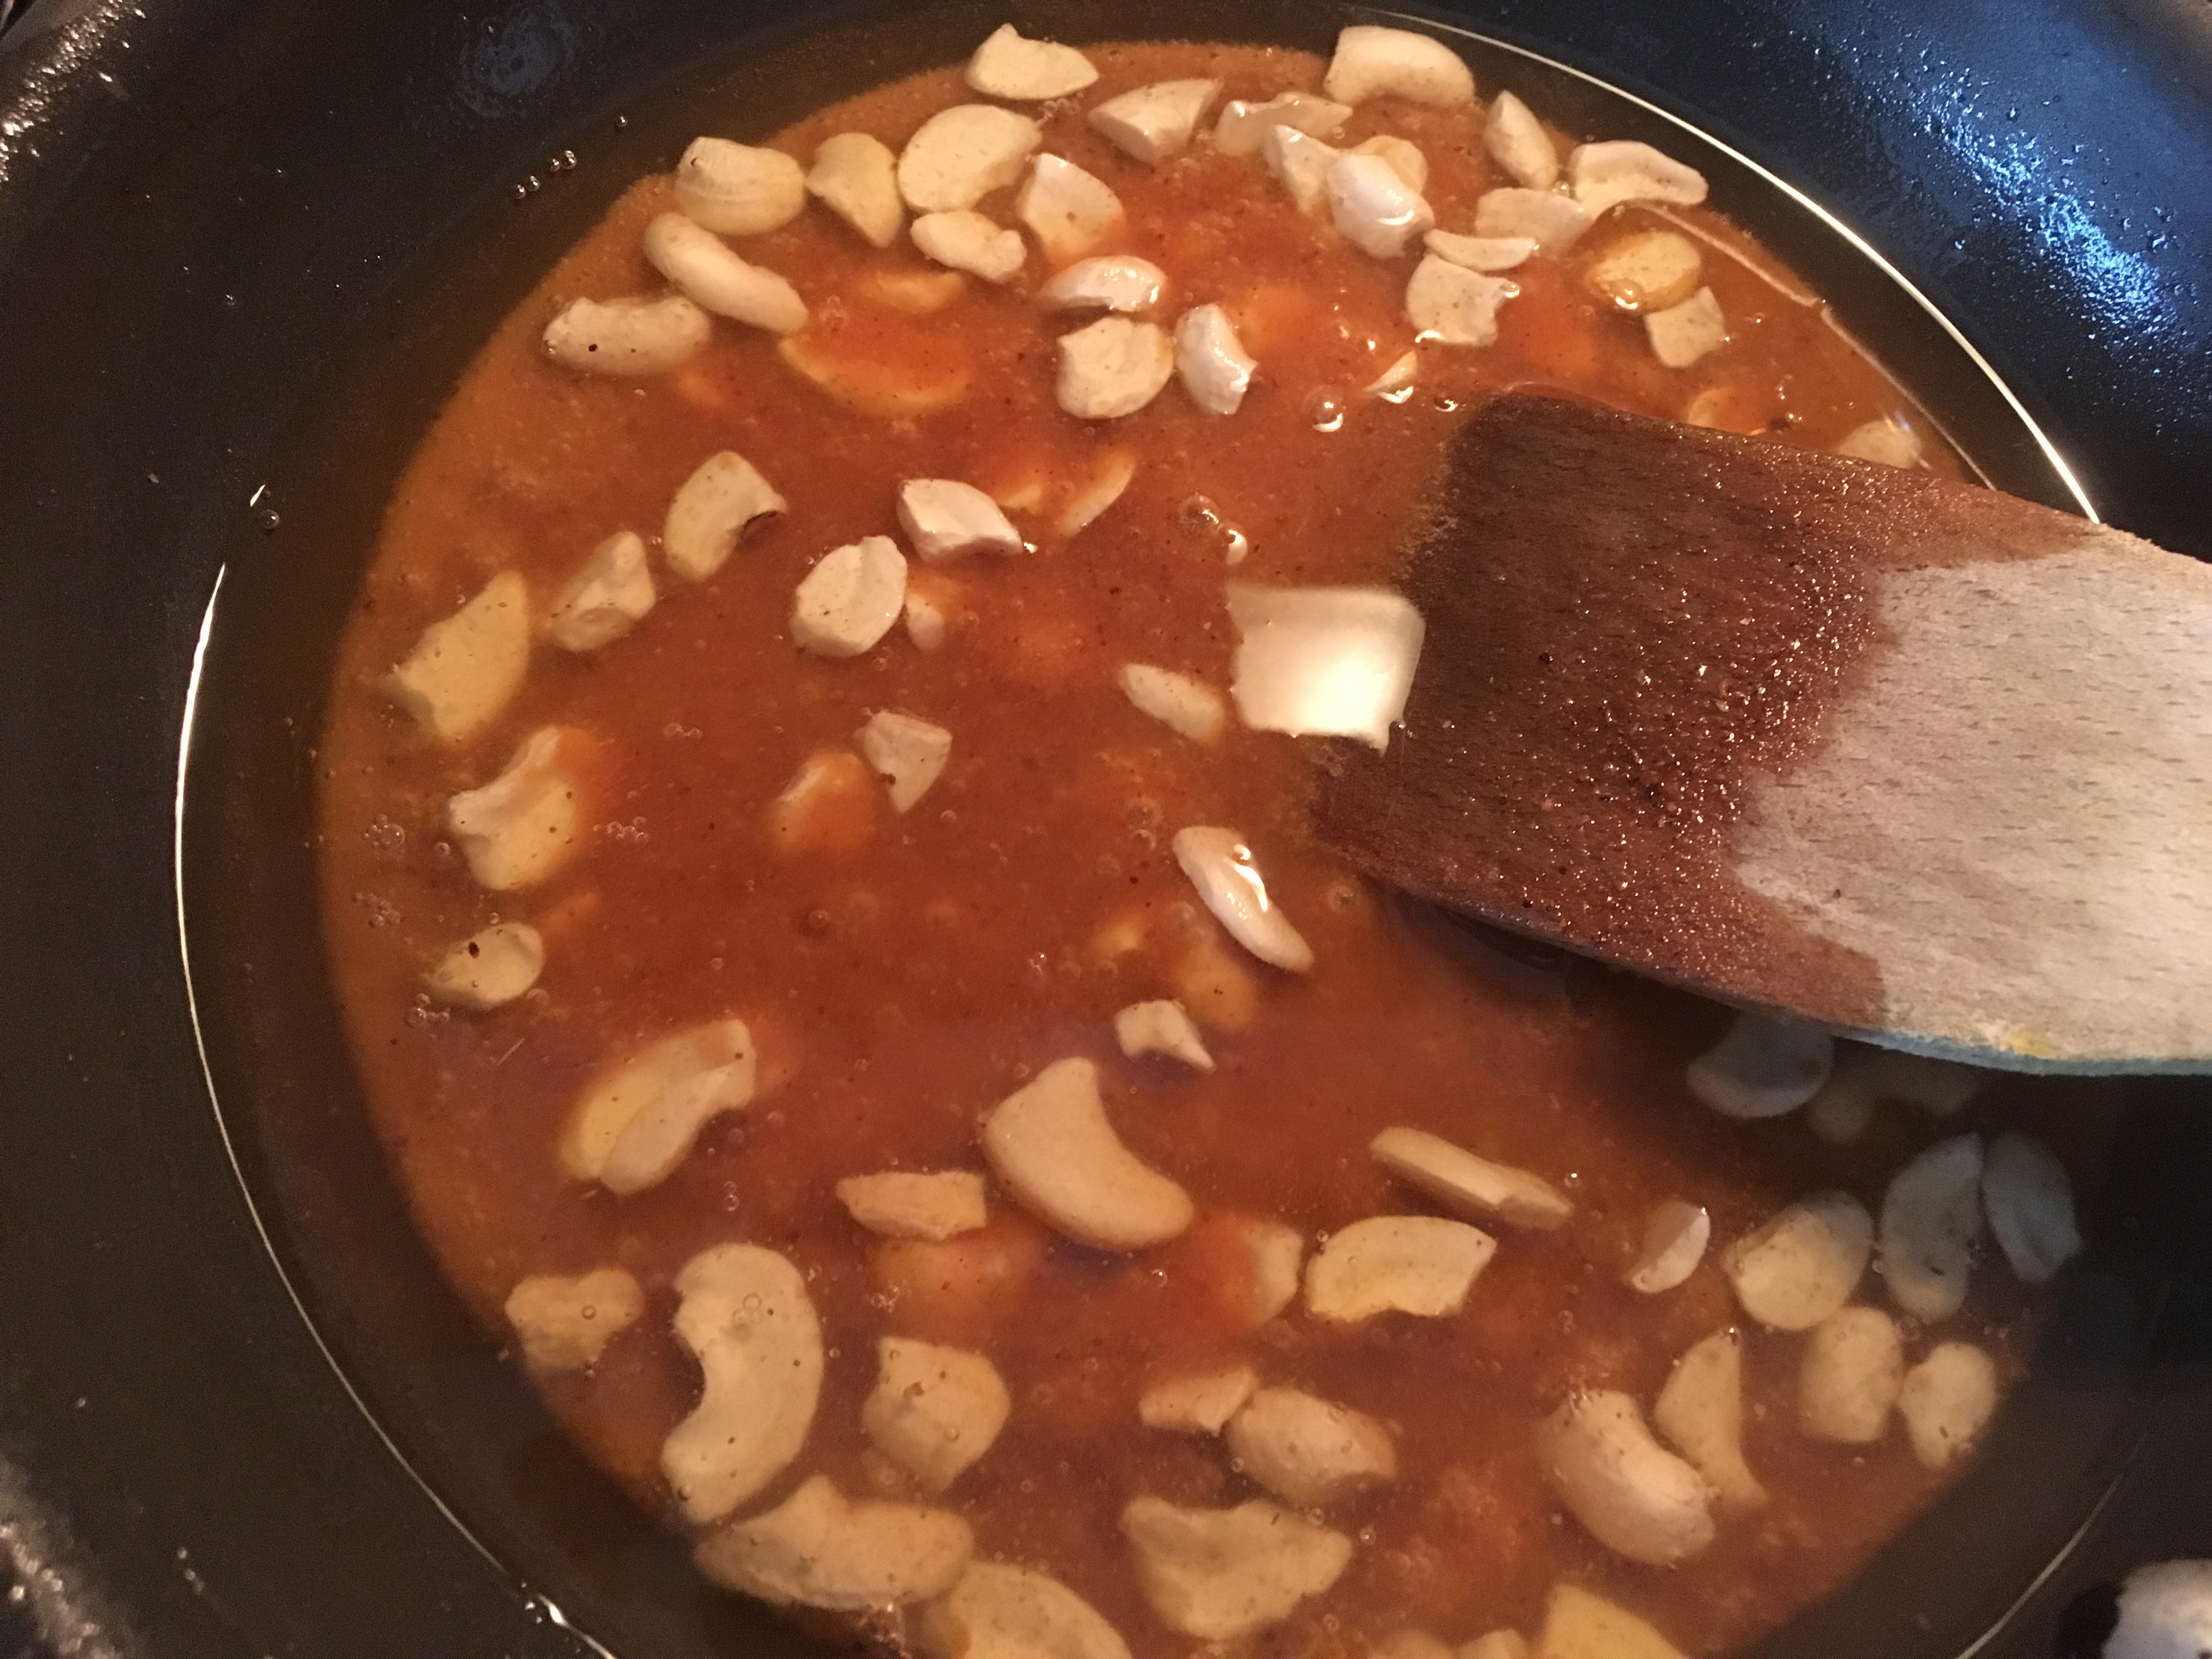
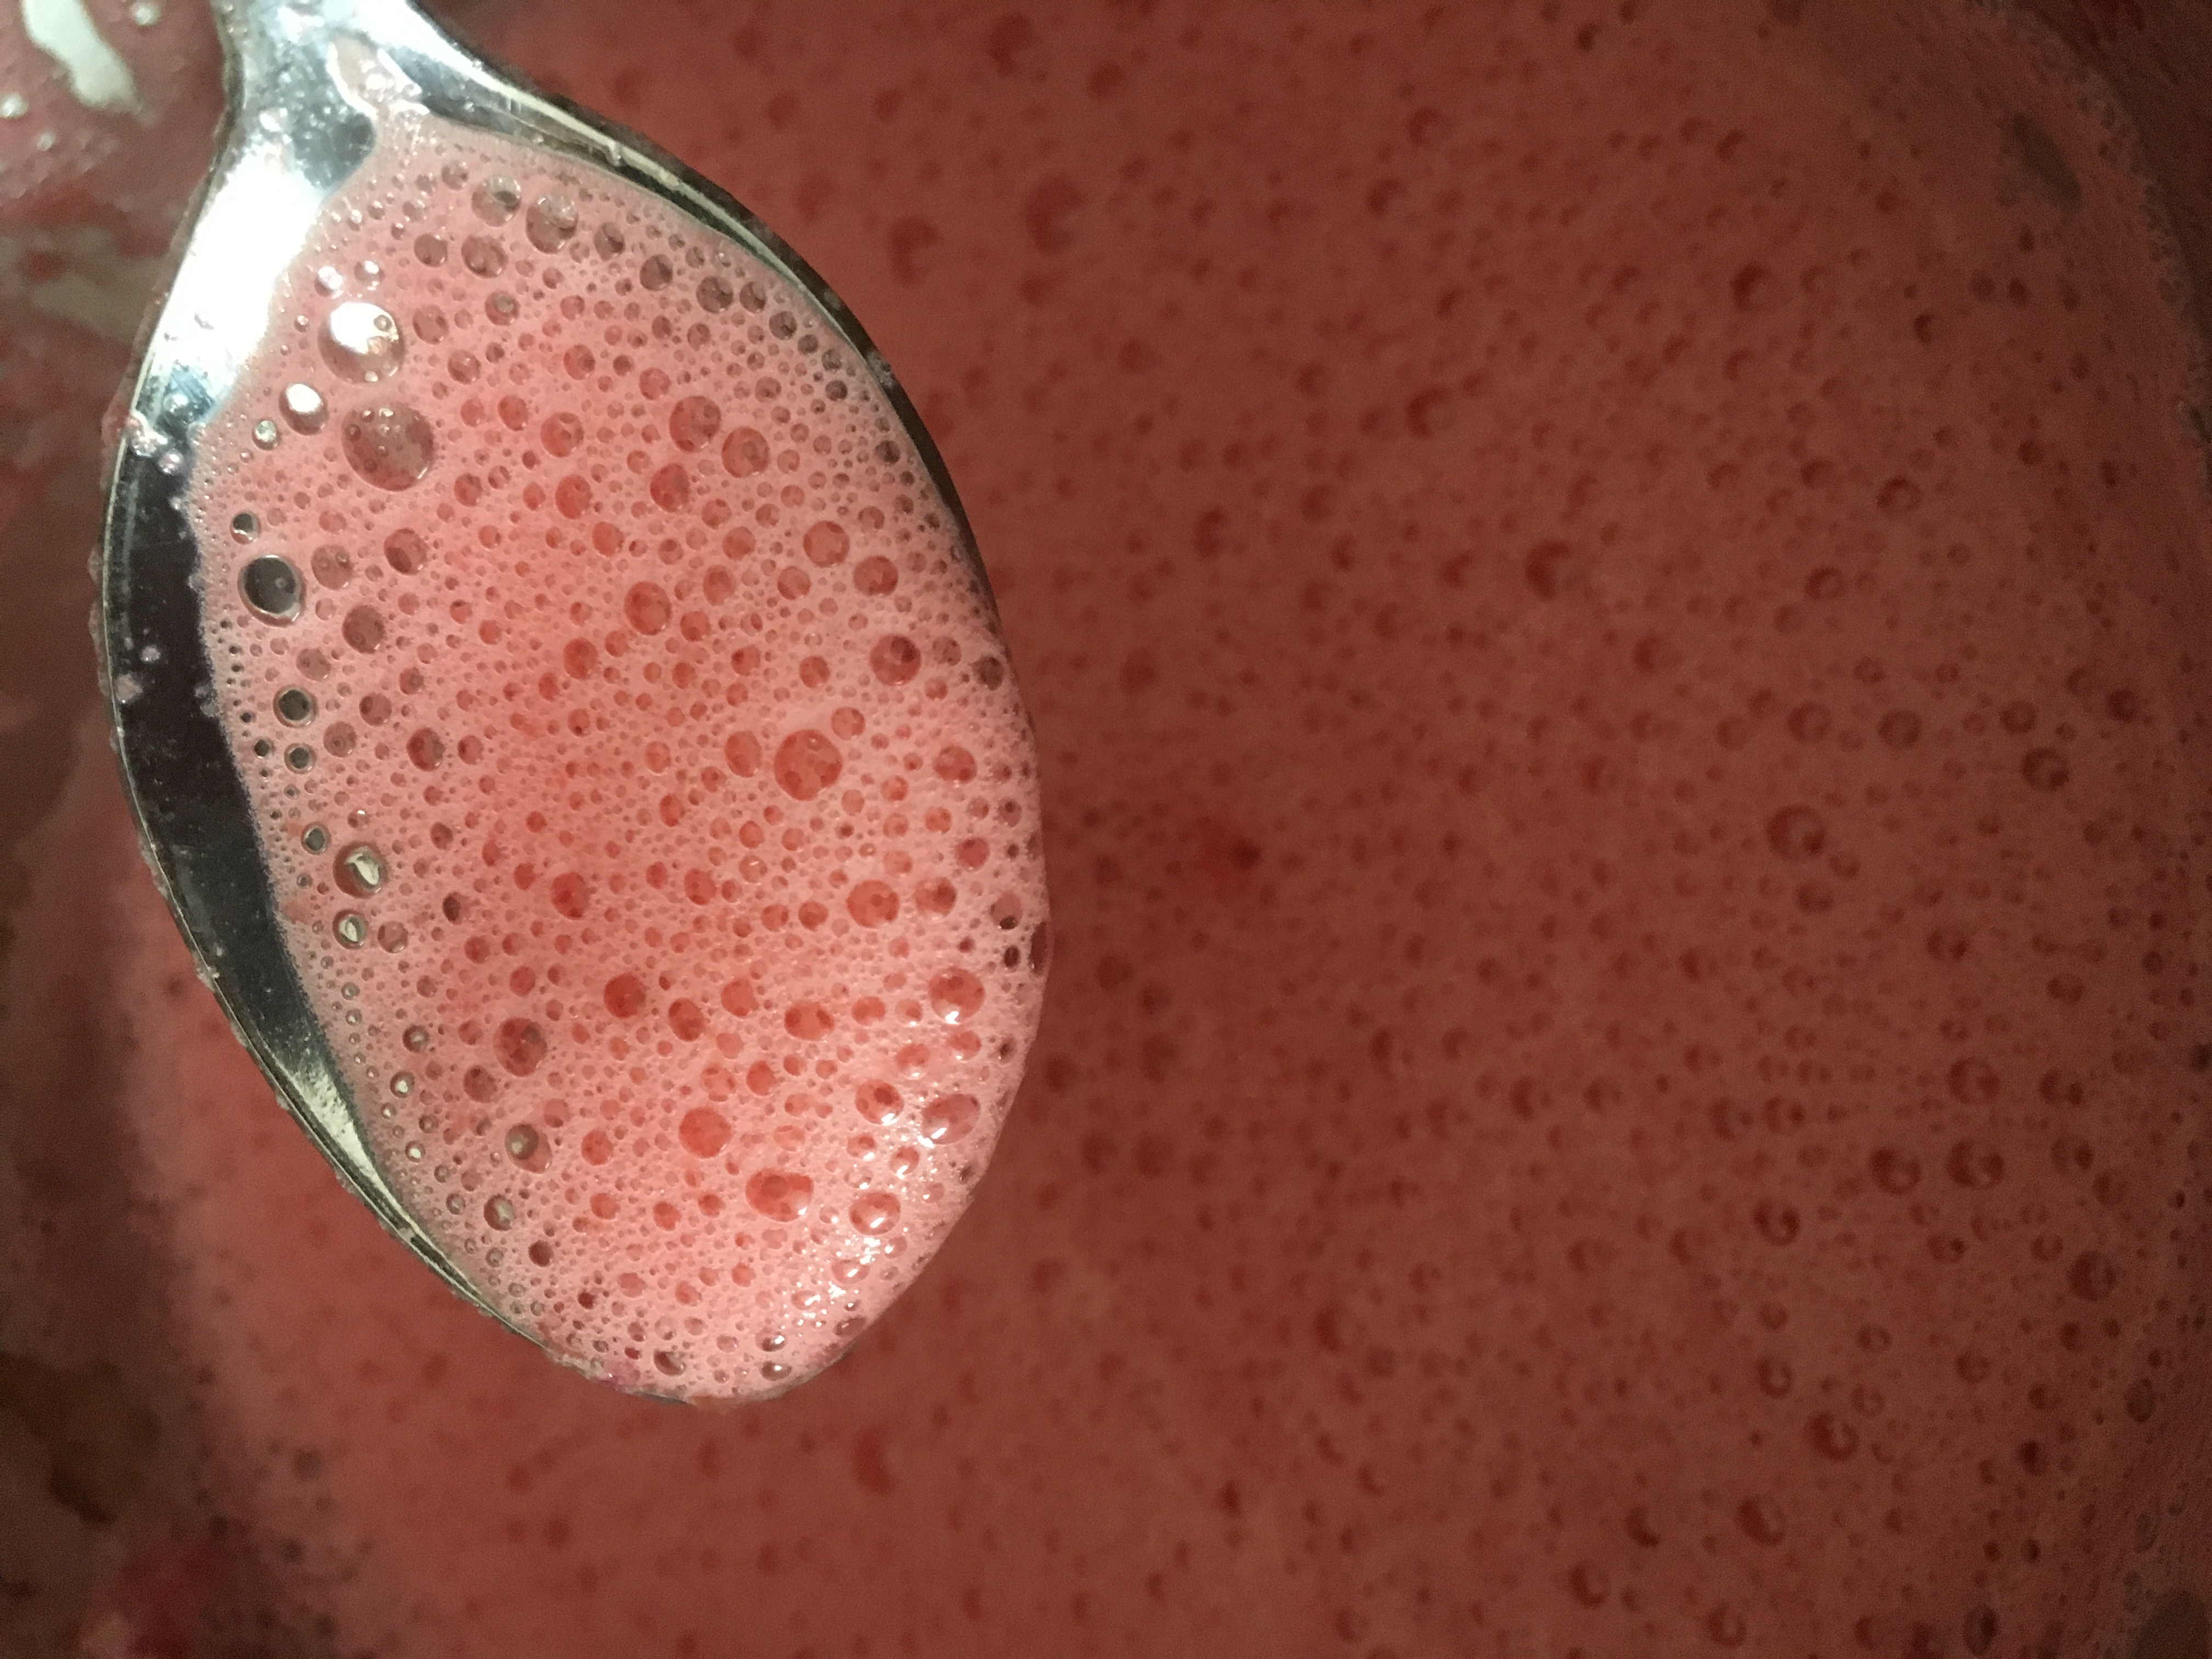
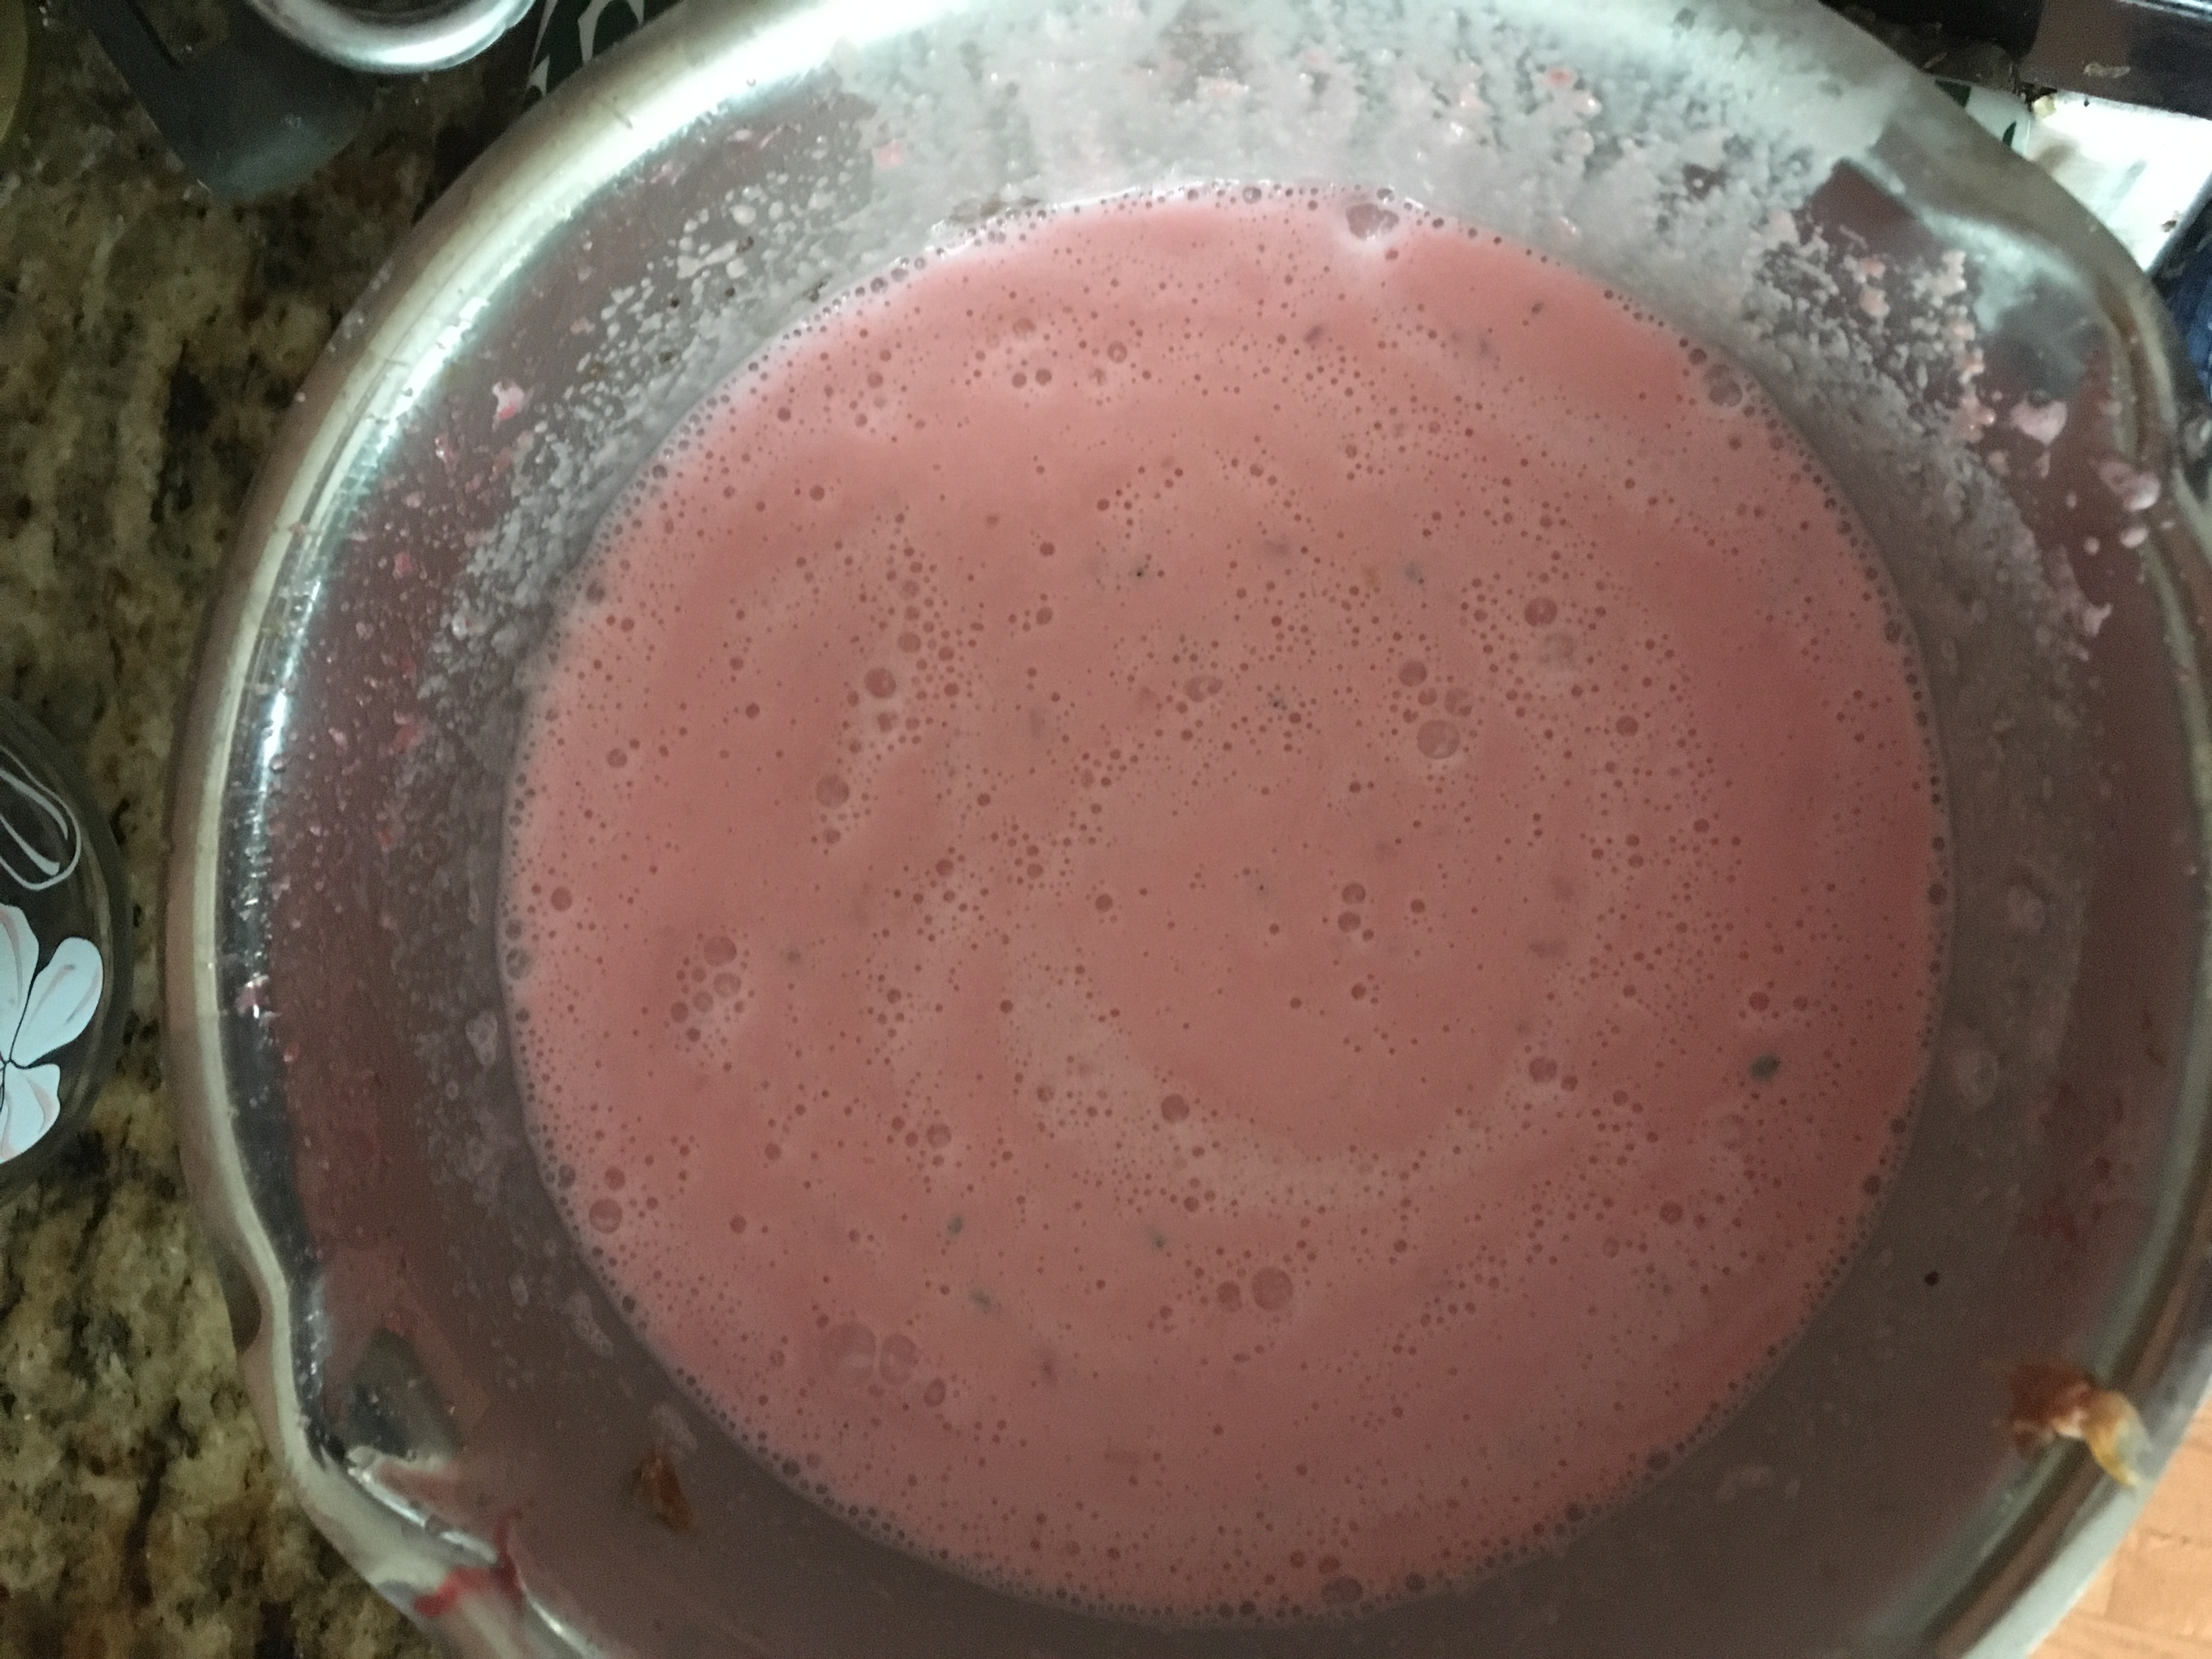
  11. Boil heavy cream, 1 stick of butter and 1/2 cup of sugar to make the toffee syrup.
  12. Cool the toffee syrup for 5-7 minutes.
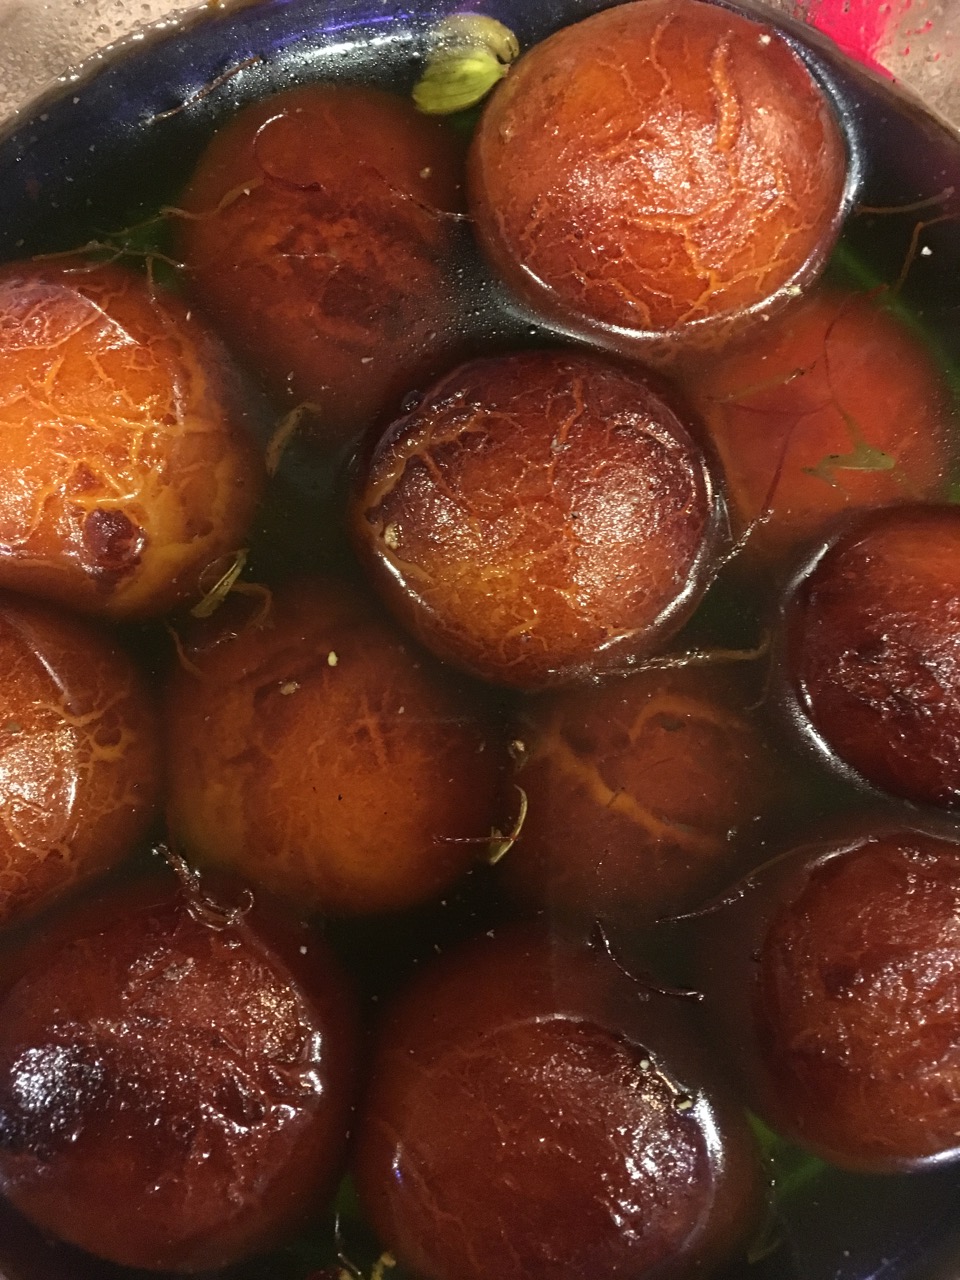
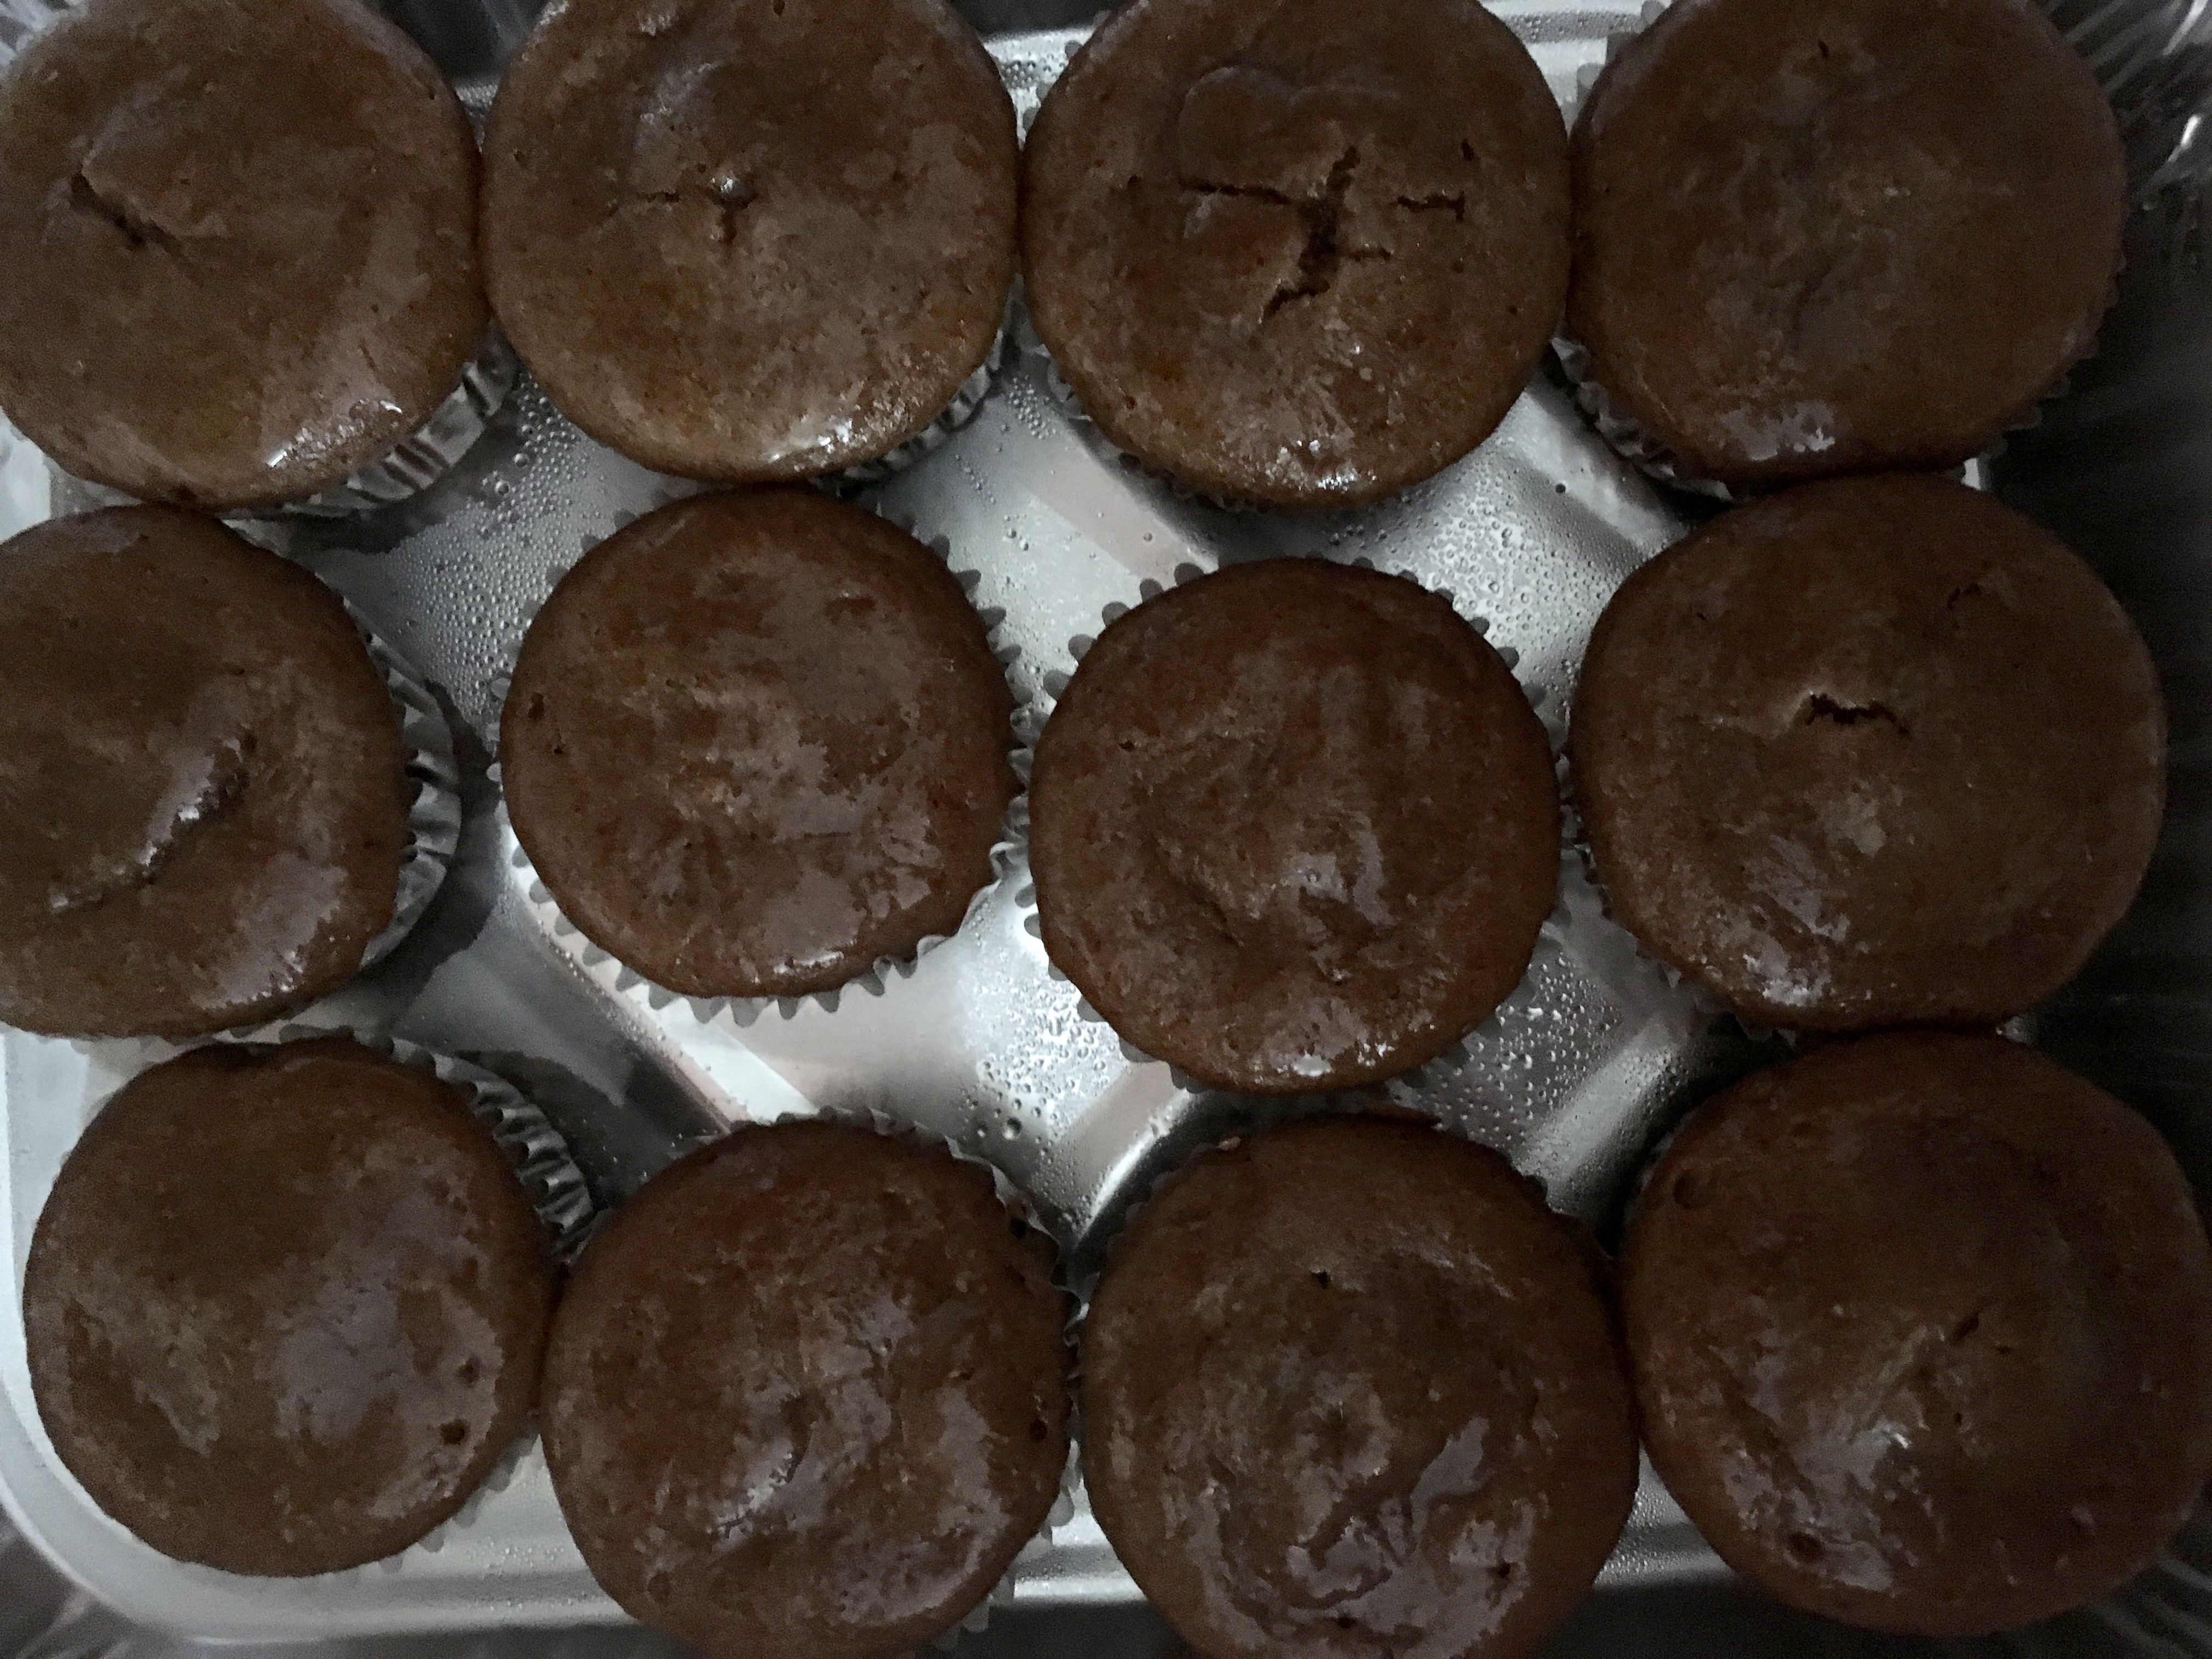
  13. Prick with a fork all over the date pudding. Then pour 2-3 tbsp toffee syrup over each of them.
  14. Soak the date pudding in the toffee syrup well, ensuring that they are well coated and let them cool for half an hour at the least.
Serving the Date and Toffee Pudding
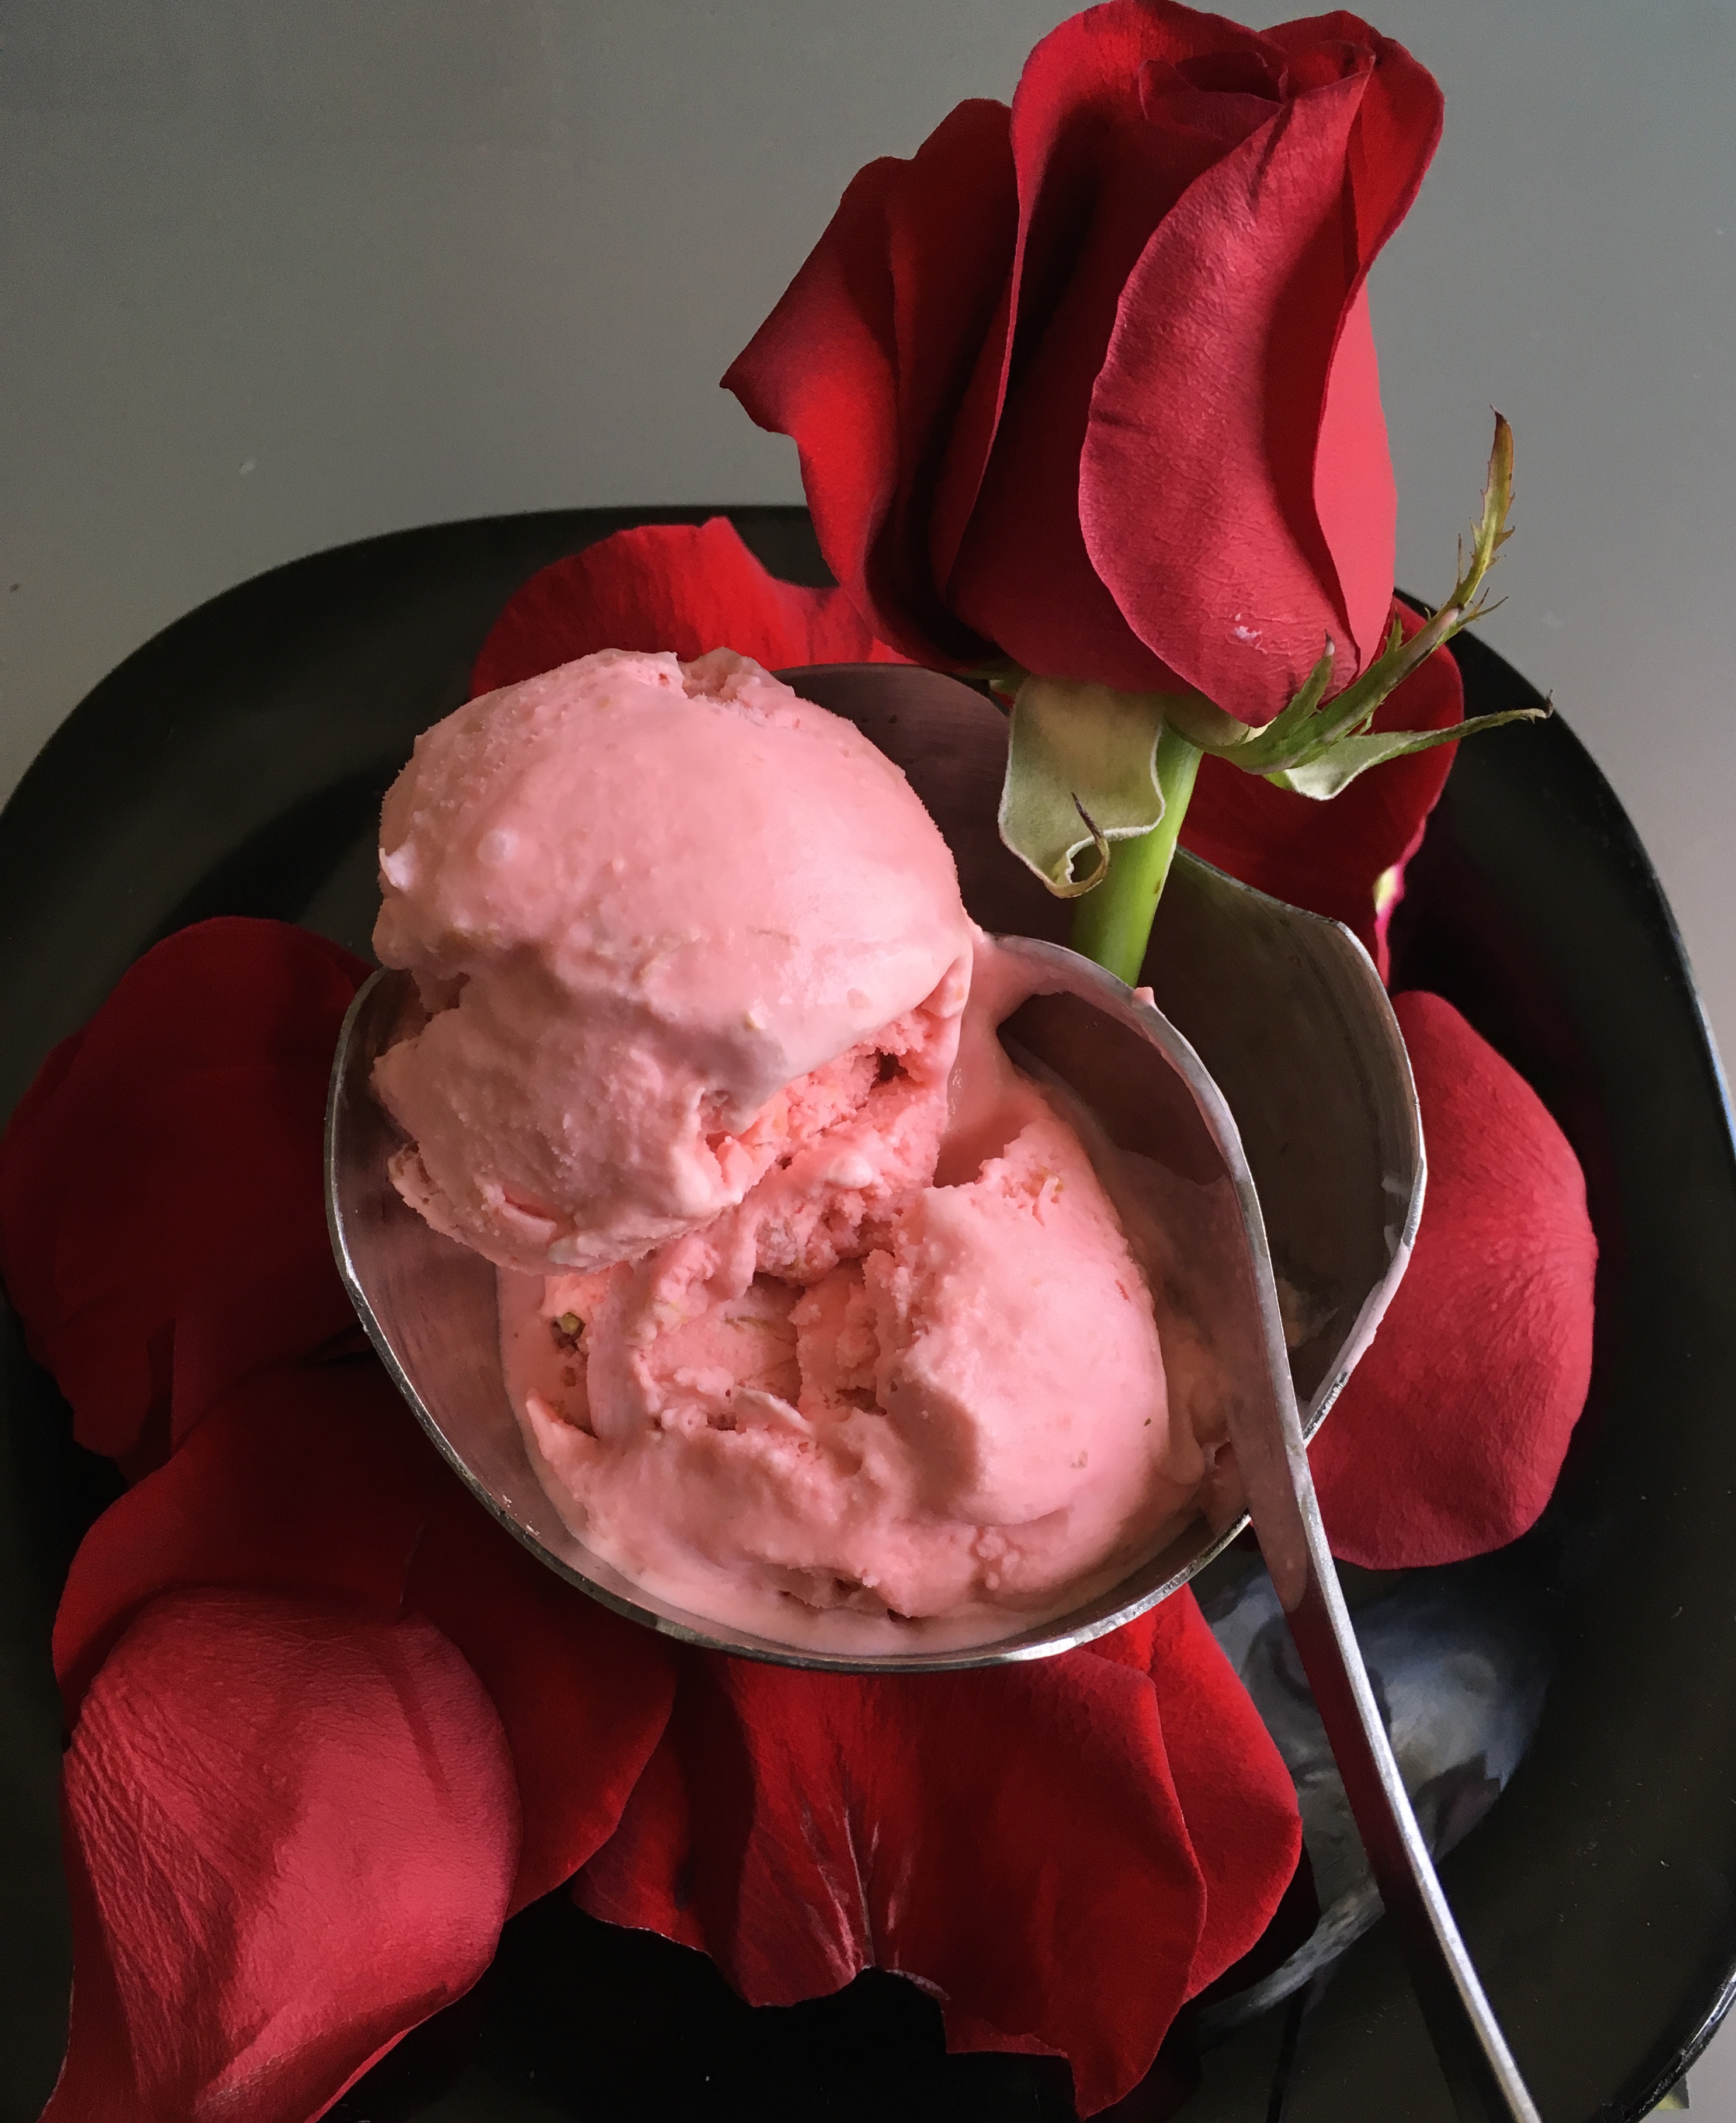
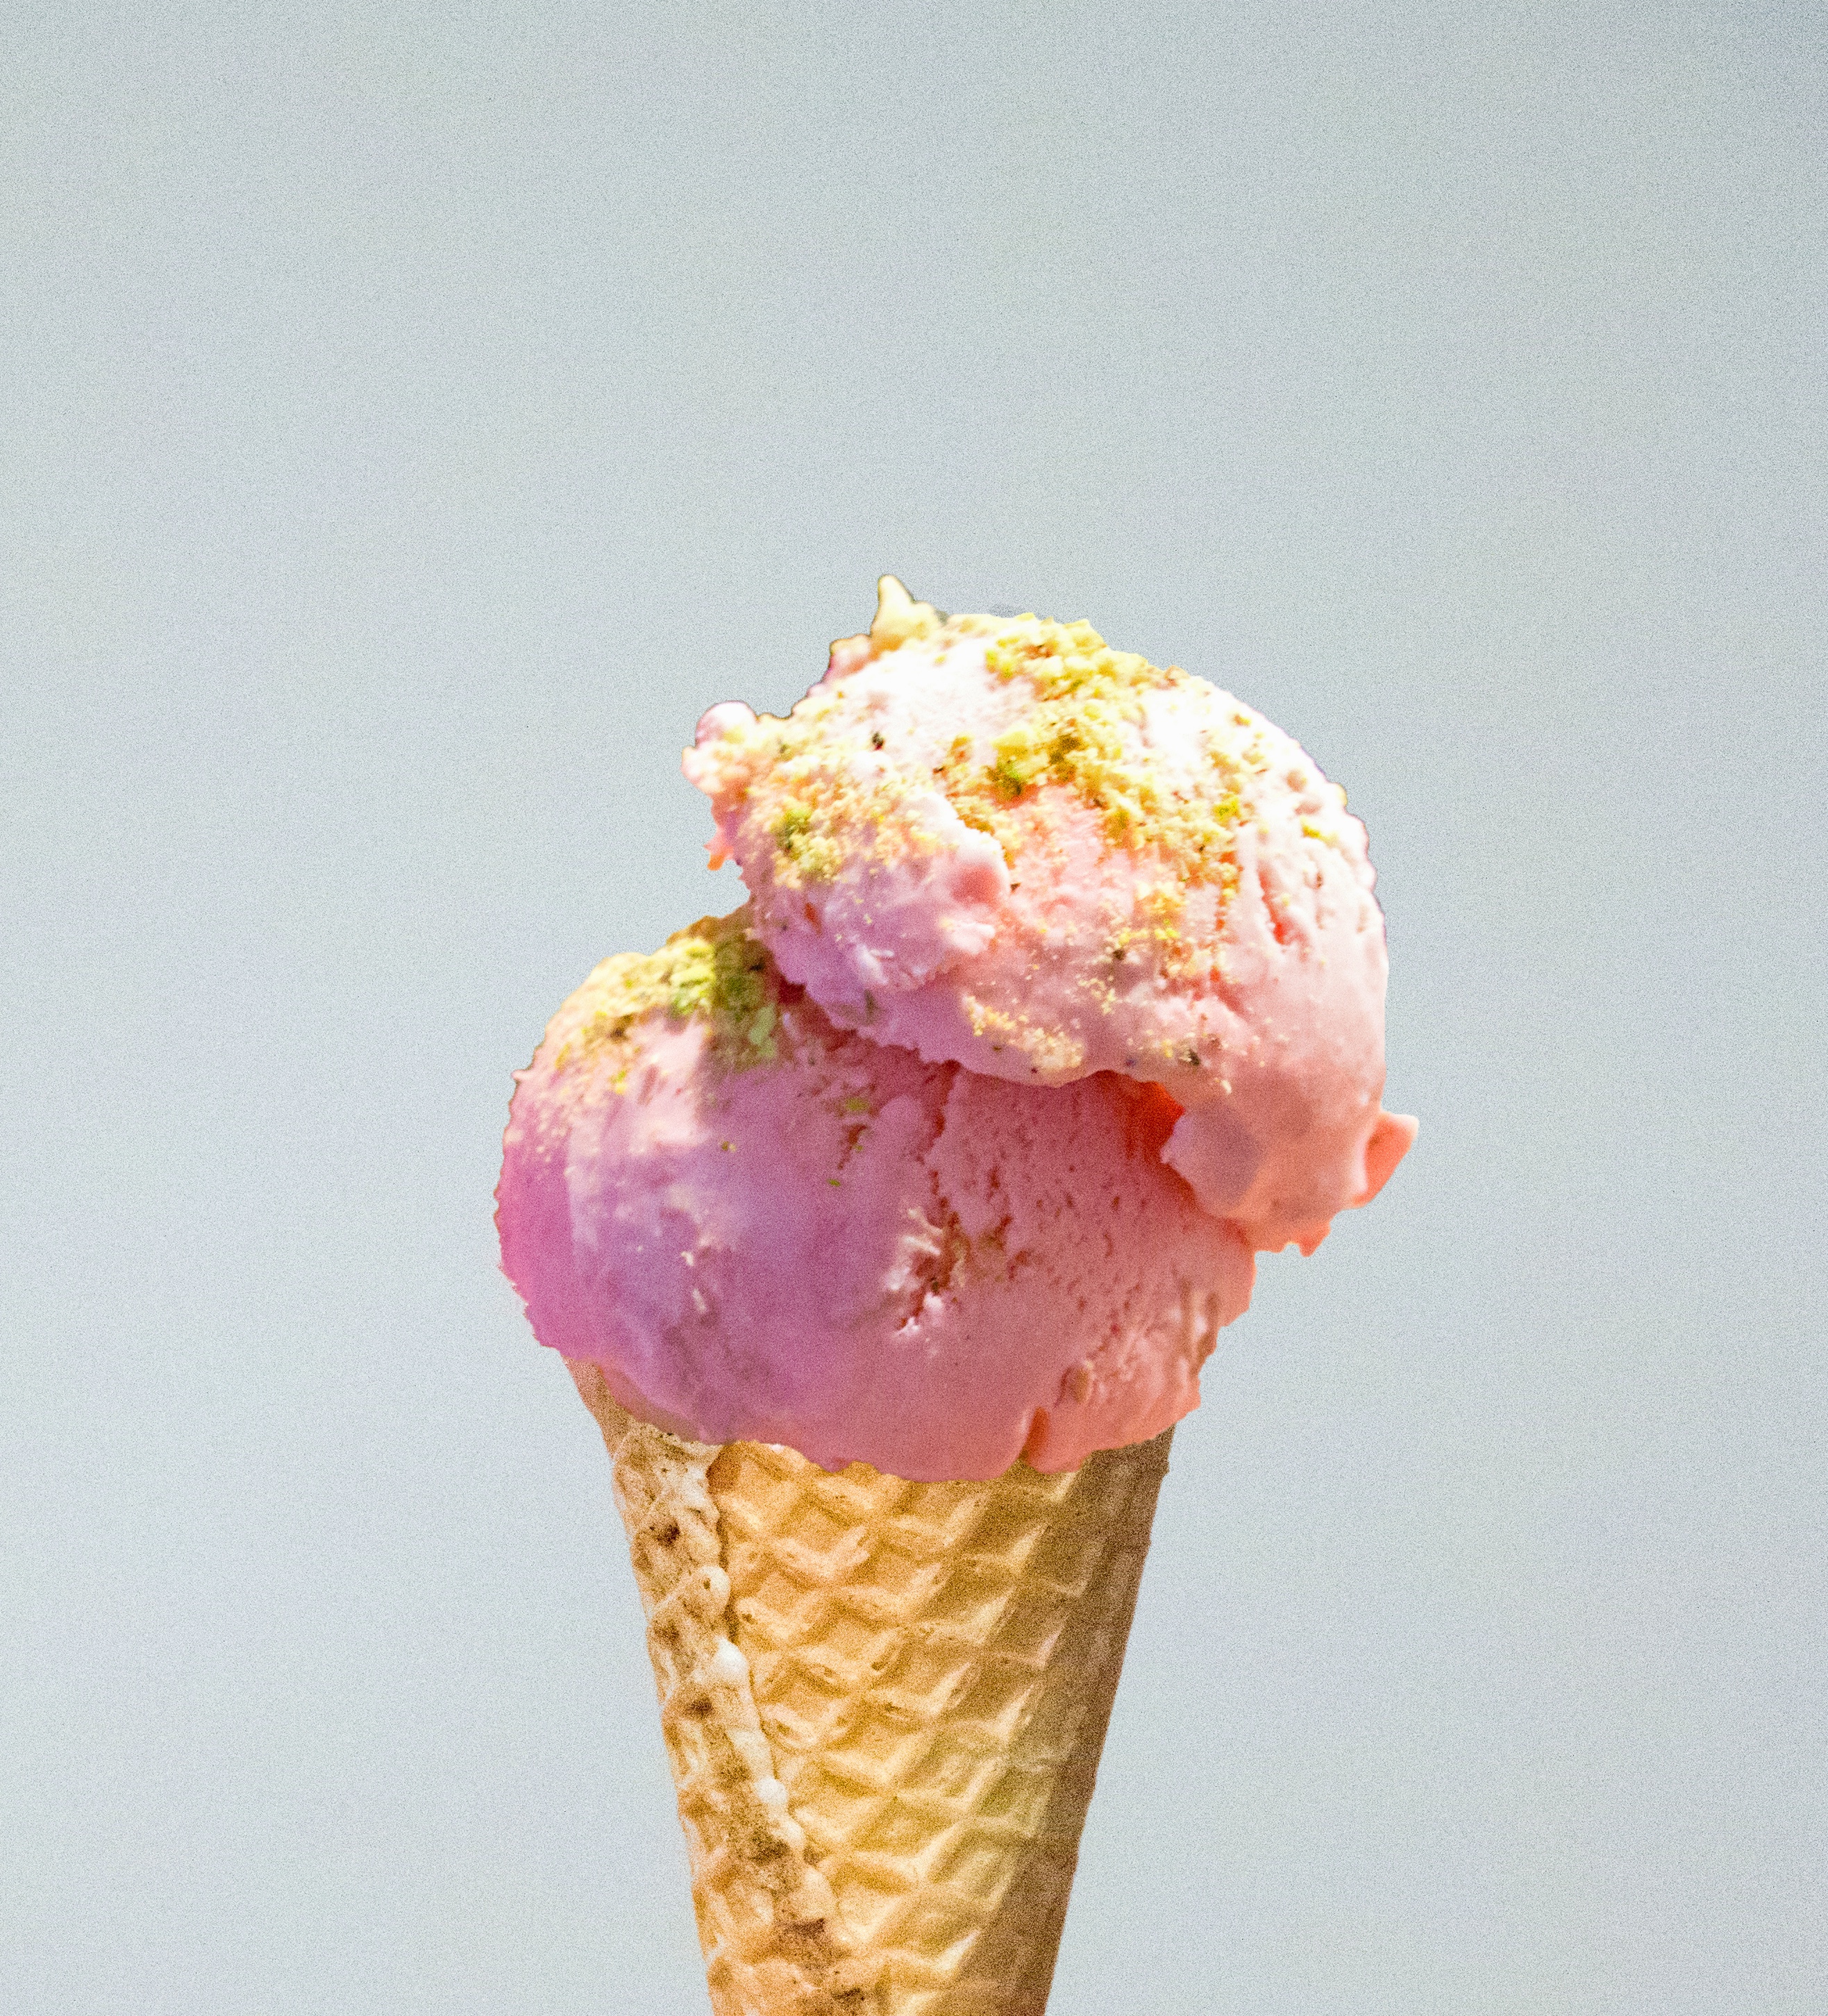
  1. When serving, microwave each pudding for about 30 seconds. Arrange the fruit/berries in the centre. Scoop an ice cream of your choice, and then either layer it on the top of pudding, or by the side.Serve immediately.
  2. Date and Toffee Pudding
Recipe Notes

Tips

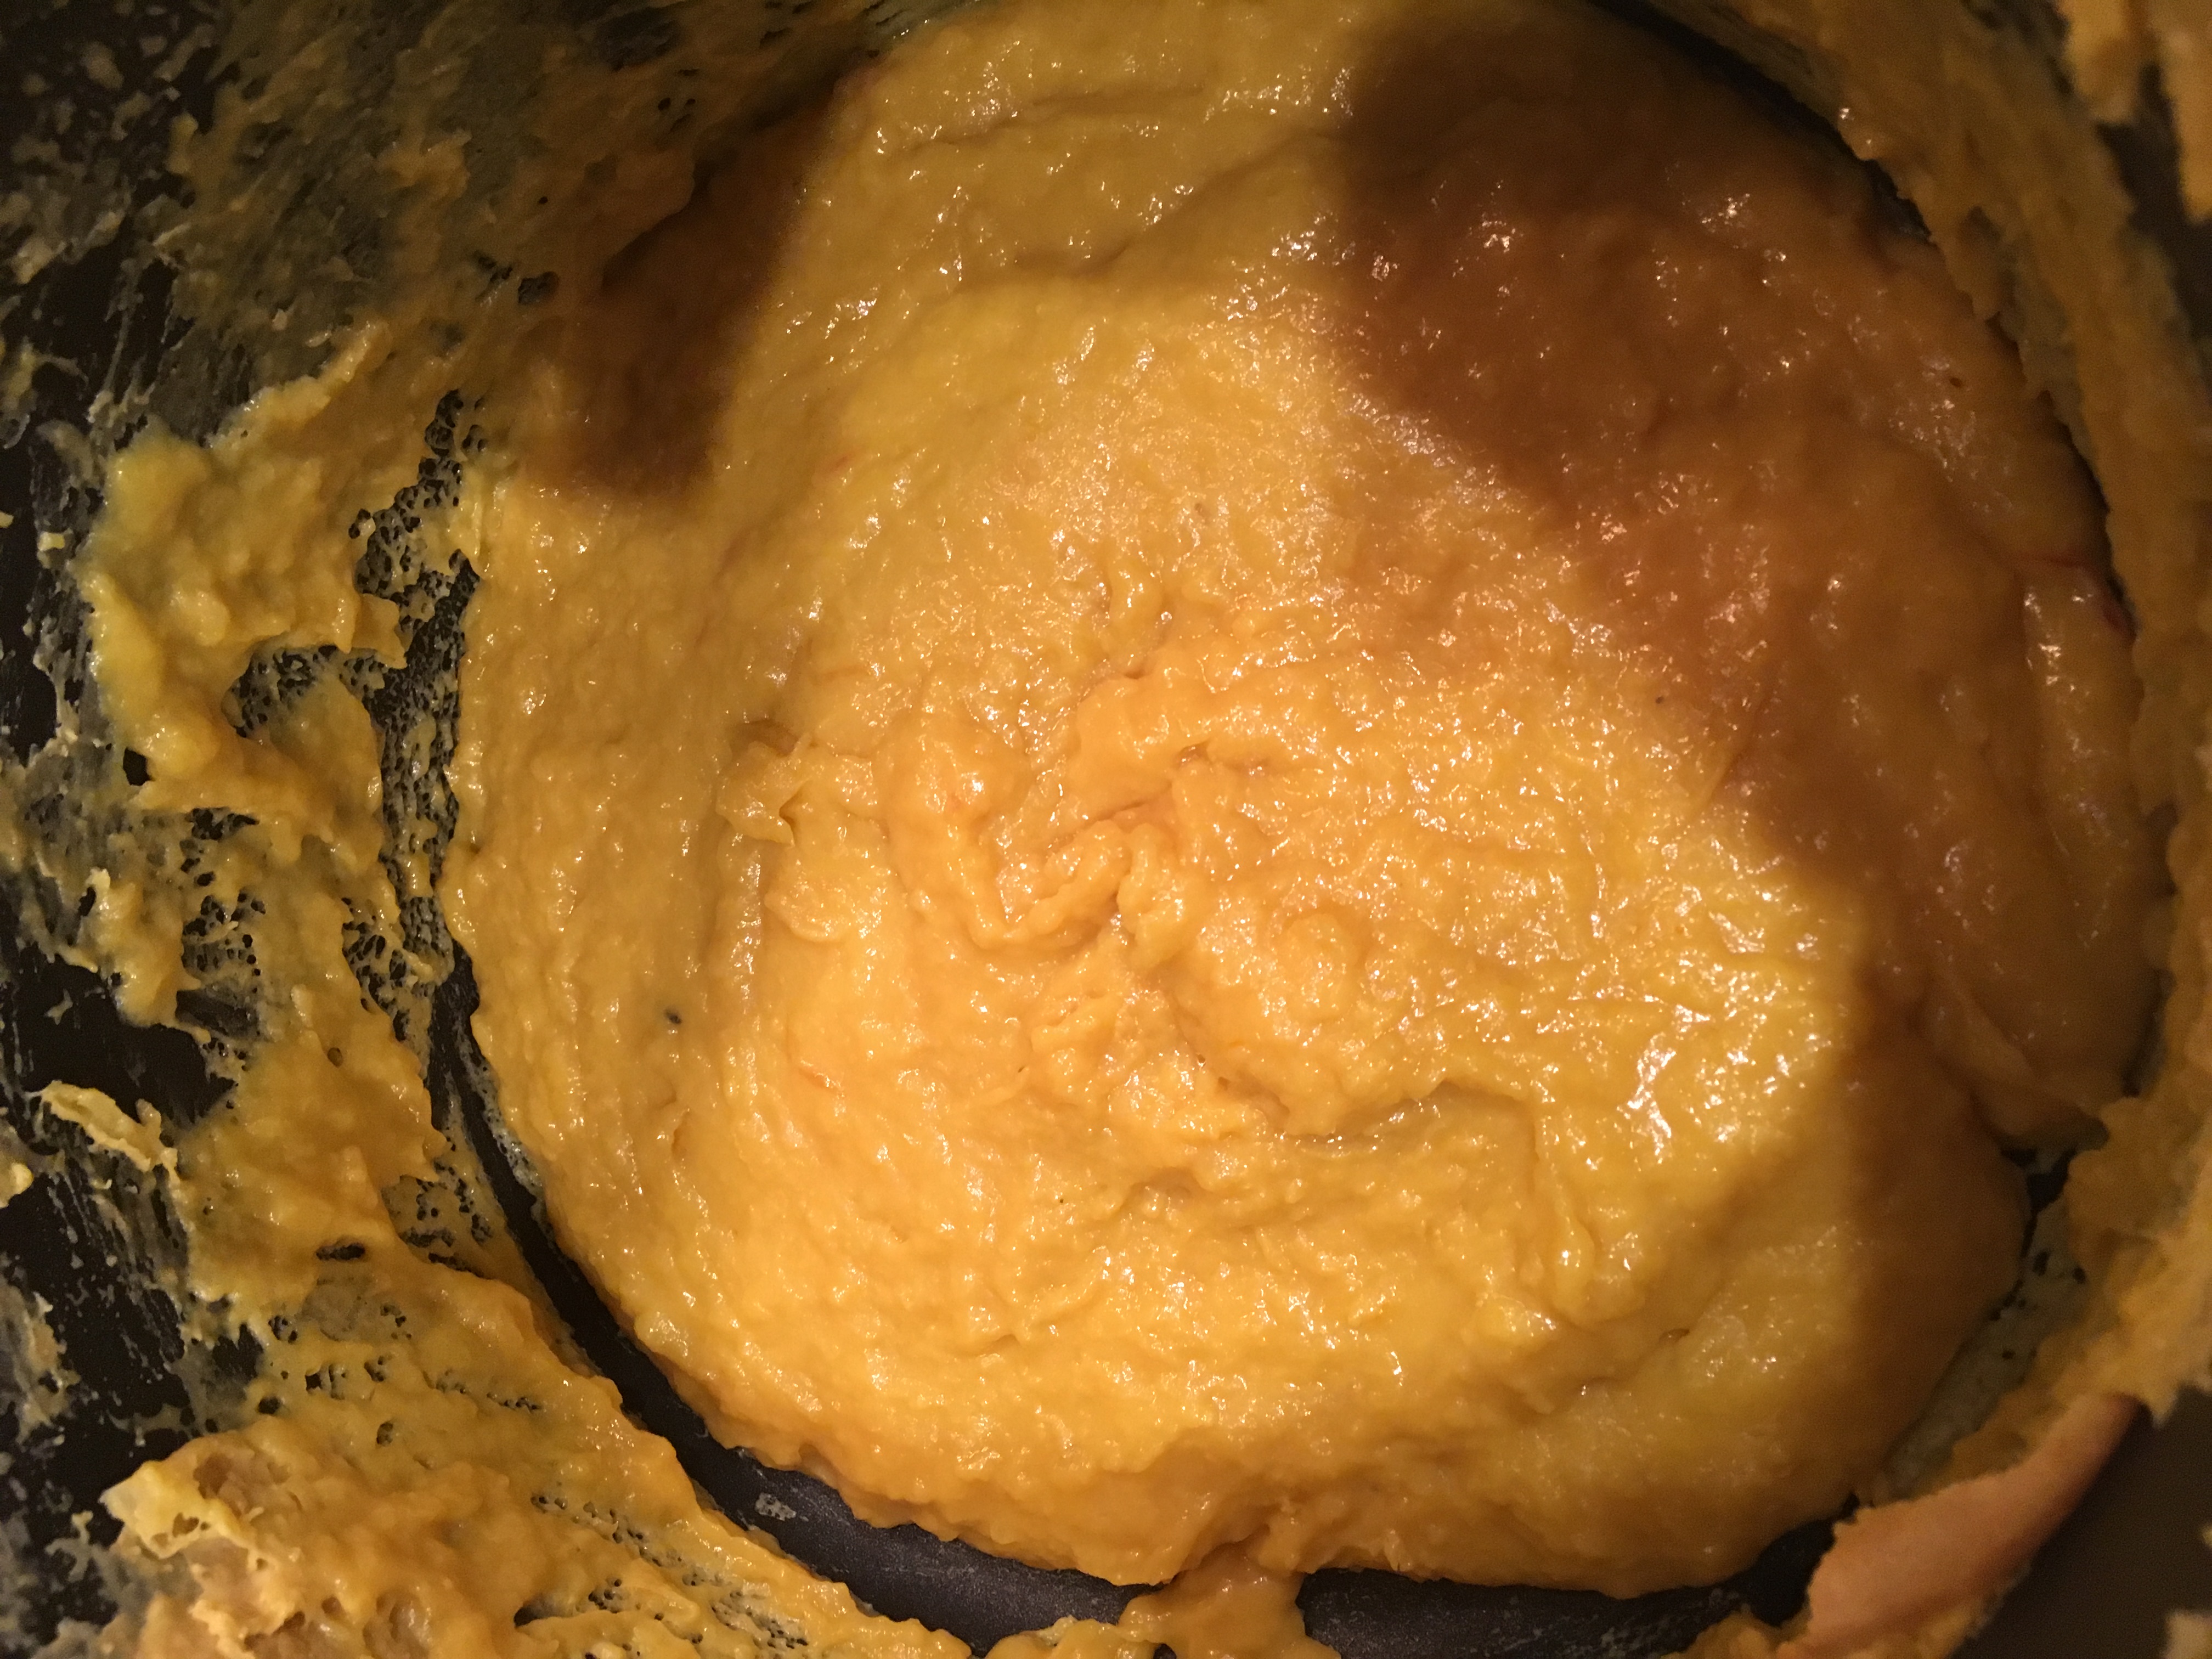
If the toffee syrup becomes thick, put to warm on low heat, so it is easily absorbed by the pudding. 

Serving ice cream on the side, will avoid it from melting fast.

Check if the date and toffee pudding is properly baked by sticking a toothpick/fork in the middle.

Instinct Factor

A new shape for a pudding for the new year! if the pudding mix does not drop well, add another tbsp of water. Softness of the pudding will depend on how well the butter has been fluffed.

Feel Factor

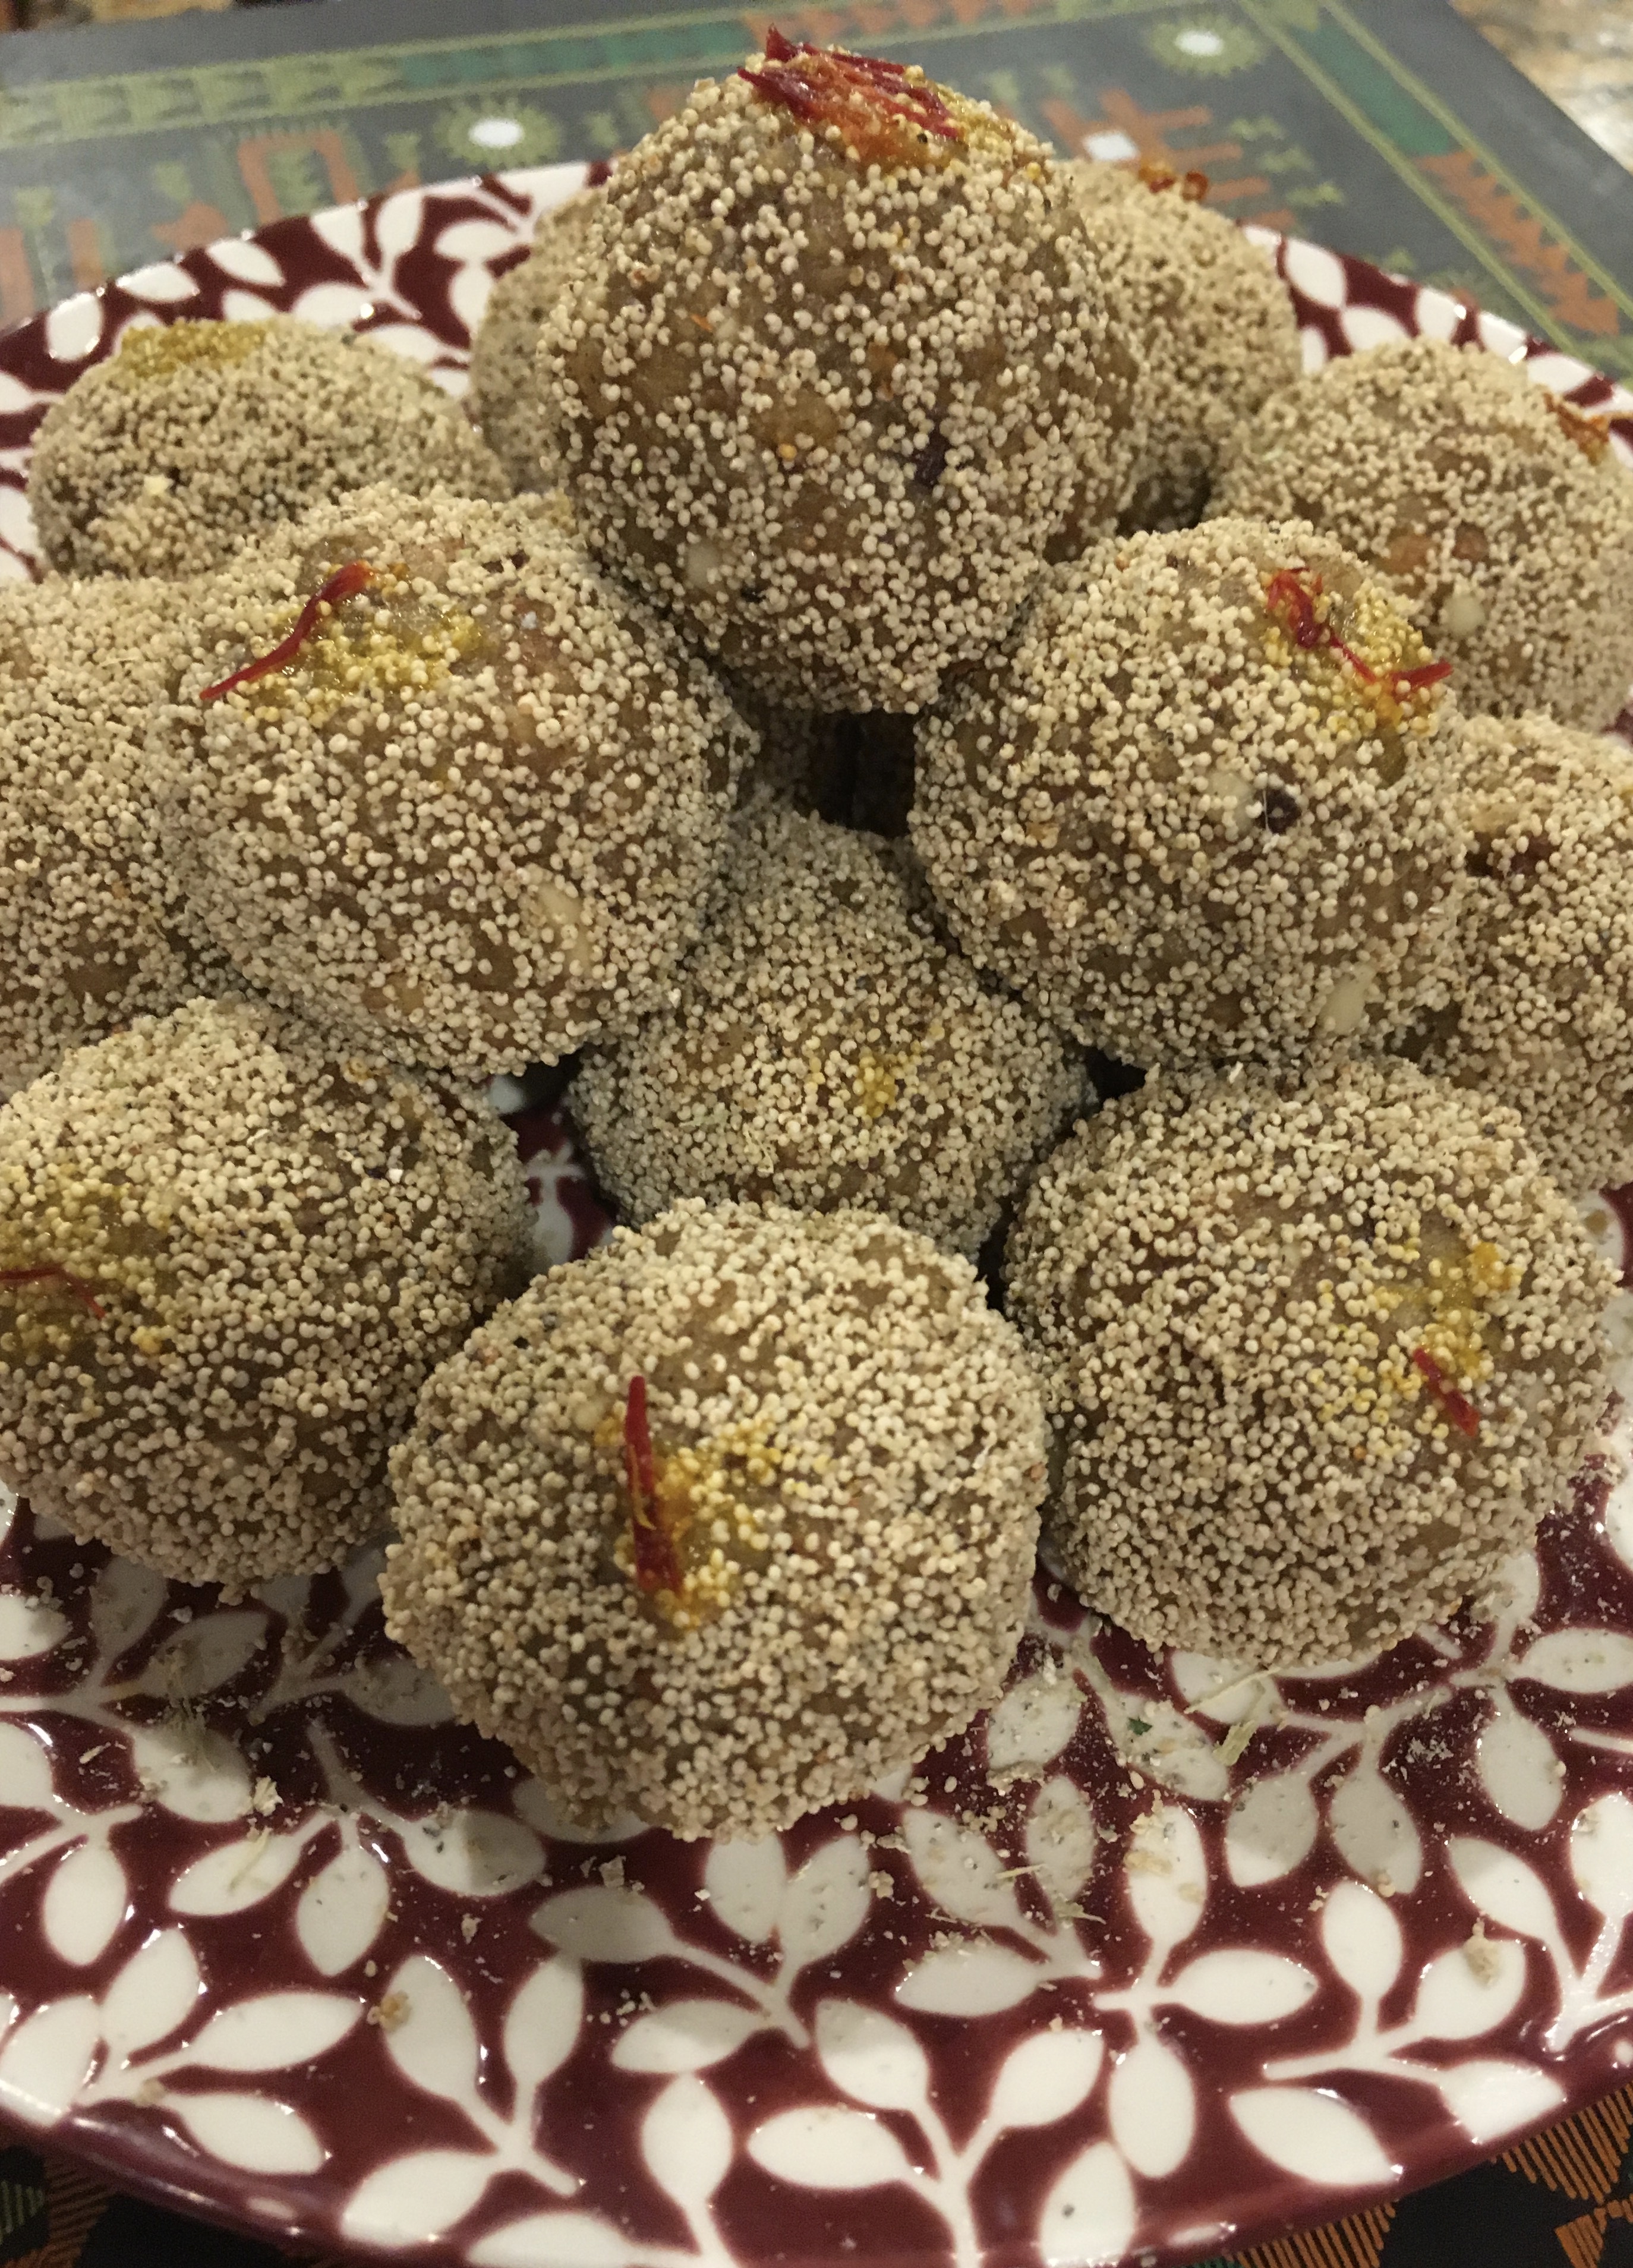
Ringing the new year 2018 with this warm fuzzy Date and Toffee Pudding !! The perfect warmth,, texture softness, and caramel sweetness, surrounded by the colorful berries and coated with an ice cream of your choice! A combination of hot and cold, in this delicious dessert. The sweetness of dates combined with the toffee syrup makes this pudding a one of kind and will certainly make your family and guests feel on top of the world! Here's to more sweet recipes in 2018!


Chikoo Ice Cream with Cinnamon Rose MintChip


Chikoo Ice Cream with Cinnamon Rose Mintchip is made from a highly popular Asian and Mexican fruit. “Chikoo”  is also a pet name for young kids, in many Gujarati households, including mine! The fruit is also known as sapodilla or zapota  or sapota. A berry like fruit with dark black almond shaped seeds. Its skin is rough brown and the ripened flesh has a nice brown color. It is known for its sweetness and malty flavor, and this has been a favorite fruit of mine. The chance of getting to eat fresh chikoo that is nicely ripened is very slim in US. Even if I get some fresh chikoos, they do not ripen well. So in the twenty-five years that we left India, eating this favorite fruit has been a rare opportunity. Frozen chikoo slices have a sourness and so does the pulp of chikoo, with its dose of preservatives. 

Casual wandering around a newly opened a grocery store , I spotted a Chikoo Pulp can, and was immediately excited to use that.  If nothing else, I can have the popular chikoo milkshakes which have a flavor of the malted milkshakes, the older cousins of the current milkshakes. I always liked the grainy texture in this fruit which only recently  I realized gave it a malted taste.

Now came the part of trying this in an ice cream. Naturals brand in Mumbai and many other local ice cream shops across Gujarat have this chikoo ice cream readily available, but they also have a dense taste of chikoo in it. I have primarily used only fresh fruits in my ice cream so this was a bit of challenge for me as to how reduce the taste of preservative in the ice cream? Not afraid to experiment, I  let my creativity guide me. I decided to throw in some cinnamon to bring some fragrant sweetness, added rose essence for hiding the sourness on account of preservatives, and gave it  the quintessential topping of chocolate mint chips to give it a texture and appeal similar to the popular ice creams! Not knowing how the combination is going to turn, I eagerly waited for the ice cream maker to churn and for the clock to turn full twenty four hours, for me to dig in a bite of my very own concoction! 

I liked the pale pink color ice cream in which the brown mint chips  were sticking out their sunny heads! The rose essence also aligned well with pink color of the ice cream. The freshness and  cooling feeling of rose fragrance went well with the cinnamon sweetness . As you eat the ice cream, the first flavor that hits you is the rose essence, then you are introduced to the cinnamon flavor and finally you are left with the hint of the chikoo flavor. And if this is not exciting enough add, some toasted coconut chips were great as extra toppings!.  You will  probably say, this was worth my time and effort for being able to relish so many different flavors in a scoop of my favorite colored ice cream!

Chikoo Ice Cream with Cinnamon Rose Mintchip became a topic of conversation in a couple of different groups of parties, with this flavor being more popular amongst the westerners, as it was definitely a fruit that they were not aware of, but still appreciated the flavor and texture! 

Print Recipe
Chikoo Cinnamon Rose MintChip Ice Cream
Chikoo ice cream from Chikoo pulp
Course Dessert
Servings
1 quart
Ingredients
Course Dessert
Servings
1 quart
Ingredients
Instructions
  1. Ensure that the ice cream container is well frozen for 24-48 hours before using it. Mix in all the ingredients and churn the ice cream for 25 minutes, till it all forms a lump.
  2. Transfer the mixed ice cream base to a freezer container and let it set for at least 24 hours.
  3. Serve in a cone or a cup and top it with few roasted coconut flakes or any other favorite topping of your choice.
    Chikoo Ice Cream with Cinnamon Rose MintChip
Recipe Notes

Tips

Keep the whole milk and heavy cream well chilled before using it, which will give it a great consistency while churning it.

Taste for sweetness halfway through churning to make any necessary modifications.


Instinct Factor

Let your instincts guide you in modifying  this flavor as it truly as no original flavor !

Feel Factor

A totally exotic creation with a hint of boldness that people with a penchant for trying new flavors will certainly like it! For folks in India and Asian countries this will  be flavor close to home, with its use of cinnamon, rose and chikoo. And for those who do not like chikoo that much, will not be too disappointed with so many other flavors to satisfy their taste buds. Give it a shot and you might just discover something interesting in this Chikoo Cinnamon Rose MintChip Ice Cream!!


Guava Ice Cream

An ice cream with Guava flavor? This was the question on my mind as I was presented this highly unique and refreshing flavor in Mumbai on my recent visit to India. Today I salute the spirit of Mumbai by posting this recipe of Guava Ice Cream made famous in Mumbai, by Apsara Ice Creams. Apsara is a chain that has been in existence for the past 50 years or more, and surprisingly I never encountered it during my younger days. Its first location was in Walkeshwar and it is believed that all the ice creams at Apsara are made in hand ice cream machine and hence has a rich texture and flavor. I am not too sure of this fact, but if it is true, it is truly worthy of respect for ensuring that the quality has not been compromised,

Mumbai is a town which really comes together in the face of disaster and shows what a humane spirit it has. Right from 1993 blasts to various calamities, it is the spirit of Mumbai that is indescribable, but one has to live there for a few months, to fall in love with the madness and chaos along with its gutsy, warm community.

Back to the Guava Ice cream, I had the privilege of having this on none other than the 75th birthday of my mother who is a BIG ice cream fan. The reason why this ice cream holds a special place in my heart, is because of its topping of red chili powder and salt. That combination, gives you the feeling of earring raw guavas topped with salt and red chili powder! Kind of like the Mexican chocolates which has cayenne peppers in it! That is true creativity at heart and a big salute to Apsara for retaining this flavor with its true taste.

When you eat this ice cream, you get the kick from not only the guava itself, but also from the spicy flavor on the top mixed with the sweetness of the cream and sugar. The challenge to a great flavor is having the guava ripened to the correct level. My initial try had been made with somewhat raw guavas that were more greener, and hence the taste did not compare with the one at Apsara. On later modifying it to more yellowish guava, I was able to recreate the taste to the one I had in Mumbai. Matching this to Apsara flavor brought big smiles on my daughter’s face!

A Guava ice cream treat for my readers,who have really been engaging with the blog and coming back to it, even when there were no new posts for some time. Hope you enjoy this Guava Ice cream, as much as I fell in love with its sweetness and spicy tinge! My apologies to the readers for being quiet for almost three months, as got busy with high school graduation, summer break and college preparations, but now I look forward to sharing many interesting recipes with you all. Bon Appetit!


Print Recipe
Guava Ice Cream
Eggless Guava Ice Cream
Prep Time 45 min
Passive Time 8 hours
Servings
Quart
Ingredients
For the Topping
Prep Time 45 min
Passive Time 8 hours
Servings
Quart
Ingredients
For the Topping
Instructions
  1. Chill the ice cream making container for at least 24 hours before making the ice cream.
  2. Skin the Guavas, and de seed them. Chop them into small pieces.
  3. Mix the sugar with chopped Guava and blend it into pulp.
  4. Set the ice cream container into ice cream maker, and start the ice cream maker. Once it starts, pour the whole milk, essence, heavy cream, a pinch of salt, balance sugar and guava pulp. Let it mix for about 25-30 minutes, till it binds into a lump.
  5. Remove the soft ice cream into a freezer container and let it set for about 10 hours minimum before serving.
  6. Prepare the topping by mixing salt and red chili powder thoroughly, till no white salt crystals are visible.
  7. Sprinkle this topping before serving and enjoy the multi flavored sweet and spicy Guava Ice Cream,
Recipe Notes

Tips

Ensure that the container is pre chilled for a long period of time, otherwise the ice cream will not bind well.Also ensure that the Guavas are ripe enough.

You can even try this with Pink Guavas, which apparently is a famous Italian Ice cream, where they also use some spicy toppings on it!

Instinct Factor

Re creating this flavor was possibly only as I relied on my tastebuds, memory and instinct! And the beauty of making ice cream is that even if you mess it up, you can adjust the quantities of sugar, essence, fruit pulp by thawing the original, mixing the added ingredients and re setting it in the freezer. It does not required to be churned again!

Feel Factor

Second time lucky in getting the right flavor and right blend of spices to recreate the famous Guava Ice cream of Apsara at home! Partially it also depends on the freshness and in season guavas. I am grateful to the Indian Grocery stores for carrying this tropical fruit that reminds me of my days in India. Next season I will definitely try the pink guava ice cream! One has to taste this just once and I guarantee, the chances are very high, you will fall in love with this unique flavor of ice cream!


Posted on

Instant Gulab Jamun Fried Dough

Instant Gulab Jamun Fried Dough at cookingbyinsnct.com

Instant Gulab Jamun Fried Dough is my favorite Indian dessert, which was the dessert by my demand on my wedding day. I truly love this dessert, and my husband does not! Like any other normal couple:)

Normally I favor Gits Instant Mixes, but in this case, my mother referred Chitale’s Instant Gulab Jamun pack, so thought I will check that out. And true to her statement, the Chitale’s  Gulab Jamun were just simply delicious. Wikipedia, says that this was accidentally discovered by Shah Jahan’s personal chef and shares similarities with a Arabic dessert. The word Gulab means Rose, so flavored with Rose Water, and Jamun, refers to the shape and color similar to a flower found in India.  Often rose petals are scattered in the syrup to give it a rich dessert feel. Since I was making this dessert for the first time I had to admit I was nervous a bit, but it turned out to be the perfect shape, color, with the right amount of sweetness and fragrance. This dessert will stay fresh for at least couple of weeks after being made, and hence are also popularly available in cans too at Indian grocery stores.

In Rajasthan, the Gulab Jamuns are fried in ghee, but in Gujarat side, they are fried in oil. I prefer the oil frying as it makes it more crisper. Fried dough based recipes are well appreciated the world over, as doughnuts are so popular amongst varied cultures and people. This is the ultimate fried dough recipe that is dipped in sugar syrup with hint of flavors from saffron and cardamon, besides rosewater and sugar. Because of this, the dessert was highly rated by my neighbors too.

Could not have found a better recipe to share with you than Instant Gulab Jamun Fried Dough, and hope that 2017 for you is full of sweetness and fragrance, and full of yum food and comfort.  Look out for the gravy based vegetable made from Gulab Jamuns in future blog post.

HAPPY and DELICIOUS 2017!

Instant Gulab Jamun Fried Dough

Recipe makes about 30 pieces of Gulab Jamun

Ingredients

  • 1 pack of Chitale’s Gulab Jamun Mix
  • 1/2 cup plus 2 tbsp water( or approx 120ml) for gulab jamun
  • Oil for frying

For the sugar syrup

  • 4 cups of sugar
  • 4 cups of water
  • 1/2 tsp rose water
  • 1 tsp cardamom powder
  • A few strands of saffron

Method

  • Mix the ingredient of the pack with 120 ml of water, with the water added in stages, as needed to make a soft dough.

img_2333

  • Make about 1/2 tbsp  size round balls.

img_2335

  • Make the sugar syrup by heating the sugar and water and saffron strandsfor about 7 minutes, The consistency should not be thick, and keep it warm on a lowest flame.
  • Put the oil to heat, and after it reaches smoking reduce it to medium heat.
  • Fry the balls to a deep brown color for making the dessert version.

img_2337

  • Dip the fried dough instantly into the sugar syrup and press them down. This is important for it being soft and fluffy.
  • After it cools down, add, rose water and cardamom and let the instant  gulab jamuns soak in the sugar syrup.
  • Chill the Gulab Jamuns for about 2-3 hours.
  • Some people enjoy warm Gulab Jamuns.

Gulab Jamun


Tips

If the oil cools down, the fried dough becomes stiff. so ensure that the temperature of oil is appropriate. The color of the gulab jamun will darken when soaked in the sugar syrup. I had some cracks on the surface, as I took some time to fry these after rolling them into balls. So fry them instantly, or ensure that you rub some ghee in the palm and roll them again, before frying, if not frying them instantly.

Instinct Factor

Putting the gulab jamuns in the sugar syrup was instinct based, as the syrup is absorbed more, when still hot. Once the dough cools down, it will not absorb enough to make it soft and fluffy.

Feel Factor

Wow!! For the feeling of accomplishment, on trying to make an all time favorite dessert and being successful at it! Loved the softeness, fluffiness, taste , texture and fragrance of saffron and rosewater. They were a great hit at the dinner party and I even saved a couple and had them after three weeks, and still tasted delicious. Thankful for the instant mix companies, for manufacturing such great products, that make  life more easier, and contentment more achievable! This recipe of Instant Gulab Jamun Fried Dough is sure to be a success at your end too, as I was able to achieve this at the first go! Happy New Year and Healthy and Delicious 2017 to all of you.!!


Posted on

Eggless Christmas Sugar Cookies

Eggless Christmas Sugar Cookies

“Santa will not leave you gifts if you do not leave milk and cookies for him!” This is a sentence parents tell their children very often on Christmas Eve, so we decided to really believe in this statement and make some quintessential Christmas cookies, sugar coated and Christmas themed! This whole  effort was done by the mischievous elf (my daughter) who has recently gotten into baking, and bakes whenever she has time in the holidays! Knowing that only eggless recipes will work in the house, she found this cool recipe on delish.com for cookies that she wanted to try out. And interestingly enough, I had bought a Kuhn Rikon Cookie Press that I thought I would use one day but had never gotten the chance. She was the one to try it out for the first time and the result was awesome!  If you don’t have a cookie press, it can be rolled into a dough and be made into different shapes using cookie cutter, but I recommend buying the cookie press if you plan on using it often. The effort required is significantly lesser than using a rolling pin.

The texture is crispy and crunchy on the outside because of the sugar, but a warm, chewy inside; when it bakes, it has the rich aroma of butter and sugar.

We hope Santa likes these delicious cookies in the shape of wreaths, candy canes, snowmen, and christmas trees, which are really a treat for the family. They’re colorful and delicious in taste, and my teenage daughter was so proud when she successfully charmed all our guests with her cookies! I am so glad that she is finding her love for cooking and baking; it reminds me of a comment a very close friend made: “cooking is love expressed at so many levels!” I guess this is the best Christmas present for me 🙂

Wishing you all a very Merry (late) Christmas and Happy Holidays!

Eggless Christmas Sugar Cookies

Recipe makes 30-40 sugar cookies

Time to make -20 min.

Time to bake -16 min.

Ingredients

  • 1 1/2 cup all purpose flour
  • 1 tsp vanilla essence
  • 1 tbsp sour cream, or (1 tbsp heavy cream plus 1 tsp yogurt)
  • 1 tsp baking powder
  • 1/2 cup soft butter, or 1 stick of unsalted butter
  • 1/2 cup sugar
  • 1/4 tsp salt
  • 2 tbsp water
  • Sugar sprinkles (or any type of cookie decoration you would like. If you want to put icing on the cookies, bake them first and then decorate with icing and sprinkles.)

img_2832


Method

  • Mix the sugar and butter using a whisk blender  for 4-5 minutes, till the color of butter is two shades lighter, and the butter is also fluffy and soft.
  • Add vanilla essence and whisk for another two minutes.

img_2840.

  • Sieve the all purpose flour, baking powder and salt together or dry mix all of them.

img_2833

  • Add the flour mix to the butter/sugar mix.
  • Gently combine the butter in o the flour.
  • Add upto two tbsp of water and bind into a dough, using your palm or using  a paddle mix of the food processor.

img_2842

  • If you want to roll the dough for using cookie cutters, wrap the dough in a plastic film and refrigerate for an hour.
  • We used the Kuhn Rikon cookie press which had Christmas shape inserts, which was much easier to use and make festive shapes.

img_2844

  • Insert the dough into the cookie press, and drop in cookies of the shapes of your choice.

img_2843

img_2848

img_2849

  • Sprinkle sugar sprinkles in different colors *(not if you are using icing and sprinkles, do that after you bake the cookies and skip this step.)
  • Pre heat the oven at 350 degrees F and line the parchment paper on a baking tray.
  • Bake for 6 min on the center level.
  • Shift the center to bottom level and flip the tray back to front and bake for another 6 minutes.
  • Increase the oven temp to 375 and bake for 5 more minutes, until the edges turn gold.
  • Remove the cookies from the oven on to a wire rack and cool completely.

img_2856


Tips

If using salted butter, omit the salt requirement. One can even use cream of milk in place of sour cream

Instinct Factor

One can also pour sugar in a plate and dab the cookies int he front and back with sugar, instead of sprinkling, as it can cause wastage,

Feel Factor
Eggless Christmas Sugar Cookies looked perfect,and tasted delicious with the perfect crunch of sugar and crispiness and the bite size of each cookie gave the flexibility of eating more than one, and not feeling guilty at all!. The real christmas present for me by my daughter as we shared the kitchen space, passion for christmas and baking and enjoyed the bonding over baking treat! Colorful times with colorful memories with these highly inviting eggless christmas sugar cookies!!


Posted on

Apple Pie

Apple Pie

APPLE PIE

Apple Pie is the very essence of the fall season! Falling leaves, falling temperature, falling for pies of all kinds fruit and non fruit!! Making every fall(pun intended) worthwhile:) .Technology is moving at a very fast pace , so I try to keep up as much as I can with it! So decided to enroll in an online cooking class with #Sur La Table, a kitchen store I really really like! They have some awesome stuff, not seen elsewhere, and also I love the french name, having learnt some french while growing up. Literally  Sur La Table means ” On the Table”. It reminded me of attending Alliance Francais classes in Ahmedabad and Bombay, and how I wish I had continued with that language,. Maybe next year I will enroll for french classes!

So the online class had four different pies shown, with each video lasting for about half an hour with detailed explanations. I decided to try out the apple pie, as I love apple pies, and pies as such have such a complicated look, I thought it was really gonna be tough, but to my surprise making the pie dough was as easy 1.2.3!  My daughter was also excited to join me in making this pie for Thanksgiving dinner, as having pie for Thanksgiving is a must! She laid out the lattices and I cut the leaves, and we decorated the pie to give a classic fall look!

The best part was that the recipe did not need eggs, and we just have to give it a little bit time to let the pie chill before baking. Other than that, I think its pretty simple recipe and accurate recipe to follow, So am very happy to discover this recipe and  share it with you all, and hope that the fall season at  your home is full of pies and family gathering!

Hope you all had a wonderful Thanksgiving, and I would like to extend my gratitude and give thanks to you all through this Classic Apple Pie recipe, that has the perfect sweetness, crunchiness and easy to follow and for very warm neighbors who brought me the pie baking dish, all the way from Maine! Can’t thank enough for all the love and blessings!!

Apple Pie

Recipe makes one 9 inch pie

Time to Prep :20 min

Time to Bake 1 hour

Time to Chill 40 min

Ingredients

Flaky pie dough for the base of the pie

  • 1 1/4 cups all purpose flour(I Used Gold Medal’s All purpose flour
  • 1 tbsp sugar
  • 1/4 tsp salt
  • 1 stick( 4 oz) cold unsalted butter cut into 1/2 inch cubes
  • 2 tbsp ice water – or if need be 3 tbsp.

img_2367

  • You will need to use the food processor. Alternatively  you will have to cut in the butter using the pastry tool

For the top layer of the pie

  • Make another pie dough, using the ingredients listed above.

For the Apple filling:

  • 2 1/2 pounds big Fuji or Golden Apples ( or 6 cups of medium sized apple pieces)
  • 2 tbsp fresh lemon juice
  • 1/2 stick (or 4tbsp) unsalted butter divided into two parts
  • 3 tbsp unbleached all purpose flour
  • 3/4 tsp ground cinnamon
  • 1/4 tsp nutmeg
  • 1 tbsp whole milk and 1 tsp butter melted and combined together, for glazing the top of the pie.

Method

Making of the pie dough

  • In a food process mix in all the ingredients and give 5-6 two second pulses.

img_2366

  • Alternatively if using a bowl, mix everything in a bowl and use a pastry tool, to mix in the butter into the dough. Mix in till all dry ingredients are thoroughly incorporated.
  • The mixture should not be totally fine, but should show some butter pieces.
  • img_2368
  • Add one tbsp of ice water at a time and mix in further and give 2-3 one second pulses.
  • Add another tbsp of ice water and pulse two more times, lasting a second each.
  • Check the consistency of dough that it binds.

img_2370

  • Pour the flour on the counter or flat surface.
  • Gently gather the flour into a round ball with hand and bind it all in one piece.

img_2373

  • Wrap the pie dough in a plastic sheet and freeze for half an hour.

img_2374

Making of the apple filling

  • Peel and cut the apples into medium size pieces after removing the core
  • Half way through cutting, sprinkle some lemon juice into the bowl, in order to prevent browning of the bowl. It might be good idea also to rub the lemon juice on the inside surface of the bowl , before starting to cut.
  • In a large thick skillet, put half the butter to melt. Add half of the apples to it and 1/3 cup sugar.
  • Stir and cook for 7 minutes, till the apples have slightly softened or barely tender when touched with a tip of knife.

img_2383

  • Remove from flame and let it cool.
  • Repeat the above process for the rest of apples , butter and sugar and cool the same for at least an hour
  • Mix both the portions of apple filling and add cinnamon powder,nutmeg and all purpose flour.

Rolling the pie

  • Use the two sets of chilled pie dough.
  • Unwrap the dough one at a time.
  • Using a pie roller or with hand or any other rolling pin, roll the dough to about 10 inch wide, or at least 1 -2 inches longer than the pie dish width. While rolling, use the all purpose flour on the bottom and top, so that the dough does not stick to the surface
  • Lift the pie dough, using a thick roller pin, or a big spatula and lay it on the  pie baking dish.

img_2378

  • See that it is evenly laid out, fold backwards and inside any remaining edges and pinch the top edges to give it a smooth look.Chill this base for 15-20 minutes, This will give it a good finish.
  • Roll the second set of pie dough into the same width as the first one.
  • You can either cut the second round into strips, or use as it is  to cover it completely or make some cutouts to make it more decorative.


Assembling the pie:

  • Remove the chilled base. Fill in the thickened apple mix and spread it evenly on to the base.

img_2384

  • If making lattice patterns,  start laying the one inch strips in L shape,( one vertical and one horizontal). So if first strip is vertical, second is horizontal( like x,y axis).
  • Third strip is again vertical , about inch away from the first one. towards right.
  • Fourth strip is again horizontal, about inch higher than the first horizontal strip. (My daughter decide to follow her own way, and hence the picture does give clear indication of the method written over here)
  • Continue till the space on the top is covered, leaving some spaces open for the warm air to pass out.
  • From spare  strips, using cooking cutters, make cut outs of leaves or any design you may wish and add them on the top.


  • Another pattern that I made was all out of leaf pattern made with the help of leaf cookie cutters.

Baking

  •  Brush the top of the pie with milk and butter paste.
  • Pre heat the oven to 400  degrees celsius in convection oven.
  • Bake the pie on the lower middle rack for 30 minutes.


  • Shift the pie to the  higher middle rack for another 30 minutes.
  • Remove and cool for about 20  minutes.

Apple Pie


Apple Pie

  • Slice into triangles  with a serrated knife and serve the beautiful Apple Pie!


Tips

  • Do not double the quantity  of the pie dough and do it together.  I prefer doing it twice, so that the measurements stay accurate.
  • Flakiness of the pie will come if the butter is not totally incorporated, but has some small chunks in it.
  • Alternatively you can, just cover the apple filling with the second round and make some open cuts in the center with a knife for the air to pass out.
  • The color should be beige to golden to ensure that the pie is well done
  • Most fruit based pies do not have eggs,so you can use the dough recipe for all kind of pies in my view.

Instinct Factor

Roll the dough with hand, if it is difficult to roll with a rolling pin and if it breaks while lifting just patch it up.

Time is of key essence as the dough should not get warm, so need to work quick after removing it from fridge.

Apple pie dough can be made before or freeze upto a month. All imperfections get hidden once the pie is cooked, so do not fret!

Feel Factor

Apple Pie, the favorite flavor for many!! A pie crust is the most important part of the pie, so having it at the right consistency is crucial and this recipe does a great job at that. I love the cinnamon apple filling and the color was just warm enough for the cold windy season of fall! A classic pie that came out really classy in taste, and I love the fallen wind look atop the warm apple pie! I love to eat warm pies, however they can also be served with some vanilla ice cream on the side for added flavor. This is surely the way to get me eating apple a day to keep my doctor away!! The ease of this recipe is the making of pie dough, and next I will try some lentil pie, that I had it once at yummy Proper Pie  which bakes pies like those in New Zealand.! So plenty reasons to be grateful for and one of them for the eggless classic apple pie recipe and the lovely pie baking dish and the loving family to cook with and share with!!


[contact-form-7 404 "Not Found"]


Posted on

Eggless Rangoli Spice Cupcakes

Eggless Rangoli Spice Cupcakes

Eggless Rangoli Spice Cupcakes

Autumn weather is one of my favorite weathers, as the temperature cools down, the leaves are turning color, and your body demands for some warmth from the rich spices that you are so thankful to nature for.. Be it ginger, clove, all spice, nutmeg, cinnamon. all of them giving a cozy warm feeling and a sweet fragrance in the air. Autumn spice cake, at Savory Grain, that I recently had was one of the best spice cakes I had, along with delicious vegetarian food that they serve, mostly made from vegetables sourced locally. Having tasted something so delicious, I had to try to make this on my own. So I found this recipe at Cooking classy, but had to use my past experience, trying to replace eggs, it called for. I ventured with all ingredients that I had read about, and decided to give it a chance and the result was very pleasing as well as delicious. The true test if the ingredients were correct, was to check if  the cake does not leave domes at the top. What a satisfying feeling  to see the cupcakes stay flat on top, like they should be!

The eggless rangoli spice cupcakes were made for  Diwali celebratory event for a Hindi Kavita group that we have just started and it happened to be also my birthday! I wanted to create a dessert that matched the fall weather, bring in the color and design of Diwali,  as well as make the birthday girl happy with some warm cupcakes with some fruit and spices. I am a big cupcake fan, as the best cake was what my mother use to make in  a gas oven, and one that did not need any frosting , for it to be delicious. Personally I do not appreciate butter/ cream frosting. So came up with this sprinkled sugar concept that can also have some dots, akin to how dots are made for Rangoli during Diwali. Rangoli is a fine sand mandala done with hand., which I am very fond of. So wanted to see how to represent Rangoli over a cupcake. The outcome  was deeply appreciated by guests as well as the birthday girl as this recipe got more attention over a nice cake from Whole Foods! Now that was  a true birthday gift for someone who likes to  explore while cooking!!

The flavor had a bit of banana and applesauce, as well as clovers, ginger and all spice and all together, the taste was delicious, as people wanted another! Buttermilk and brown sugar keeps the cake moist from within The hidden ingredient was avocado, whose taste could not be felt but could see it in the richness of the texture. This is a quick recipe, in the sense, because of the fruit and spices, one can skip the frosting too, and go easy on calories, and the eggless rangoli spice cupcake can be a great accompaniment along with tea/ coffee because of the masala spices in it!

Spice up the fall with eggless rangoli spice cupcakes, and happy baking to the bakers, who find baking a highly therapeutic act just as I do! I am happy baking as the weather for baking is here and plan to explore a few more cookies, as  fall turns to winter and holidays are just around the corner to enjoy these treats with family and friends!!

Eggless Rangoli Spice Cupcakes

Recipe makes 36 cupcakes

Time to cook : 35 min

Prep time : 15 min

Decoration: 10 min

Ingredients

  • 4 1/2 cups King Arthur Unbleached Cake Flour
  • 2 tsp baking powder
  • 2 tsp baking soda
  • 1 tsp salt
  • 5 tsp ground cinnamon
  • 2 tsp ground nutmeg
  • 2 tsp ground ginger
  • 1  tsp allspice
  • 1.2 tsp ground cloves
  • 3 1/2 cups packed  light-brown sugar
  • 1 1/2 cup  vegetable oil/peanut oil
  • 1 1/2 cup (185g)sweetened applesauce
  • 1 banana chopped
  • 1 avocado sliced
  • 4 tsp vanilla extract
  • 3 tbsp white vinegar
  • 2 cup (240 ml) buttermilk
  •  1 1/2 cup water
  • 5 tbsp sugar
  • sugar sprinkles

Alternate Cream Cheese Frosting

  • 24 oz cream cheese, nearly at room temperature
  • 1 cup unsalted butter (4 oz), nearly at room temperature
  • 7 cups (440g) powdered sugar
  • 1 tsp vanilla extract

Method

For the cake

  • Preheat oven to 350 degrees.
  • In a mixing bowl whisk together flour, baking powder, baking soda, salt, cinnamon, nutmeg, ginger, allspice and cloves for 20 seconds, set aside.img_2227
  • Pour  brown sugar  in  to the bowl. into the bowl  Break up brown sugar with fingertips until no clumps remain.
  • Add oil and blend for 2 minutes.
  • Add applesauce and blend in.

img_2228

  • Add in 1/2 of the flour mixture and mix on low speed until combined, then blend in buttermilk, then add remaining 1/2 of the flour mixture and mix until well combined.

img_2233

  • Set the oven to pre-heat at 375 degrees for convection baking, and 350 degrees for normal baking.
  • Puree the banana and avocado and add it to the mix and mix in for a minute.

img_2231

  • Add vanilla essence and vinegar and blend for 2 minutes.

img_2236

  • Line the muffin or cupcake tray with liners.
  • Fill in the cake mixture upto 3/4 of the mould.

img_2239

  • After 10 minutes  switch the tray from top tray to bottom and back to front.

img_2240

  • After ten minutes switch the trays back to original position and bake till the cake leaves edge and the toothpick shows the cake is well baked.

img_2241

  • Bake in preheated oven until toothpick inserted into center comes out clean, about 30 – 32 minutes.

img_2246

Decorating the cupcake

  • Allow to cool several minutes and then cover it.
  • When completely cooled, mix the sugar and water and brush the cupcakes  with this water via a brush or spoon and leave it to soak and dry for 20 minutes

img_2247

  • Use a cookie stencil of your choice and sprinkle colored sugar on the top.

img_2251

Eggless Rangoli Spice Cupcakes

Alternate Cream Cheese frosting:

  • In the bowl of an electric stand mixer fitted with the paddle attachment cream butter and cream cheese until smooth. Mix in powdered sugar and vanilla and mix until well blended (at this point I like to freeze the frosting in 5 minute increments, then mix again with stand mixer, then freeze another 5 and more as needed until it’s a stiffer yet creamy consistency). Spread the cream cheese frosting and sprinkle it with colored fro Recipe source: Cooking Classy


Tips

Using cake flour makes the cake more softer. One can also try with all purpose flour, but the texture may have slight variations than when made with cake flour. Using unbleached flour helps so does brown sugar. If you do not have brown sugar, use  white sugar, and in case it is not that moist, sprinkle some more sugar water, for it to moisten,

Using a proper cup for measuring will help you perfect the recipe. A proper measure for Liquid as well as Dry Measure Cup.

Instinct Factor

Instinct sometimes arises from a fleeting thing that you read somewhere and remembered! Something like this happened while making this cake as decided to throw in vinegar, avocado and banana into the recipe.

Ensure that the flour is well mixed in  and so are the ingredients.  You can replace 1 bananas with one more avocado, if you want to avoid excess sugar.

Feel Factor

Ever thought that adding avocado to the cake can do the magic ! Well I was happy to mix in this ingredient loaded with good potassium and healthy fat into the cupcake and see it add texture and moistness to the cake. It did not overpower the other flavors of the cake, and could taste the banana, cinnamon, brown sugar, all spice as well as cloves and vanilla! What a delectable dessert to have on a chilly fall evening and the crunch of sugar sprinkles on the top was a perfect balance to the spice in the cake. I prefer a cake like this than to those with frosting, so truly enjoyed the fall spice cake that all should try, wether at home or outside!! Kida and adult will surely demand more than once as it has the fruity sweetness in in too:P


[contact-form-7 404 "Not Found"]
Posted on

Kesar Peda Saffron Milk Fudge

Kesar Peda Saffron Milk Fudge

Rajkot Kesar Peda Saffron Milk Fudge is the “sweetmeat” that has put Rajkot on the national dessert map of India. Since I hail from this town, I have grown up seeing this dessert being made, with memory of the halwais, constantly stirring the milk, and huge quantity of kesar peda saffron milk fudge being shipped outside Rajkot. It is also one of must bought item for tourists visiting Rajkot. I had a constant order from my in-laws to get a Kesar Peda from Rajkot whenever I visited:)

Since this is a delicacy well beyond my talent, I had to do some research to find a recipe that looked closest to the ones from Rajkot, and to no surprise of mine, it came from Tarla Dalal. I am so glad they are continuing her webpage and tutorials with her assistant, as her legacy in cooking is truly timeless.

It was a labour of love, making these Kesar Peda Saffron Milk Fudge, more so as I was making for the first time, and so was more cautious than normal and I think the final result was definitely thumbs up on taste! Texture is yet to be determined, but the house was full of the saffron milk aroma, which was the aroma you got when you opened a box of fresh kesar pedas, specially those that were bought from the most popular vendor Jay Siyaram Pedas. In their pedas, they mark the pedas with their rubber stamp mark, which means a salutation to lord Ram and Sita.

In my own way, it was a celebration for me too, as for the first time I did Mandana style Rangoli, depicting and inspired originally from Lord Mahavir. Since Deepavali, Festival of Lights, is just round the corner, what better way to celebrate the Nirvana kalyanak,of Lord Mahavir and the returning of Lord Ram and Sita, both being the reasons Jains and Hindus celebrating Deepavali, than with this golden flame colored sweet that has the texture similar to fudge and totally melts in your mouth.

Enjoy the Kesar Peda Saffron Milk Fudge with your near and dear ones, as it is truly worth the time, as all ingredients are fresh, including khoya. I will try to make another batch with condensed milk too, and post that recipe soon too! But as they say, everything else is a copy, the original is always the best!! A step closer to home, after relishing this awesome golden color kesar pedas with a hint of cardamom The light of the lamp, mirrored in the color of the pedas, signifies the light of knowledge to me!!

Wishing you all a very Happy Diwali and wishing you a year of prosperity and knowledge!!

Recipe makes 15 Kesar Pedas

Time to cook:  1 hour

Prep time 5 min

Ingredients

  • Half gallon whole milk
  • 1 1/2 cup sugar
  • 4 tbsp milk
  • 1 1/2 pinch of saffron
  • 1 tsp cardamom powder
  • Ghee for greasing
  • Lemon juice 1/4 cup plus 1 tbsp
  • Cornflour – 2 tbsp plus 1 tsp

Method

  • Heat two tbsp of milk for 1 minute in microwave and immerse the saffron in it. Ensure that the color is nice bright golden color. Add more saffron if needed.

img_2119

  • Heat another two tbsp of milk and mix the cornflour in it.
  • In a nonstick or thick bottom pan put the milk to boil

img_2120

  • Reduce the temperature once the milk boils over.
  • Continue to simmer stirring once every few minutes, till the milk reduces to half its original quantity.

img_2127


  • Add sugar and stir a few minutes.
  • Add the saffron milk and boil and stir for 7-8 minutes.

img_2129

  • Add dissolved cornflour and stir for 6-7 minutes.
  • Add lemon juice and stir till the mixture thickens and starts leaving the edges.

img_2130

    • Remove from flame and let it cool completely.
    • Add cardamom powder and mix in thoroughly.
      img_2132


  • Using ghee to grease the palms, make round balls about 1 1/2 tbsp size.

img_2139

  • Reshape the balls once again to ensure that they are firm and holding shape.
  • Use any shape to ident designs at the top or leave it plain.img_2136
  • Brush some more saffron dipped with milk on the top for festive look
  • Leave it aside for at least a few hours for the kesar peda to firm or you can refrigerate it for a couple of hours to firm it faster
  • Enjoy this utterly delicious kesar peda saffron milk fudge.

Kesar Peda Saffron Milk Fudge


Tips

Waiting for milk to boil and thicken over, I went on a medium low flame, as did not want it to burn. Hence the recipe took double the time needed. However if one wants to watch it over, the cooking time can be cut to half.

Ensure that the consistency is thick enough in the end like a khoya or mara or a thick paste to determine that it is well cooked. Next time, I will try to cook a bit more so that the mixture is more drier and maybe add a bit more of cornflour so that it thickens faster,

Grease the vessel in which you are boiling milk with ghee, prior to pouring milk in it, as this will ensure it does not stick at the base.

Instinct Factor

Patience and perseverance  paid off while making the Kesar Peda Saffron Milk Fudge, as it does require a bit of watching over and since was doing this for the first time, had to ensure I do not mess it up!! A wooden spoon for stirring helps in the milk not boiling over! Kept going back to my childhood memories of strolling by the peda manufacturer’s open shop, where i recollected large trays of work in process pedas

Top it with pistachio or silvered almonds for  a nutty topping, however I prefer the saffron and cardamom combination.

Feel Factor

Golden looking Kesar Peda Saffron Milk Fudge on the DHANTERAS DAY of Diwali are akin to having gold coins on this day of wealth!! The texture was a bit softer and less grainy than the ones in the store, but it tasted better as that is how a fresh pedas tastes, and now I can have the fresh taste of the Kesar Pedas Saffron Milk Fudge much longer than usual! Achieving this level of success has made us so so very happy, for two reasons, as this is from my hometown, which is famous for its pedas and secondly  as it is a favorite dessert of my husband! So definitely Diwali celebrations have started for us on the right note with rangoli mandana(inspired from Lord Mahavir and Non Violence)and perfect sweetness , shape, color, flavor and texture and freshness with this gold coin Kesar Peda Saffron Milk Fudge!!

Kesar Pedas Saffron Milk Fudge

Posted on

Healthy Churma Ladoo Jaggery Sweetballs with Wheat and Pearl Millet

Healthy Churma Ladoos with Wheat and Pearl Millet

Ganesh Chaturthi, celebrating the birth of Lord Ganesh, cannot be complete without making Churma Ladoo. So I decided to try making the Healthy Churma Ladoo Jaggery Sweetballs with Wheat and Pearl Millet. Lord Ganesh is known as the harbinger of all things favorable and auspicious, and everyone welcomes him to their homes with intense devotion, worship him with sincerity and in the end, immerse or do visarjan in water. Huge idols with lot of artistry are created. Prayers are done with lot of joy and enthusiasm. Ganesh Chaturthi co-incides with Sanvatsari for Shwetamber Jains. A day after the Ganesh chaturthi, the Das Lakshan  of Digamber Jains start and culminates after 10 days. The last day of Das Lakshan and the Visarjan or Immersion of  Lord Ganesh, again co-incide on the same day. This close proximity of important festivals for  Hindu and Jain religion highlight the close evolvement of  Jain and Hindu religions. Indians believe very strongly in the rising moon’s energy to enable their tasks. In Jainism, the fifth day of the rising moon period is considered highly auspicious for obtaining the right and true knowledge, and knowledge being the central tenet of Jainism, hence all good things start on the fifth day of the rising moon, and that explains in my view, why Das Laxan starts on the fifth moon day and ends on the anant chaturdashi (14th day) near full moon day, enabling all to maximize their spiritual learning and progress, aided by the good vibrations during a rising moon period. Intermingling of rituals, religions and customs makes one think, that all religions are part of the same truth, viewed differently and having a common goal of liberation.

As a young child, my grandmother would make gor jaggery ladoo from leftover roti. Chuma ladoos which come originally from Rajasthan, were either fried in ghee or made via bati(cooked in oven) and made with sugar. Obviously the more ghee or fat, the more tasty it is going to be! But since we are going the healthy way, I resorted to cooking chapati/bhakri and added the bajri pearl millet to make it even more healthier. The crunch comes from semolina, which maybe avoided if you have bhakri atta which is a little more granular than normal wheat flour for roti.

The covering of poppy seed and added flavor of nutmeg,cardamom and cashews bring more texture , taste and color to an ordinary jaggery ladoo. By not frying it in ghee, we have reduced the fat content to half, so thats a big thumbs up for healthy alternative in this recipe.

Through this post on Healthy Churma Ladoo with Wheat and Pearl Millet, I would like to invoke the blessings of Lord Ganesh and may all good things come your way and  convey Micchami Dukkadam from my side to all Jain Shwetamber/Sthanakvasi readers of this blog!


Recipe makes about 15 ladoos

Time to Prep : 7 min

Time to cook : 30 minutes

[shopeat_ingredients][/shopeat_ingredients]

Ingredients

  • 1 cup whole wheat flour for roti
  •  or 2 cups whole wheat flours for bhakri
  • 1 cup semolina rava( not to be used if using bhakri flour)
  • 1 cup pearl millet flour
  • 1/3 cup milk
  • 1 cup water
  • 1/2 cup ghee unmelted
  • 1 cup sliced jaggery
  • 1/4 cup cashew pieces
  • 1/2 tsp nutmeg powder
  • 1 tsp cardamom powder
  • 7-8 strands of saffron

IMG_1711

Method

  • Mix the flours, milk and water and knead all into a stiff dough.

IMG_1712

  • Divide the dough into six parts and make balls.
  • Roll the dough into a slightly thick rounds as in Bhakhris.
  • Indent the rolled dough with end of the rolling pin, so as to cook well.

IMG_1714

  • Heat a thick griddle on a low-  medium flame.
  • Cook the bhakri on medium flame, so that is in not too stiff, and also not too soft.

IMG_1716

  • Cool the bhakris and break them into pieces.

IMG_1717

  • Crush the pieces into a food processor into fine granular crumbles.(the below  image is after mixed with ghee)

IMG_1738

  • Heat the ghee.
  • When the ghee melts, add jaggery, nutmeg, cardamom and stir till jaggery melts on low flame.

IMG_1718

  • Pour this melted ghee into the crumbled roti pieces and let the mixture cool.
  • Once it is at bearable temperature, start making round balls.

IMG_1721

  • The first level will be rough, and you will have to go over two three times to get a smoothened finish.
  • In a small deep bowl, or in  shallow plate, sprinkle poppy seeds and roll the ladoos in them.

IMG_1724

  • The amount of poppy seeds should be based on how thinly or thickly you want the ladoos to be covered with poppy seeds.
  • Heat 1 tbsp of water in microwave and add saffron strands to it. Leave if for 1-2 minutes and decorate the ladoos with saffron water.
  • Enjoy and invoke the blessings of the the lord!

Healthy Churma Ladoo Jaggery Sweetballs with Wheat and Pearl Millet

Tips

Ensure that the rotis are not too stiff after cooking , as that will leave sharp pieces and it will not not give a smooth texture. If after mixing in ghee, it still feels hard, just do another round in food processor, till it reaches the fine texture. Do taste the sweetness before making them into ladoos.

If not using semolina, you can make it like roti and crush into finer pieces, this will make it more softer.

If finding it difficult to gather into a ball, add some more ghee as required.

Instinct Factor

Combining the wheat and pearl millet was instinct based, as this is how my mother eats bajri no rotlo at home. And the need was there to consume bajri on a regular basis.

When you mix the ghee, you should be able to able to gather it firmly into a ball using your fist. It might need some pressure and 2-3 rounds of going over the ladoos to get the texture right.

If you want to kick it up, hide some pennies and dime, for little kids to get attracted to eating these churma ladoos!

Feel Factor

Memory of my maternal grand mother allaying my feeling of being separated from my mom, even  for a short while. through this mouth watering churma ladoos , which she used to make from leftover chapatis. And I would instantly be all calm and happy! Re living those moments with a healthier version of the same. Healthy Churma Ladoo Jaggery Sweetballs with Wheat and Pearl Millet are  attractive and I enjoy the saffron and nutmeg flavor in this mix along with jaggery.  Not to mention that I am significantly less guilty of eating this quintessential Ganesh Chaturthi dessert! A great way to intake pearl millet, jaggery, ghee , nutmeg, all appropriate things for the incoming fall and winter! For a devotee, Lord appears in all places, so it seemed to me in this pic of Healthy Churma Ladoo Jaggery Sweetballs with Wheat and Pearl Millet, Ganpati Bapa Morya!!


Healthy Churma Ladoos Jaggery Sweetballs with Wheat and Pearl Millet


[contact-form-7 404 "Not Found"]
Posted on

Eggless Rose Petal Ice Cream with Gulkand

Eggless_Rose_Petal Ice Cream with Gulkand

Eggless Rose Petal Ice Cream with Gulkand is a flavor that is unique to Rajkot, India, from where I hail. It is a town known for its fondness of food and fun, with the town coming to a complete halt in the mid-afternoon, for all to digest and rest from the huge lunch meal!! Its a royal city in all aspects, for the food, flavor, fun and definitely the cooler breeze every night!. This ice cream has the obvious satisfaction of having an ice cream and also the deliciously unique flavor of rose petals in the ice cream, with the fragrance of rose water and rose petal jam or known as Gulkand in India. And to get the rose pink color, we have the rose syrup, and  all the rose ingredients are from the fragrant roses knowns as desi gulab in India  or well known as  Damascus Rose.

I tried using the petals of  Mister Lincoln Rose, which used to grow in my previous home, and my neighbors still remember the fragrance and taste of  rose petal ice cream from home grown rose! It was that day when I made rose petal ice cream from Mister Lincoln Rose petals, that got me all excited about trying new flavors and in some sense my ice cream journey started 8 years ago from that day.

A lesson learnt from my experience of ice cream making for a medium size group, is to  invest in two/three  ice cream containers, to allow you to make bulk quantity that will truly satisfy everyones’  mental and physical cravings of ice cream! A delectable ice cream flavor that has lovely rose pink color and you will not know what you are missing till you have a bite of it! Summer experience is not complete without experiencing this truly summer feel  flavor of eggless rose petal ice cream with gulkand , and also without the joy of discovering the delicious and hidden combination of  rose  petals and  gulkand (rose petal jelly)!

A garnish that will go well with this is silvered almonds or pistachios. if you please, not that it needs anything extra. Rose for romance, rose for love, rose for fragrance, rose for perfume, and now rose for ice cream too!  Enjoy this super flavor that one guest described as “this a s the most delicious thing I ever had ” and I am in complete sync with this statement as this is the only flavor I prefer, when visiting back home!

Eggless Rose Petal Ice Cream with Gulkand

Recipe makes 1 quart of  eggless rose petal ice cream with gulkand

Cooking Time: 45 min


Churning time : 30 min

Chilling Time: 1-2 days

Ingredients
  • 1 cups whole milk
  • 2 cups heavy cream
  • 1  tsp rose water
  • 2 tbsp  gulkand or rose petal jam
  • 1/3 cup plus 1 1/2 tsp Rose syrup ( Dabur brand)
  • 2/3 cup sugar plus 1 1/2 tbsp sugar
  • 3 tbsp dried rose petals
Method
  • Boil the milk and sugar  for 3-4 minutes, add the petals and continue simmering for 2 minutes.

IMG_1170

  • Add the rose syrup and rose petal jam or gulkand and stir for another minute.

IMG_1172

  • Blend all the ingredients, using a hand blender and chill the mixture for at least an hour.
    IMG_1177
  • Mix the heavy cream into the mixture.

IMG_1182

  • Use a well chilled container for making the ice cream, one that is chilled for at least two days.
  • Churn the ice cream for at least 30 minutes

IMG_1191

  • Remove the freshly mixed ice cream into a ice cream container and chill for at least a day or two  to get a great texture.

IMG_1194

  • Garnish with silvered almonds, pistachios or just have plain Rose Petal Ice Cream, and you will have tasted one of the most delicious flavors and original ice cream flavors from Gujarat, India!

Eggless Rose Petal Ice Cream with Gulkand


Tips

Well chilled container will make a great texture. While freezing the ice cream, if you have an aluminum container, it will shorten your freezing time. Ice cream without any garnish also tastes very yum!

Instinct Factor

If you desire for something, and if it is meant to be, things will show up your way! Felt this, as wanted  to really make this, but was wondering how to get rose leaves, as the western roses, do not have a sweet flavor, An unexpected trip to an Indian Grocery not visited, led me to accidentally discovering the dried rose petals from India. Hence was able to create an authentic flavor as I had in India!  Not only that, found the rose syrup too(Dabur) brand. Gulkand and rose water which were easily available at most Indian stores.

Feel Factor

Having an authentic flavor from my hometown Rajkot, recreated in USA with ingredients from USA, made me feel so much closer to home. One things that was missing was the use of there fresh rose petals, which has even better texture and flavor! And the ice cream in India was white in base, without the use of rose syrup. This flavor is the only flavor that I prefer to have when visiting home! The use of rose syrup gave it a nice rose pink color which was an added bonus to this experience and a color I could fall in love with!. Back in India the base does not have rose syrup, so is primarily white in color with red rose petals showing through well One gets the ultimate combination of rose fragrance,  petals crunch, cooling feeling, as well as the  lovely rose pink color that is just pure joy to see and relish!!  And a guest summed it well- ” this is one of the most delicious flavor she has ever had”!!


[contact-form-7 404 "Not Found"]