Posted on

Eggless Red Plum Ice Cream with Cinnamon

Time for some dessert today!!  Roger Federer meets Novak Djokovic at the US Open!!May the best win and we celebrate with the Eggless Red Plum Ice Cream with a hint of cinnamon. Other reason for it being an important day, as when you read the doctrine of Kalpasutra during Paryushan, you come to the chapter of Bhagwan Mahavir’s birth on the fifth day of Paryushan, and major celebration happens amongst Shwetamber Jains.

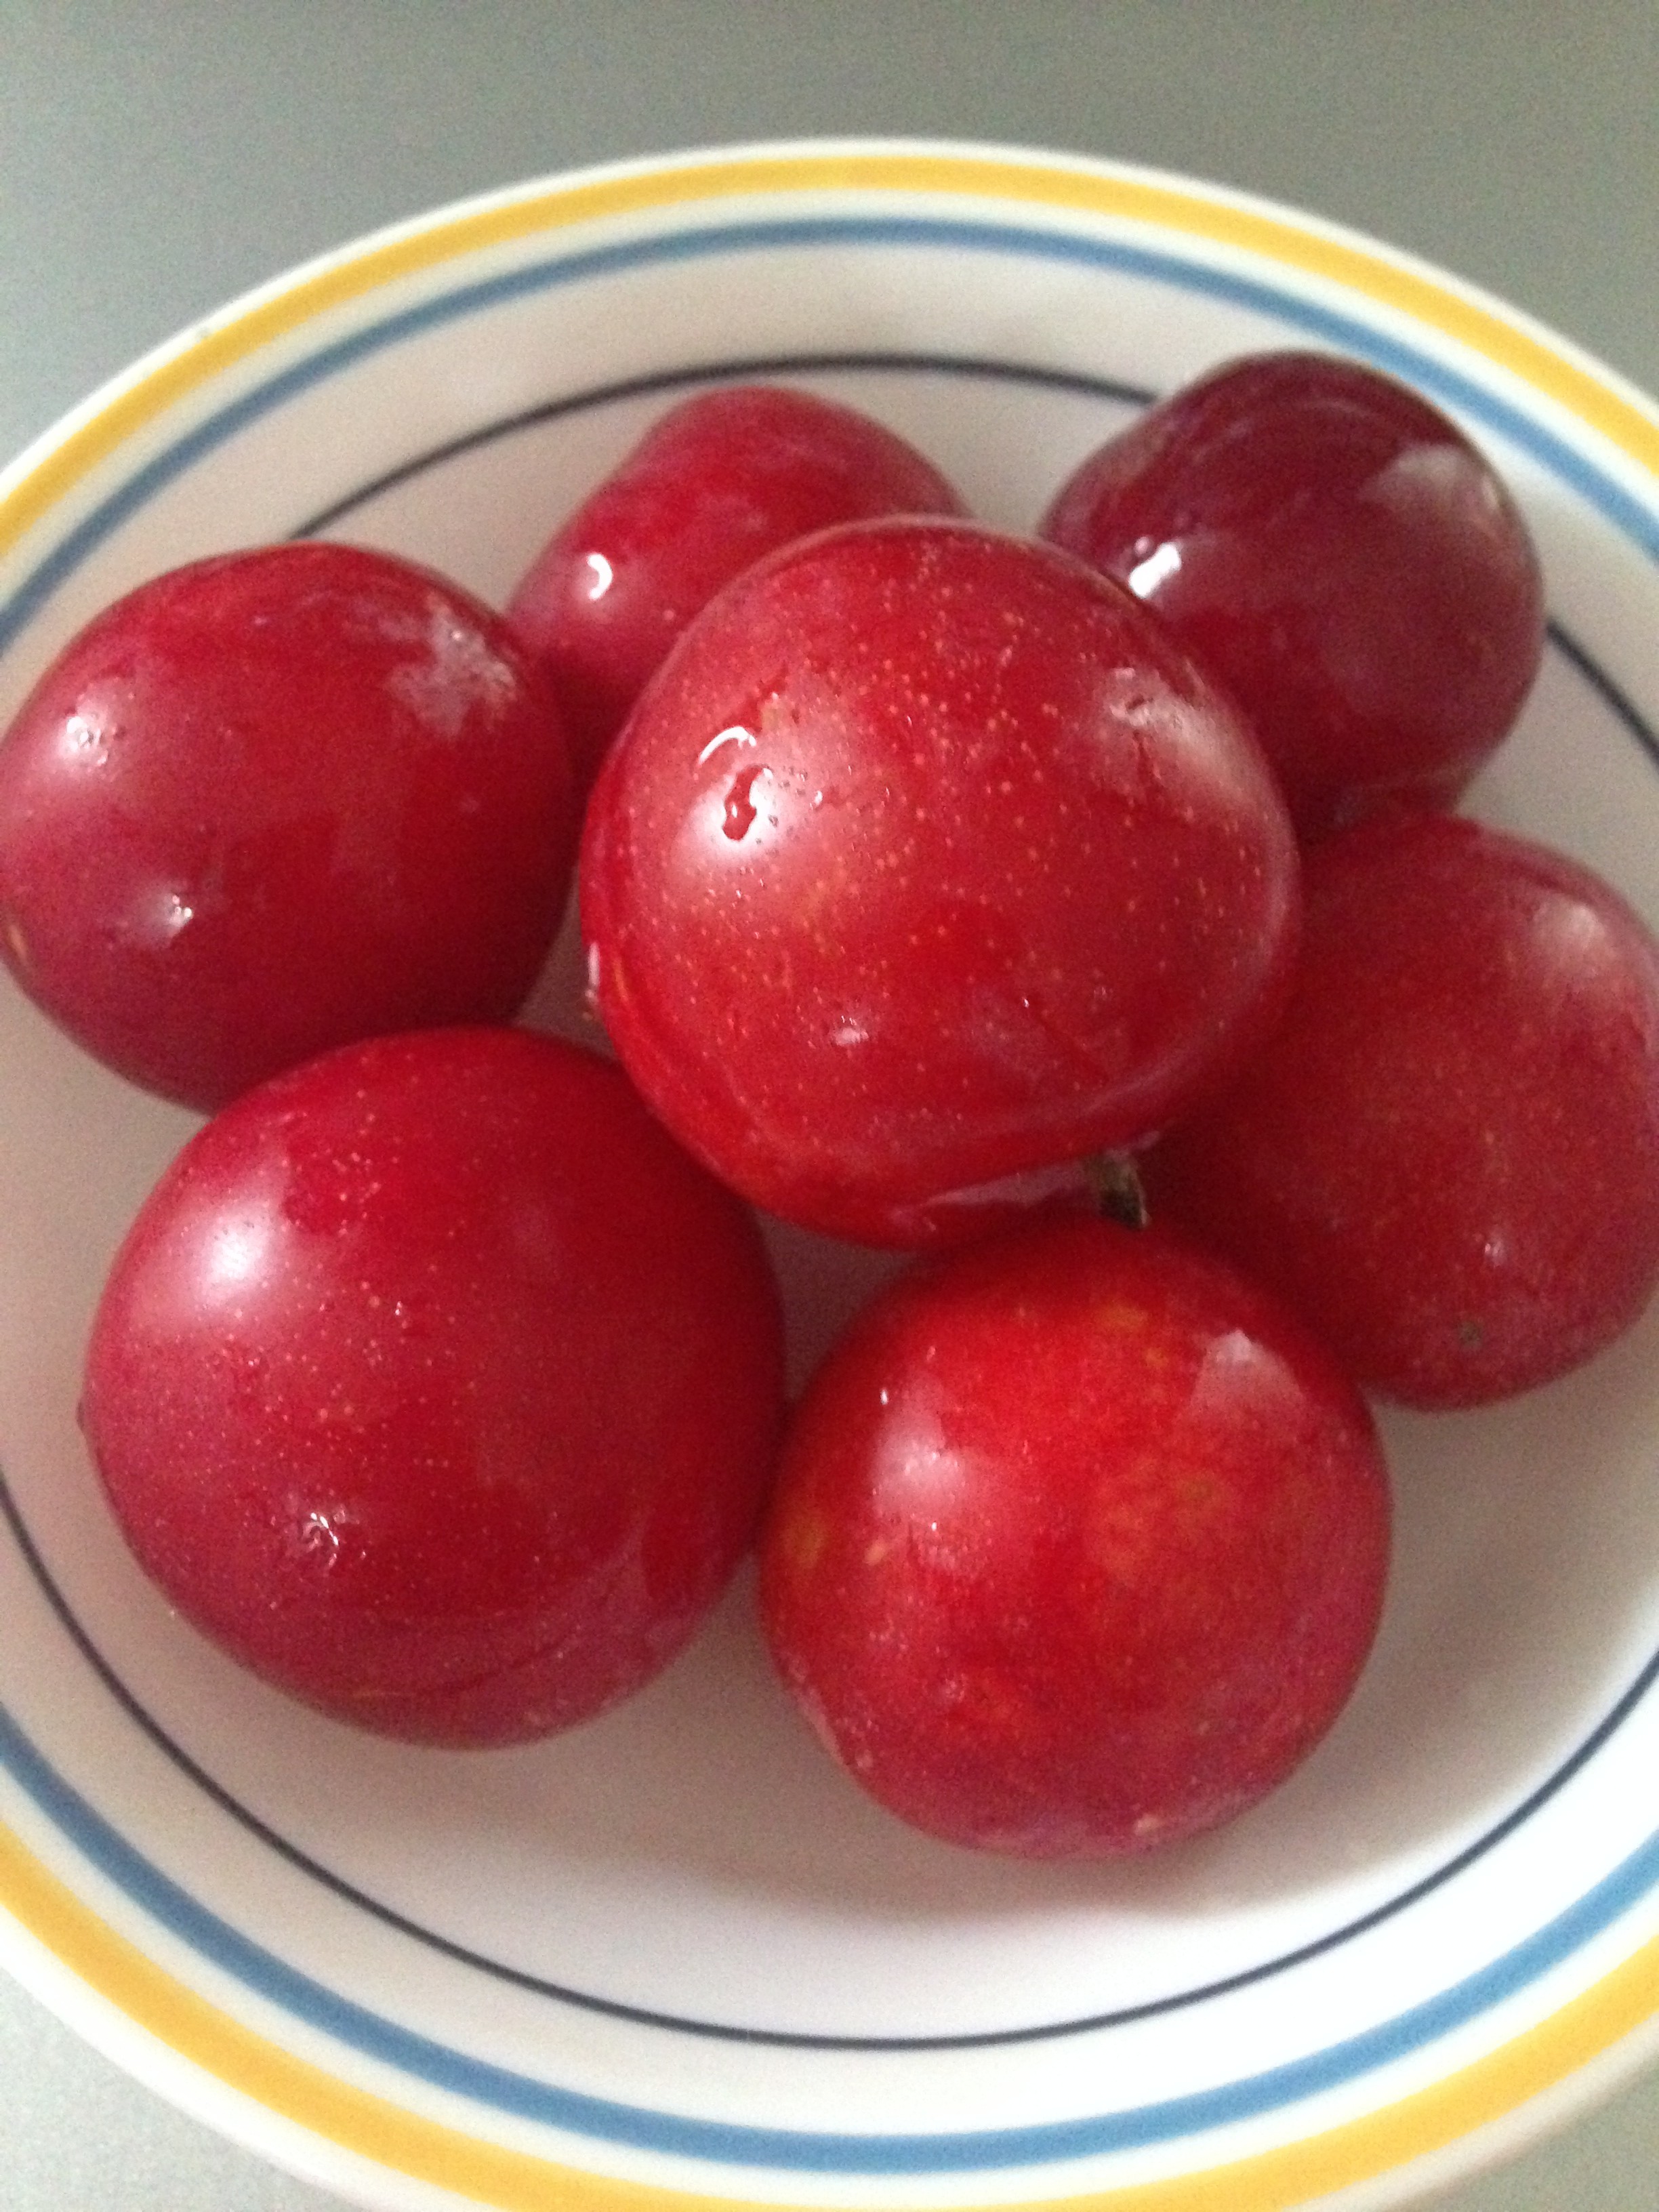
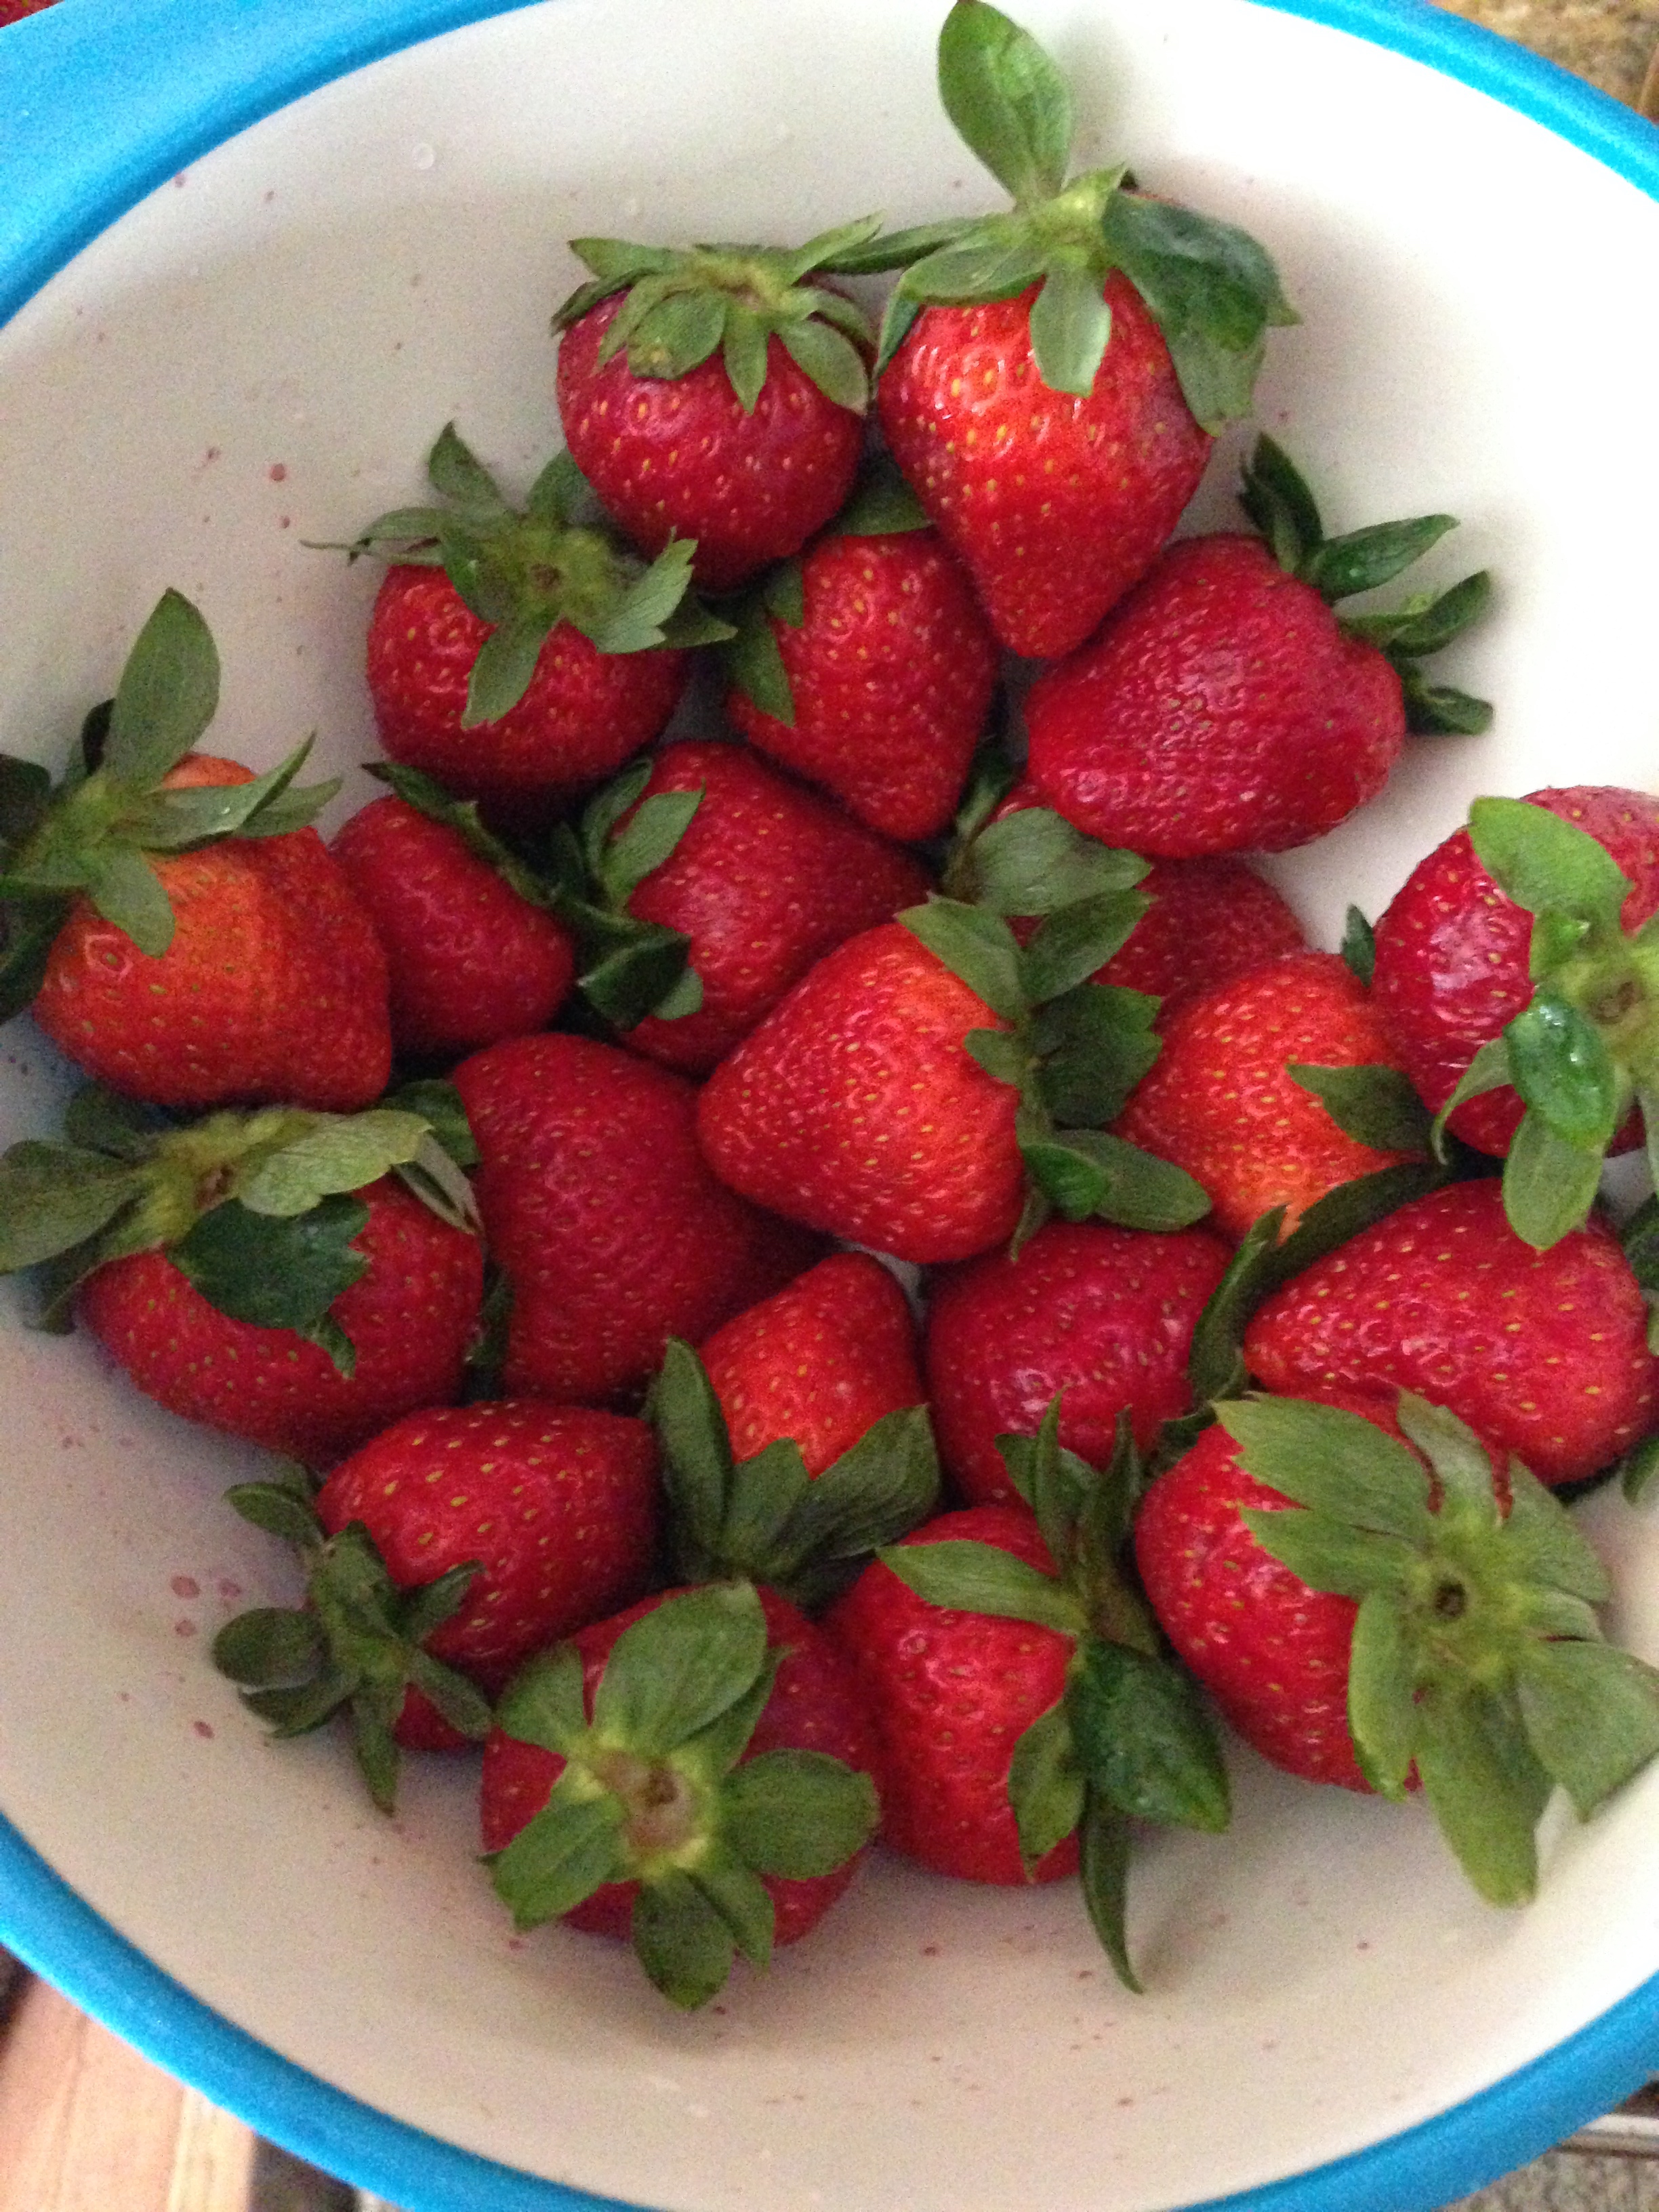
I thought of sharing the dessert that I recently made in India. The idea was to see if I can recreate the ice cream flavour as in USA. with Indian ingredients, and without the use of an ice cream maker. At the time of my visit, the red plums were in season and were extremely juicy and sweet, so wanted to explore a whole new flavour of plum ice cream, and at the same time my mother was experimenting making a plum jam!!

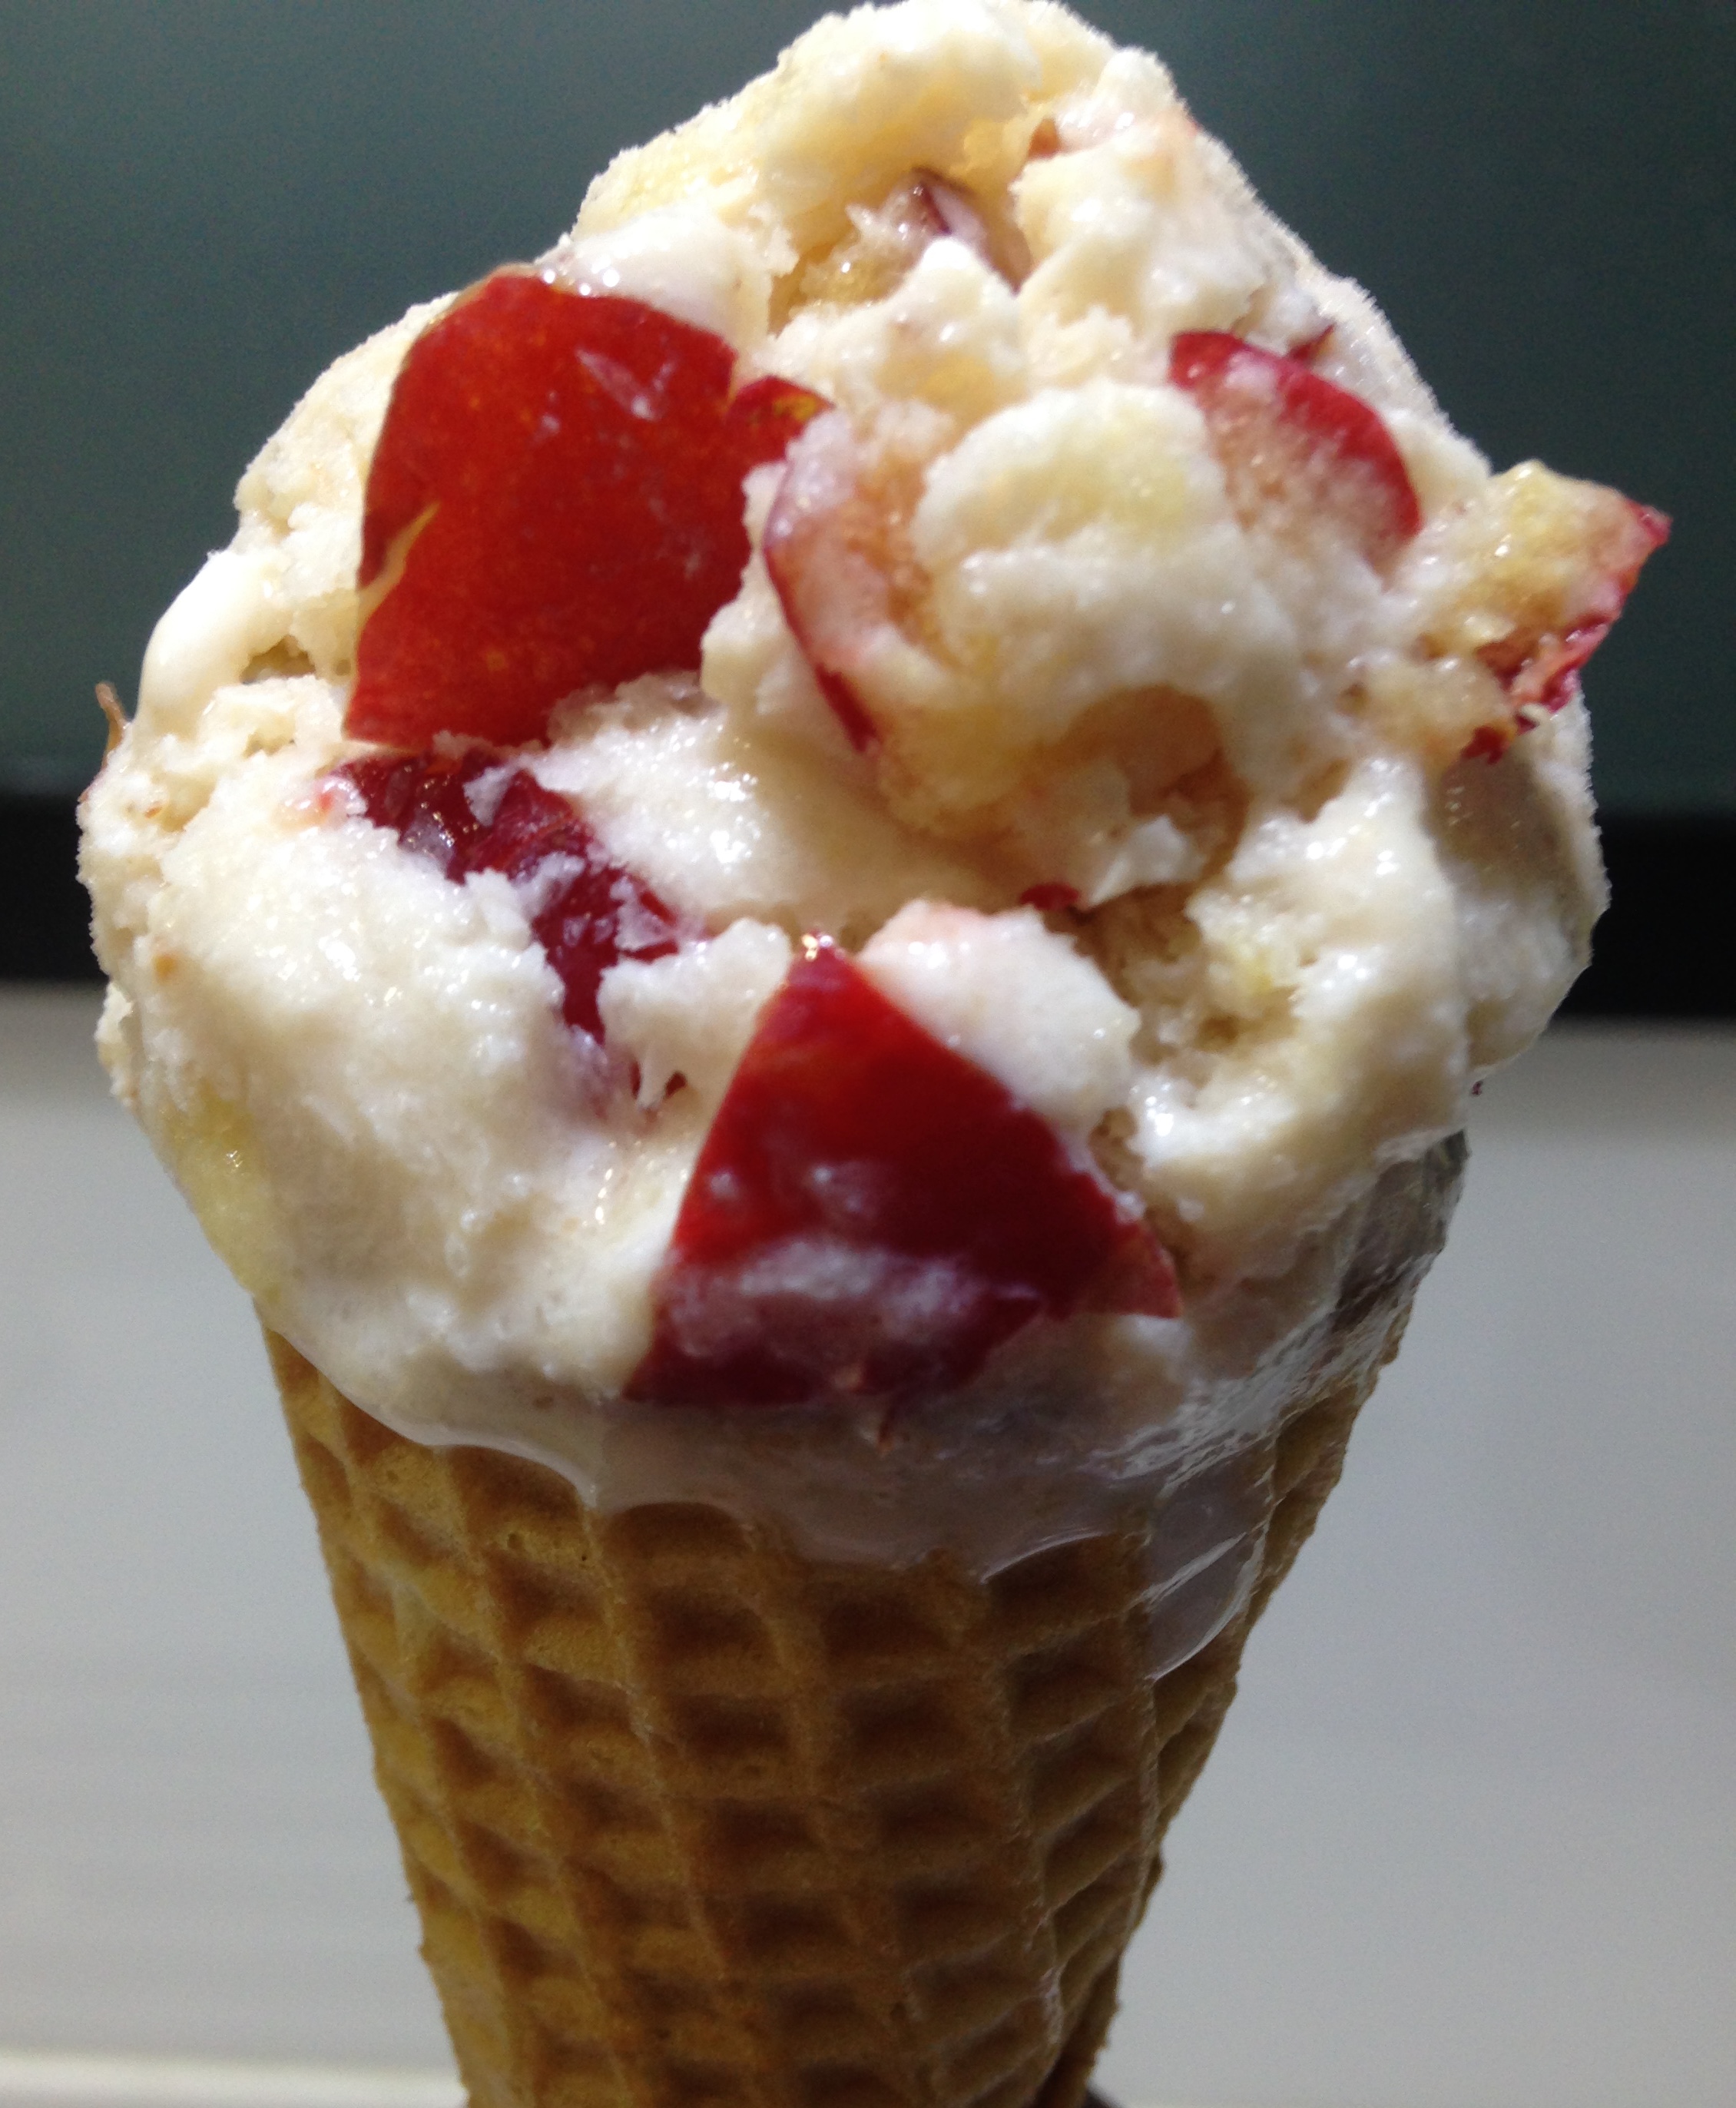
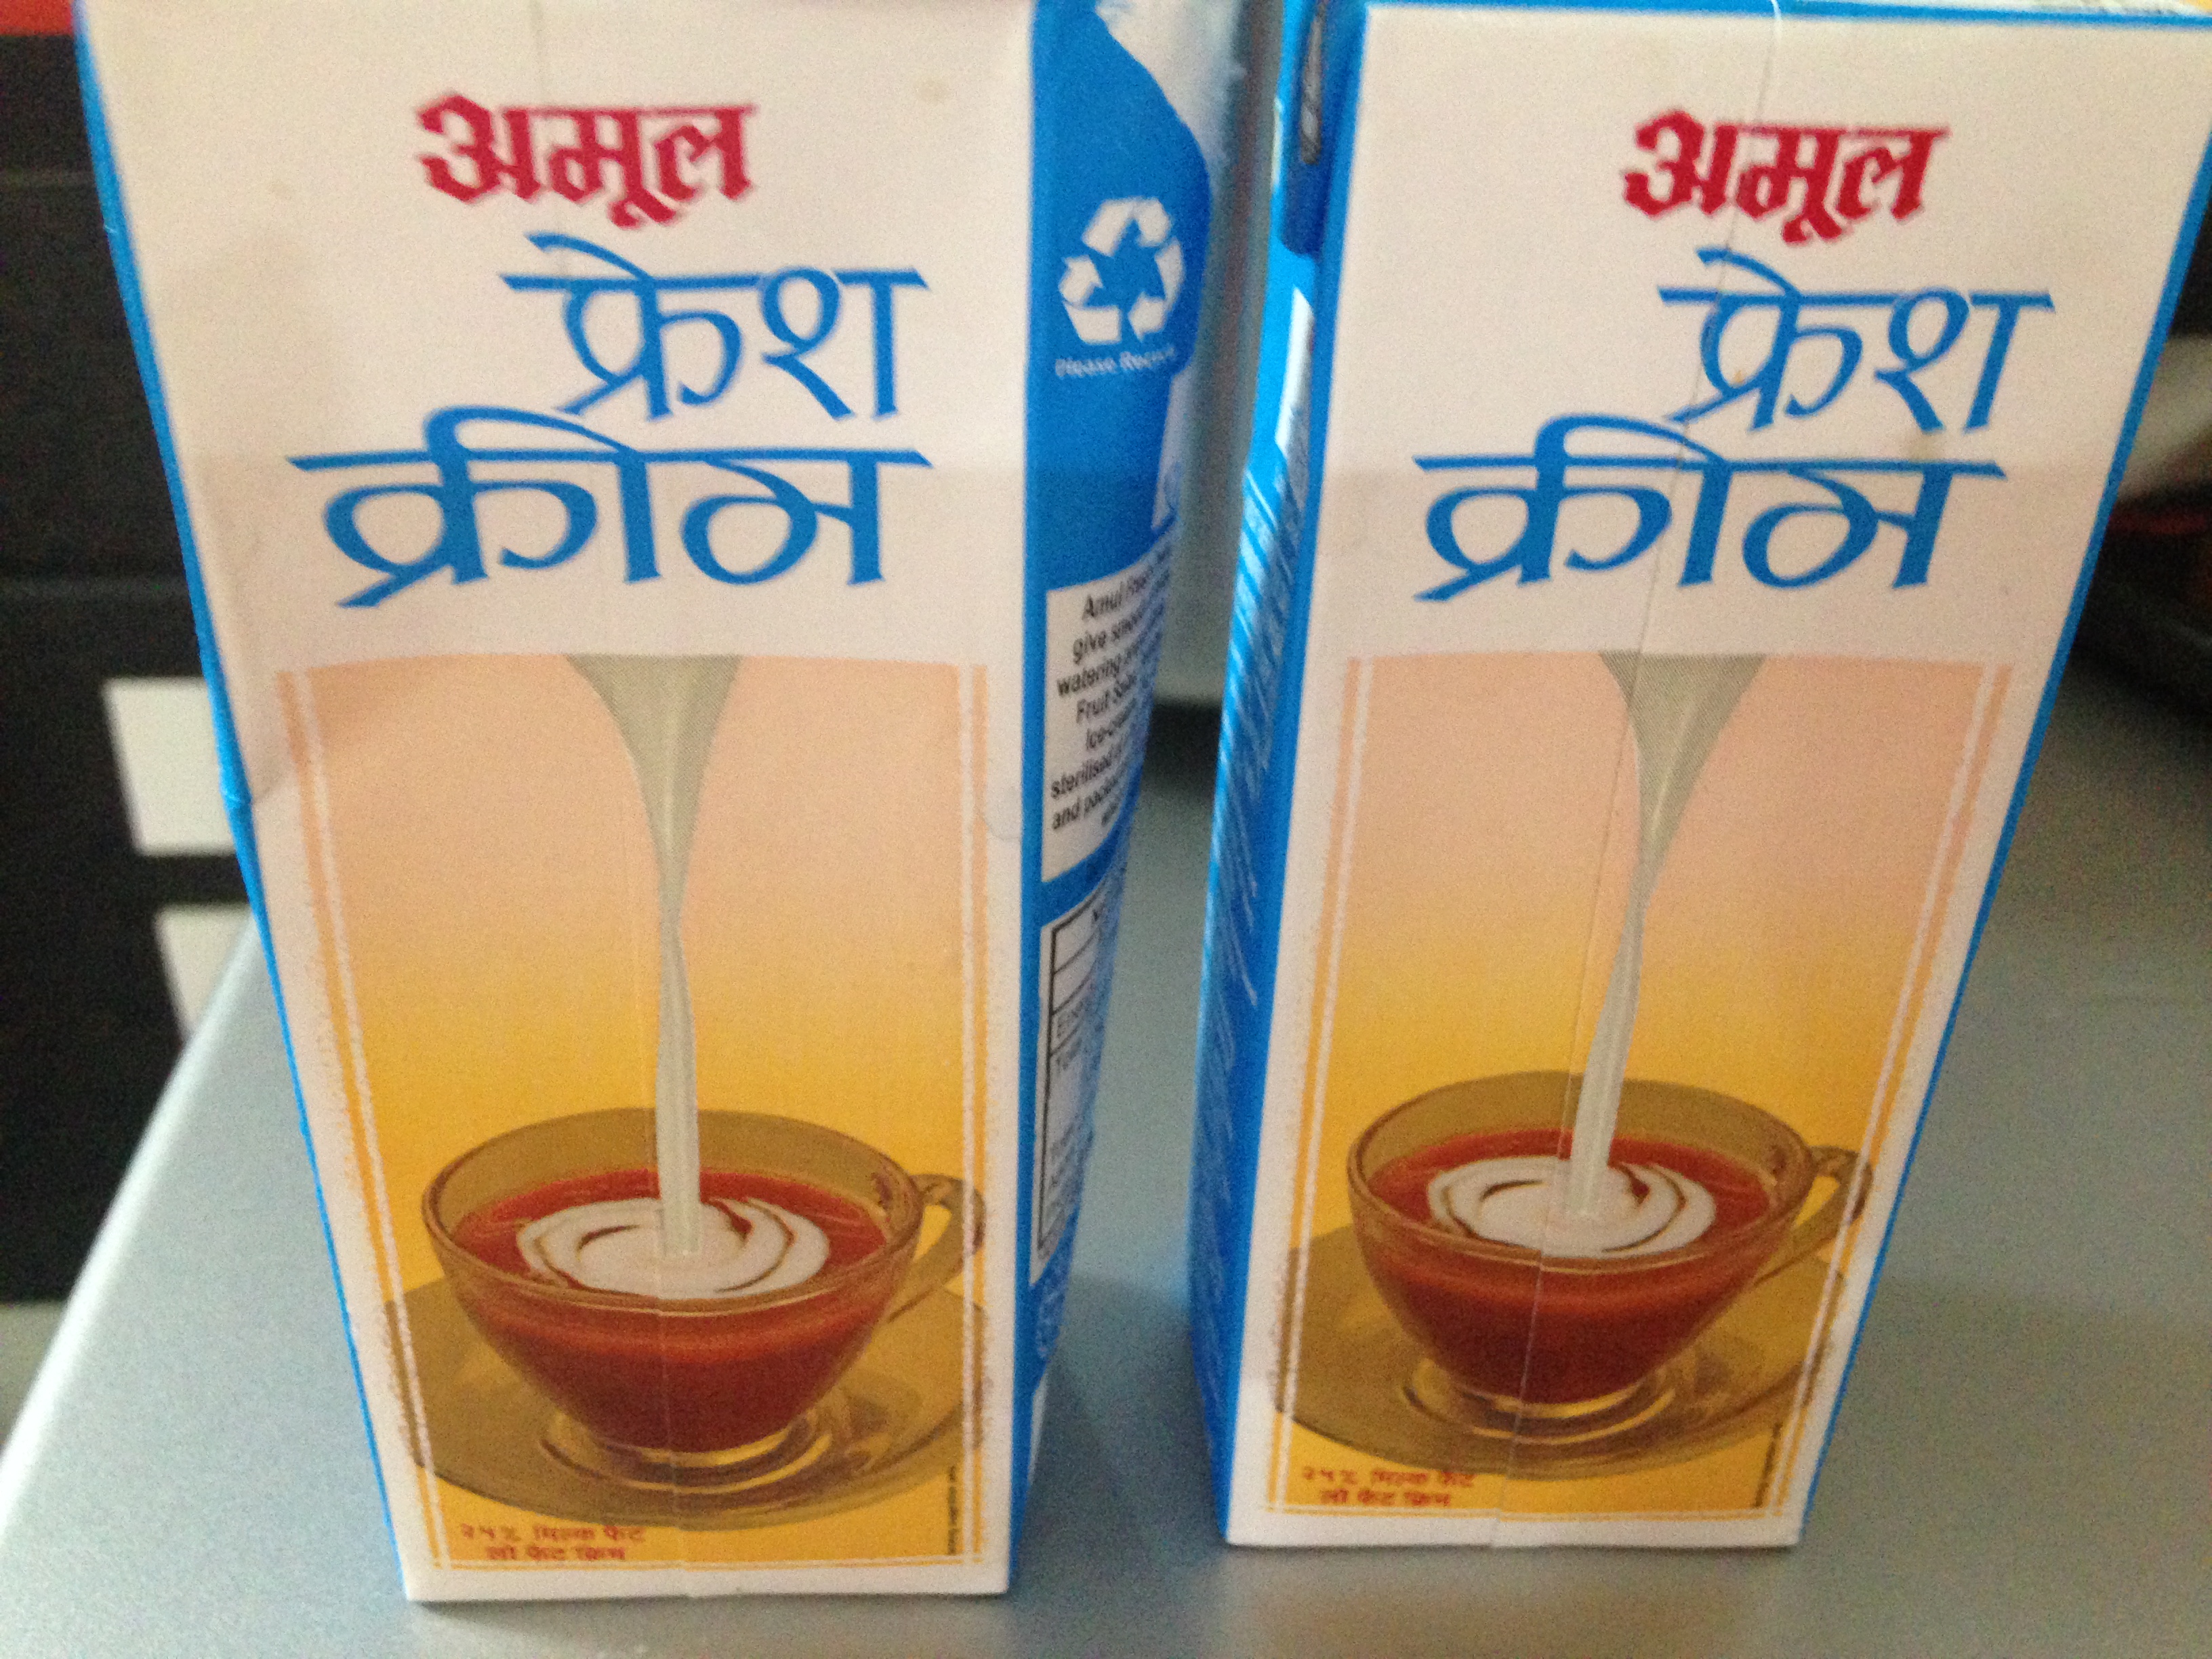
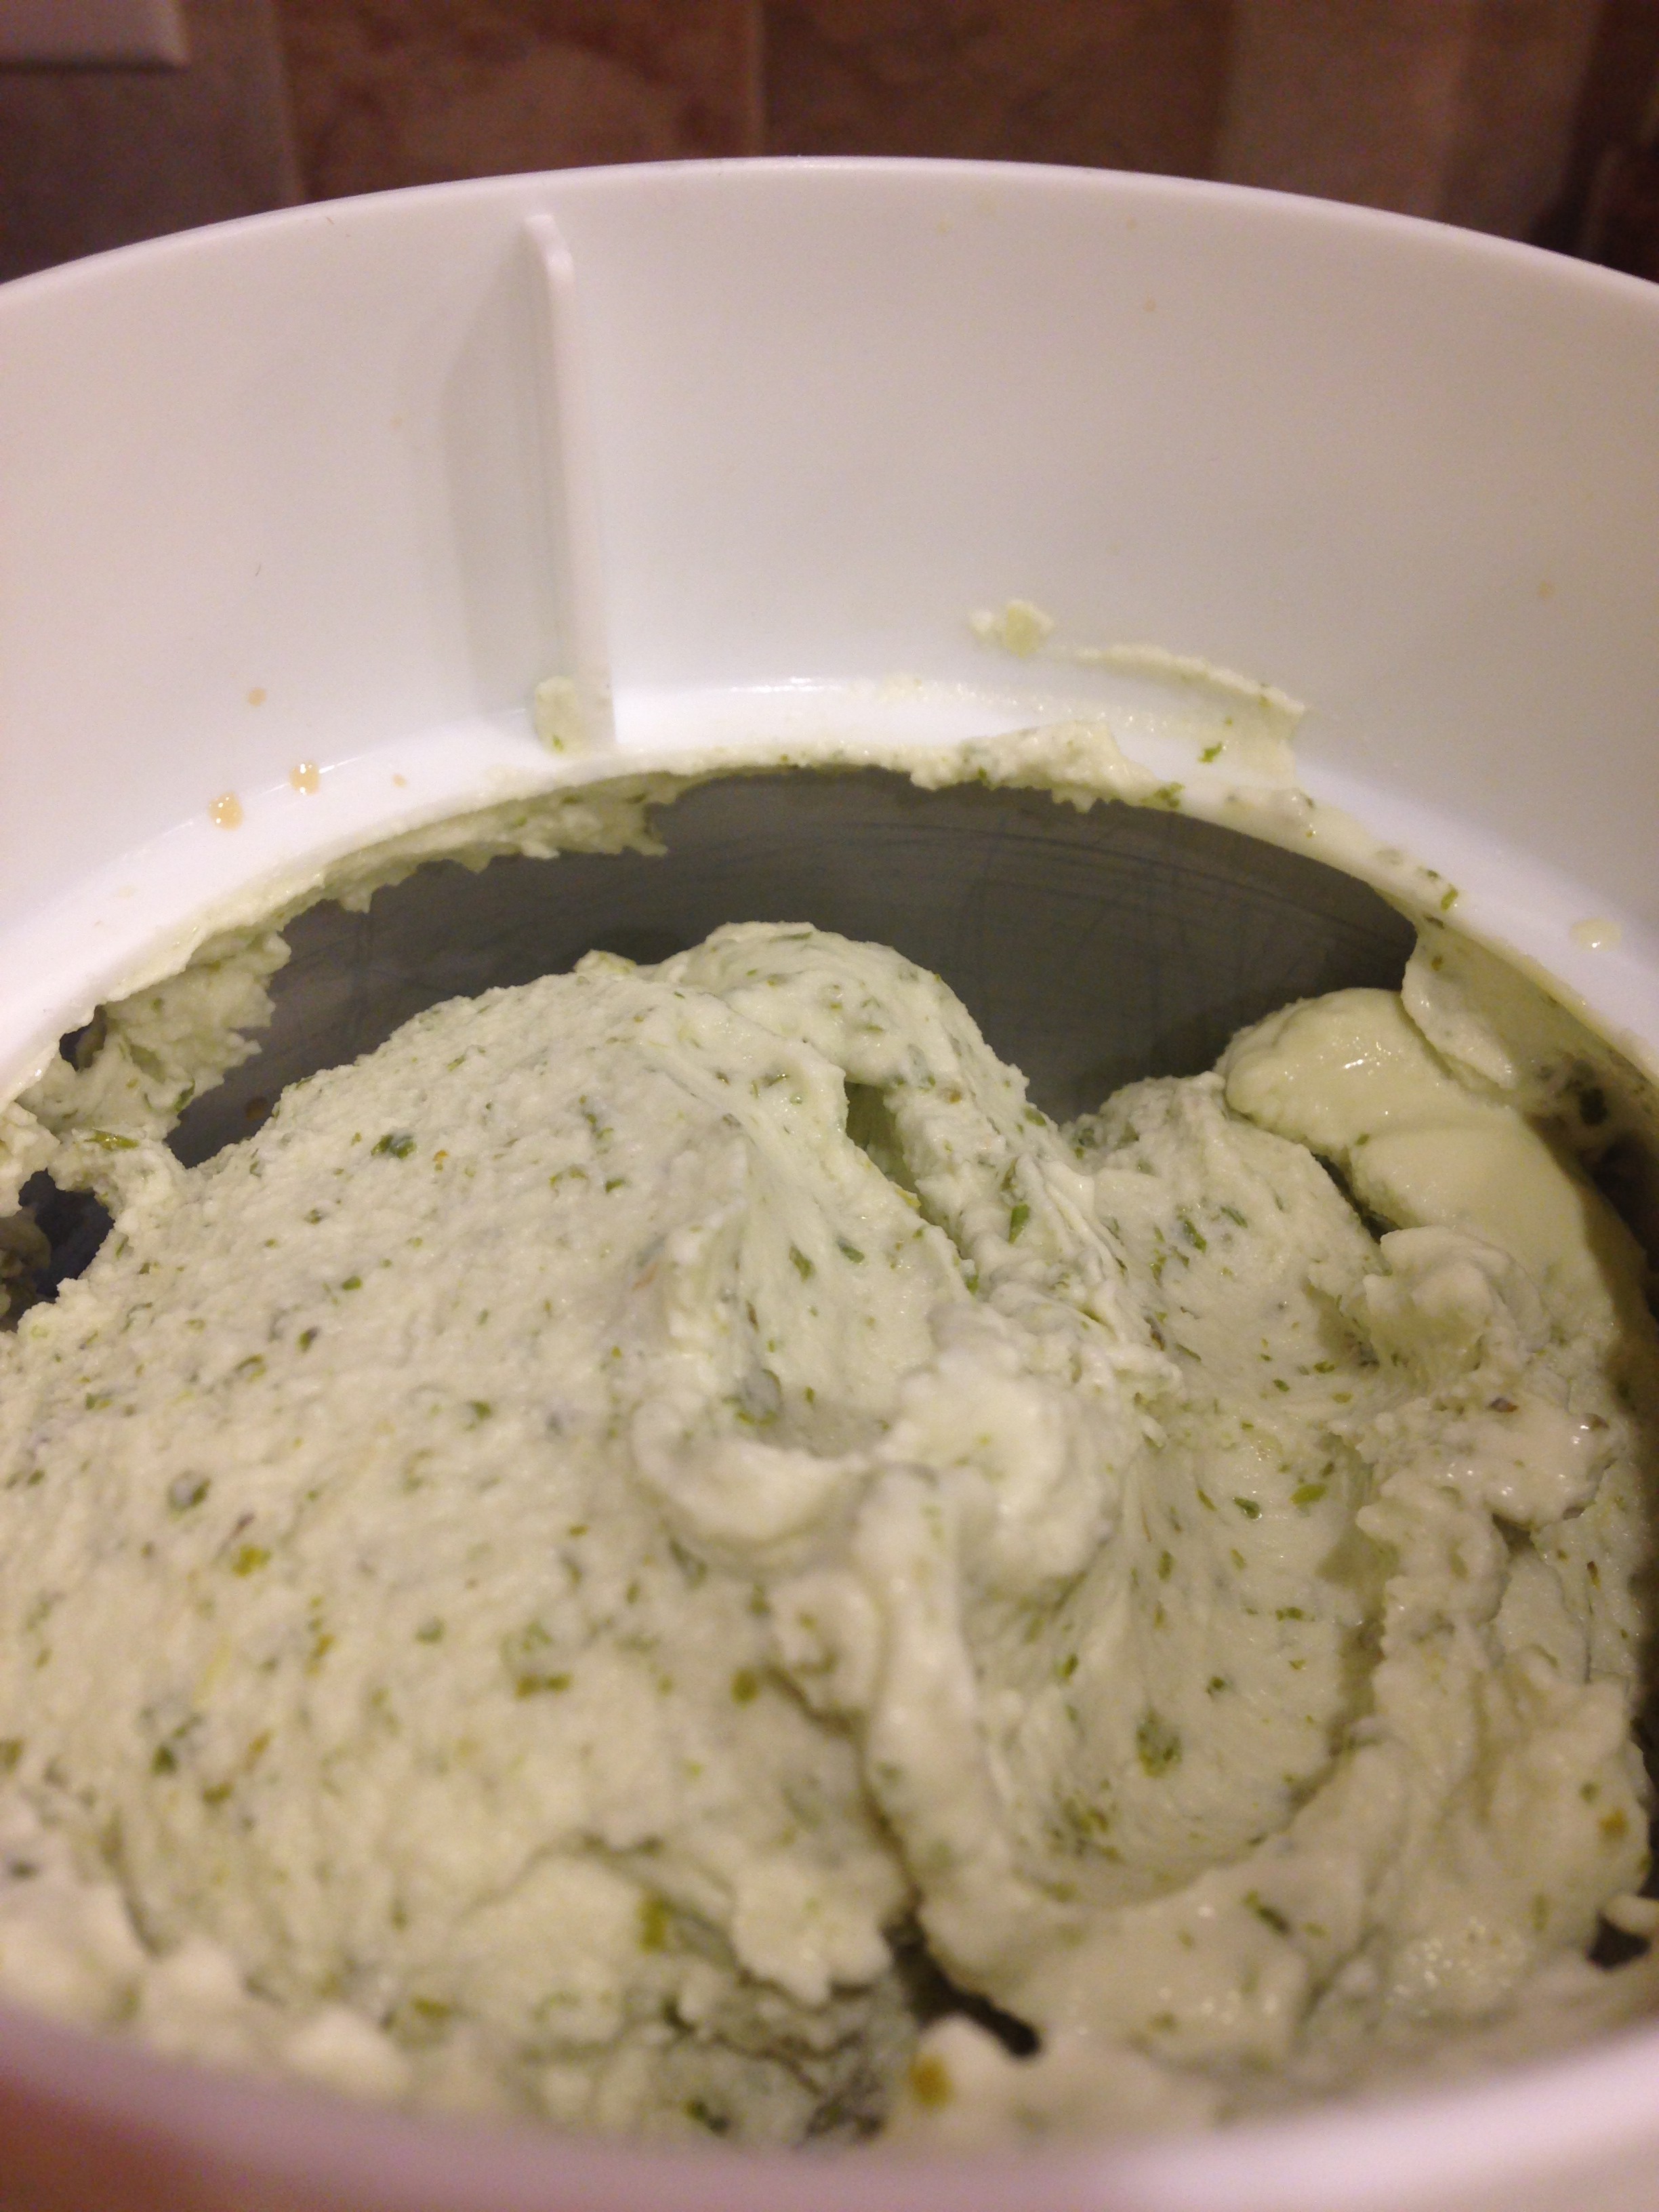
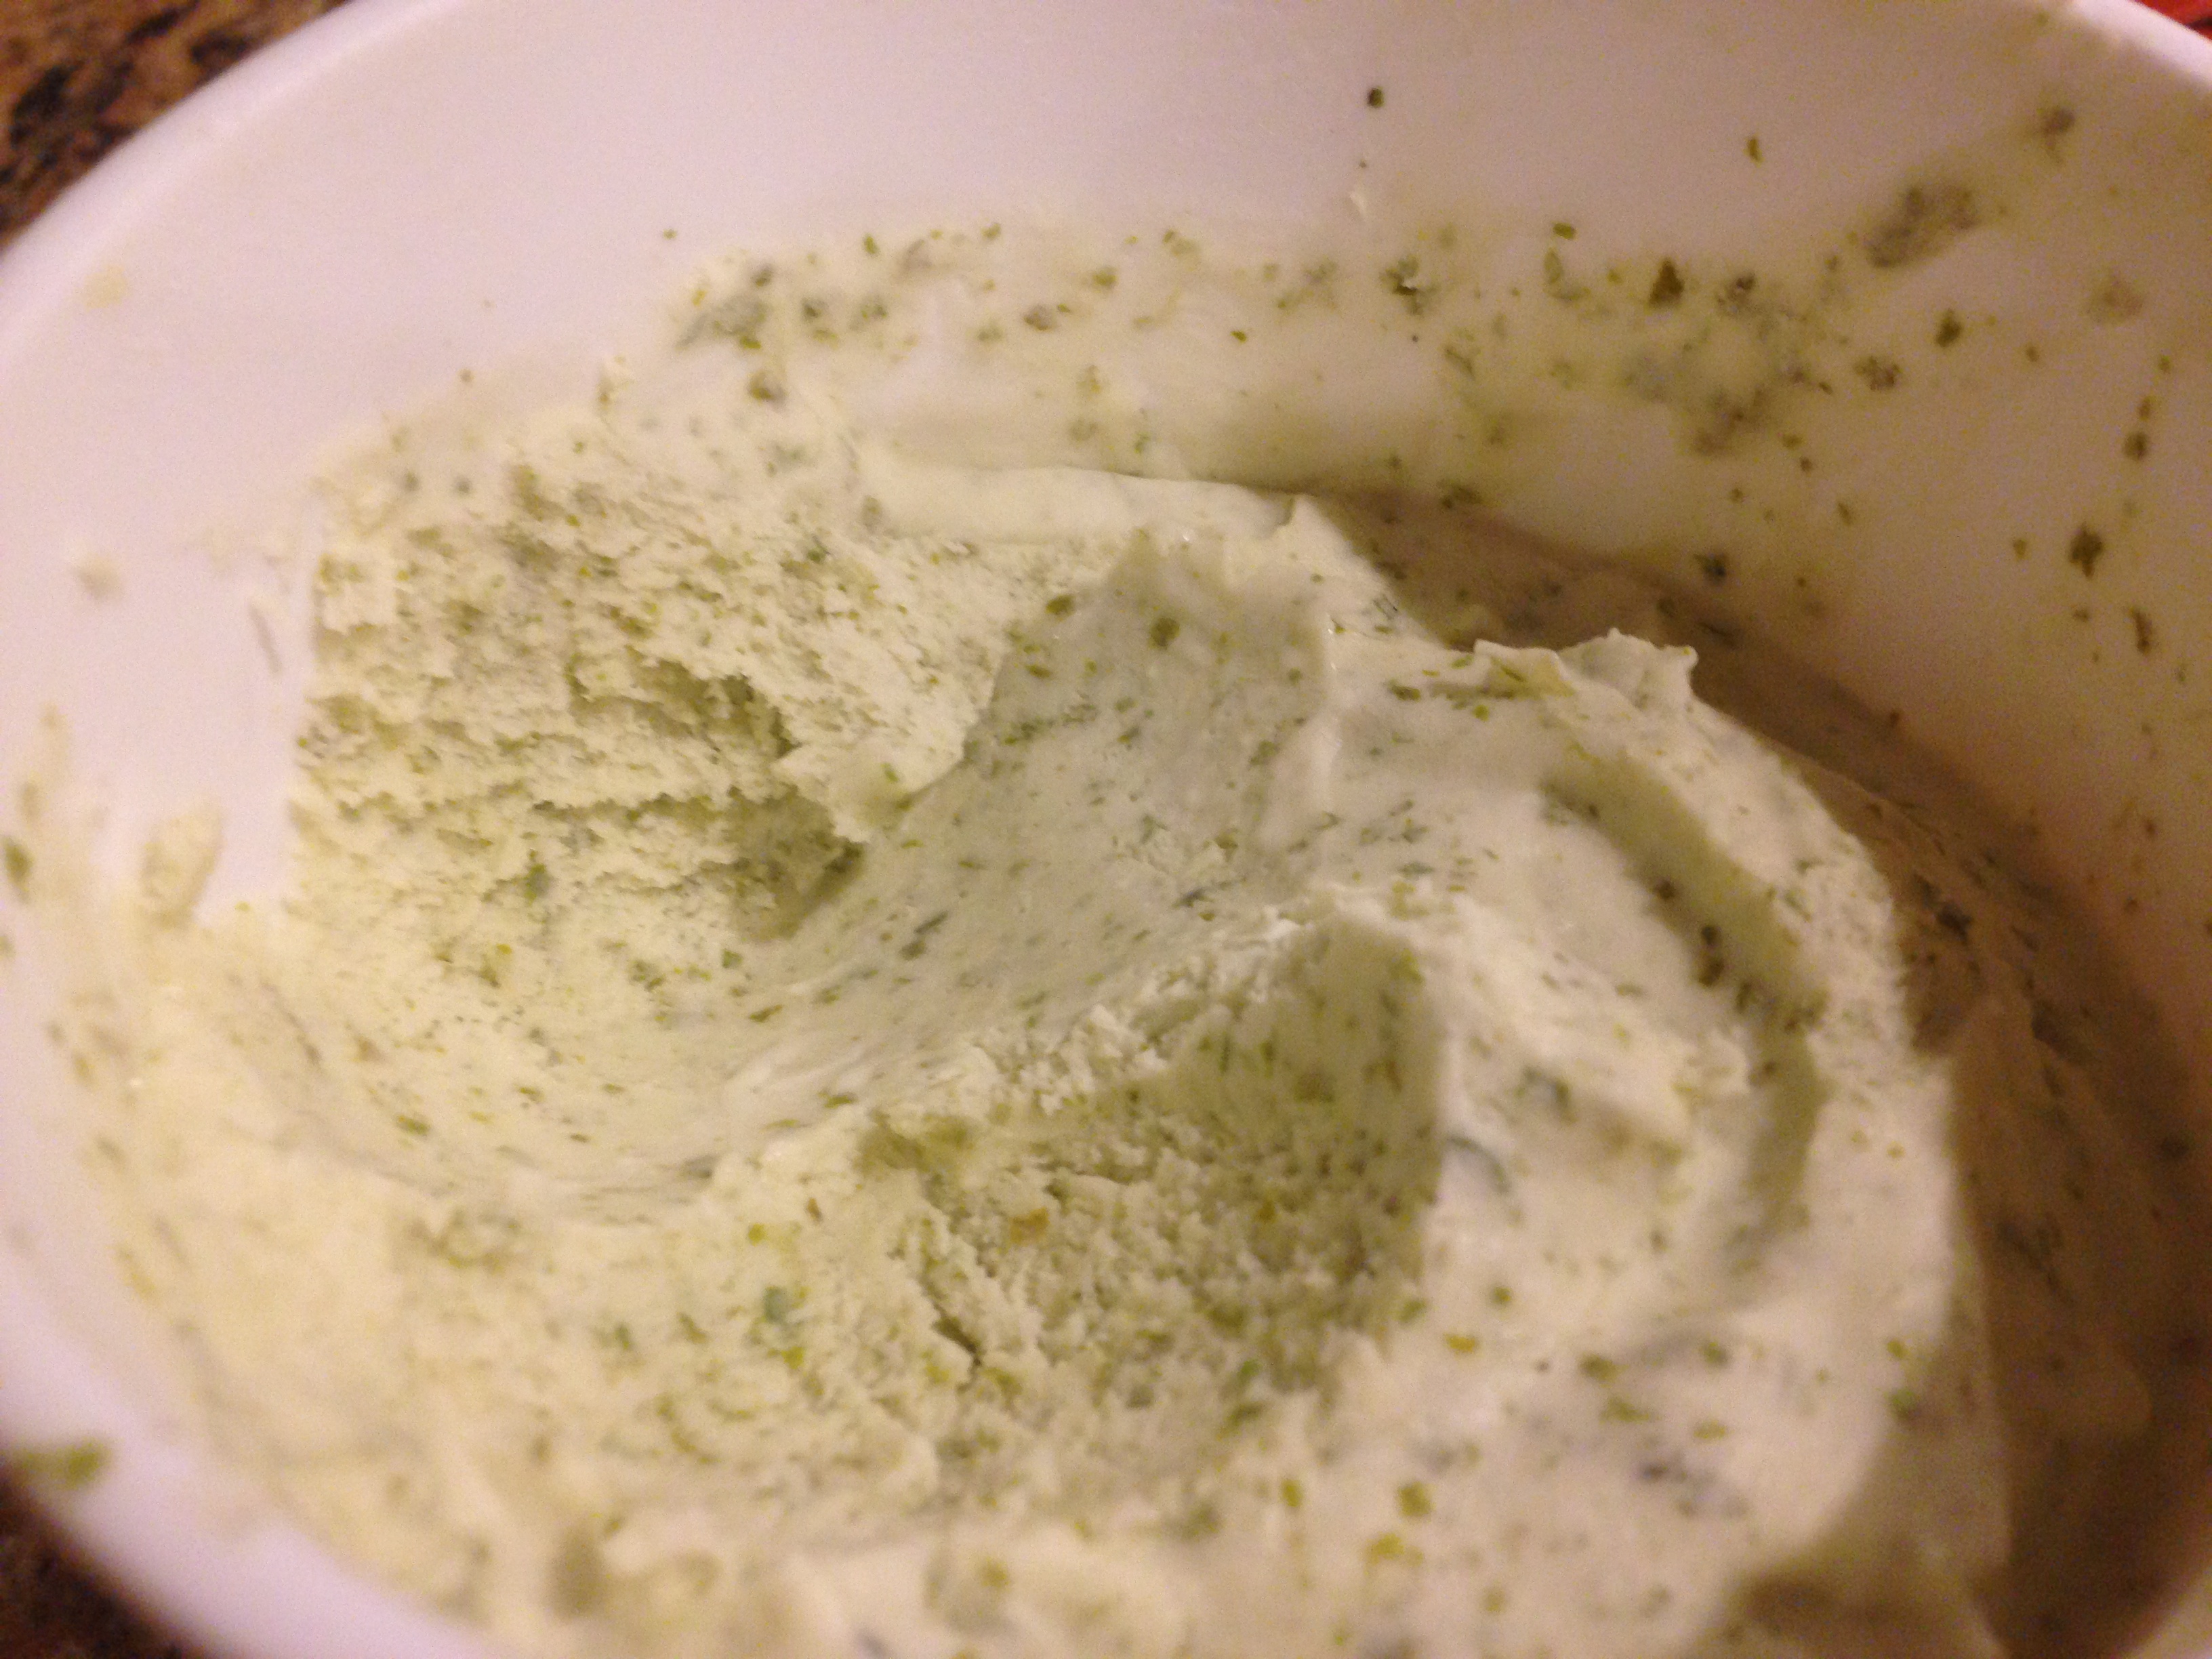
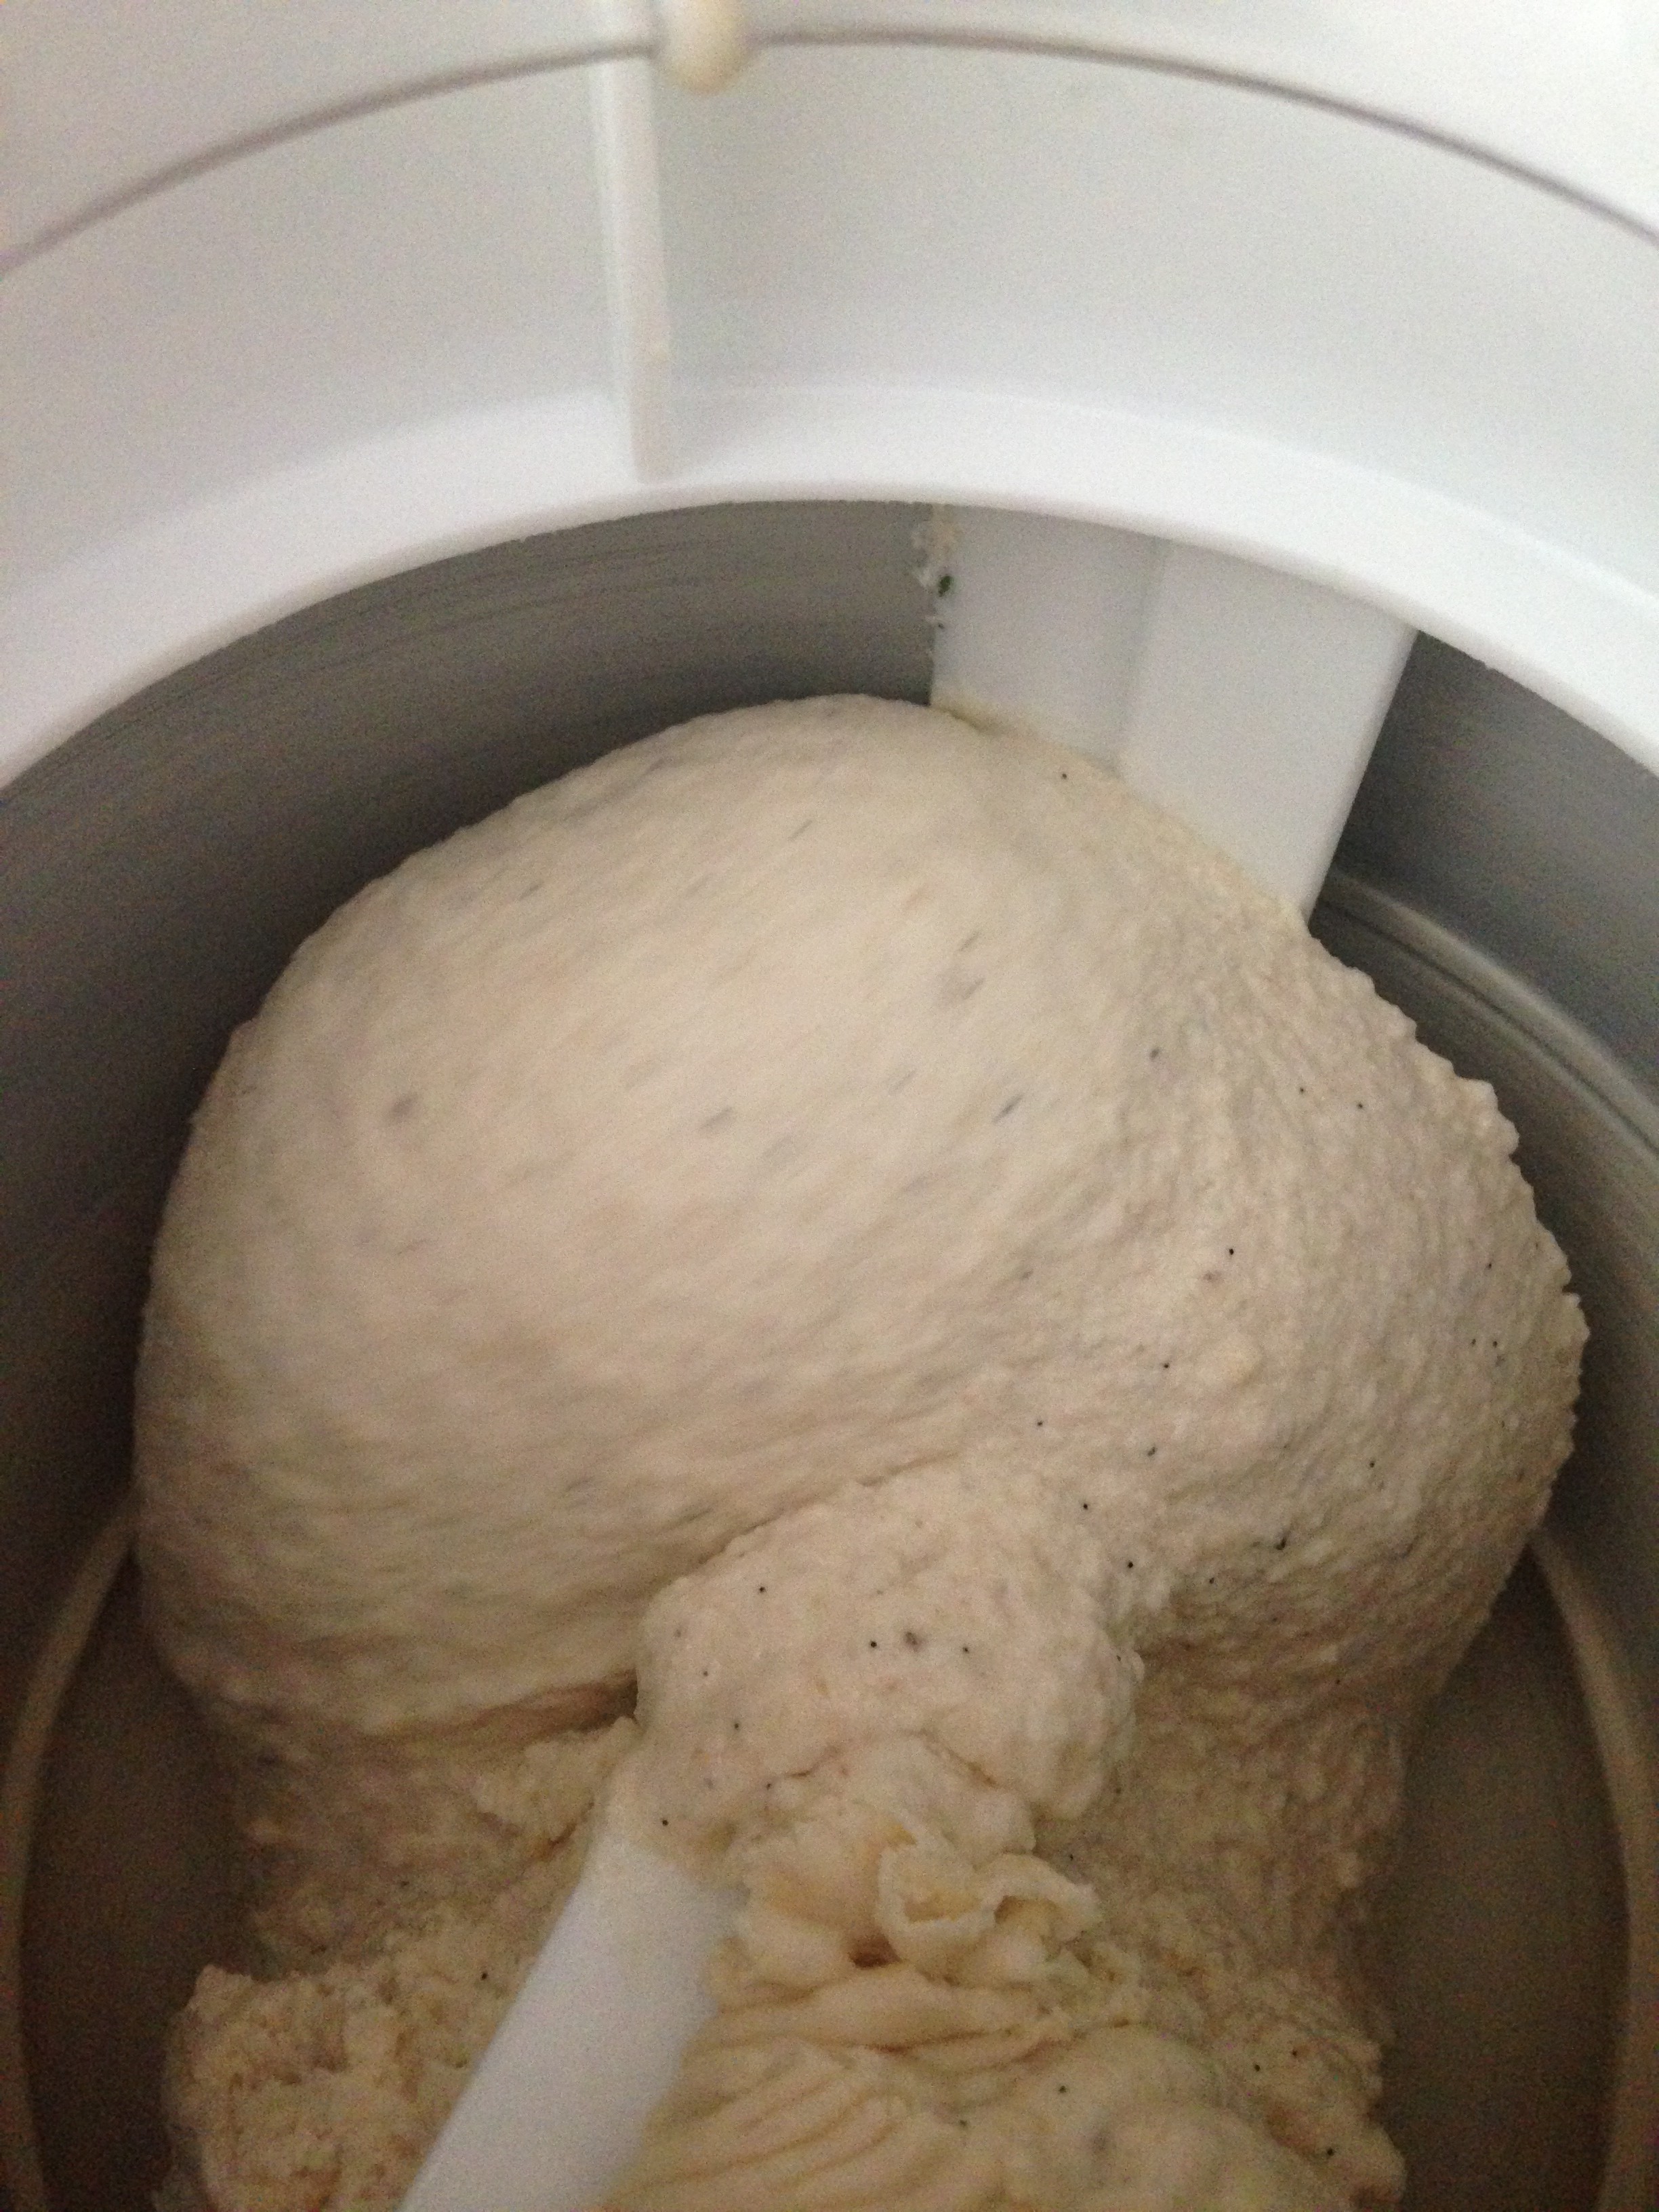
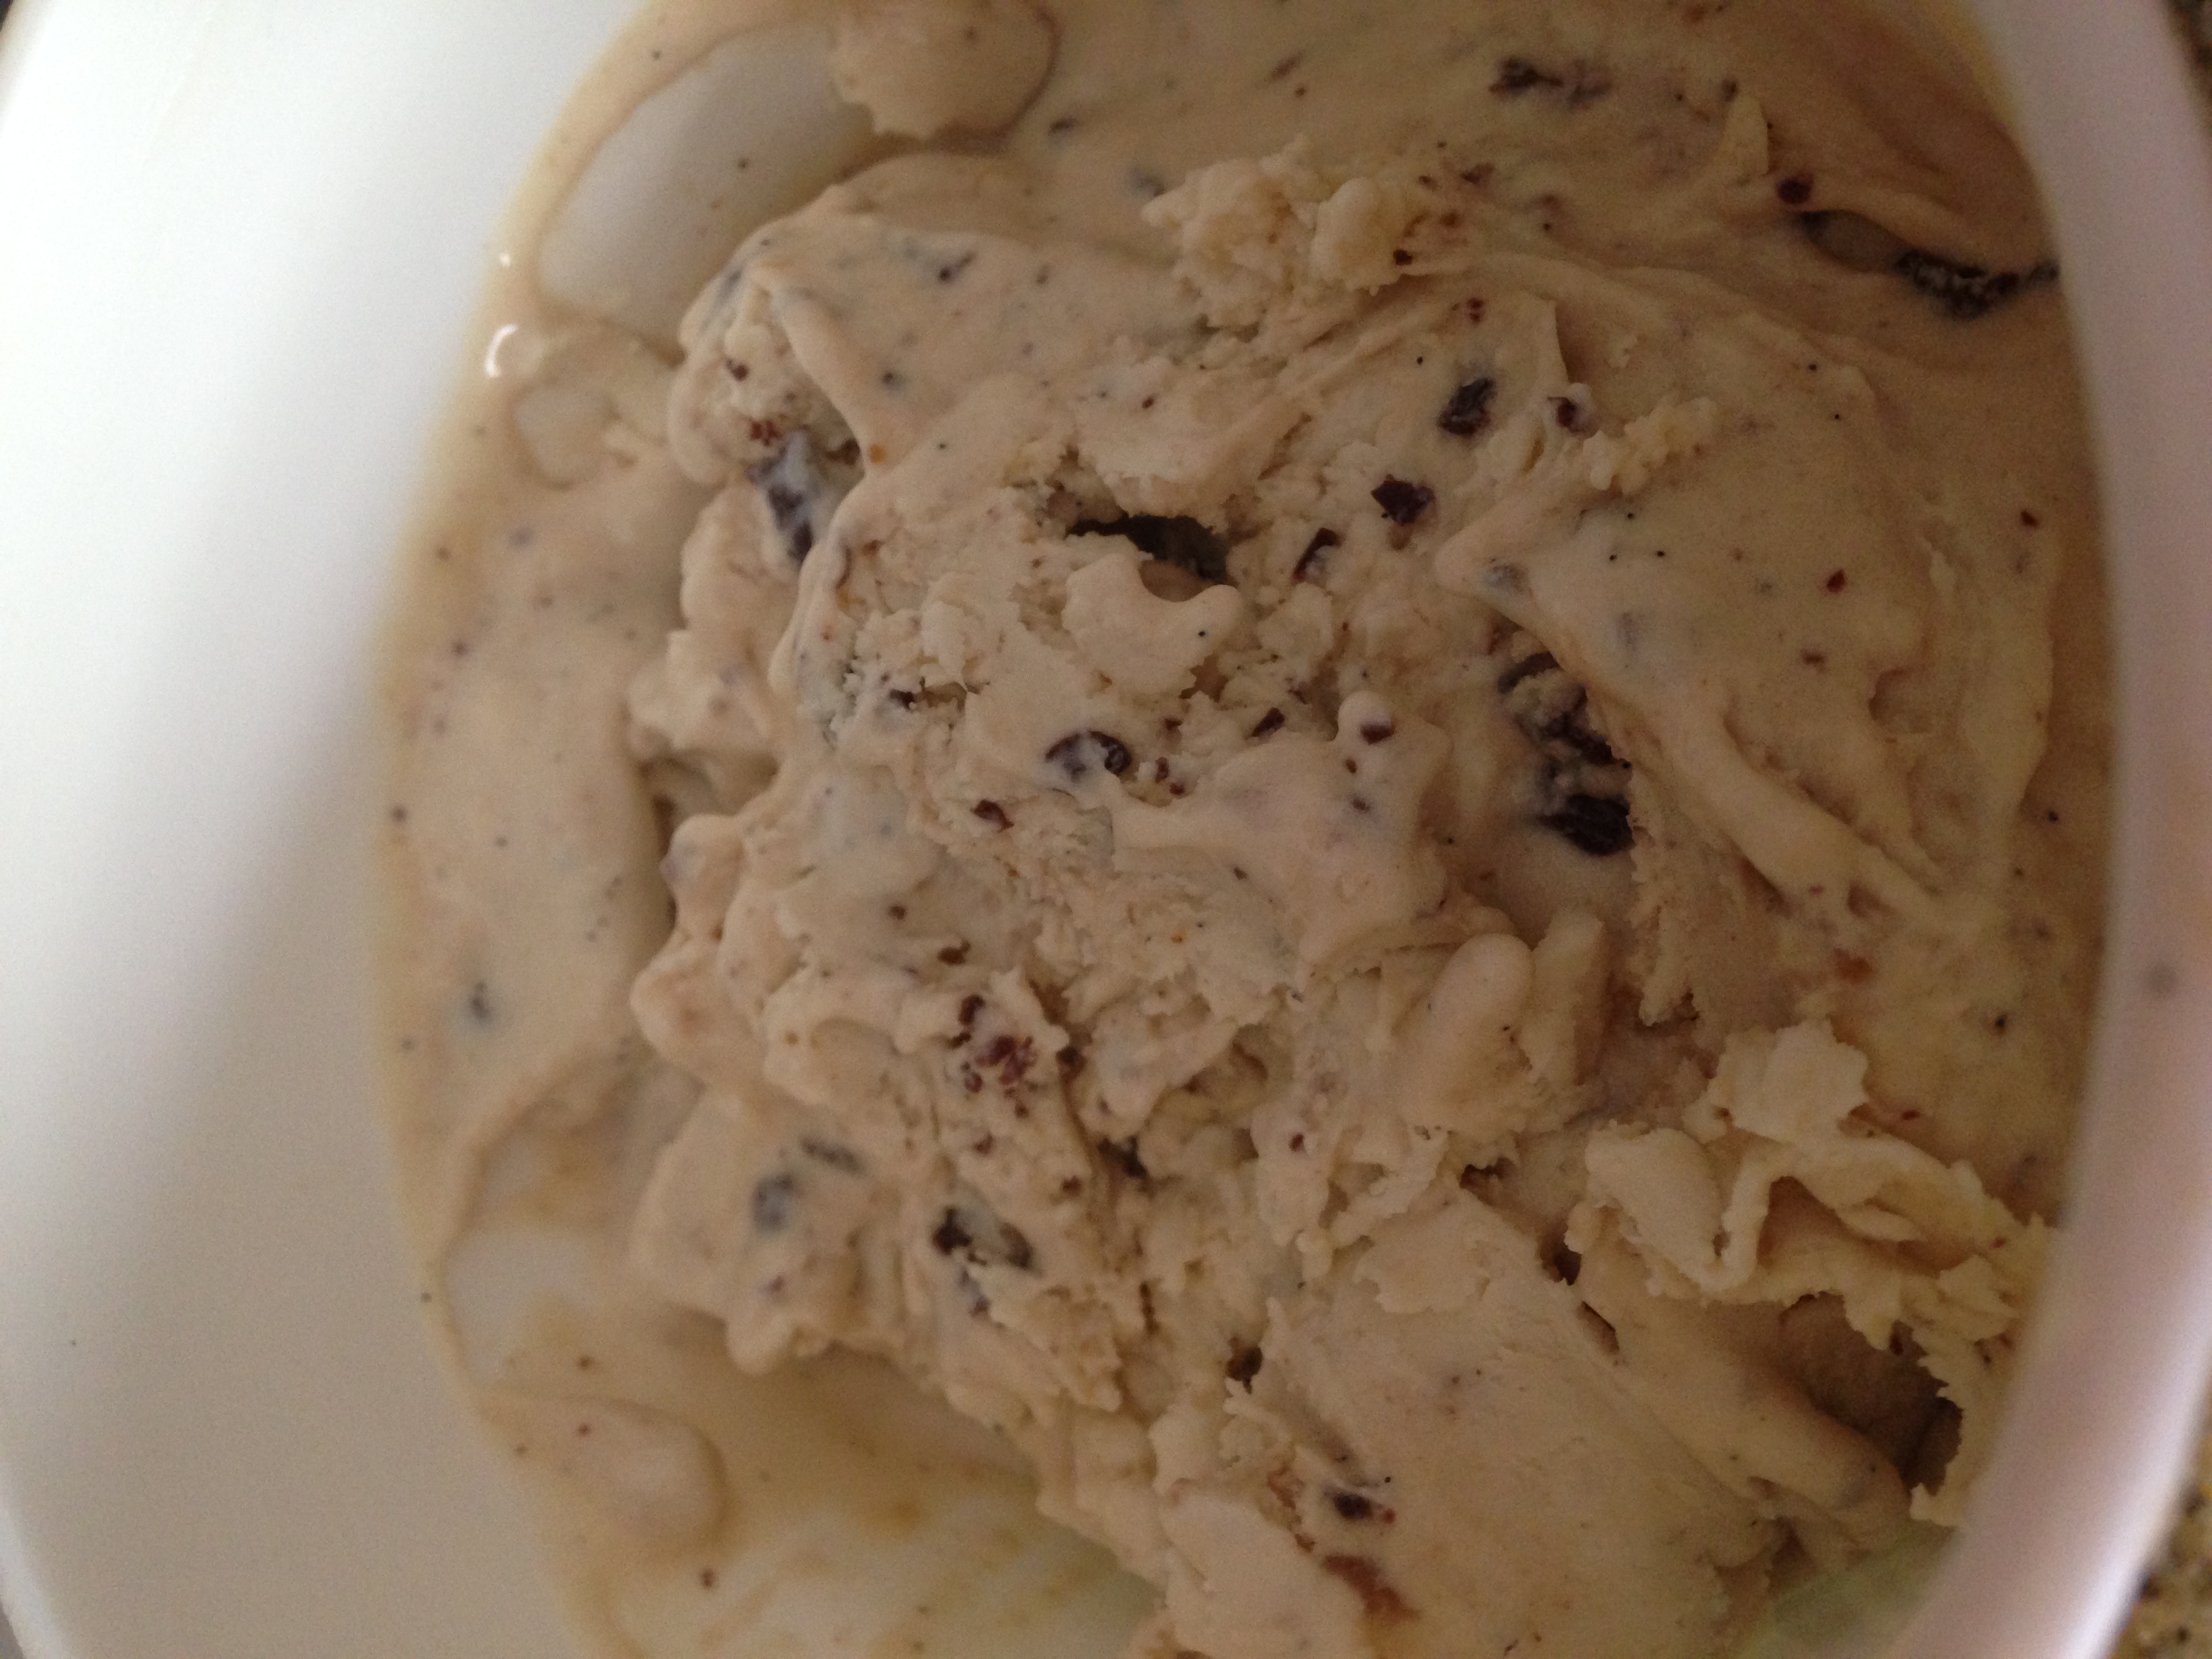
I was happy with the flavour of plum ice cream, to which I added some cinnamon powder, as just wanted a hint of haunting sweetness to the ice cream. The Indian ingredients of Amul cream worked well, and the texture of the ice cream was not as fluffy as when using an ice cream maker, but still very good , as the taste of fresh homemade ice creams is parallel to some of the best ice creams commercially available in India.

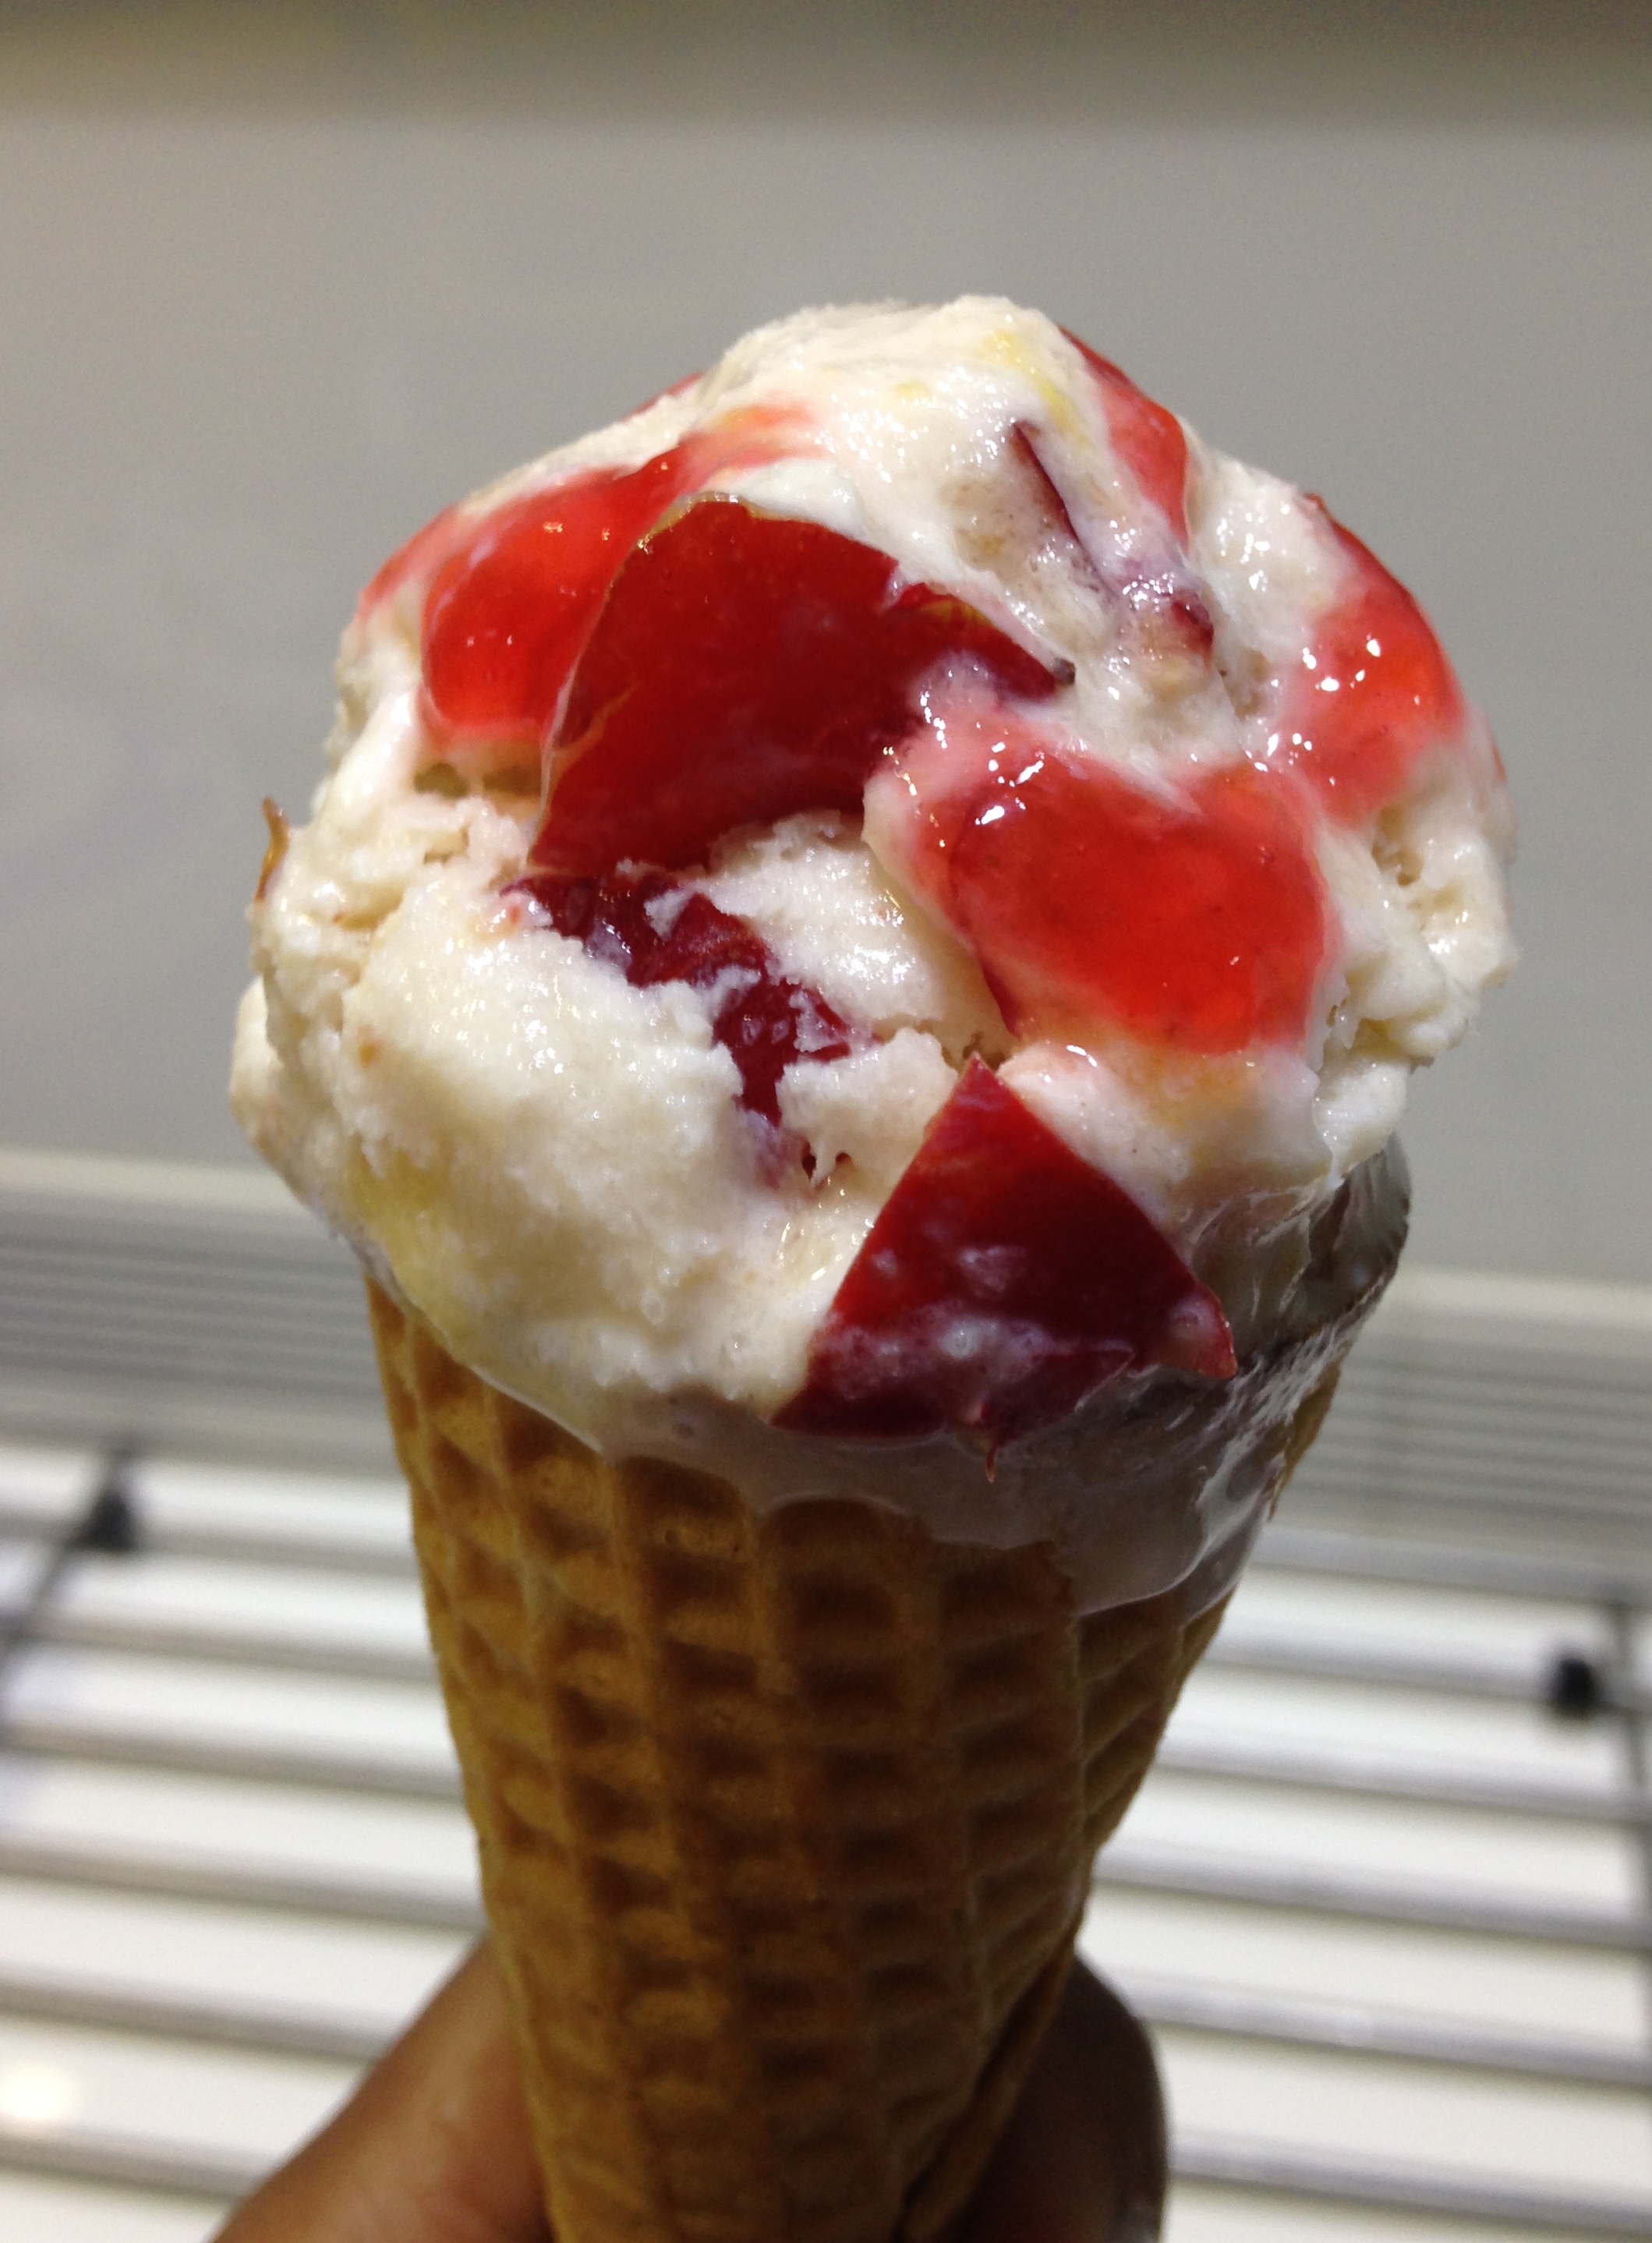
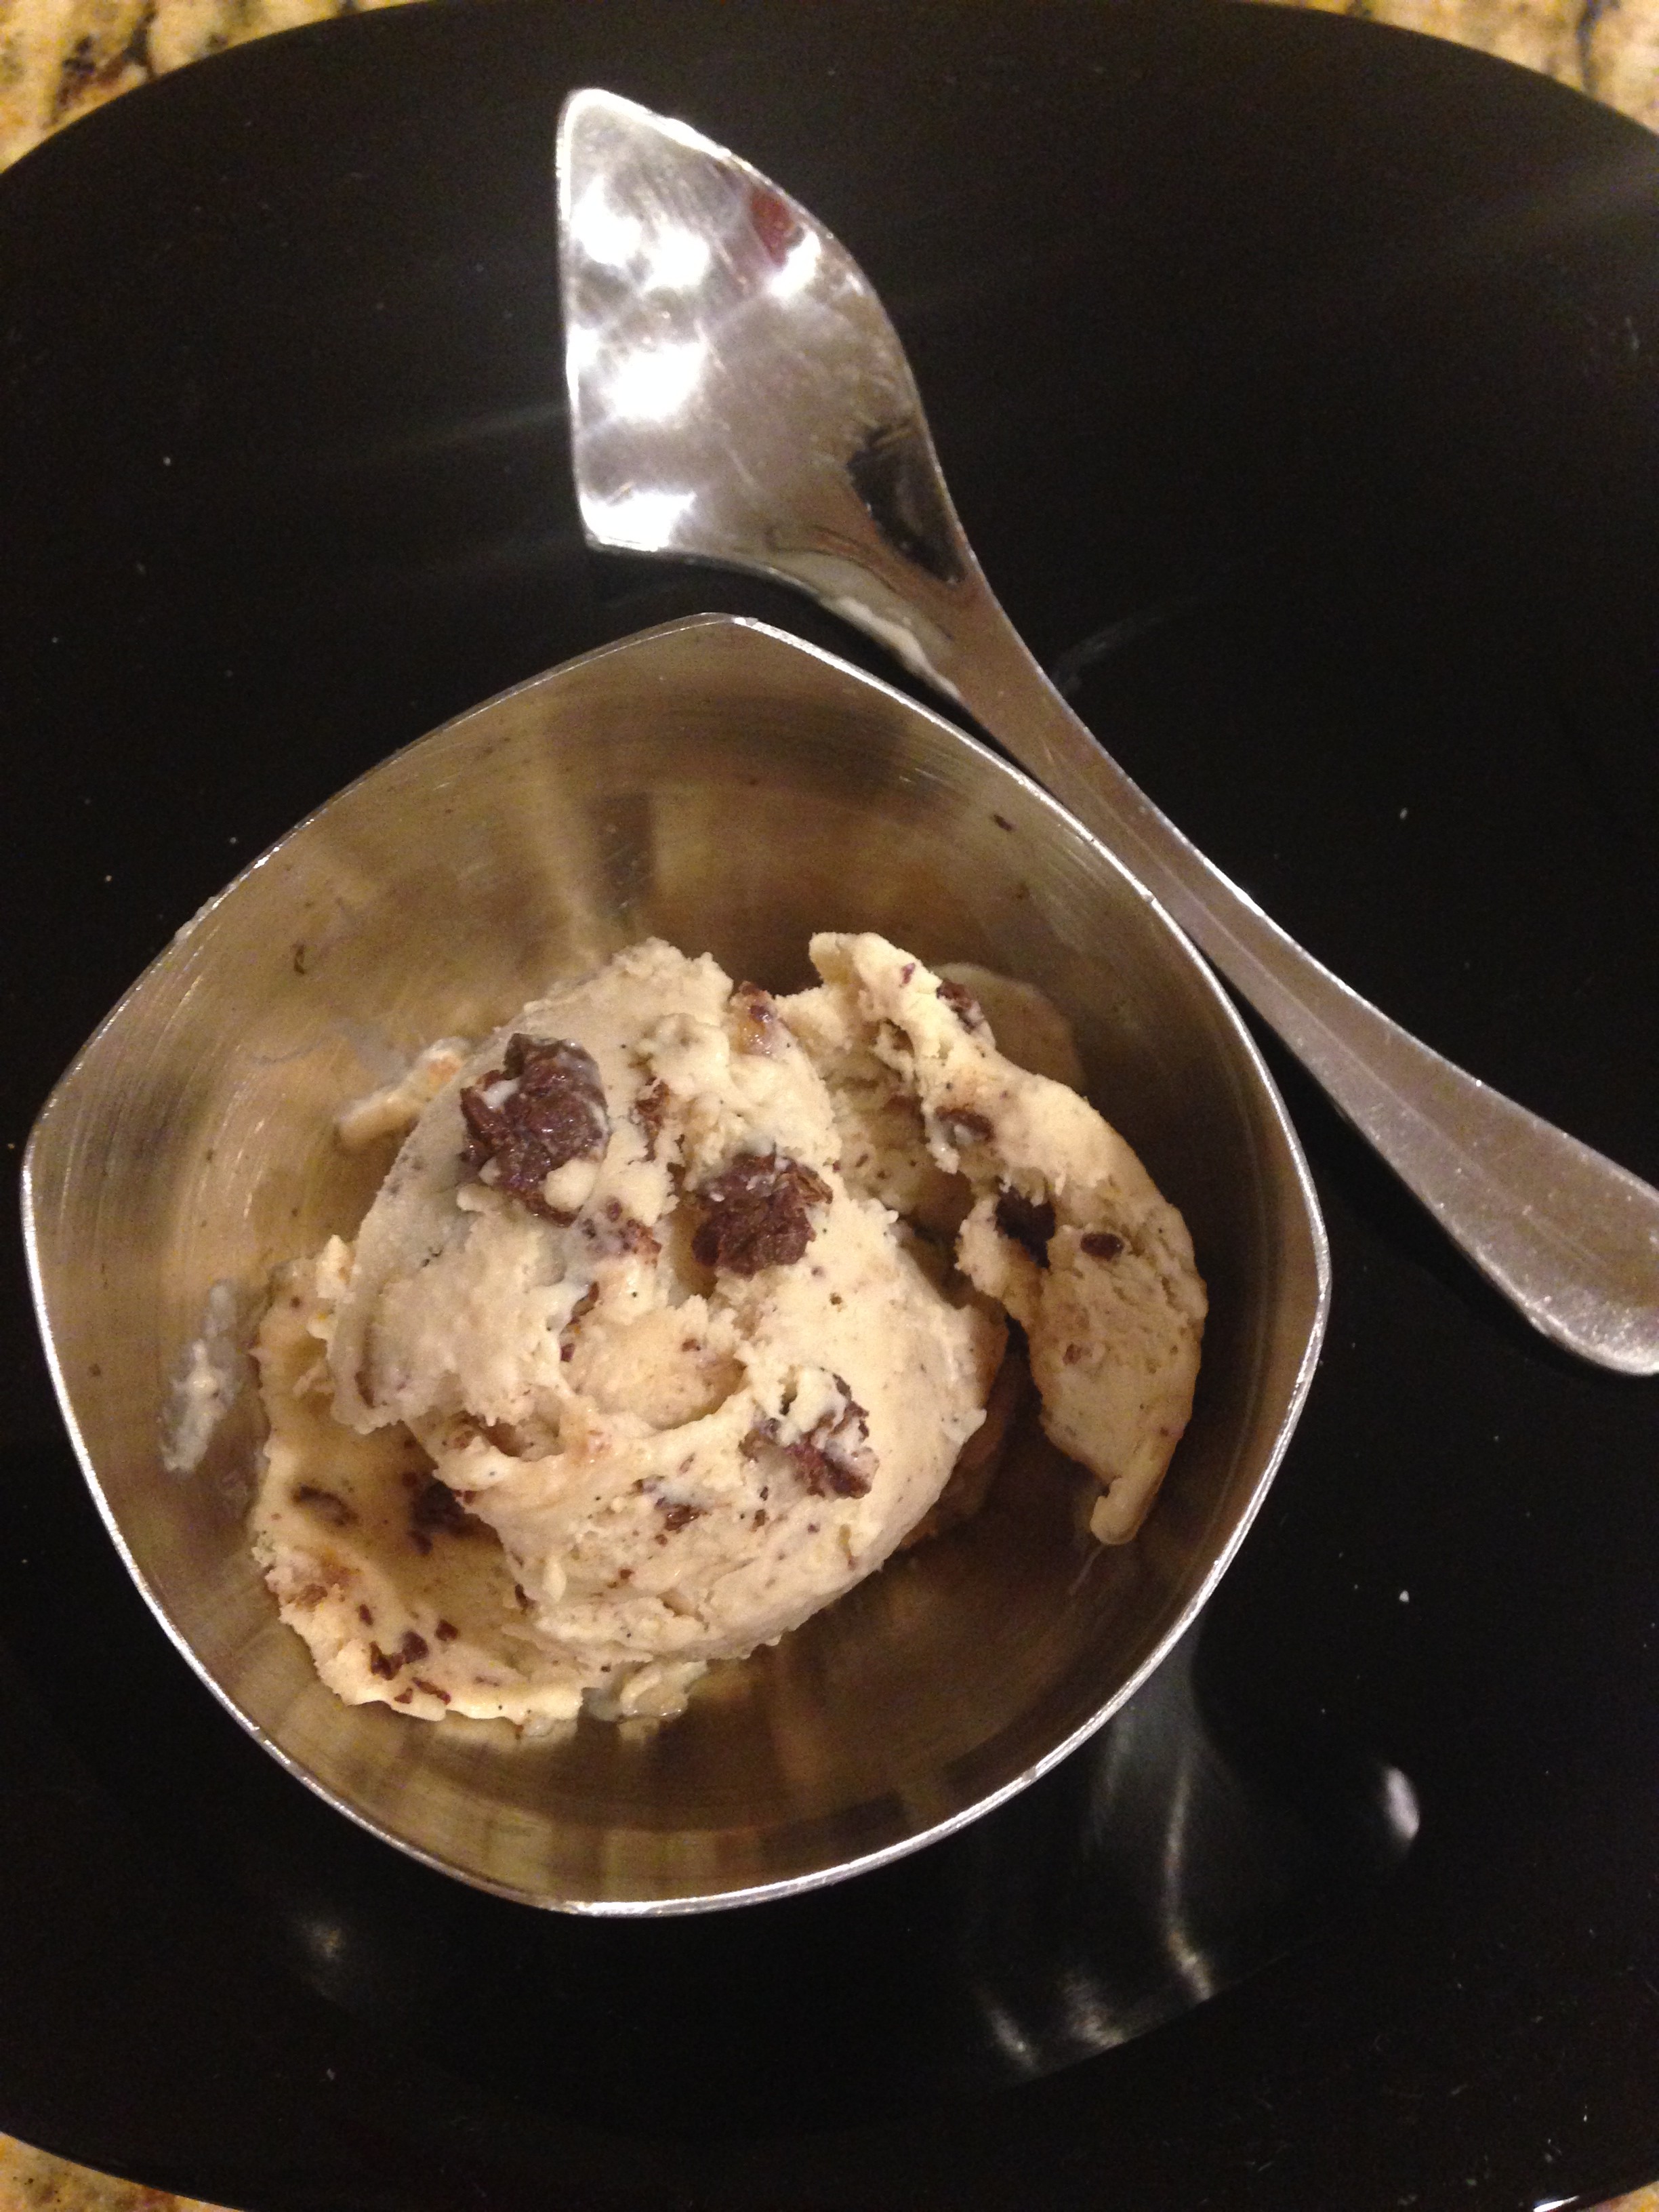
The tanginess of plum and the color of the red/pink amongst the white base was pleasing, so a hint of tanginess, warmth of the red and spice of cinnamon added the needed depth to this ice cream. If you are not fond of cinnamon, then one can skip this and add a bit more of sugar.  To top the flavour I added my mother’s extra delicious plum jam to add bit more of color, texture and needed sweetness. You need to have a bit of adventurous gene in you to try this combination, so give it a shot and enjoy this Eggless Red Plum Ice Cream with Cinnamon!

Recipe makes 1 quart of ice cream

Ingredients
  • 2 cups heavy cream with full fat ( Amul Full Fat Cream for India)

IMG_3956

  • 1 cup full fat milk
  • 1 cup plus 2 tbsp sugar
  • 1 1/2 tsp vanilla essence
  • 1/4 tsp cinnamon powder
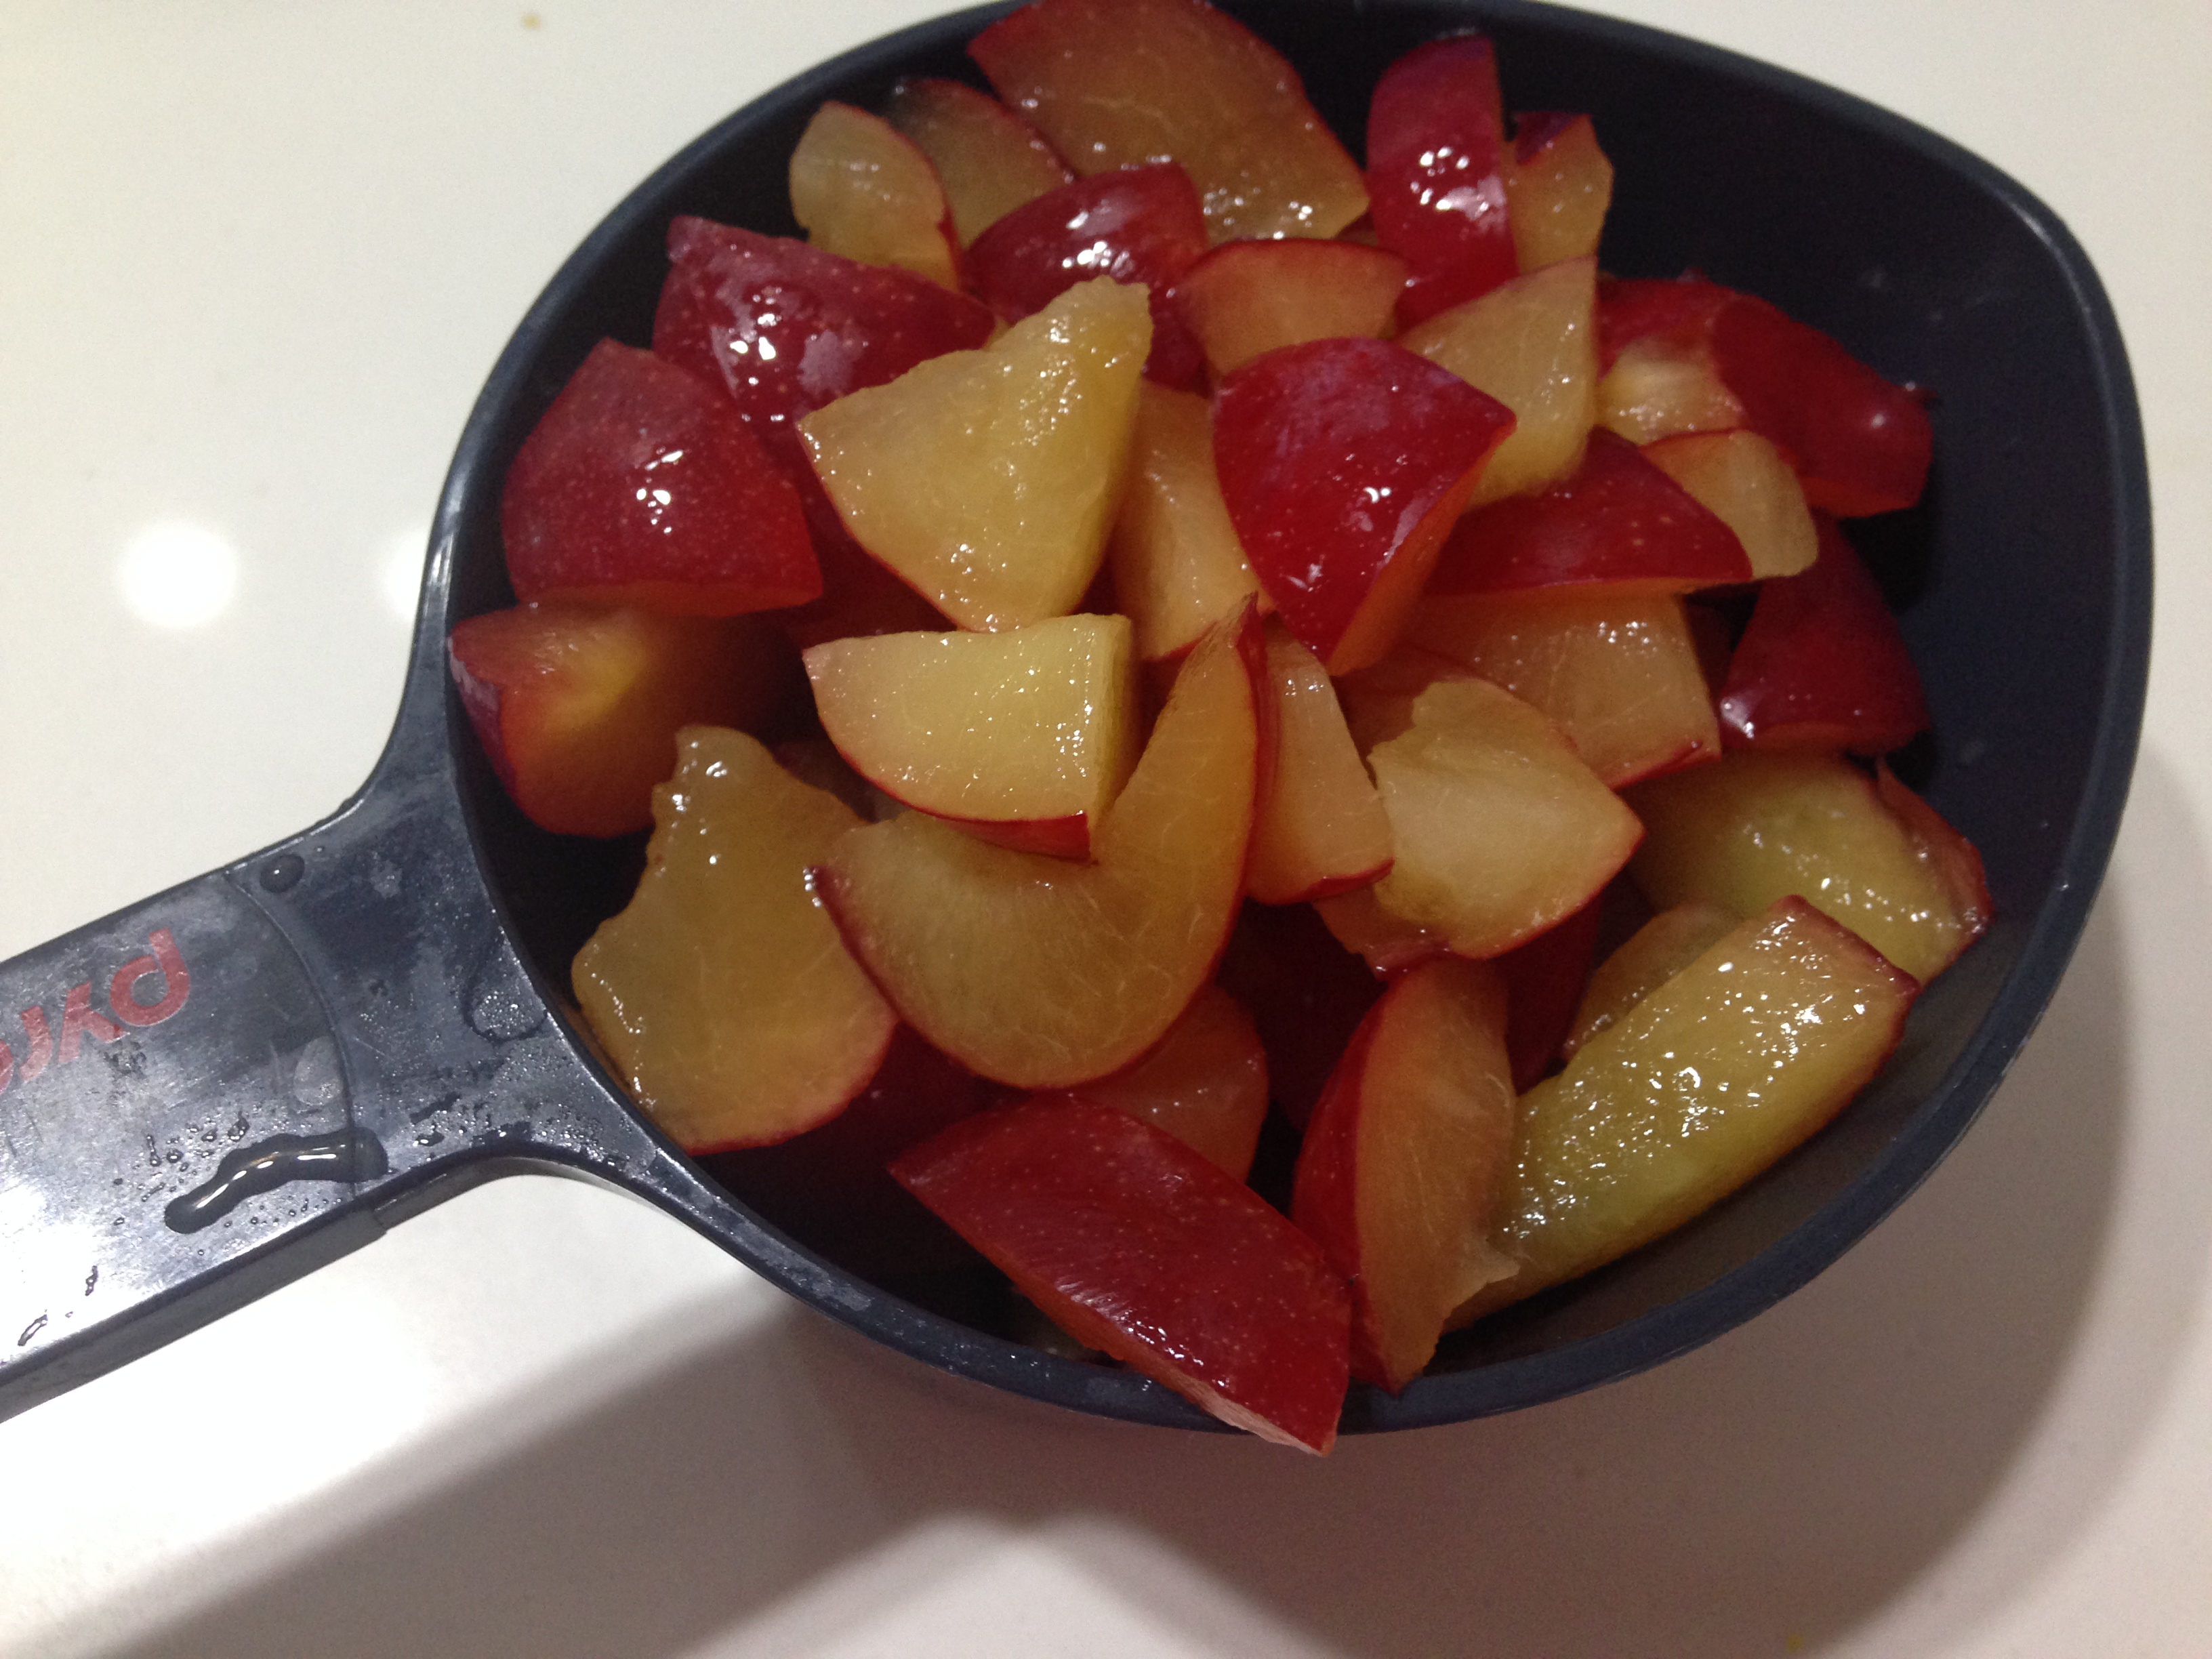
  • 1 and 1/4 cup chopped red plum

IMG_3950 IMG_3953

Method
  • Blend the chopped plums into a puree.
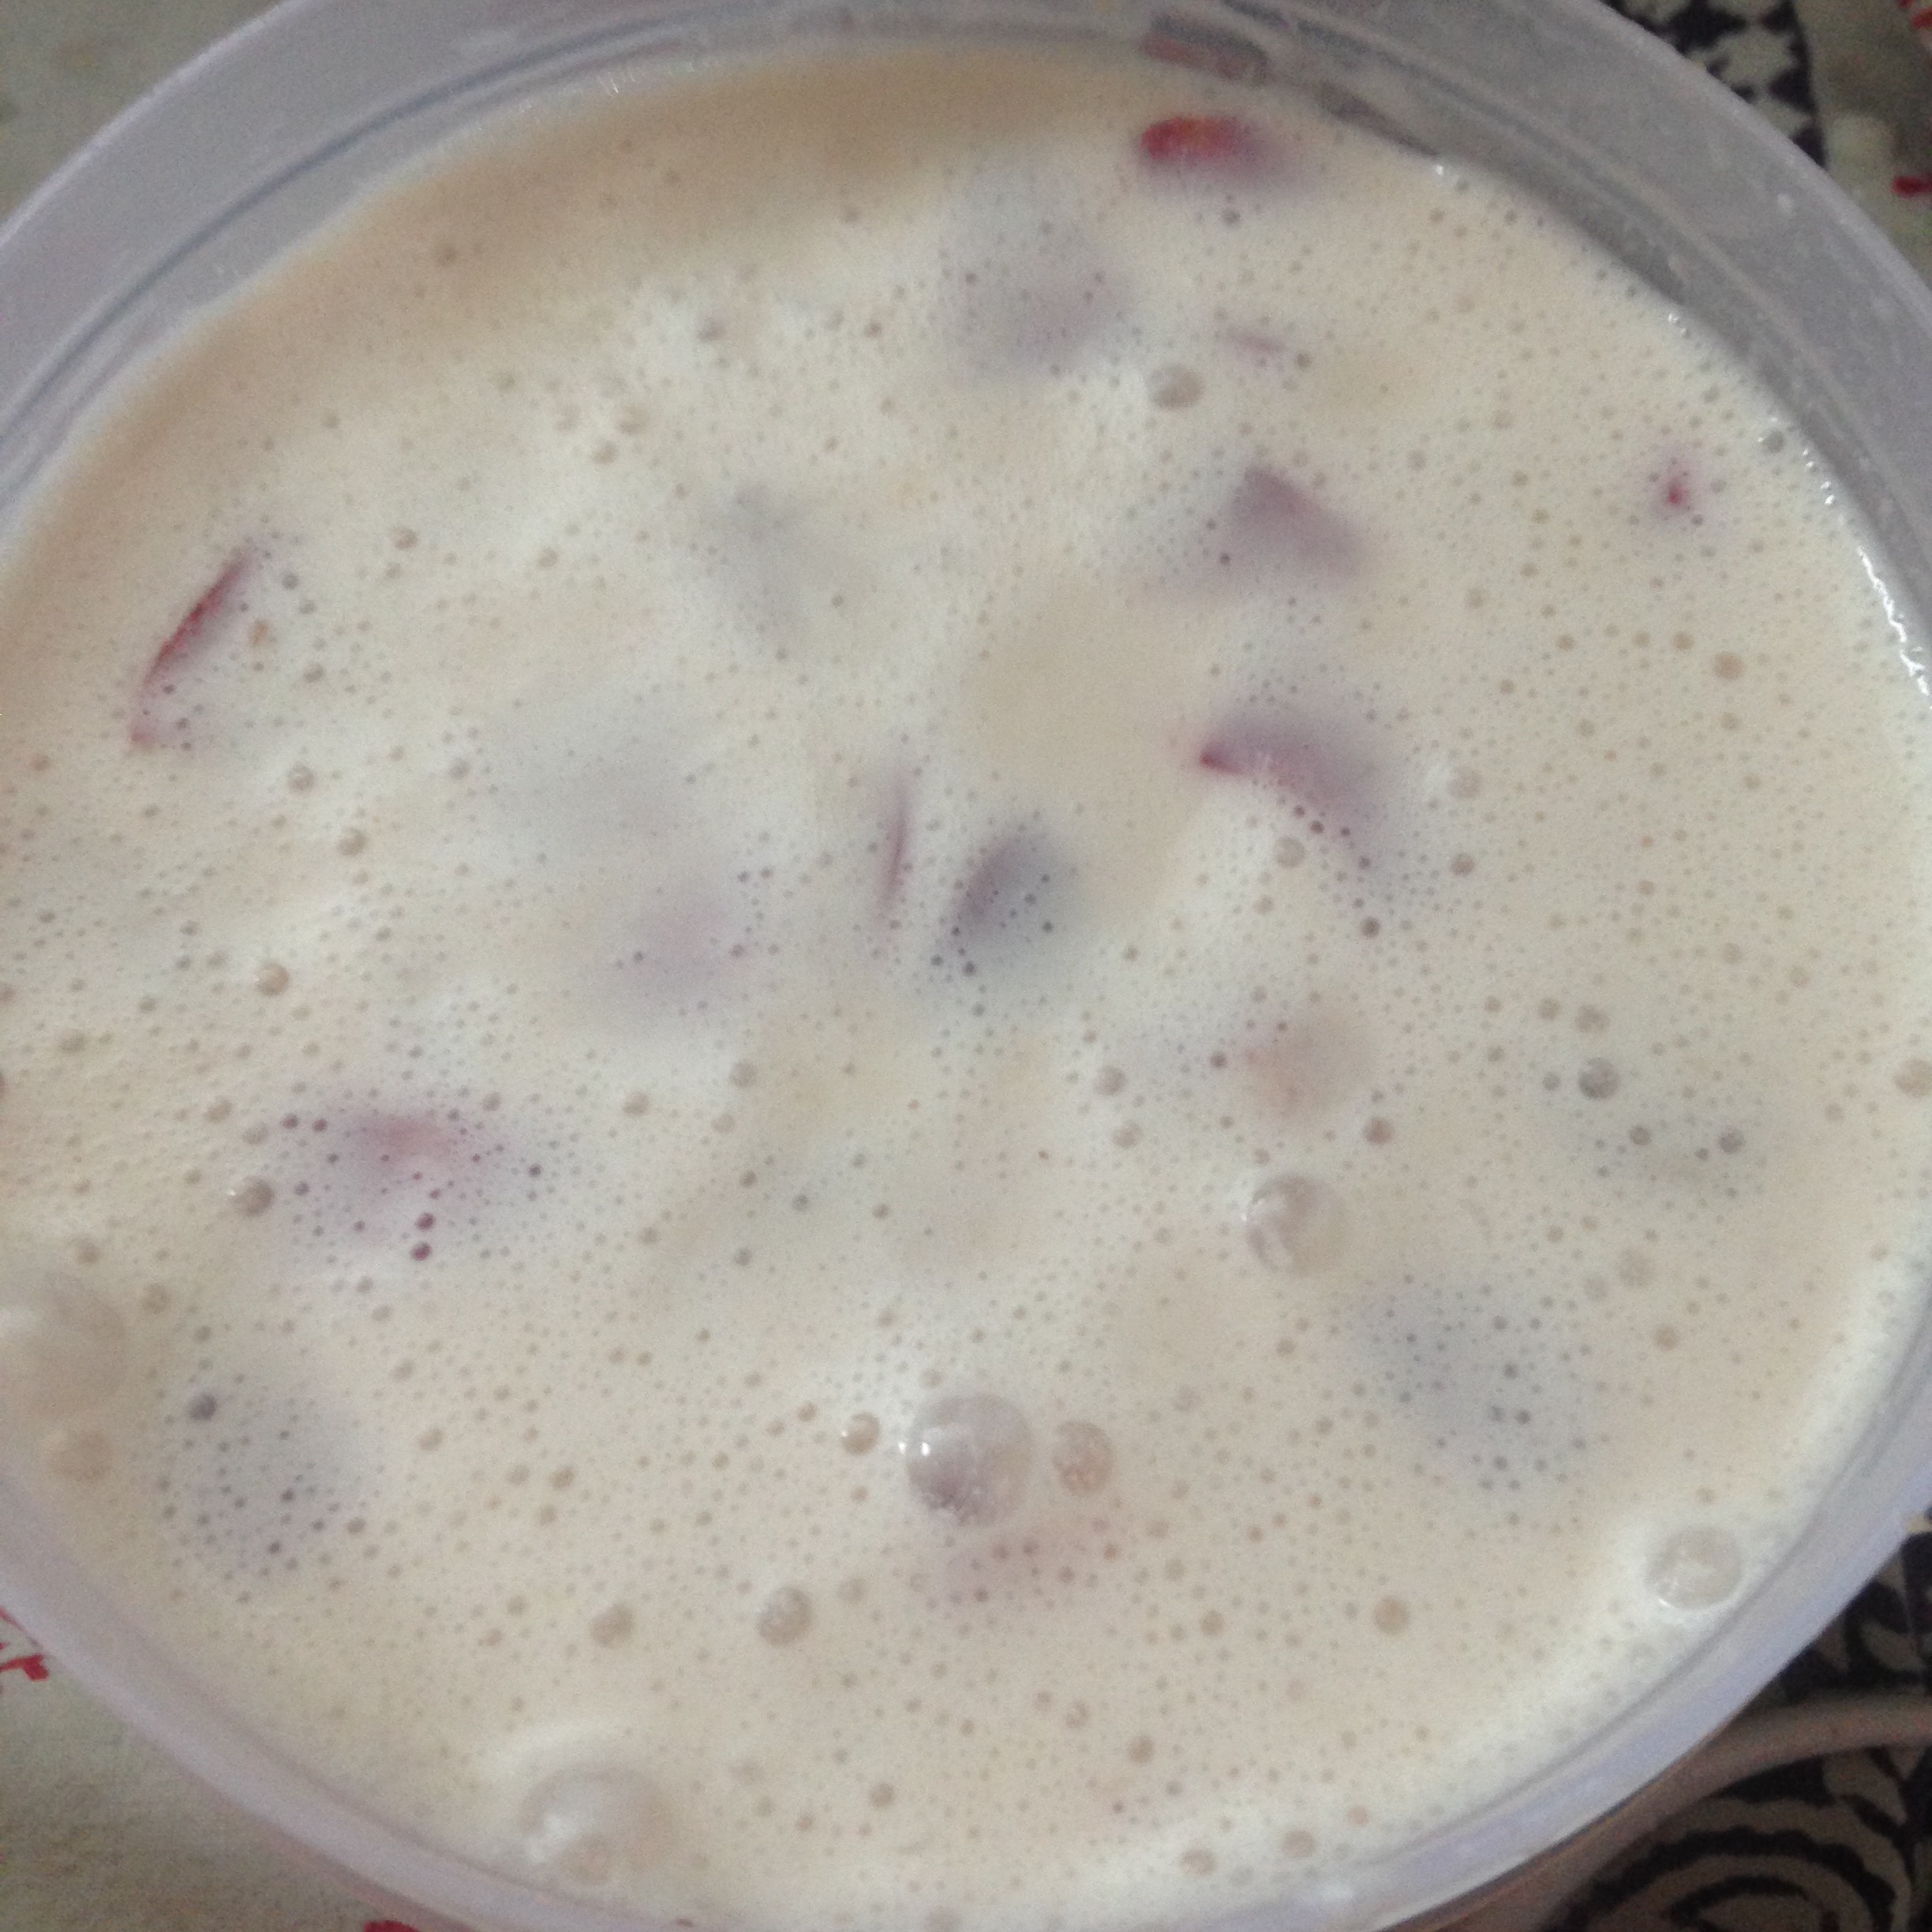
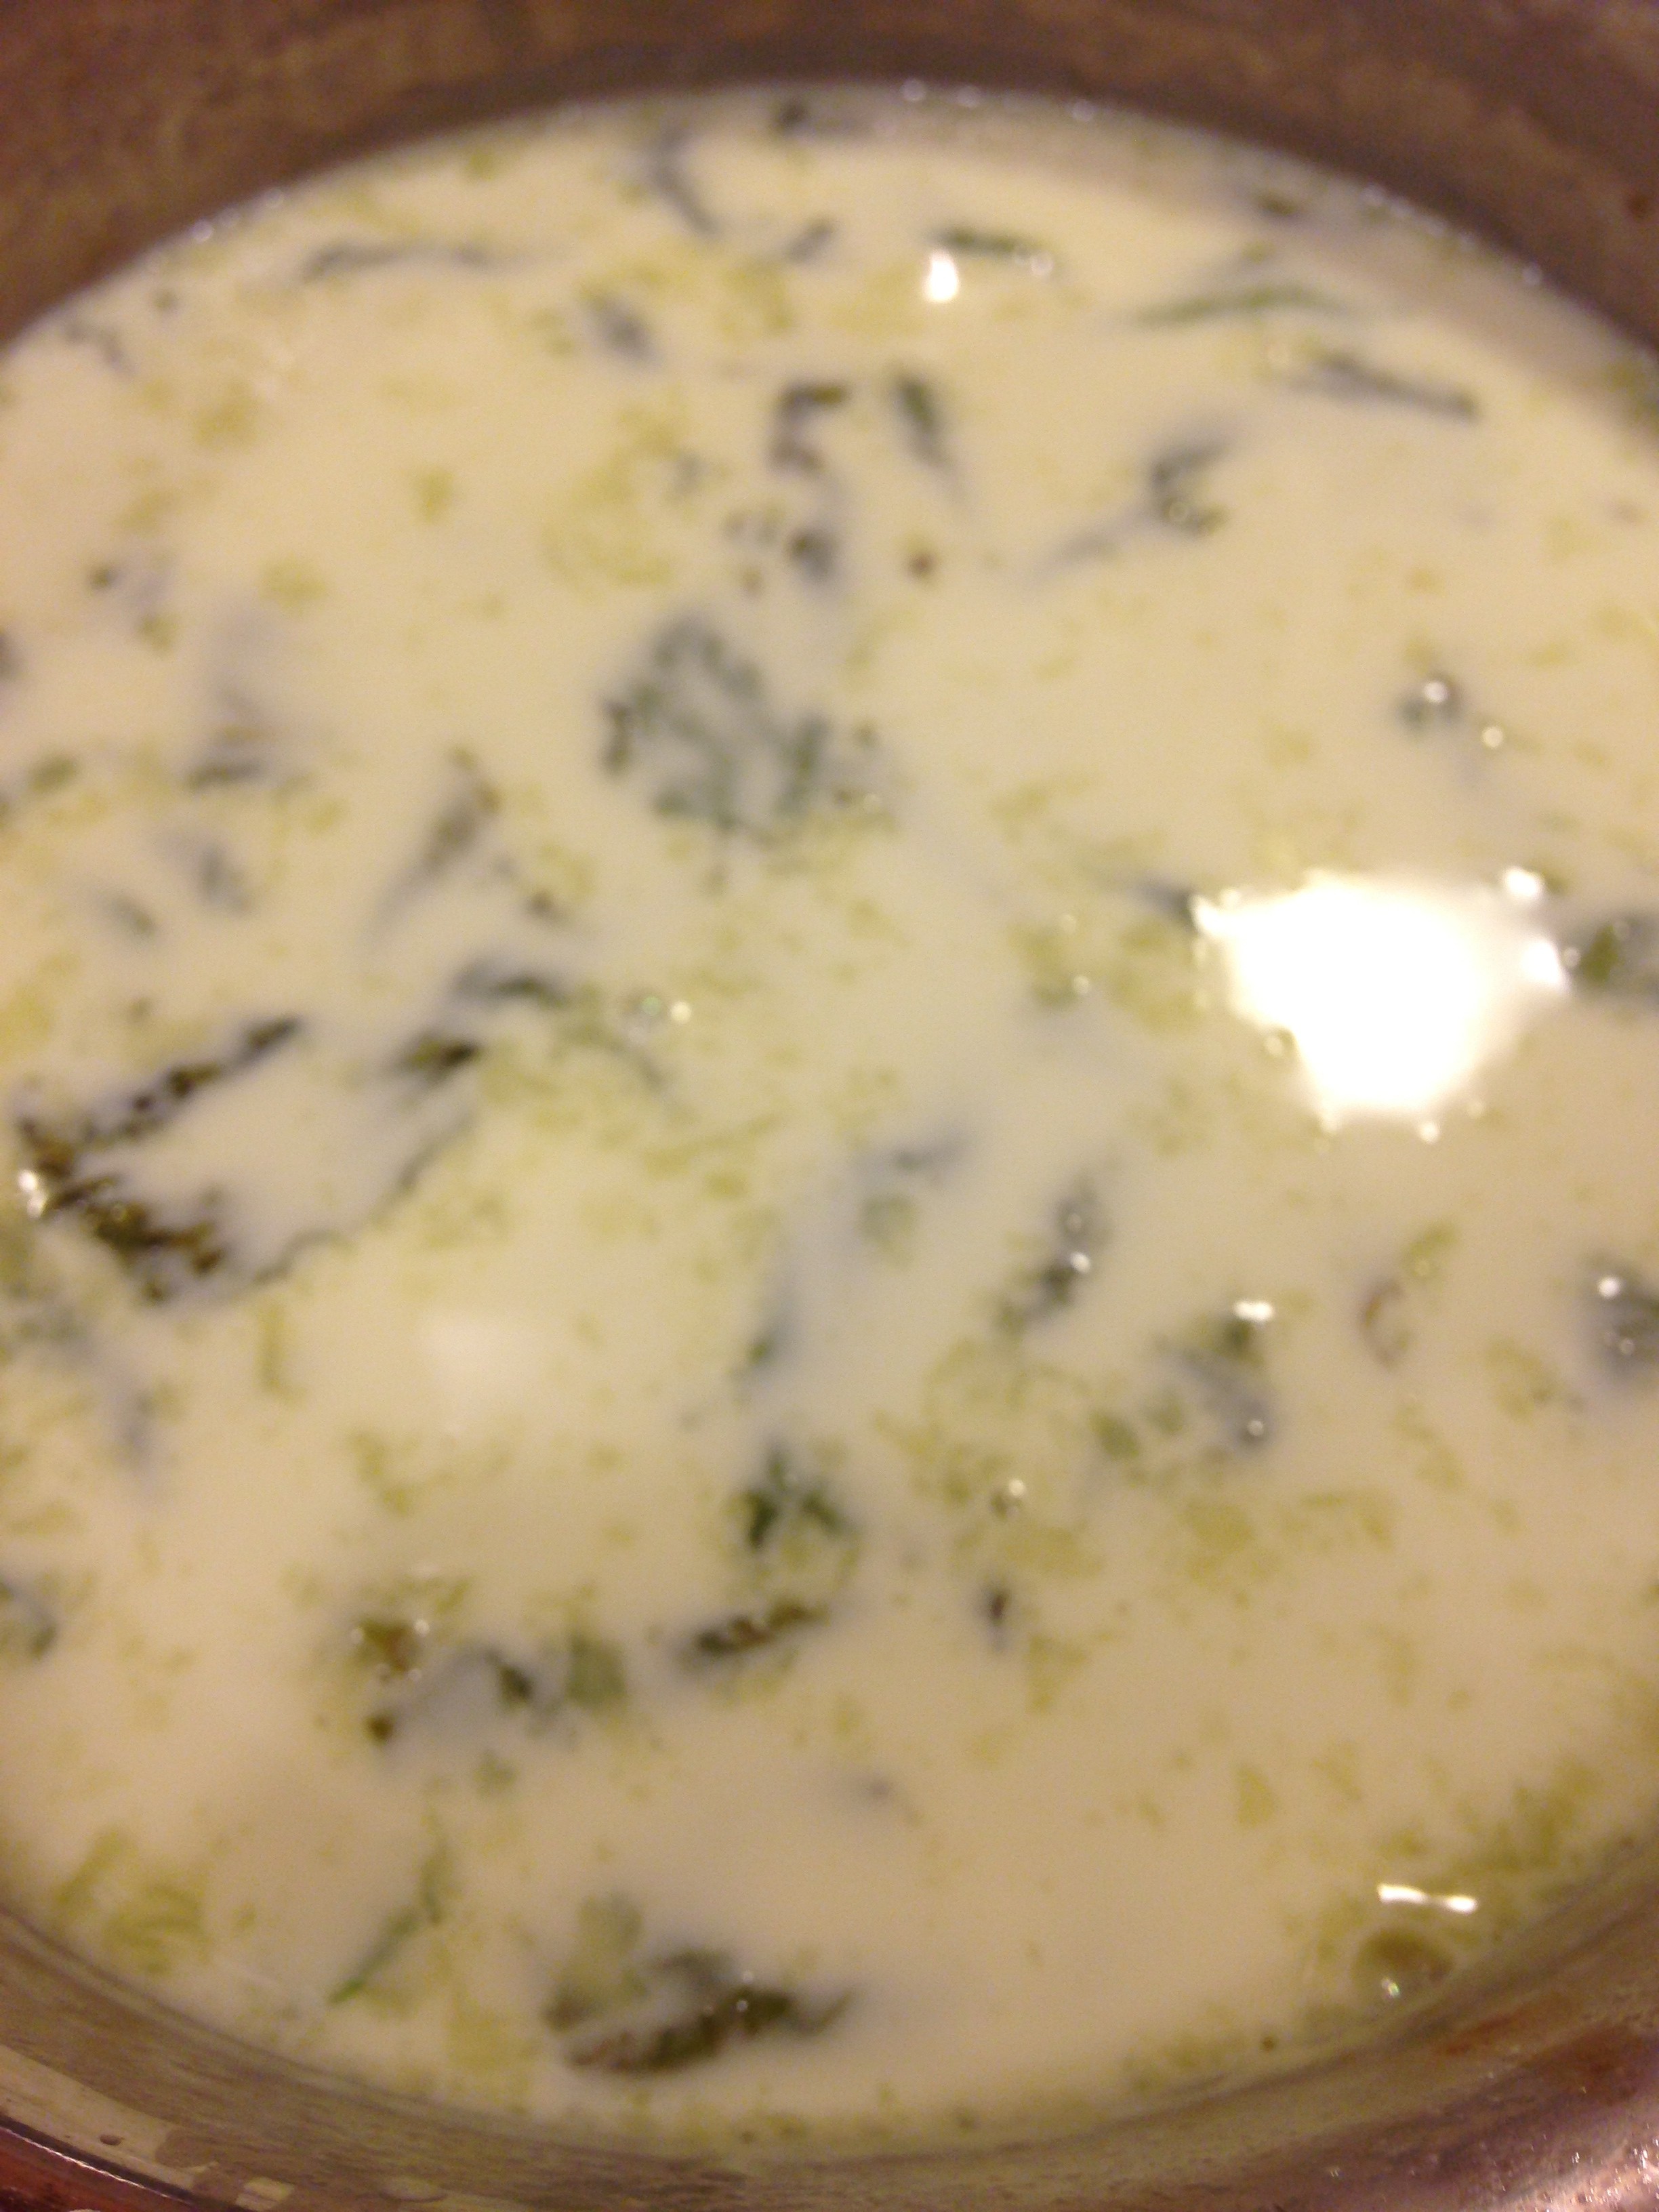
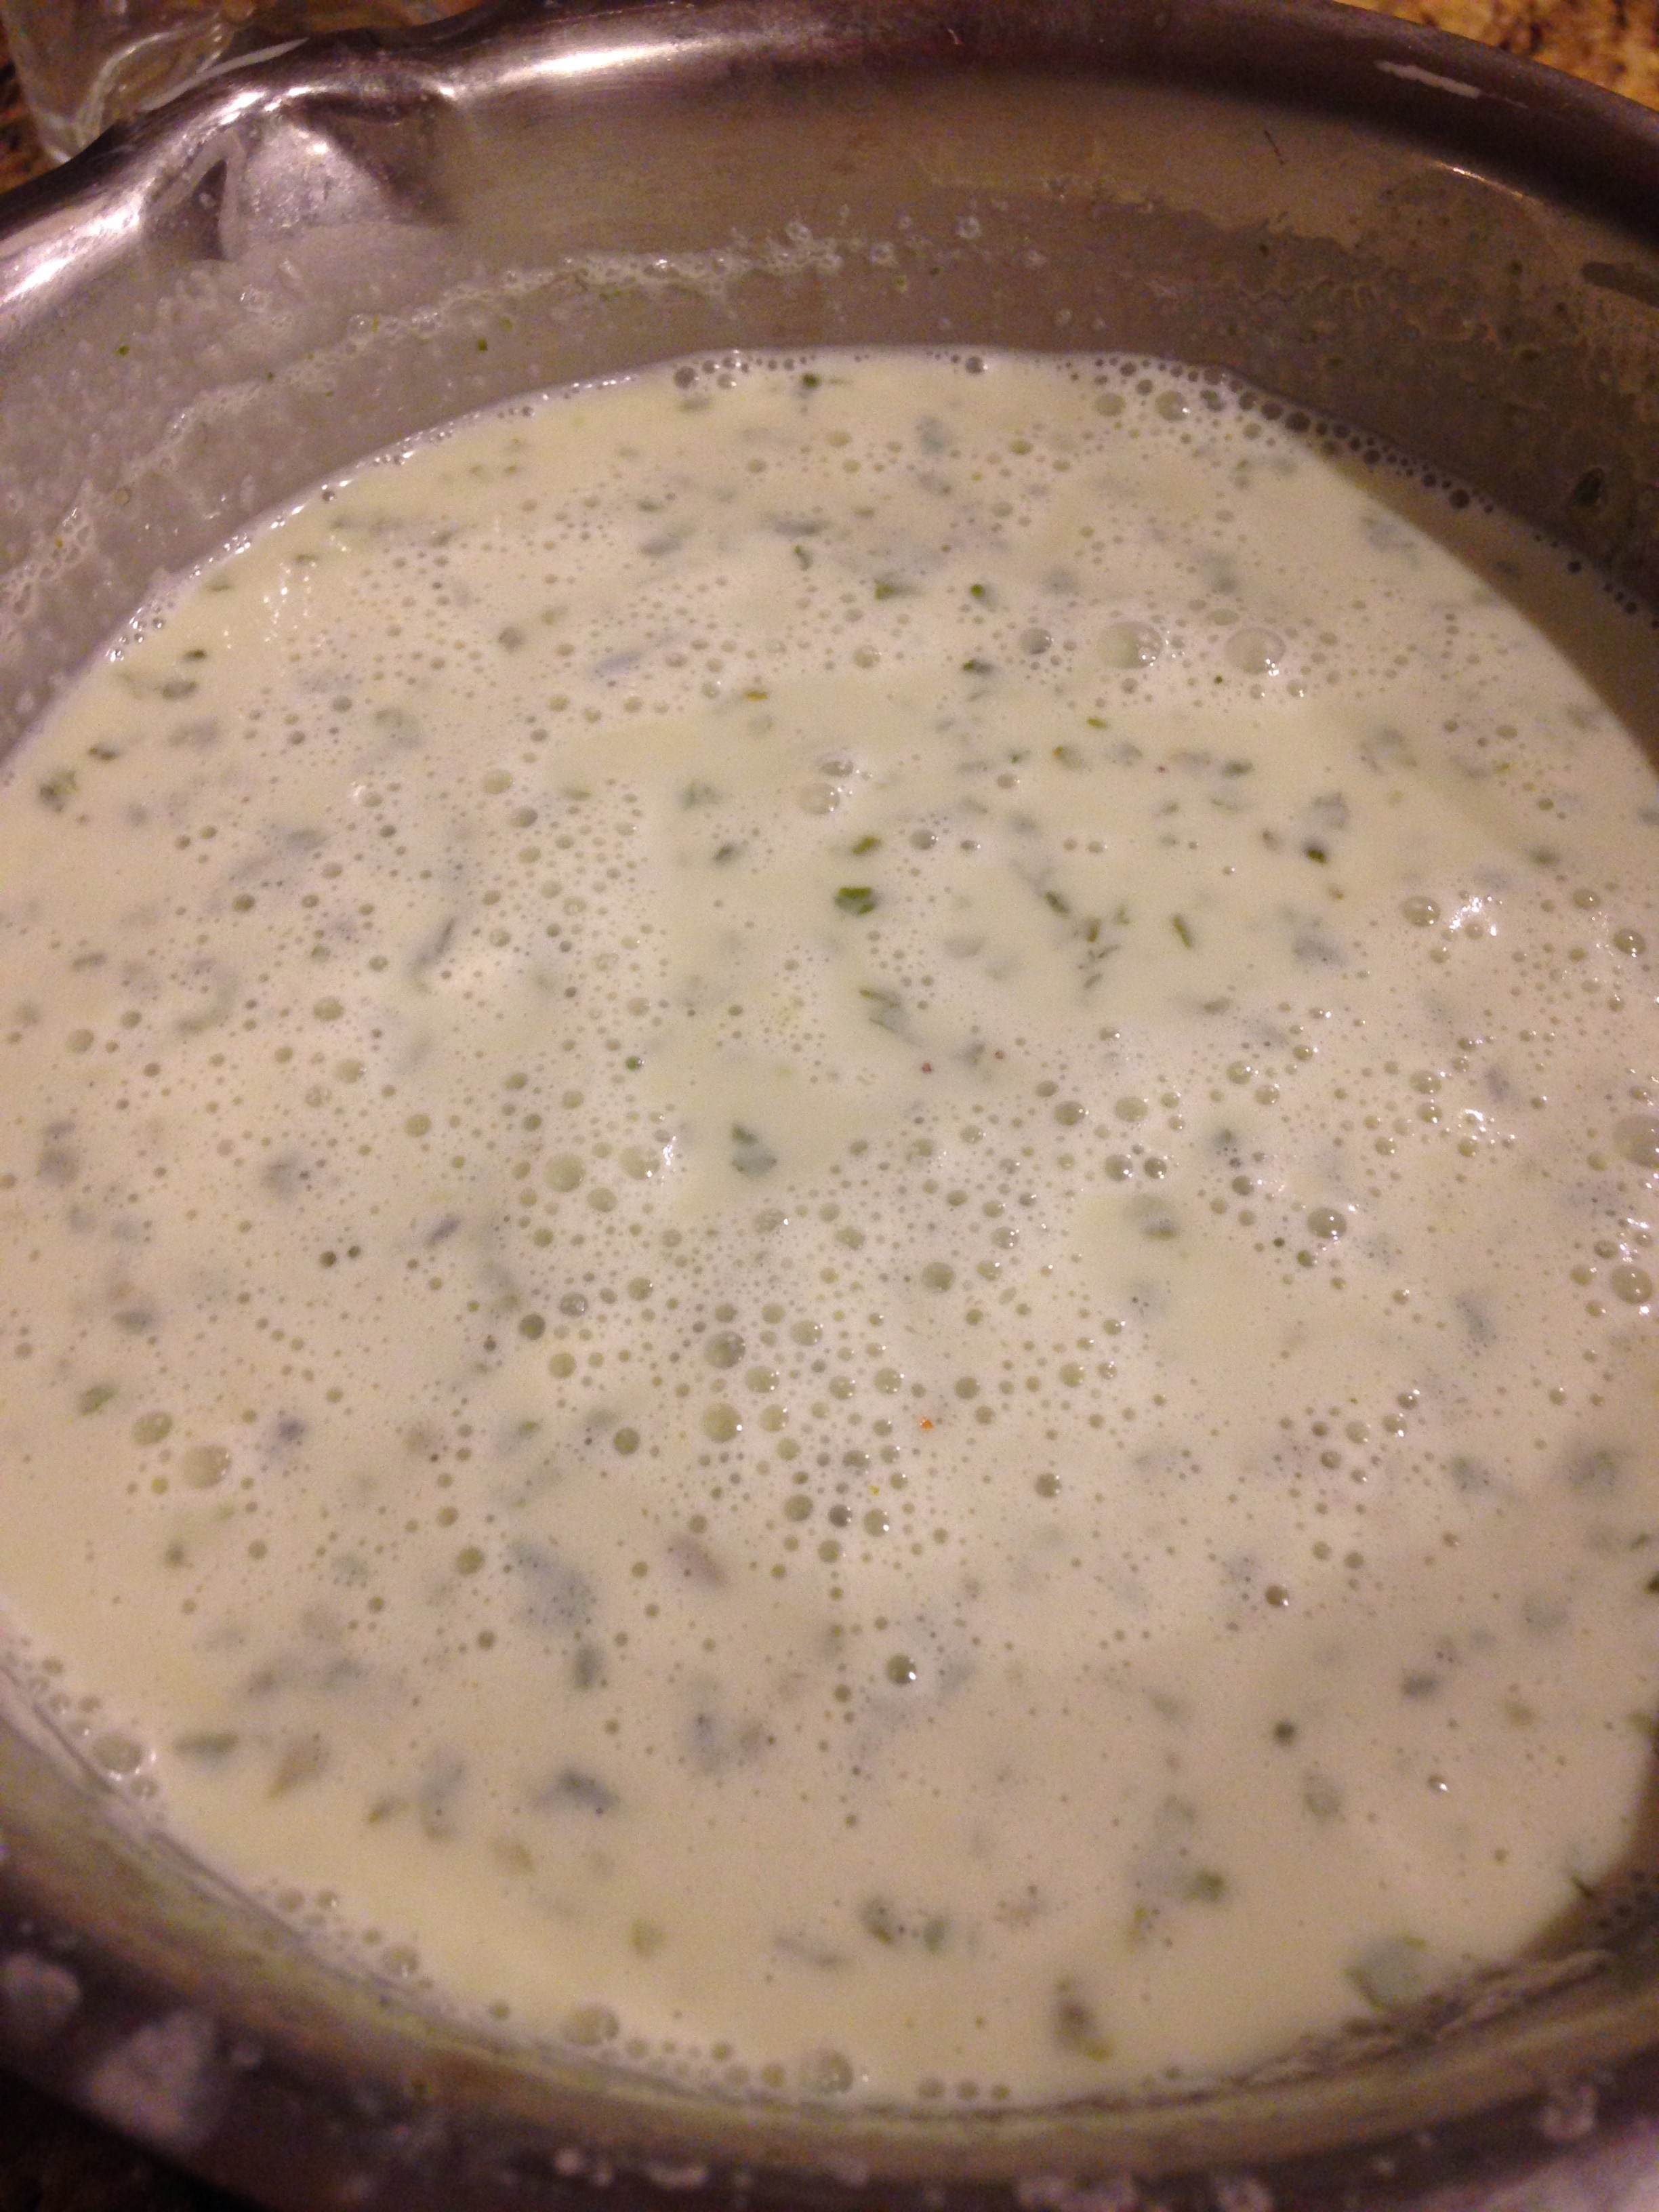
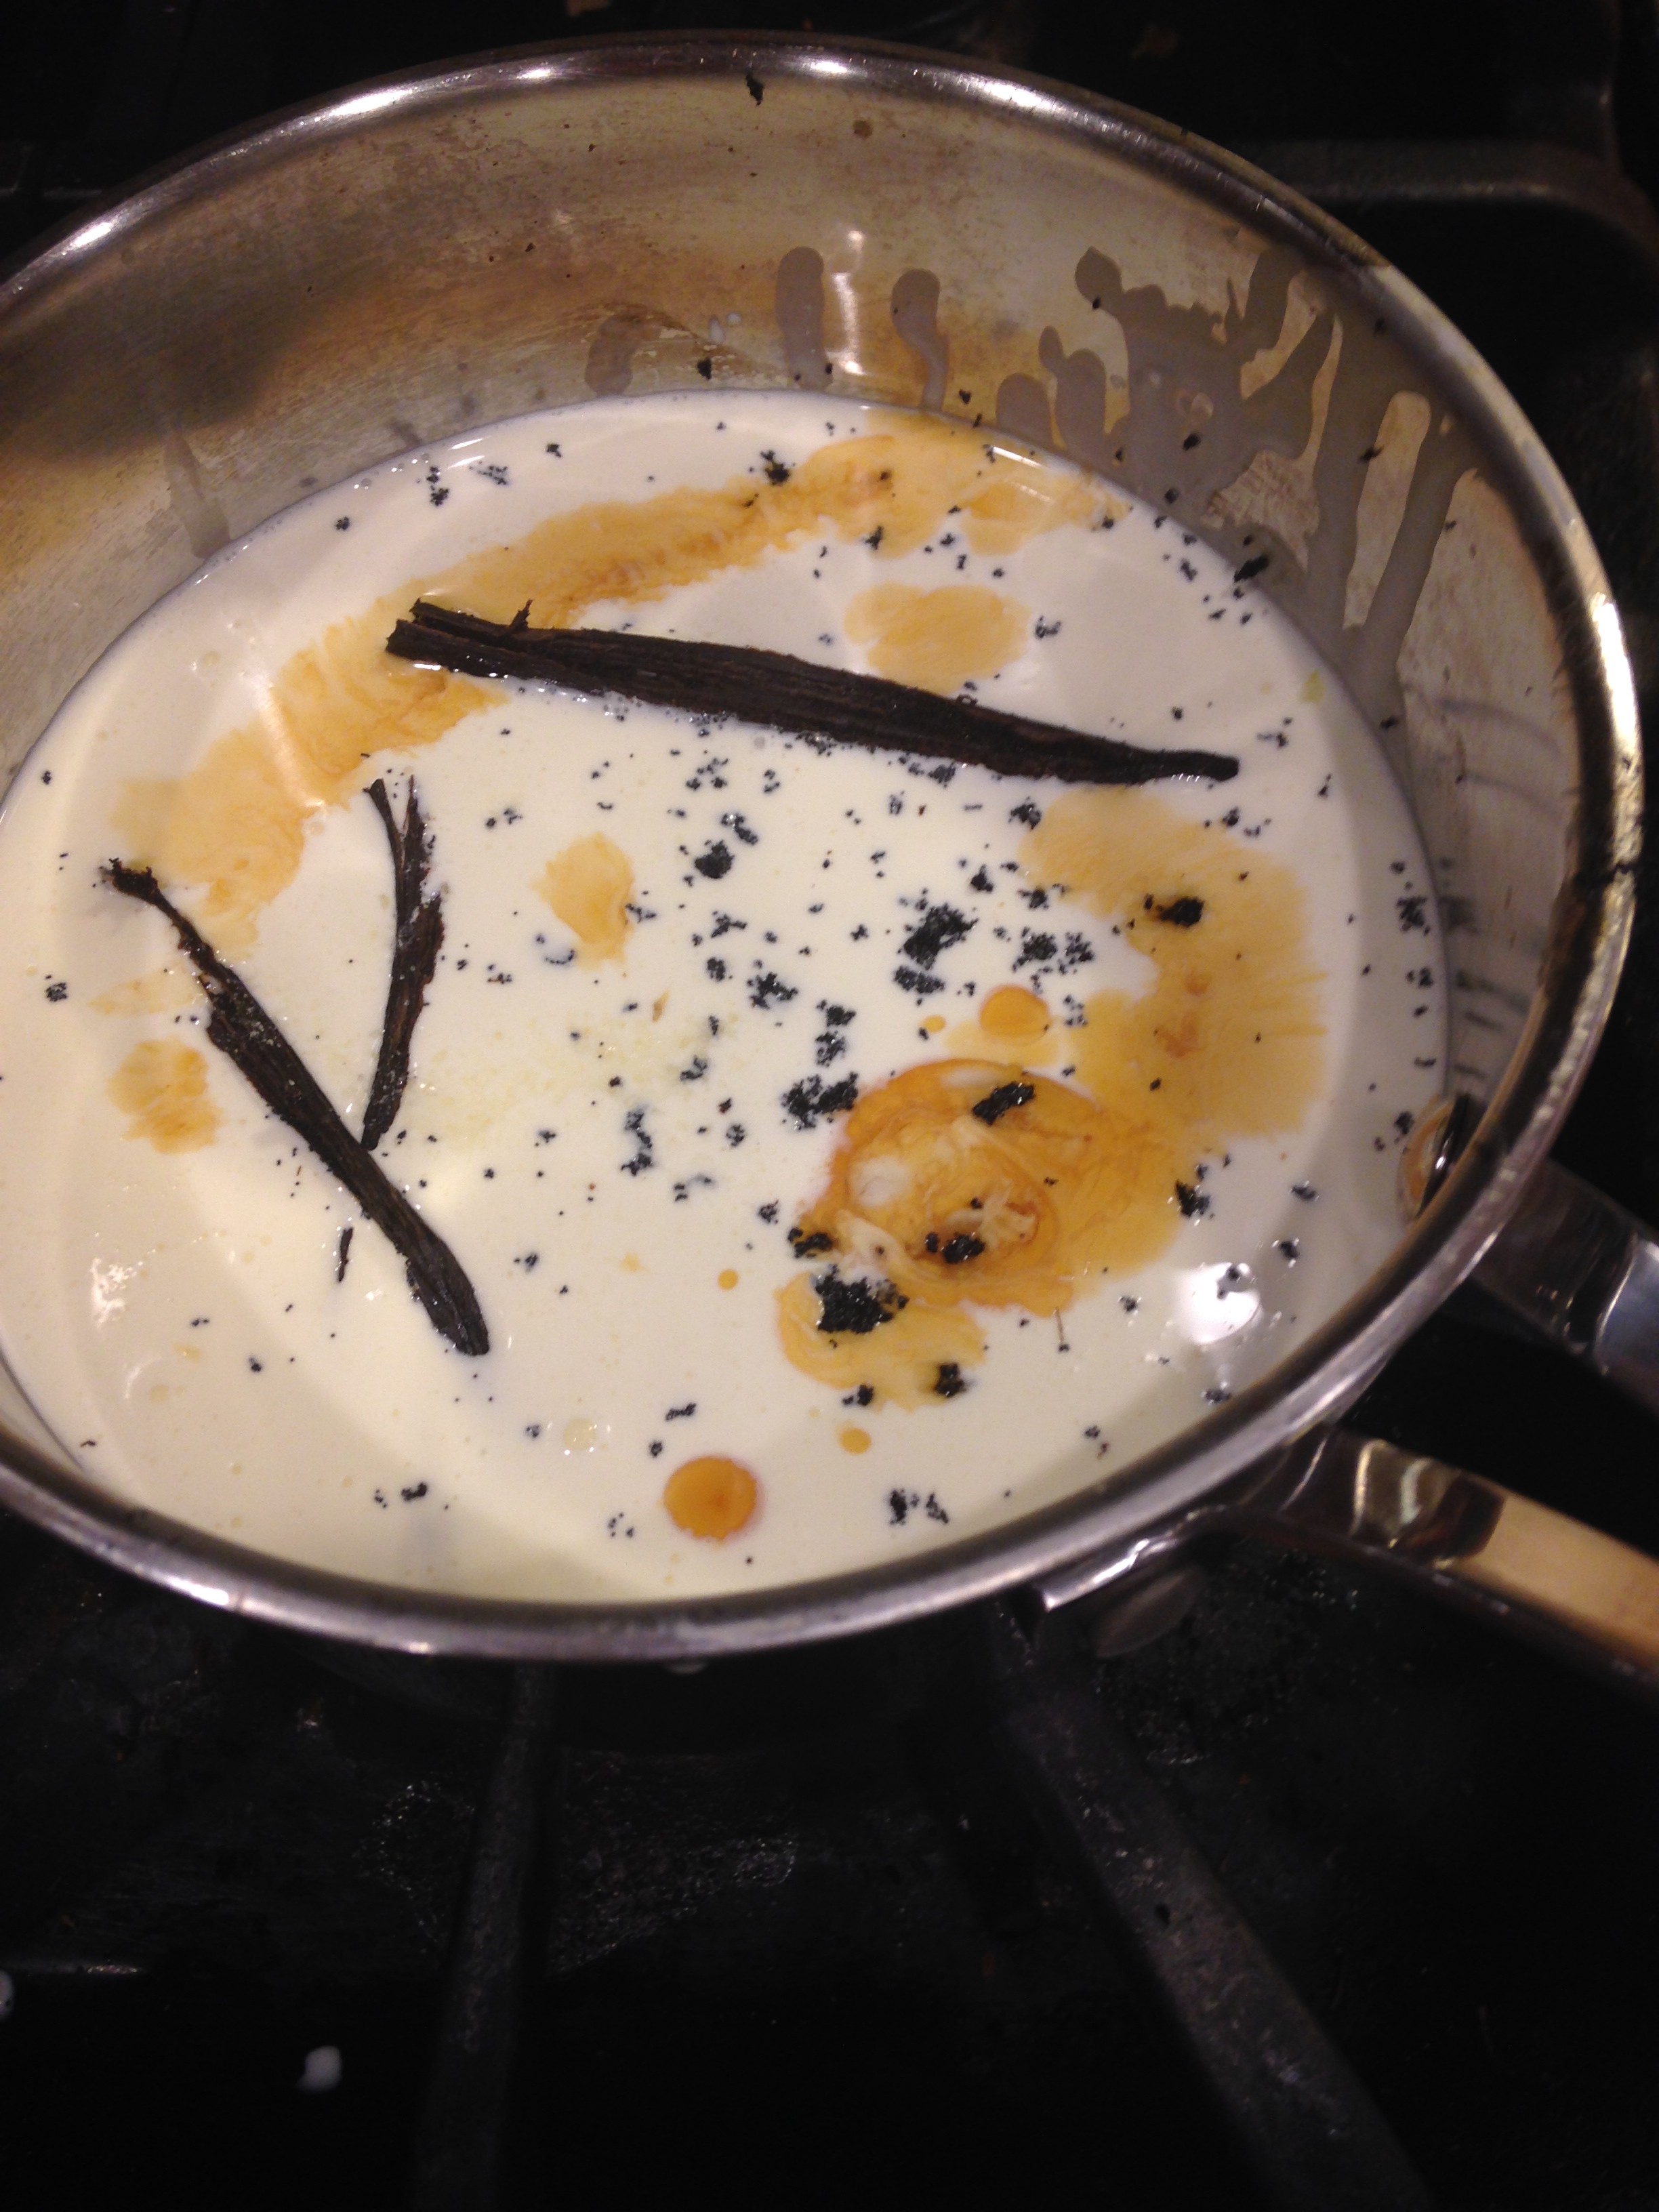
  • Mix the plum puree, essence, sugar, heavy cream, milk and cinnamon powder.

IMG_3957

  • Using a double blender or whisk, continue mixing on high speed for 30 minutes or so.

IMG_3961

  • Add 1/4 cup of chopped plum in very small pieces to the ice cream mix and set to freeze for at least 8-10 hours.

IMG_3963

  • Server chilled and top it with a plum jam, raspberry jam or any toppings of your choice.

IMG_3985


Tips

Low fat milk will  not be easy to work with here.

Taste the mixture before setting to freeze and sugar level has to be adjusted depending on the sourness of plums

Instinct Factor

Its instinct that led to this flavour, so let that be your guiding light!

Once can also variate this with black plum, Italian Jacket Red plums to their liking.

Feel Factor
Experiment and create new flavours for the fun of it! Eggless Red Plum Ice cream with Cinnamon is a flavour I liked and was happy to successfully make ice cream at home in India


Posted on

Eggless Mint Ice cream with fresh mint leaves

[shopeat_button]

Cool the summer heat with this fabulous Eggless Mint Ice Cream with fresh mint leaves,  a combination not  much heard of.  The chance of tasting the actual mint leaves and mint essence, is itself, worth trying this recipe out. The end result leaves you with a fresh breath of air in your taste buds and gorgeous true mint color in an ice cream that is creamy, soft and colorful with the crushed mint leaves that deepens its green color with time.

Summer to me is most enjoyed by creating, exploring and enjoying new flavours in Ice cream! And this Eggless Mint Ice cream with fresh mint leaves is one that will be remembered for very long time by anyone who tries it and you will have friends and family asking for refills and more. A flavour that one can truly “MINT” on!!

Recipe Makes Approx 1 quart of ice cream

Prep Time : 30 min plus overnight steeping of mixture

Cooking Time 30 min

Chilling Time 7 hours

Ingredients
  • 2 cups whole milk
  • 2 1/2 cups heavy cream
  • 1 cup plus 2 tbsp sugar
  • 1 1/2 tsp vanilla extract
  • 2  1/4 cup packed fresh mint leaves

IMG_3494

  • pinch of salt
Method
  • Boil milk, sugar, vanilla extract, mint leaves,heavy cream and pinch of salt in a saucepan over a  medium flame.
  • IMG_3497


  • When the mixture boils, remove from flame and let it cool.

IMG_3498

  • Once the mixture cool down and blend the leaves with an immersion blender.

IMG_3499

  • Let the mixture steep in overnight in the refrigerator.
  • Next day, pour the mixture in the ice cream maker and churn for about 20-25 minutes, till the entire mixture form into a fluffy ice cream.

IMG_3500


  • Remove the ice cream from the ice cream maker into an ice cream container and set to freeze for about 6-7 hours at the least.

IMG_3502

  • The ice cream will have a soft, creamy texture when properly set.
  • Serve over a cone or in a cup.

IMG_3538


Tips

If you prefer creaminess in your ice cream, heavy cream from Organic Valley will give you that texture. Make sure the mint leaves are fresh, as they will impact the color and flavour in the ice cream

Instinct Factor

Taste the sugar level just before the ice cream is almost done, and add some more, if needed.

Feel Factor

The excitement of creating a mint essence feel and the flavour of crushed fresh mint leaves in the ice cream is enough to raise the bar few notches higher. This is one flavour that many friends and family are wanting third/fourth helpings for. It really has a feeling of a breath of fresh air, coupled with the cooling taste of mint and the lovely true mint color from mint leaves and you can actually taste the leaves while having the ice cream. In one word the feel factor of this eggless mint ice cream with fresh mint leaves is SIMPLY AWESOME!!


[contact-form-7 404 "Not Found"]
Posted on

Banana Chocolate Chip Eggless Ice Cream

Summer is here, and so is the delicious season, if I may say so, of eating ice creams!! At least more prominent in families living in tropical climates, who turn to cold things to beat the heat. Banana Chocolate Chip Eggless Ice Cream is an eclectic flavour in my view, as the whole process of making this ice cream makes you feel like you just earned a feather in your cap!!

Very very likely, that this ice cream will have everyone go nuts over it, besides the monkeys, if they had the chance to taste it! I like the chocolate combination with banana and you can even top it with some roasted walnuts, as they go well with this combination.

The texture is creamy, with just the right level of banana taste and cocoa flavour. If you have access to sugar cones or waffle cones, readily available in grocery chain stores in USA, you truly can enjoy a fantastic ice cream experience in your own home!

So enjoy the process of making this ice cream as you relish the end result of a yummy delicious Banana Chocolate Chip Eggless Ice cream flavour, and also do check out the health benefits of eating bananas regularly at http://foodmatters.tv/articles-1/25-powerful-reasons-to-eat-bananas. This article will also motivate you to go through the extra steps and elaborate process  and making this ice cream more rewarding too!

Recipe makes about 1 quart of ice cream

Ingredients

  • 2 cups heavy cream
  • 1/2 cup whole milk
  • 1 tsp vanilla extract ( 1 1/2 tsp if not using vanilla bean)
  • 1 whole vanilla bean- halved and scraped
  • 1/2 tsp salt
  • 1/2 cup brown sugar
  • 1/2 cup white sugar ( or 1 cup sugar if no brown sugar)
  • 2 large bannanas, cut into inch size
  • 1/2 tsp lemon juice
  • 1/3  cup bitter sweet chocolate chips or 2 oz of bitter sweet chocolate
  • 3 tbsp water
  • 2 tbsp unsalted butter
  • 1/3 cup chopped and roasted small walnut pieces ( optional)

Method

  • On a slow flame, put the heavy cream, milk, vanilla essence, vanilla bean, to boil. Remove from flame, as soon as it comes to boil. And let the mixture sit for about 30-45 min.

IMG_3370


  • In a shallow thick pan bring the sugar and water to heat, and keep stirring. Add the butter, as the sugar melts. Add the chopped bananas to this, as soon as the butter melts, and cook for 3-4 min, till the bananas soften, and you can smell the sweet fragrance of cooked banana in melted sugar. You should have some sugar syrup which needs to be separated from banana, by using a slotted spoon if possible

IMG_3374

IMG_3377

  • Pour the lemon juice on the cooked bananas and add it to the cooled mixture of heavy cream and milk.

IMG_3379

  • Remove the vanilla pod, and blend the bananas into the mixture, if the bananas are not totally soft. Blending will also help in integrating the banana flavour well into the ice cream mixture. Refrigerate this overnight or at least 4- 5 hours before putting it in the ice cream maker.
  • After its well chilled, put into ice cream mix and churn for at least 20-25 min, till there is no liquid left to churn.

IMG_3385

  • While the ice cream is being churned, melt the chocolate in a double boiler . Or put the chocolates in a bowl for 5-7 min, over the lid of a pan of boiling water
  • Add this when the ice cream is almost done, and after a few minutes, add the extra sugar syrup, retained from the cooked bananas.
  • If the sugar syrup is very lumpy thin it by adding a tsp of water.
  • Chill the ice cream to set for about 7-8 hours.

IMG_3392

  • Garnish it with roasted walnut chips if you want extra crunchy feel atop the ice cream.


IMG_3479TIps

Do taste the ice cream mixture before starting to churn, for the sweetness. Extra sugar can also be added while the ice cream is being churned, Sweetness will also vary according to the sweetness of bananas, hence this is a vital step.

if you do not prefer creamier taste in ice cream, add 1/2 cup of milk extra, with extra sugar, if needed.

Readers residing in India, need to halve the sugar measurement-so do make a note of that.

Instinct Factor

If the bananas are not nicely caramelized in look, need not worry, as everything gets ultimately blended into the ice cream. Variate the topping with some roasted almond slices or coconut slices to give extra edge to an incredibly tasty ice cream.

Feel Factor

In a word, just YUM, coupled with a feeling of accomplishment, once you find a comfort level in making this ice cream. It sounds a little laborious, but the results are well worth the time, as mostly these ice creams in the store do contain eggs, and here you have it made fresh at home with the best of the ingredients. The bitter sweet chocolate and brown sugar add extra depth to the ice cream flavour making the Banana Chocolate Chip Eggless Ice Cream  a rich dessert.

Posted on

Chocolate Dipped Strawberry

Happy Valentine Day!! Valentines,  a festival that originated in France and is now celebrated worldwide. This festival of romance, love and bringing of joy is best celebrated with the classy chocolate dipped strawberries. This dessert has been made famous, especially by Godiva, whose shops have serpentine queues on Valentine Day, for freshly dipped strawberry dipped in chocolate.  There is something romantic about standing on a cold weather day at the flagship store of  Godiva in New York city and getting this delicious dessert for your Valentine!! Definitely will melt many a hearts, for sure!! Godiva Dark Chocolates are a favorite of mine, and  I remain loyal to this brand!  I discovered the joy of eating chocolates, after I tasted these exquisite chocolates. So trying to recreate the flavour at home with the Godiva Chocolates was a highly irresistible idea for me. These chocolate dipped strawberries look and taste extremely delicious and are also very easy and quick to make, an under half hour activity. And the extra benefit is saving on the time of standing in the queues for buying them on Valentines. Not to mention, it is at much cheaper cost too. Enjoy this gourmet dessert at home, using any kind of chocolates, and  leave your Valentine impressed with this  “Made at home, specially for you” and melt the heart with the all time favourite dessert of Chocolate Dipped Strawberry.

Recipe Makes 24-28 Strawberries

Ingredients [shopeat_button]
  • 1 large box of Fresh Strawberries
  • 2 bars of Godiva Dark Chocolates ( 8 oz each) or any other flavour
  • 1/5 bar of  of Godiva White Chocolate(optional)
  • 30 Toothpicks
  • Styrofoam /Thermocol Sheet, (3 inch thick of 12 inches  * 15 inches)
  • Double boiler for melting chocolate (optional)


Method
  • Thorughly wash the strawberries.
  • Often the strawberries come in varying sizes, so pick 24 strawberries of even height. Leave the leafs on. Some people remove the green, I like the green coz it makes it look fresher. Ghirardelli strawberries, have strawberries without leaf.

IMG_2371

  • If you have a double boiler, put about 2 cups of water to boil in the bottom part.
  • If you do not have a double boiler,  put 2 cups of water in a pan to boil.
  • Melt half the chocolate in a deep but small bowl for 2 minutes.

IMG_2373

  • Slowly add remaining chocolate and stir so all the chocolate melts,
  • If needed warm the chocolates mixture for another 30  – 45 second and mix thoroughly.
  • Put a lid on the pan, and reduce the flame to minimum.
  • Put the melted chocolate on top of the lid, or in the top part of double boiler to keep it warm.

IMG_2378

  • Insert toothpicks into the strawberry, half way through, from the leaf side.

IMG_2381

  • Using the tip portion of toothpick swirl the strawberry into the melted chocolates, 3-4 times.
  • Lift off the strawberry and let the drip stop. Once it stops, swirl the other way, for the drip to even out. If you do not change the direction, chances are you may end up with a pointed tip at the top.
  • Once evened out, insert into the styrofoam/thermocol sheet.

IMG_2383

  • Repeat for all strawberries, and refrigerate for 2 hours.
  • If you like extreme thick coating of chocolate, then refrigerate for half an hour, and again coat another layer and freeze.
  • Melt the white chocolate for 45 seconds,  and using a piping bag, make lines on the dark chocolates, or completely cover the strawberries and chill for 3=4 hours before serving.
  • Serve cold.

IMG_5702   Tips

  • Buying organic strawberries will likely increase the sweetness of the dessert.
  • Skewers can be used too, for swirling.
  • No lumps should exist in order to have a good finish.

Instinct

  • Layer it with differ colored chocolates, to create design
  • If edges get messed up, just swirl it again, easy!

Feel Factor What a wonderful dessert, that implies “I love”, is healthy, bitter sweet,  and encompasses all shades of Romance! Godiva Dark Chocolate Dipped Strawberry signifies Valentine at its best for many including me!   IMG_5707

Posted on

Chocolate Candy Cane Cookies

Chocolate candy cane cookies quintessentially depict the celebration of Xmas!! it was too tempting to avoid any recipe that has a candy cane  in the center. This candy cane  literally became an eye-candy for me!! The lore goes, that candy cane was originally given in Germany, in  Christmas of 1670, by the  choir master, to keep the young kids quiet during the choir performances. The choir master had legitimized the giving away of sweet candies, by asking the candy maker to twist the top, to remind the kids of the shepherd sticks , used by the shepherds while visiting Jesus Christ.

If you are looking for the treat that brings in all the flavour of  Xmas , in terms of color, taste and that also has a legacy and tradition, then, Chocolate Candy cane cookies are a perfect match! The taste is rich, dense, chewy and minty and amazingly attractive.  Chocolate candy cane cookie looks appealing, tempting and simply yummy with a unique candy cane peppermint flavour! A must have for the christmas celebrations to bring in the joy and the warmth of the season and definitely something that will bring sparkle in everyone’s eyes.

 Recipe makes 15-18 Chocolate Candy Cane Cookies

Prep Time: 20 min

Baking Time: 20 min

Ingredients
  • 1 3/4 cup self raising unbleached flour ( King Arthur Brand)
  • 1/2  cup cocoa powder
  • 1/2 tsp salt
  • 6 tbsp butter
  • 1/3  cup bitter sweet chocolates or 2 ounces
  • 1 cup sugar
  • 1 1/2 tsp vanilla extract
  • 1/2 cup shortening melted
  • 14 tbsp butter at room temperature
  • 20 Hershey candy cane mints unwrapped
Method
  • Microwave chocolate and butter together until thoroughly melted, and stirring in between.

IMG_1979

  • Mix the cocoa, salt and flour together in another bowl.

IMG_1980

  • Melt the shortening in the microwave for a minute, stirring in between.

IMG_1983

  • Add the melted shortening and vanilla essence to the chocolate butter mix.
  • Beat on high power for 5-6 min.
  • Gently add the flour mix to the above mix, using a batter spoon.

IMG_1988

  • Pre heat the oven to 375 degrees convection setting or 350 degrees regular setting.
  • Let the cookie dough rest for 7-8 minutes.
  • Take about 1 1/2 tbsp dough and make round balls.
  • Line a baking tray with parchment paper.

IMG_2021

  • Arrange the chocolate balls about 2 1/4 inches apart.
  • Bake on the upper middle rack for 6 min.

IMG_2025

  • Rotate and bake for another 6 min on the bottom rack.
  • Rotate and bake again on the upper middle rack for 4 min
  • Remove from oven and quickly set a candy cane on the center of the cookies.
  • Bake further for 2 min on upper middle rack.

IMG_2030

  • Remove and let it cool.
  • Serve only after completely cooled, as the candy cane mint may take some time to set.

IMG_2036


Tips

Having two baking trays will speed up the baking task

Instinct Factor

If the cookies turn flat, it means there is excess fat or water. You can add some more cookie flour to your measurement.

Top it with any other flavour of mint as chocolate mint combination is widely appealing flavour.

Feel Factor

In the mood of celebrations with cookies and candy for christmas!!  Its high on looks, content, taste, texture and occasion and all time favourite chocolate cookie just got even better, if that is possible!  Colorful, chewy, mint and bittersweet chocolate gives it a rich dense taste to this extremely attractive and delicious Chocolate Candy cane cookie. I am already thankful to  Santa for letting me come across this Chocolate candy cane cookies, which has been adapted from Best Christmas Cookies.

 
[shopeat_button]

Posted on

Eggless Peppermint Sugar Cookies

Cookie discovery continues…I saw this peppermint cookie pic and I thought that looks so Xmassy! I have to try it! This baking season has been quite a journey as slowly I am able to rely on my instincts in terms of how much liquidity of the dough, how to substitute egg requirements, what to do better and yet somehow end up with a  good result  and mostly be successful at the first attempt of various permutation / combinations. The key to this process is  simple. “Trusting your instincts and not be scared of experimenting.”

I am a big fan of mints,  so tasting mint on a cookie, was quite an exciting concept! This was baked for a bake sale at school and the Eggless Peppermint Sugar Cookies were  found quite attractive  by the high school teenagers. When I shared this with younger kids, there were some who really liked the Peppermint Sugar Cookies and some said they found the mint flavour a bit too strong. So when making for younger children, you may want to go easy on the mint topping.

The flavour is minty on the top, and the inside reminds you of shortbread. This uses a lot of butter so when it is being baked in the oven, one can smell the sweet buttery sugar aroma in the house, reminding you of shortbreads. The cookie hold a nice shape, is colorful and definitely refreshing not just because of the sugar in it, but also the cool freshening mint flavour on the top. The trick over here is the beating of the flour and sugar for long enough to get it right.

Peppermints used are Hershey candies in red /white found in abundance during Xmas Holidays . So have fun making, baking and tasting this delicious, colorful Eggless Peppermint Sugar Cookies which will surely attract everyone’s attention.

Recipe makes 15 big size cookies or 30 medium size cookies

Prep time

Baking time

Ingredients
  • 2 1/2 cup all purpose flour
  • 1/2 tsp baking powder
  • 1/2 cup shortening
  •  1 1/2 cup unsalted butter at room temperature
  • 1 1/2 cup sugar
  • 2 tsp vanilla essence

For coating the cookies

  • 1/2 cup sugar
  • 1/2  cup crushed peppermint Hershey candies

Method

  • Beat the sugar and butter in a bowl, on high power for 6 minutes.

IMG_1945


  • Add shortening and beat for further 3 min.

IMG_1947

  • Add vanilla essence and beat for 1 min.
  • Lightly whisk flour, salt and baking powder
  • Add flour to the butter shortening mix, and using a spatula, mix everything to make a dough(similar to Bhatura dough)
  • Pre heat the oven to 375 degrees if using convection or 350 degrees if using normal oven.
  • Line the baking tray with Parchment paper.
  • Take about a quarter cup size dough, roll into a ball, flatten a bt evenly from all sides and coat into the balance half cup sugar.

IMG_1949

  • Lay each cookie dough about 2 inches apart on the baking tray.
  • Sprinkle crushed peppermint on the top.

IMG_1950

  • Put to bake for 6 min on middle rack.

IMG_1951

  • Rotate and bake for another 6 min on the lower middle rack.

IMG_1952

  • Rotate and bakre for further 2 min  on the middle rack and remove.
  • When you remove the center should feel soft and edges firm.
  • Using a flat spatula, remove from the tray on to the cooling rack.
  • Let it cool completely before storing it in an airtight container or box it for a bake sale!

IMG_1971


Tips

Crushing the mint needs to be done on a flat surface, with vertical breaking so as to have the red flakes separate out individually. If you crush in using a pestle, chances are, you will end having a pink powder and not the individual red flakes.

Instinct Factor

The oven light is a useful feature to use when baking as it gives you a good view of what is happening, so make sure you make full use of it.  Also it is better to  undercook just slightly to keep it soft. And if you like it crispy then bake 30 seconds more.

Feel Factor

Cool, cool, cool!! Eggless Peppermint Sugar Cookies are Cool in looks, Cool to taste and Cool find for sure!!  The crunch of the sugar, the  A- ha feel of the mint, the buttery aroma in the inside is quite tempting!! Only thing to watch out is the extra calories you are loading. But.then in the time of Holidays, who pays attention to the calorie damages!! I certainly will be baking this, every Xmas Holiday Season and will definitely bake another round of this for the holiday guests.
[shopeat_button]

Posted on

Eggless Chocolate Molasses Crunchy Sugar Cookies

Celebrations and more celebrations in the month of December! End of the year, Christmas Holidays, Anniversaries, Birthdays, Cold weather, Bake Sales!- just few of the many more reasons to celebrate. So for the next couple of weeks I plan to go on cookie marathon and bake different varieties to share it with all of you. Chocolate Molasses  Crunchy Sugar Cookies were baked celebrating our anniversary!  I am more of Chocolate than Vanilla person. Molasses is another ingredient I like, because it is jaggery based, and hence more healthier in terms of iron intake.

The addition of molasses makes it more moist and increases the richness of the taste. The texture is soft in the center, crispy on the outside edges, it tastes sugary on the top and slight salty in the inside along with the deep cocoa flavour, one gets to taste. So one gets to satisfy many taste buds at one go!

The cracks on the top gives it a rich look, with molten part showing through and the white sugar coating on the top,  reminds me of the snow coating on the houses and roads.  Winter, is a season I truly enjoy, and baking becomes even more pleasurable when you get a chance to share your treats with one and all!

When I tasted this cookie dough, I realised even I had joined the club all those who are cookie dough fans. This Chocolate Molasses Crunchy Sugar Cookies dough is simply amazing, as it made me become a member of the cookie dough club. And to honour this feeling I actually enjoyed purchasing a cookie dough batter scraper, that is going to be so much fun to use when making cookies!

Enjoy this rich chocolate flavoured cookies that are simply good nourishment for the mind, body and soul!!

Recipe makes 18-20 cookies

Prep Time 20 min

Baking Time : 15 min

Ingredients
  • 1 1/2 cups all purpose flour ( King Arthur’s brand)
  • 1 1/2 tsp baking soda
  • 1/2 tsp salt
  • 1/2 cup cocoa powder – ( I prefer Nestle Cocoa)
  • 2 tbsp molasses
  • 1 tsp vanilla extract/essence
  • I cup sugar
  • 1/4 cup vegetable shortening
  • 12 tbsp plus 1/4 cup unsalted butter at room temperature.( Roughly equals 1 cup or 16 oz of butter)
  • 1 cup sugar
  • 1/2 cup sugar for rolling the balls

Method

  • Melt 4 tbsp butter
  • Whisk melted butter, cocoa and molasses till evenly mixed.

IMG_1891

  • In another bowl, mix all purpose flour, salt and and baking soda.

IMG_1892

  •  Beat the remaining butter for 6 minutes.

IMG_1893

  • Add sugar and beat for 2 minutes.
  • Add shortening and vanilla extract and beat for 3 minutes. Add the cocoa butter mix  and mix for a minute.

IMG_1894

  • Add the whisked flour to it.
  • Gently mix everything to soft dough like consistency, using a paddle or on a very slow speed if you are using a stand mixer.
  • Take about a tbsp of dough and roll into balls and flatten a bit.
  • Roll the flat ball in the bowl containing half cup sugar.

IMG_1901

  • Line a baking tray with parchment paper.
  • Spread the chocolate molasses cookie dough balls about 1 1/2 inches apart.
  • Heat the oven on convection at 375 degrees ( which will result into 350 degree non-convection baking)
  • Bake in the upper middle rack for 7 minutes.

IMG_1904

  • Bake for further 7 min on the lower rack.
  • Bake for another two min on the upper middle rack
  • Remove from the oven, cool it over for a wire rack and store in an airtight container, after completely cool.


IMG_1927


Tips

If you do not like crispiness, you can bake it on the 3rd rack ( if you have four racks in the oven). I baked them on the 2nd and 4th rack.

Please remember that  sugar/salt measurements are US based – Readers in India need to reduce the measurements by half

Instinct Factor

The flattening should be done evenly for all cookies so that baking is even. Alternatively you can avoid flattening, the shape may be a bit rounder in that case. When you remove the cookies from oven, the center should still be setting and the edges done.

Every oven is different, so you need to tweak the baking time based on your oven.

Feel Factor

A chocolate cookie recipe that is sure to be on my top ten recipes for cookies list!. I love the various tastes, textures , crispiness, brown molten look that reminds me  of molten lava and some sugar on top  reminding of snow coating on the top!! These chocolate molasses crunchy sugar can really become addictive!! And if you are participating in a bake sale, this is definitely going to be a hit!

IMG_1924


Posted on

Eggless Chocolate Chip Fall Cookies

Fall is here and so is the season for baking!!! So I kicked off my baking season with the colors of the fall on an all time favourite, Chocolate Chip Cookies! This session of Chocolate Chip Fall Cookies baking turned out to be an extremely satisfying for its color, shape, taste, but most of all for the ease of it. So it seemed to be the perfect recipe to share with you all, with Thanksgiving coming up next week. This can easily be in your list of treats!!

The ease of making these cookies is due to the self raising unbleached  flour for cookies from King Arthur brand.  It just takes the guessing game of how much soda and baking powder to be used out of the picture.  This is made using butter and vegetable shortening, ingredients you normally find in commercial cookies. Using unbleached flour is healthier, as bleaching a flour uses chemicals. Bleaching  lowers  the protein content of the flour, softening it so that baked goods made with it will be more tender.  But now adays , a lot of bakers are leaning towards using unbleached flour, as the texture and taste remain the same in most cases. What varies is slight variation in color – which is of prime importance mainly in the cakes, to keep it whiter.

Baking in a convection oven gives as even baking treatment and using  a baking tray with an airflow gives you further even color on the cookies!

Baking to me, is very soothing and calming, with most of the baking happening late at night, when the mind is free to concentrate and enjoy, and you are in some mood to hear some nice music to go along with your baking.

So enjoy baking these delicious  eggless Chocolate Chip Fall Cookies, a  treat, that will surely bring a big smile on all!!

 Recipe makes 20 cookies

Ingredients

  • 2 3/4  cup Unbleached self raising flour- King Arthur brand
  • 3/4 cup butter at room temperature
  • 1 cup brown/white sugar – prefer brown sugar as it is more moist
  • 3 tsp vanilla essence
  • 1/2 cup plus 1 tbsp water
  • 1 1/2 cup semi sweet chocolates
  • 3/4 cup vegetable shortening
  • 1 tsp corn syrup( Light Colored)
  • Parchment paper to line the tray

Method

  • In a deep bowl, mix the butter and shortening for three minutes. using a beater.
  • IMG_1723
  • Add sugar and essence and beat for another minute. Felt like Jackson Pollock over here for a few moments!!
  • IMG_1725
  • Fold in the flour to this mixture, using a spatula.
  • IMG_1727
  • Add water and corn syrup and beat for minute and a half. ( The picture over here shows, chocolate chips, which need to be added in the next step.
  • Add 1 cup of semi-sweet chocolate chips
  • IMG_1730 IMG_1733
  • The cookie dough should feel like a fresh ice cream, easy to scoop and drop. if you need, add couple of drops of water, if the consistency is not right.
  • Pre heat oven to 375 degrees for convection setting.Using an ice cream scoop,  drop in the cookie dough on to the baking tray, leaving 5 cms gap between the cookies.
  • Sprinkle some more chocolate chips and put the cookies to bake.
  • IMG_1734
  • Put the cookie tray on the top rack and bake for 5 min.
  • Rotate 180 degrees and switch the tray to lower rack and bake for 4 min.
  • IMG_1736
  • Flip back to the original position and shift it to top rack and bake for further 6  min.
  • IMG_1737
  • Remove from the oven and gently lift the cookies with a flat spatula on to a cooling rack.
  • Cool for 3 -4 min.
  • IMG_1744
  • Store in an airtight container.
  • IMG_1747

Tips

When you remove the cookies after 15 min, it should feel a bit flexible. Cookies with harden once they cool down.

Leaving it out in the open will harden further, so it is better to store them in air- tight container.

Using grass fed cow butter and organic shortening will increase the taste of the cookies.

Instinct Factor

If the chocolate chip fall cookies turn out very flat, that means water is too much.

When you remove from oven, the top should springy and soft.  Look out for slight brown edges to confirm that they are baked enough.

If you like the cookies to be  extremely crumbly, remove after 12 minutes.

Feel Factor

What a wonderful Treat, indeed these chocolate chip fall cookies! As a baker, it is a joy to see the perfect round and even baking, and the firm but soft crunch and colorful color on the top!! The taste is extremely close to an egg based cookie, so definitely a keepsake recipe for sure.  What I also enjoyed was the colors of blue, brown, white and orange and the heavenly aroma of baking, which makes the taste buds and the home  come alive!!
[shopeat_button]