Posted on

Dahi Vada Lentil Fritters in Yogurt

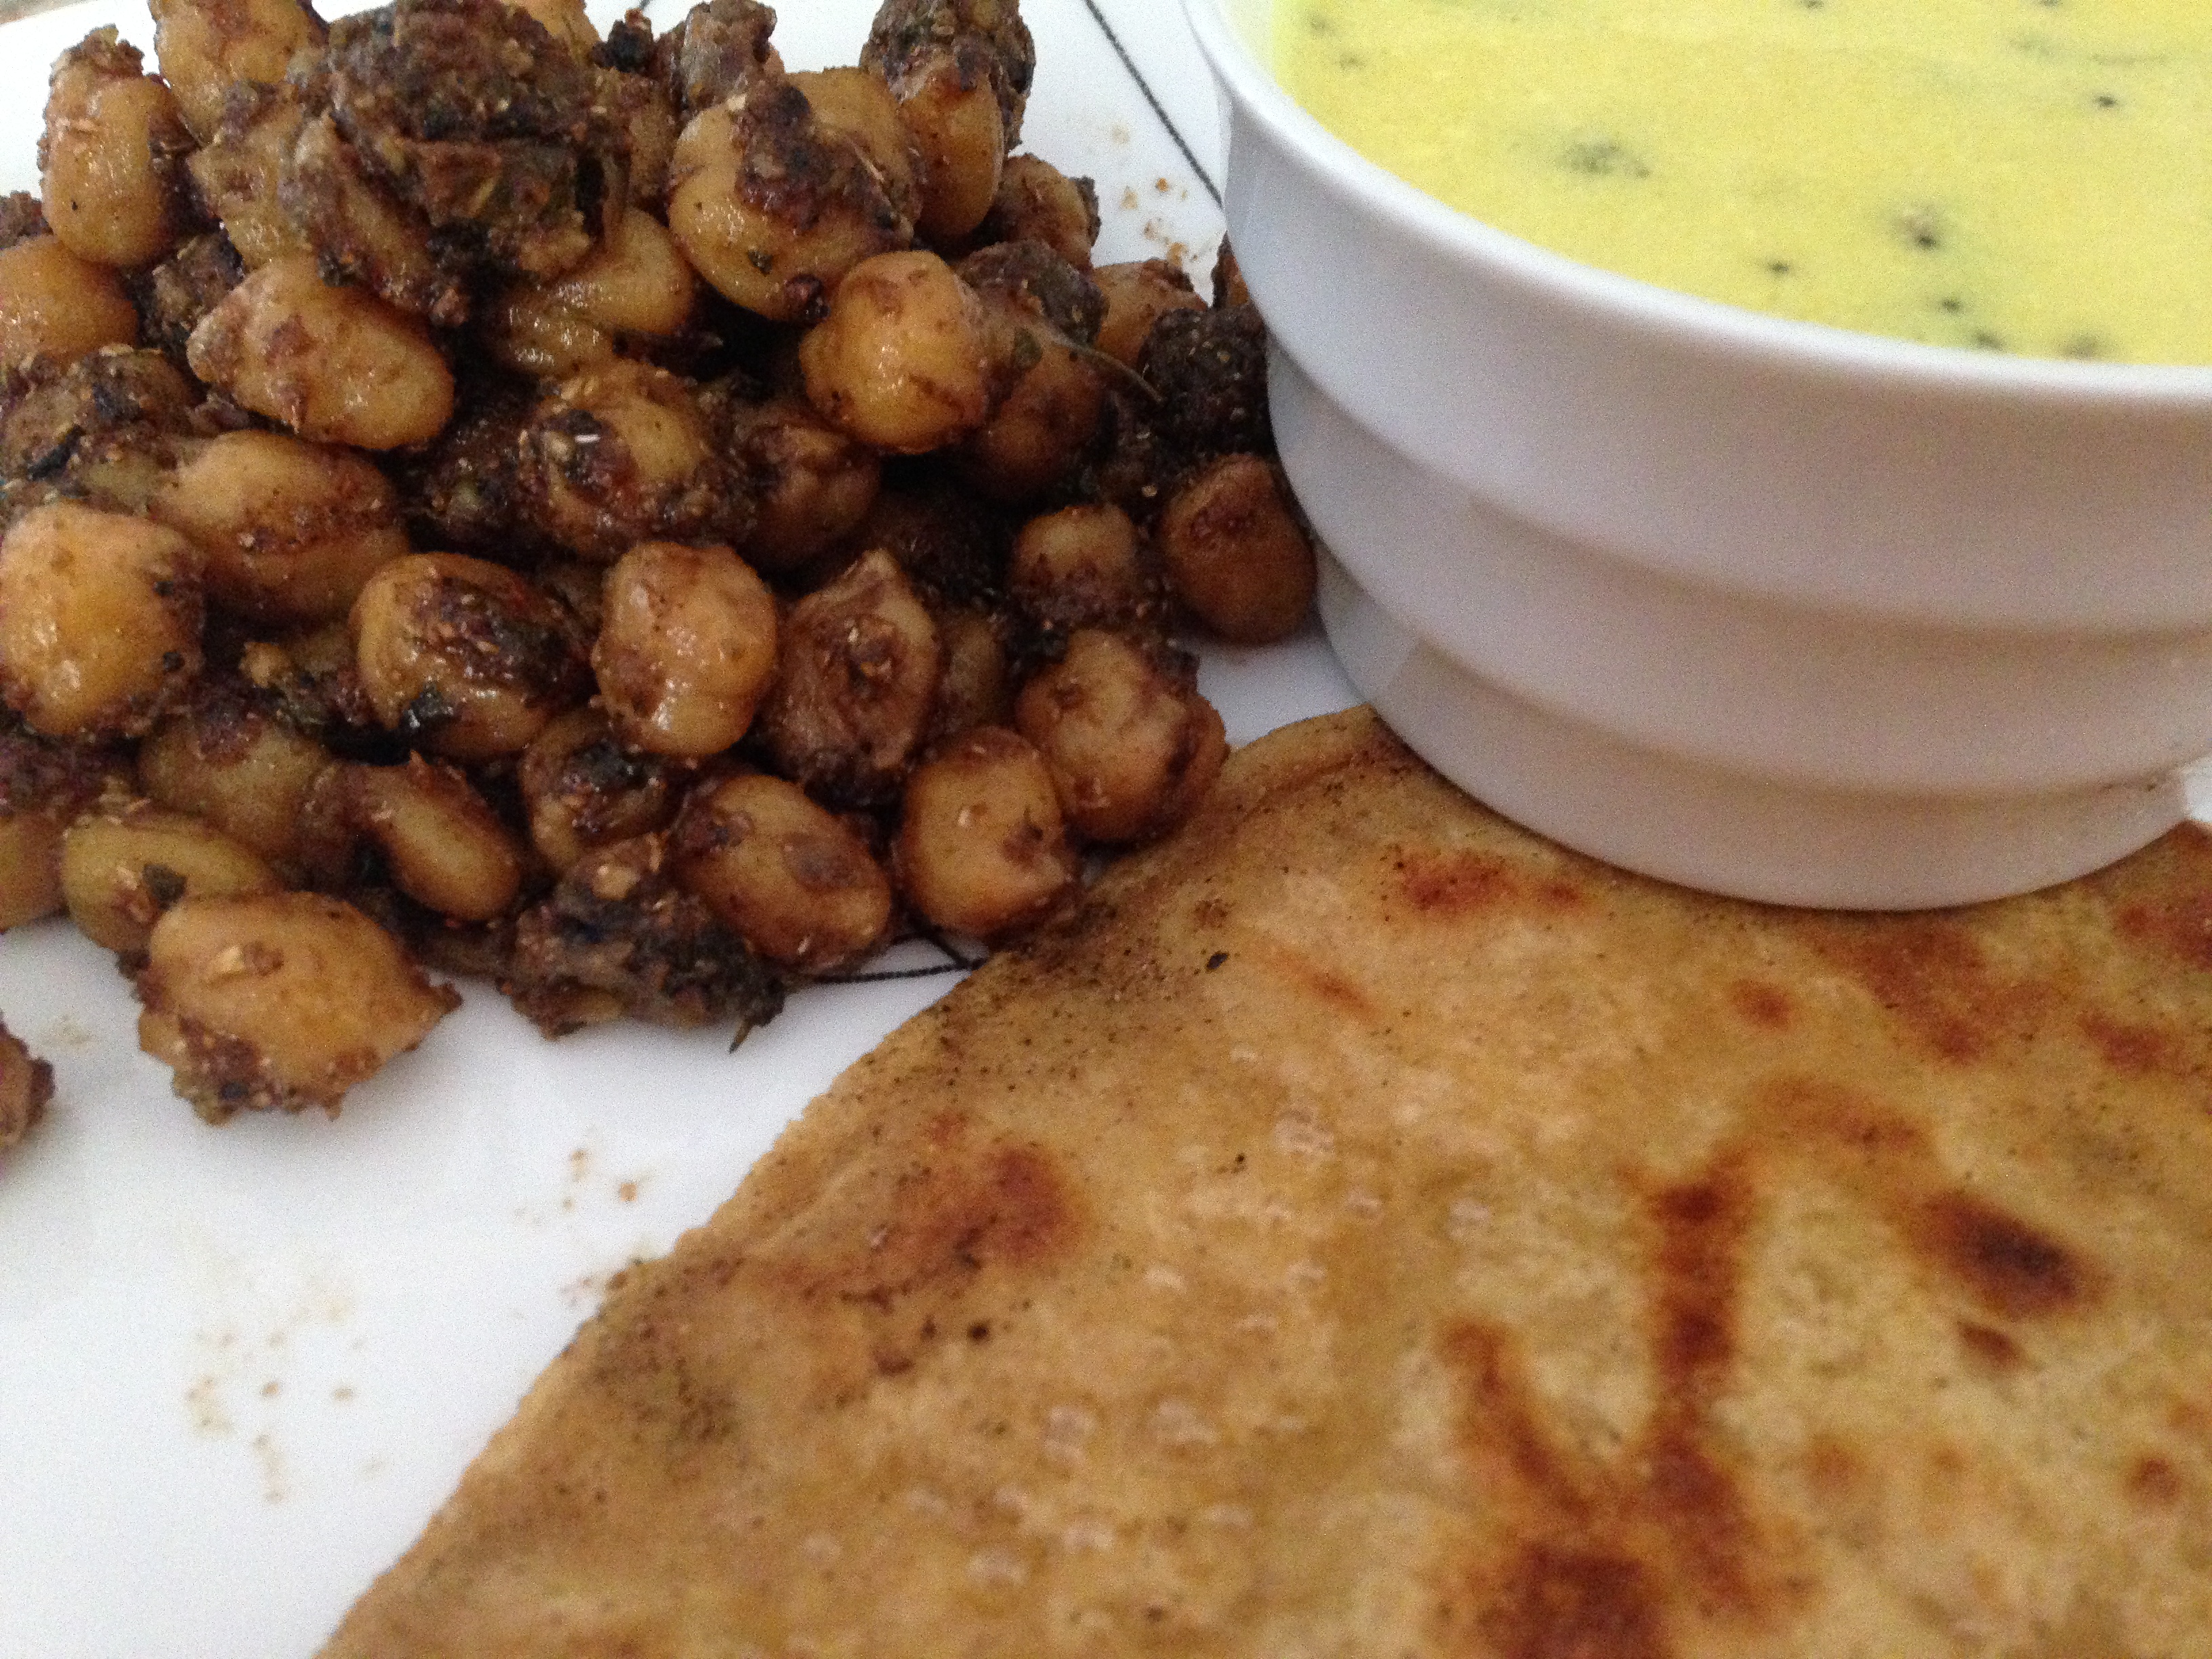
Dahi Vada Lentil Fritters in Yogurt, is a popular dish across India via various names, such as Dahi Bhalla in Punjab, Dahi Vada in Maharashtra and Gujarat, Thayir Vadai in Tamil, Thayir Vada in Malayalam, Perugu Vada in Telegu, Mosaru Vade in Kannada, Dahi Bara in Odia and Doi Bora in Bengali!! Whew!! A truly popular snack item across the land of India. But my gut tells me this snack would have originated from Southern India, where Vada is ancient traditional cuisine, still very much appreciated and consumed in today’s world too! Thanks to this process of blogging, I now know so many ways to say  yogurt and learnt my new word for the day!! This recipe talks about fresh as well as freezing the dahi vadas, enabling it to easily serve this popular item for dinner guests!  It is interesting to know eating lentils and yogurt, is a highly healthy combination for the body to make protein and I am sure our ancestors had an inkling about it!

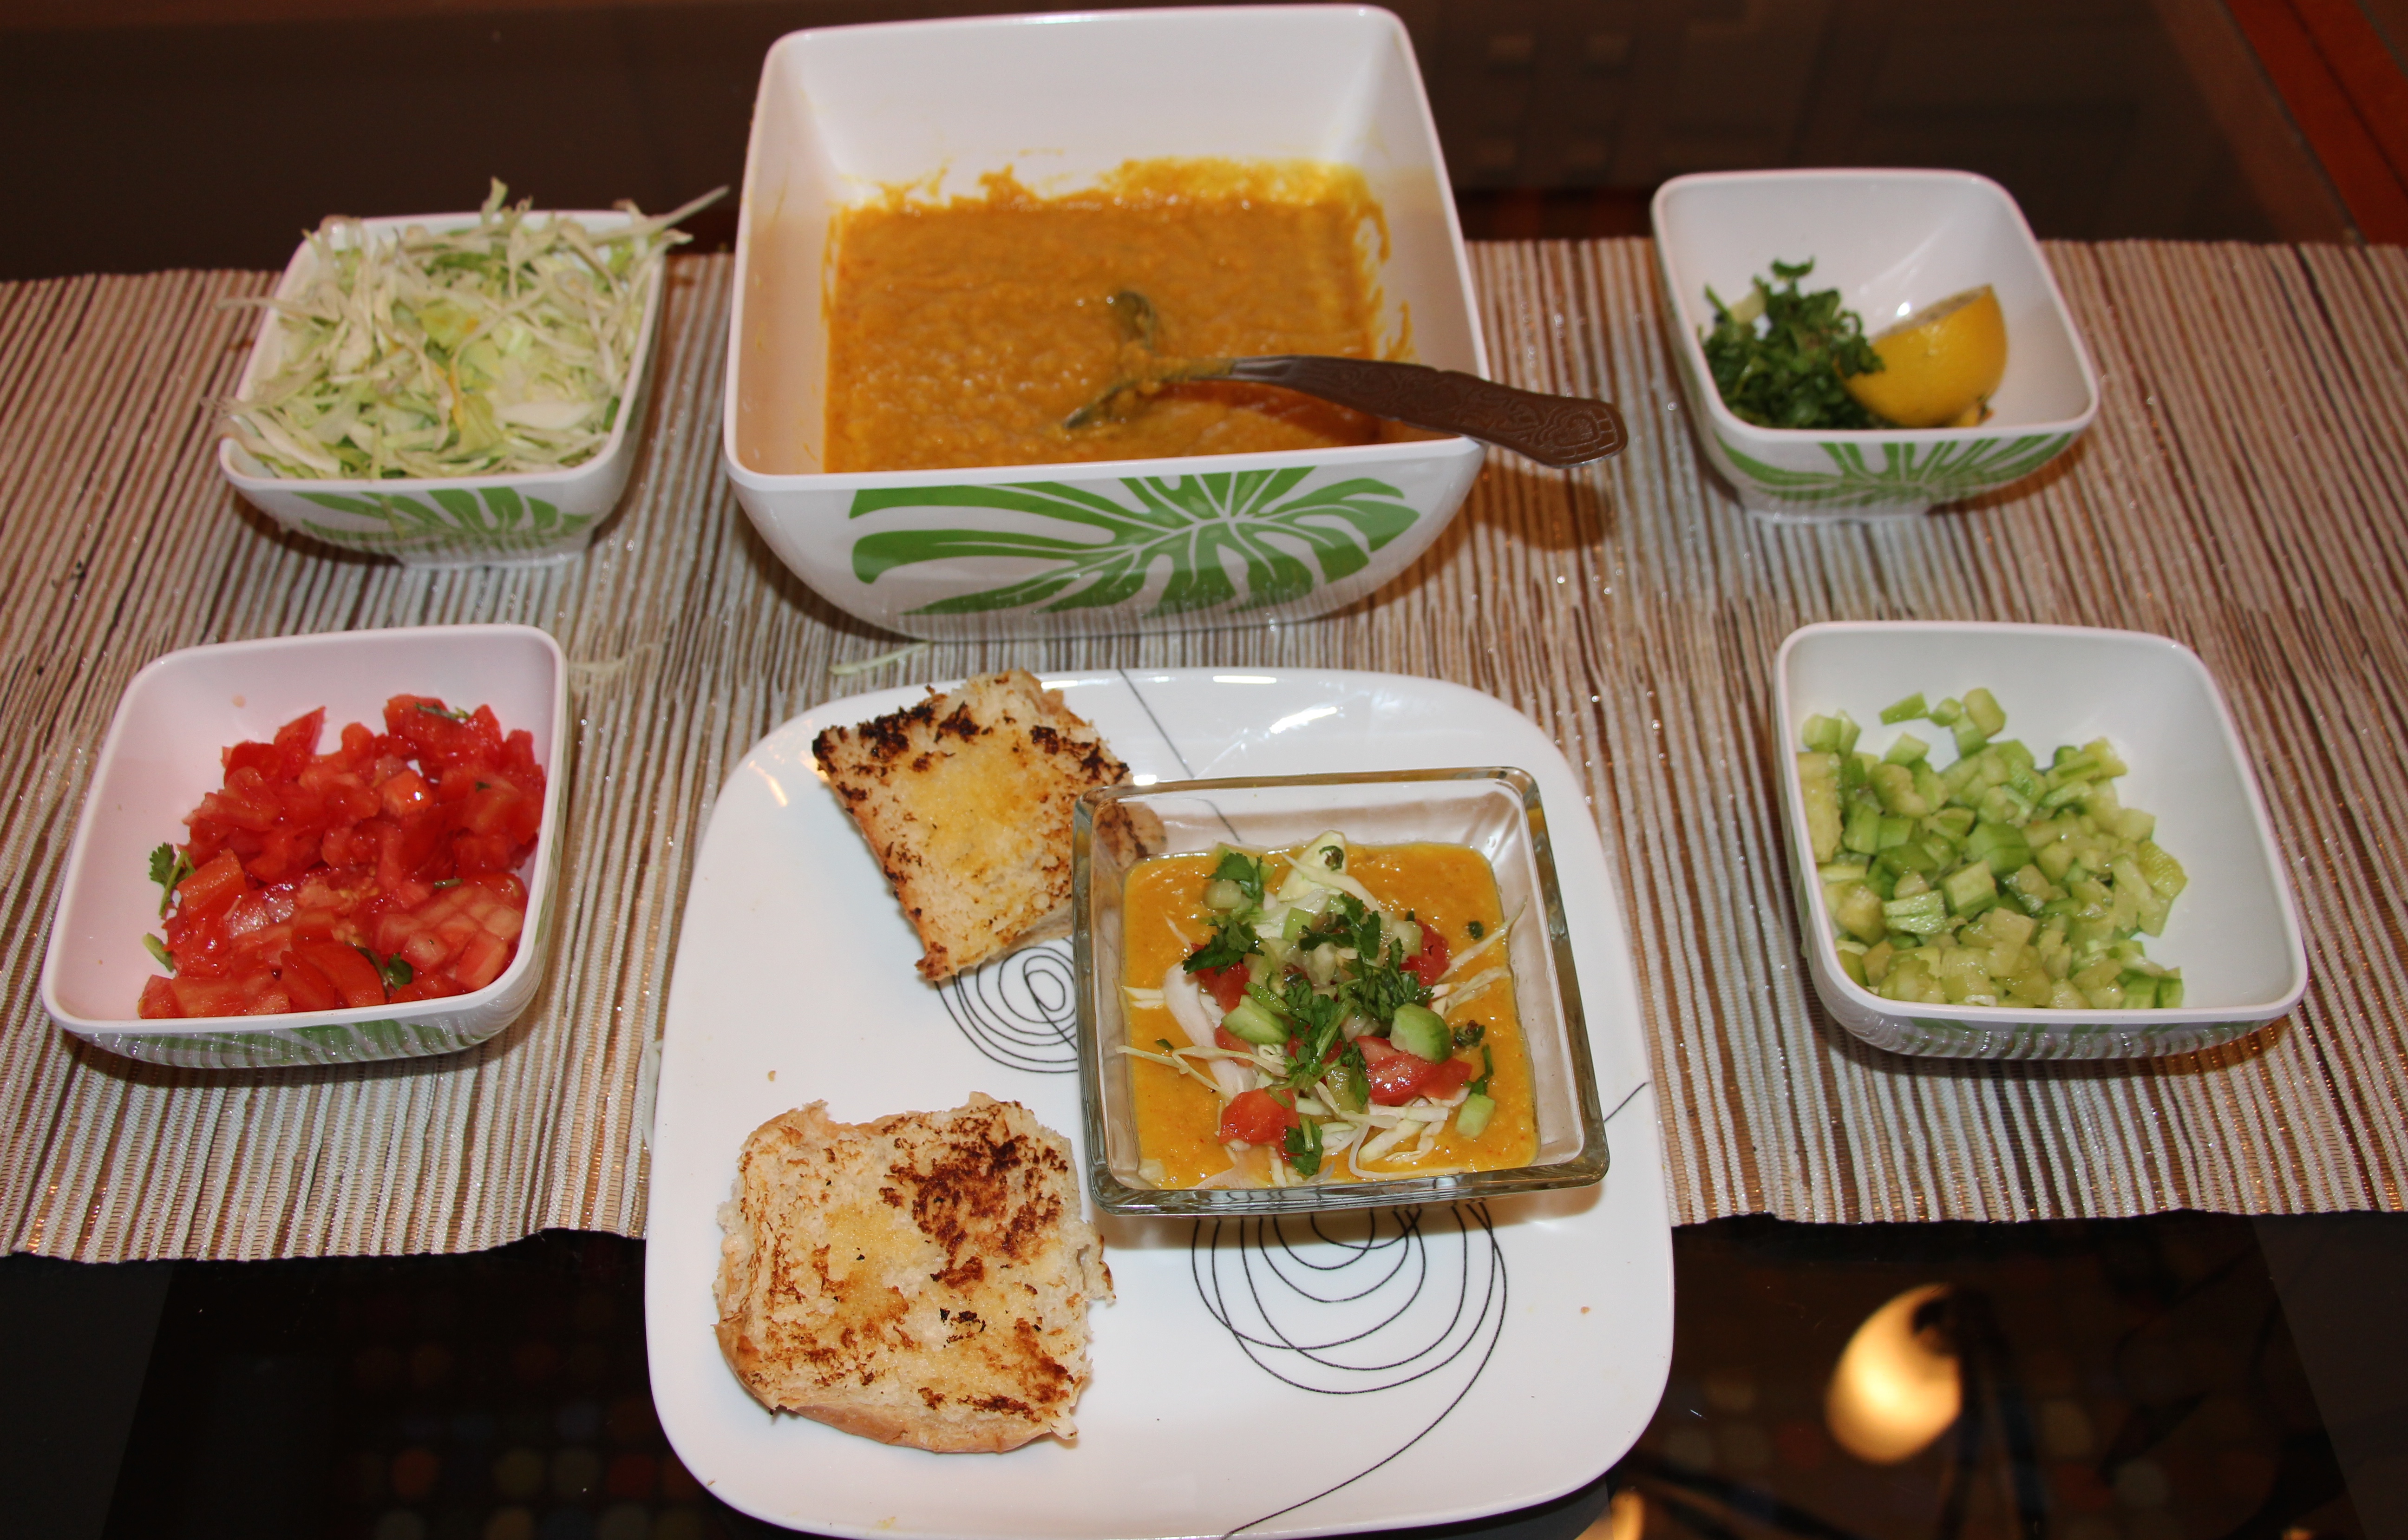
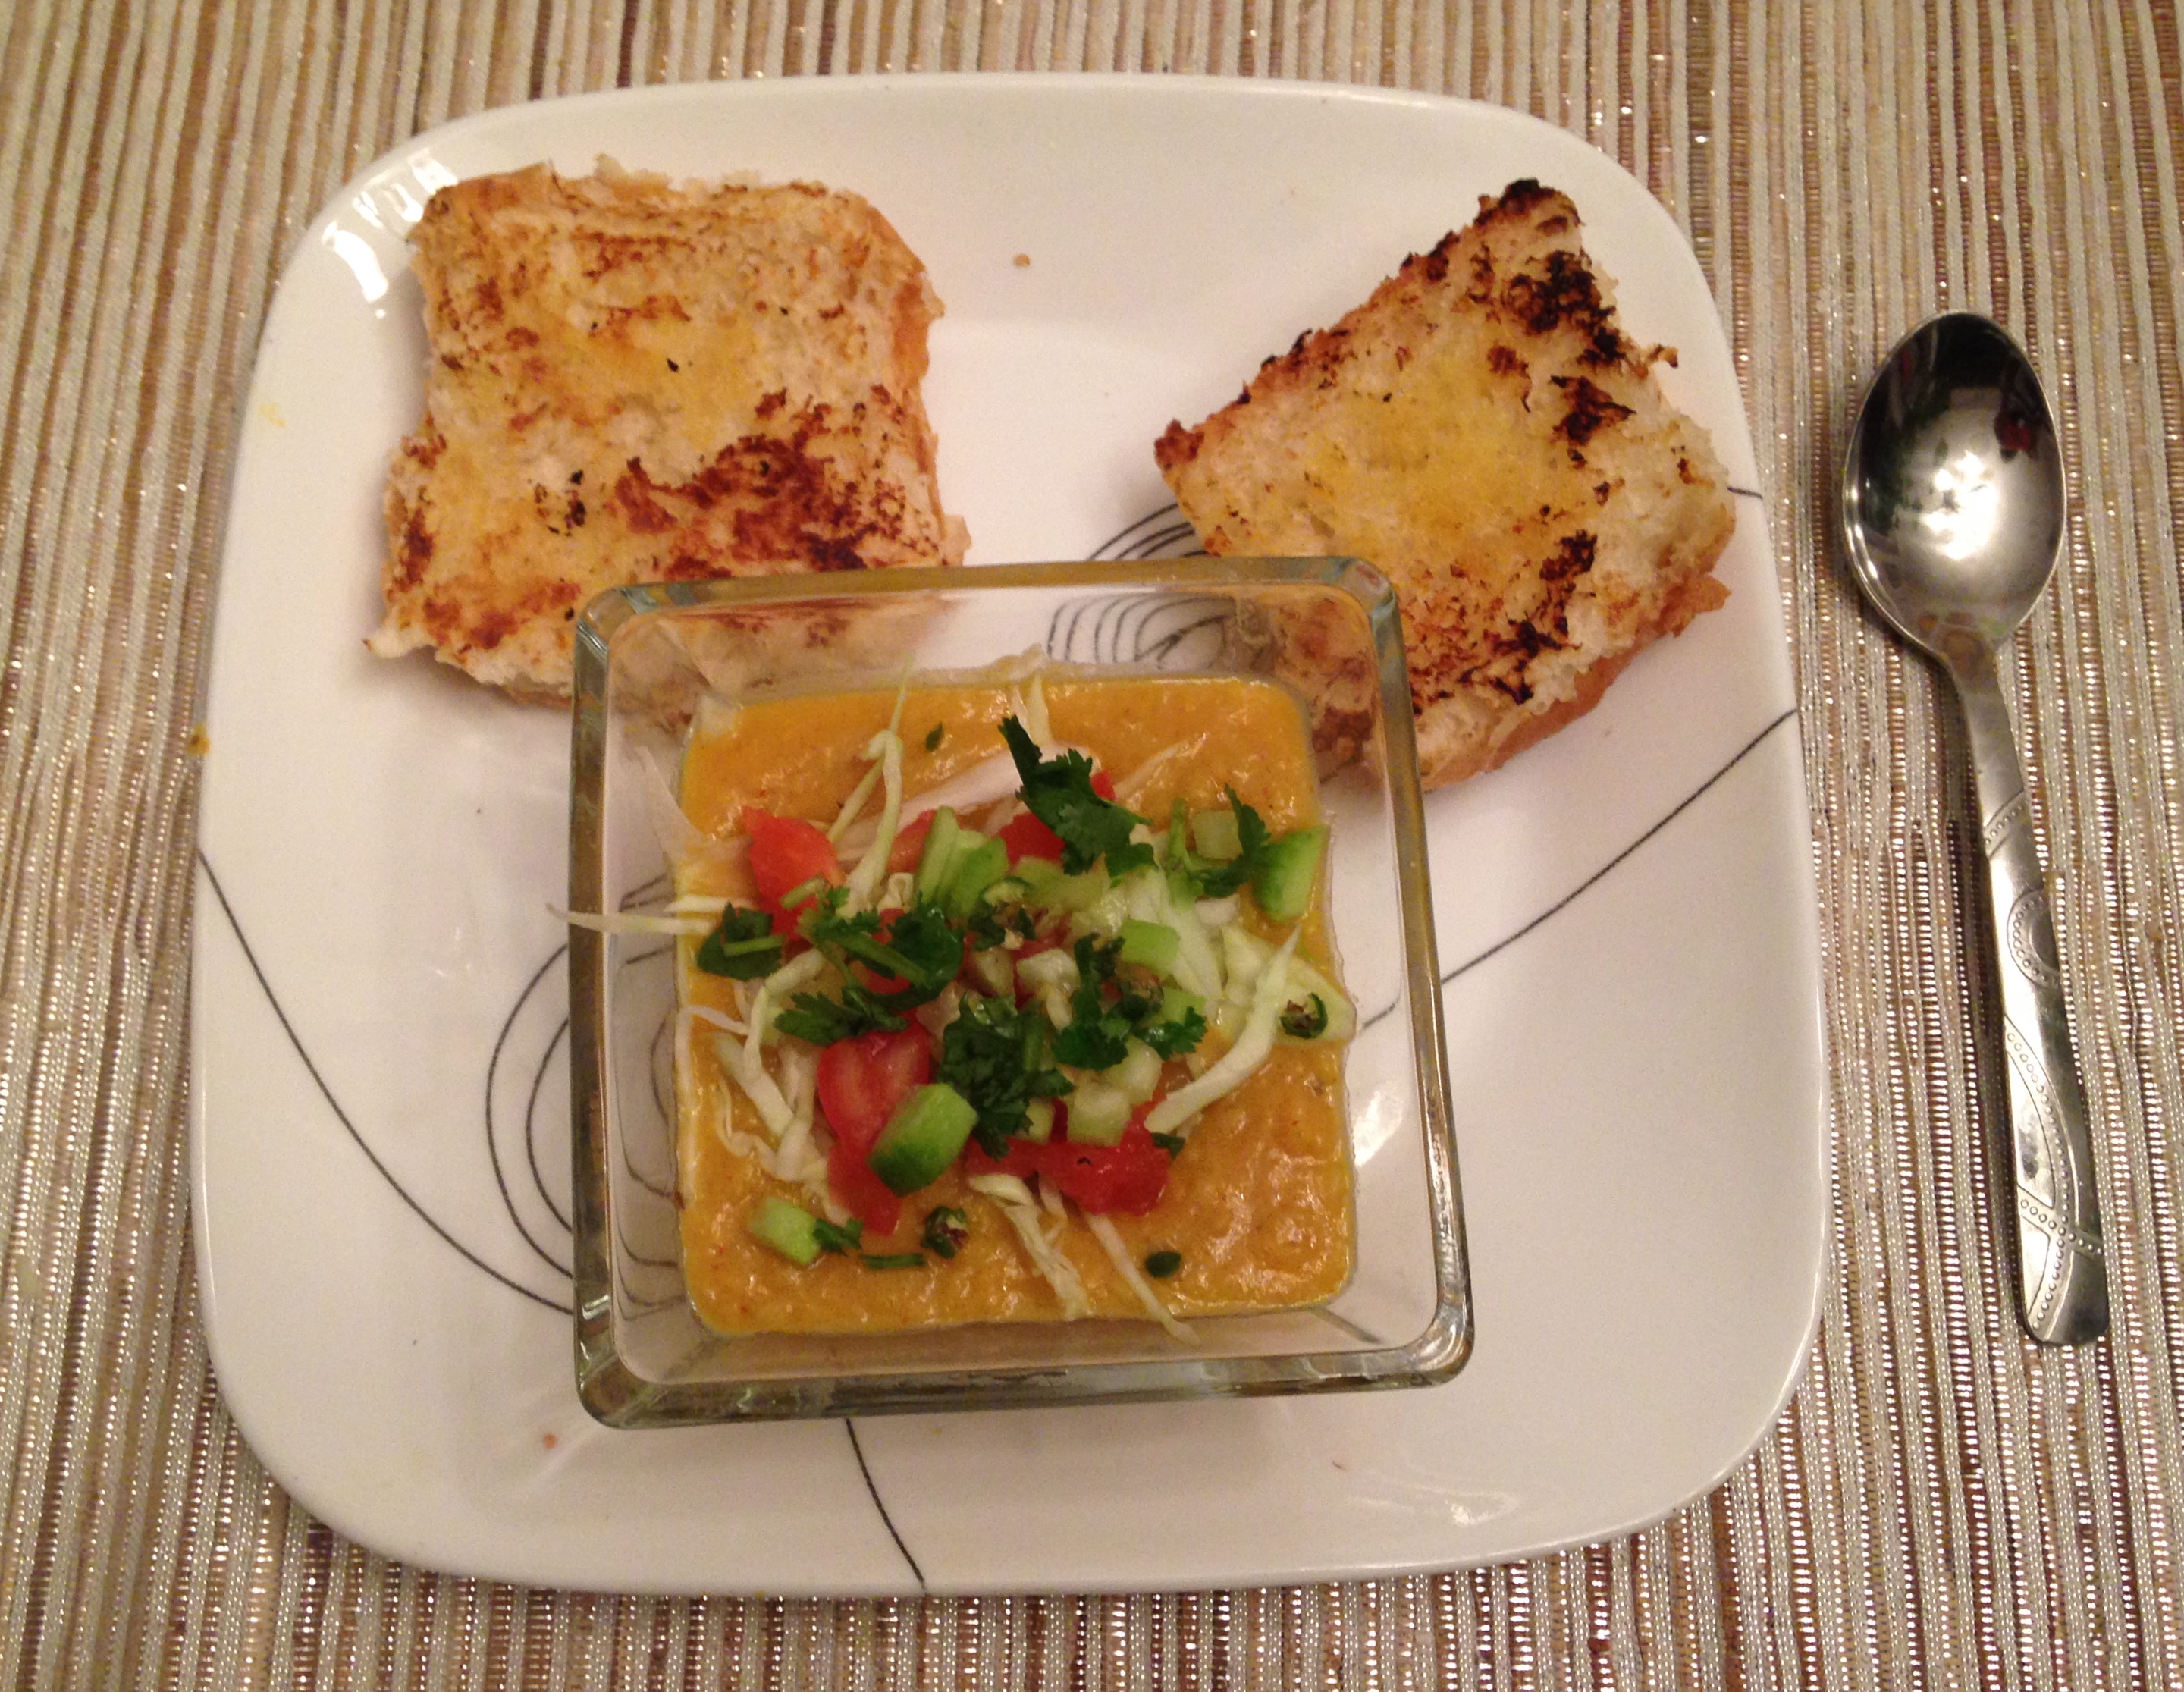
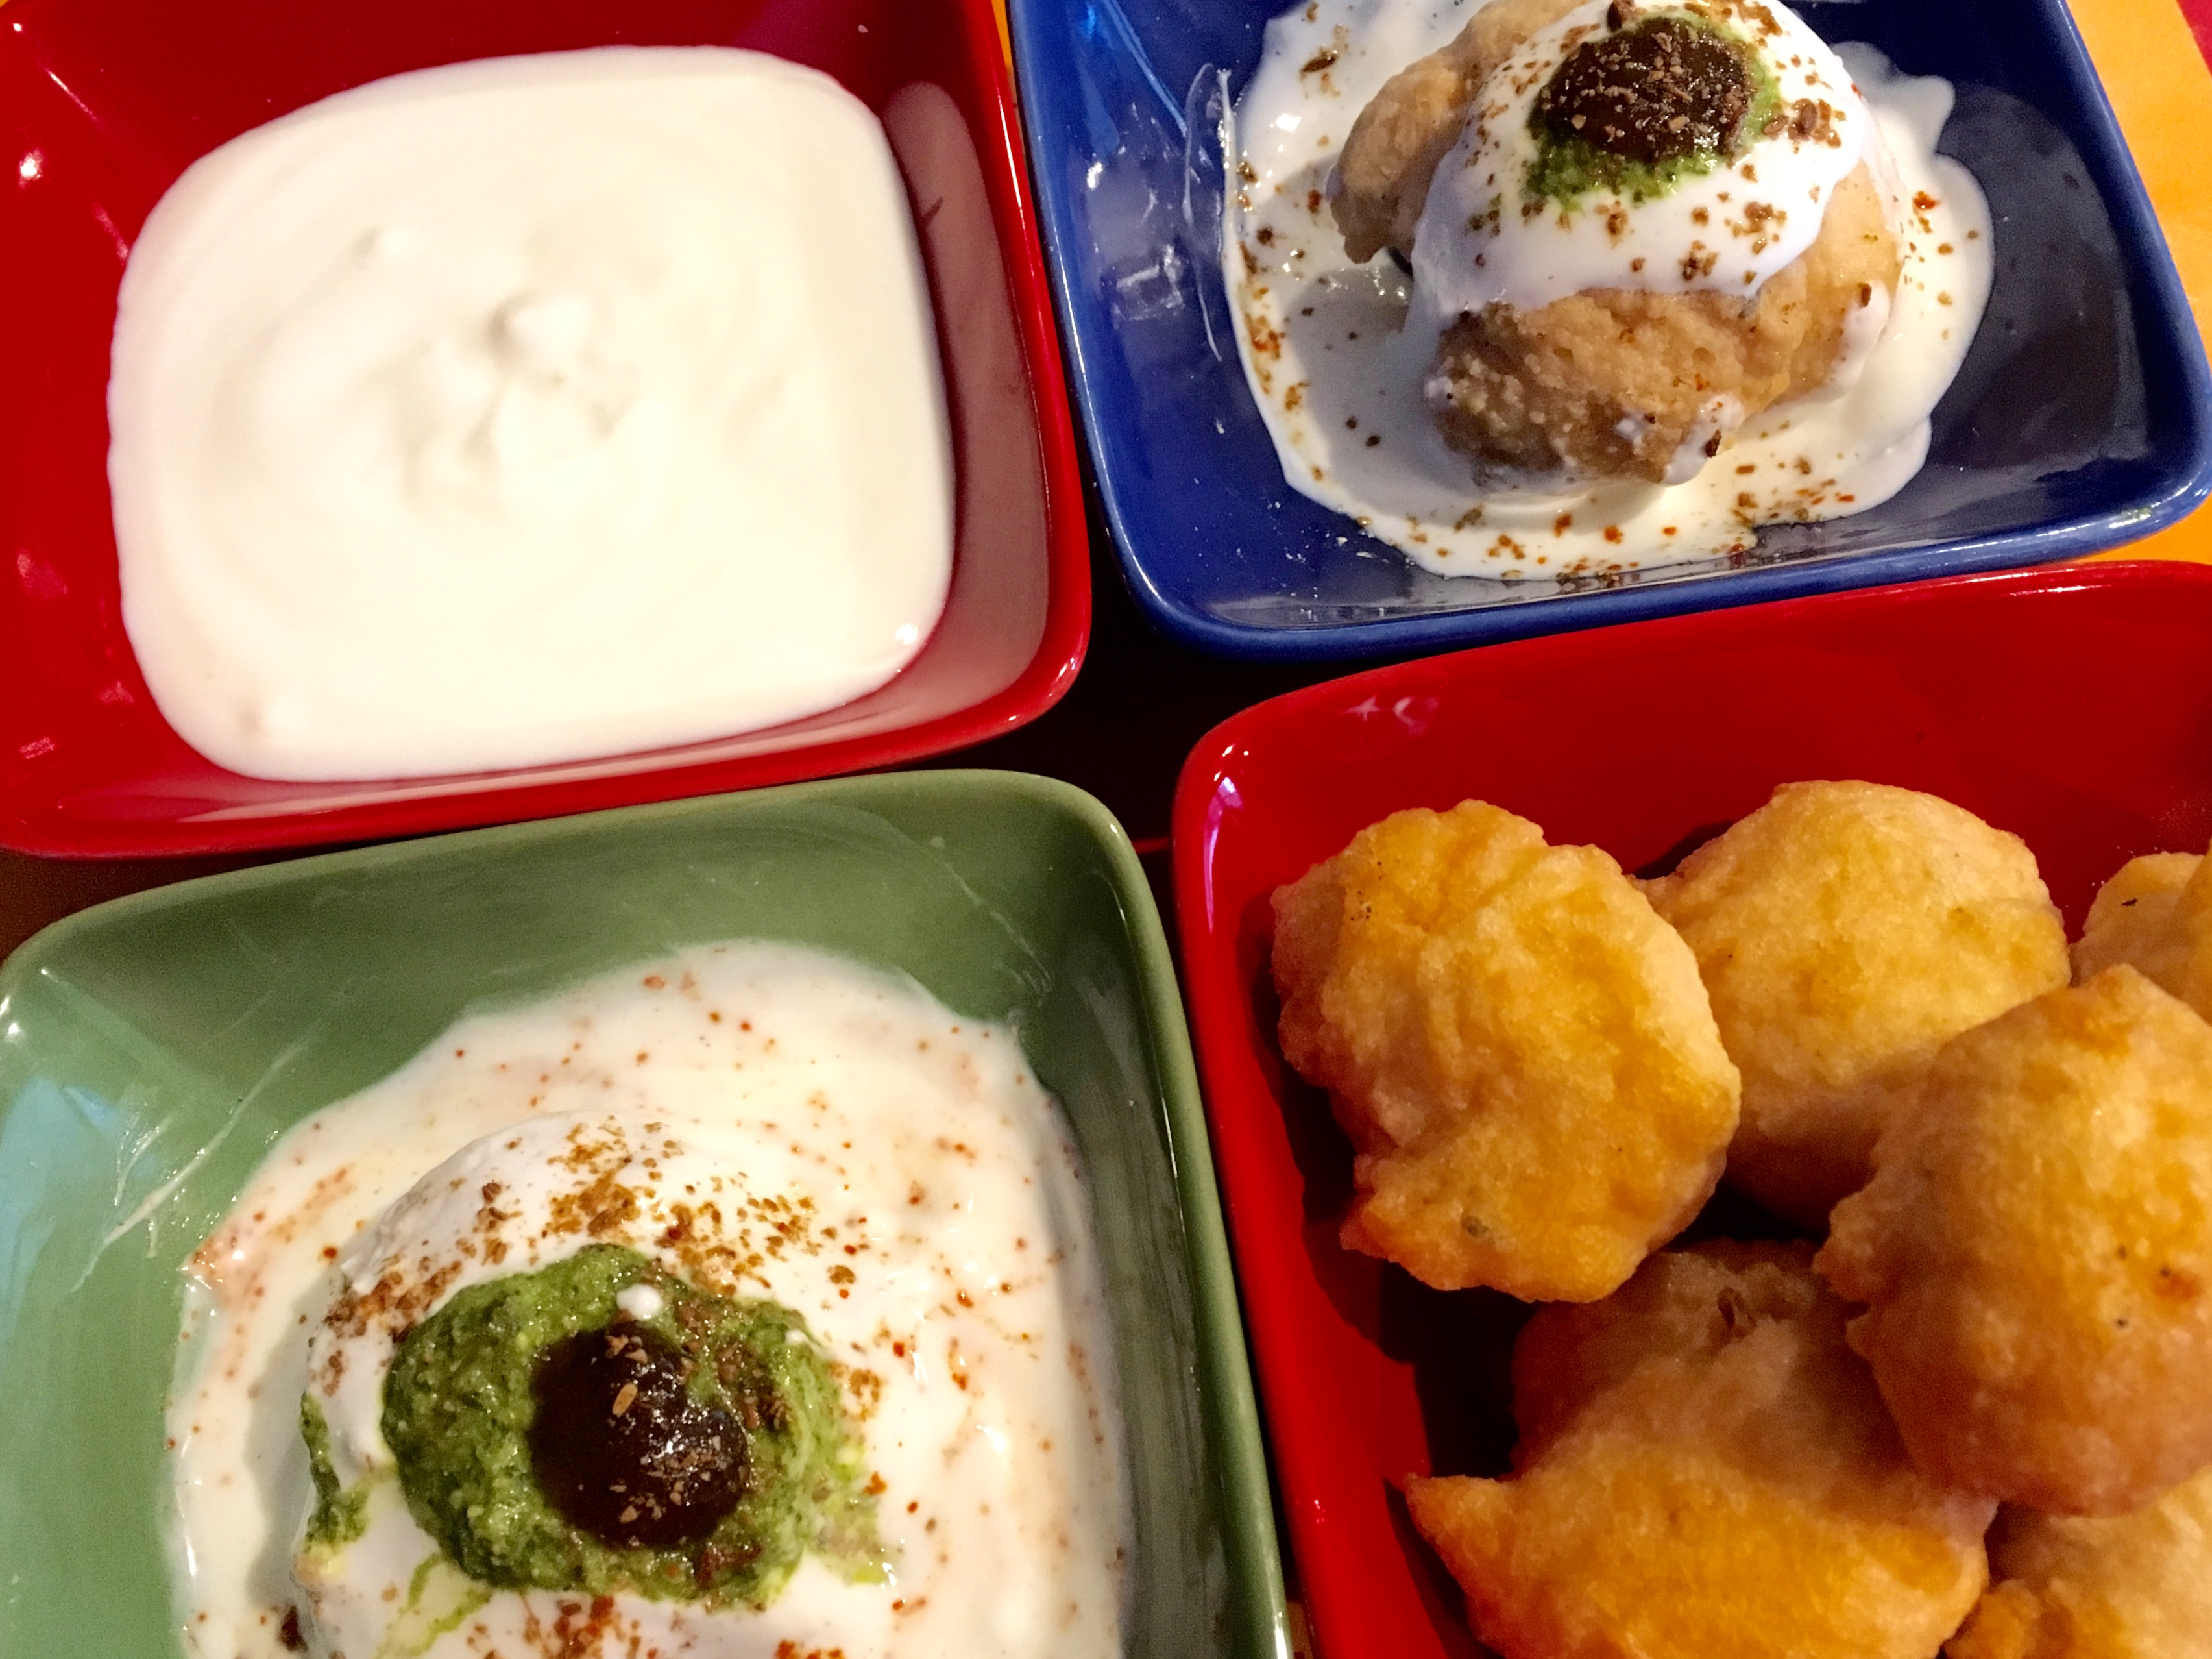
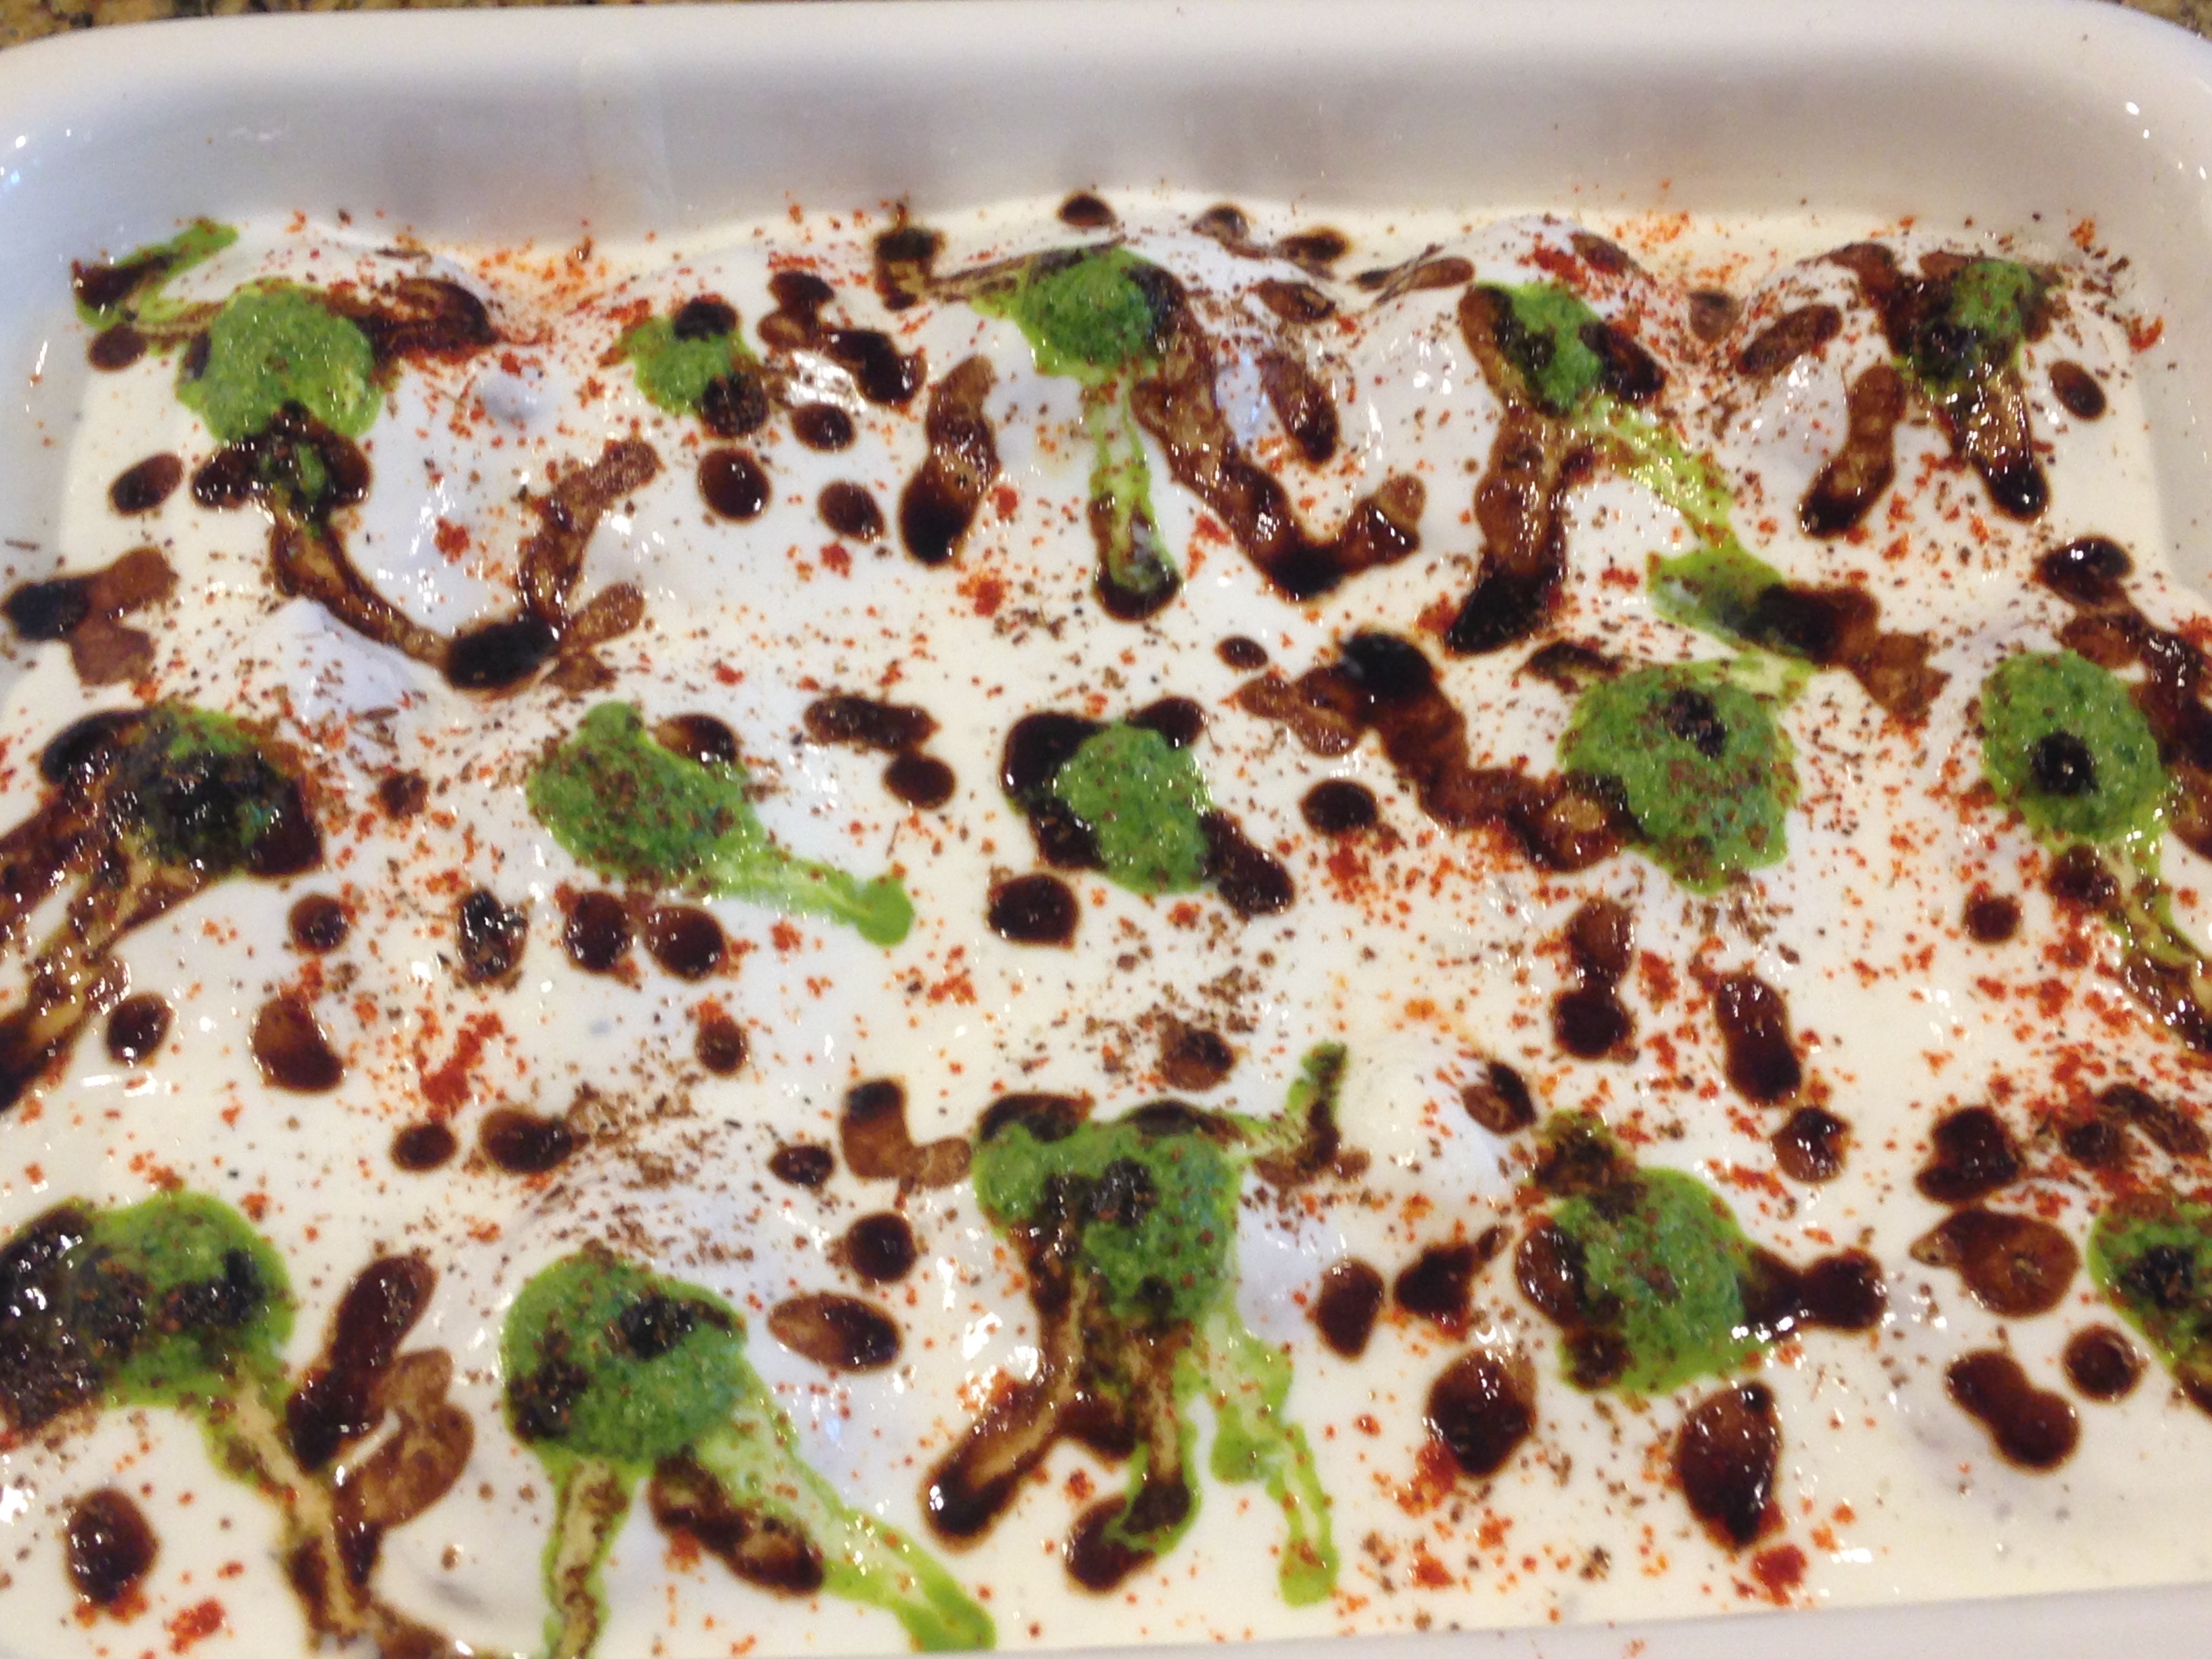
The dish looks colorful, can be prepared in advance and the yogurt gravy hides the round fritters or vadas. It can be enriched with cashews and fennel seeds, which gives a refreshing feel to it. A lot of talent is displayed by many, by the way the tamarind and green chutney are garnished on top,which could be a perfect line of green red, or one can go the famous Jackson Pollock way of painting and just splatter the same and have fun! This highly delicious combination cools the heat in the summer, and is a perfect menu item for Jains following strict diet regulations on aatham, chaudas or paryushan and it is quite filling too,. So one can easily have this as a complete meal too.

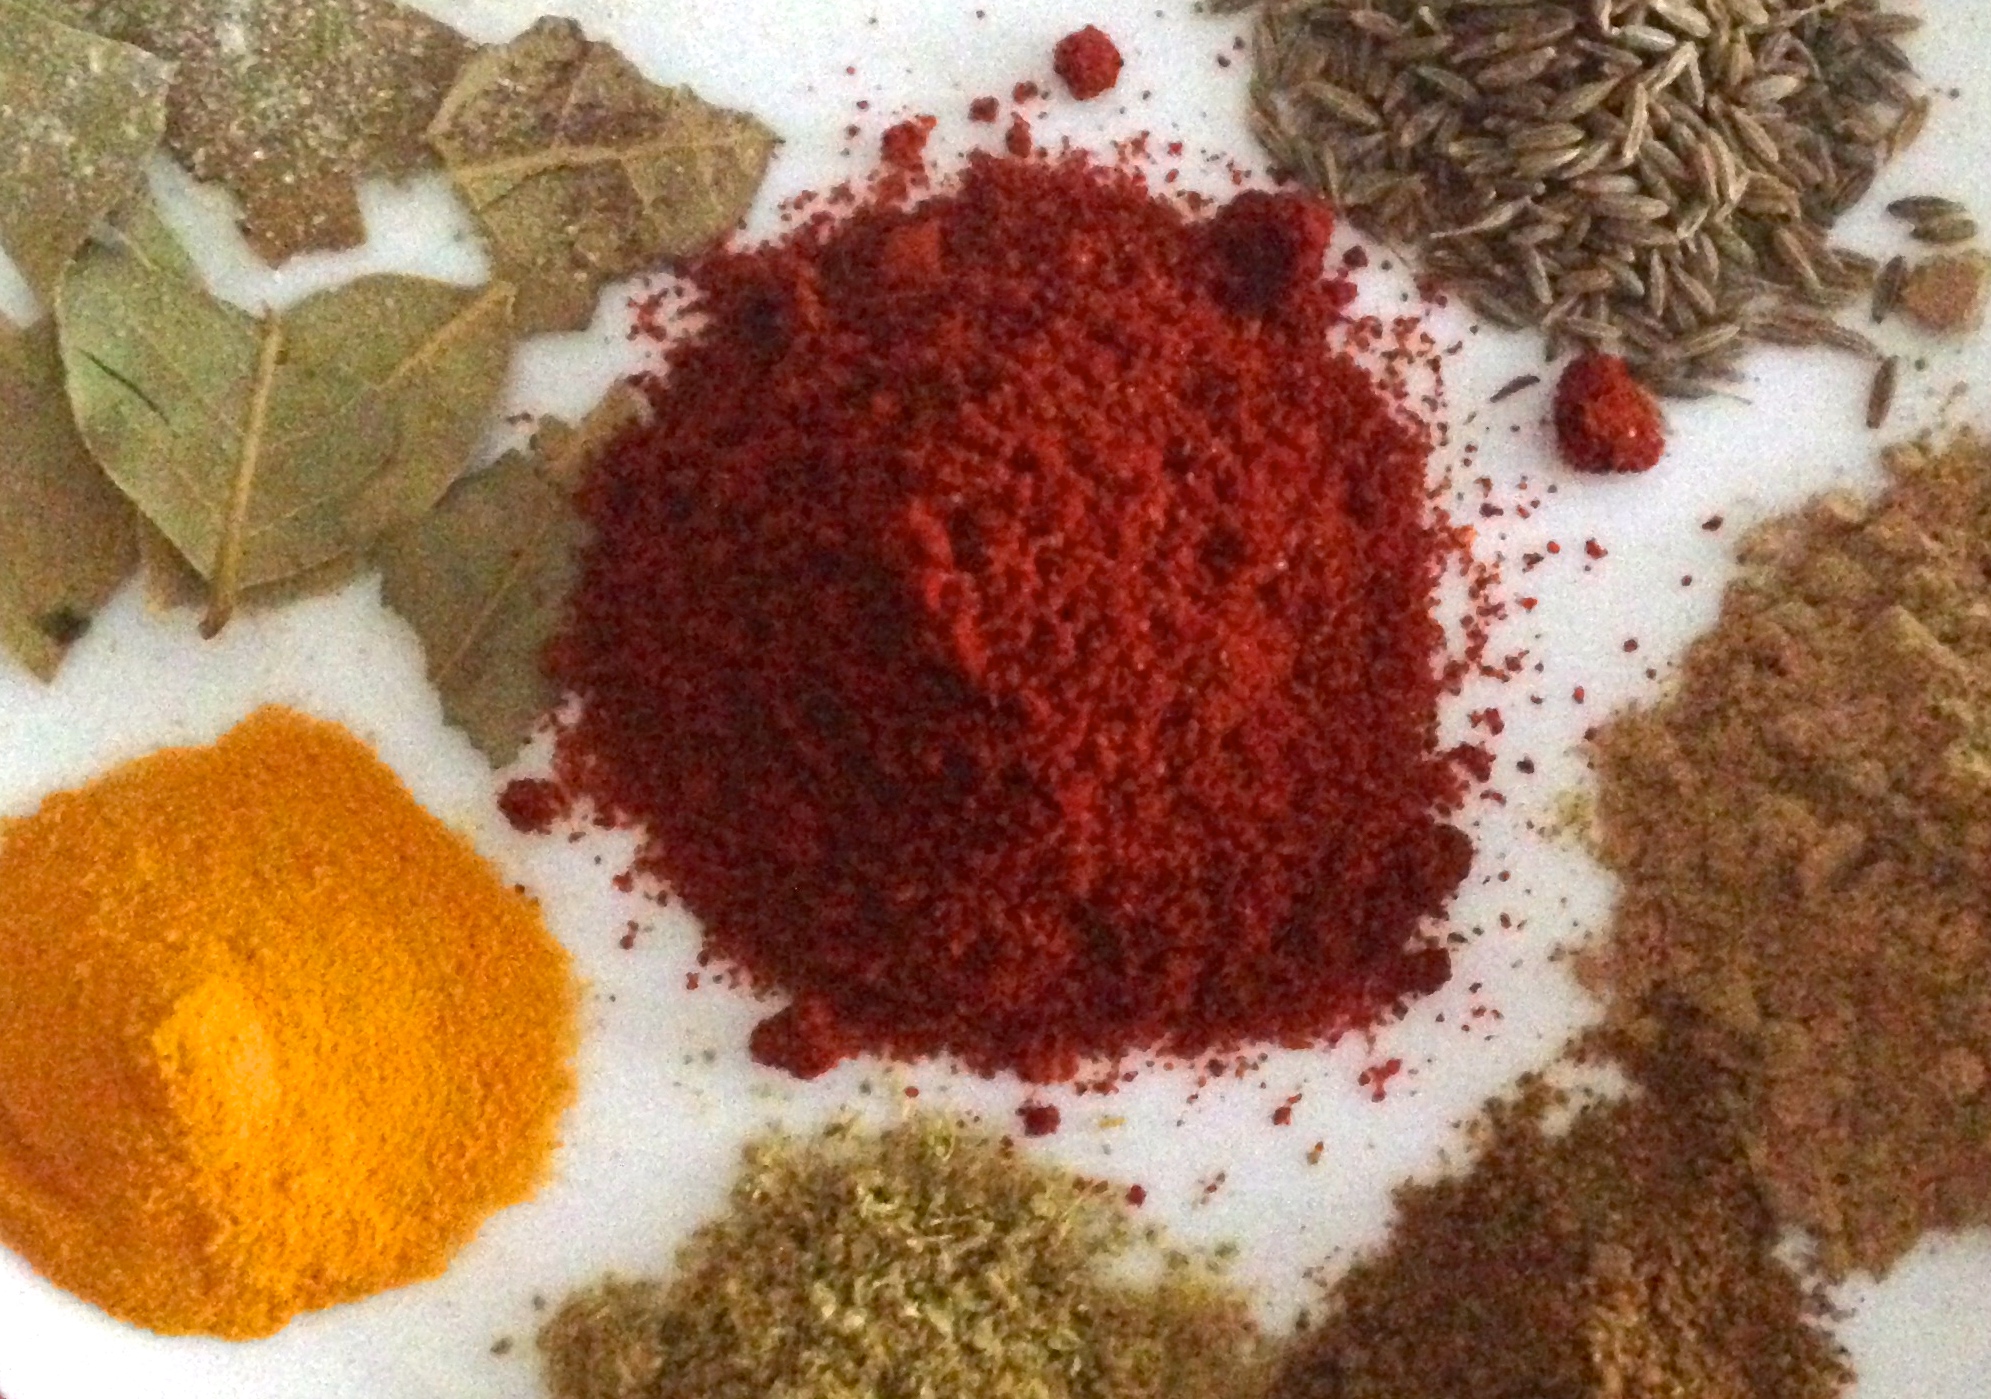
The trick to having really soft Dahi Vada lie in the type of lentil and the grinding of the lentils. Urad dal gives the softest taste, for sure, but using green and yellow dal also taste equally good, if grounded correctly. It has 3-4 garnishes on the top, but one can either use pre-made chutneys, or go the simpler way of using just red paprika powder , salt and cumin powder and it still tastes satisfying!

Everyone should give this a try, as this is definitely one healthy snack/meal  that is simply satisfying to mind and body and it is not a wonder that this cashew flavored spongy dahi vadas are a family favorite at our end, specially as the summer rolls in!

DAHI VADA LENTIL FRITTERS IN YOGURT

Recipe makes 18-20 Dahi Vadas for 4-5 people

Prep time: 30-45 min

Pre-Soaking time  5-6 hours

Ingredients
[shopeat_button]
For the Vadas
  • 2 cup urad dal split black lentils OR ( this is more popular)
  • 1 cup  split yellow moong dal and 1 cup split green dal (this is more healthy)
  • 4 green chillies
  • 1/4 cup broken cashews
  • 1  tsp fennel seeds
  • salt to taste
  • oil for frying
For the Yogurt Gravy
  • 2 quarts of yogurt
  • Salt to taste
  • 2 tsp Red chilli powder
  •  1 1/2 tbsp Sugar(optional)
  • 1/4 tsp black pepper powder
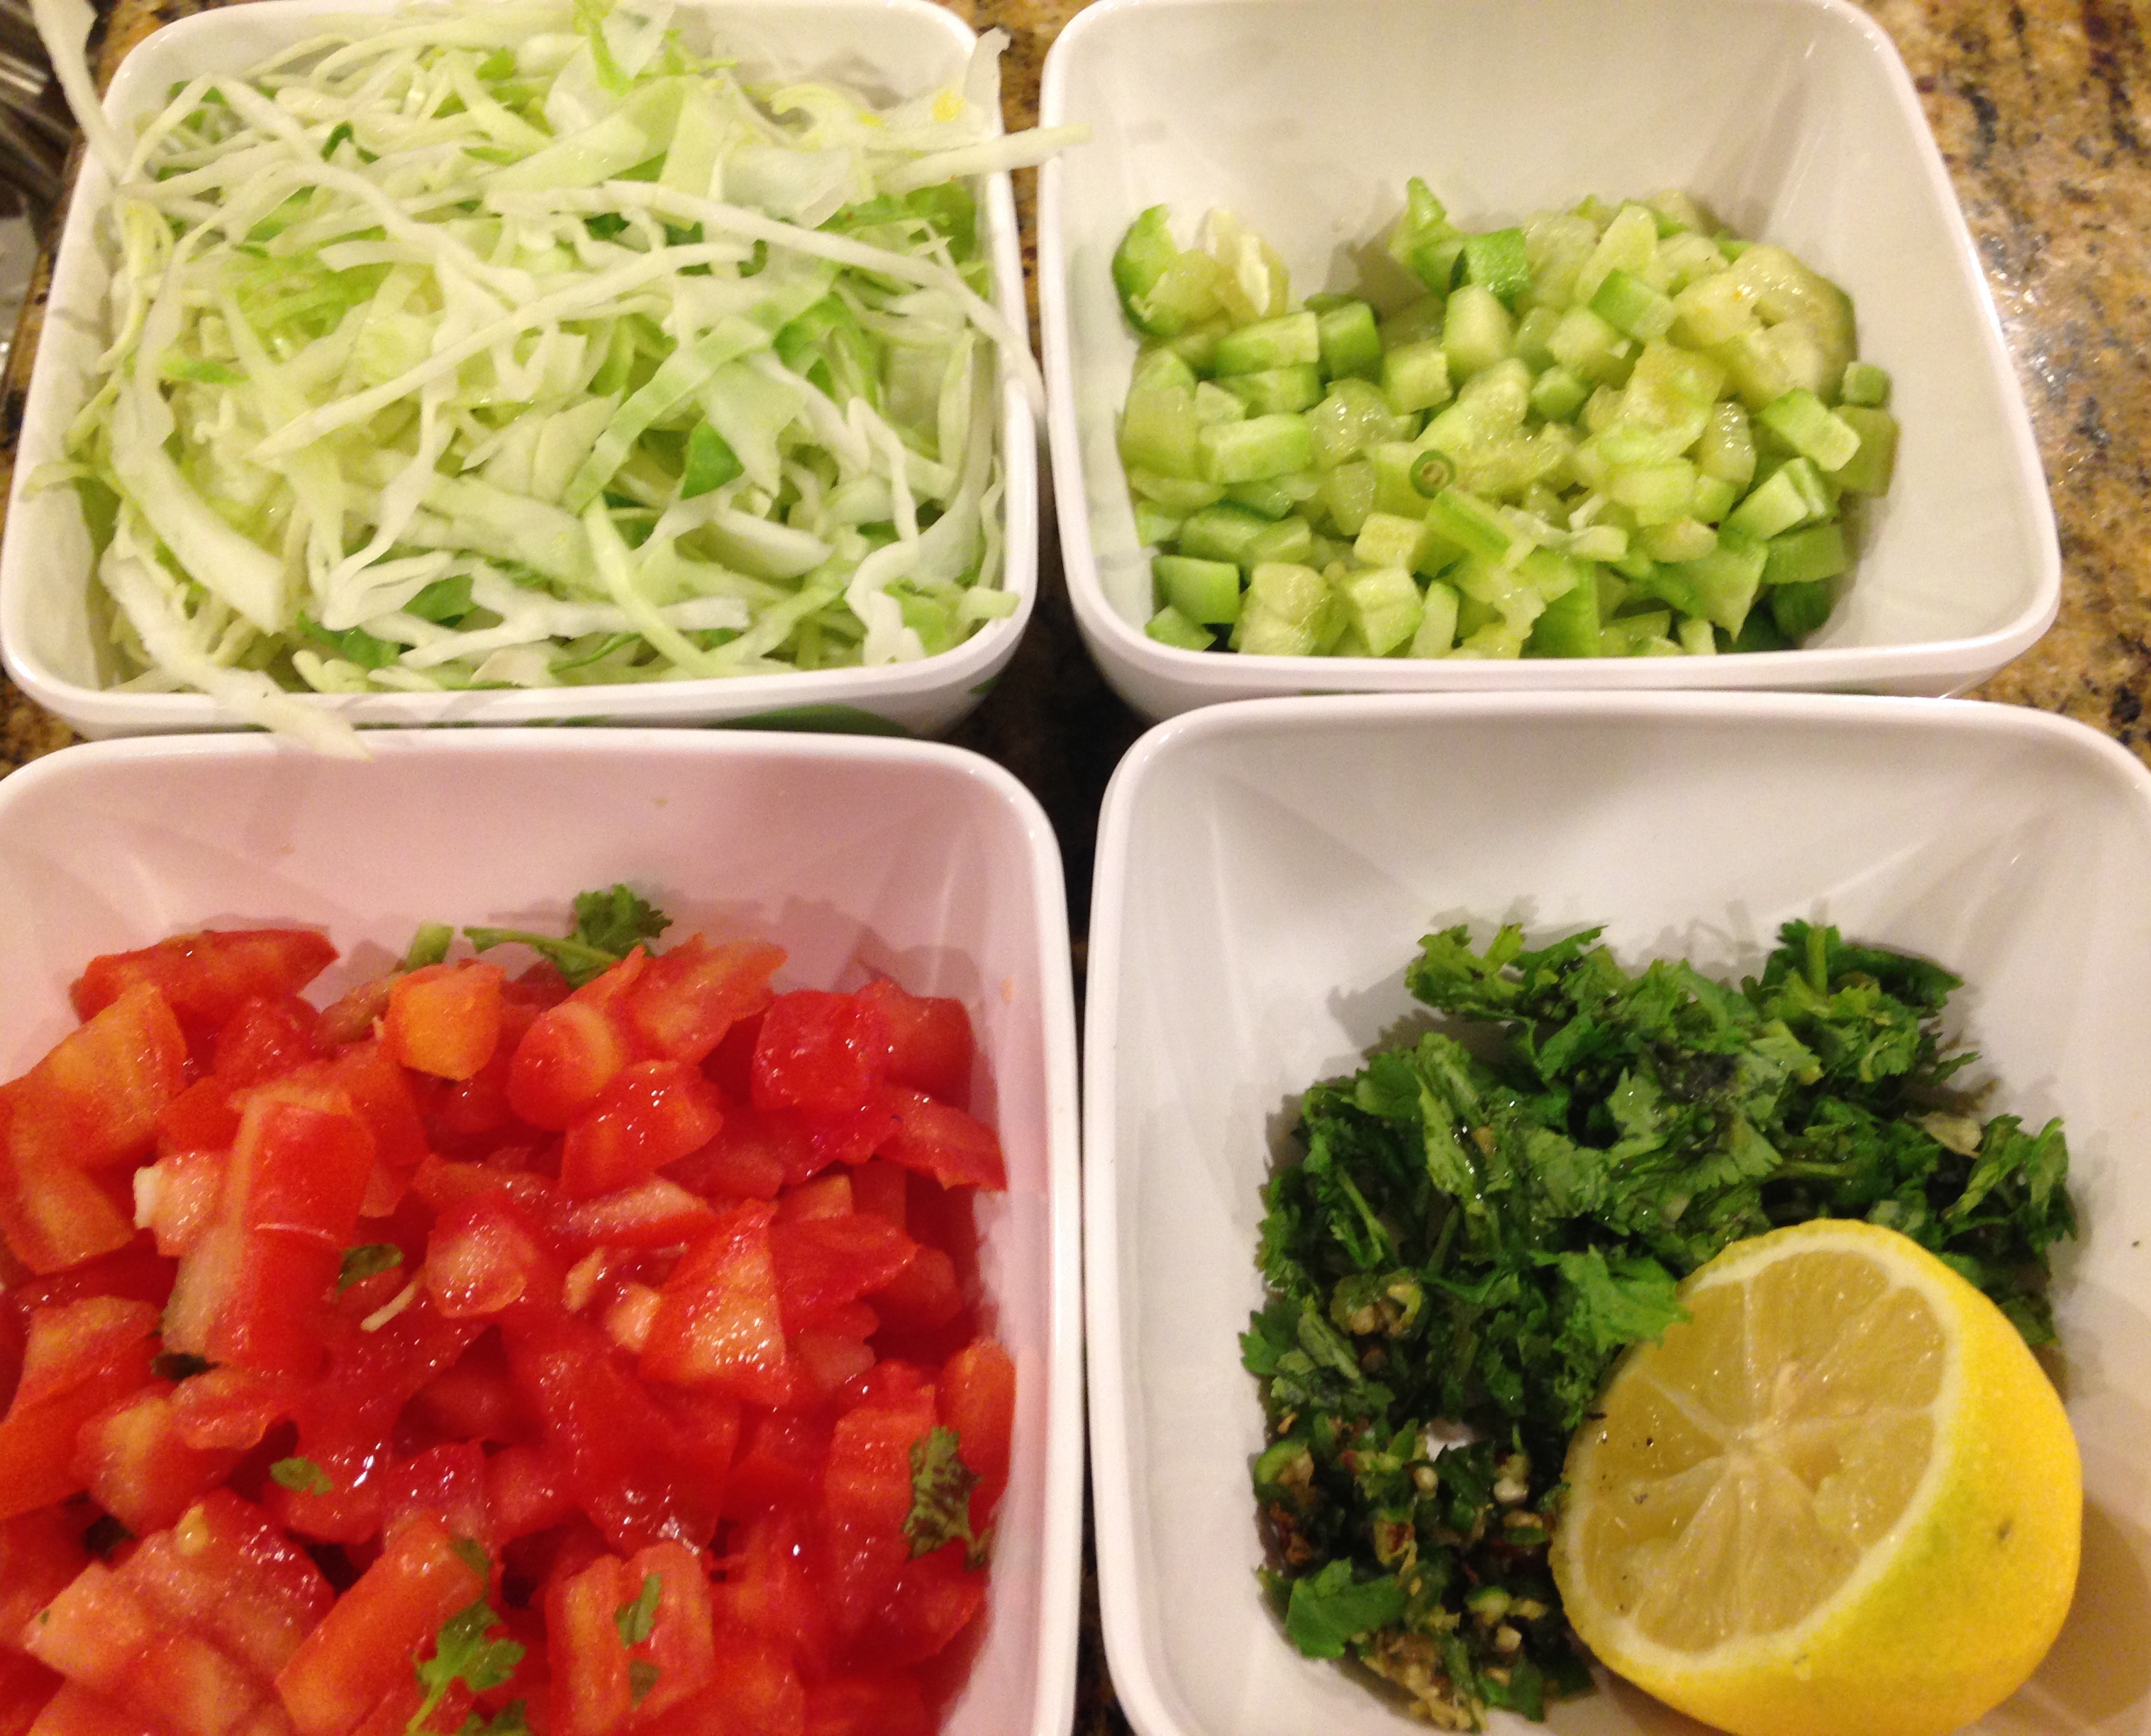
For the Garnishes
  •  3-4 tbsp Green chutney
  • 3-4 tbsp Tamarind Chutney
  • 4-5 tbspChopped Coriander
  • Salt
  • Roasted cumin powder
  • Red chilli powder
Method

For making the Vadas

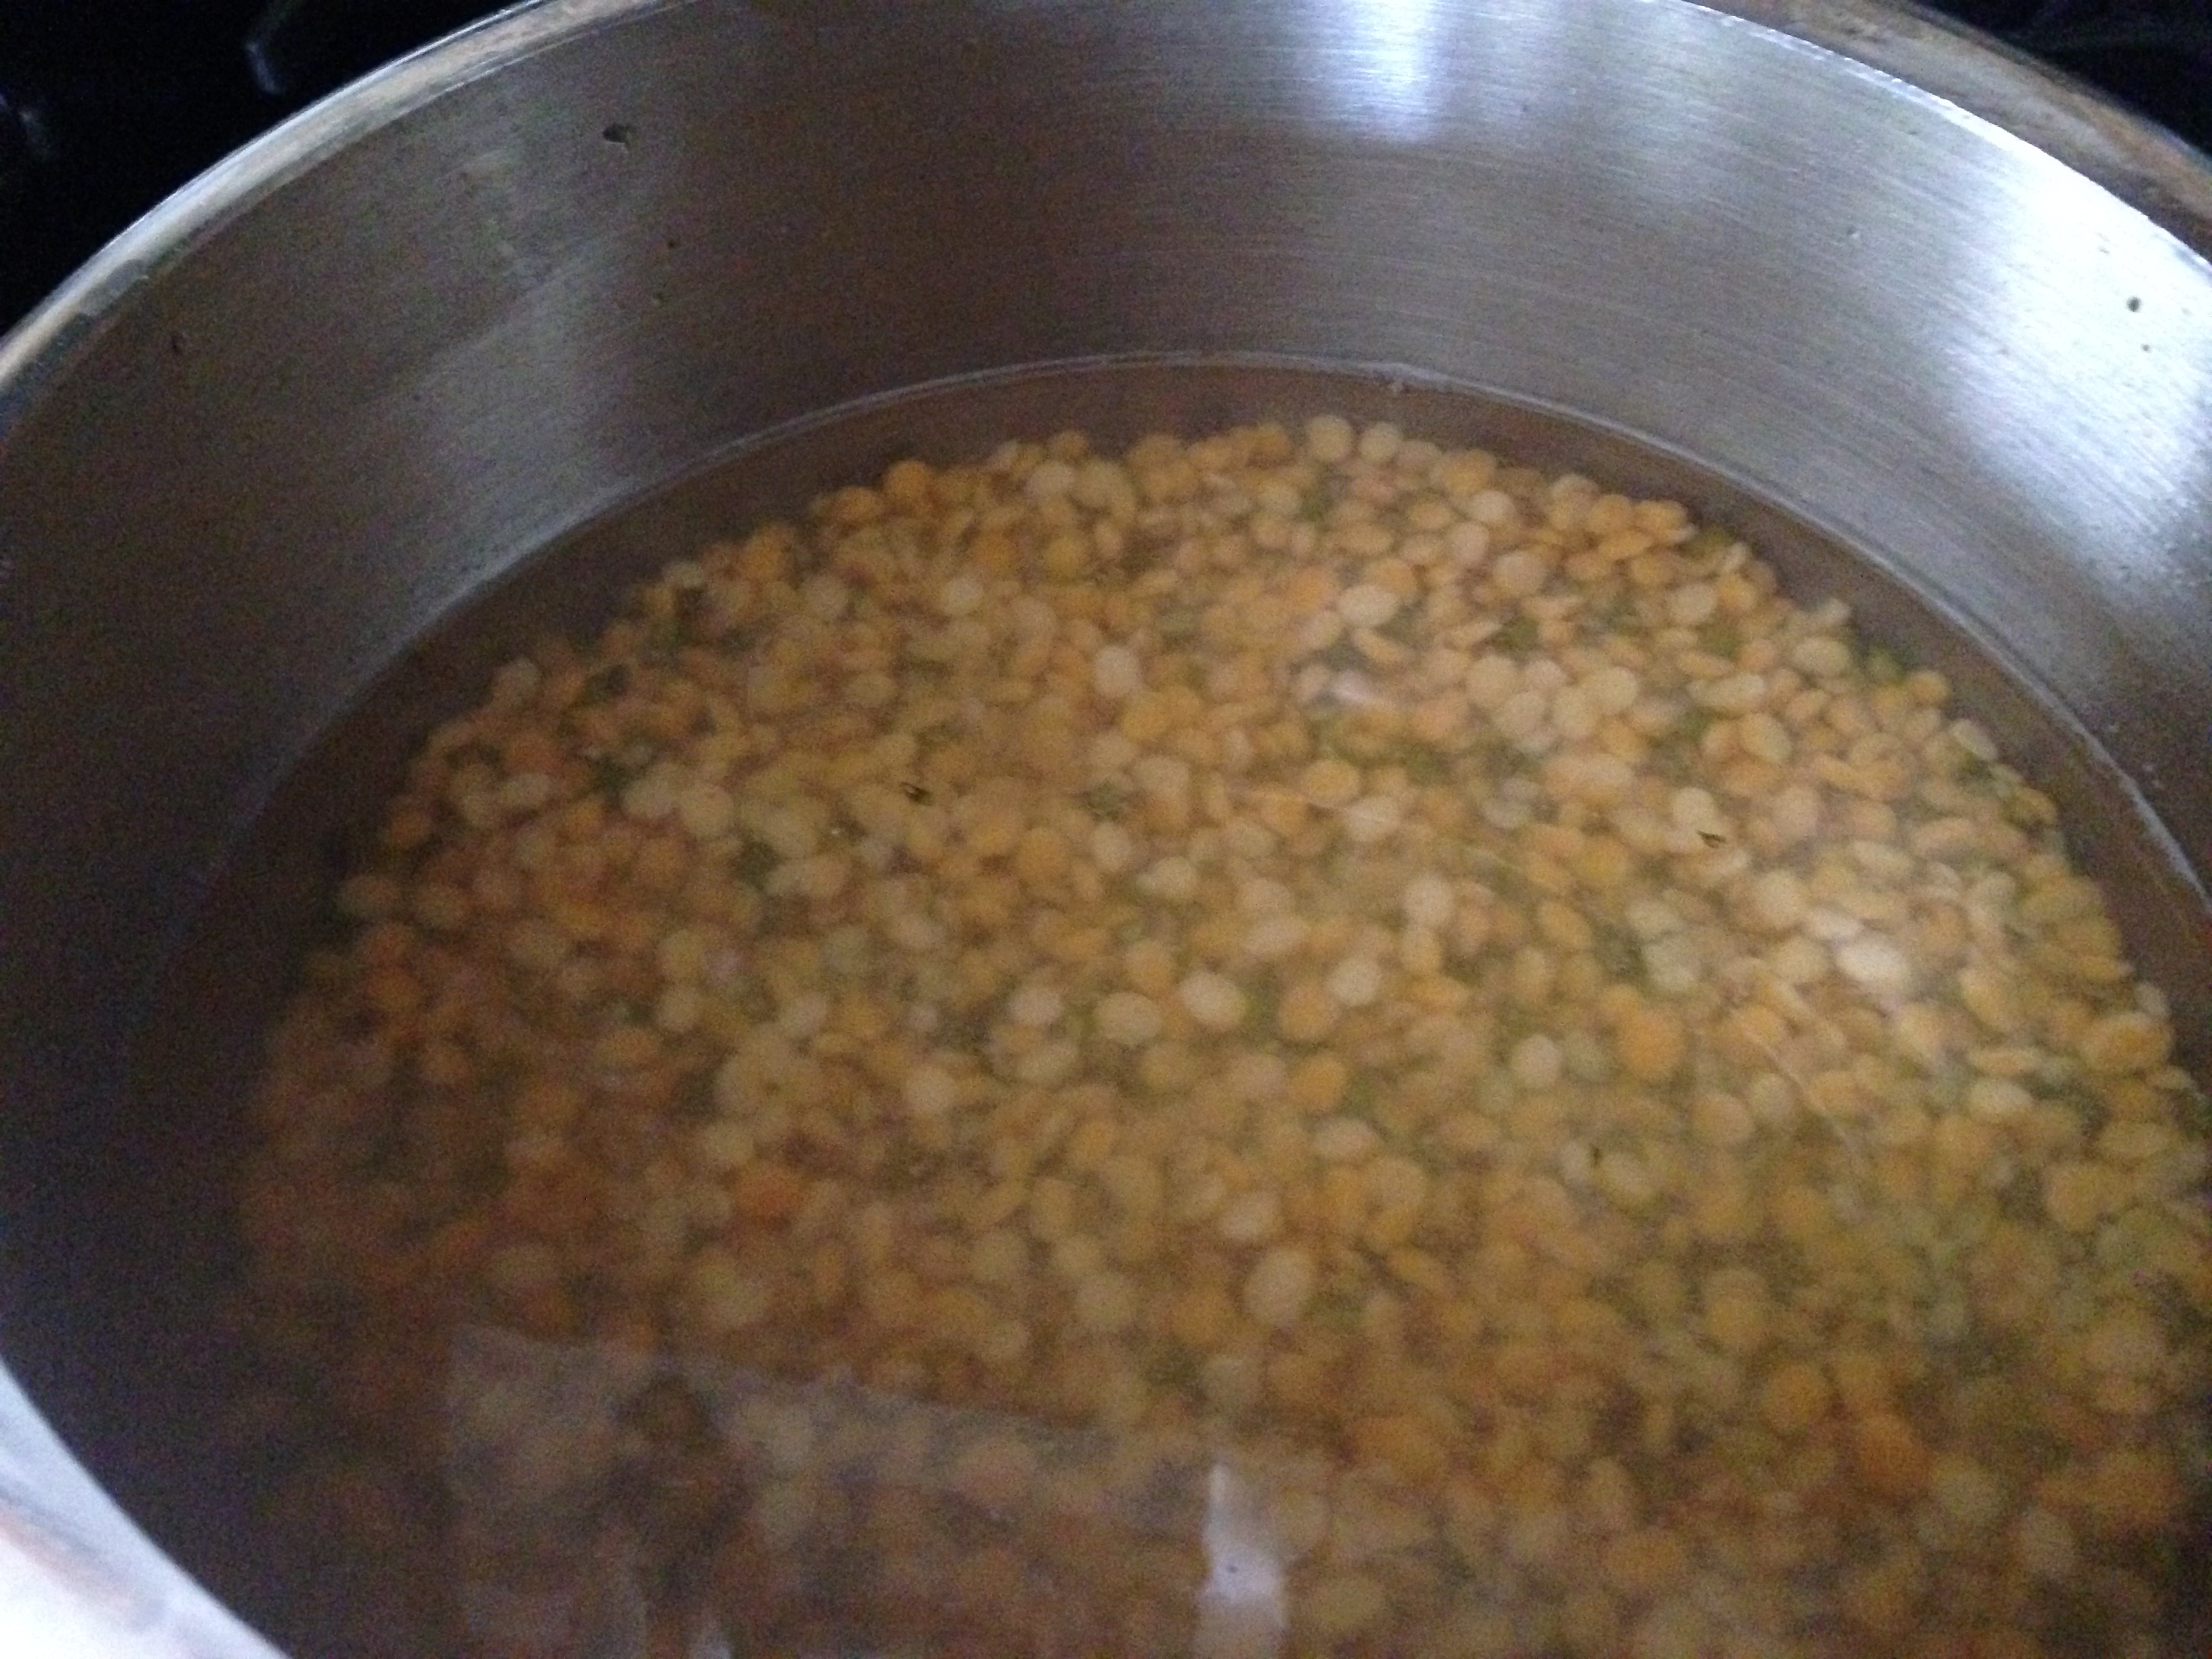
  • Wash the lentils thrice in plenty of water, and soak them in 8 cups of water for at least 6 hours.
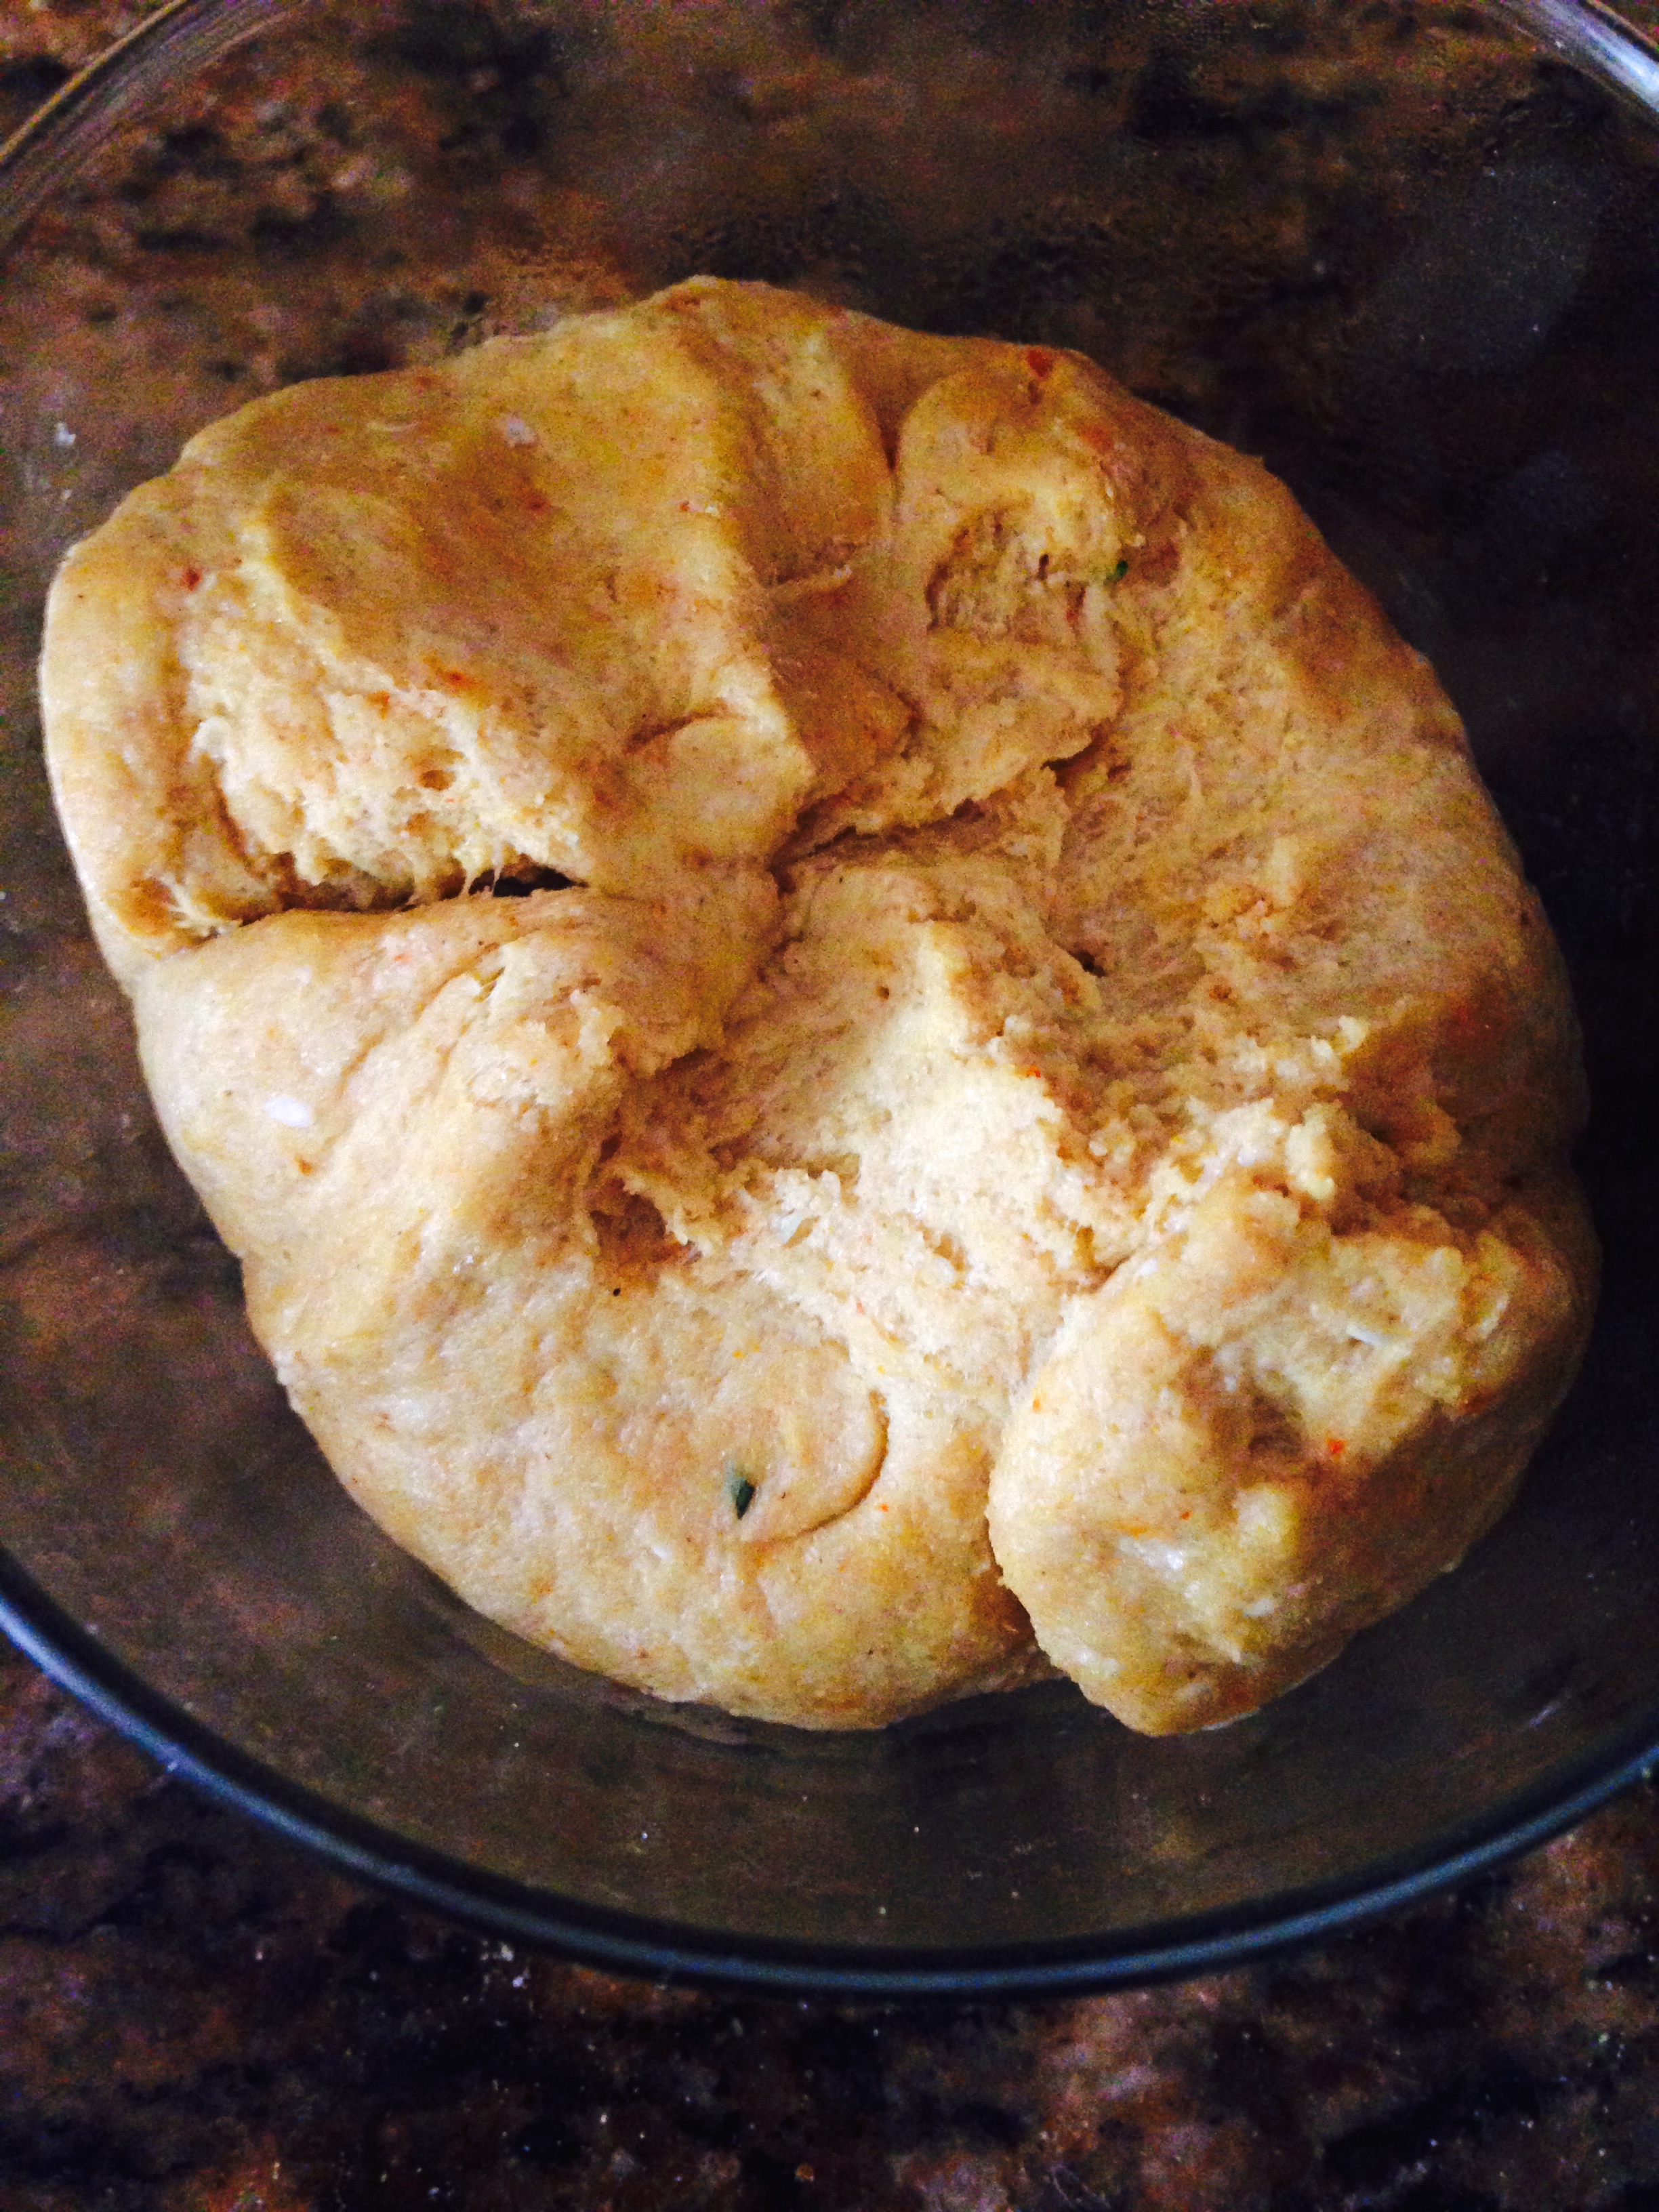
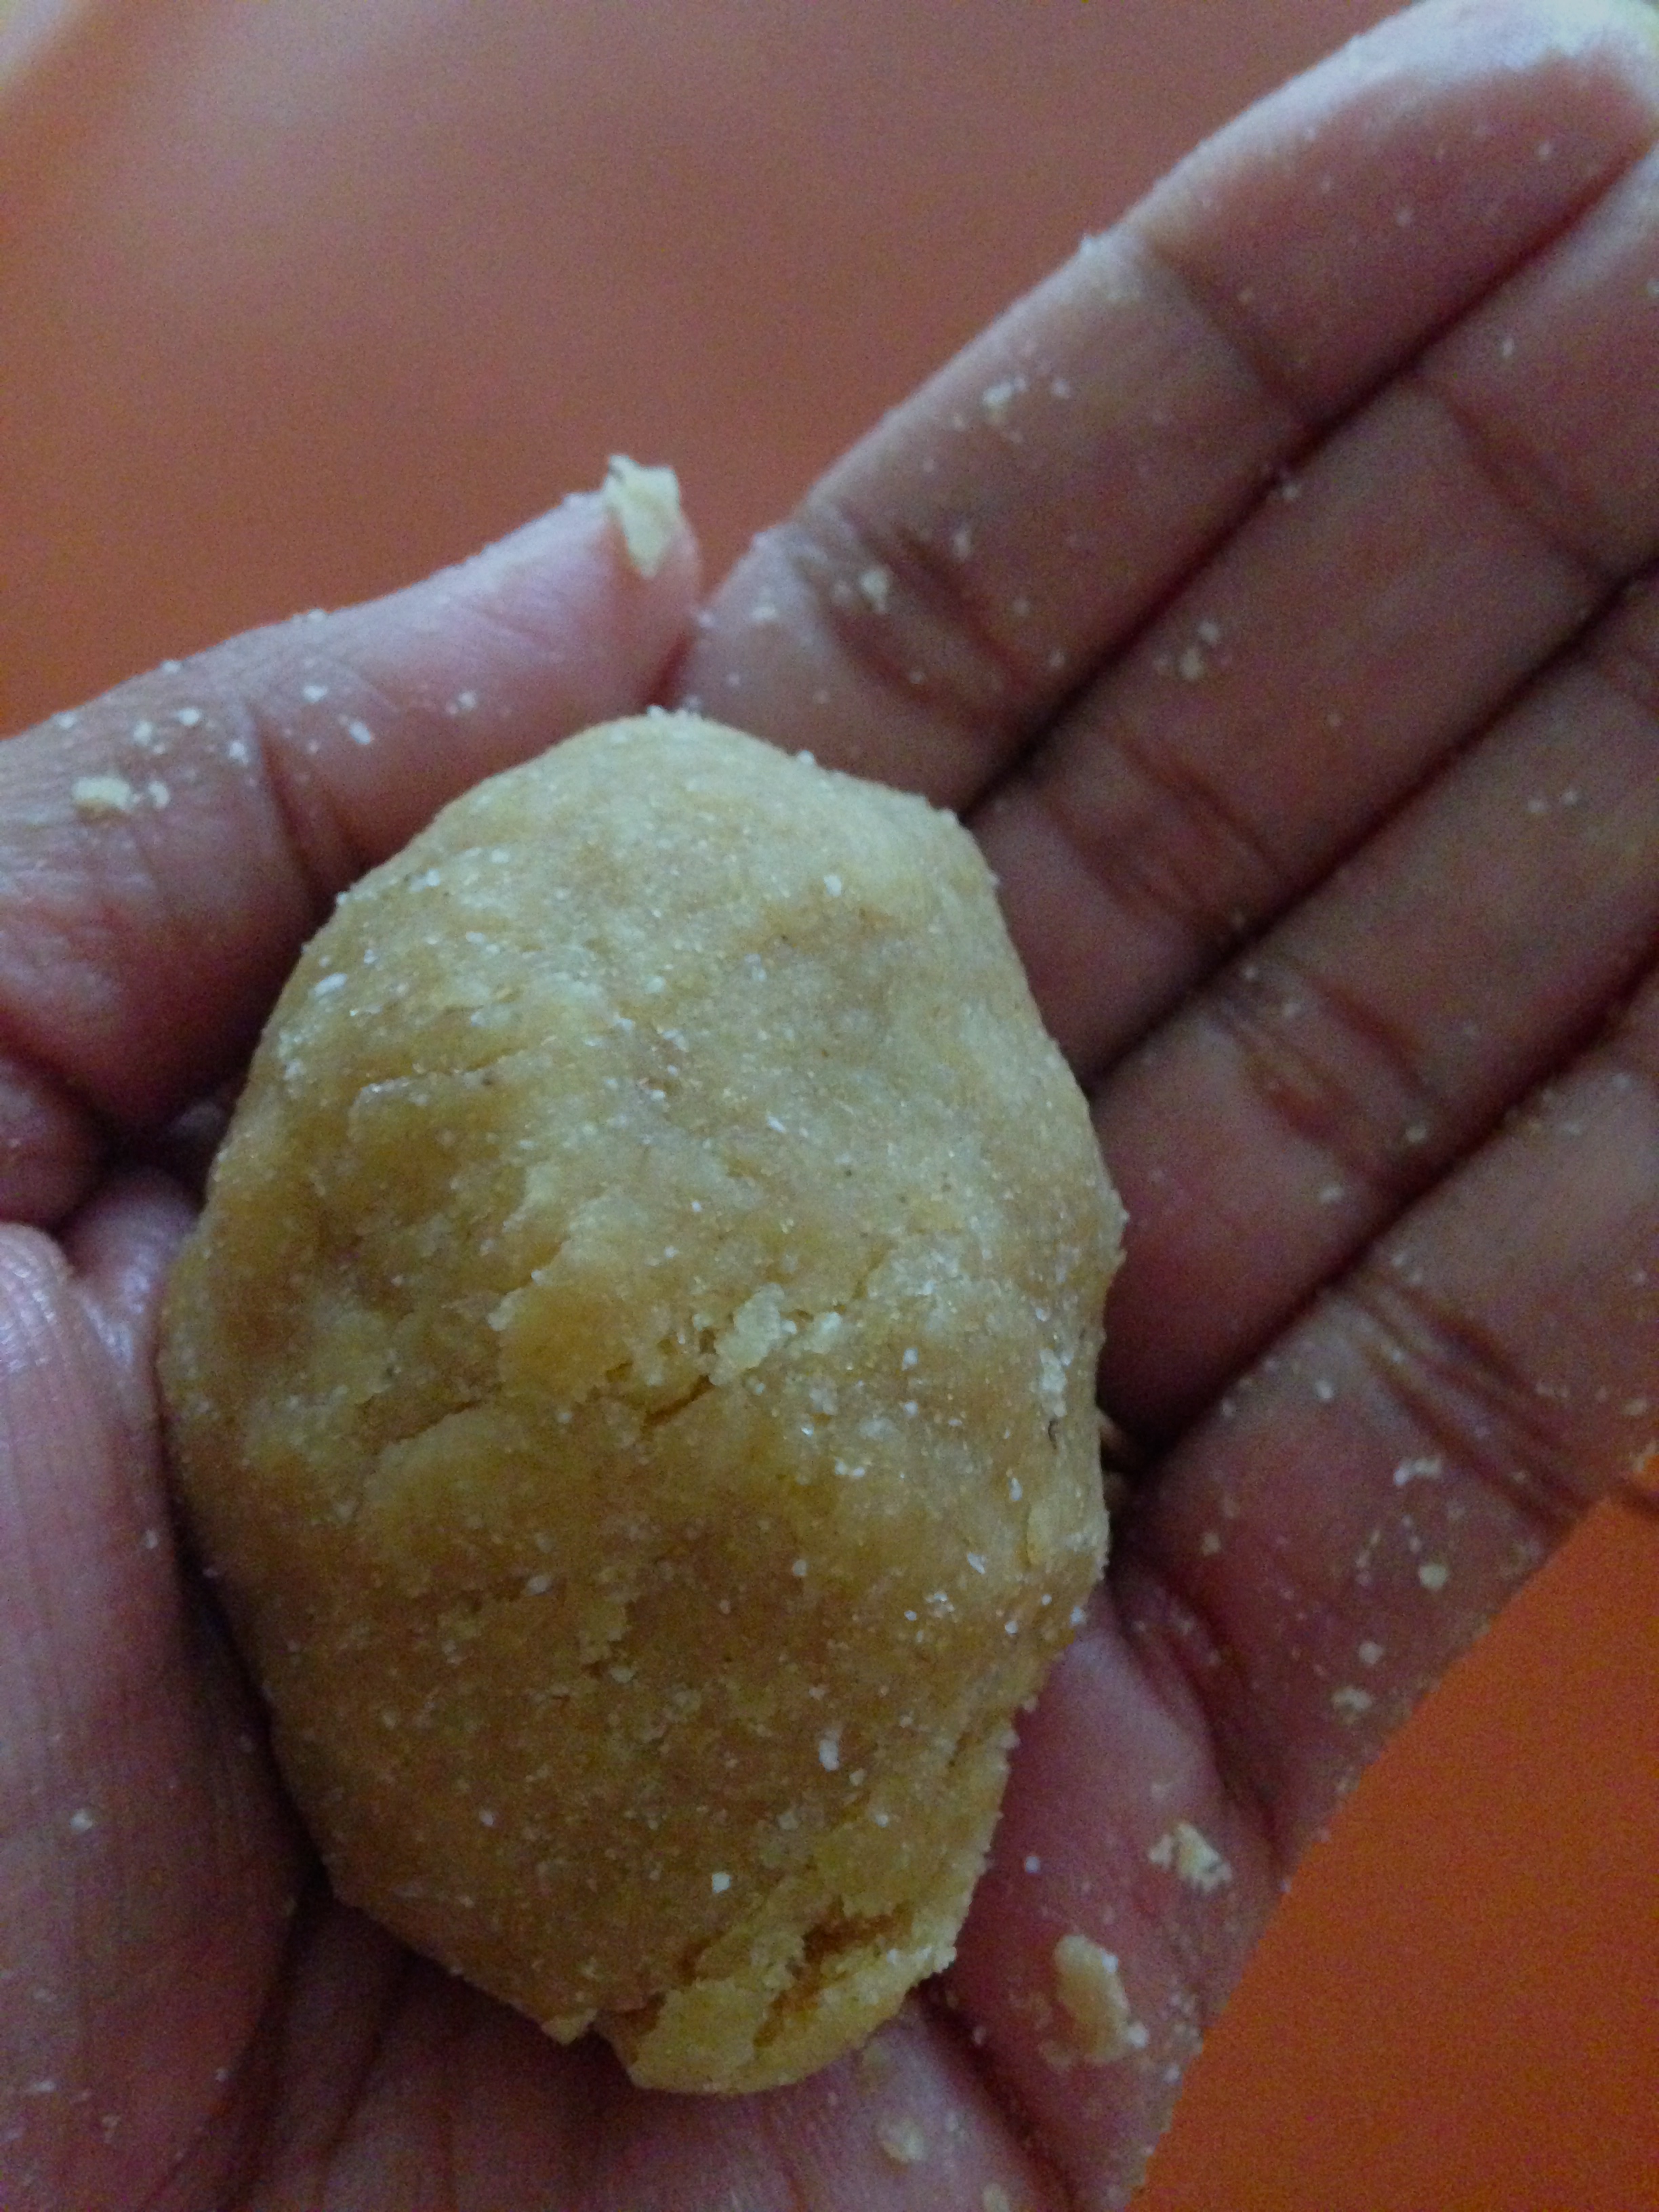
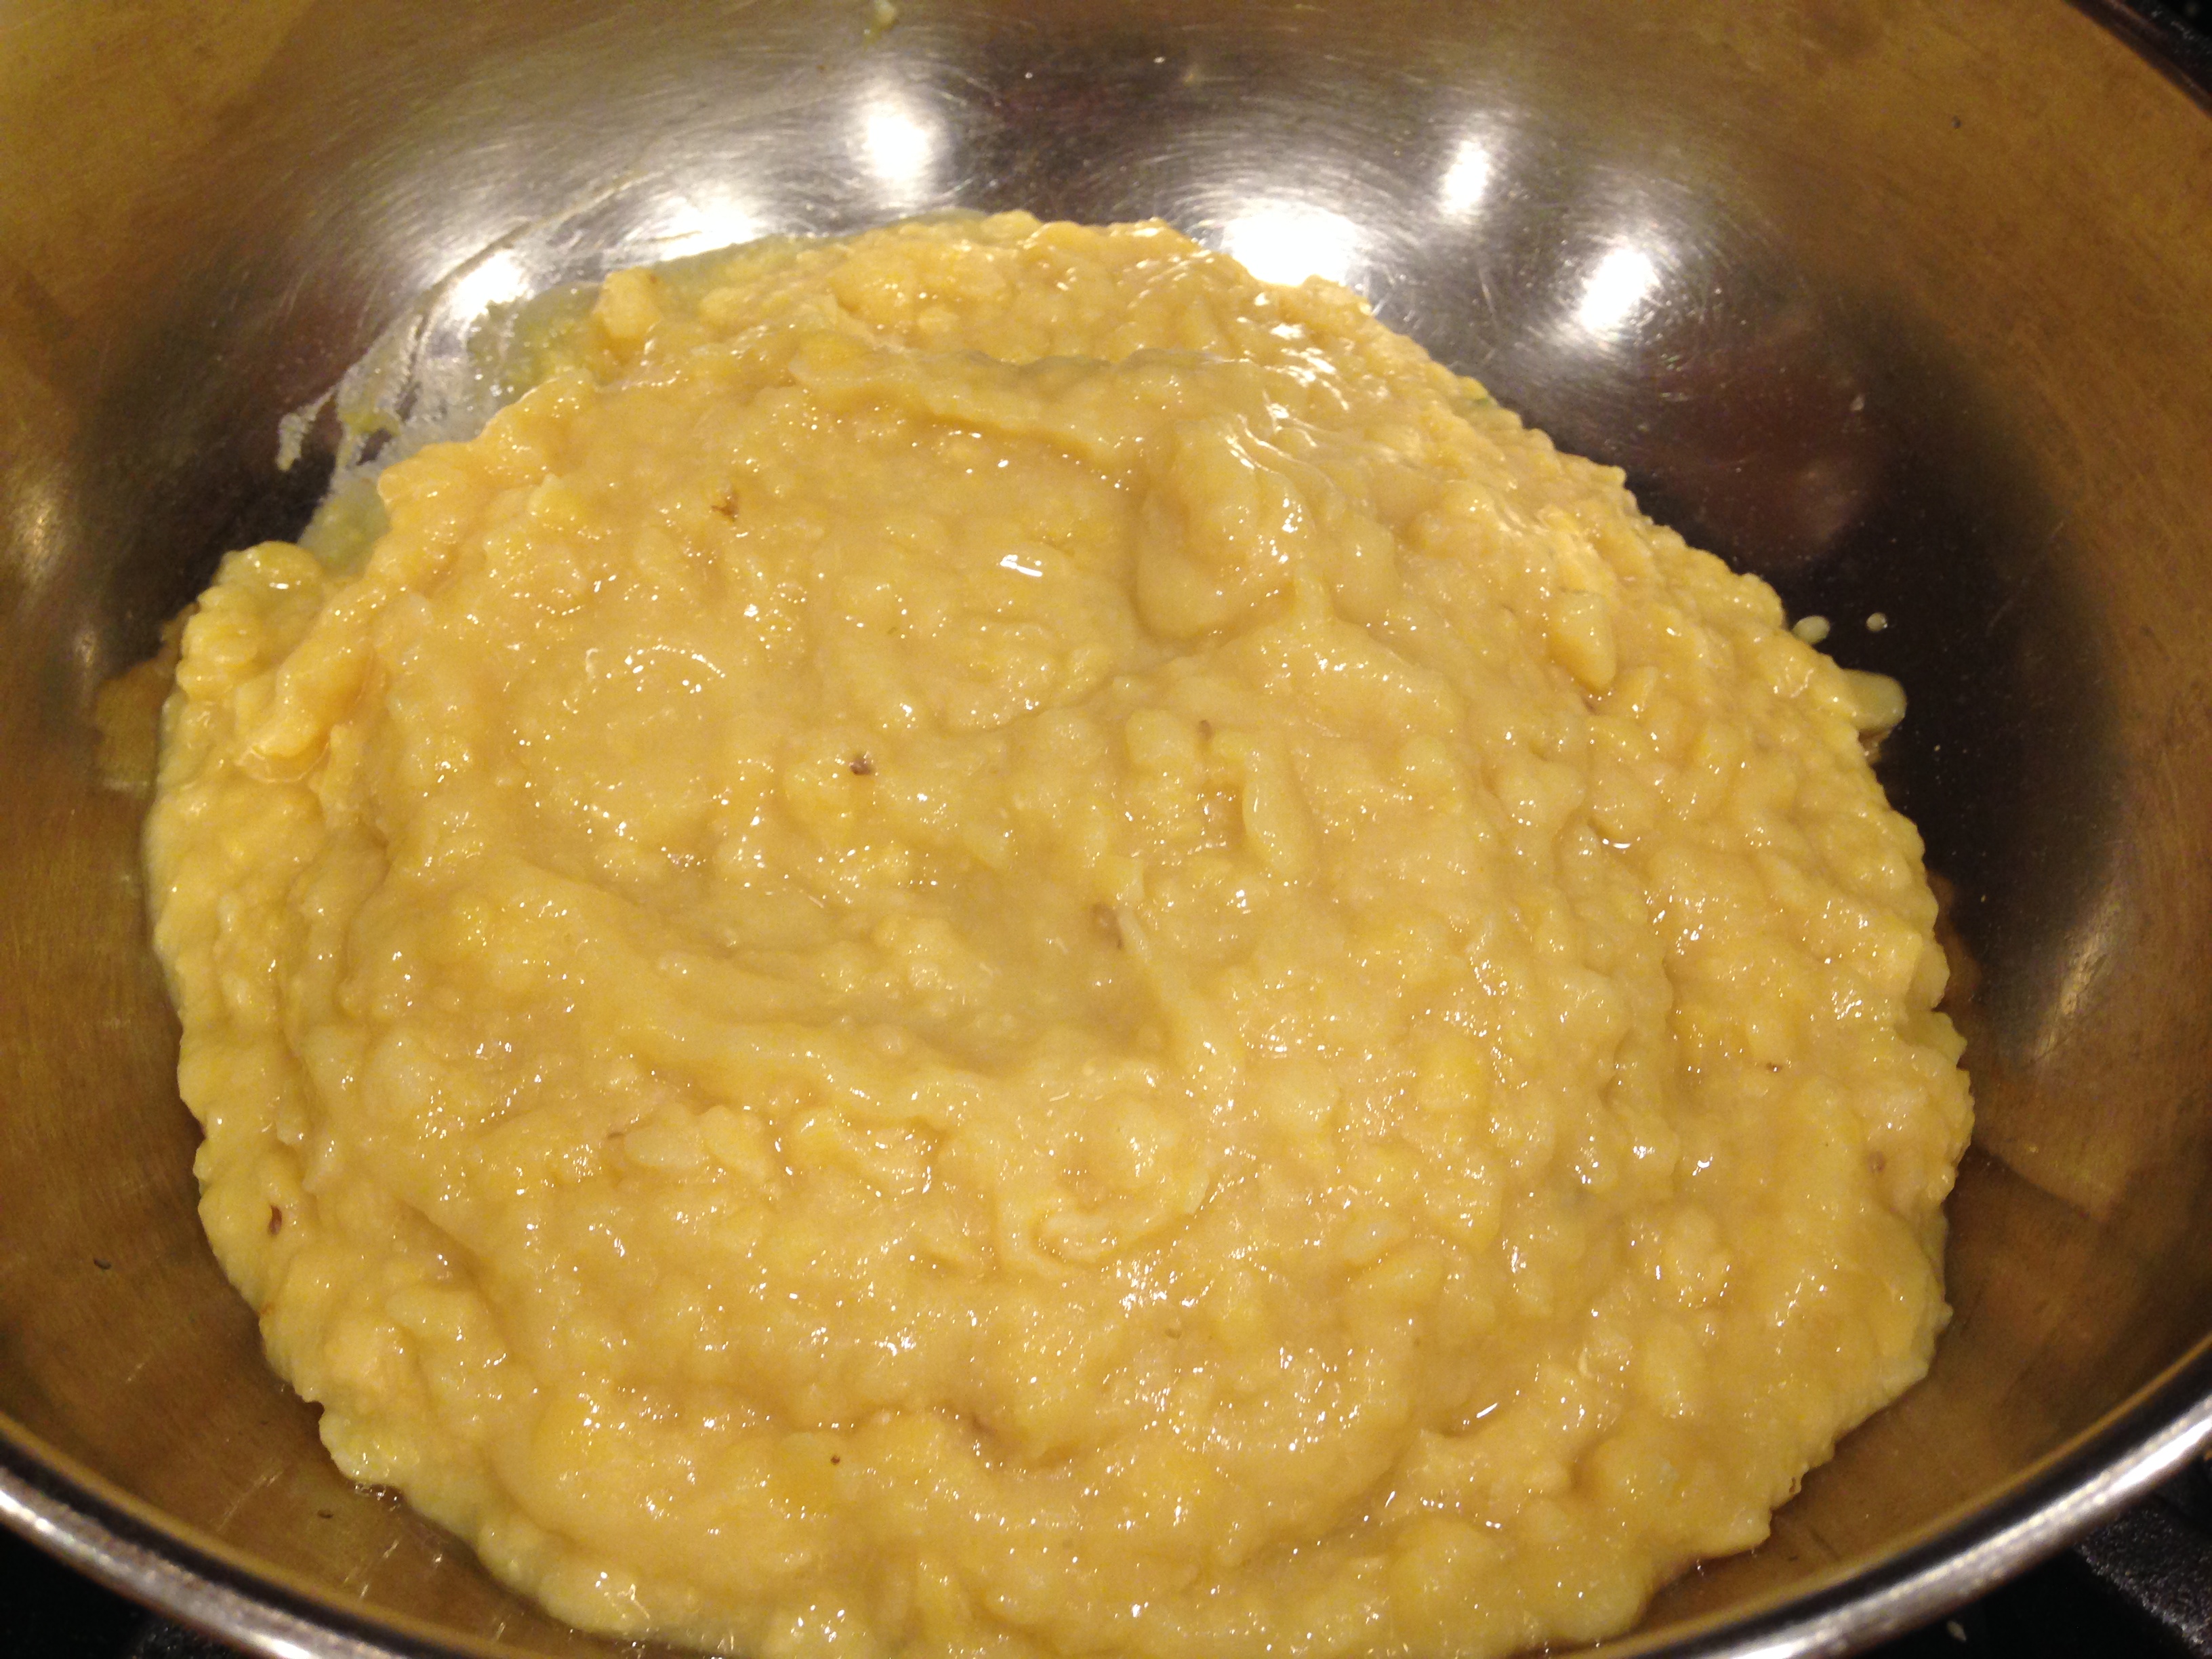
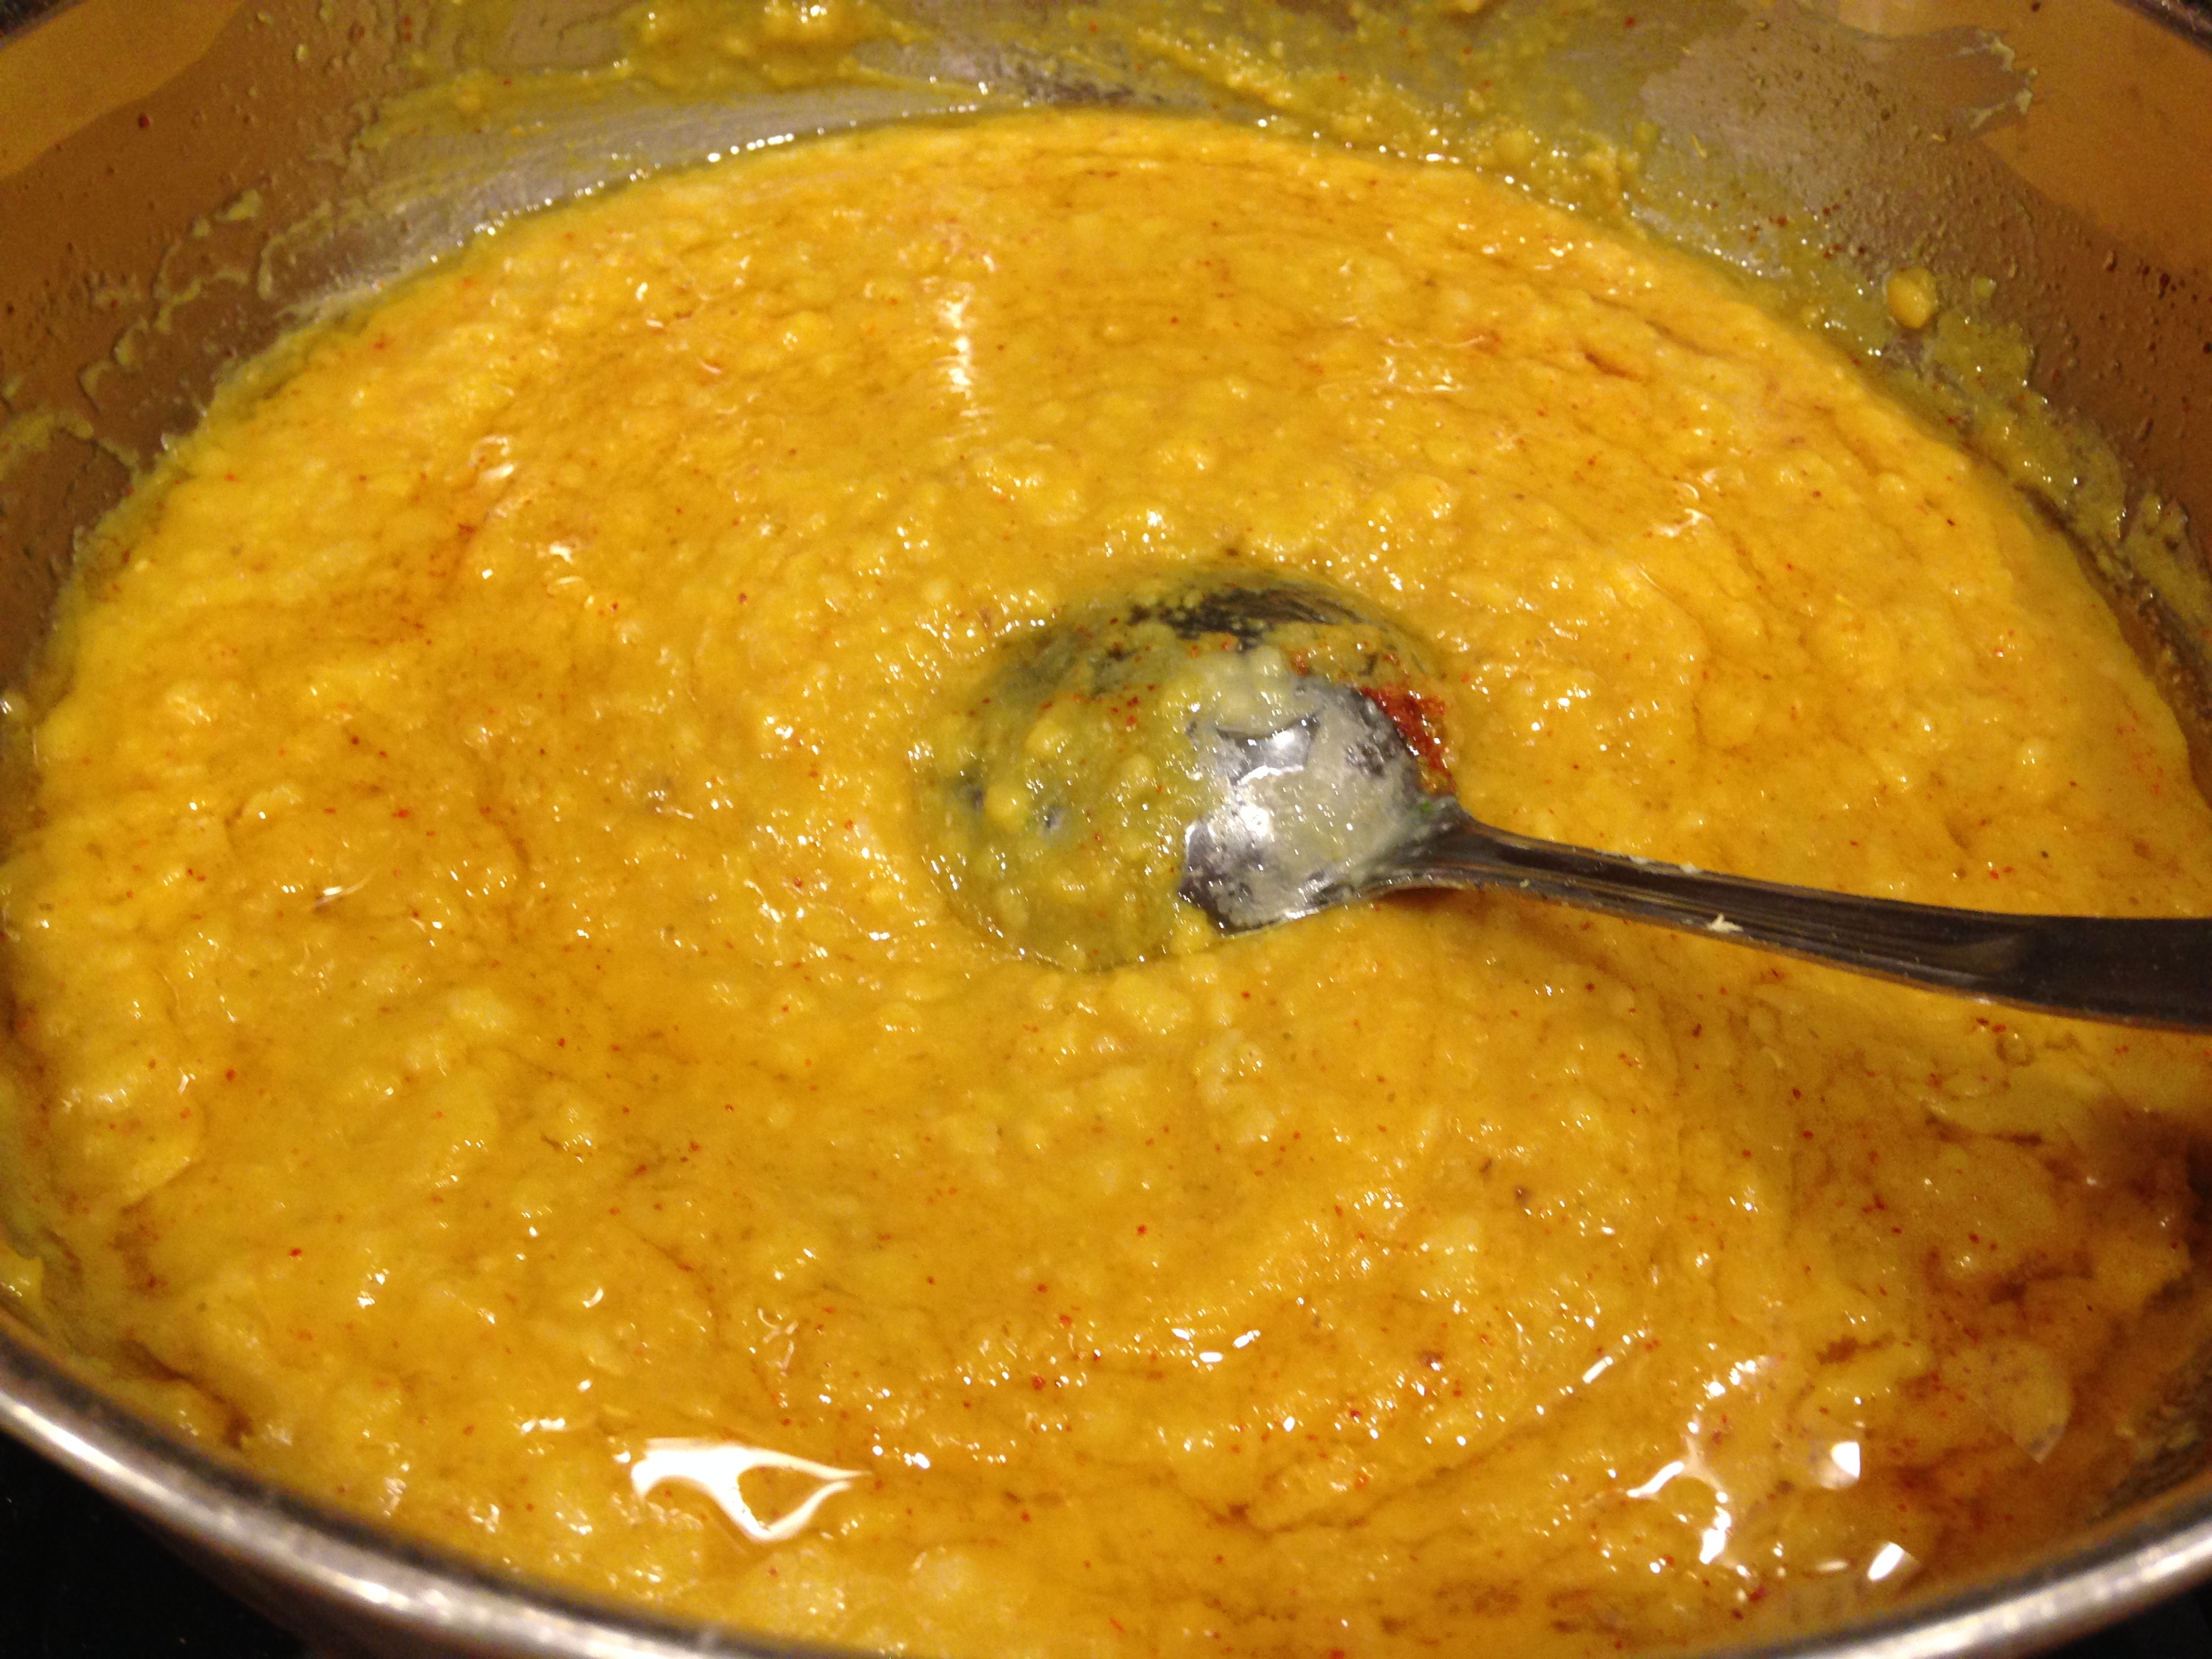
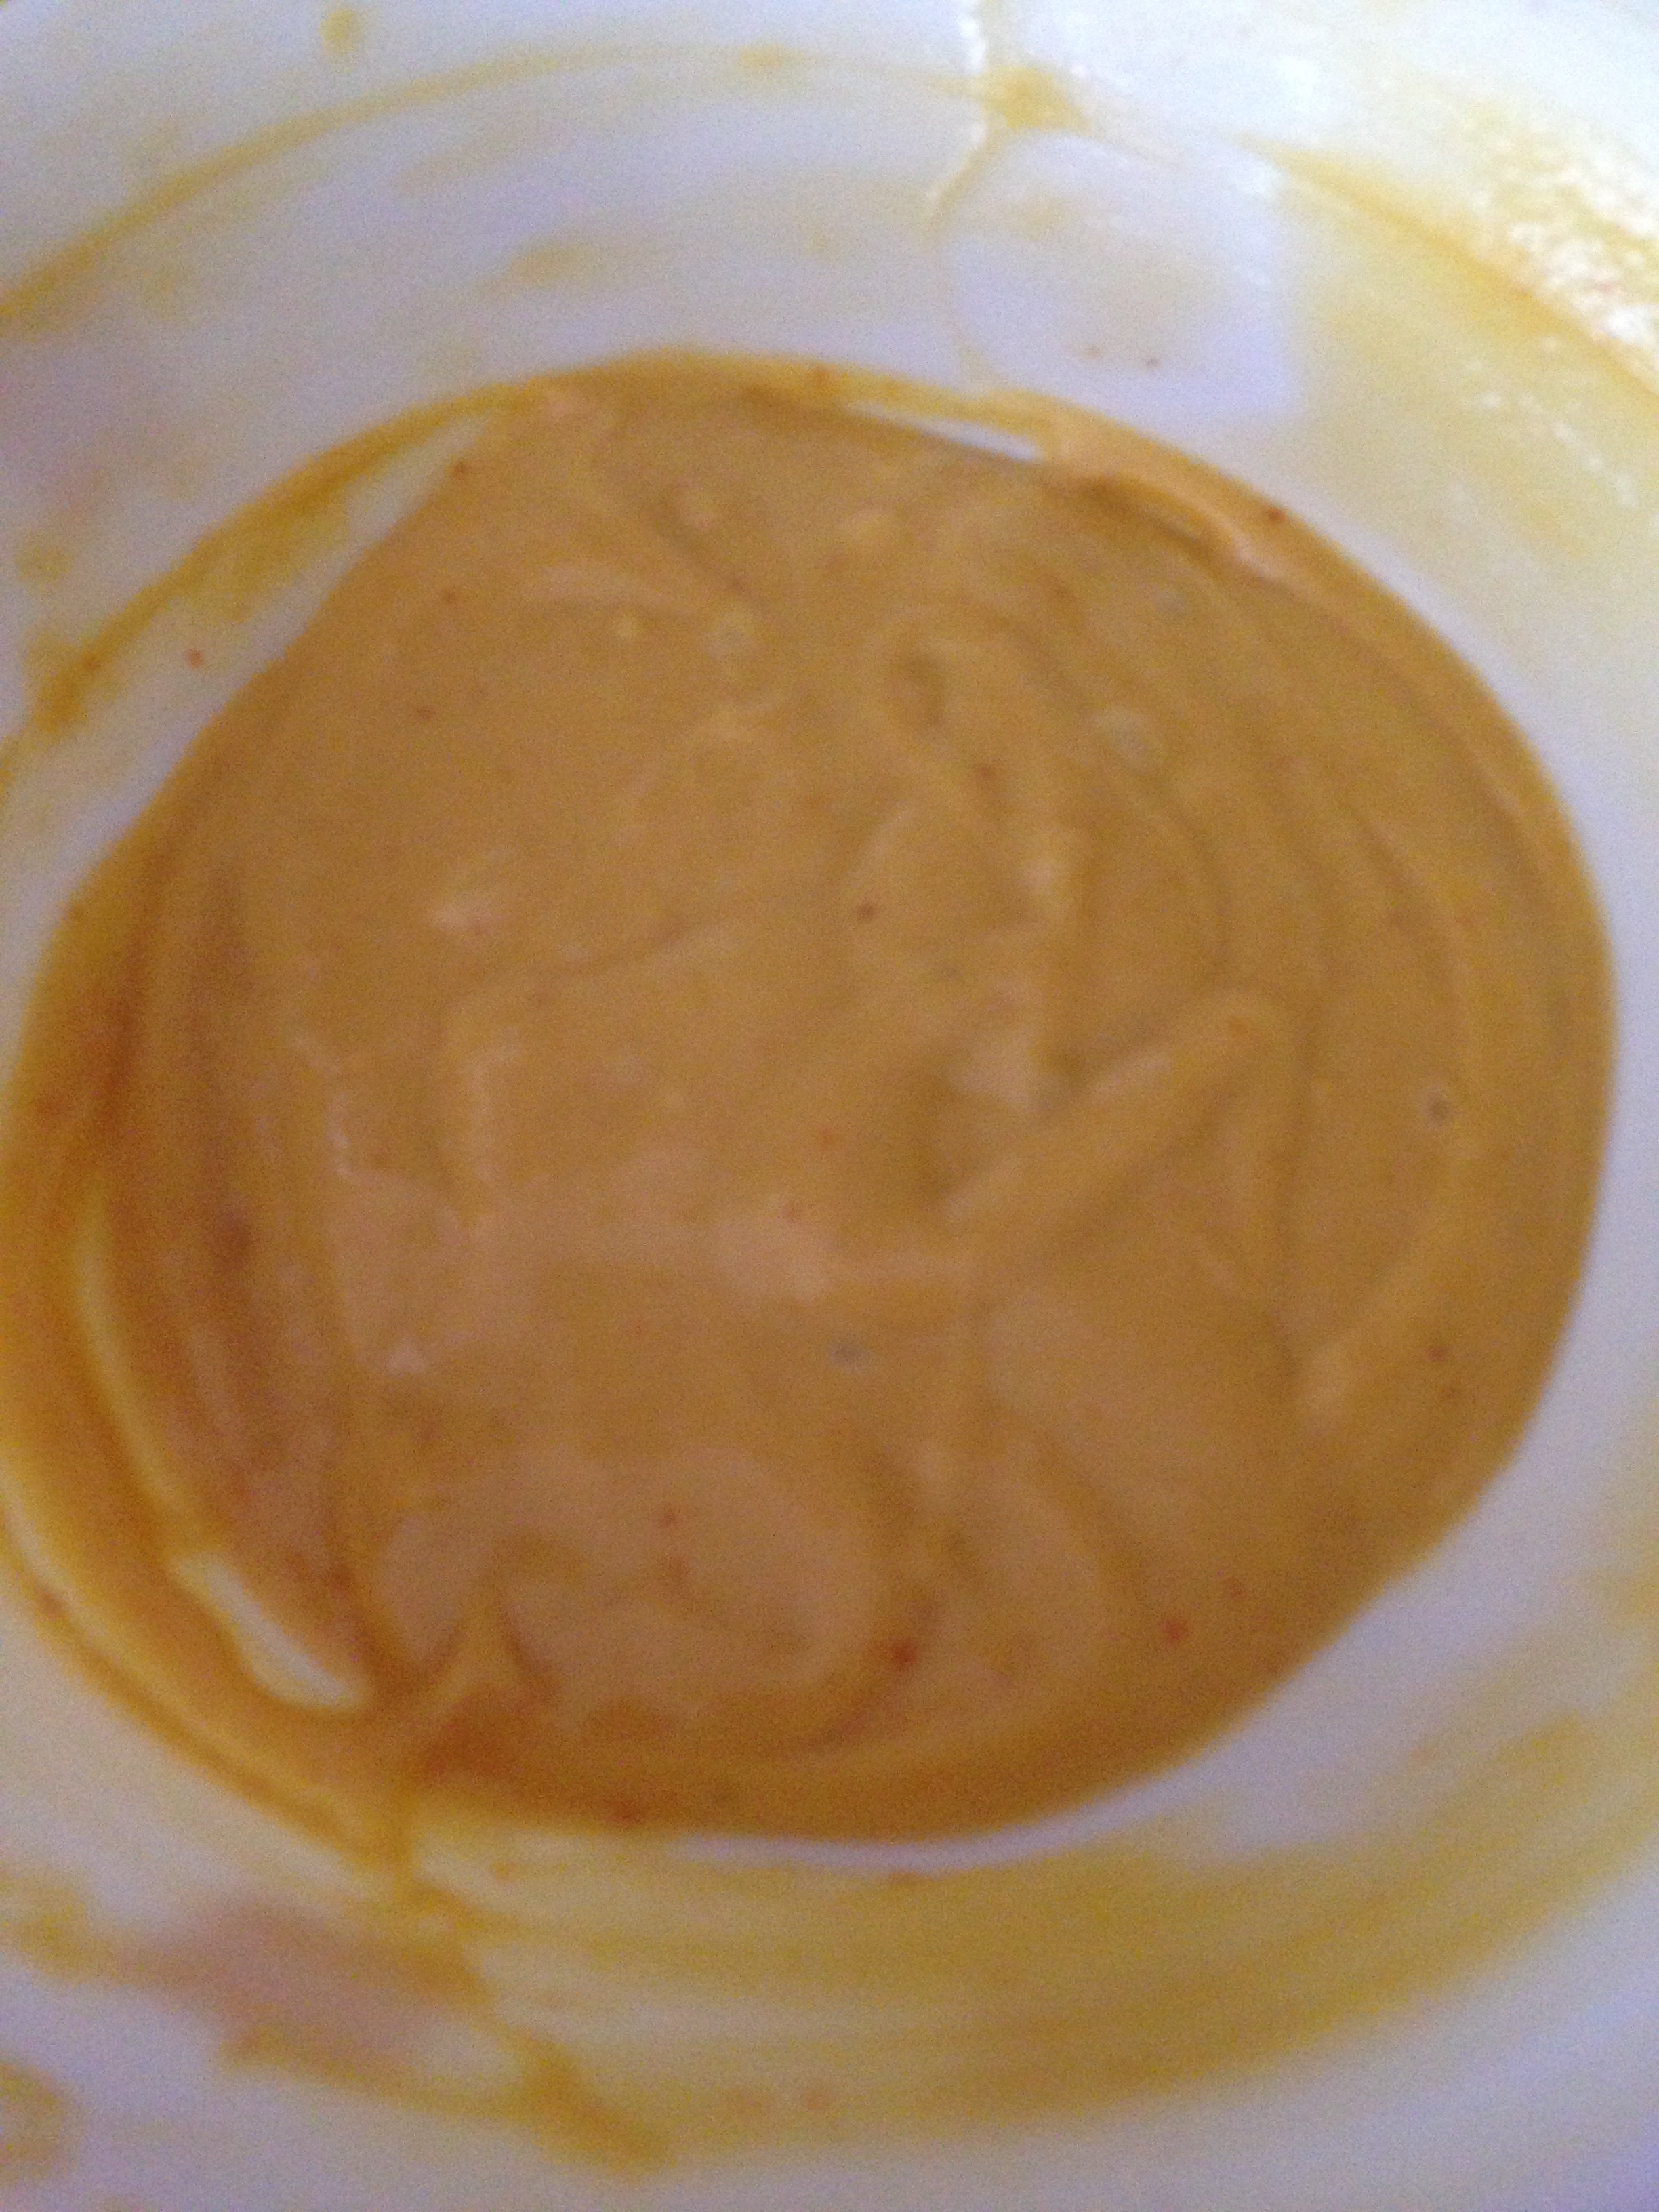
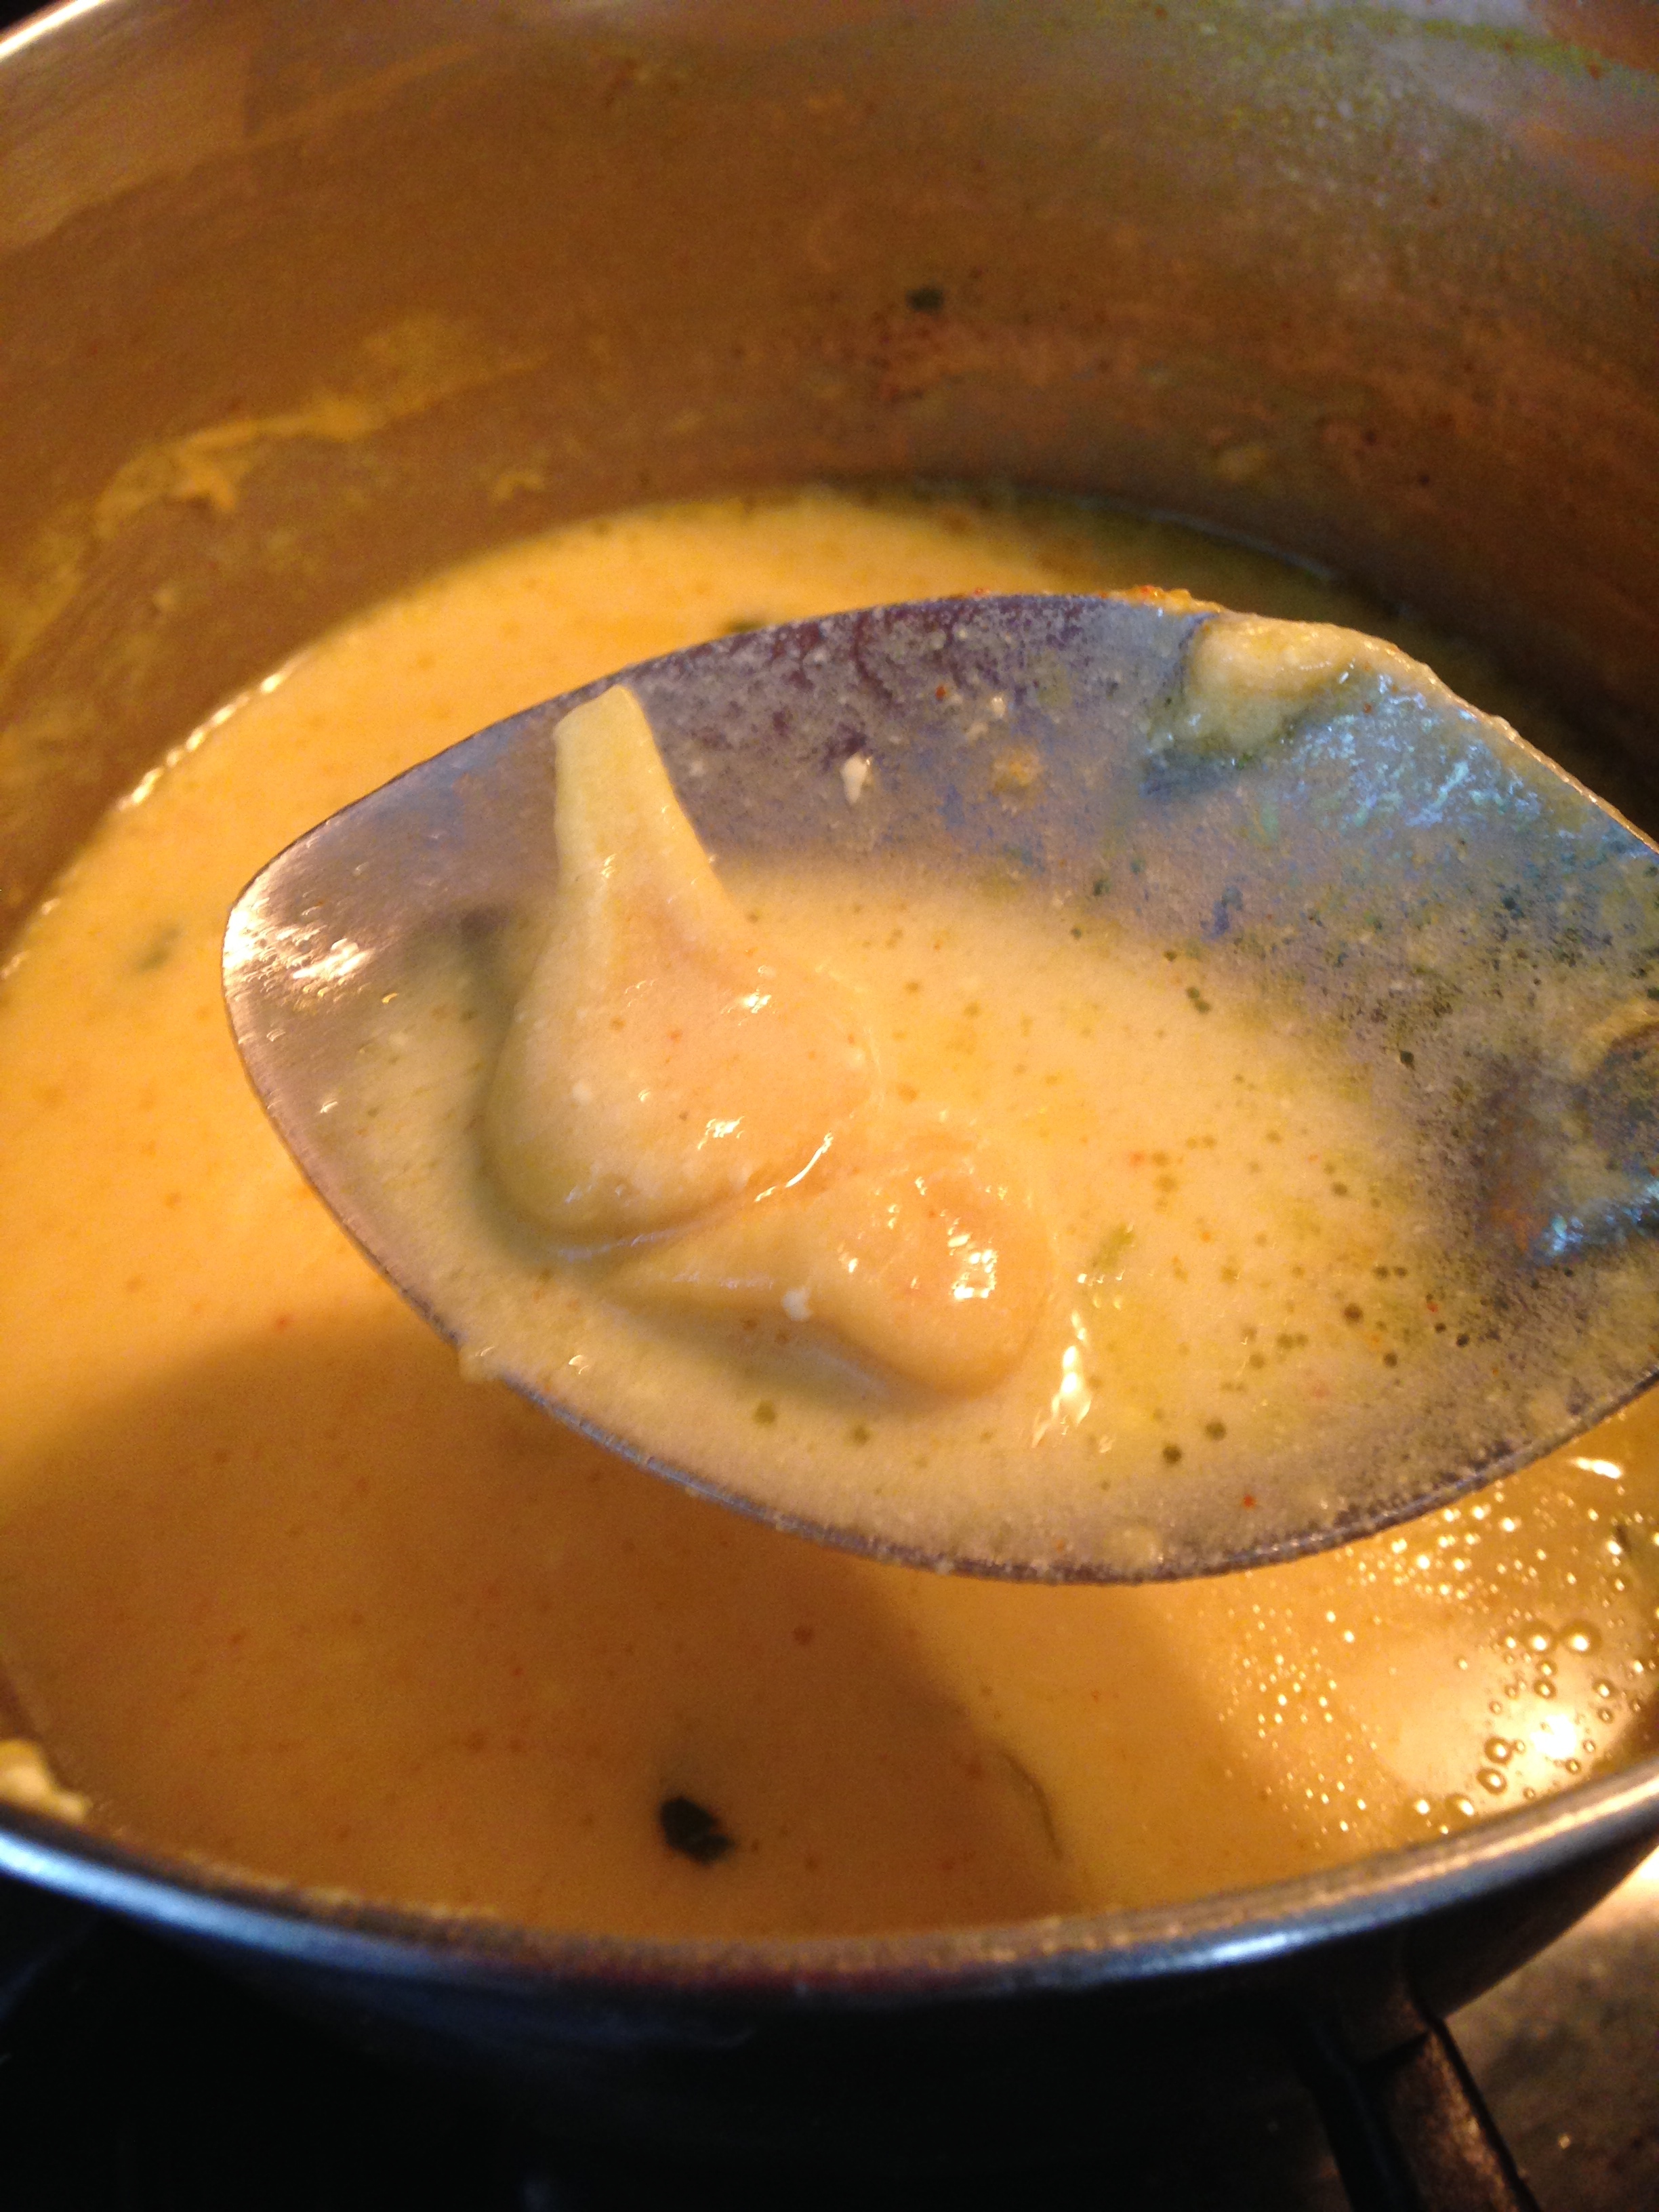
  • Drain almost all the water from the lentils and add salt, green chillies, and grind it to a batter having smooth paste consistency.

IMG_3665

  • Add cashews and fennel seeds and mix well.
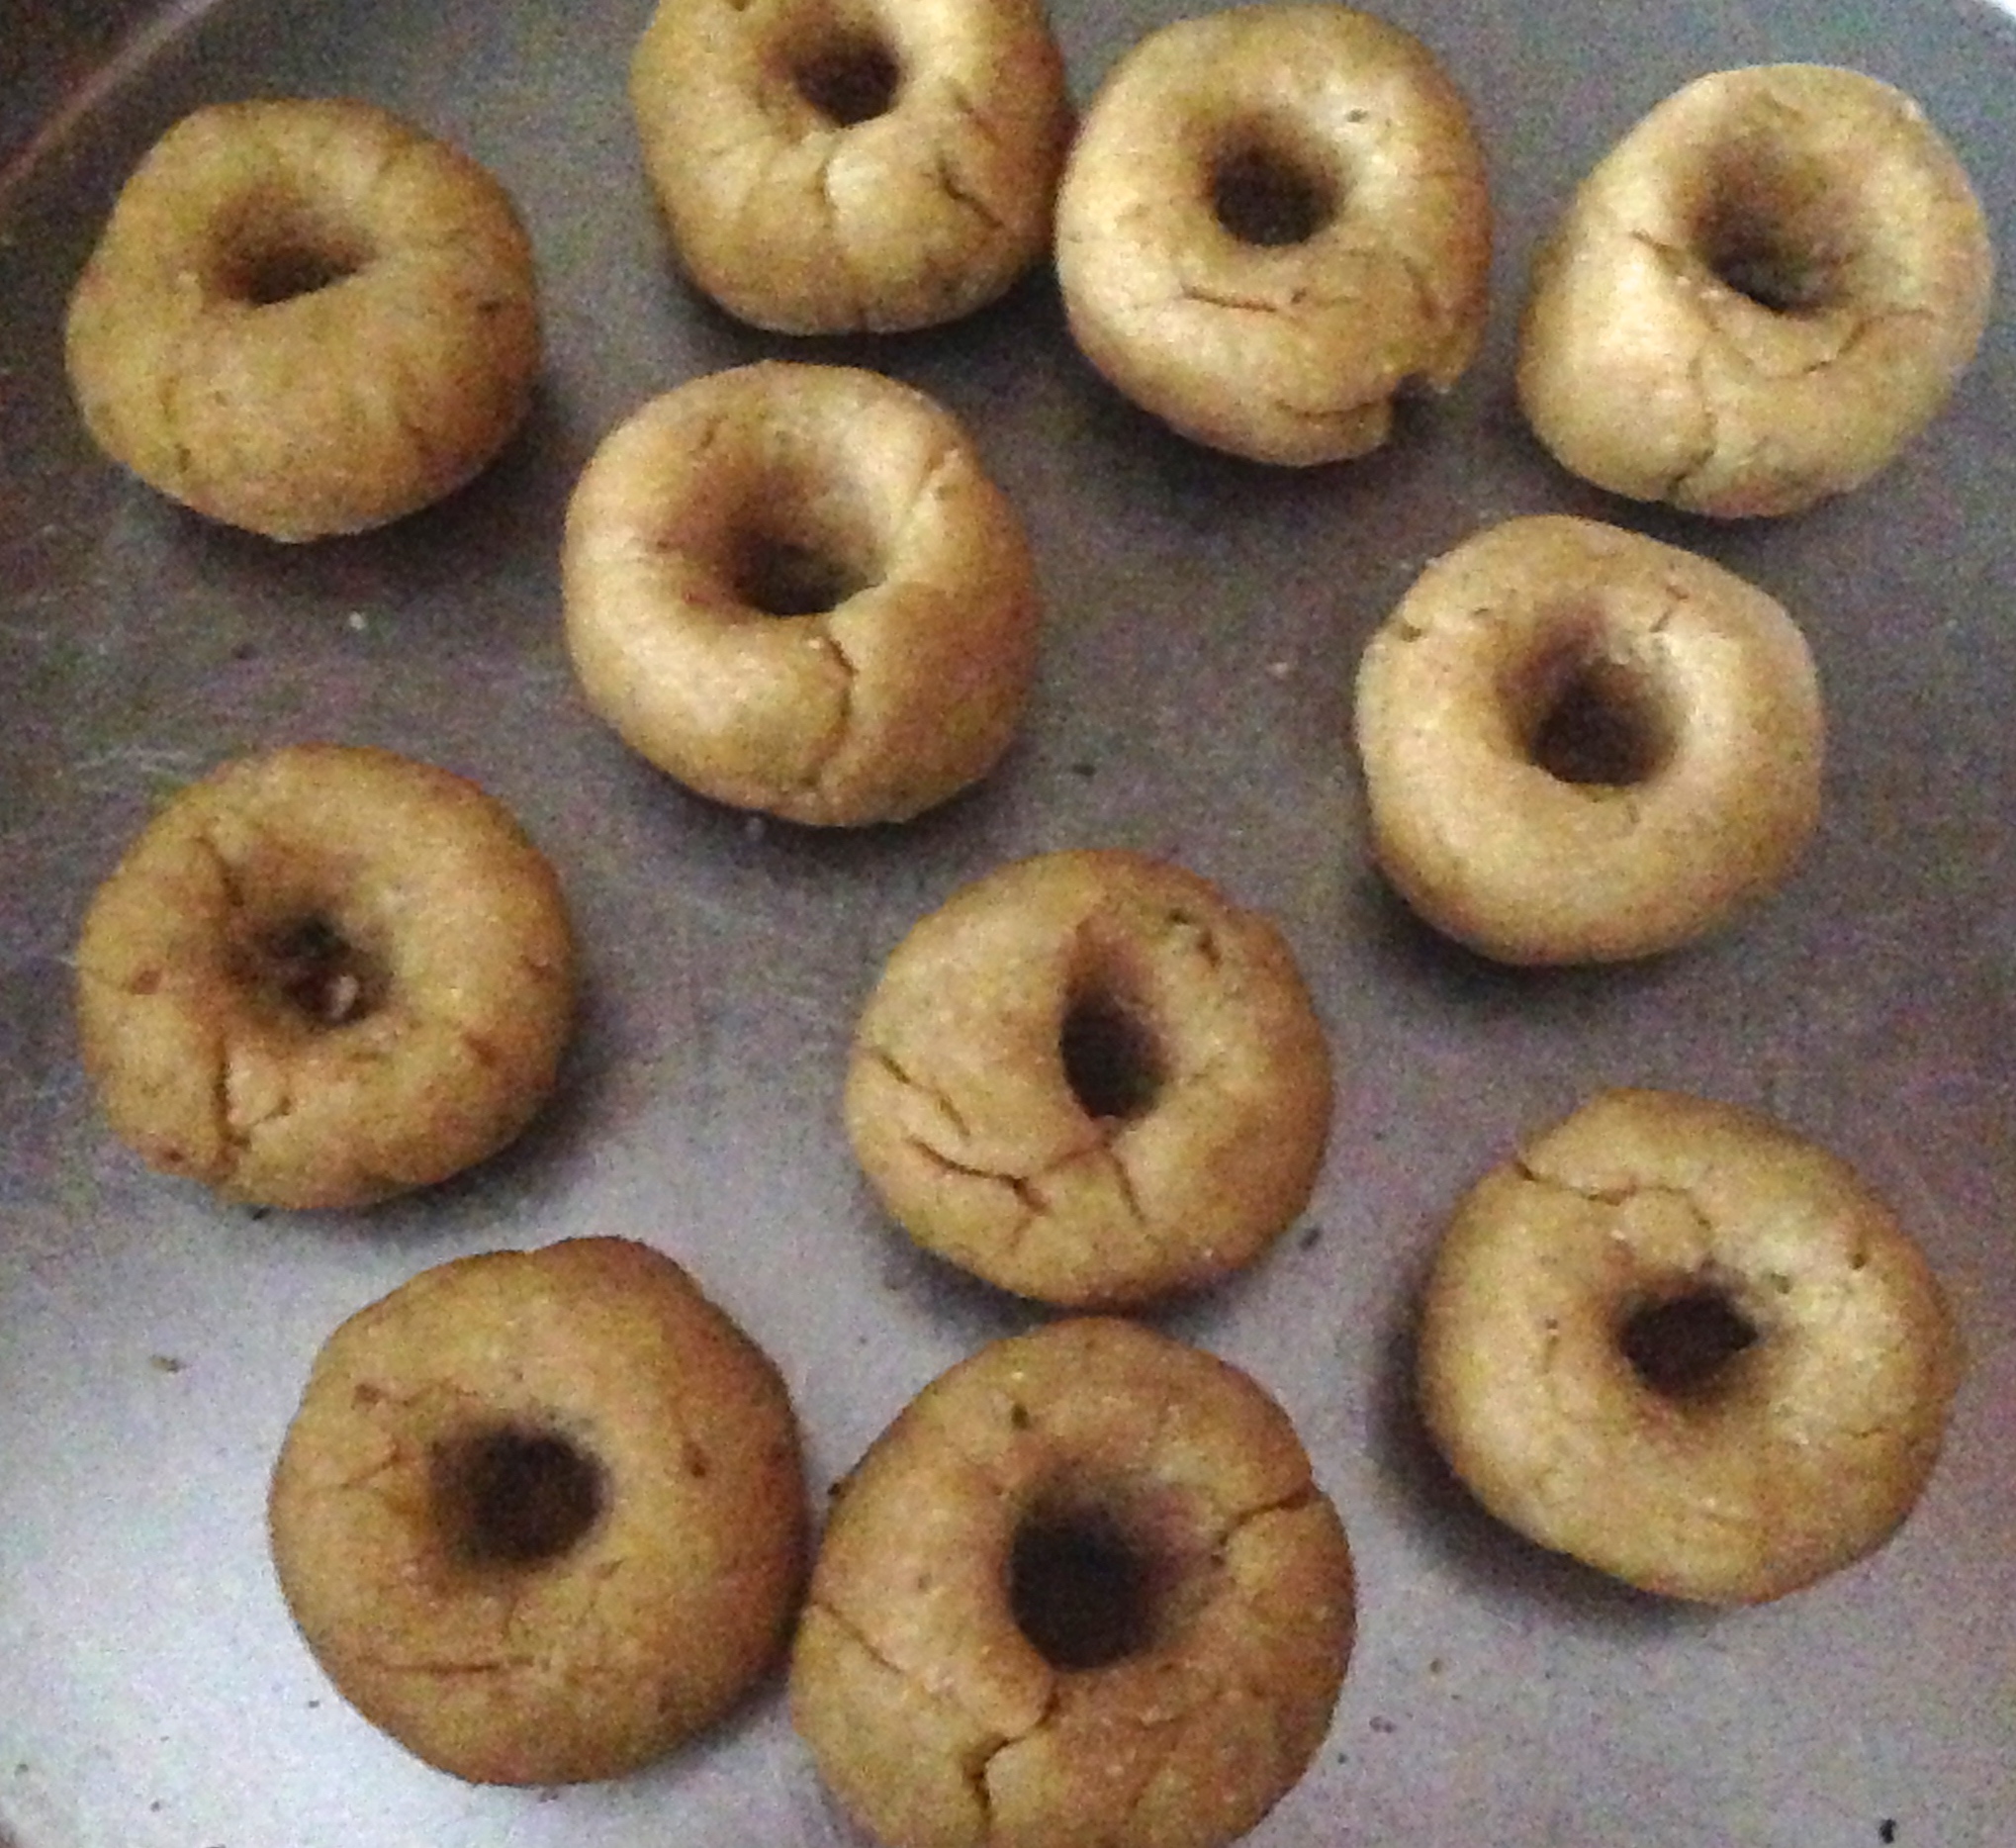
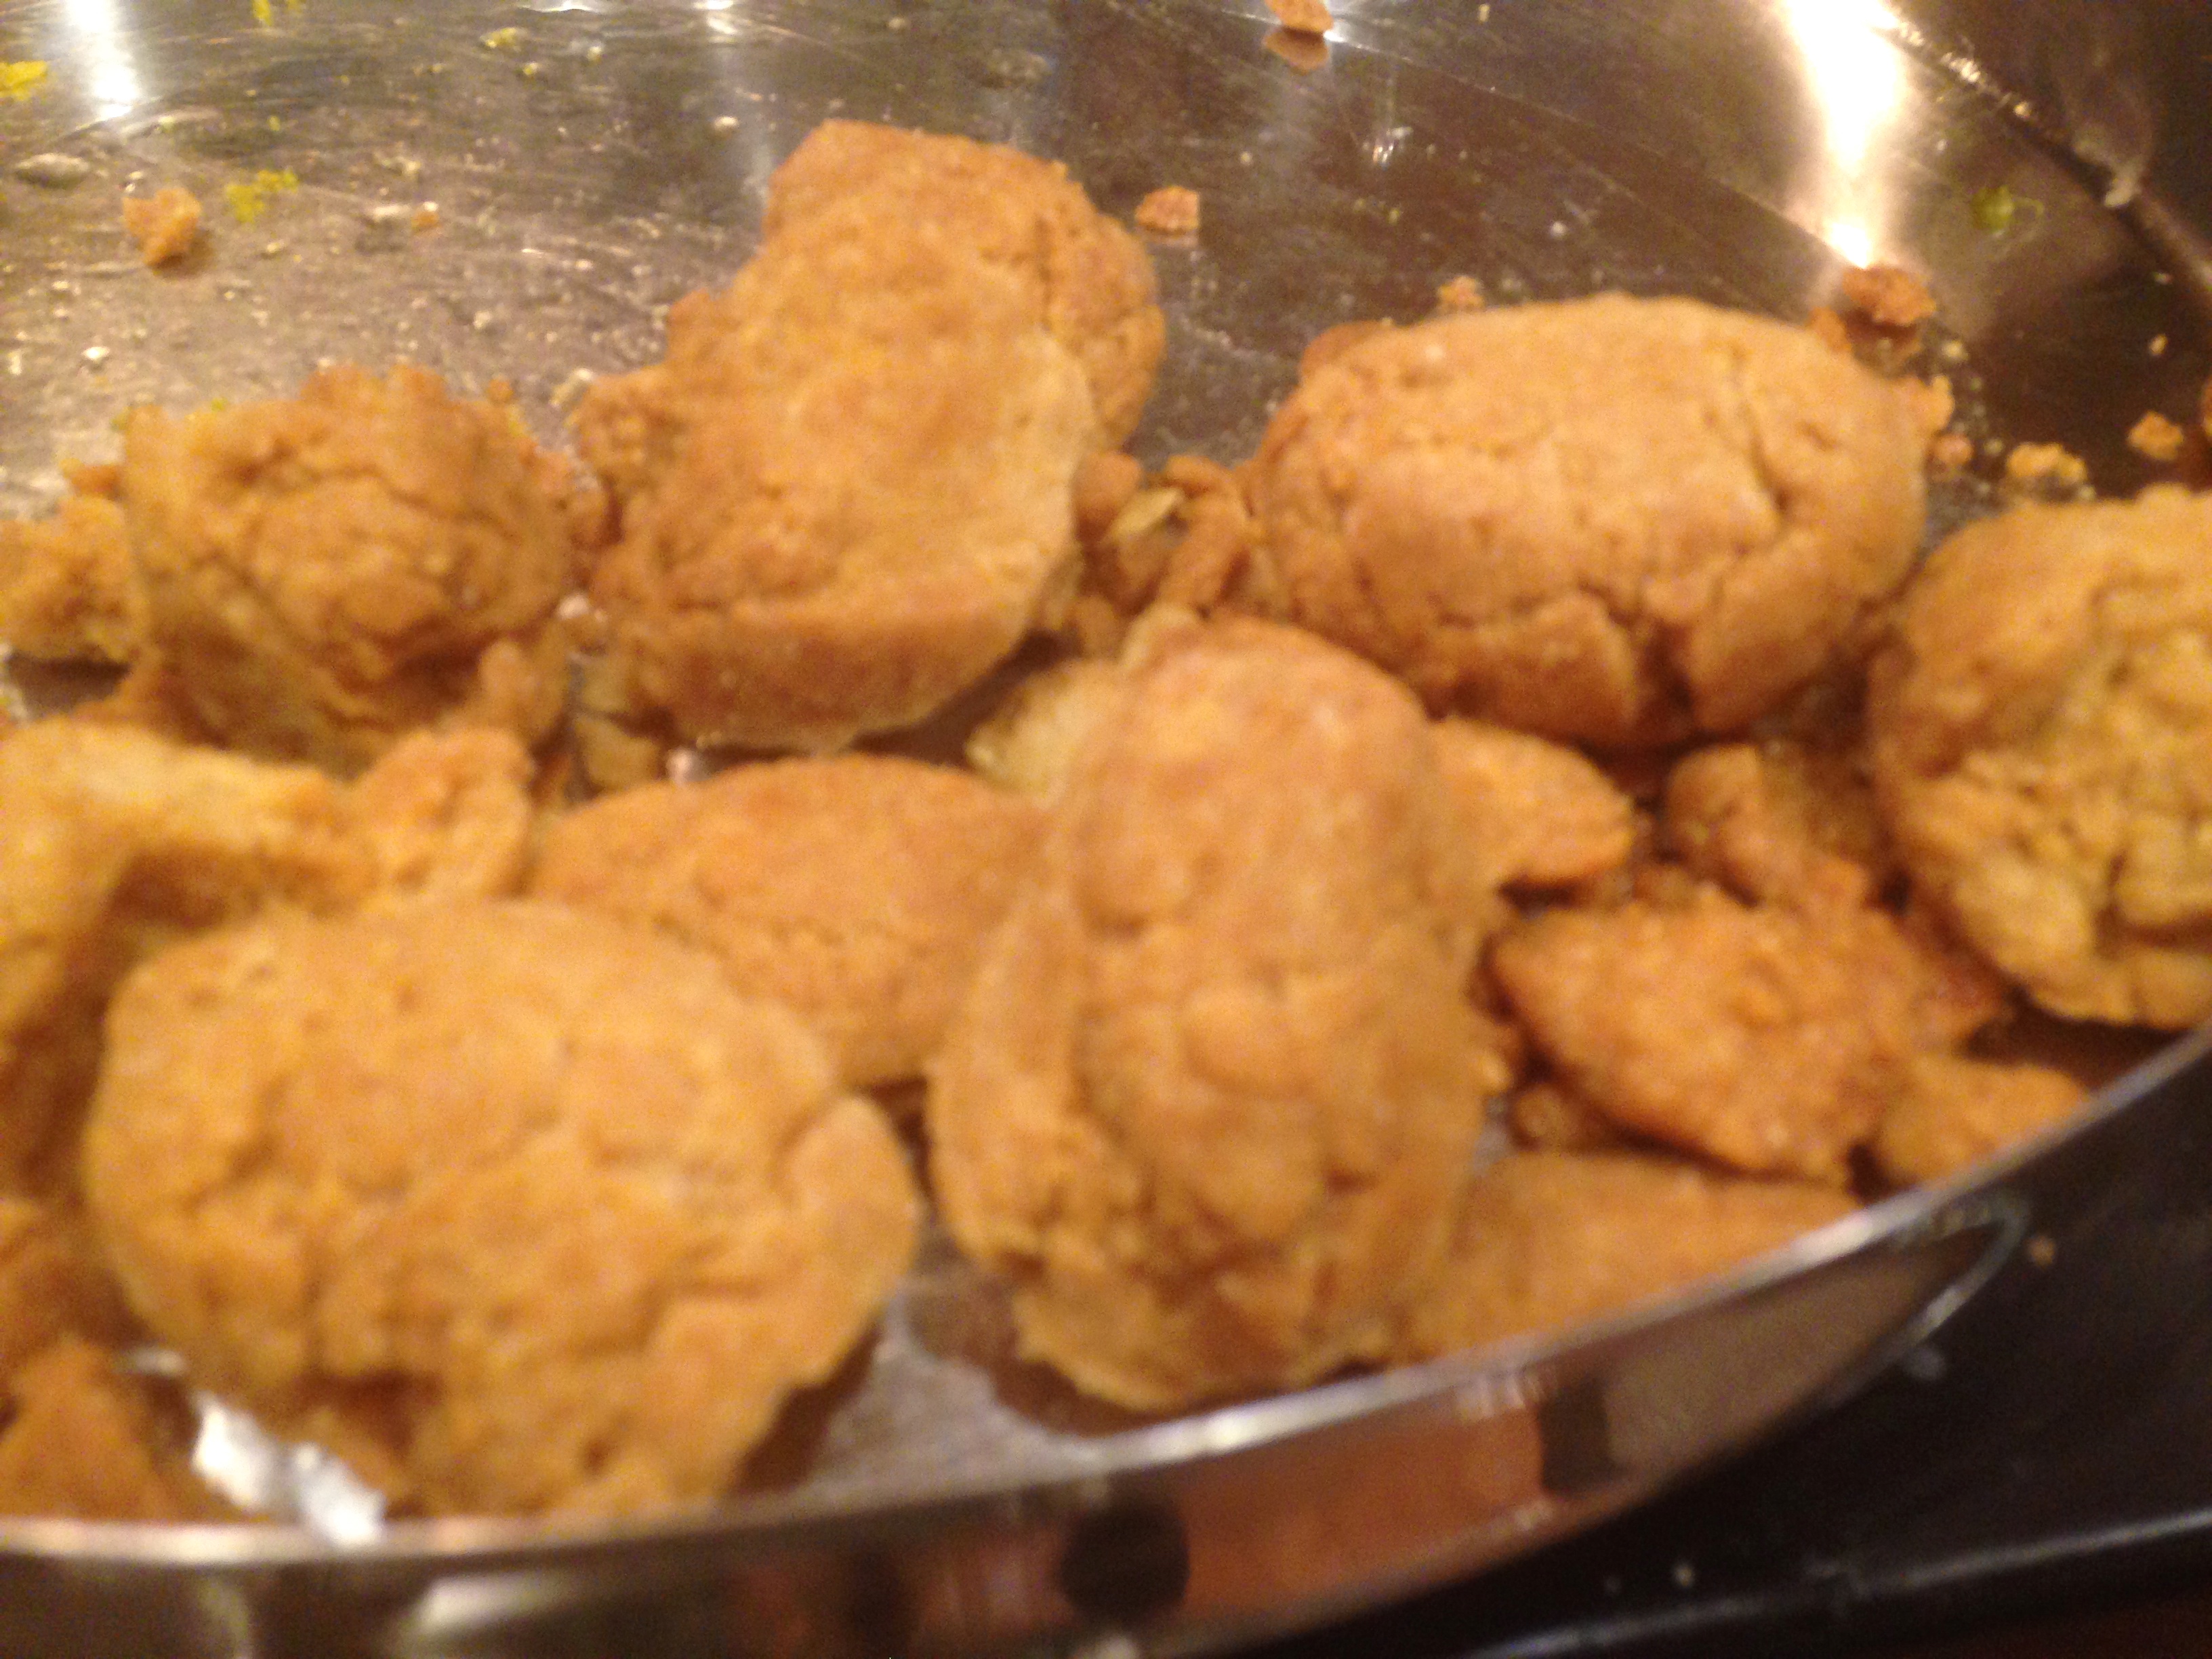
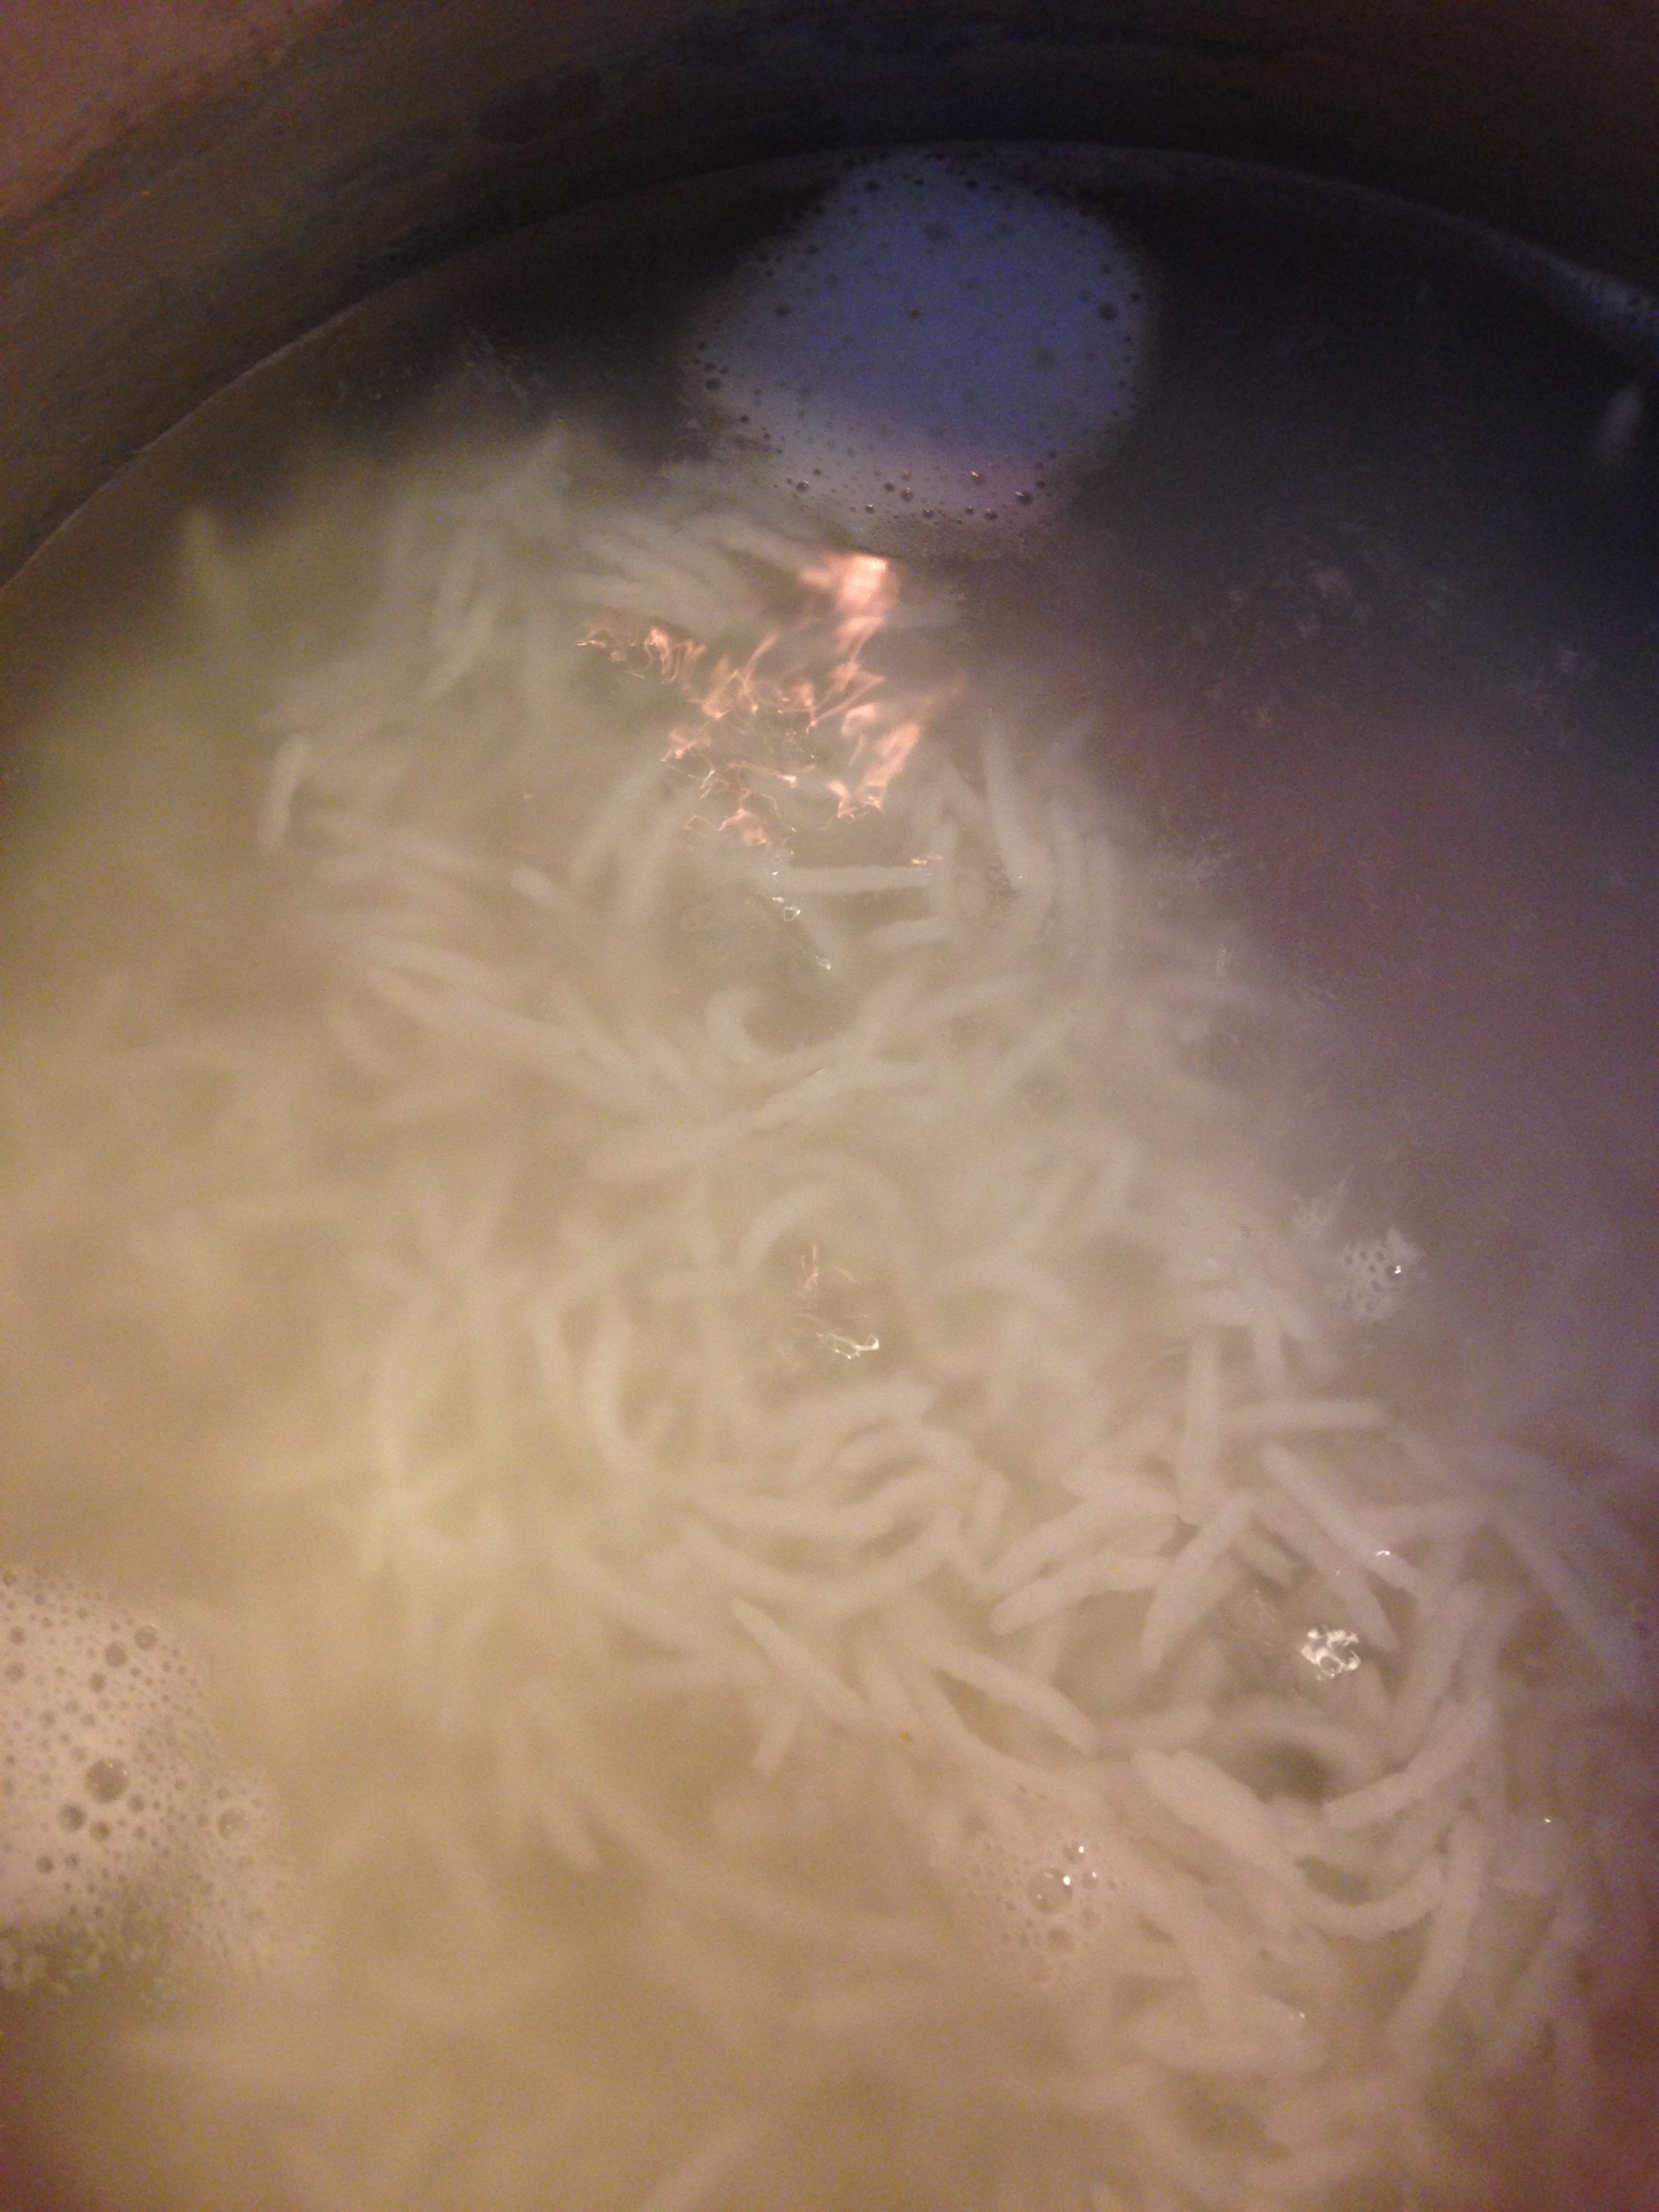
  • Heat oil for deep frying on high flame. Once heated reduced to medium flame.
  • Using a cookie dough scooper or ice cream scooper, or even plain spoon, drop spoonful of batter for frying the vadas or fritters.
  • If the grinding is correct,the vadas will turn over on its own, otherwise flip them when edges become golden.

IMG_3666


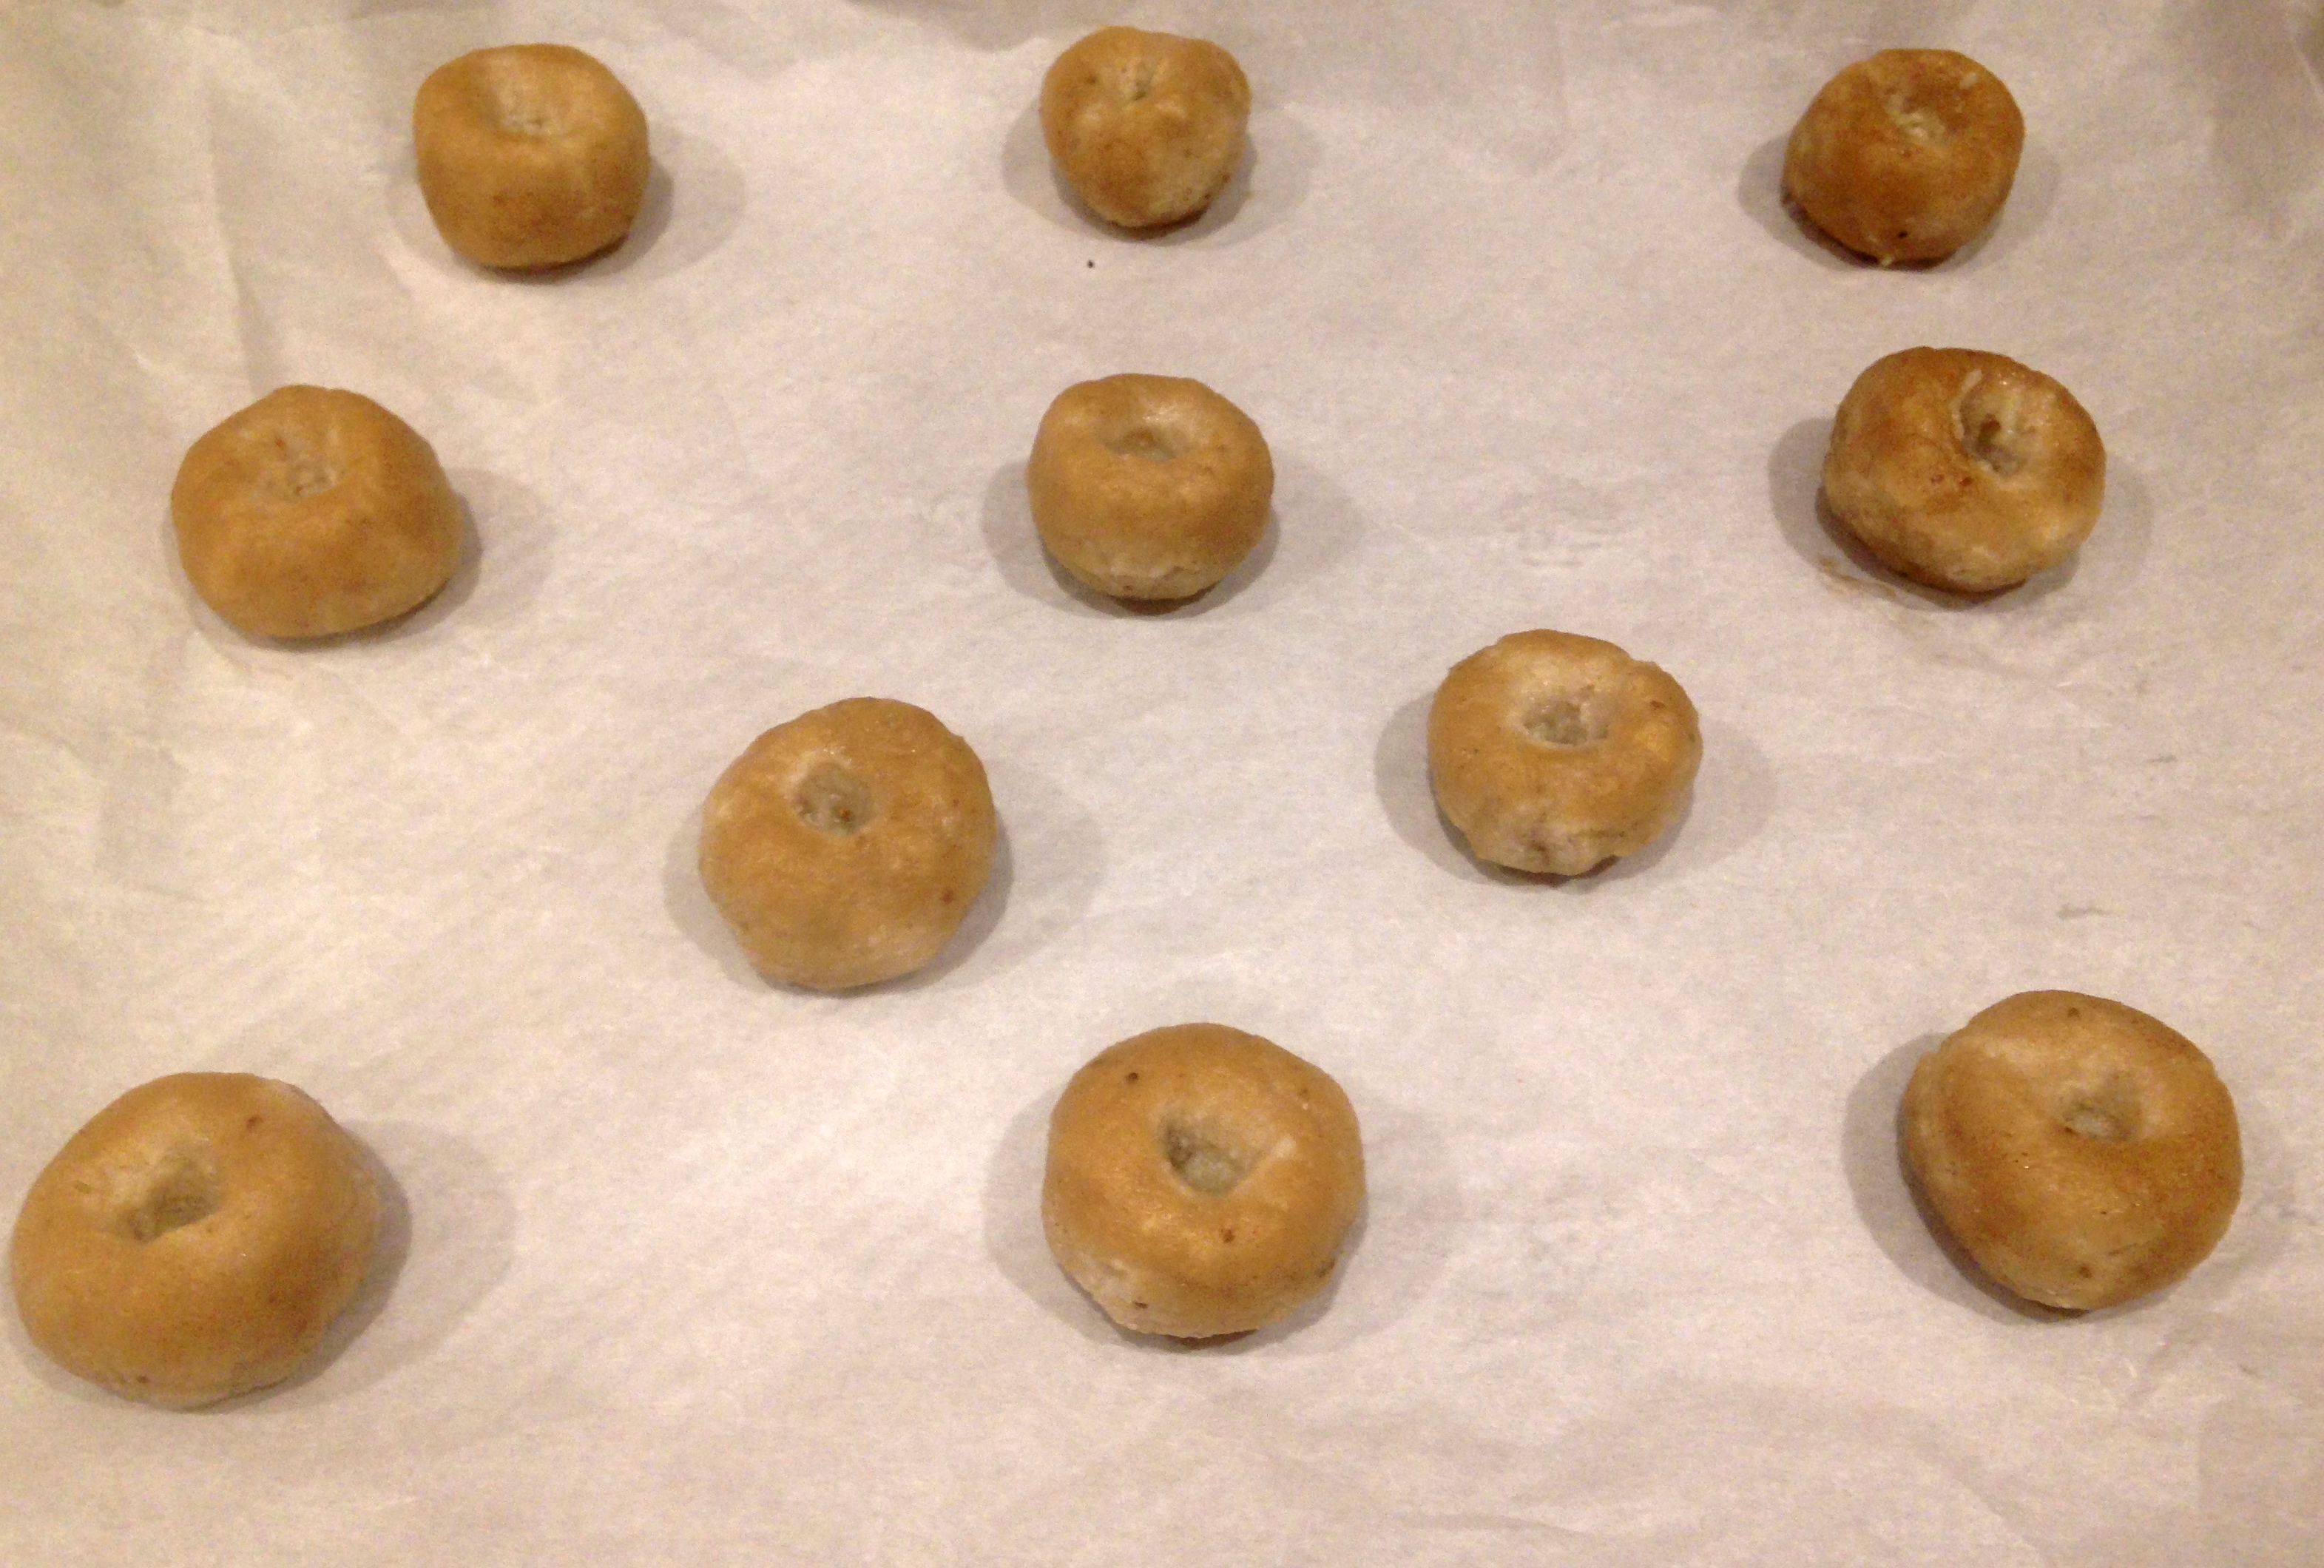
  • Once the vadas are fried, drain them on bounty paper to remove excess oil.
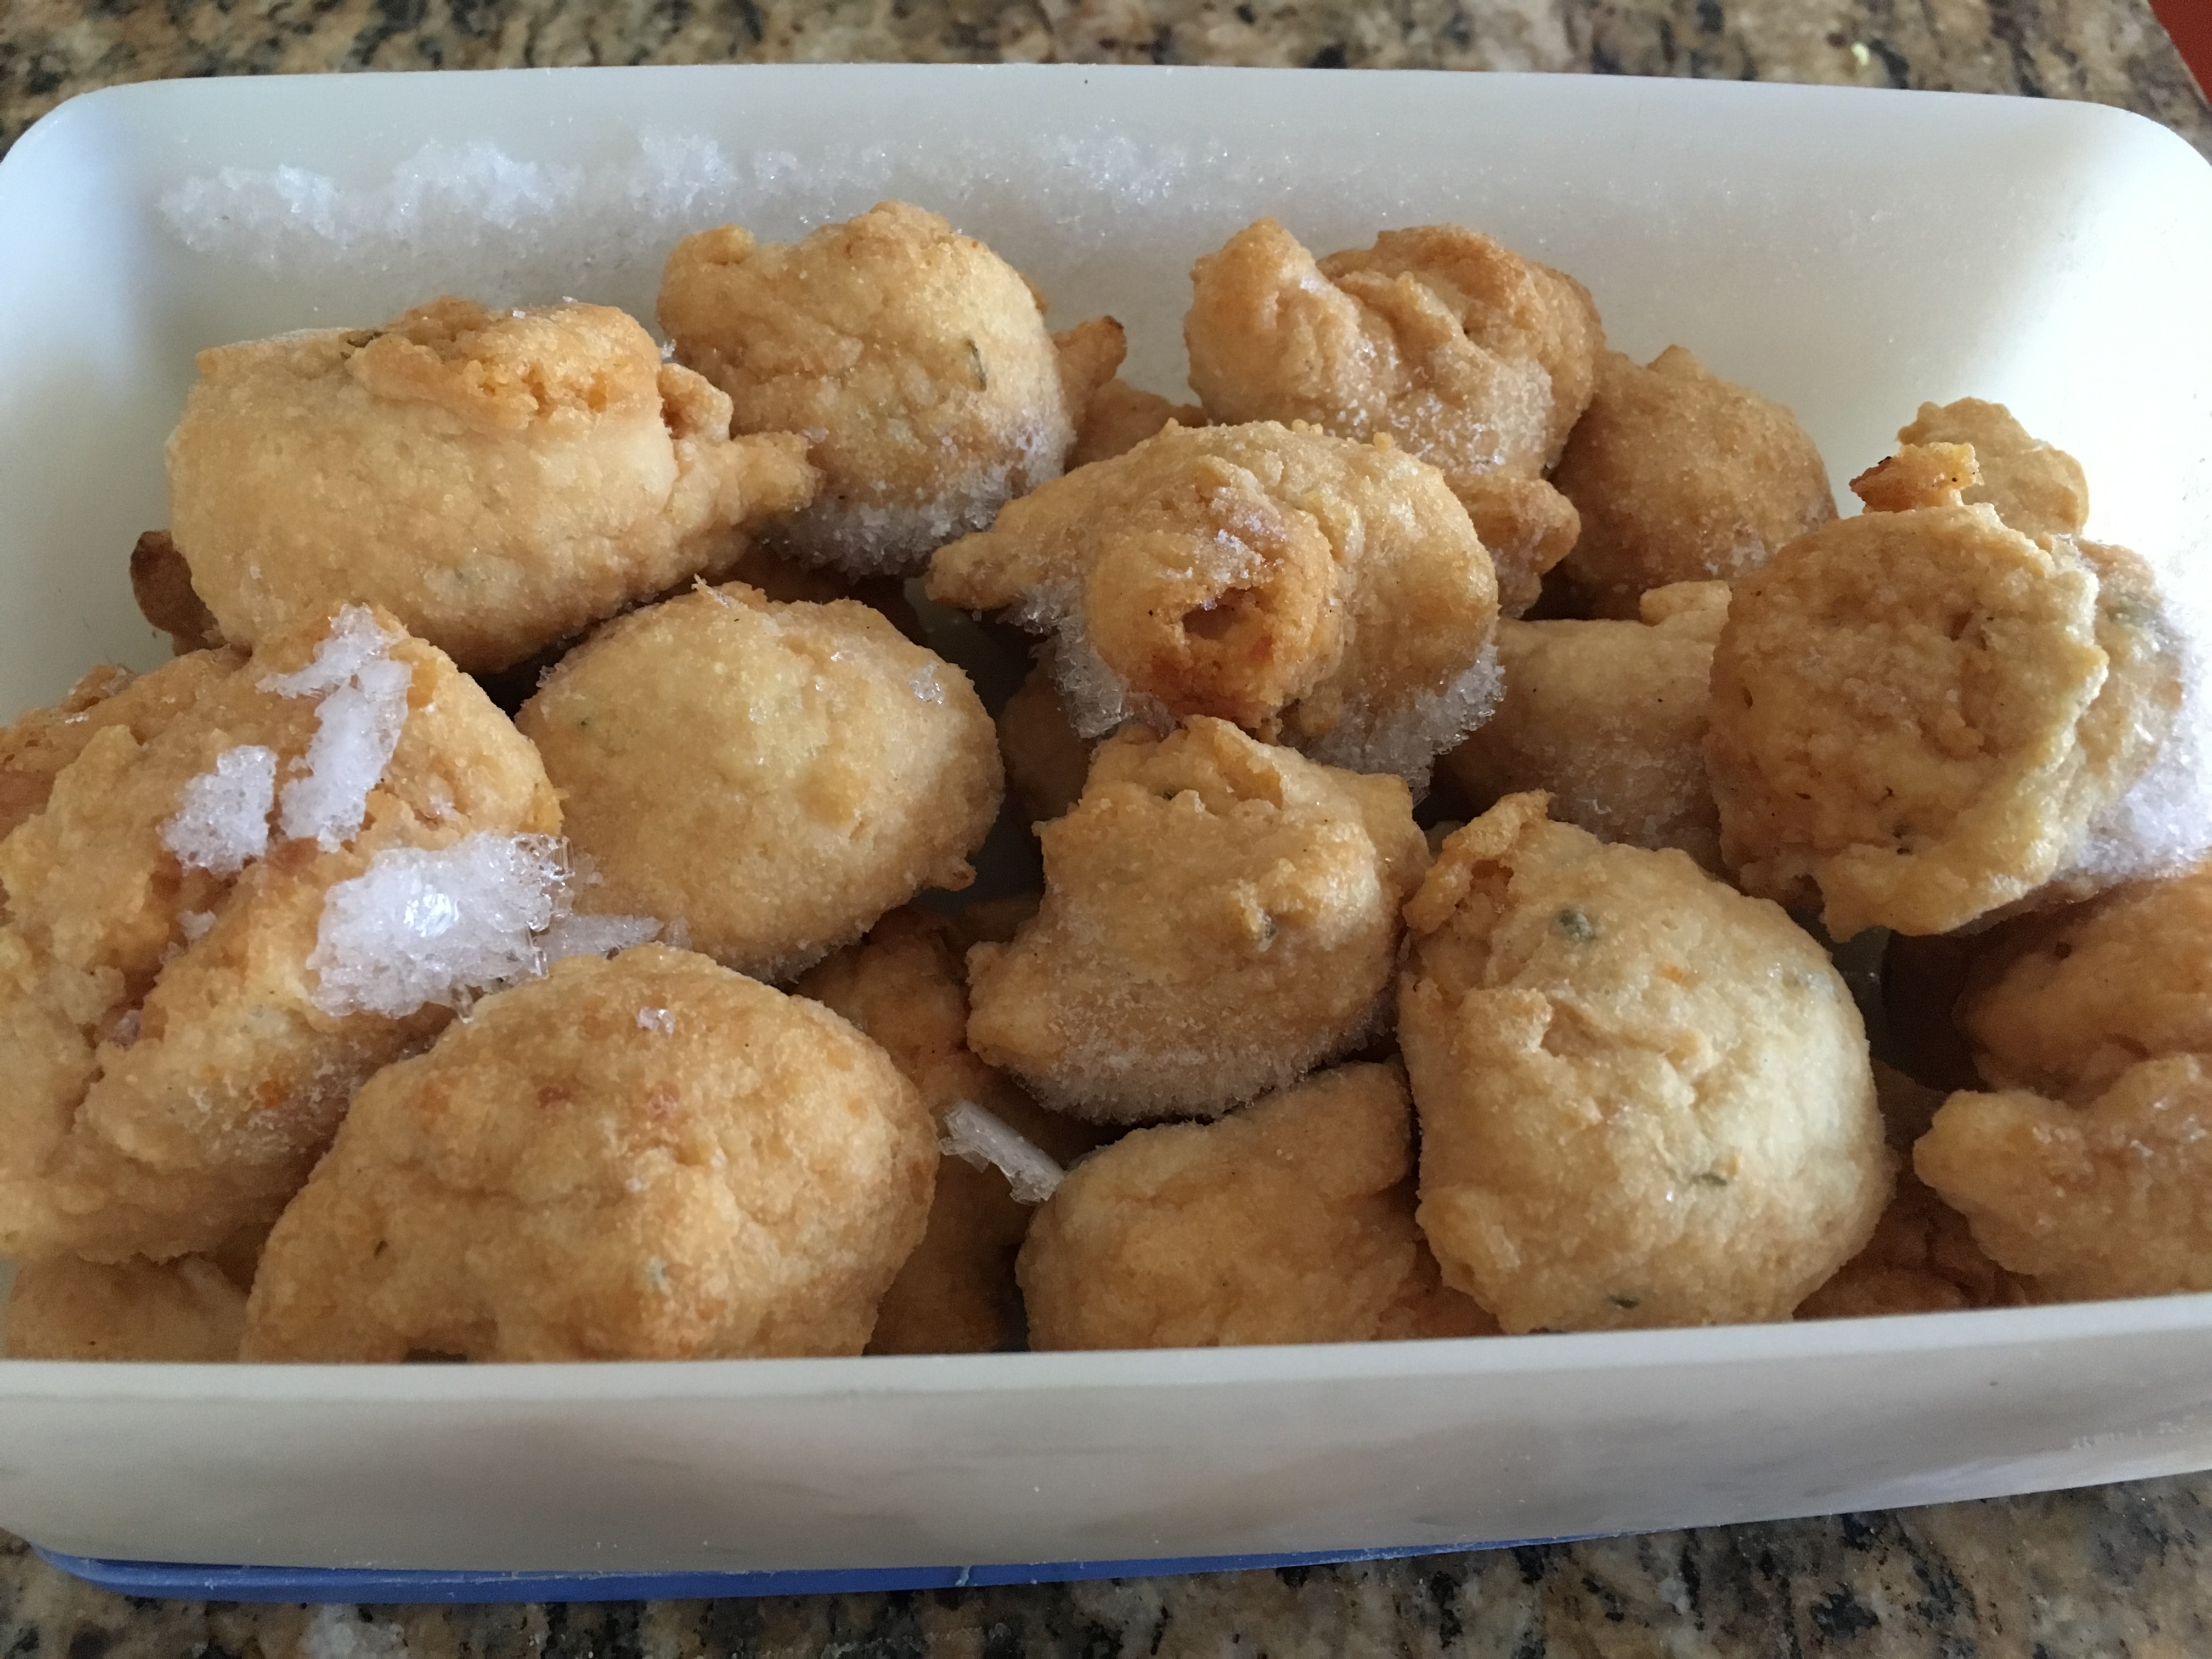
  • At this stage, the vadas can be frozen for future use
  • Or let it cool completely and soak a few of them in 7-8 cups of water for 10 minutes.
  • If you have excess vadas, you can freeze them in an airtight container for future use.

Using Frozen Vadas

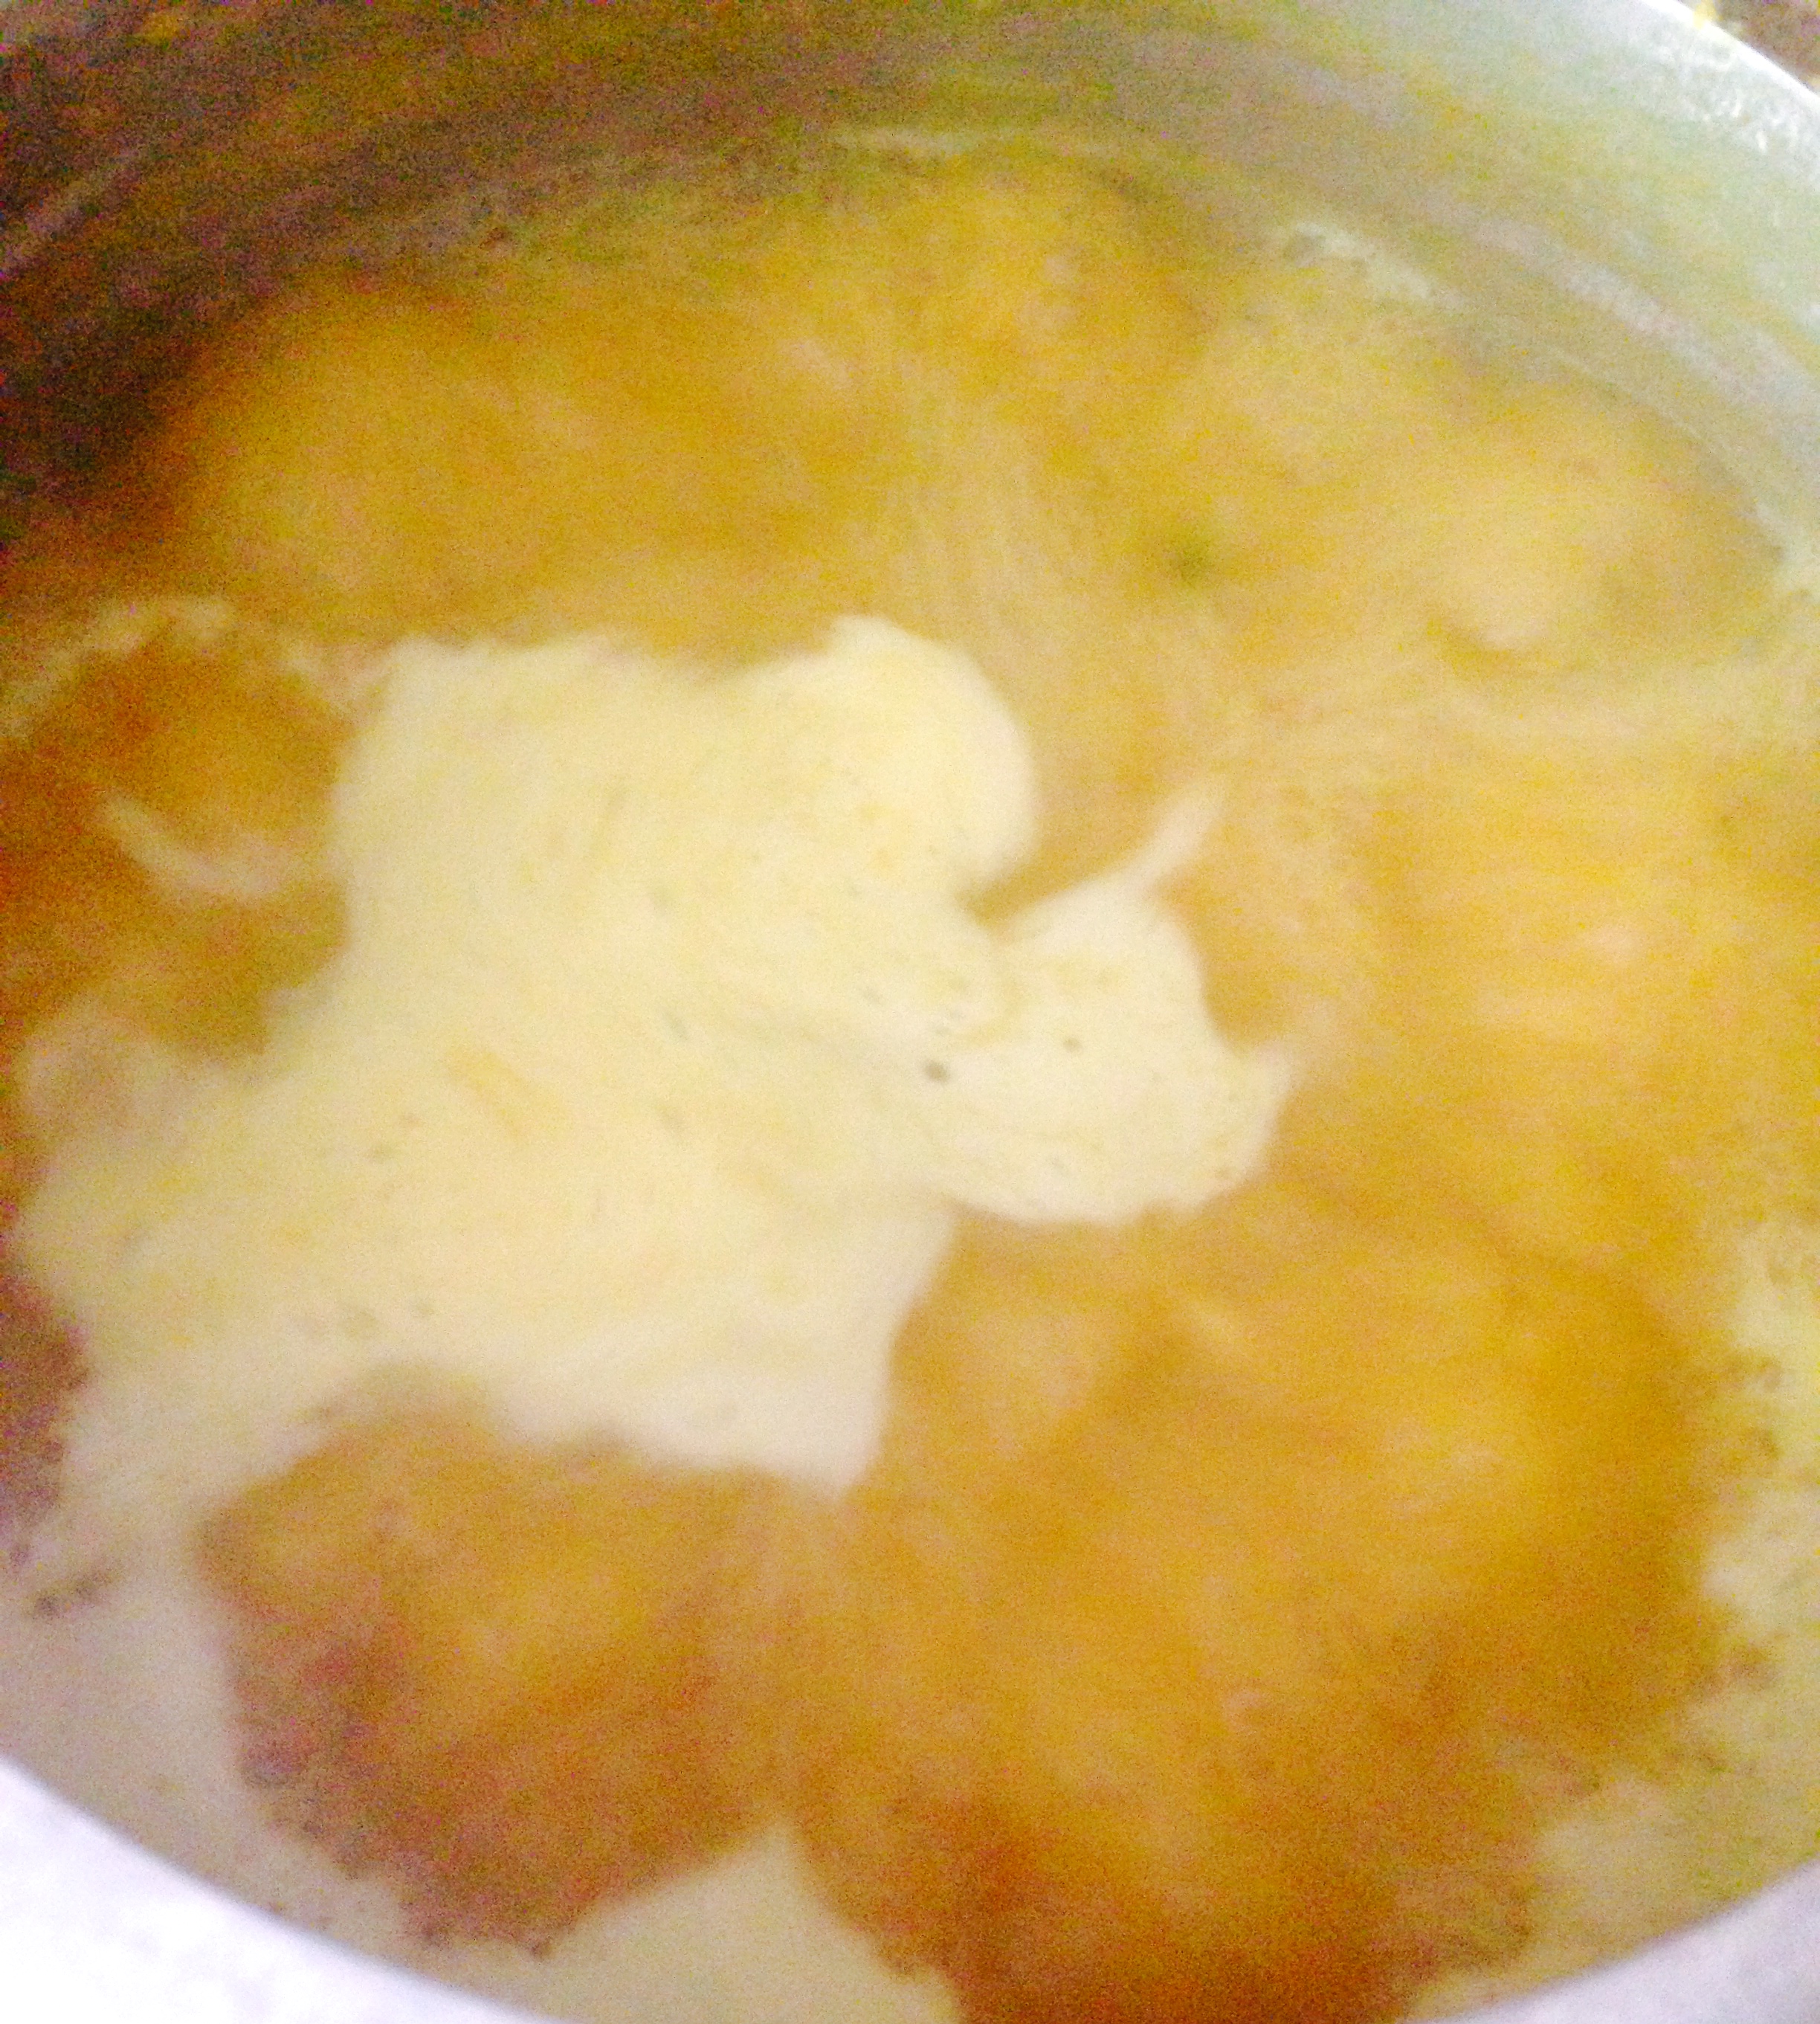
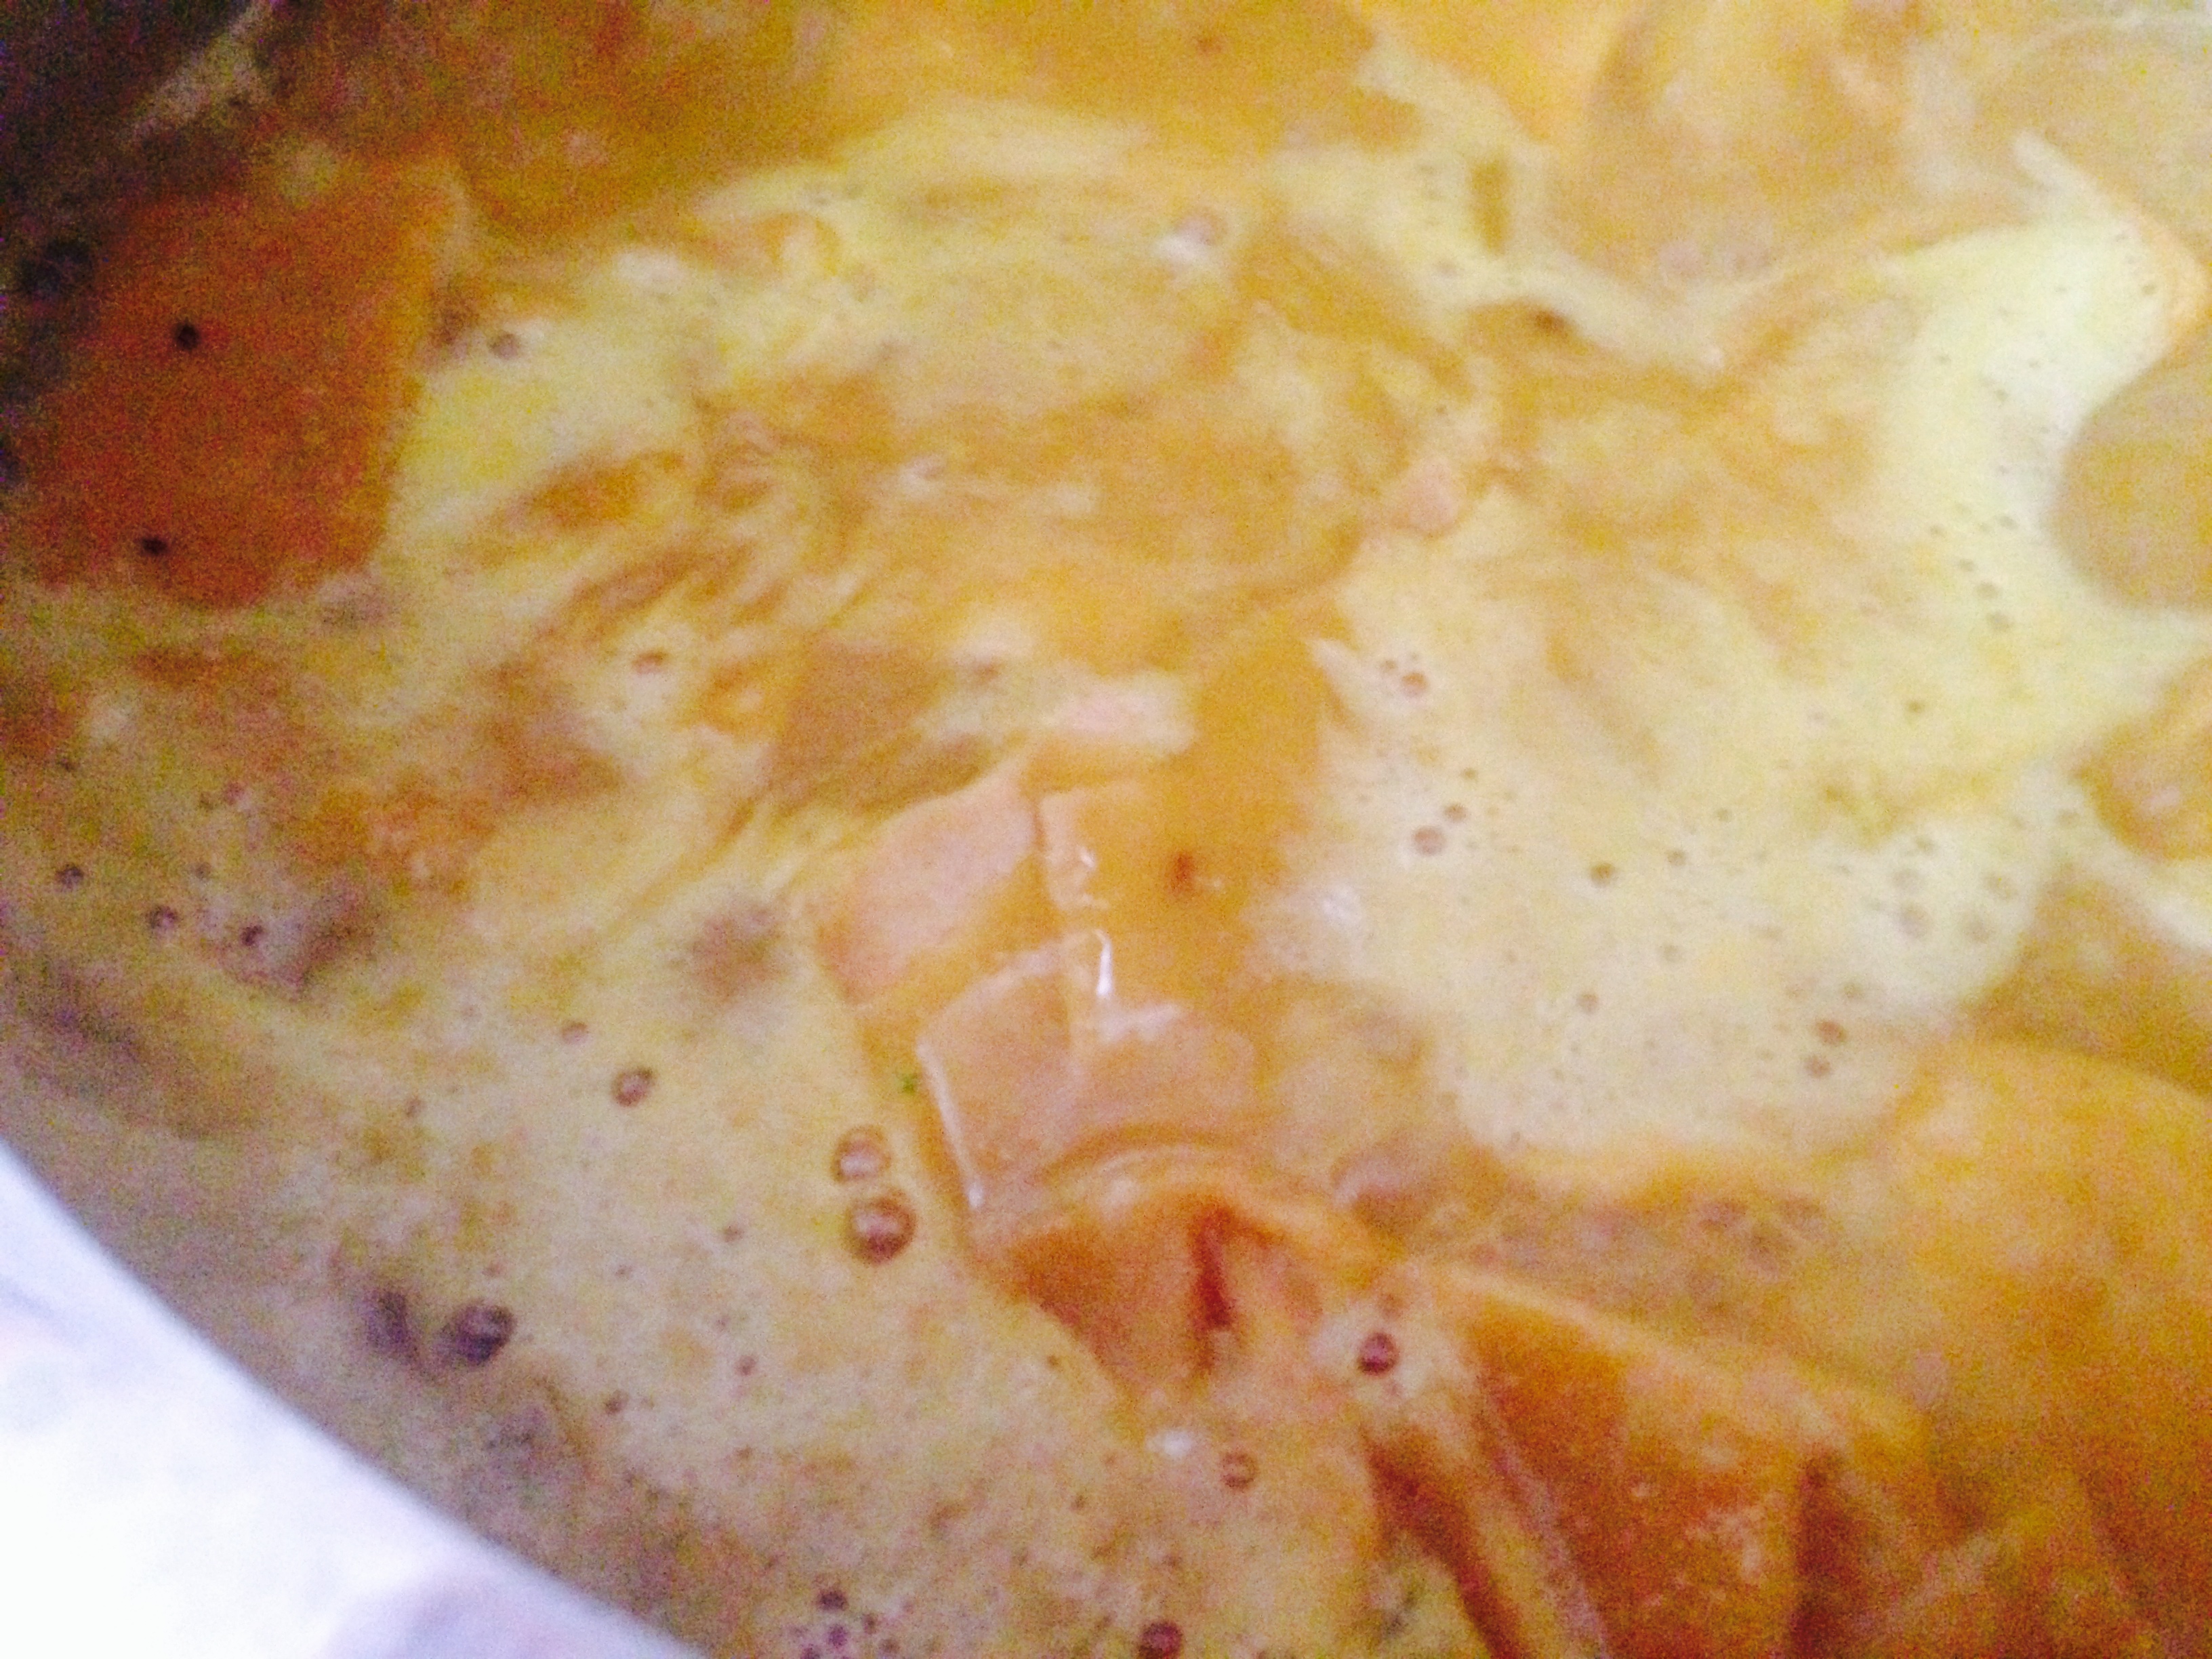
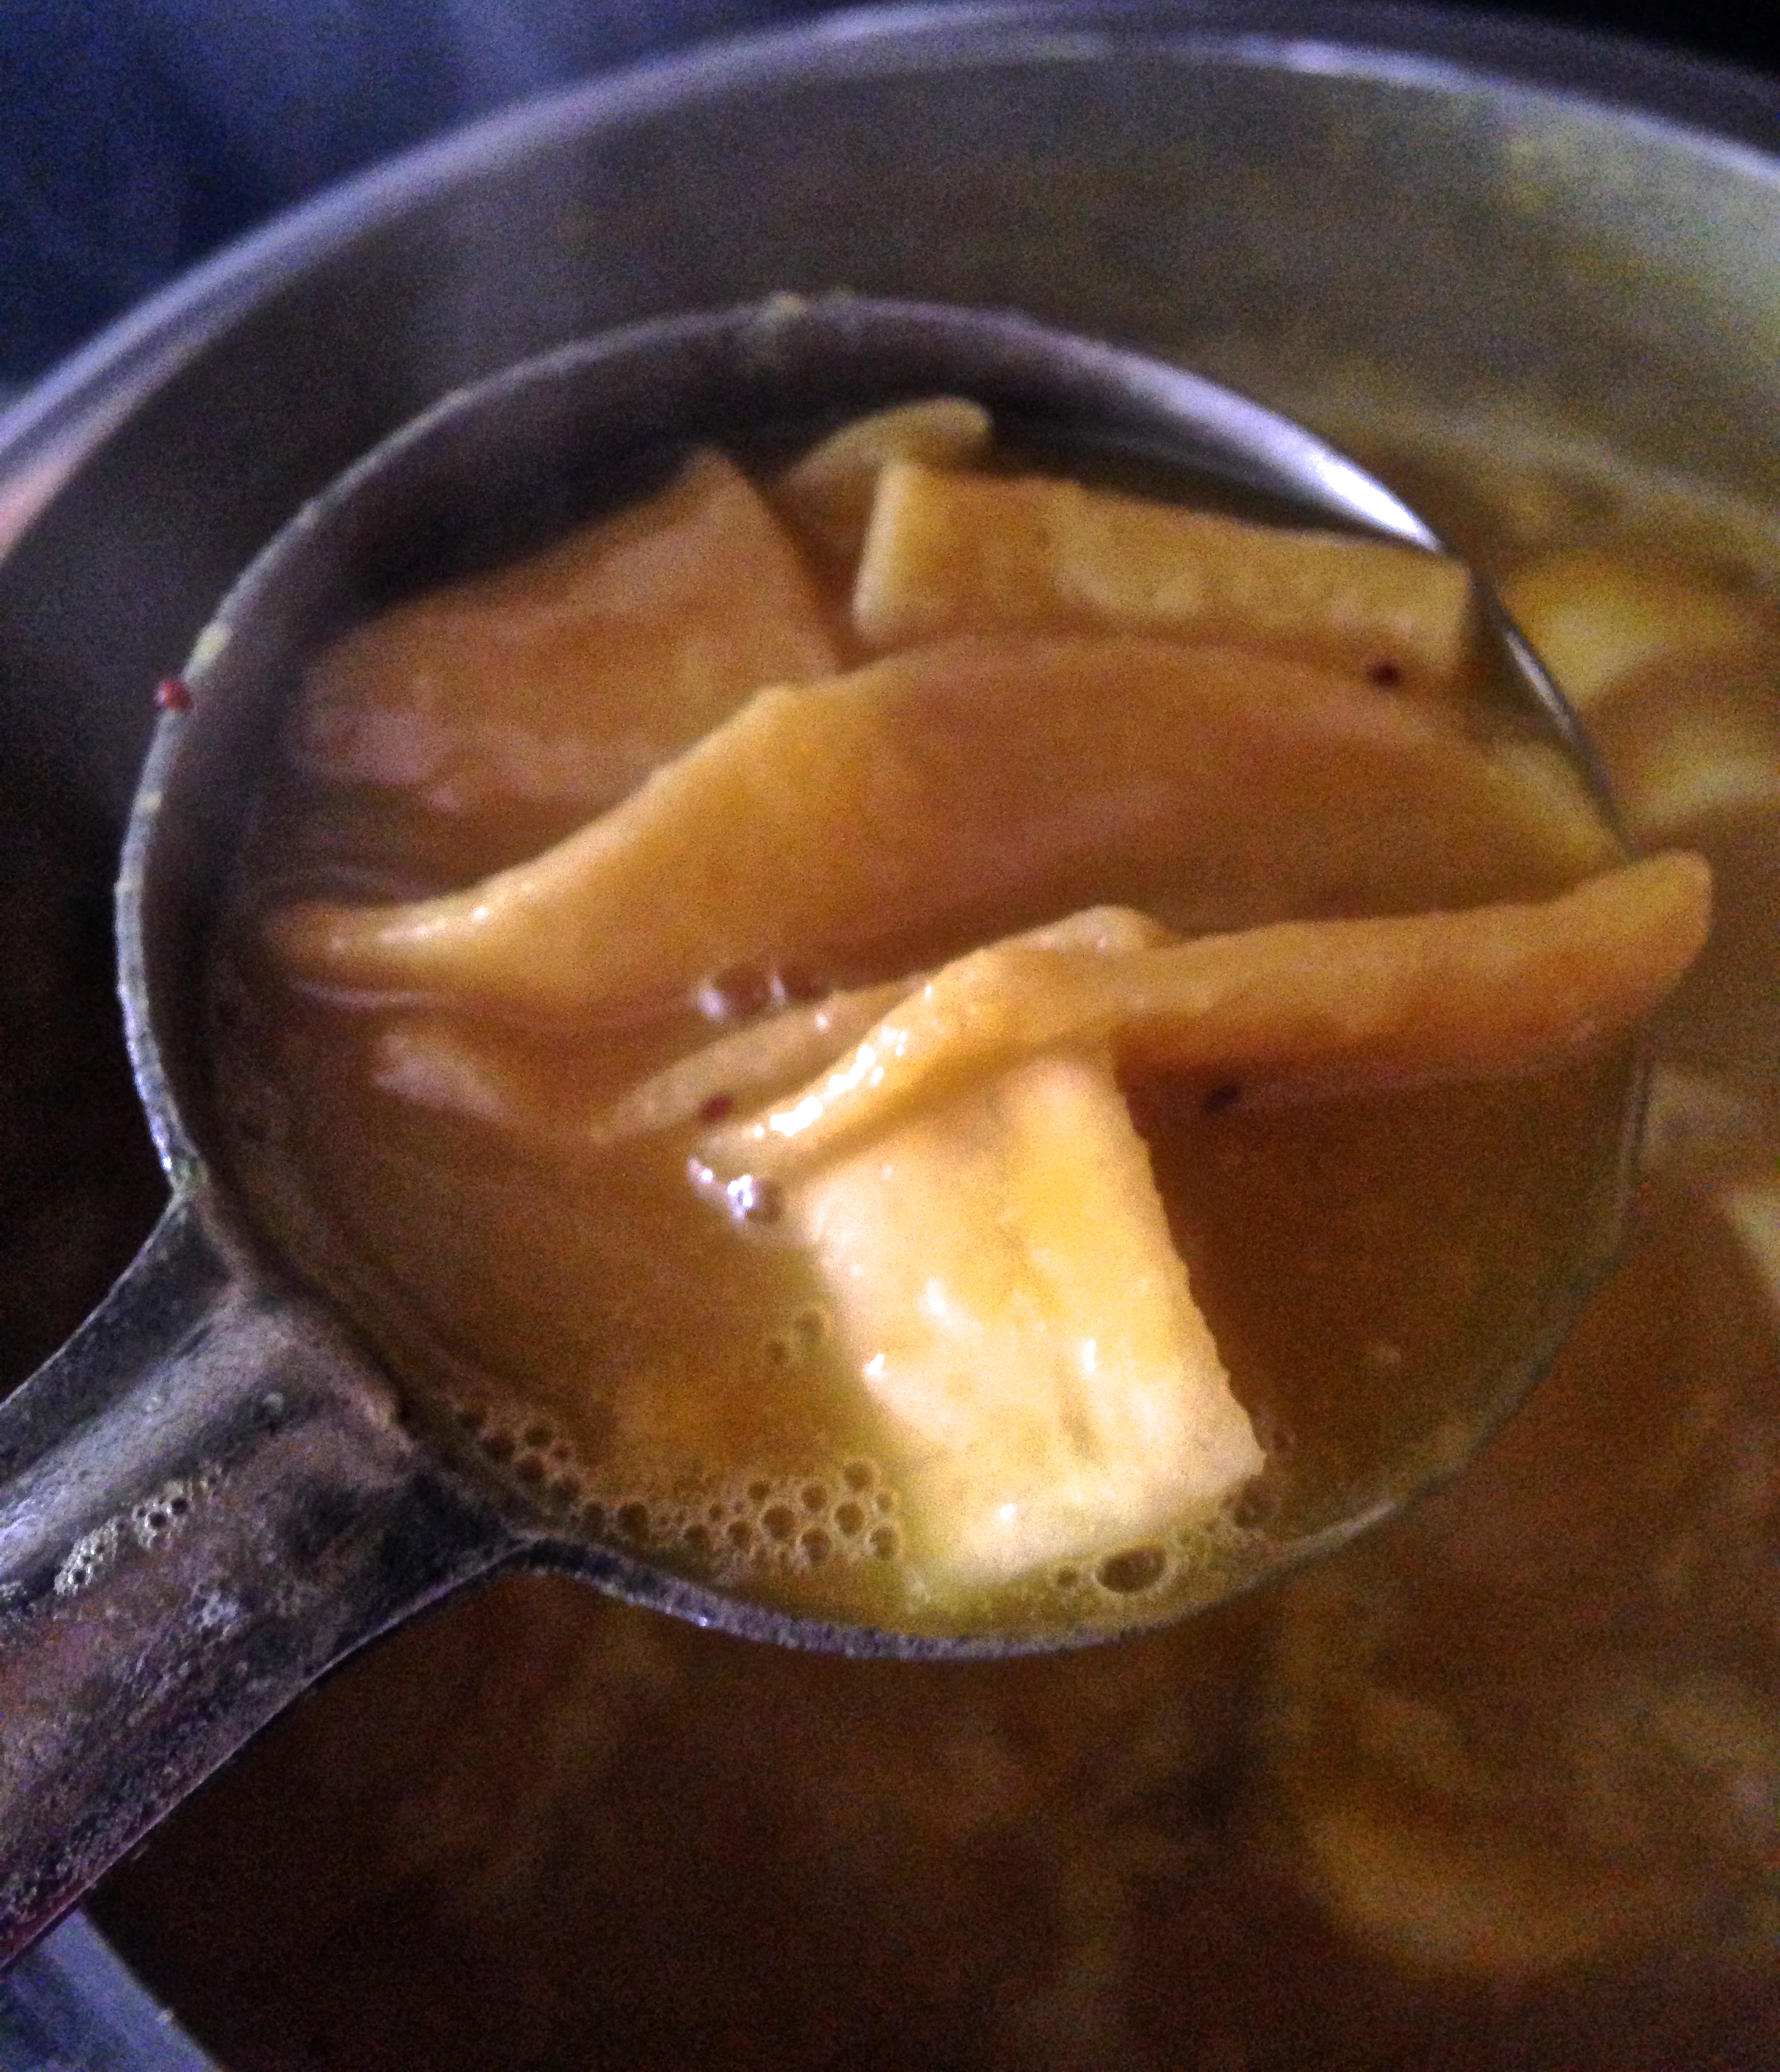
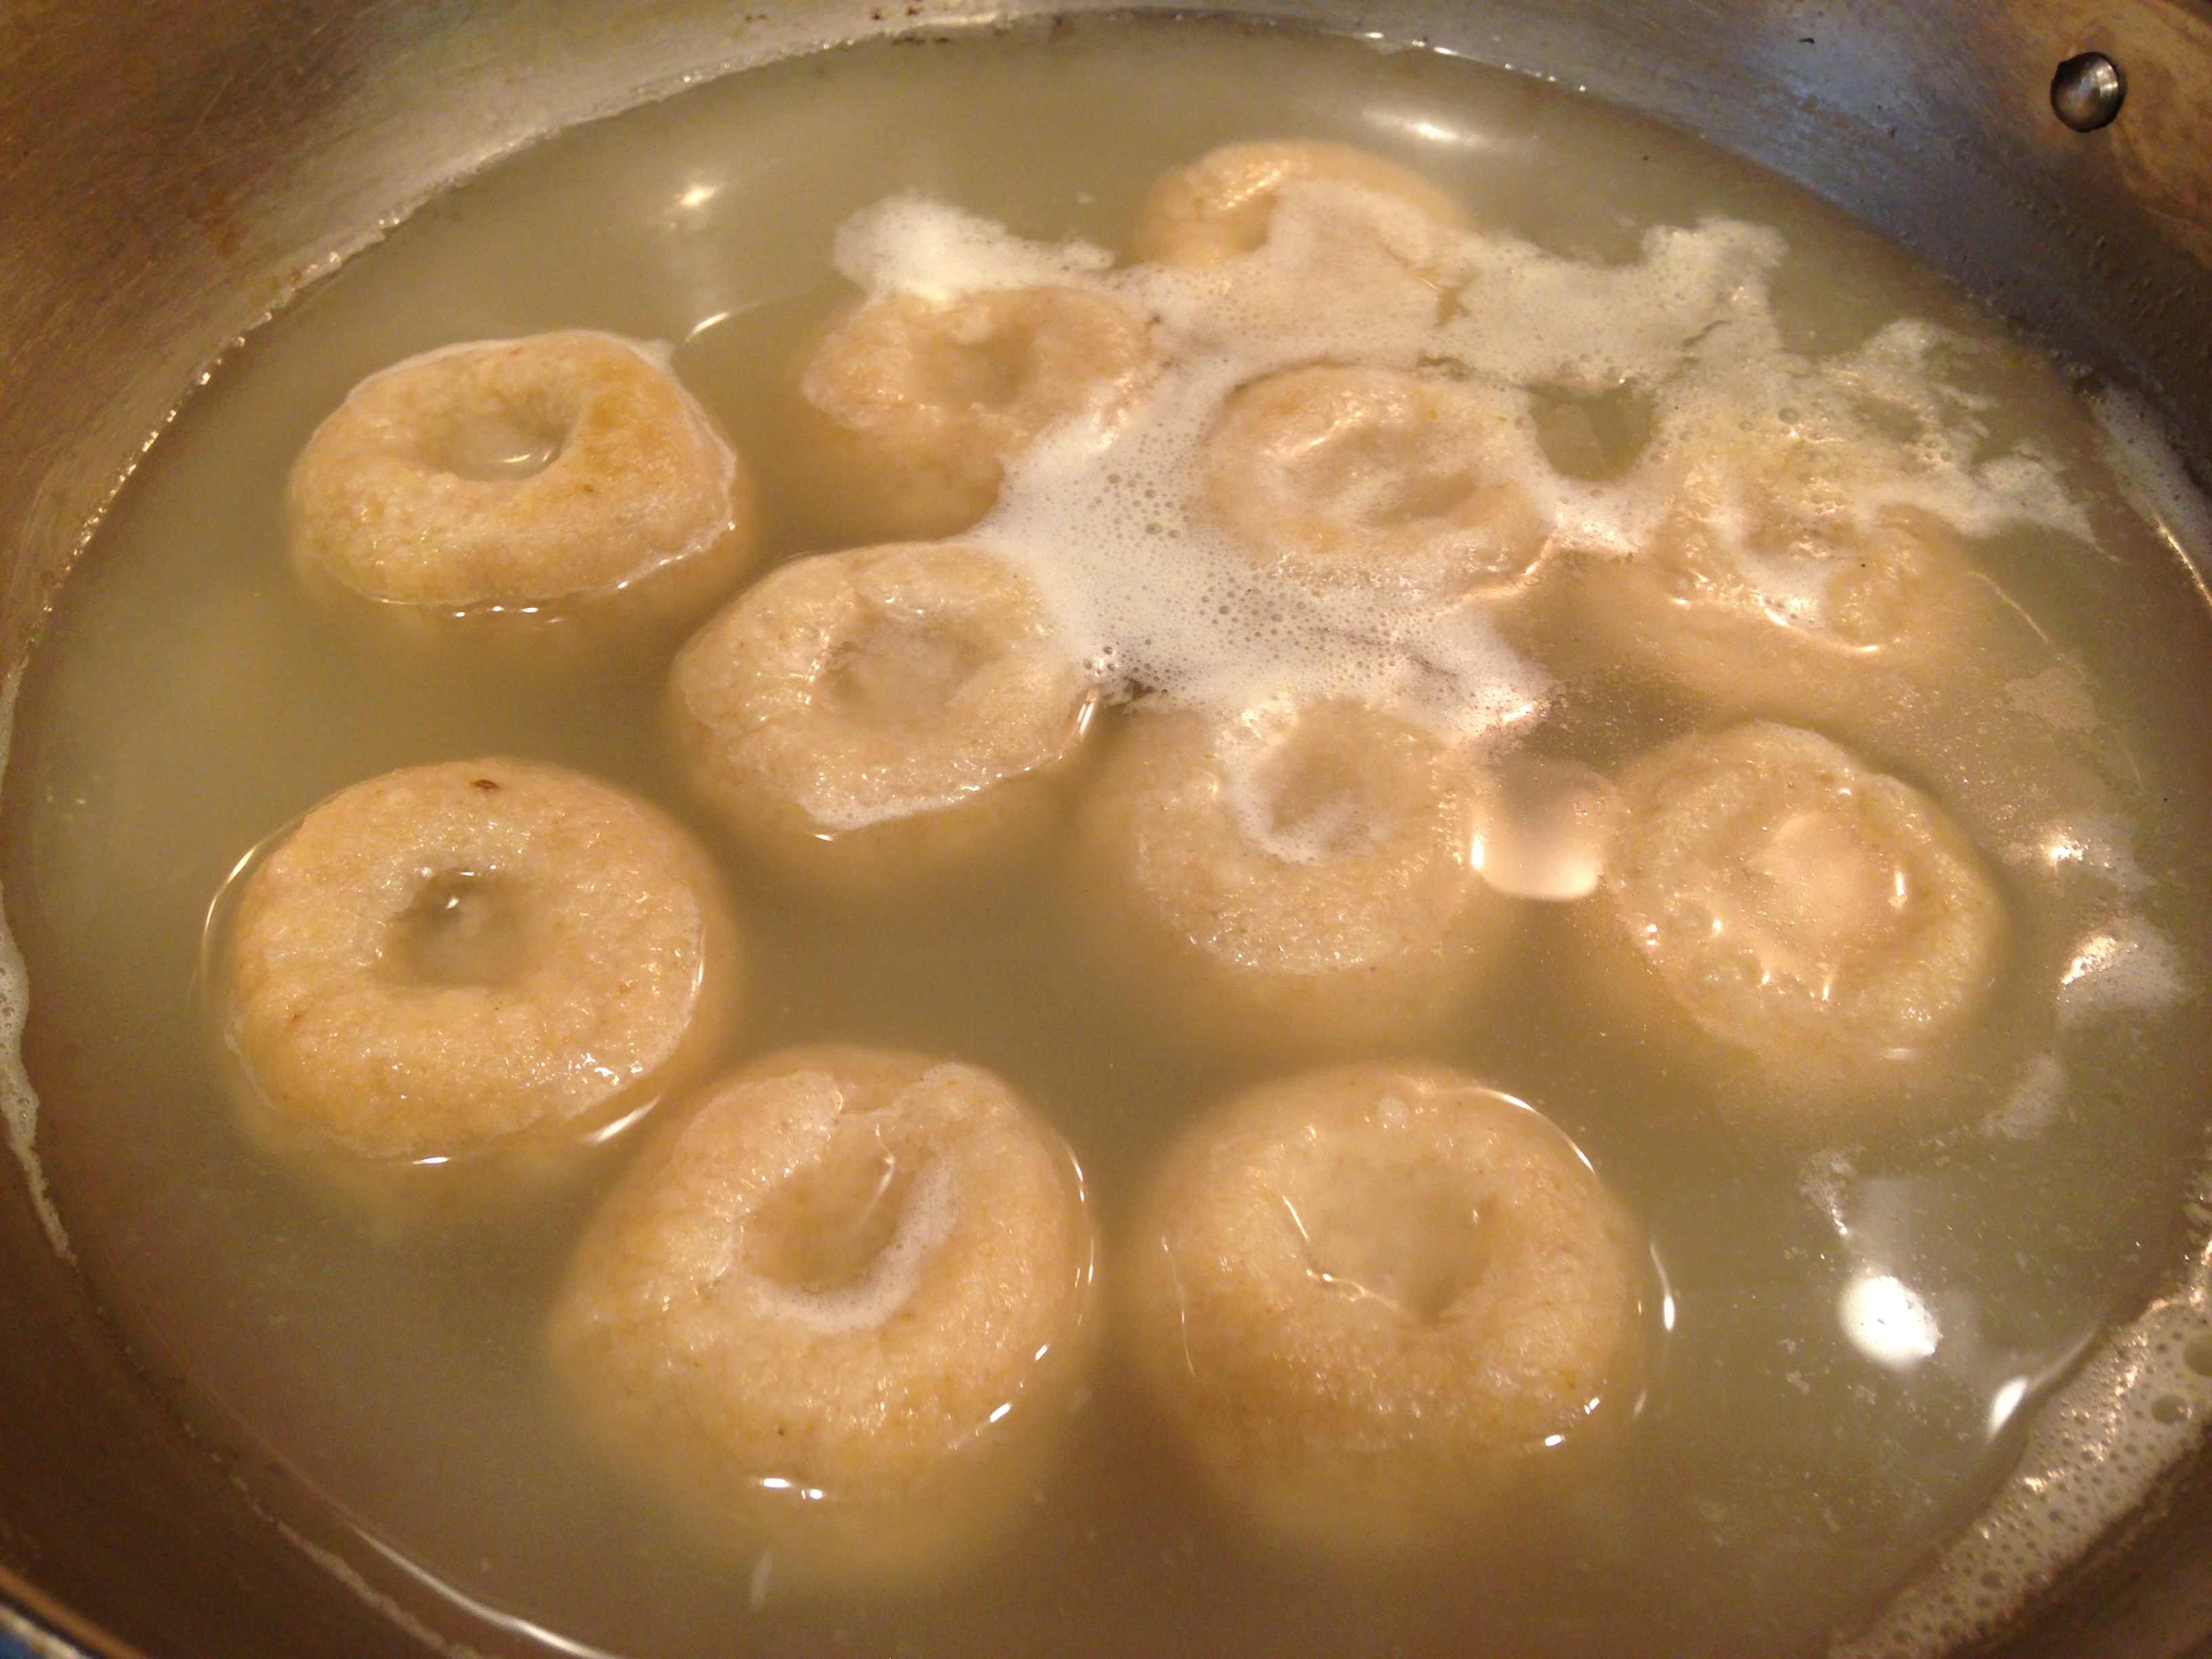
  • Remove the vadas from the freezer, and heat 6-7 cups of water to boil. Once it boils put the frozen vadas and simmer for 8-10 and allow it to cool completely.
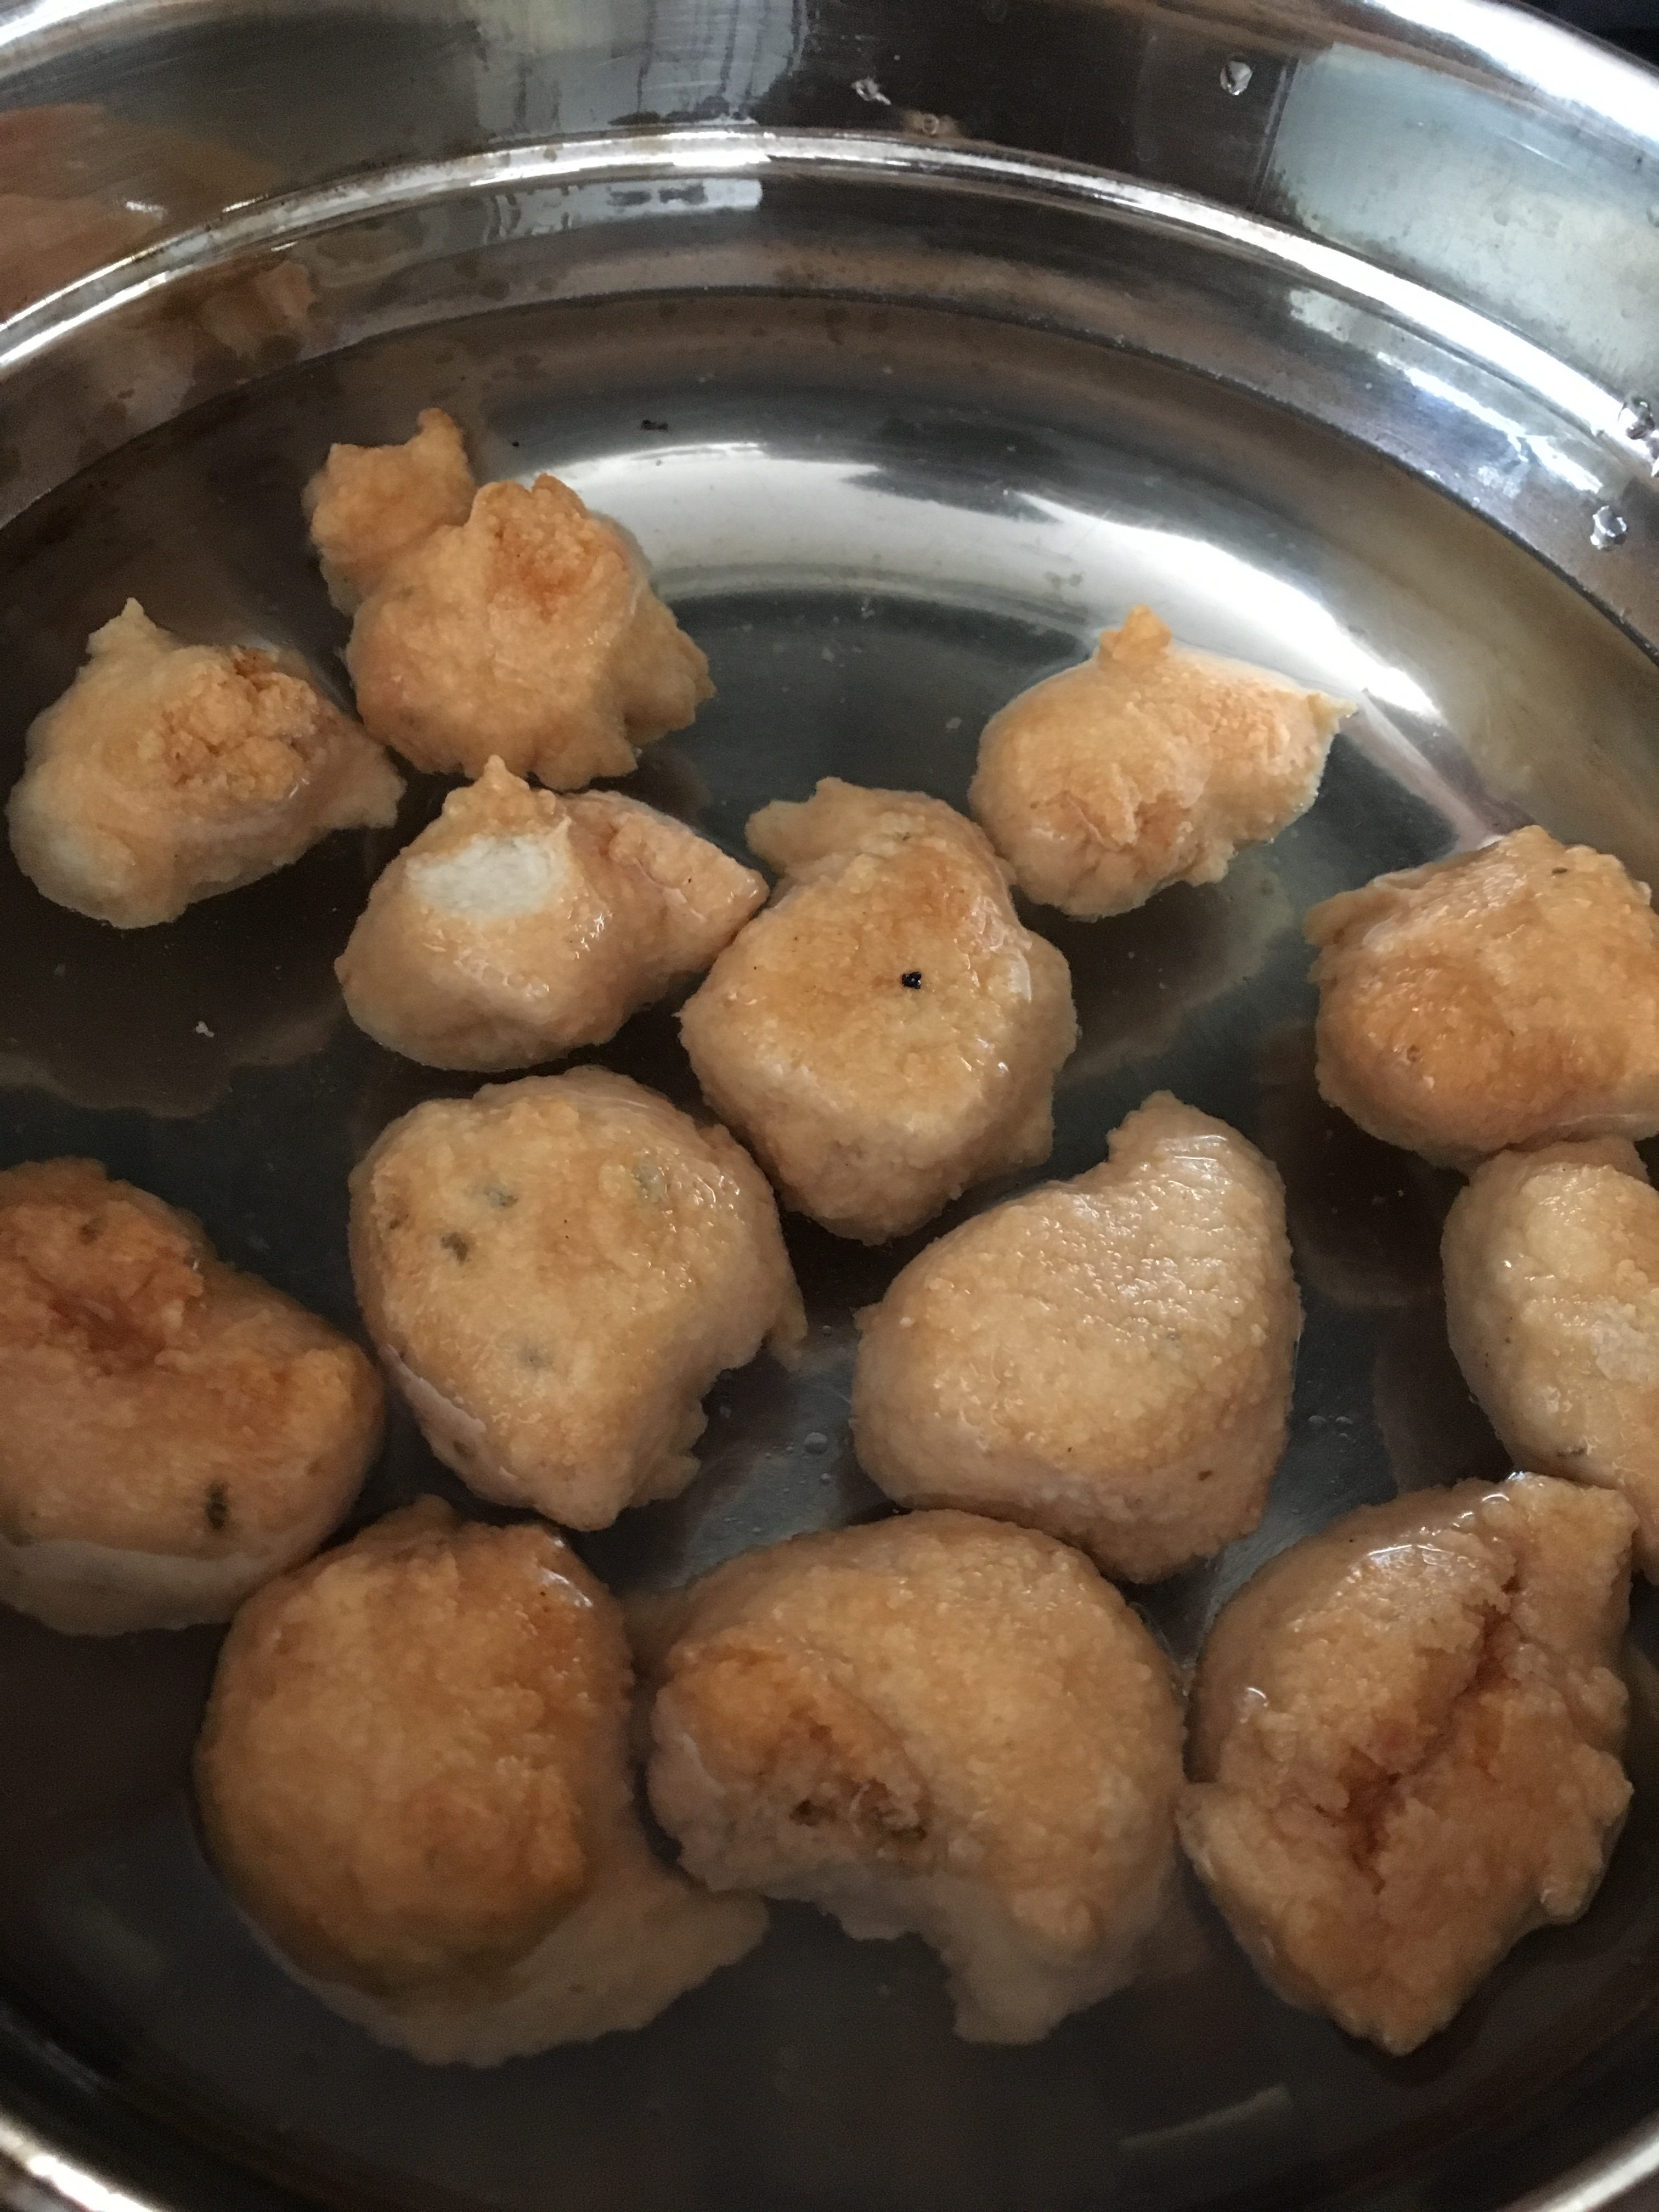
IMG_0488


IMG_0495


Using Fresh Vadas:

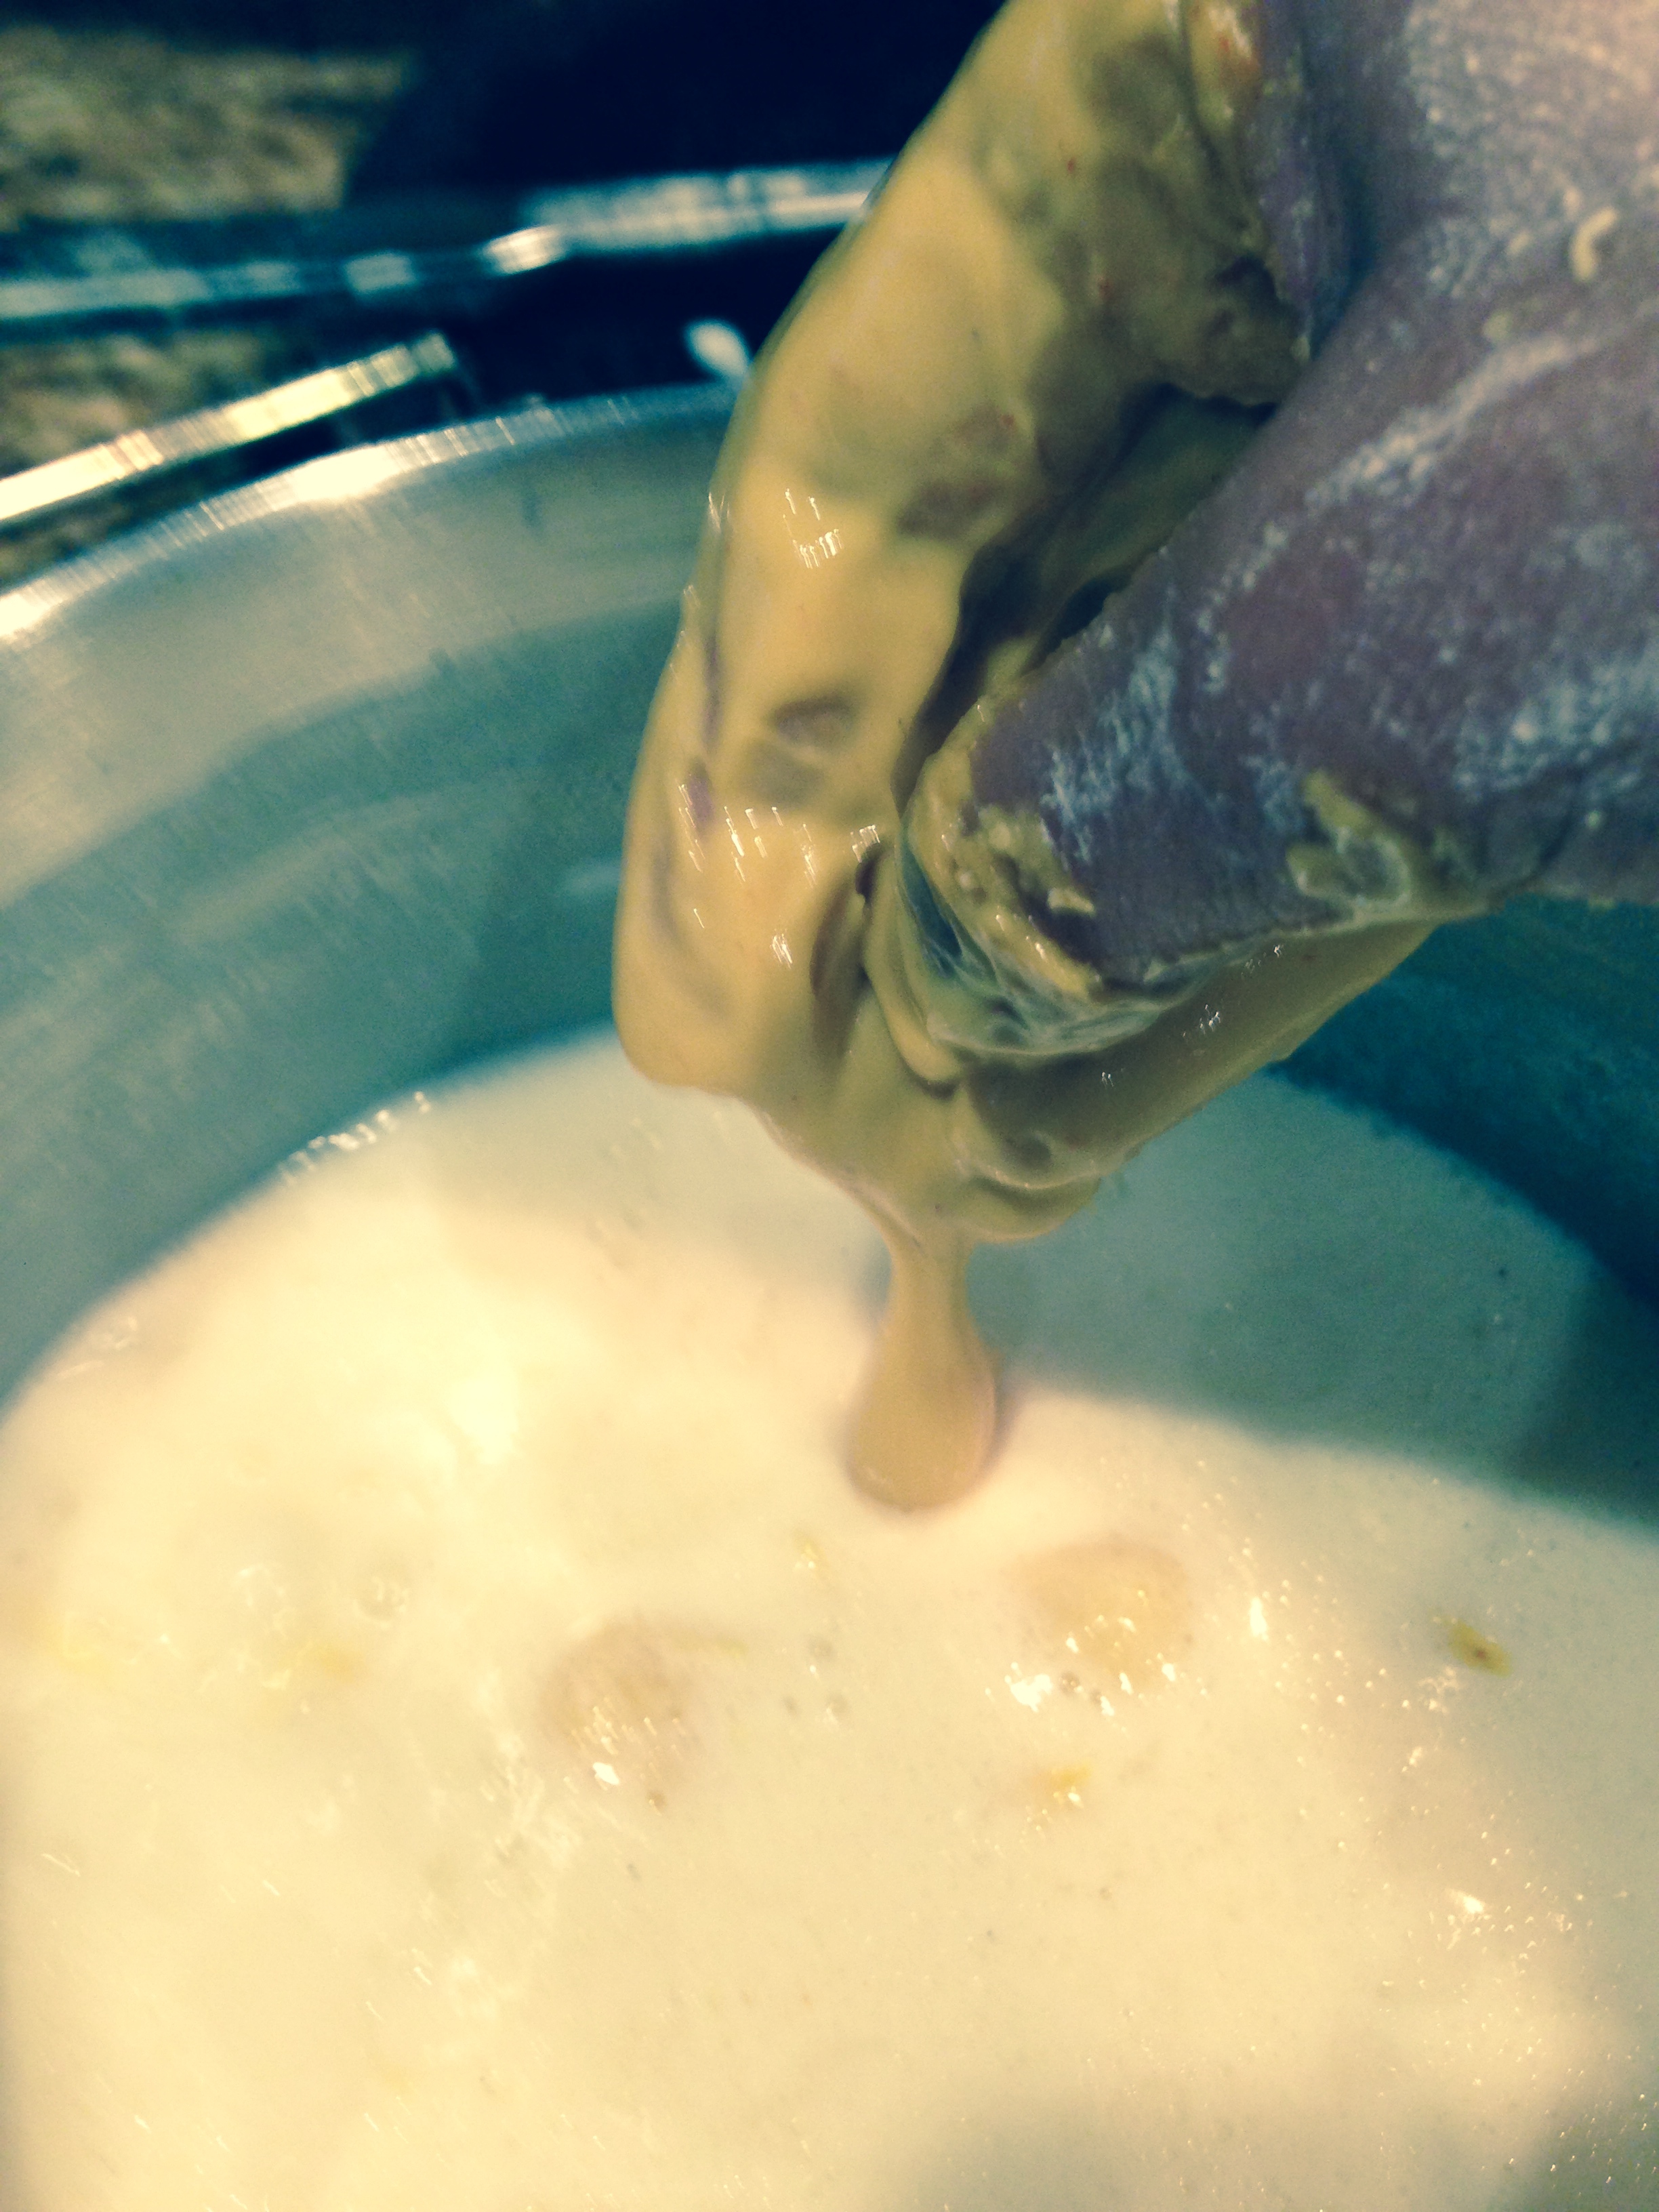
In 6-7 cups of water, put the freshly fried vadas and soak for half an hour or so. Remove from water and press the vadas in between palms and remove the excess water. If the vadas have turned out spongy, they will bounce back to a round ball shape- This is the test for sponginess or softness of vada.Dahi Vada


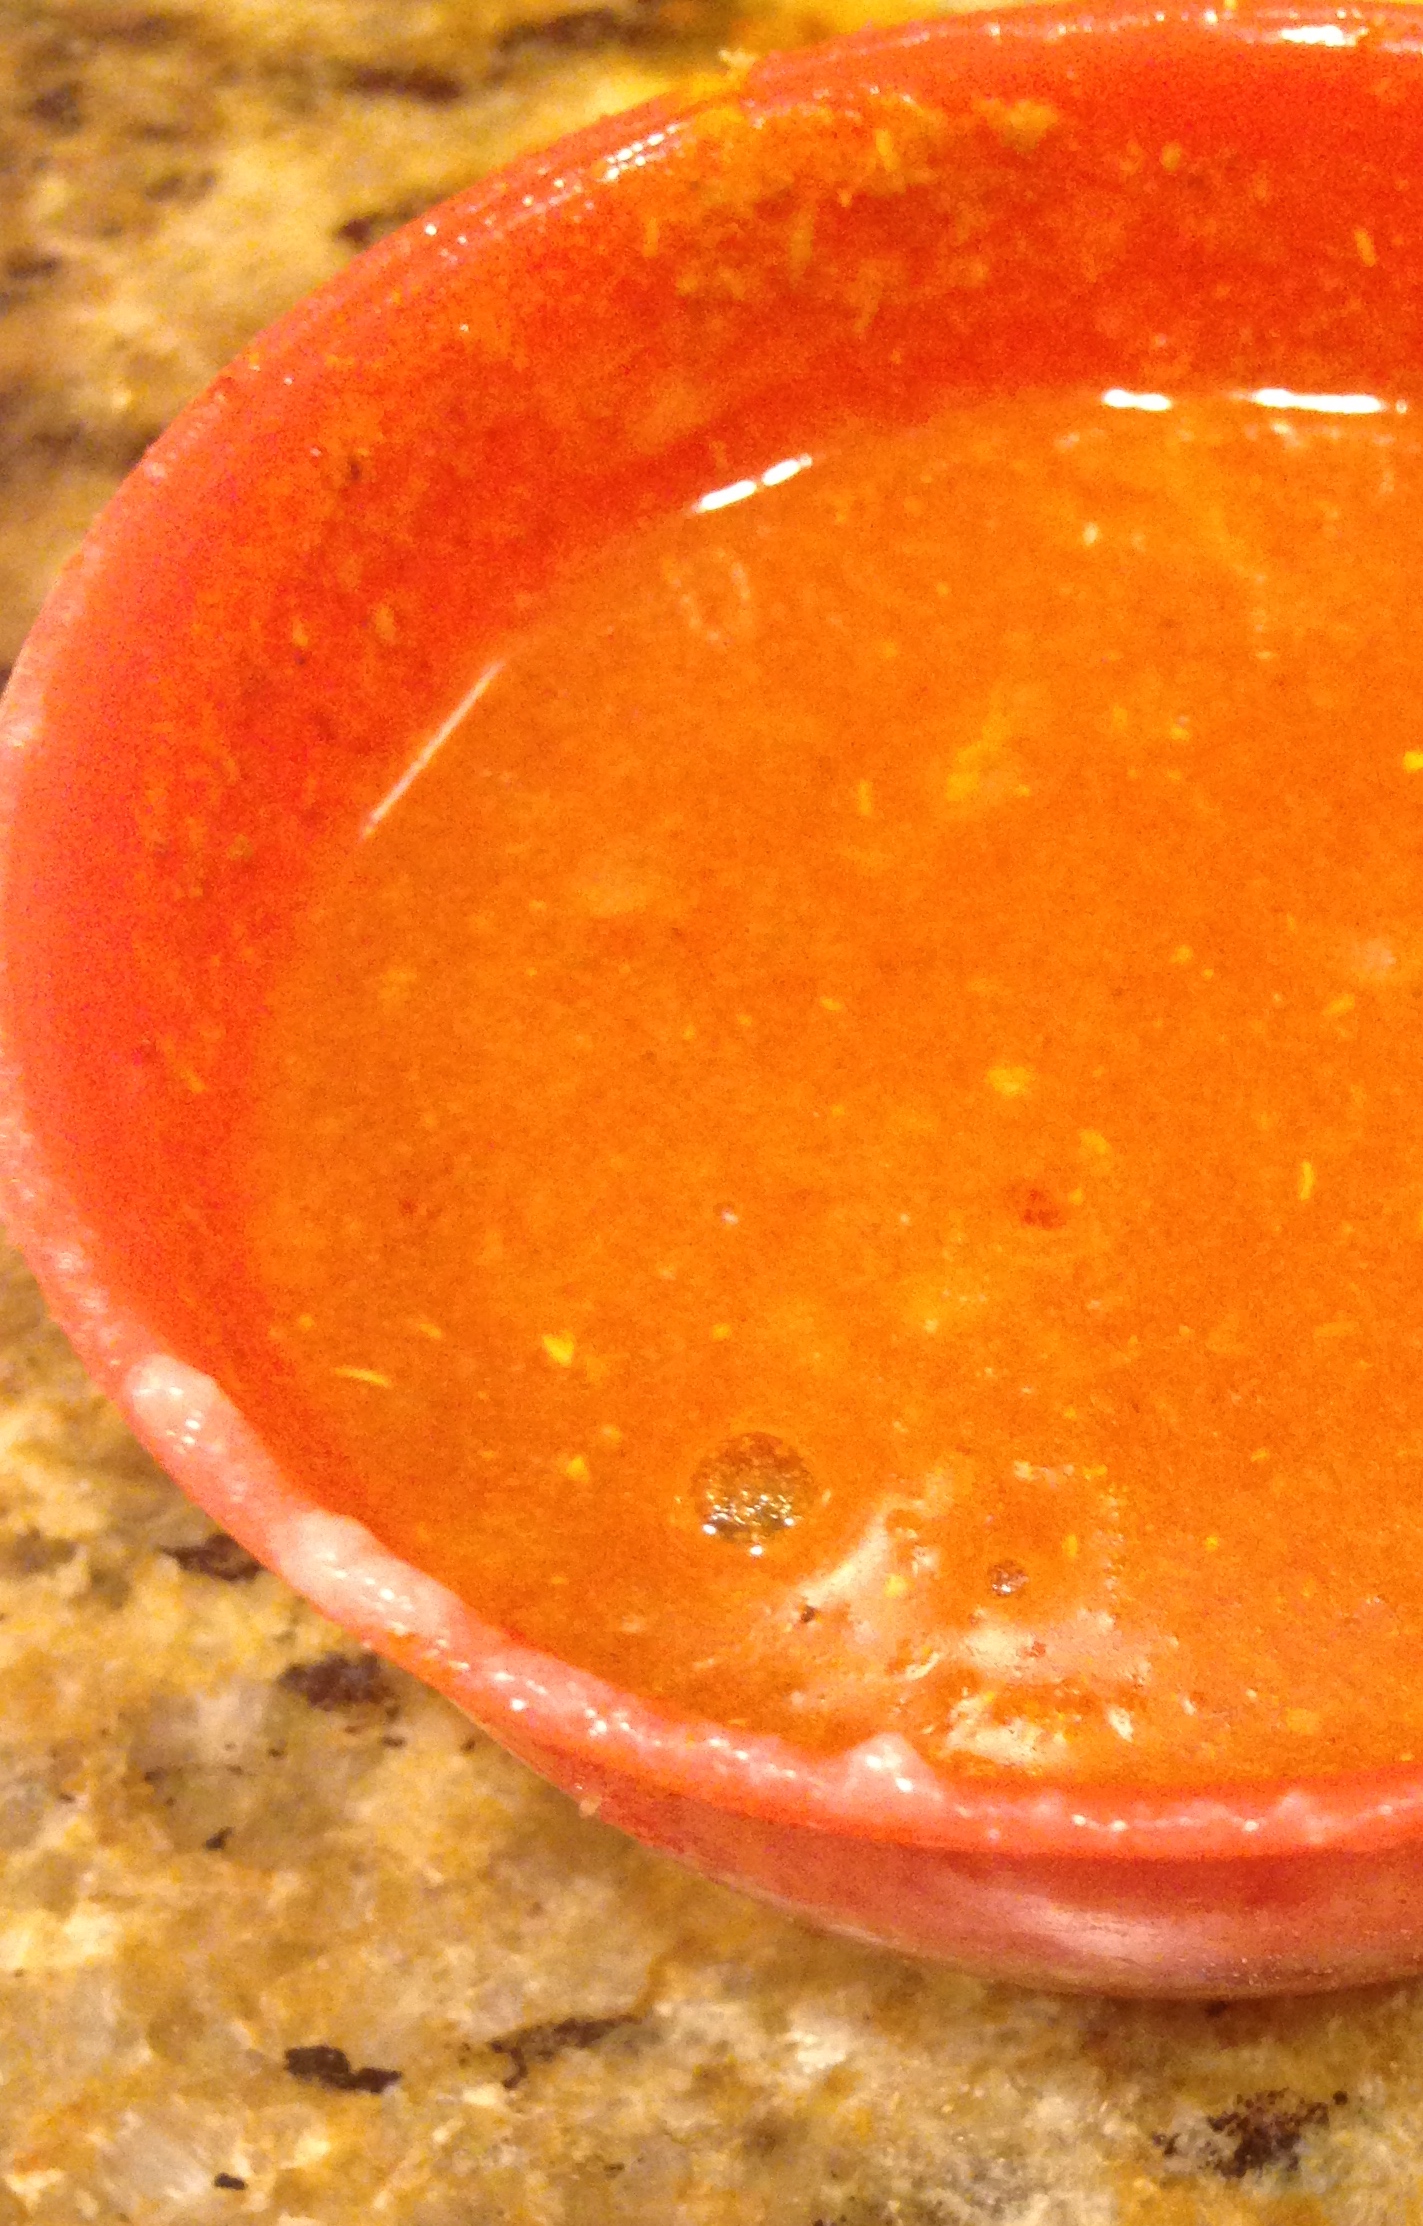
For making the yogurt gravy

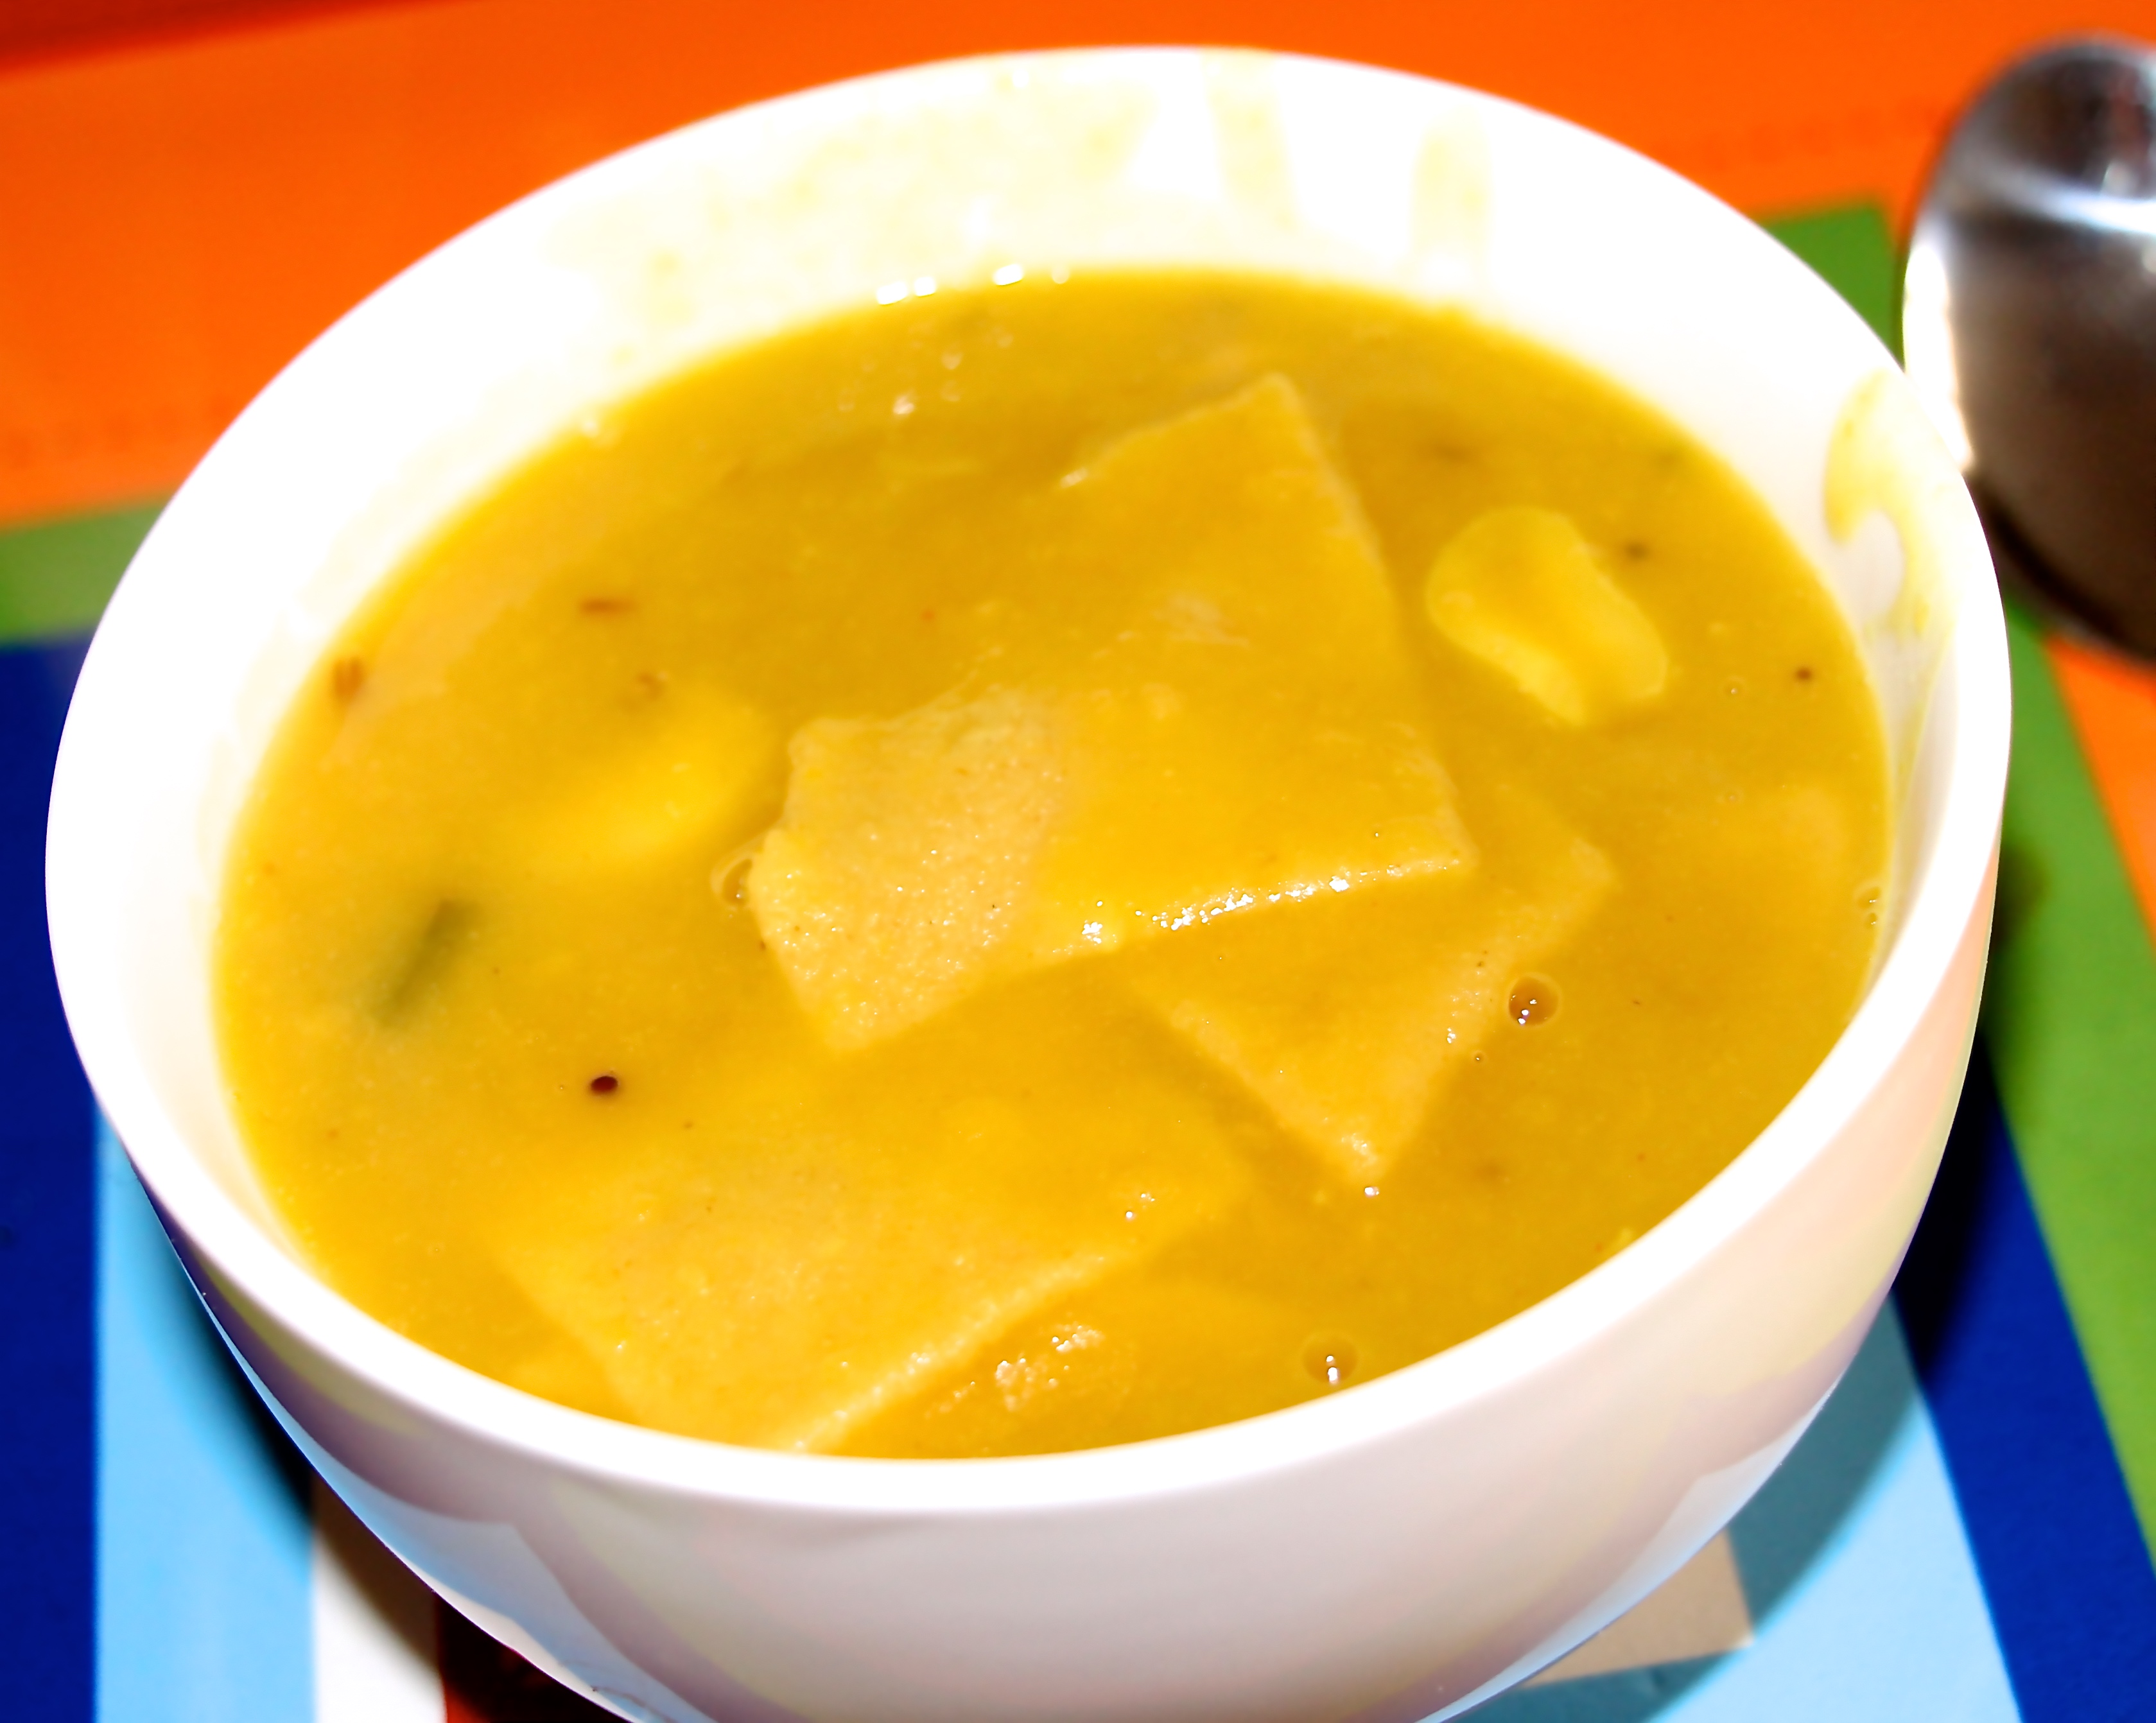
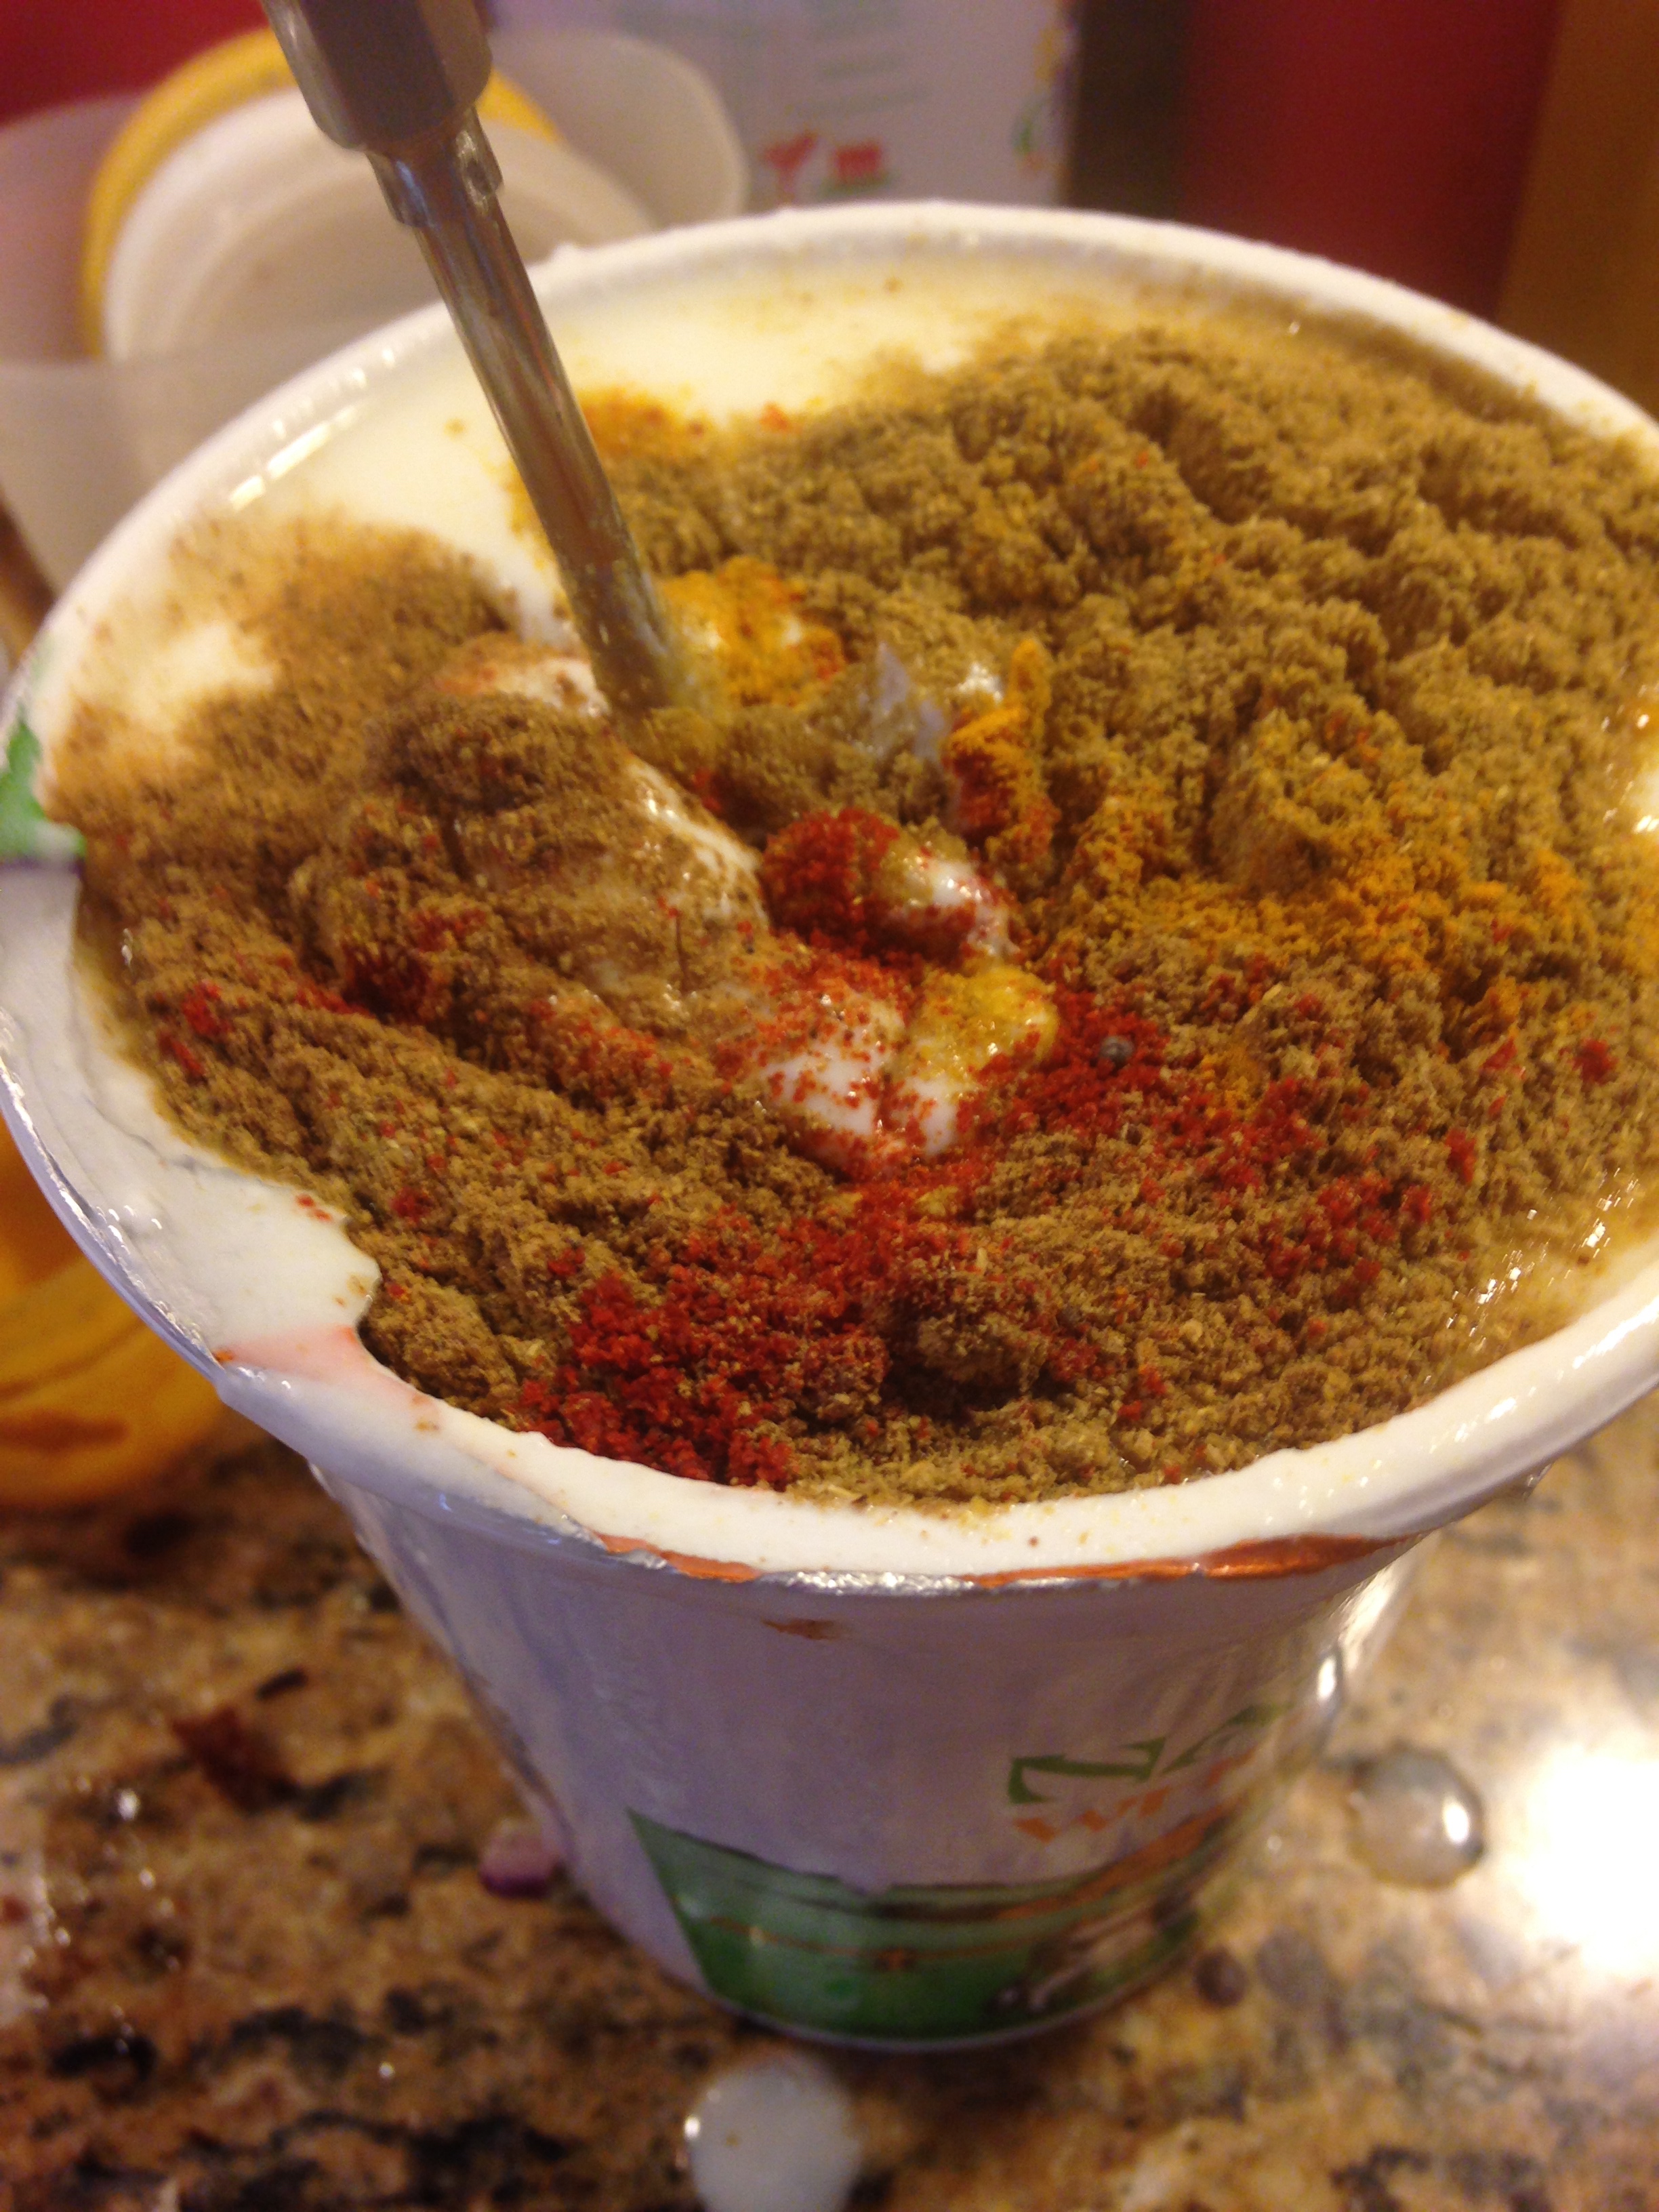
  • Blend the yogurt using a whisk in a smooth consistency, and add salt, chlli powder, sugar, and black pepper.


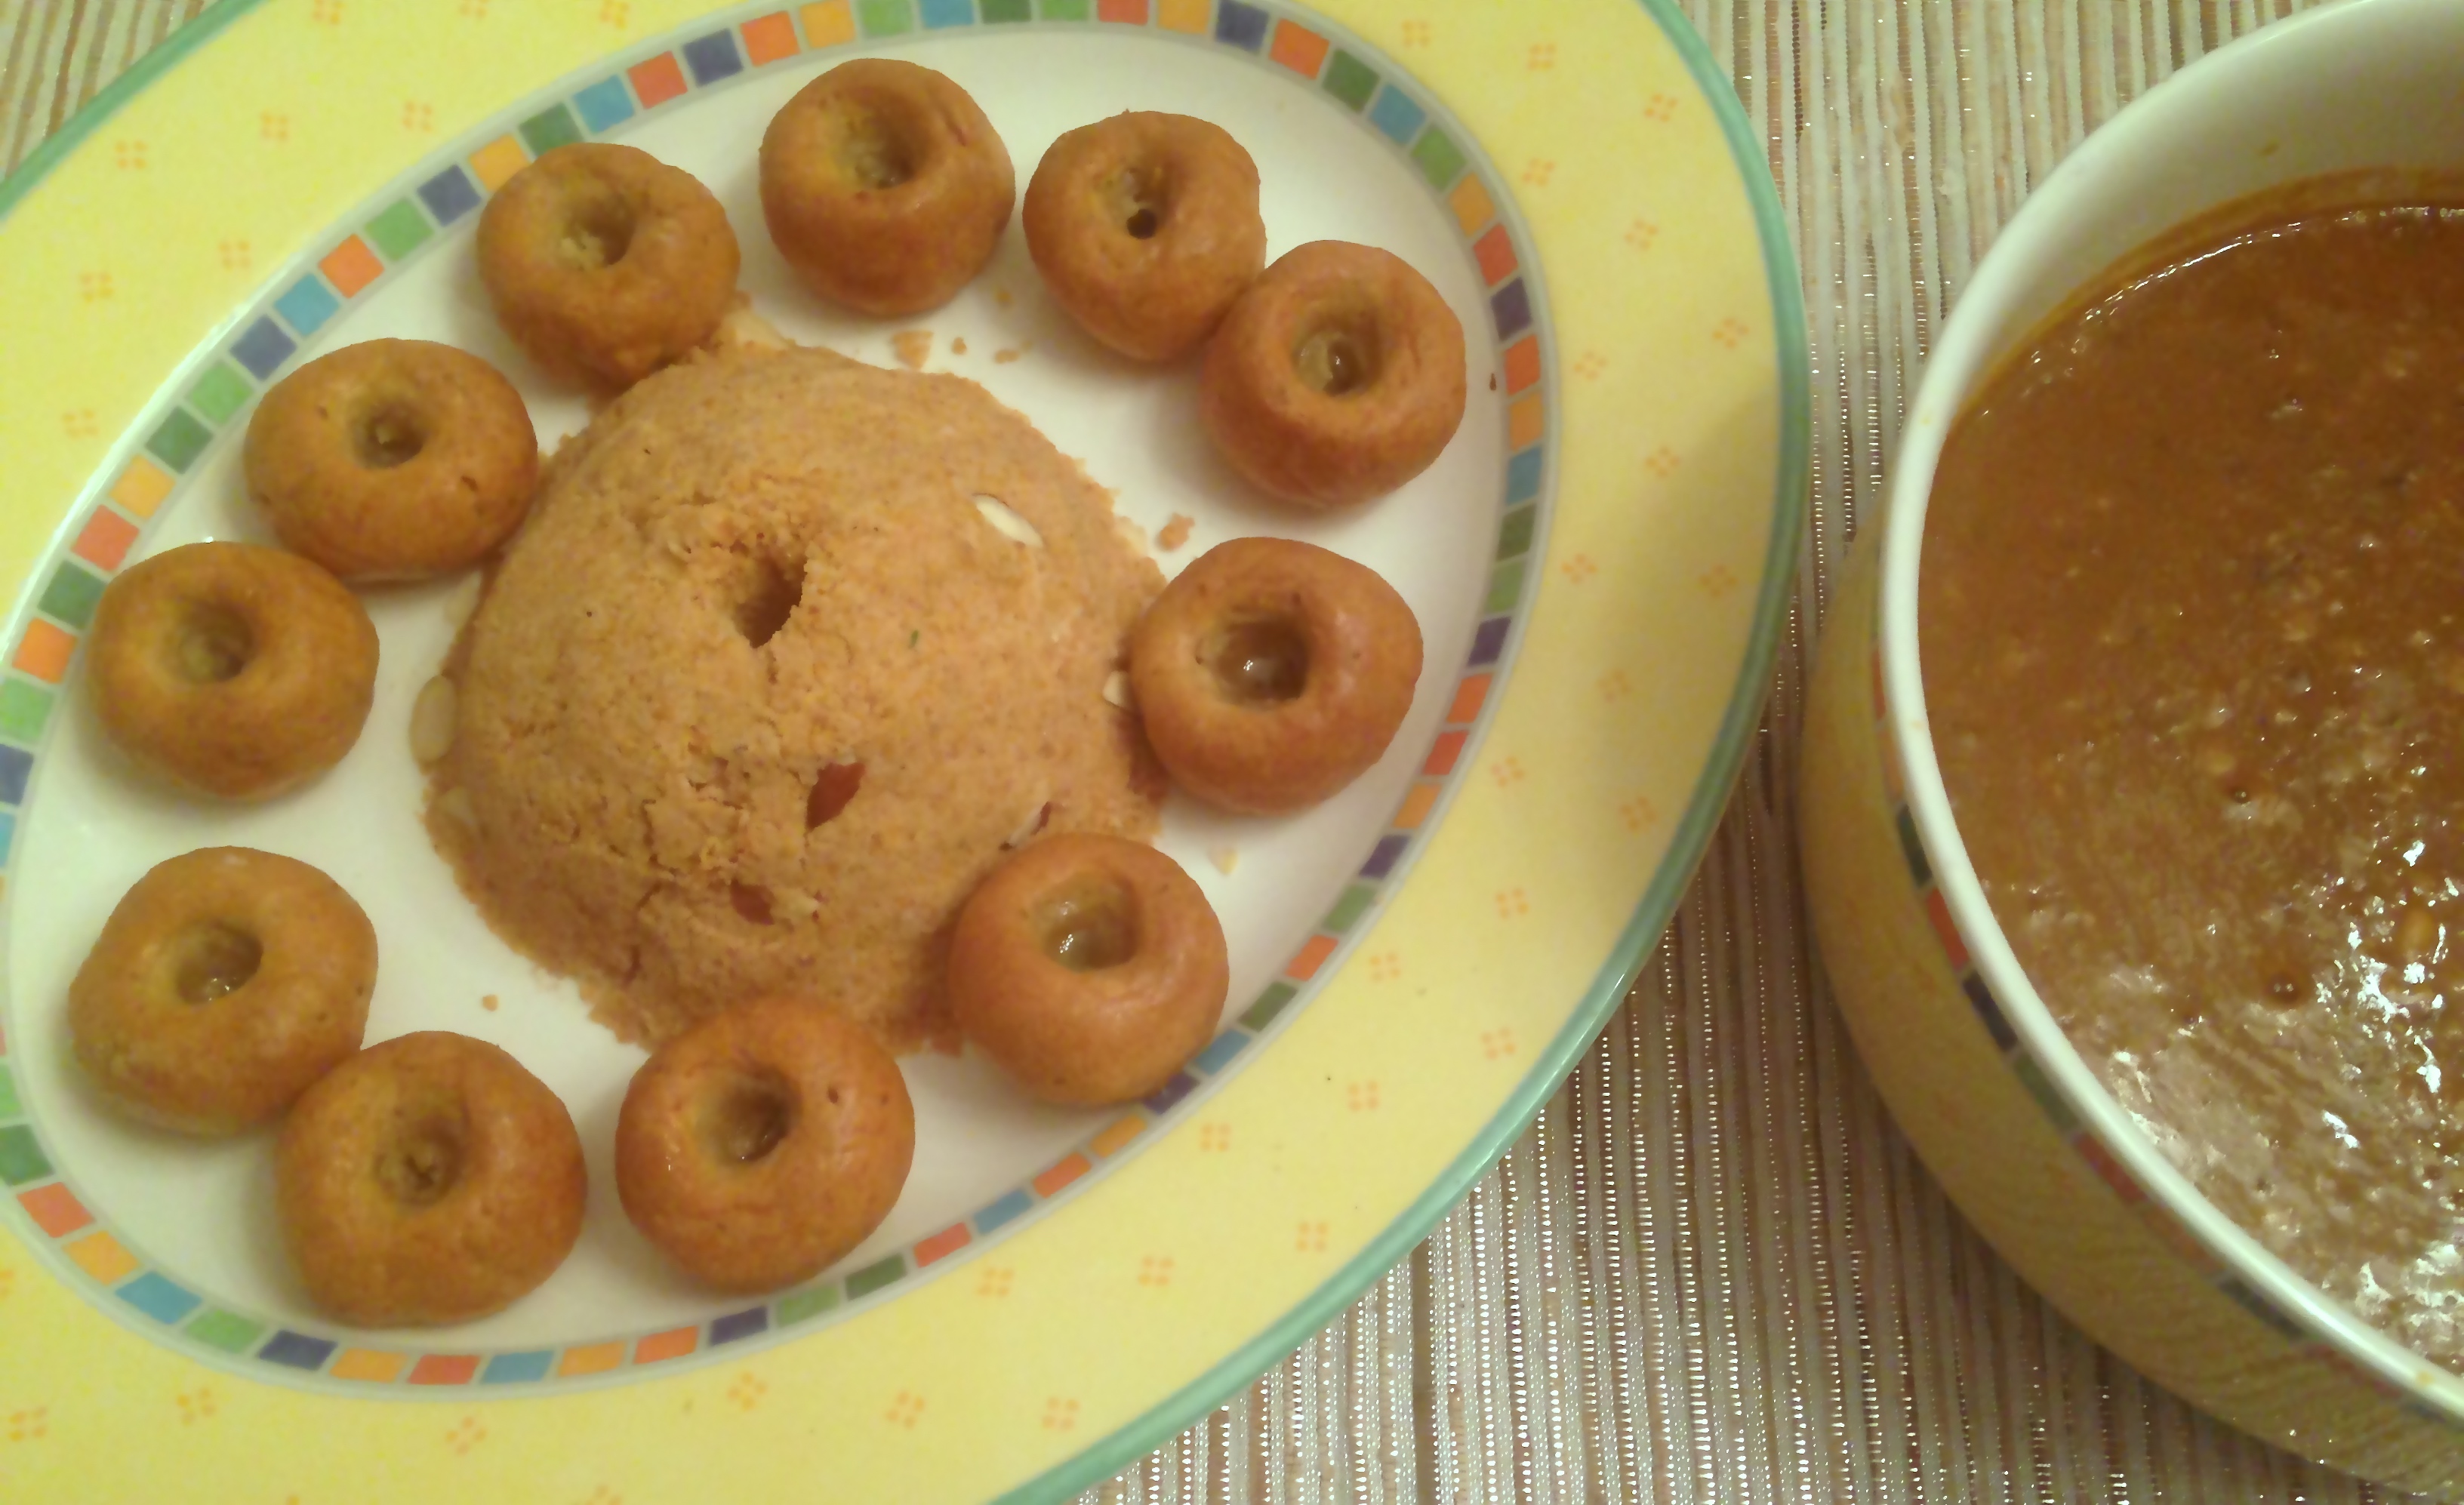
Assembling the Dahi Vada Lentil Fritter in Yogurt

  • Arrange the soaked vadas in a flat and deep dish, and you will notice the color of the fried vadas has also become lighter now.
  • Pour the yogurt gravy on top. so that the entire vada is soaked in yogurt, and leave it for 10 min to chill in the refrigerator
  • Add some more yogurt gravy before serving,  and sprinkle all the garnishes on top and serve.

Dahi Vada

Tips

Frozen vadas, need to be soaked in hot water so as to regain its sponginess. If the fresh vadas are not that soft, one may try soaking in hot water for achieving softness.

If not using green chutney due to Jain Paryushan or aatham chaudas, one can spice it up with extra red chilli powder

Black Pepper powder addition is from the Dahi Bhalla version of Dahi Vada.

Instinct Factor

Frying the dahi vada and grinding the dahi vada batter comes with practice, so keep on trying, as I realized the perfect grinding level only recently!!Might explore with a bit of mint flavor next time.

Feel Factor

One gets protein, fibre, and yogurt and in this delicious dish of  Dahi Vada Lentil Fritters in Yogurt. I have also found  that vadas frozen and used later on are also equally tasty, so , definitely a dish that can be made once and savored over and over again. 5-6- Dahi Vadas make a complete meal and many happy with the cooling spiced  yogurt on the top and soft spongy fritters on the inside and the garnish artwork on the top and not to forget the very many names you can call this dish by!! A real treat in heat of the summer!


[contact-form-7 404 "Not Found"]


Posted on

Palak Pulao Spinach Rice

Something simple, colorful, quick and nutritious is what easily describes the Palak Pulao Spinach Rice! This is a delicious rice dish that has some crunchy peanuts, peas, cherry tomatoes and spicy seasoning of dried red chillies, cinnamon and bay leaves.

When I first had this Palak Pulao Spinach Rice at a friends place, many years back, I took an instant liking to the spicy and crunchy taste in the brilliant green colored rice, arising from the well blended spinach. To me, this appeared to be a great recipe to have spinach in a different way. We often make Palak Pulao with chopped spinach, but the blended spinach served as a colorful paintbrush with which the long grains of rice were colored.  The cherry tomatoes were last minute addition and added a great flavour and contrast. You can taste the influence of Maharashtrian and South Indian cuisine due to the spice and peanuts in it.

With the Jain Festival of Paryushan round the corner, and many Jains excluding onion and garlic at the very least for a week, this  Palak Pulao Spinach Rice recipe is a wonderful menu item during such time.

Enjoy this nutritious colorful meal that was easily made in the rice cooker!

Recipe serves for 4-5 people

Prep Time: 20 min

Cooking time 30 min

Ingredients
  • 1/3 cup oil
  • 4-5 large cinnamon sticks
  • 5-6 Dried Red Chillies big size
  • 4-5 Bay leaves medium size
  • 1/3 cup peanuts
  • 2 1/2 cup rice
  • 1/2 cup frozen peas or fresh peas
  • 6  big heaps of trimmed spinach leaves
  • salt to taste
  • 1 tbsp garam masala
  • 1/2 cup cherry tomatoes
Method
  • Wash the rice thrice in plenty of water, and soak the rice in 4 cups of water, for 30 minutes.
  • In a pan,  put 2 litres of water to boil.
  • As it boils, add half the  spinach and keep on medium high flame.
  • Cook for about 7 minutes and remove. Cook the remaining spinach the same way.
  • Using an immersion blender or normal blender, blend the spinach to almost fine texture and keep aside.
  • In a pan, put oil to heat and add bay leaves and saute till golden brown.
  • Add cinnamon sticks and wait for it to be well sautes, till it increases in size and flattens out.
  • Add dried red chillies to the oil.
  • Once the chillies are well sauted, add the peanuts.
  • Keep on medium to high flame, and saute the peanuts till they are dark brown.

IMG_3679

  • Add the blended spinach, frozen peas, salt , and cook for-8 minutes.
  • Sprinkle Garam Masala on top and cook for 2 more minutes.

IMG_3682

  • Add this mixture  and cherry tomatoes to the rice and cook in the rice cooker.

IMG_3686

  • Serve hot, with pickle, yogurt and papad.

Version 2

Tips

  • I used the triple cleaned spinach huge box from Whole foods for this purpose which is quick and easy to use.( approx 2/3 of the box)
  • Alternatively, the rice can be cooked on the gas, using the same measurements, but cooked at low flame, so as to not burn.

Instinct Factor

  •  Variate with additional seasonings as fried cashews to add more crunchiness.
  • The color will stay green, so long as the spinach is not over cooked.

Feel Factor

Palak Pulao Spinach Rice is a combination that is spicy, quick, colorful, highly nutritious and easy to please with!! A wholesome meal that can be a easy TV dinner too!

Posted on

Instant Rava Dosa Rice Semolina Crepe

Back from India after a summer vacation, and it always feels good to be in India, even if it is raining cats and dogs! Monsoon is a season I thoroughly enjoy, so visiting when it is raining is a good vacation, when the plan is just to enjoy and not have an agenda of things to do on your trip.  Today being the 69th Independence Day of India, and feeling patriotic, decided to cook up something for breakfast that is quick yet allows to satisfy the creative you!!  So here am I trying my hand at drawing a map of India from memory,  using rava dosa batter and having fun with it. The childlike joy of  just having fun is good for your soul!

Rava Dosa is an absolute favorite of mine and am pretty picky about the way it is cooked, and hence had to have the recipe perfected to my satisfaction. And the melted Amul butter on the top is just too tempting to resist.  Rava Dosa is one quick item, that could be breakfast, lunch, dinner or anytime snack, and the preparation of it is under 10 minutes and you can satisfy a hungry stomach in under 15 minutes.

The way this Dosa is prepared, is that the dough is pretty watery, and hence the easiest way to pour the batter on the griddle is through your fingertips, and this whole process is pretty soothing to an artist and its fun to see the holes form in between the batter!!

And the way I put the seasoning is to sprinkle the seasonings on the griddle and then cover it with the batter. That way the seasonings are well grilled, and do not soften the exterior of the dosa. And top it with Amul butter greasing which gives it a golden warmth to the dosa that I just admire and also makes it more crispier too. WIth the upcoming Jain Paryushan, this can be an easy item to add to the list of Paryushan friendly recipes, when one omits, green chillies, coriander and shallots.  Increased whole black peppercorns and also adding some grounded peppercorn, makes it spicy enough. Interestingly, black peppercorn is the original ingredient used for spice, before green chillies travelled to India.

The texture of Instant Rava Dosa Rice Semolina Crepe is crispy, the feel is like a spicy salty crepe, and you can have it plan with chutney, pickle  or have it stuffed it vegetables. So try this recipe for a quick breakfast, snack or lazy meal item and have fun with it, as I enjoyed it thoroughly!!

Recipe makes 12-15  Rava Dosas

Prep Time : 10 min

Cooking Time 5 min per  Rava Dosa

Ingredients
  • 1 cup semolina rava
  • 1 cup rice flour
  • 1/4 cup  all purpose (maida)  flour
  • 6 cups water
  • 2 tbsp chopped coriander
  • 1 tsp cumin ( jeera) seeds
  • 1/2 tsp black ground pepper
  • pinch of asofoetida
  • 11 tsp whole peppercorns
  • 2 tsp diced ginger(optional)
  • 1 cup finely chopped  pink onions (shallots)
  • oil to grease
  • butter to make it crispy (optional)
  • salt to taste
Method
  • Mix semolina, rice flour, all purpose flour, salt, pepper and asofoetida  in a prep bowl.

IMG_4039

  • Add 5 cups of water and mix thoroughly so no lumps  are left.

IMG_4040

  • Heat a dosa tava or round thick pan griddle on medium high flame.
  • Dot with oil or some butter.
  • Sprinkle the garnishes of your choices on the pan first- cumin seeds, peppercorns, ginger, chillies, coriander and shallots.
  • Stir the mix and using your fingers, drop the batter on to the garinshes on the pan, letting the the mix slide through your fingers on to the griddle.

IMG_4049IMG_4044

  • Go in a circular pattern while dropping the batter. This will create holes and gaps as seen in a rava dosa made in a resturant.
  • Grease the Dosa crepe on the edges with oil/butter on the top, Using a flat spatula, cut the butter from the slab and roll it over the Dosa Crepe
  • Cook on a medium a high flame.
  • Dot some oil/butter on the edges of the Instant Rava Dosa crepe.
  • As the edges start changing color to golden brown and some portion in the center also changes color, release the dosa from the sides and flip if over.
  • Cook some more on this side for a minute or so, and flip it over and  roll the dos roll the dosa crepe.IMG_4051


  • Serve hot with chutney, sambhar, yogurt, or potato filling, or pickle

IMG_4053


Tips

Cook  Instant Rava Dosa Rice Semolina Crepe on a well heated griddle with thick bottom on medium to high flame.

Nirlep Brand Non Stick Tavas for Dosas are best in my opinion. Alternatively the thick two burner griddles that are available at 20$ or so also work well.

If you run out of Rava or Sooji , just plain rice flour with 1/4 tbsp all purpose flour and 3 cups of water will also do.

Instinct Factor

Wait for the edges to turn golden brown  to flip it to the other side to cook.

Get creative like making different shapes of pancake making! If you get inspired to make India’s map or anything with set sides, do remember that the image that you create should be flipped to a mirror image, as when you turn the cooked side over, it will get you a mirror image of what you dropped as a batter!! Fun Spatial exercise for the brain.

Feel Factor

For the picky rava dosa eaters, make it crispy or soft, adjust the spice levels, and get the color of dosa just right to your liking. And the best thing is, you made it!! I like it plain, crispy and well cooked with all the  different garnishes triggering all different tastebuds. And my salute to India with GO INDIA with this Instant Rava Dosa Rice Semolina Crepe !!


Posted on

Pindi Chhole Chickpeas in Dry Gravy

June 30, 2015, was one second longer, an event that reminded me that I should utilize this extra second well, by posting something which is a “second” recipe of the same kind on my blog:) Sometimes its nice to be silly and take pleasure in simple things in life and keep efforts simple too! So sharing something that requires minimum time and efforts but maximizes on taste with a fragrant aroma is Pindi Chhole recipe. I have referenced this item on earlier Chhole recipe http://cookingbyinstinct.com/chhole-bhatura…h-puffed-bread/   Pindi is the suffix that comes from  Rawalpindi- the place from where this Chhole became famous from, located in  the Punjab State of Pakistan. This Pindi Chhole Chickpeas in Dry Gravy, is all about enjoying the beautiful brown colored chhole, without onion, garlic, that tastes so delicious with its seasoning in ghee and roasted spices. Its all about aroma and taste in this recipe, and you will relish this with hot bhaturas, or even just a slice of bread. If you have not tasted pindi chhole, it is a delicacy waiting for you to try out!! And for the Jain followers. this is one delicious item that needs to be a part of Aatham/Chaudas menu, for sure! The texture is dry and the taste is tangy and spicy  and the aroma is fragrant!! Because very little effort is needed, it leaves you time to attend to other items and if the roasted powder is made in advance, this becomes one quick easy delicious meal for all to enjoy. This is quite tempting as a finger food too, and it is difficult to stop licking and eating , once you start digging into this Pindi Chhole Chick Peas in Dry Gravy. Bon Apetit!

Recipe serves 3 people

Cooking Time 20 min Prep Time 10 min Soaking time : 7-8 hours overnight

Ingredients:
  • 15 gms dhana or coriander seeds or I tbsp of coriander seeds
  • 25 gms anaardana pomegranate seeds or 2 tbsp of pomegranate seeds
  • 1 tsp spoon of jeera
  • 1/2  tsp jaifal/nutmeg powder
  • 4 1/2  tsp garam masala
  • 1 tsp red chilli powder
  • 9 tsp kasuri methi/fenugreek
  • 1 tbsp aamchur/dry mango powder
  • salt to taste
  • 2 cups of chhole or chickpeas
  • 1/8 tsp sodium bicarbonate
  • 200 gms ghee
Method
  • Roast on slow flame, coriander seeds, anardana, jeera for 7-8 minutes, till it the coriander seeds become golden brown, and the mixture releases an aroma. Let it cool and then grind it into fine powder using a mortar and pestle, to getter a better fragrance. Otherwise grind using a food processor/blender.

IMG_3357

  • Soak the Chickpeas  in about 5-6 cups of water for 4-5 hours.
  • Add 2 cups of water to chickpeas, sodium bi -carbonate, and 1/2 tsp salt and boil the chickpeas in a pressure cooker on medium high flame
  • Cook for 3-4 whistles, and you can gauge if the chickpeas are cooked or not, based on the steam aroma from the pressure cooker.

IMG_3358

  • Quickly release the excess steam and drain the excess water and put it in a flat plate, so it does not overcook in the residual steam. The chickpeas should feel a little firm, yet cooked. That is the consistency needed for this recipe.
  • In a broad pan, put the ghee/clarified butter to melt.
  • Saute the roasted powder on slow flame for 3-4 minutes, till the powder becomes dark brown

IMG_3363

  • .Add garam masala, aamchur, salt, and boiled chick peas. Mix everything well and cook for a 5-7 minutes stirring continuously on medium-low flame. so that it does not get burnt.
  • Crush the Kasuri methi leaves in between your palms and sprinkle on the chhole and mix. Cook for 8-10  minutes.

IMG_3364

  • Remove from flame, and let it sit.for about an hour or so, so that all the excess gravy gets soaked up.
  • Serve hot with Bhatura or Poori or Paratha or even bread slices!  For Bhatura recipe, refer previous entry on my bloag  http://cookingbyinstinct.com/chhole-bhatura…h-puffed-bread

IMG_3369

Tips

Ensure that the chhole are not overcooked, as you want the chickpeas to hold its shape well. It is about the looks, here!

Roasting and grinding can be done well in advance.

Canned chickpeas may also work for this.

When roasting the powder for future use, use 21/2 tbsp of such powder for 2 cups of uncooked chhole

Instinct Factor

Instinct over here is following your nose and scent and aromas, released in this recipe!

Feel Factor

The first time I had this chhole at a friends place, I was bowled over and here I share this recipe as stated by her! Friends may part ways or be distant or close, but good memories associated with people linger on, and create a fragrant reminder of days gone by. The texture is just appropriate and one can decide to go extra brown, by adding a pinch of sodium bi carbonate in the seasoning, or prefer to go a lighter shade, the color choice is yours! Taste is just delicious for a recipe that does not use an onion/garlic base,  and  this Pindi chhole chickpeas in dry gravy provides a quick different version to the quintessential Chhole!

Posted on

Gujarati Dal Dhokli Lentil Soup with Dumplings

Gujarati Dal Dhokli Lentil Soup with Dumplings is a delicacy to be enjoyed on a rainy cold day.  Having this on cold day or when you are down with cold, warms up your body, clears the sinus and stuffed up feeling and brings in energy in a lethargic body. Various kinds of dal dhokli exist in India. The  version presented here is the famous Gujarati Dal Dhokli made in Yellow Pigeon Lentil. This dish is a highly authentic gujarati menu item and a dish found in most rural cuisine in Gujarat.

When this is being cooked, the whole house fills up with aroma of fragrant cinnamon, cloves, lemon and jaggery. This must be in my opinion one of the oldest dish of dumplings from India. It is easily a complete meal by itself. So when you are in the mood of lazing around and also want to have a wholesome meal that is quick and less taxing, try this option. The other version of Dal Dhokli that I have had is from Rajasthan and that too has multiple varieties, which I shall be sharing soon.

This is also very frequently cooked, during the Jain Paryushan when one gives up green vegetables. And the dish is so delicious, you will not feel that you are missing out any green vegetables on that day. The taste of this dal dhokli is sweet, sour, spicy, and is  fragrant and slurpy. The trick to fragrant lentils is in the seasoning of the dal lentils which needs to be done at the appropriate temperature and with patience.

A must try recipe for soup, lentil, dumplings and gujarati cuisine lovers!! And a special earth day celebration the Jain way, respecting  and protecting earth and omitting the green vegetables, a routinely concept for certain days of the month

Wishing all the readers a Very Happy Earth day, for our dear Planet ,we all call HOME SWEET HOME!

Recipe makes for 3 people

Cooking time 1 hour

Prep time: 20 min

Ingredients
  • 1 cup yellow pigeon lentils
  • 2 tbsp ghee clarified butter
  • 2 medium cinnamon sticks
  • 1 dried red whole chillies
  • 4-5 cloves
  • 1/4 tsp mustard seeds
  • 1/4 tsp cumin seeds
  • 3/4 tsp turmeric powder
  • 1/8 tsp asafoetida powder
  • 8-10 peanuts, without the skin
  • juice of half a lemon medium sized
  • 1 ripe banana
  • 5 tbsp sugar
  • 1/4 cup size jaggery piece
  • 8 cups of water
  • salt to taste

Optional ( To be avoided when making it for Jain Atham or Paryushan Festival)

  • 1/2 tbsp finely diced ginger
  • 1 1/2 kashmiri green chillies diced
  • fresh coriander for garnishing

For the dhokli or dumplings

  • 1 1/2 cup whole wheat flour
  • pinch of asafoetida
  • 1/8 tsp red chilli powder
  • 1/8 tsp turmeric powder
  • 1/4 tsp white sesame seeds
  • 1 tbsp oil
  • 1 1/4 cup of water to knead dough
  • salt to taste
  • dusting flour
Method
  • Wash the toor dal yellow pigeon pea lentils thrice, in water, and soak in  2 1/2 cups of water for about half an hour.
  • Pressure cook the soaked dal lentils along with water for 6-7 whistles on medium flame and let it cool.

IMG_2203

  • In a deep pan, put the ghee melt on  medium flame.
  • Add mustard to the ghee and let it crackle.
  • Add cinnamon sticks and let them expand in size.
  • Add cloves and again let them expand.
  • Add asafoetida.
  • Add cumin seeds and let them brown.
  • Add the boiled lentils to the seasoning.
  • Add salt, water,  peanuts, sugar, jaggery lemon , and let it boil on slow-medium flame for about 40 min.

IMG_2211

  • If using the optional items, add these ingredients to boiling along with water and sugar etc,
Making the dhokli/ dumplings
  • Combine all the ingredients for the dhokli to knead into a soft dough.

IMG_2206

  • The kneaded should feel soft and pliable
  • Refrigerate the dough for about 20 min.
  • Take a quarter cup size dough ball, and roll it into a circle about 9 inches in diameter, using the dusting flour.

IMG_2212

  • Using a knife make diamond/square shape cuts and shift it to a broad plate.

IMG_2209

  • Repeat for 3 more dough balls.
  • After the lentils have boiled for about 40 min, add the diamond shape dhokli dumplings to the lentils and boil for another 20 min

IMG_2215

  • Add banana halves about 5 min before serving.

IMG_2214

  • Garnish with a spoon of ghee and serve.

IMG_5410


Tips

While boiling the dumplings or dhokli, make sure that the lentils are boiling and then add.  Also stir in a few minutes, to ensure that the dhoklis are not sticking.

When the dumplings or dhoklis are cooked you will see them floating easily.

Instinct Factor

Why not variate with a different shape of dhokli?

Feel Factor 

Wow, a dish from one of the oldest grains known split pigeon peas, and that also cooked following the principles of respecting the environment and earth, and celebrate the earth day, made this super delicious dish rise few notches higher in my view!! The taste is just yum, with the appetite already whetted by the fragrant aroma of the spices, and the tongue getting the taste of spice, lemon, sugar , sweet and slurpy. Would not be surprised if this becomes a frequent item on your quick menu list. Enjoy this truly simple, highly delicious and wholesome healthy Gujarati Dal Dhokli Lentil with Dumplings.


Posted on

Dal Bati Churma Lentils with Hard Wheat Rolls

What better way to celebrate HOLI , the festival of colors, other than share Dal Bati Churma recipe, from  Rajasthan, also famous for its equally colorful Holi!!! The moment one hears of Dal Bati Churma Lentils with Hard Wheat Rolls, one associates it as probably the most well known item of the Rajasthani cuisine to others. Rajasthani HOLI is also an experience one needs to have, if possible. I have extremely colorful memories of Holi celebrations in Jodhpur, because of its warmth, colorful holi and the wonderful food! Holi is also very special for us for various reasons. For a person with roots in Rajasthan, it is also very rewarding to be presented with Dali Bati Churma to celebrate special occasions even if it is a birthday of special someone!! A menu with Dal Bati Churma will  make many hearts warm and some ears spark!!

Dal Bati Churma is a very traditional food and needs some taste cultivation, as I underwent, and as is true for many delicacies that need to have an acquired taste. The bati or wheat rolls are flour based and undergo steaming and cooking/baking process. Whereas the Dal is cooked like any other lentils. The Churma is again made from flour and mixed with jaggery/sugar. And all these are garnished with melted ghee/clarified butter,which further accentuates its taste. The way to eat this is also very unique, as one needs to break the bati doughnuts into small pieces, pour the lentils on top and mix in some churma on the top. This whole process is enjoyed even more, if one is willing to eat this delicacy using finger. Often grandparents have said that eating with your fingers makes the food more tasty and satisfying too! I wondered  many times as to why this was so true? The reason for this is “ Food well focused upon brings about better absorption, assimilation and satisfaction leading to better health and a calmer, stress-free life.” as per an article in guardianlv.com.  And I fully agree with this observation as having experienced this first hand. Read more at http://guardianlv.com/2013/06/eating-with-your-hands-is-healthier/#zysblkHvxIG6DJR0.99 

Though this dish looks complicated it is not so tough, but does requires some hand work out!  A modified version(based on Tarla Dalal’s recipe ) is presented here. This recipe uses carom seeds, jaggery, and is suited to even be an item for Jain Paryushan or Atham Chaudas Menu!

I love the doughnut look of the batis and find them quite fascinating and the churma, the sweet mixture made of flour reminds me of the churma laddoo.   Both these with the tangy spicy five lentil dal makes Dal Bati Churma, the pride of Rajasthani Cuisine!! Eat any combination, Dal Bati, Churma Dal,  or the best one Dal Bati  Churma


Recipe makes for 3 people – Makes 10 batis

Preparation Time: 20 min

Cooking TIme :1 1/2 hour min  ( only Dal Bati- 1 hour)

Ingredients[shopeat_button]

Foe the Dal

  • 1/3 cup Chana Dal ( Bengal Gram Lentils)
  • 1/3  cup Tuvar Dal( Split PigeonPea Lentils)
  • 1/3  cup Chilkewali Moong Dal ( Split Green Gram Lentils)
  • 1 tbsp Urad Dal ( Split Black Lentils)
  • 3 tsp chilli powder
  • 1/4 tsp turmeric powder
  • 1 tsp coriander powder
  • 1/2 tsp garam masala
  • 2 bay leaves
  • 1 tsp cumin seeds
  • a pinch asafoetida
  • 2 tsp amchur(dry mango powder)
  • 2 tsp tamarind pulp
  • 3 tbsp ghee
  • 6 cups water
  • salt to taste

IMG_2591

For the Bati

  • 1 cup whole wheat flour
  • 1/2 cup semolina
  • 1/4 tsp ajwain seeds(carom seeds)
  • 8 tbsp milk
  • 4 tbsp melted ghee(clarified butter)
  • salt to taste
  • 6 cups of water to boil batis

For the Churma

  • 1 cup whole wheat flour
  • 1/4 cup semolina
  • 6 almonds sliced
  • 1/4 tsp cardamom powder
  • 1/2 cup sliced jaggery
  • 3/4 cup sugar(or 1/2 cup jaggery)
  • 4 tbsp melted ghee for churma dough
  • About 2 cups of ghee for frying

For serving

  • 1/2 cup melted ghee

Method

Cooking of the Dal Lentils

  • Mix all the lentils/dal and wash thrice and soak in 3 cups of water for about 1 hour.
  • Pressure cook the dal/lentils upto 3 whistles, till cooked.

IMG_2573

  • In 3 tbsp water, mix turmeric, chilli powder and coriander powder and make a paste.

IMG_2596

  • Heat the ghee and add bay leaves. When they become red, add asafoetida, cumin seeds.

IMG_2597

  • As cumin seeds become brown, saute the paste for 2-3 min.

IMG_2598

  • Add the cooked lentils, salt, 3 cups of water and simmer for 10 min.
  • Add tamarind pulp and amchur powder and simmer for 20 min.

IMG_2606

  • Add garam masala, simmer for 5 min and remove from flame and cover with lid.

For the Batis

  • Make a firm dough by mixing all the ingredients. You should not need water, if needed add very little water. The dough will have cracks and difficult to firm.

IMG_2572

  • Make 9-10 balls and the balls will have cracks, which is how it should be.

IMG_2574 IMG_2575

  • Flatten the balls a bit, and make a indent in the center, all the way through, like a doughnut. This way it will help to cook the center of bati better.

IMG_2577 IMG_2580

  • Put the water to boil, in a broad vessel and boil the batis in it for 20 min over medium high flame.

IMG_2587 IMG_2588

  • Preheat the oven to 375 degrees F and bake on the middle rack for about 20 -25 min until golden brown. Batis need to be the last one to be cooked as it needs to be served warm right from the oven.

IMG_2612

For the Churma

  • Mix everything in a broad plate and add maximum half cup of water to make a stiff dough.

IMG_2583

  • Make 8-9 lump shaped oval balls.
  • IMG_2584
  • Heat the ghee for frying, once heated, put it to slow flame, and fry until orange brown. This will take 20 min or so.

IMG_2607

  • Cool for about 10 min and then break the churma balls into pieces, using pestle.
  • Add jaggery, sugar and pulse  grind to fine consistency.
  • Add cardamom powder and almonds and mix well.

IMG_2610

Serving Dal Bati Churma

  • Put the batis on a plate, and drizzle melted ghee in the center and top and serve with warm dal and churma.

IMG_2616

How to eat Dal Bati Churma

  • Break the bati into couple of pieces, pour the dal/lentils and mix in some churma.  You can eat plain churma too, with some melted ghee on top. Try any combination you like, as bati and churma or churma dal or all three dal bati and churma.

IMG_2617


Tips

Baking Bati is an area that requires a little experience. Turn the batis tray half way through.Flip the batis also half way through, specially if  not using convection baked oven. Alternatively we can cook the same for 20 min on Gas tandoor, that is how traditionally it is cooked.

Churma can be made well in advanced and also consumed subsequently for a week or so.

Instinct Factor

Adjust the consistency of dal, so that it has some pouring consistency and has some thickness too.

Add saffron strands to the churma to make it more richer in look and taste.

Because I was celebrating Holi on this day , I decided to make a mound as in Holi of Churma with a hole in the center for celebratory feel!

Feel Factor

Best way to experience the richness of dal bati churma lentils with hard wheat rolls,  is to eat it using your hands , and may that is why it is such a satisfying, rich and simple local meal. No wonder that it is a must have meal in weddings, special occasion and truly deserves its  place of pride in Rajasthani Cuisine. A rich item easily on a  menu list  for the Jain festivals too! Some people may need to cultivate a taste for this, but if your are bread fan, bati is an  authentic hard wheat rolls that I have come across in Indian Cuisine . Definitely a dish, one should taste at least once, for its texture, composition and combination. Like chole bhature or any other lentils, this recipe also has n number of variants,  as it is such a local food, that the flavour and taste changes evey few hundred miles. Hope you find your flavour of dal bati churma, here or in the land of Rajasthan!


Ingredients


Posted on

Kachi Paki Dal Split Pigeon Pea Lentils With Bread

Kachi Paki Dal Split Pigeon Pea Lentils with Bread provides a highly colorful and healthy eating of  lentils the Sudanese way. Pigeon Lentils or Toovar Dal, is one of the oldest grains cultivated in the history of mankind, and was abundantly available in India and Africa, two of the oldest civilization zones in the world. In Gujarati cuisine, toovar dal is a staple item eaten mainly with rice and cooked frequently, so also in  southern indian cuisine in form of Sambhar, and  in rest of India mainly consumed along with rice. In fact, in Gujarat, Toovar Dal is also used in a dessert item of Pooranpoli, a sweet bread, made on special occasion. In my view, the Toovar Dal, suddenly leaped a few steps of importance, knowing that I am consuming one of the oldest grains  about 3400 years old, first found in Orissa in India, and also for the fact that this lentil is extremely  heavy on protein,  folate, manganese and phosphorous components. This toovar dal travelled from India to East and West Africa. So one gets the connection of how culture and cuisines are shaped and it is a moment of pride to introduce an East African cuisine for the broader Indian and other global readers.

This dish has inherent sweetness when made from  “24  Mantra” brand organic lentils available at Indian grocery stores. Just boiled lentils is sweet enough to be consumed with no or minimum spices.  A recipe that comprises of salad, soup, and bread and has Indian spice flavour gives, eating soup bread and salad, a whole new look!

Kachi Paki Dal Split Pigeon Pea lentils with Bread has a rhyming name in Indian language meaning half uncooked (Kachi) and half cooked (Paki), as the normal Toovar Dal that is consumed with rice, goes for further extended cooking after being pressure cooked. Filling, satisfying, creative, spicy, lemony, crunchy and extremely quick are some of the words that comes to me when describing this rhyming dish from Sudan and I would not have been exposed to this delicacy had it not been for my dear sister-in-law!


Recipe Serves 3 people

Prep Time: 20 min

Cooking Time: 15 min

Ingredients[shopeat_button]
  • 1 3/4 cup toovar dal split pigeon pea lentils
  • 1 1/2 cups shredded cabbage
  • 3/4 cup chopped tomato
  • 2/3 cup chopped cucumber
  • 2/3  cup chopped capsicum
  • 2 tbsp coriander
  • 2 tsp finely chopped green chillies
  • 3 1/2 cups water
  • 1/2 cup oil
  • 2 tsp red chilli powder
  • 2 tsp dhania powder
  • 1 tsp turmeric powder
  • 1/8 tsp asafoetida
  • salt to taste
  • lemon for garnish
  • 1 dozen dinner rolls
  • butter for grilling dinner rolls
  • fine sev for garnish (optional)

IMG_2320

Method

  • Wash the lentils thrice and soak in 31/2 cups of water for an hour.
  • Pressure cook the lentils to 3-4 quick whistles.
  • Cool the lentils thoroughly.
  • The lentils should be whole and not mushed up. If plenty of excess of water, drain the extra water.

IMG_2324

  • When ready to eat, warm the lentils.
  • Add oil, turmeric, asafoetida, salt, turmeric, chilli and dhania powder and stir well.

IMG_2326IMG_2325

  • Cook for 4-5 min and remove from flame.
  • Grill the dinner rolls with some butter.
  • Top the split pigeon pea lentils with some cabbage, tomatoes, cucumber, capsicum, few drops of lemon juice, coriander and fine sev.

IMG_2329

  • Serve Kachi Paki Dal with grilled dinner rolls.

IMG_2331


Tips

If preparing well in advance then excess water will be consumed by the lentils. The final  consistency should be like lachka dal or thick soup.

Instinct Factor

Overcooking will spoil the look and feel of this dish, so under cooking lentils will be advantageous if in doubt.

Adjust the spice level to your taste as it can be controlled with toppings of chillies and chilli powder, and also variate with the toppings of your choice.

Feel Factor 

A truly wholesome meal that is colorful, quick, healthy and provides the rainbow look and need of vitamins for a vibrant skin.  It is a perfect weekend/brunch and  tv meal menu that is well appreciated by all age groups. Kachi Paki Dal Split Pigeon Pea Lentils with bread, is a Sudanese dish that is based on its more famous cousin Sudanese Phool, described in another recipe on this blog as Spicy Rajma Soup at http://wp.me/p46j8l-fP. Both the recipes have global appeal because of the use of salads, bread, lentils and colorful preparation and visual appeal.

Posted on

Vegetarian Kabuli Pulao Layered Rice

Vegetarian Kabuli Pulao Layered Rice

Kabuli Pulao or Qabili Pulao has its origin in Kabul, Afghanistan, where it is considered as a National Dish. Kabuli also means  “from Kabul”. This is not only a national dish, but has its origin as an important meal in the royal cuisine. Afghanistan is place, where nuts and carrots are abundantly grown due to its climate, and rice was a part of a wealthy persons meal. Elaborate rice dishes were made on various royal occasions.  According to a writer in dawn.com,(http://www.dawn.com/news/1100061) emperor Babur, who came from Central Asia, complained of Afghani food lacking nuts, melons and carrots. And I believe, this must be the reason why this  dish was created. The traditional meat based version also now has a new vegetarian version  to suit the vegetarian needs of the community. In India,  this is quite famous as Jodhpuri Kabuli Pulao. Jodhpur, being the western military base for India, is also a  land well known for its brave soldiers and warriors. It is logical for cuisines to intermingle with the local culture and travel across geographical boundaries and hence for vegetarian Kabuli Pulao to find its home away from home in Jodhpur.

Vegetarian Kabuli Pulao Layered Rice is a blend of spice and sweetness, crunchy nuts a top a mix of rice and vegetables. It has cooking style of Dum Biryani, and it is presented in alternate layers of rice and vegetables gravy. with toppings of thinly cut fried carrots, almonds cashews and raisins. Colorful, rich, unusual, royal are some of the adjectives that describe this exotic rice dish. It is worth all the time and effort involved in making it. The yogurt gravy vegetables and the slow cooking over a couple of hours, gives it the Dum flavour! I prepared this dish, as a part of Thanksgiving celebrations – an apt opportunity to relish this royal dish with family and friends!  A lesson learnt from that day’s experience was , to  keep cooking often, rare menu items, and keep inviting guests often, so as to not forget the small things, that give any meal an edge.  I decided to keep this dish in a warming drawer for slow cooking. I am not much user of warming drawer, and hence was not used to the temperature settings. So when the dish was served, it did not have the  edge as would have otherwise been achieved with long term slow cooking. Nevertheless, the dish was well received by my guests. but as mosts cooks would agree,  sometimes it is harder to please your own self than others!! And I certainly have my mother in law to thank for this treasure!!

I truly enjoy rice based dishes, so for me this is indeed a  treasure that includes  saffron and plain rice, cauliflower, potatoes, carrots, peas, onions, methi pakoras and bread slices in yogurt gravy and topped with almonds, raisins and cashews. The image shows the inside section of the layer so as to have  a comprehensive view , though the popular image of Kabuli Pulao shows carrots and nuts on the top. Enjoy this royal treat from the land of royals!! Vegetarian Kabuli Pulao layered rice,  is a complete meal by itself and rich in texture, color, variety of vegetables and nuts. And after savouring this combination you might end up talking about this unique item with your friends and sharing the same!

Recipe- Makes for  12 people

Preparation time: 30 min

Cooking time : 1  hour

Simmering time: 2 hours

Ingredients

  • 2 1/2 cups cauliflower florets
  • 3/4 cup frozen/fresh peas
  • 5 slices of bread cut in cubes
  • 2 medium sized tomatoes sliced
  • 4 cups potatoes medium sized diced
  • I large onion sliced or 1 cup onion sliced
  • 1 cup shredded carrot
  • 4 1/2 cups rice
  • saffron to color the rice
  • 5 cups of yogurt
  • 4 cups oil to fry
  • 2 tbsp coriander powder
  • 2 tbsp garam masala
  • 3 tsp red chilli powder
  • 2 tsp turmeric powder
  • 1/4 tsp asafoetida
  • 1/4 cup cashews
  • 1/4 cup almonds
  • 1/4 cup raisins
  • 1 1/2 tbsp thin long slices of ginger
  • salt to taste
  • For the Pakoras
  • 3/4 cup frozen spinach
  • 1/3 cup gram flour
  • 1/4 cup water
  • salt to taste
  • 1 1/3 tbsp kasuri methi
  • pinch of baking soda

Method

Cooking the Rice

White Rice

  • Wash and soak 2 1/2 cups of rice separately for white rice.
  • Put 10 cups of water to boil. Add some salt to it.
  • When water starts to boil, add the drained rice to cook.
  • Keep the gas on medium high flame so that the water keeps boiling.
  • Half cover the cooking pan.
  • After 7-8 min check the rice grain to see if it is cooked. It should feel cooked  and slight firm.
  • Add couple of drops of lemon.
  • Remove from flame and instantly drain.
  • Spread the drained rice into a broad pan to allow it to cool.
  • IMG_1782

Yellow Rice

  • Wash and soak 2 cups of rice for yellow colored rice.
  • Put 8 -10 cups of water to boil.
  • When water starts to boil, add 2 pinches of saffron for color.
  • Add rice and cook on high flame for 8-9 min till it is firm yet cooked.
  • Drain and spread out to cool.
  • IMG_1780

Frying the Vegetables

  • Put the oil to heat in a broad fry pan.
  • When the oil is done,  medium fry potatoes, cauliflower to golden color.
  • Fry the onions rings, sliced carrots, peas and tomatoes slices , each of them separately for 2-3 minutes.
  • Deep fry the bread slices to brown color and remove.
  •  Mix all the Pakora ingredients and the consistency should be slightly thick, so as to hold shape.
  • On a medium flame drop 1/2 tbsp pakora batter, and deep fry the pakoras to golden color.
  • Allow all fried items to cool a bit

IMG_1771

 Making the Pakoras

  • In a bowl mix all the ingredients for Pakoras making sure the consistency is thick enough to drop proper round shape balls.  Put 3 cups of oil to heat for the Pakoras in a deep frying pan.

IMG_1767

  • Drop about 1 tbsp pakora mix into the oil and fry them to golden brown color on medium flame.
  • Cool before mixing into the gravy.


Making of the gravy-

  • Mix coriander, turmeric, salt, red chili powder, garam masala  into the yogurt and whisk it throughly

IMG_1775

  • In a broad pan put 3/4 cup oil to heat.
  • Shallow fry almonds, cashews and remove them to be later used as garnish.

IMG_1776

  • Add asafoetida to the remaining oil.
  • Add the yogurt mixed with all spices and keep stirring on a medium flam.
  • Once the oil separates, add all the fried vegetables and thinly sliced ginger, leaving aside half a cup of fried onion rings, 5-6 tomatoes slices and 1/2 cup fried sliced carrots for garnish.
  • Let the vegetables simmer in the gravy for 10-15 min.
  • Mix the fried bread cubes  in the gravy
  • IMG_1777

Layering the Kabuli Pulao

  • In a wide deep pan or aluminium pan make a layer of white rice.
  • Then make a layer of the vegetable gravy
  • IMG_1784
  • Add a layer of  white rice again.
  • Add another layer of vegetable gravy.
  • Add a layer of  onion rings.
  • IMG_1783
  • Add a layer of yellow rice.
  • Garnish the top layer with fried carrots, cashews, almonds and raisings.
  • Make a small hole in the center.
  • Add saffron water through the hole.
  • Cover the pan with an aluminium foil.
  • Put it in warming drawer for 2-3 hours or in oven at 200 degrees F for 2 hours .
  • Slow cooking will mix in the taste of the gravy with the rice and give it a all around aroma of all spices and nuts mixed in.
  • Simple Yogurt, Yogurt Raita or Yogurt kadhi are good accompaniments for Vegetarian Kabuli Pulao Layered Rice.


Tips

To make Jain version, omit onions and potatoes and carrots. Potatoes can be replaced with 3 cups of  green raw bananas, skinned, cubed and fried, and increase the amount of green peas to be increased to  1 1/2 cups.

Plan for the time needed to prepare and slow cook this dish.

Taste the gravy before mixing as once layered,  tasting the same after, will affect the presentation. Leaving it a little spicier will increase the flavour when slow cooking.

Instinct Factor

Cook the rice so that each grain is separate to give the Biryani look and knowing when the rice is cooked to right perfection needs relying on your instincts!

Feel Factor

Yogurt simmered vegetables blended into the two colored rice, with attractive layers is a unique way of presenting a meal , It is as if you are uncovering more and more of a dish as you go down a layer. So the top aroma is salty, nutty, sweet and colorful and the inside is a little tangy with fried vegetables and some treasures as pakoras, and fried bread cubes! Truly a unique assortment of rice, vegetables , nuts and yogurt that will surely kick up your taste buds and also kickstart a very interesting conversation when anyone comes across this slow cooked rice delicacy leading one all the way back to the days of the Royals with their rich taste!!
[shopeat_button]

Posted on

Meethe Chawal Sweet Saffron Rice

Meethe Chawal Sweet Saffron Rice is a simple dessert made from readily available item at home, easy to cook and delicious to taste!! Tradition goes in my in-laws family to celebrate Dusshera with Meethe Namkeen Chawal. Sometimes having set items on certain days, creates a wonderful memory association with such festival celebrations. The intrinsic value of the dish suddenly increases due to its anticipation with the upcoming celebrations.

Sweet Rice is also found in Southern Indian Cusine in the form of Sweet Pongal, with slight variation. As in Southern Indian cuisine, there is a serving of sweet and spicy rice, here too, it is accompanied by Spicy Pulao also known as Namkeen Chawal. So the combination menu is “Meethe Namkeen Chawal accompanied with Yogurt Kadhi” on Dusshera day. Rice based sweet dishes are very popular from ancient times, as rice was staple grain, available in most households. Some people also call this chawal as Chasni Chawal as you reduce the sugar syrup (Chasni) to a certain level or Kesari Bhaat ( Orange Colored Rice- due to its saffron coating)

Saffron flavoured rice with the sweetness of sugar, and raisins, cardamom and pumpkin seeds sauted in ghee clarified butter, release an aroma that has a warm sweet fragrance. This is a unique combination that I instantly took liking to as I consider rice dishes as a celebratory meal.!! Various colors of spices, vegetables and dry fruits pop out against the spectacular long grains of white/yellow rice. Hence, I have always found rice dishes very appealing and it is no wonder that rice based dishes are popular across the globe. You can try all different kinds of nuts and dry fruits to your liking as they will all go well with this Sweet Rice.

India is the home for the world famous Basmati Rice – derived from Sanskrit word Vasmati – meaning Fragrant and no wonder that cooking and  tasting Basmati Rice is a matter of joy and pride, when you see the extra long separate grain of each cooked rice!! In a lighter vein, international trade wars have been fought to reserve the patent of Basmati for India, as it is so inherent to the Indian continent and cuisine.

Cooking rice is almost an art, as you need to ensure that you get the maximum length of each grain of rice. Mostly when cooking rice for such special occasions, I prefer to use Basmati Rice and cook by boiling in lots of water instead of using a rice cooker. Some people like it sticky in which case any kind of rice and rice cooker cooking will work.

And in my perception, you can hardly go wrong with a rice based dish, whether it a dessert, or an entree and whether its for a young kid or old and whether you know someone’s taste preference or not!!

Enjoy this Meethe Chawal Sweet Saffron Rice with a Vegetable Pulao, or Spicy Rice of your choice. The way to eat this is to mix both the rice dishes and yogurt curry together- so that a little bit of sweet , a little bit of spice and little bit of yogurt satisfies the various taste buds in one go!

Recipe makes for 3 people

Preparation time: 20 min

Cooking time : 30 min

Ingredients

  • 1 cup rice
  • 3/4 cup sugar
  • 1/2 cup water
  • 2 tbsp ghee
  • 1 tbsp raisins
  • 7-8 cloves
  • 1/2 tbsp pumpkin seeds ( charoli magaz)- available in local Indian Grocery Stores
  • 1 tsp cardamom powder
  • 10-15 strands of saffron
  • 1 1/2 litre of water to cook rice
  • couple of lemon drops for cooking rice.
  • Optional – sliced -pine nuts, cashews, almonds

Method

  • Wash the rice thrice and soak it in double the water for 20 minutes.
  • Put one and half a litre water to boil in a broad and deep pan.
  • Once the water boils, add the rice to cook, keeping it on medium to high flame.
  • IMG_1133
  • The rice should not settle down and should be always boiling and stir occasionally.
  • In 15 min or so the rice should be cooked. When touched it should feel firm but cooked and each grain should be separate.
  • IMG_1132
  • Add a couple of lemon drops so it does not further overcook and keeps the grains from sticking to each other.
  • Strain the cooked rice and spread it in a flat dish and allow it to cool.
  • IMG_1137
  • In a small bowl, take a tbsp of water and heat it for a minute.
  • Add the saffron strands to it and crush gently after 2-3 minutes, to release the flavor and color.
  • In a shallow container, melt the ghee, add the cloves pumpkin seeds, raisins, saffron water.
  • IMG_1140
  • Stir for a minute.
  • IMG_1142
  • Mix sugar and 1/2 cup water and dissolve all the sugar.
  • Add this sugar mixture into the sauted nuts.
  • IMG_1145
  • Continue boiling over a medium flame for about 10-15 min.
  • Keep a watch on the consistency of the sugar syrup and stir constantly as it may burn or become thick in seconds.
  • When it reaches a thickness where you can see a drop forming from spoon, take off from heat.
  • IMG_1149
  • Gently mix the rice into the cooked sugar syrup.
  • IMG_1154
  • Heat over a slow- medium flame for 4-5 min.
  • Serve warm as a dessert or accompany with Namkeen Rice or Vegetable Pulao.
  • IMG_1157

Tips

When washing the rice, do it gently so that the grains do not get crushed and instead of lemon you can add a drop of ghee or oil, to keep the rice grains separate after cooking. You can increase the ghee level if you want a little sticky/wet feel to this sweet rice. Adjust the sweetness to your taste.

Instinct Factor

Color of yellow to your choice- I like it a little less yellow so that it looks different from a normal vegetable rice or biryani. Long grain or short grain of rice to your choice.- I prefer the Kohinoor Brand Basmati Rice.

Feel Factor 

When I first tasted the sweet rice, I was surprised, as in Gujarat this dish was not much heard of. So when I was treated to this combination of Meethe Chawal Sweet Saffron rice, I was being introduced to one more version of a delicious rice based dish.The saffron infused rice flavour along with spices and nuts gives richness to this dessert cum entree dish.  This highly fragrant rice brings the warmth of festivities and as many agree food certainly opens up many doors to the heart! and it surely must be an item in a kings menu in ancient days!!
[shopeat_button]

Posted on

Dabka Kadhi Bengal Gram Dumplings in Yogurt Soup

A long break between two blog posts- reason being extremely busy with renovation and guests,  but ultimately happy to have my kitchen back all done up! The choice of  item for today’s blogpost stems from the firm  belief that your diet and discipline can lead you  to living  a very long life. On a personal note, my grandmother recently just passed away, one month short of completing 102 years. She served as an exemplary role model of how to live with a purpose in life, almost surviving half a century as a widow and witnessing   deaths of two of her children during her lifetime. Extremely sharp, fluent in conversations and totally mentally agile even at the senior age of 100, has to have its roots on what one eats, and the discipline one follows in life. She was a staunch Jain follower, never tasted any roots,  ate everyday before sunset, resorted to religion to help her sail through the ups and downs of life and never ever gave up on her faith. Medicines were also avoided  as far as possible. as they are often based from some animal products. Mental strength comes from your unfettering devotion in the faith you follow, which gives you a kind of blanket that shields you from unnecessary stress that gets created when facing unwanted situations. As a salute to my grandmother for all the values I learnt from her, I present another Jain Cuisine item for this blogpost. People familiar with Rajasthani cuisine will relish this item, as it is quite similar to the famous Gatte ki Sabji or even Pithod which is of softer texture than Dabka Kadhi. Dabka is the  Bengal Gram Dumpling and Kadhi is the Yogurt Soup. This is quicker than Gatte kie Sabji and can be easily enjoyed as Indian dumpling soup for someone in the mood of trying something new! Dabka Kadhi-Bengal Gram Dumplings in yogurt soup is  a popular meal item when you want to observe the religious days of Aatham , Chaudas and  you are focussing on protein rich foods.

Recipe makes for 2-3 people

Cooking time : 20 min Prep time : 5 min

Ingredients

For the Kadhi Yogurt Gravy

  • 1 1/4 cup full fat yogurt
  • 3 3/4 cup water
  • 2 tbsp bengal gram flour
  • 2 tbsp water
  • 1 1/2 tbsp oil
  • 1/16 tsp  asofoetida
  • 1/2 tsp red chilli powder
  • salt to taste

For the  Dabka Bengal Gram Dumplings

  • 6 tbsp bengal gram flour
  • 1 tsp oil
  • 4 1/2 tbsp water
  • pinch of asofoetida
  • salt to taste
  • 1/2 tsp red chilli powder

Method For the Yogurt Gravy

  • Beat/mix the yogurt and water in a deep pan, making sure there are no lumps.
  • Mix bengal gram flour and two tbsp water in a separate bowl.
  • Heat the oil in a deep pan on a medium flame
  • Add asofoetida
  • Add the dissolved yogurt and water to it.
  • Stir on low flame for 3 min.
  • Add the bengal gram paste to the warm yogurt/water.
  • Add salt to taste.
  • Simmer on low- medium flame for 10 min.

For the Dumplings

  • Mix bengal gram flour,oil, water, salt , chilli powder, asofoetida and turmeric powder in a bowl.
  • Stir well.
  • The paste should be firm but easy to lump when being dropped from a spoon.
  • IMG_0014

Cooking the dumplings

  • When the yogurt curry starts boils over, simmer on a medium flame.
  • Using your four fingers and thumb, scoop some bengal gram paste in your hand.
  • Release a small amount via your thumb, so that a pearl drop is formed while being released into the curry.
  • IMG_0025IMG_2696
  • Wherever you see the kadhi or curry  boiling, drop these pearl shaped dumplings into the curry.
  • Continue doing this, till all bengal gram paste for dumplings is over.
  • Add 1/2 tsp red chilli powder
  • Simmer for about half an hour on low- medium flame, till the curry is reduced to almost half its original quantity.
  • IMG_0030
  • Serve hot with paratha or roti.

IMG_2710

 Dabka Kadhi shown in the bowl in the image

The second item is Drumsticks in bengal gram flour gravy or better known as Sargavanu Shaak

TIps: Yogurt should not be too sour, or else it will spoil the taste. The dumpling paste should not feel to firm to release , or tension when releasing from your fingers. If that is the case, add a few drops of water to make it softer. Its best to add water in little measurements when making this paste. Instinct Factor If the shape is not the perfect pearl, that is fine, as that will come with practice, and even I am in the process of improving. If the paste is too thin, you will not have a firm shape but it will become flat. Also too thin a paste, will have long thin lines on the top of the dumpling. You will know when and how much to release it with practice. More like the art of making bhajjis or fritters, so trust your instinct on shape and quantity of paste, as well as consistency of paste. Feel Factor Dabka Kadhi Bengal Gram Dumplings in Yogurt Soup looks and tastes  like another version of  famous Rajasthani Gatte ki Sabji! Both use bengal gram flour and are made in yogurt curry. This is more healthy, as it uses less amount of oil and is less time consuming. The curry over here is slightly thicker, and is also simpler to make as it uses less amount of spices. The taste of a nice steamed dabka bengal gram dumpling that is chunky enough to bite, in a mildly spiced yogurt curry,  gives a nice warm fuzzy feeling! Its almost like a Yougurt soup with Bengal Gram Dumplings that are perfect for a chilly evening! This goes well with a Paratha or Roti.  Lentils when combined with Yogurt is ideal for making proteins for the body, and this is one delicious and quick recipe for this. [contact-form-7 404 "Not Found"]   [shopeat_button]