The festival of colors Holi,which just went by is celebrated with much fanfare in the land of Rajasthan. My imagination takes flight and I imagine the royals of the land playing with colors in their elaborate costumes and the exquisite castles filled with colorful dresses and colorful faces. At such festive occasions, the royal chefs must be busy cooking and inventing royal dishes. and the courtyard maybe filled with delicious sweets and snacks! One such royal dish is Govind Gatte Stuffed Dumplings in Tomato Gravy, a rich dumpling gravy based entree, filled with richness of cashews, raisins and paneer. There is the ordinary Gatte recipe popularly known as Gatte Ki Subzi whose recipe I blogged earlier. The version detailed today is for those special moments and occasion to make them more memorable.
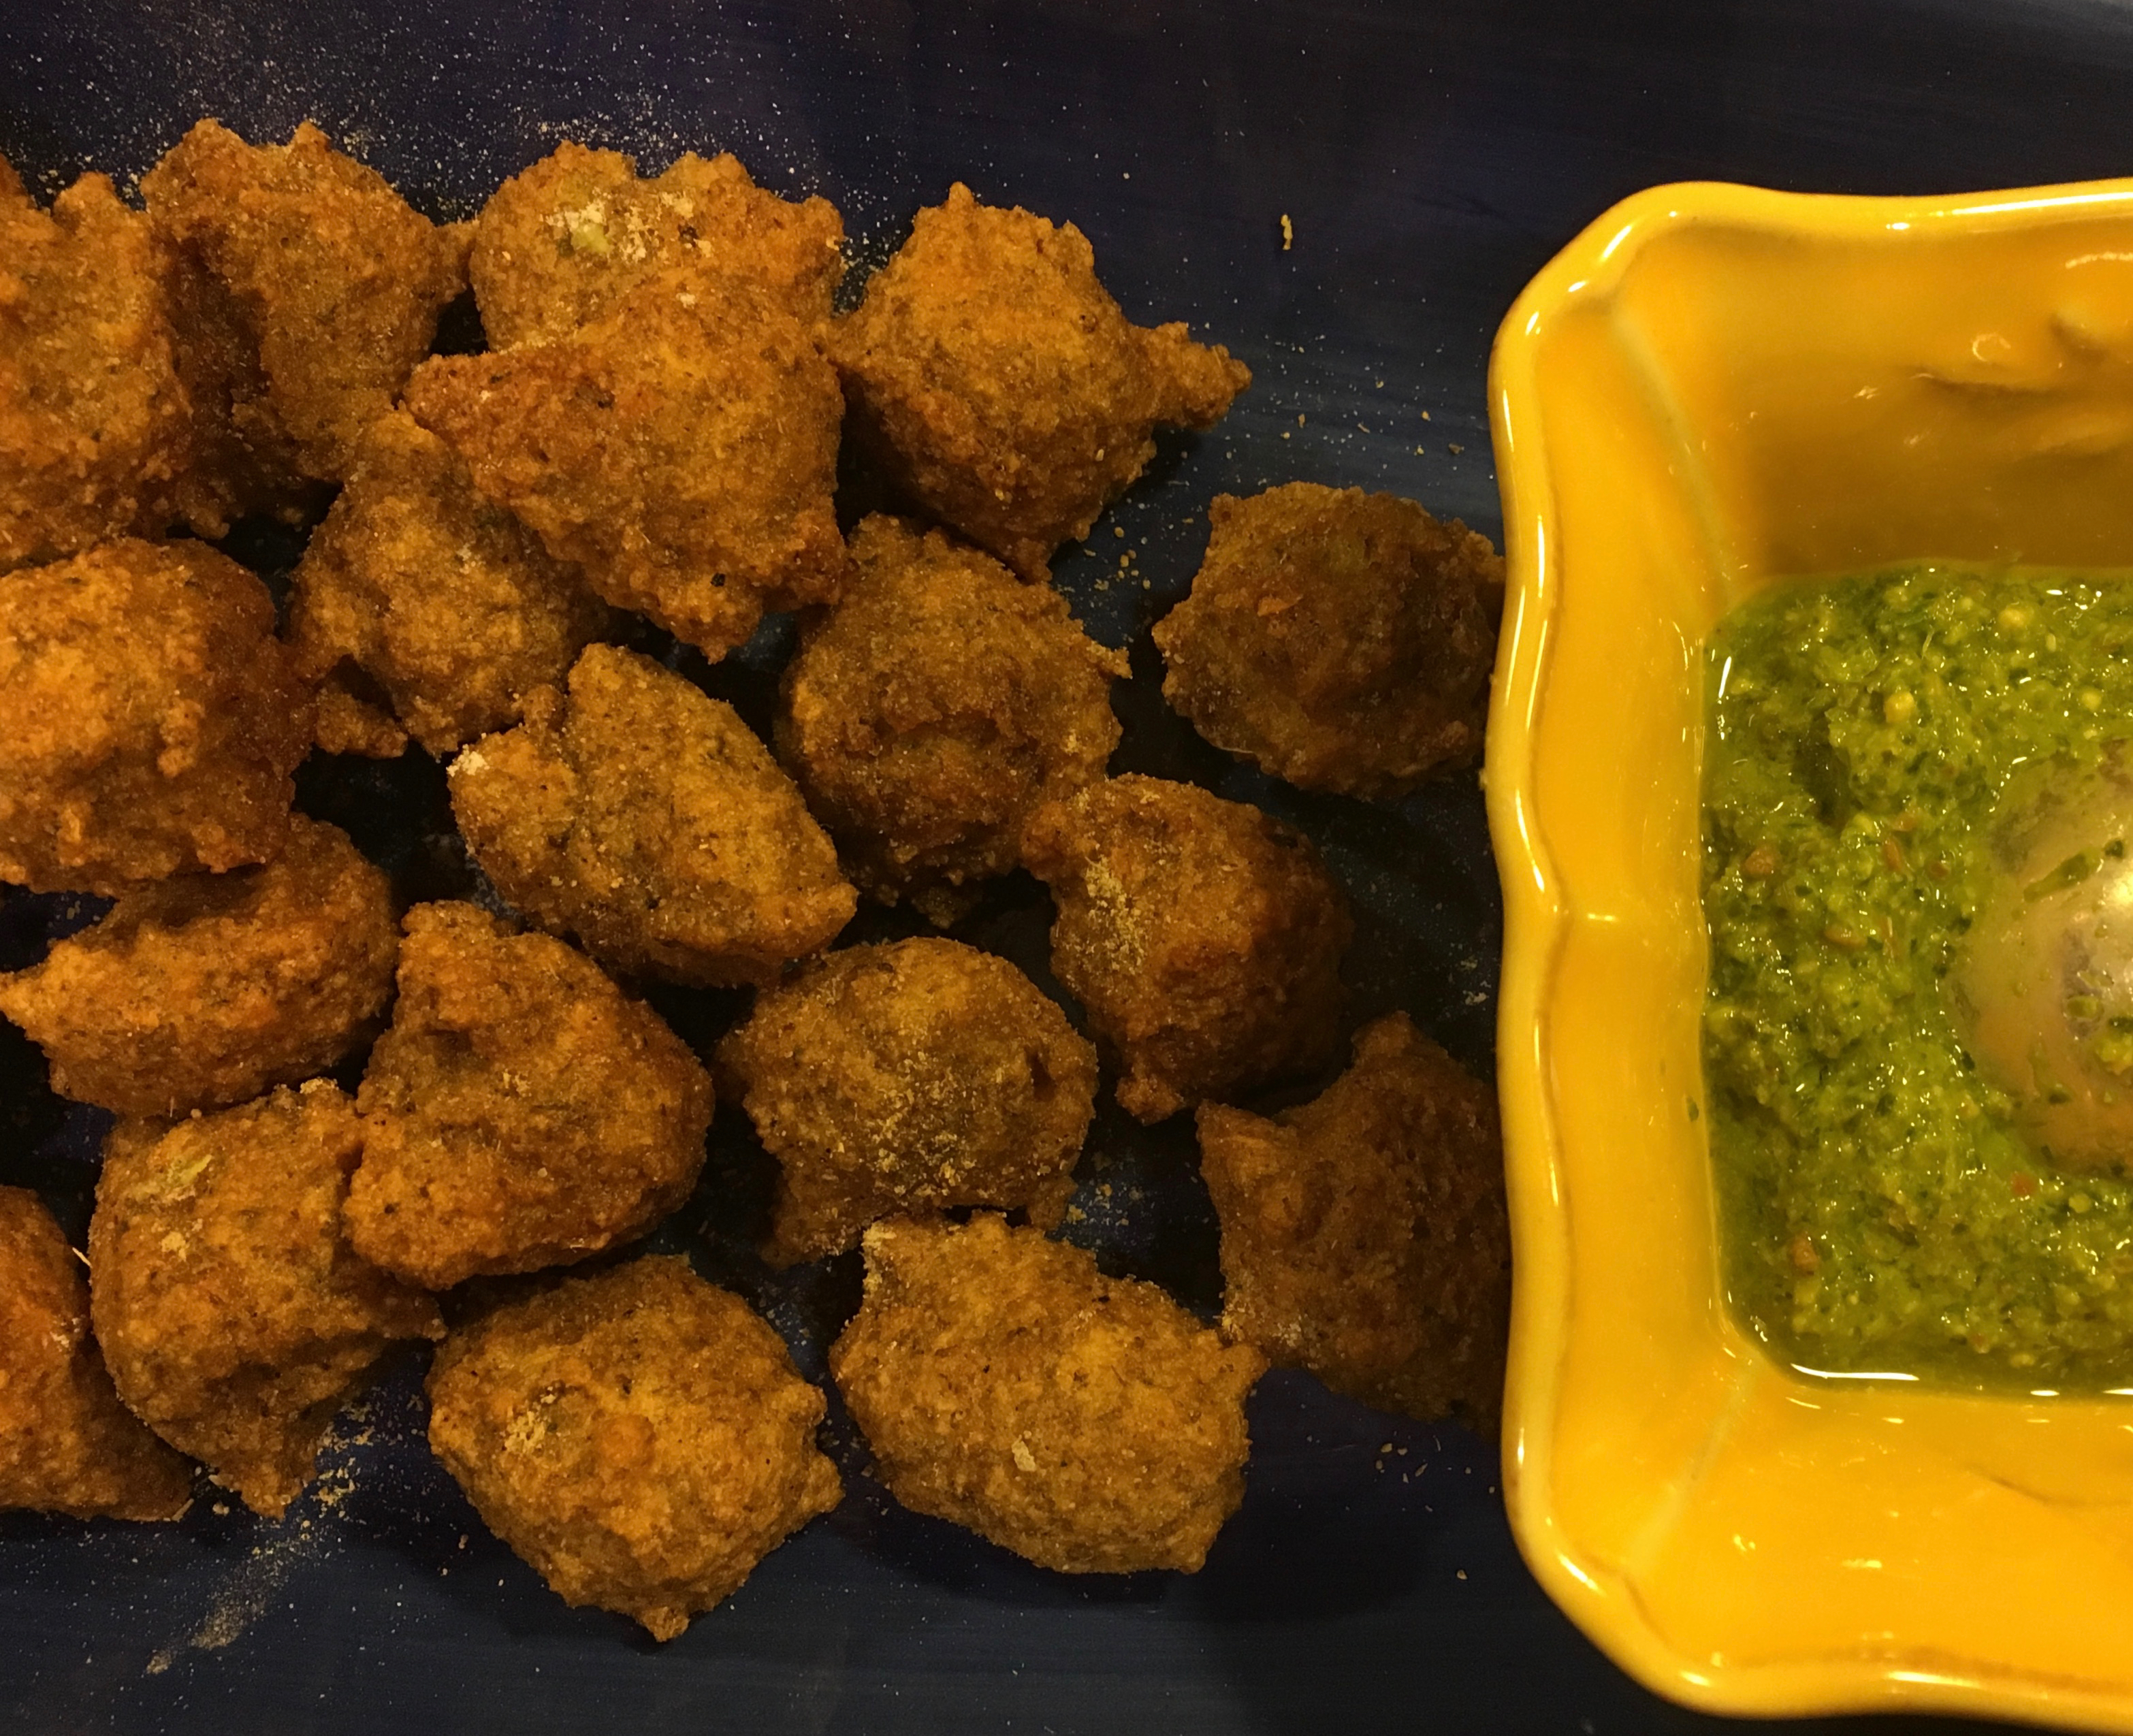
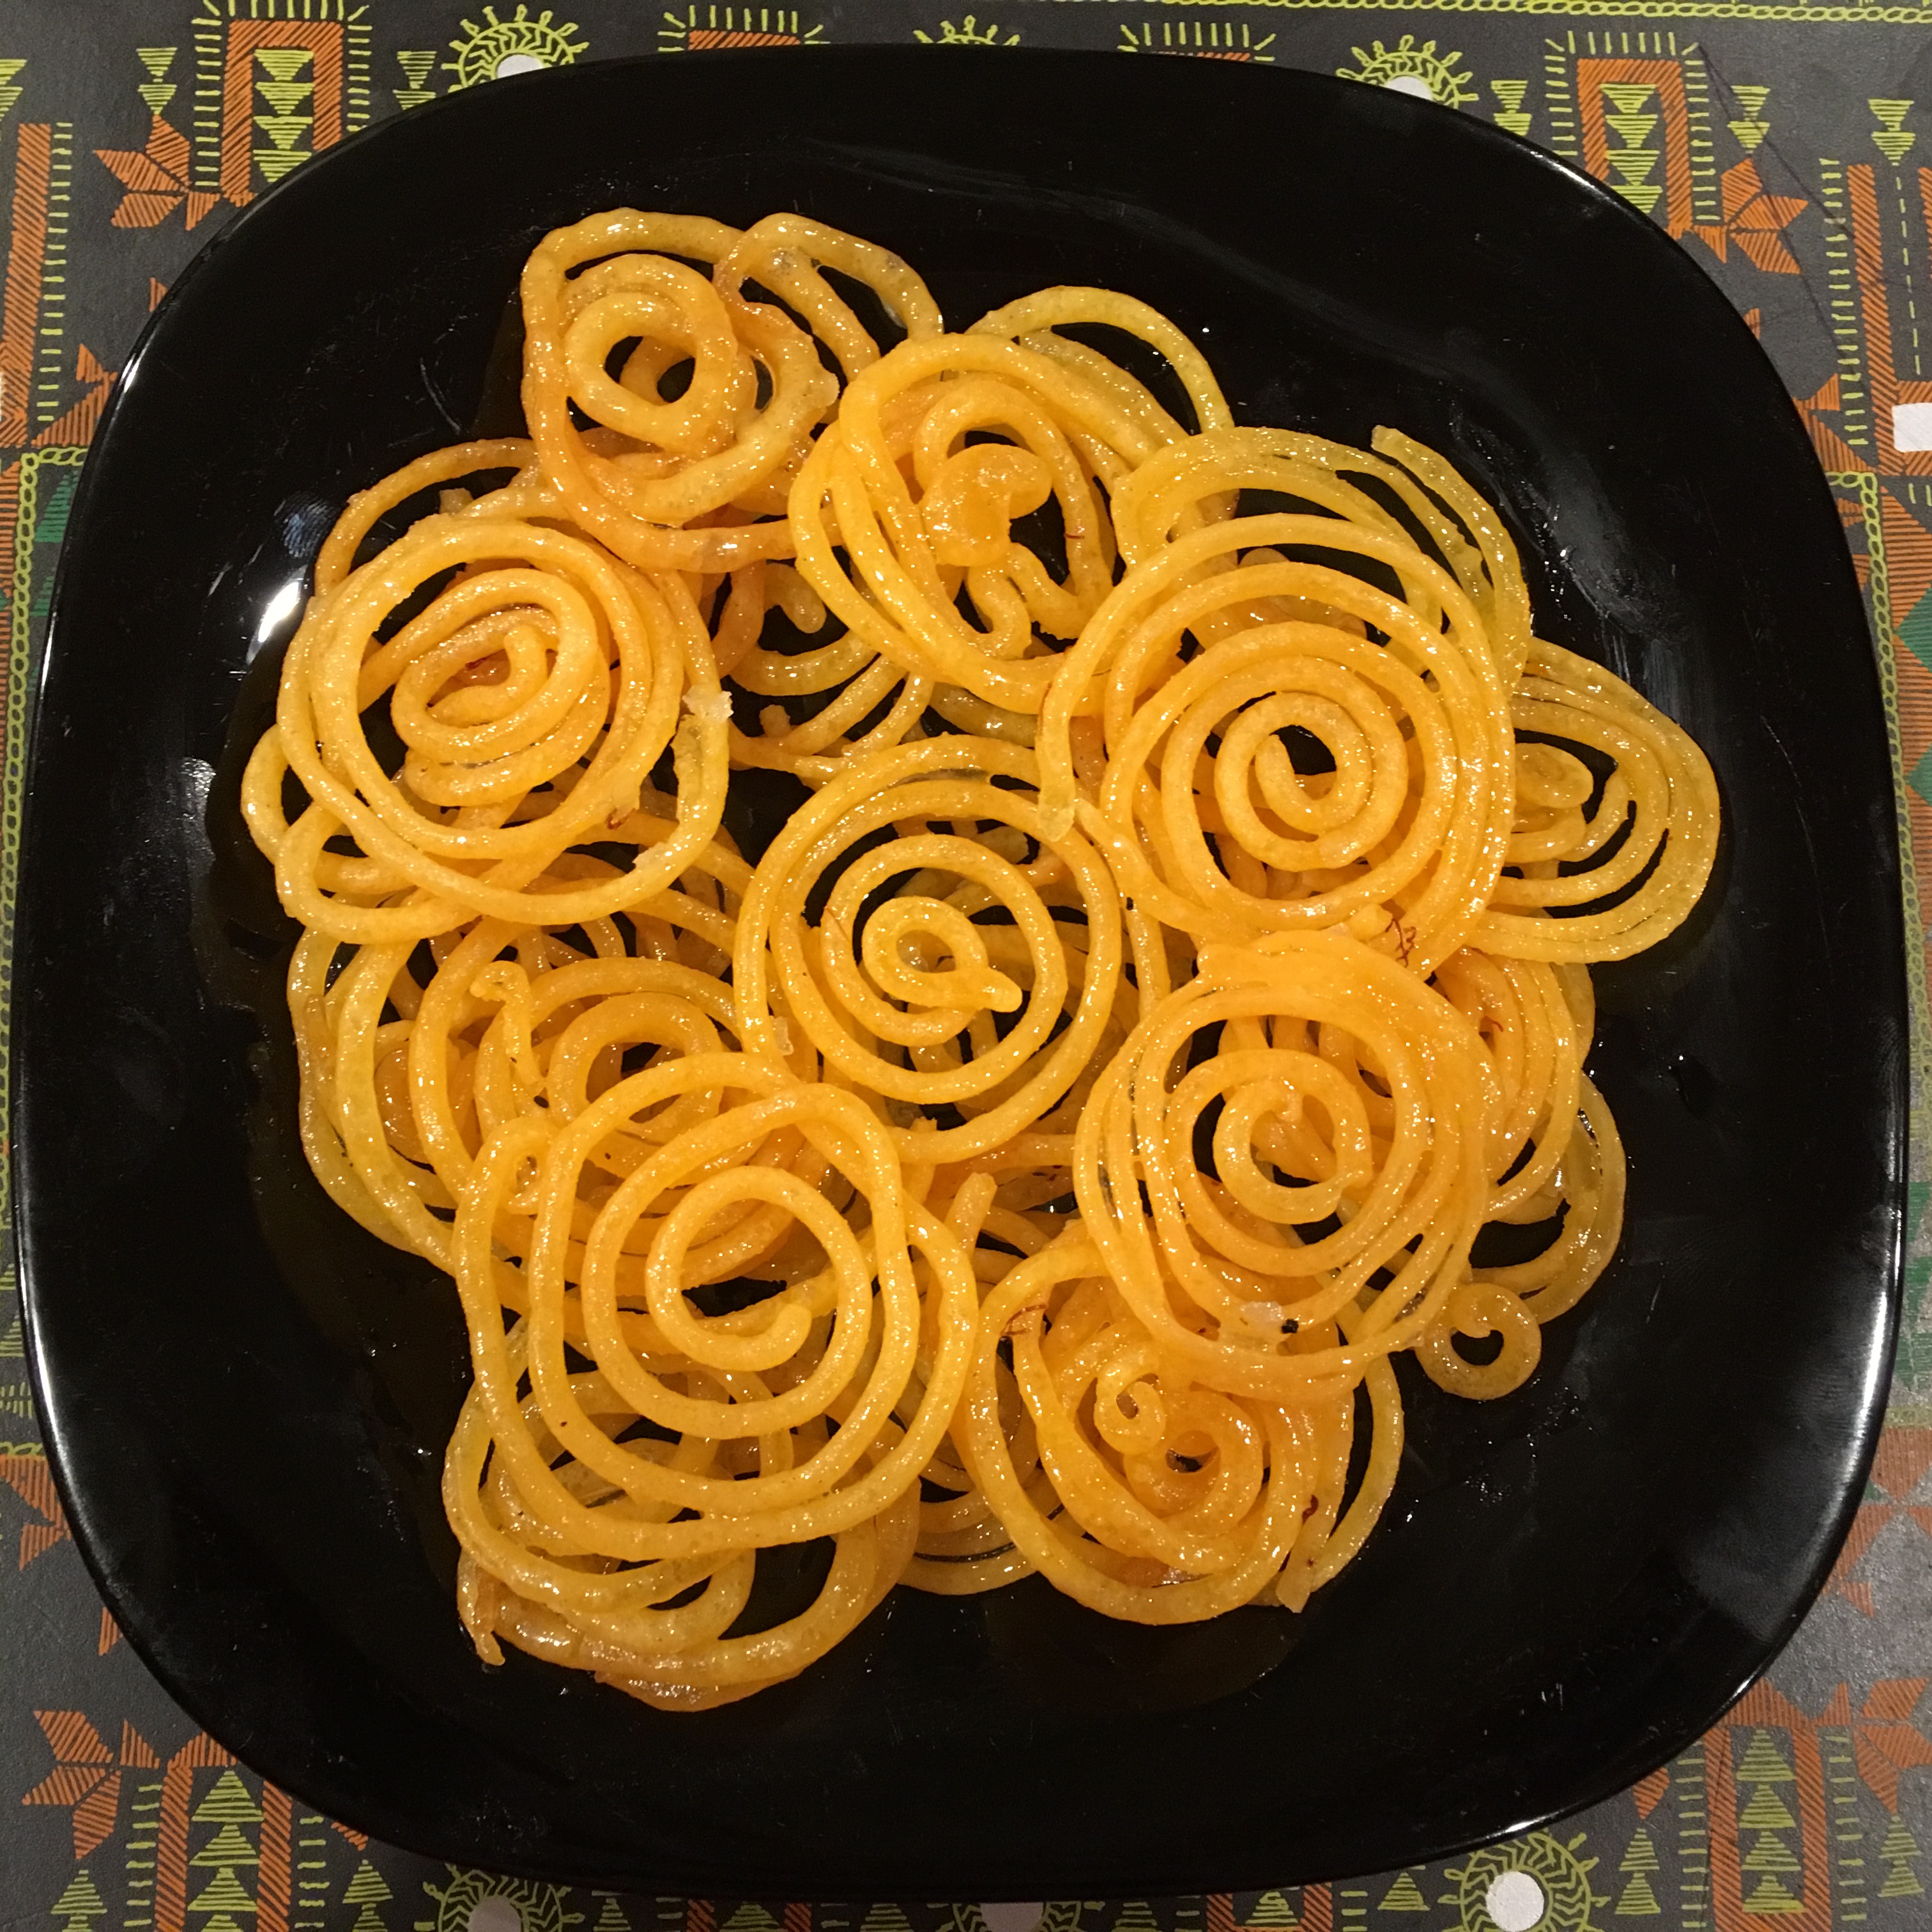
Differentiation between the two recipes relate to the shape, stuffing and the gravy, This is festive so it has been depicted in a triangle form, with stuffing and in a tomato yogurt gravy. It is softer and since they are blanched and fried, one can relish them as side snacks too!
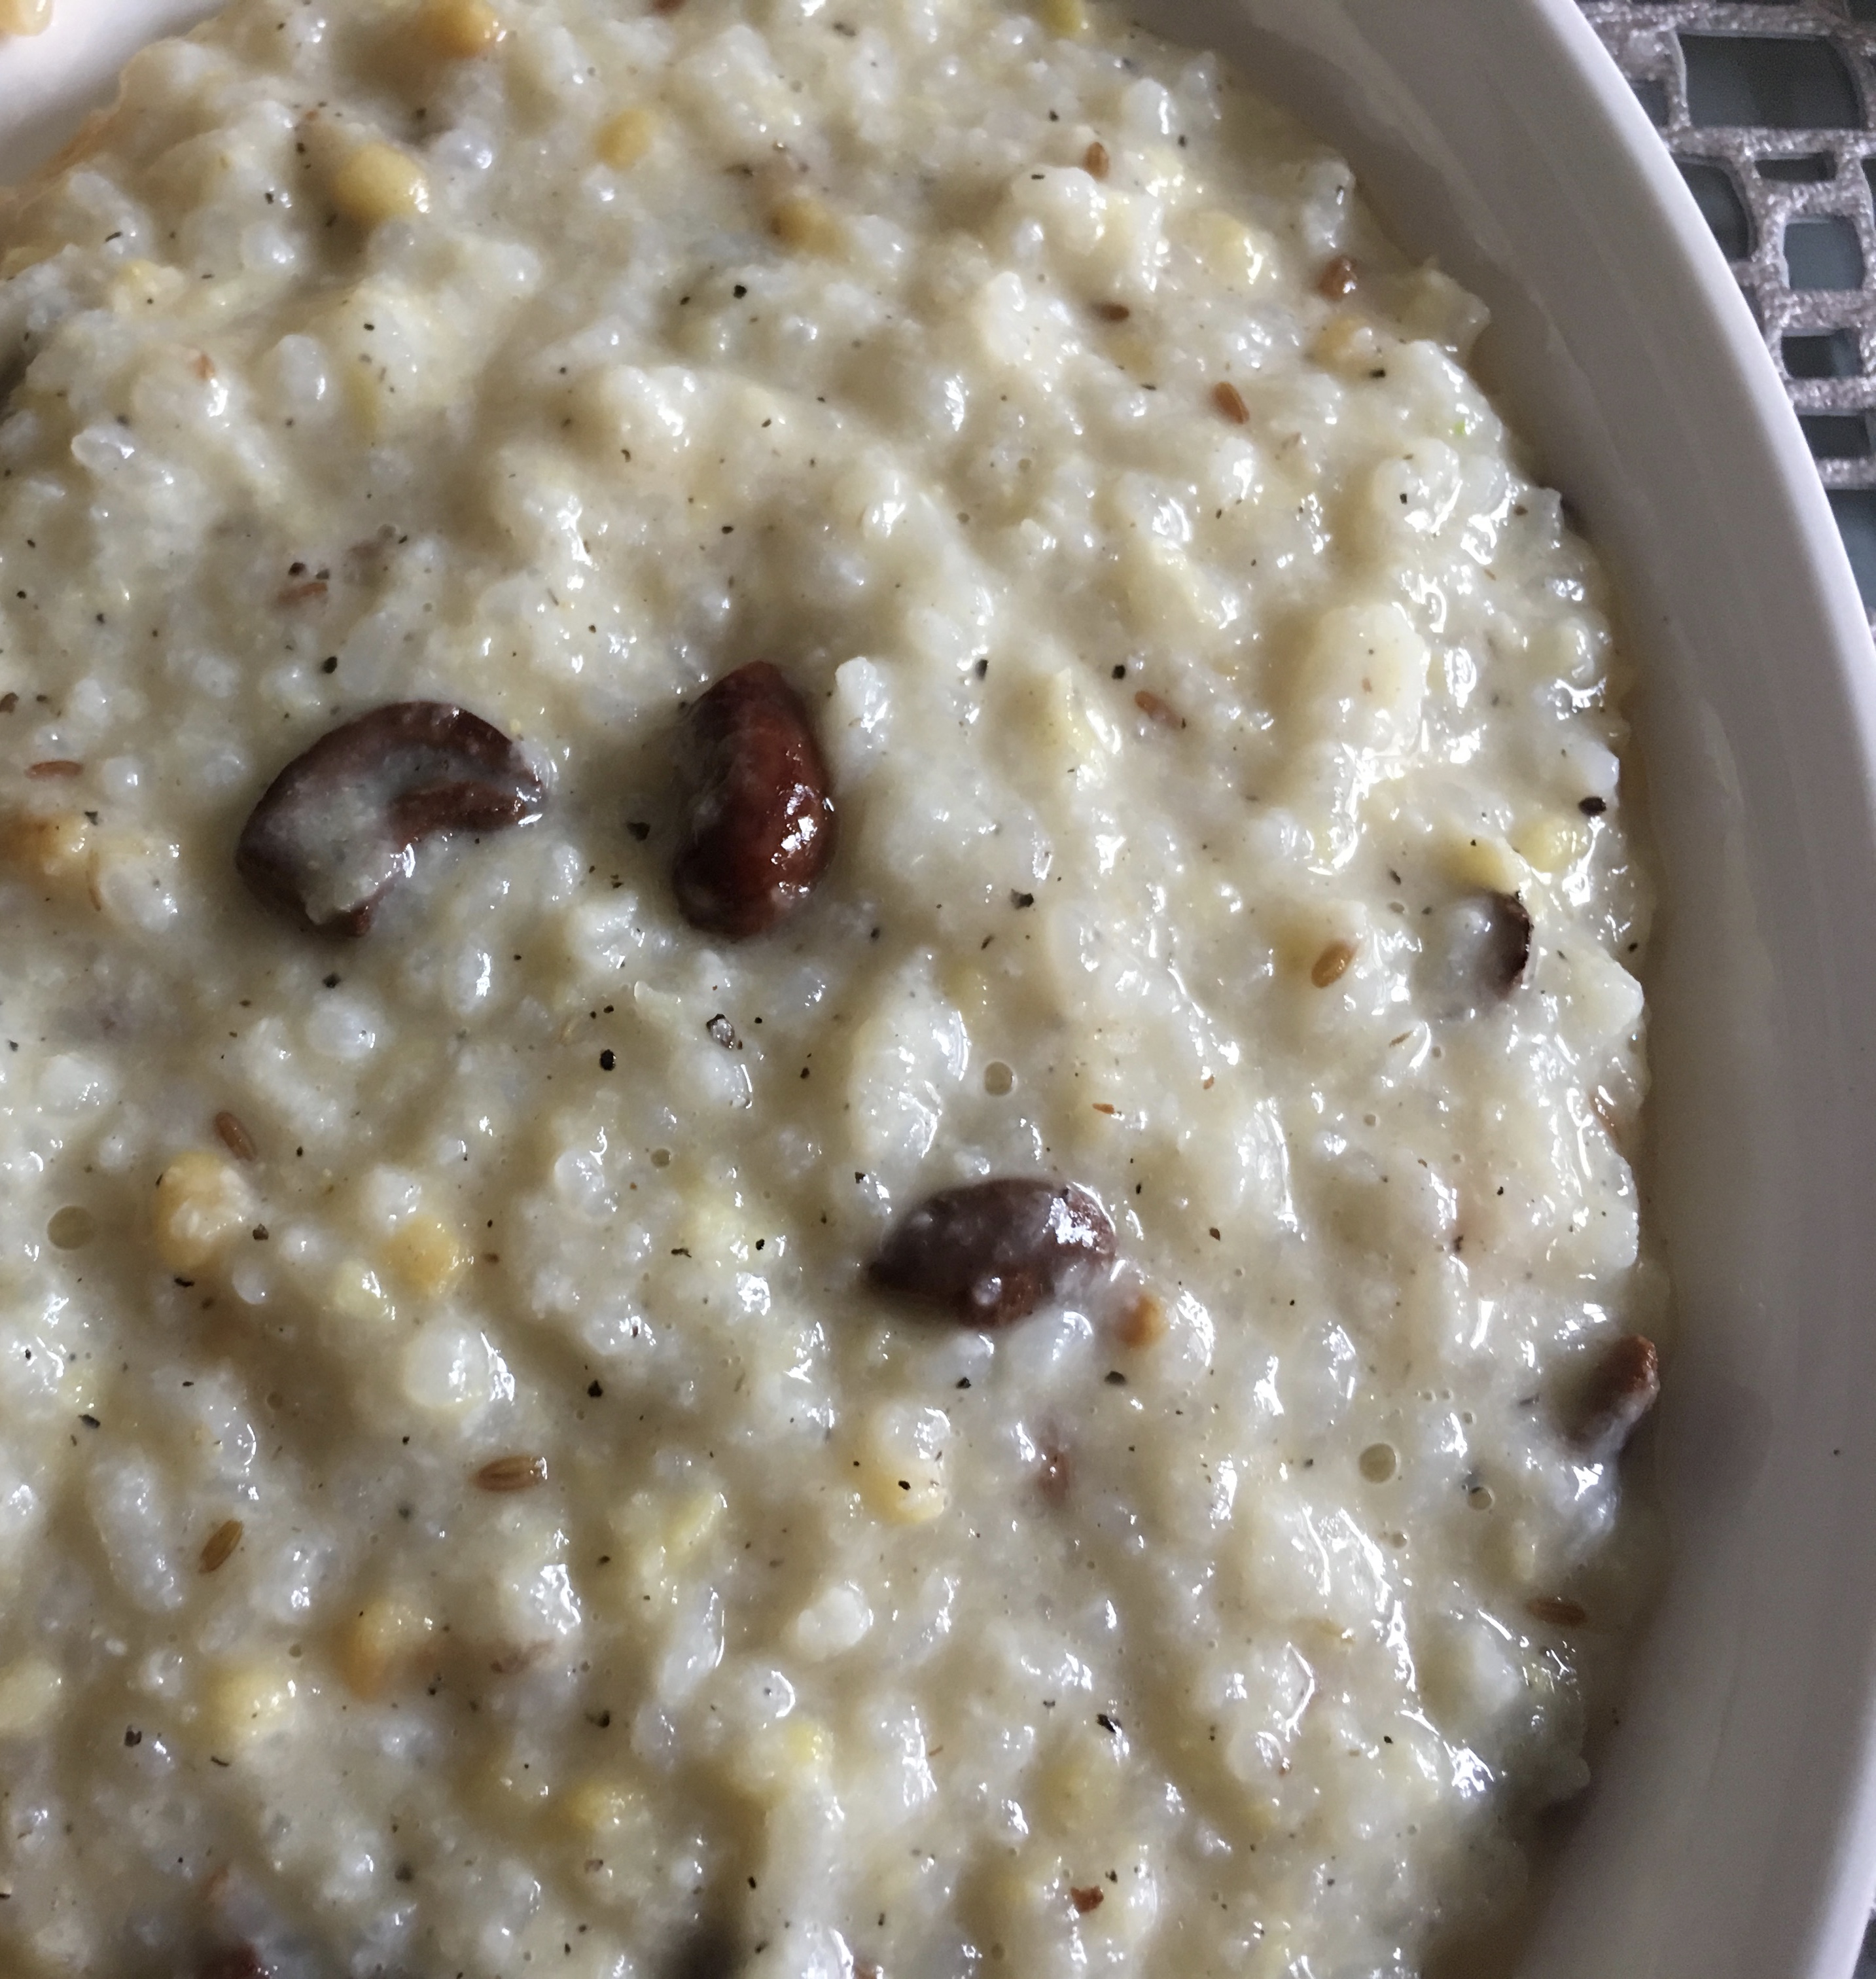
The festive occasion at our end besides being HOLI was also a milestone birthday celebration, so found the perfect opportunity to try out Govind Gatte. If short on time, the round shape gate is a which is a quicker shape for sure. The gravy has a nice tangy flavor and one gets a similarity to malai kofta gravy and texture. This can be also cooked on aatham/chaudas menu of the Jain tithi and including this will make the menu more festive and royal for the guests and family.
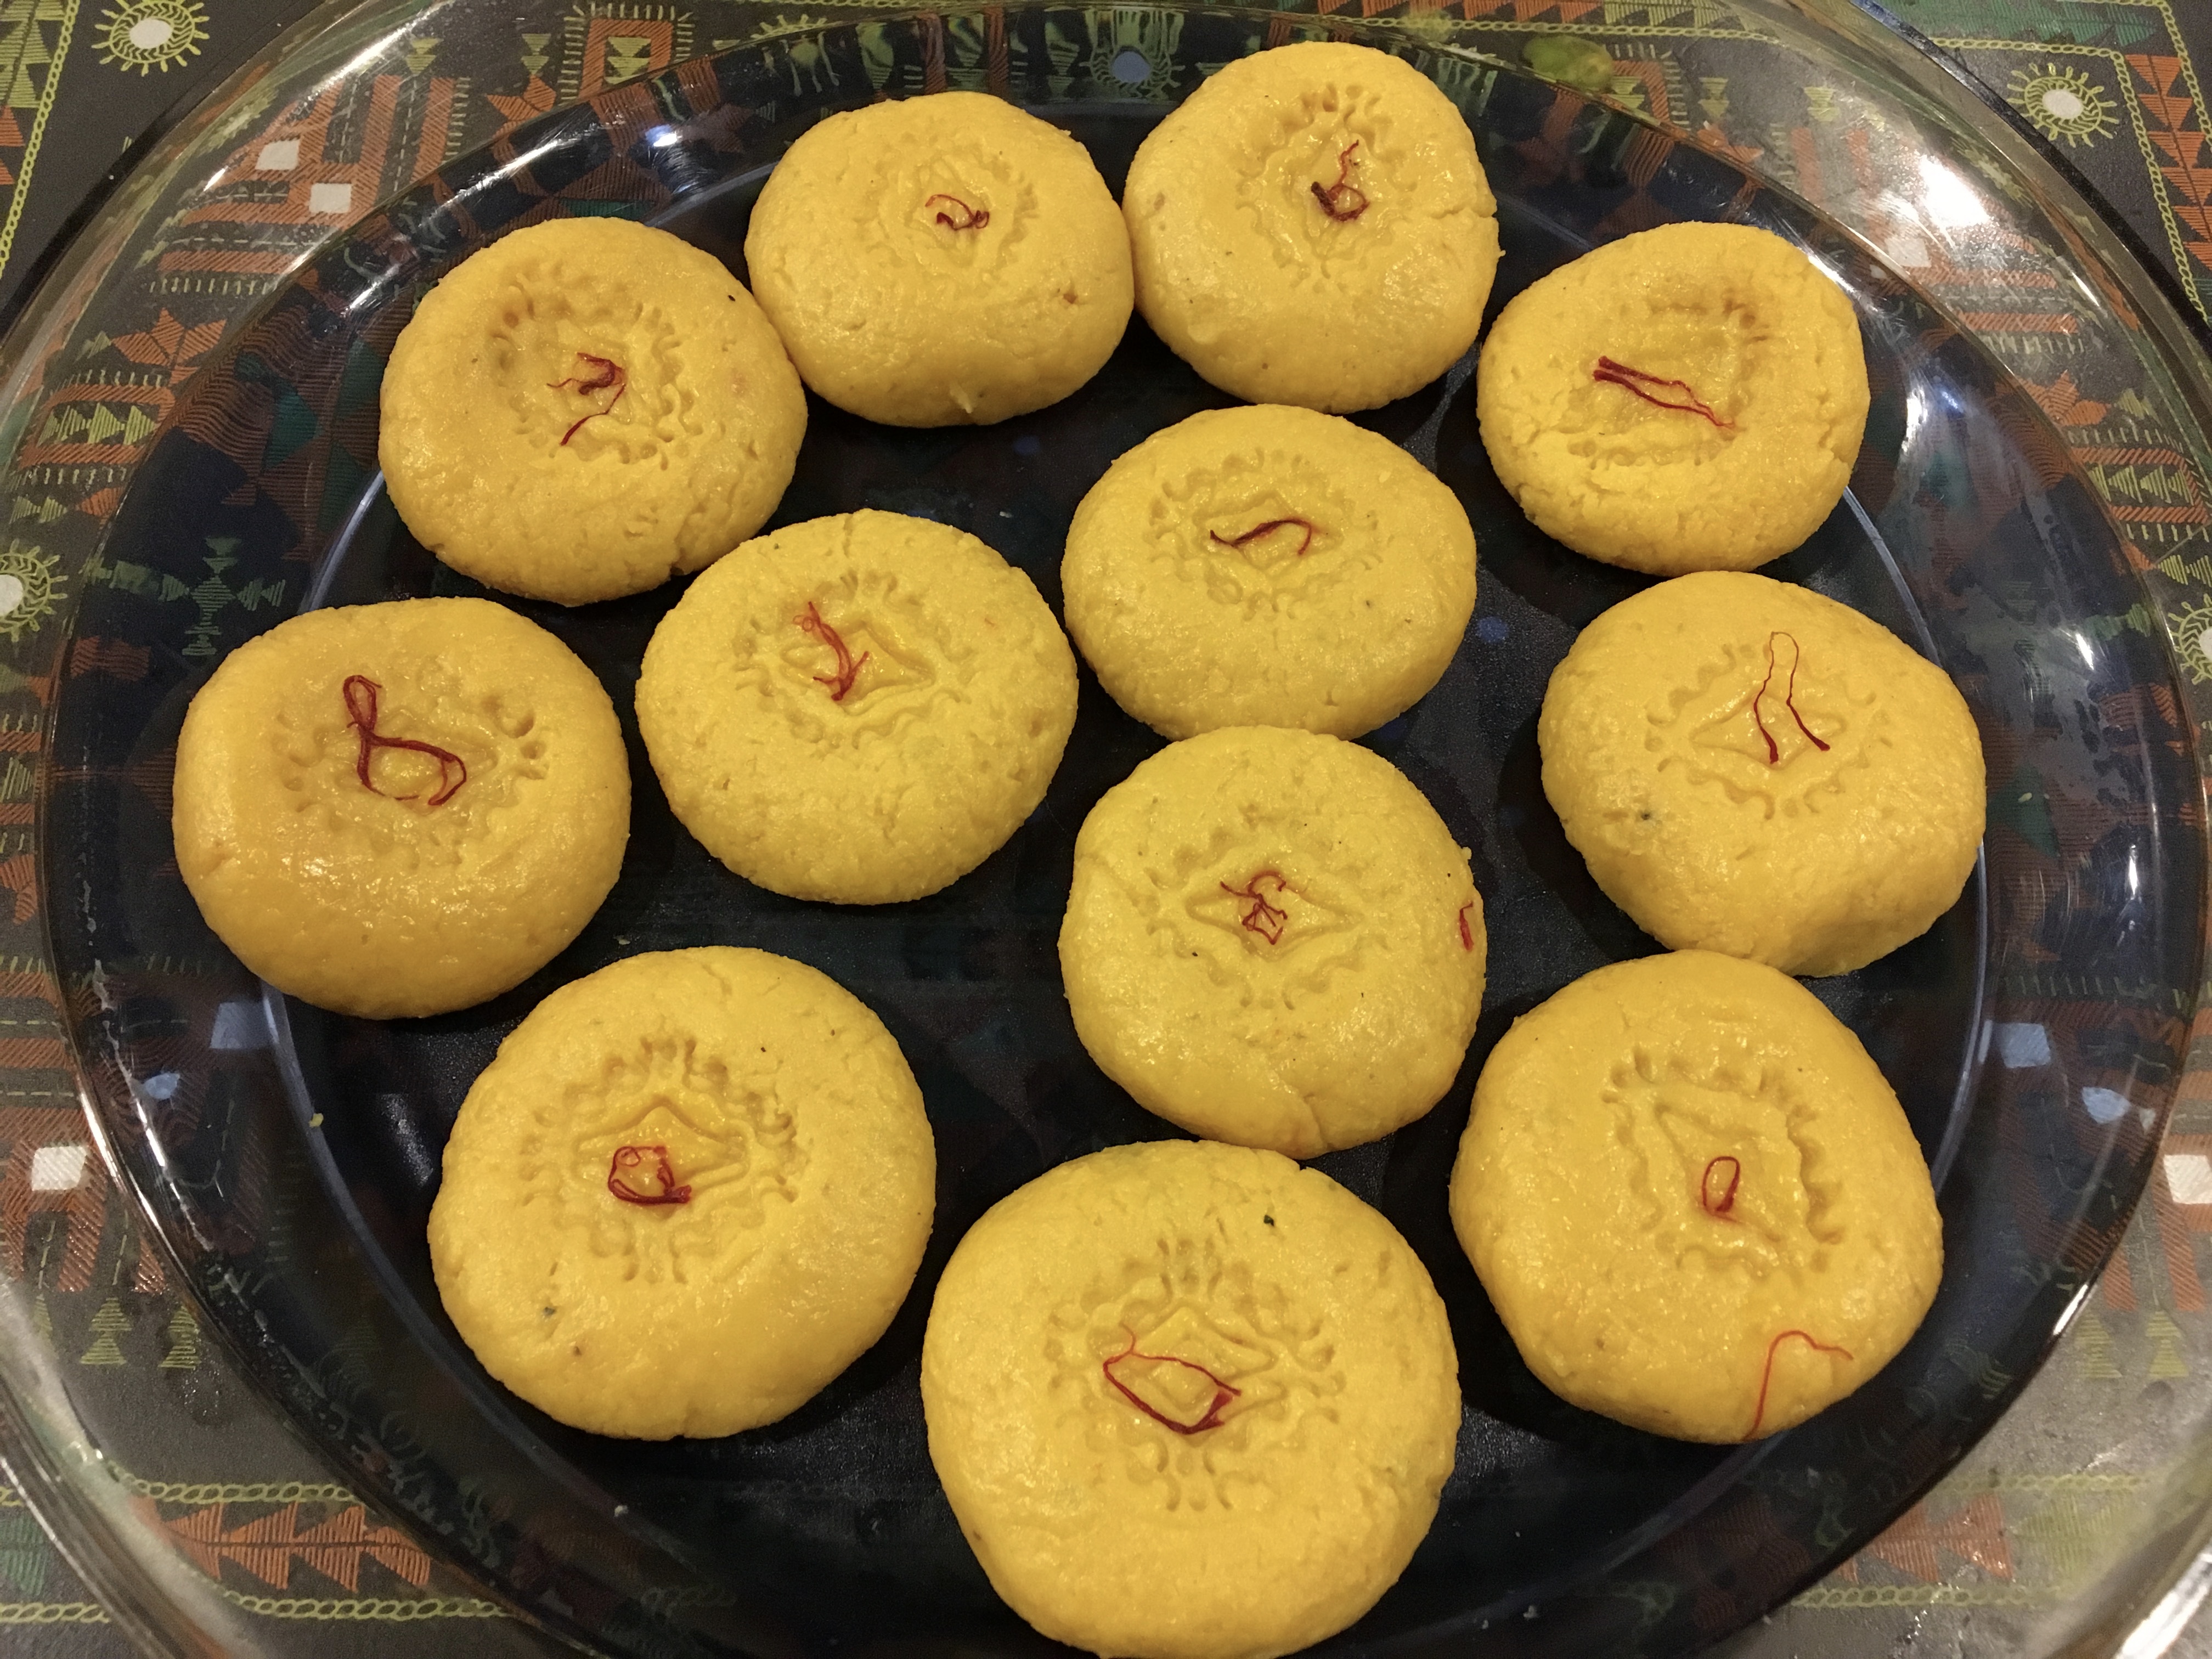
Personally I enjoyed the kauri methi , raisins and cashew flavor in the Govind Gatte and the yogurt tomato mix gravy. Cone shape of Gatte make it so very festive and colorful and the perfect dish of color, taste and texture from the land of royals and color. The good part is one can make the uncooked Gatte in advance for a day or two and then cook them as desired. Alternatively fry them and have them as snacks with tea and they are really delicious to eat alone too! I am sure the person for whom this was made must be named Govind, and must be a well loved royal to have a dish on his name, from Jodhpur.
Enjoy the festivities and the richness that are ever present in the Indiau cuisine with Govind Gatte Stuffed Dumplings in Tomato Gravy!

| Prep Time | 10 min |
| Cook Time | 30 min |
| Servings |
people
|
- 1/4 cup cashews pieces
- 1/4 cup chopped raisins
- 1/3 cup grated paneer
- 2 tsp Ghee
- 1 tsp chilli powder
- 1 small can tomato puree
- 2 cups yogurt
- 2 tsp cumin seeds
- 2 tsp chilli powder
- 1 1/.4 tsp turmeric powder
- 2 tbsp coriander cumin powder 1 tbsp cumin and 1 tbsp coriander powder separately
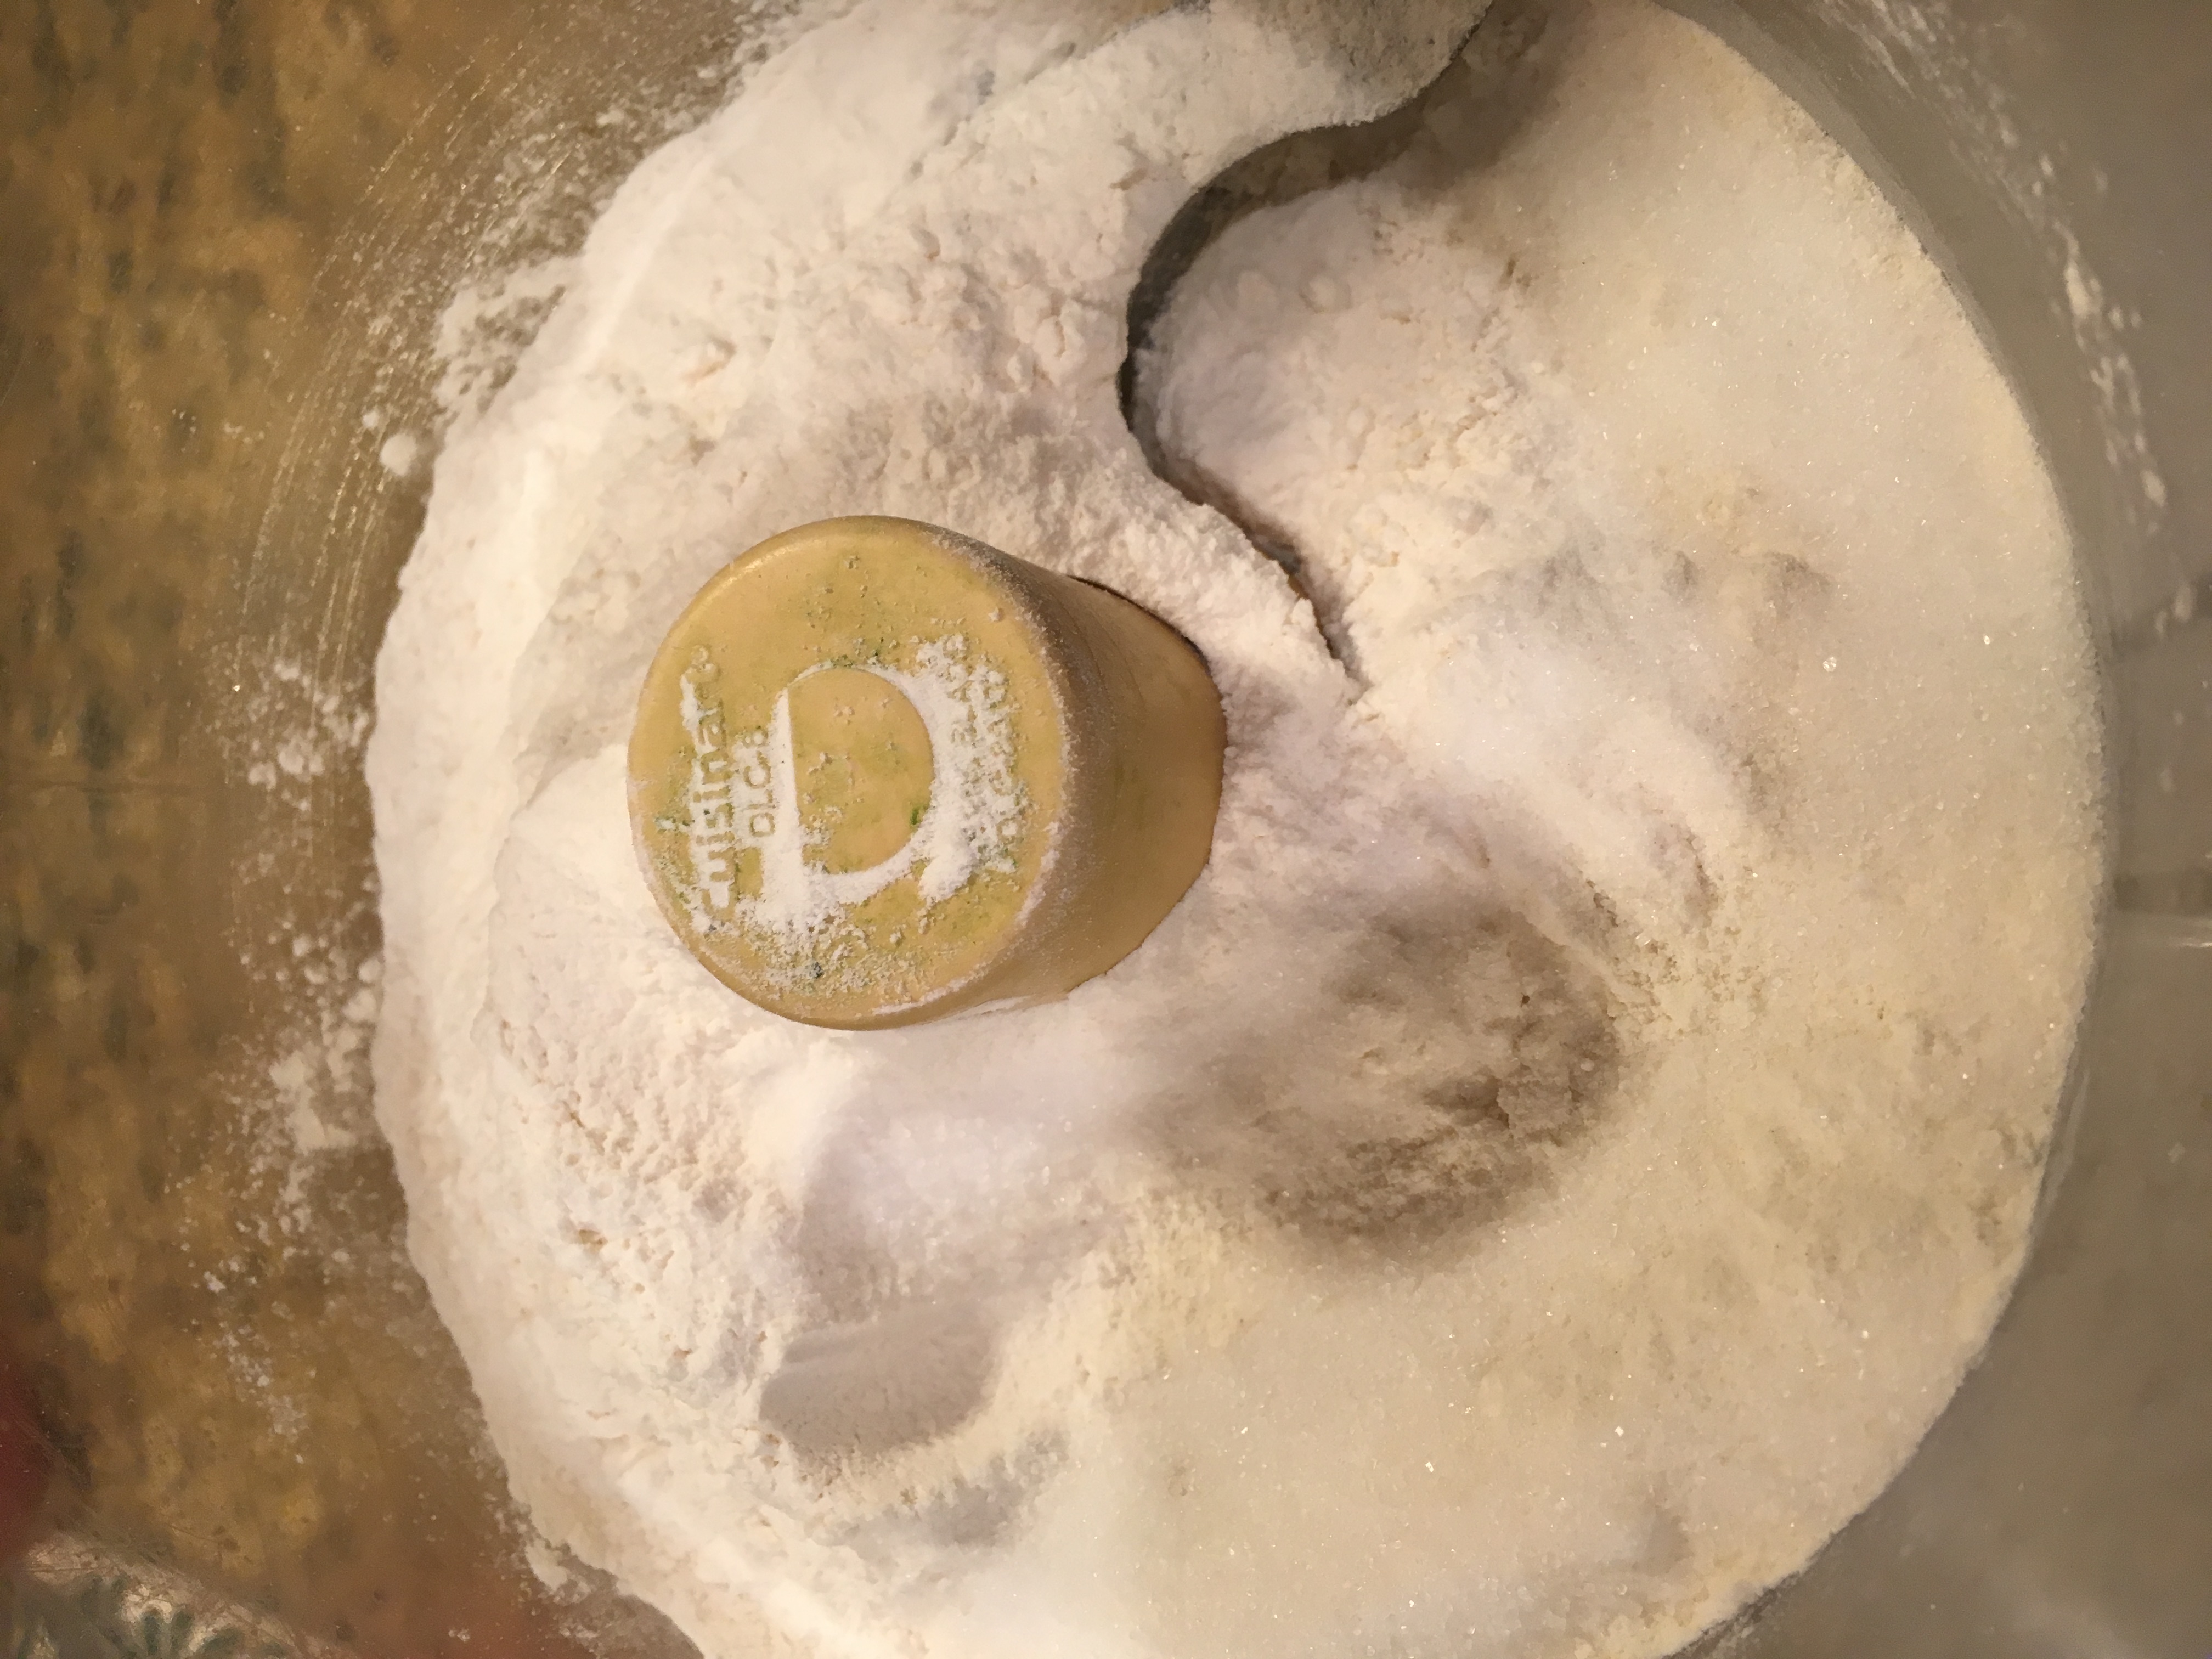
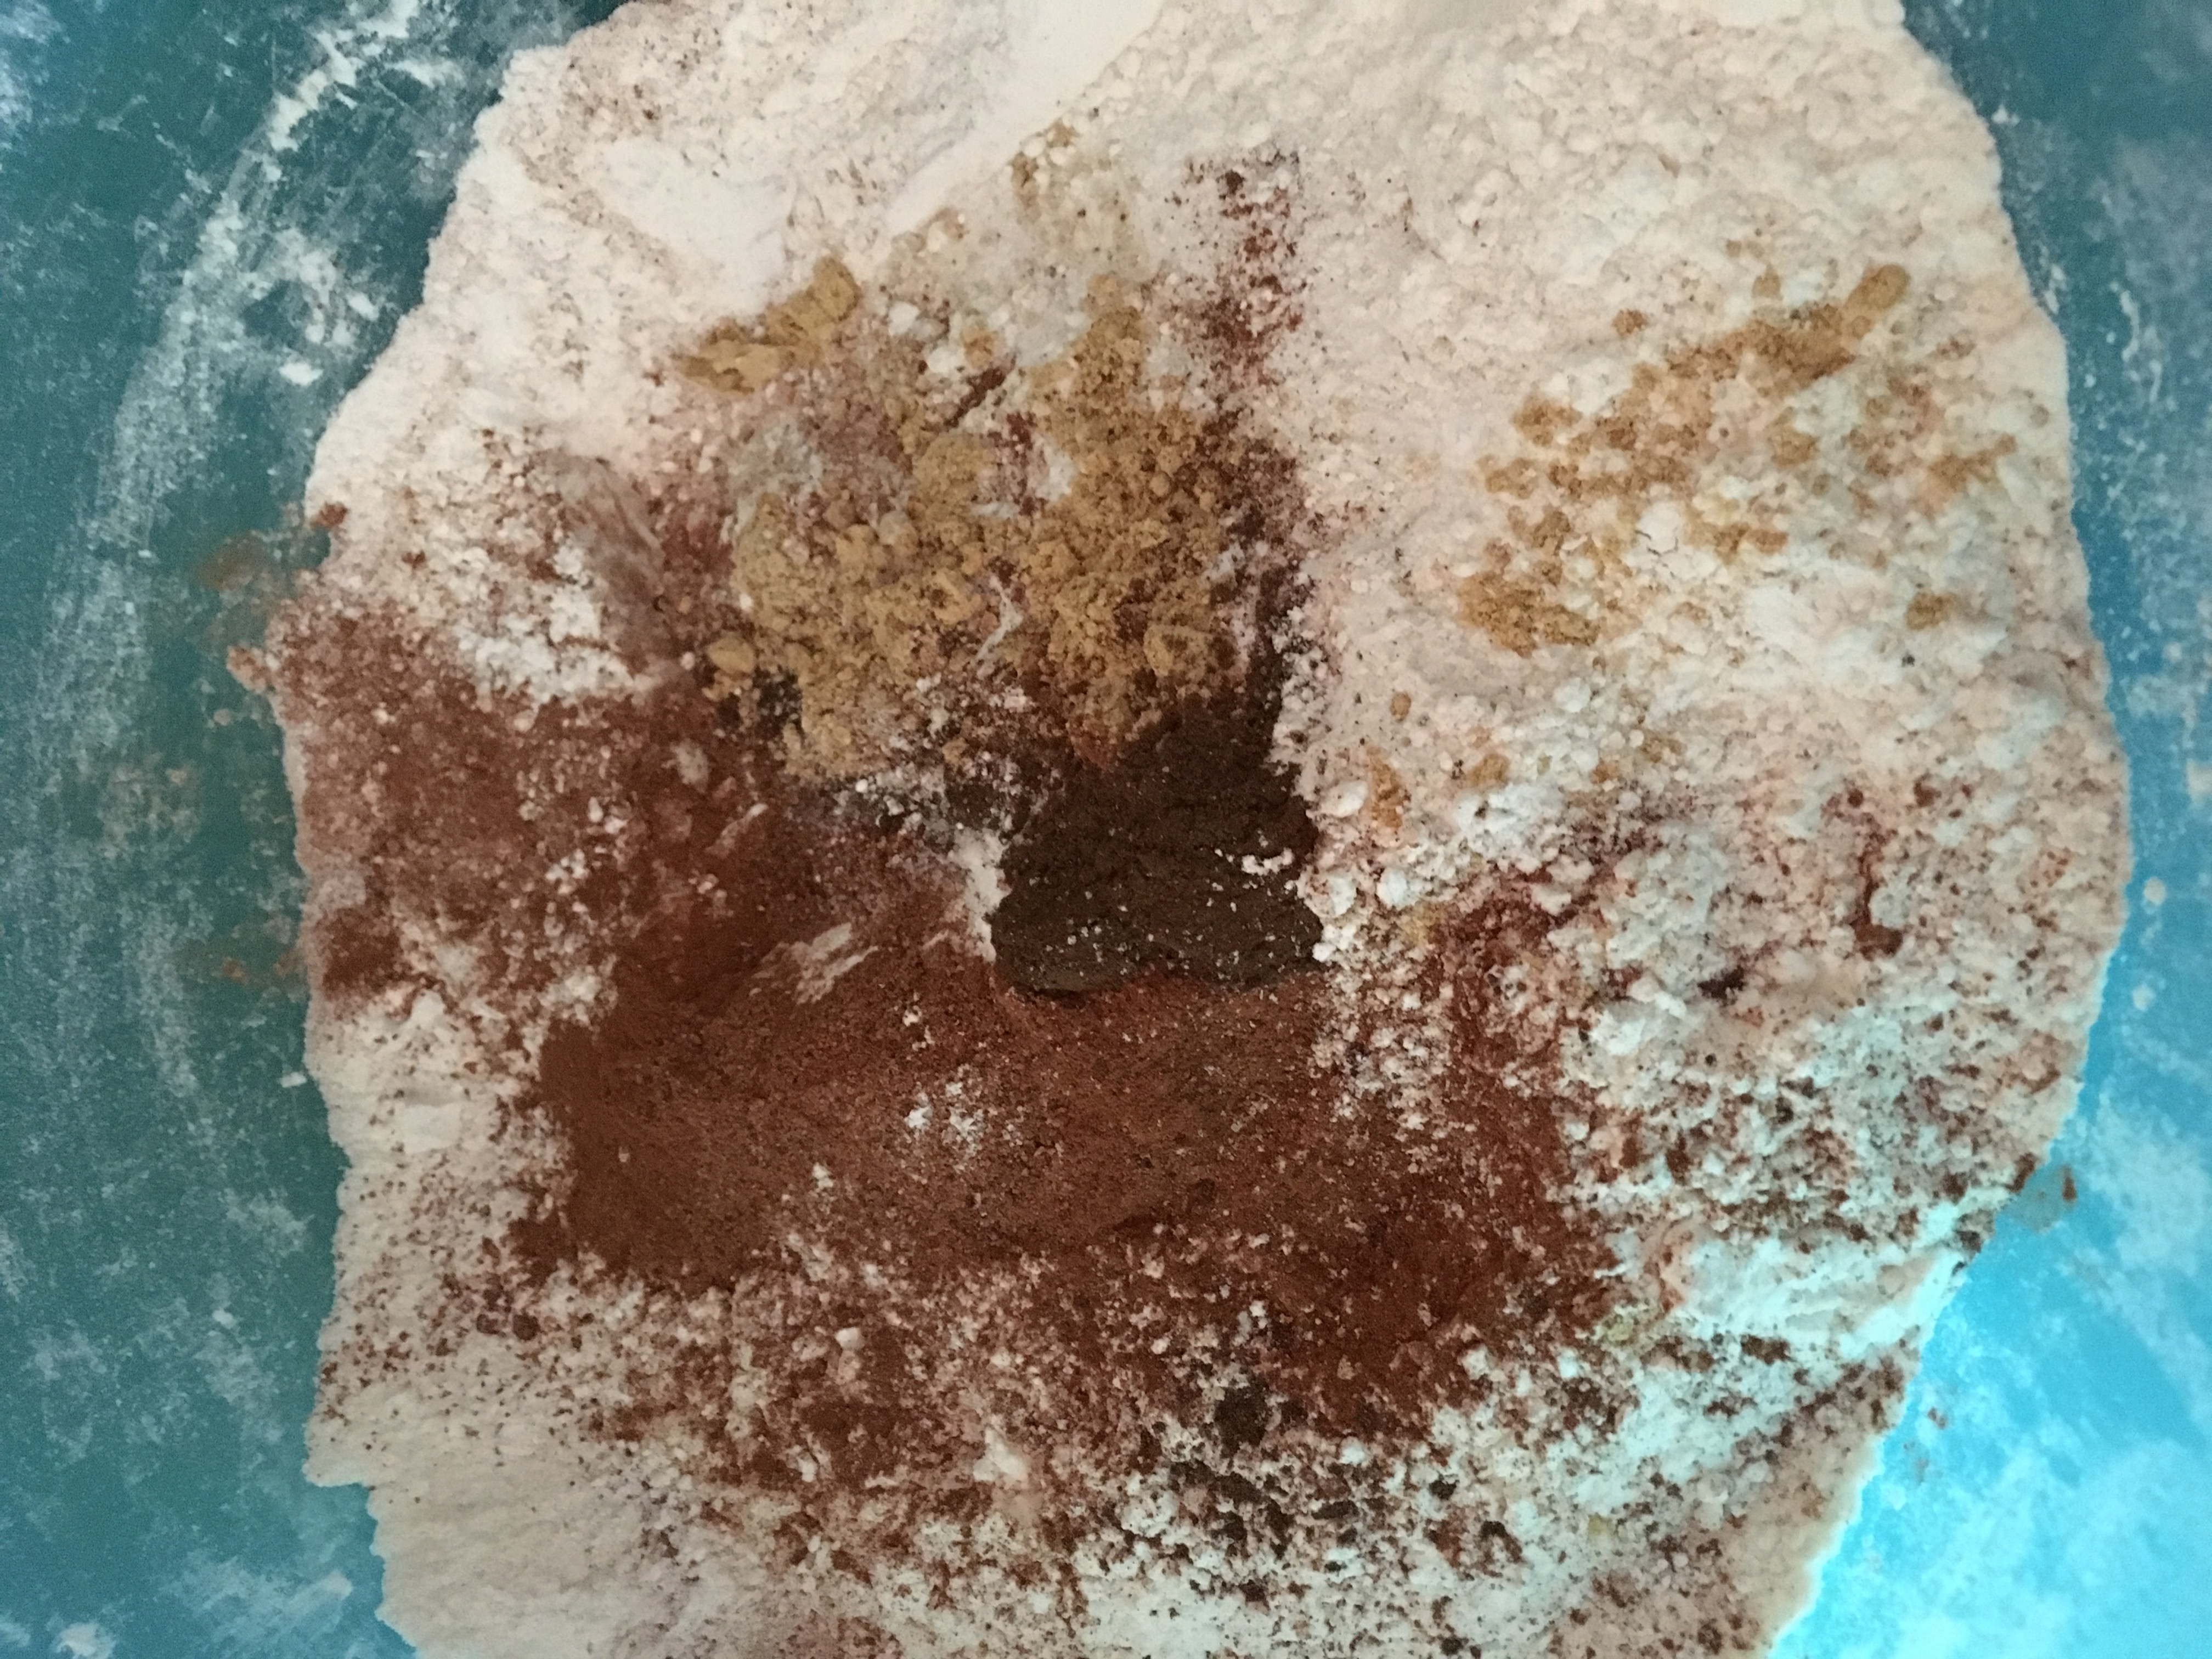
- 2 tbsp bengal gram or chickpea flour
- 2 tsp fennel seeds
- 1/3 cup oil
- 1/4 tsp asafetida powder
- 2 cups chickpea or bengal gram
- 2 tbsp oil
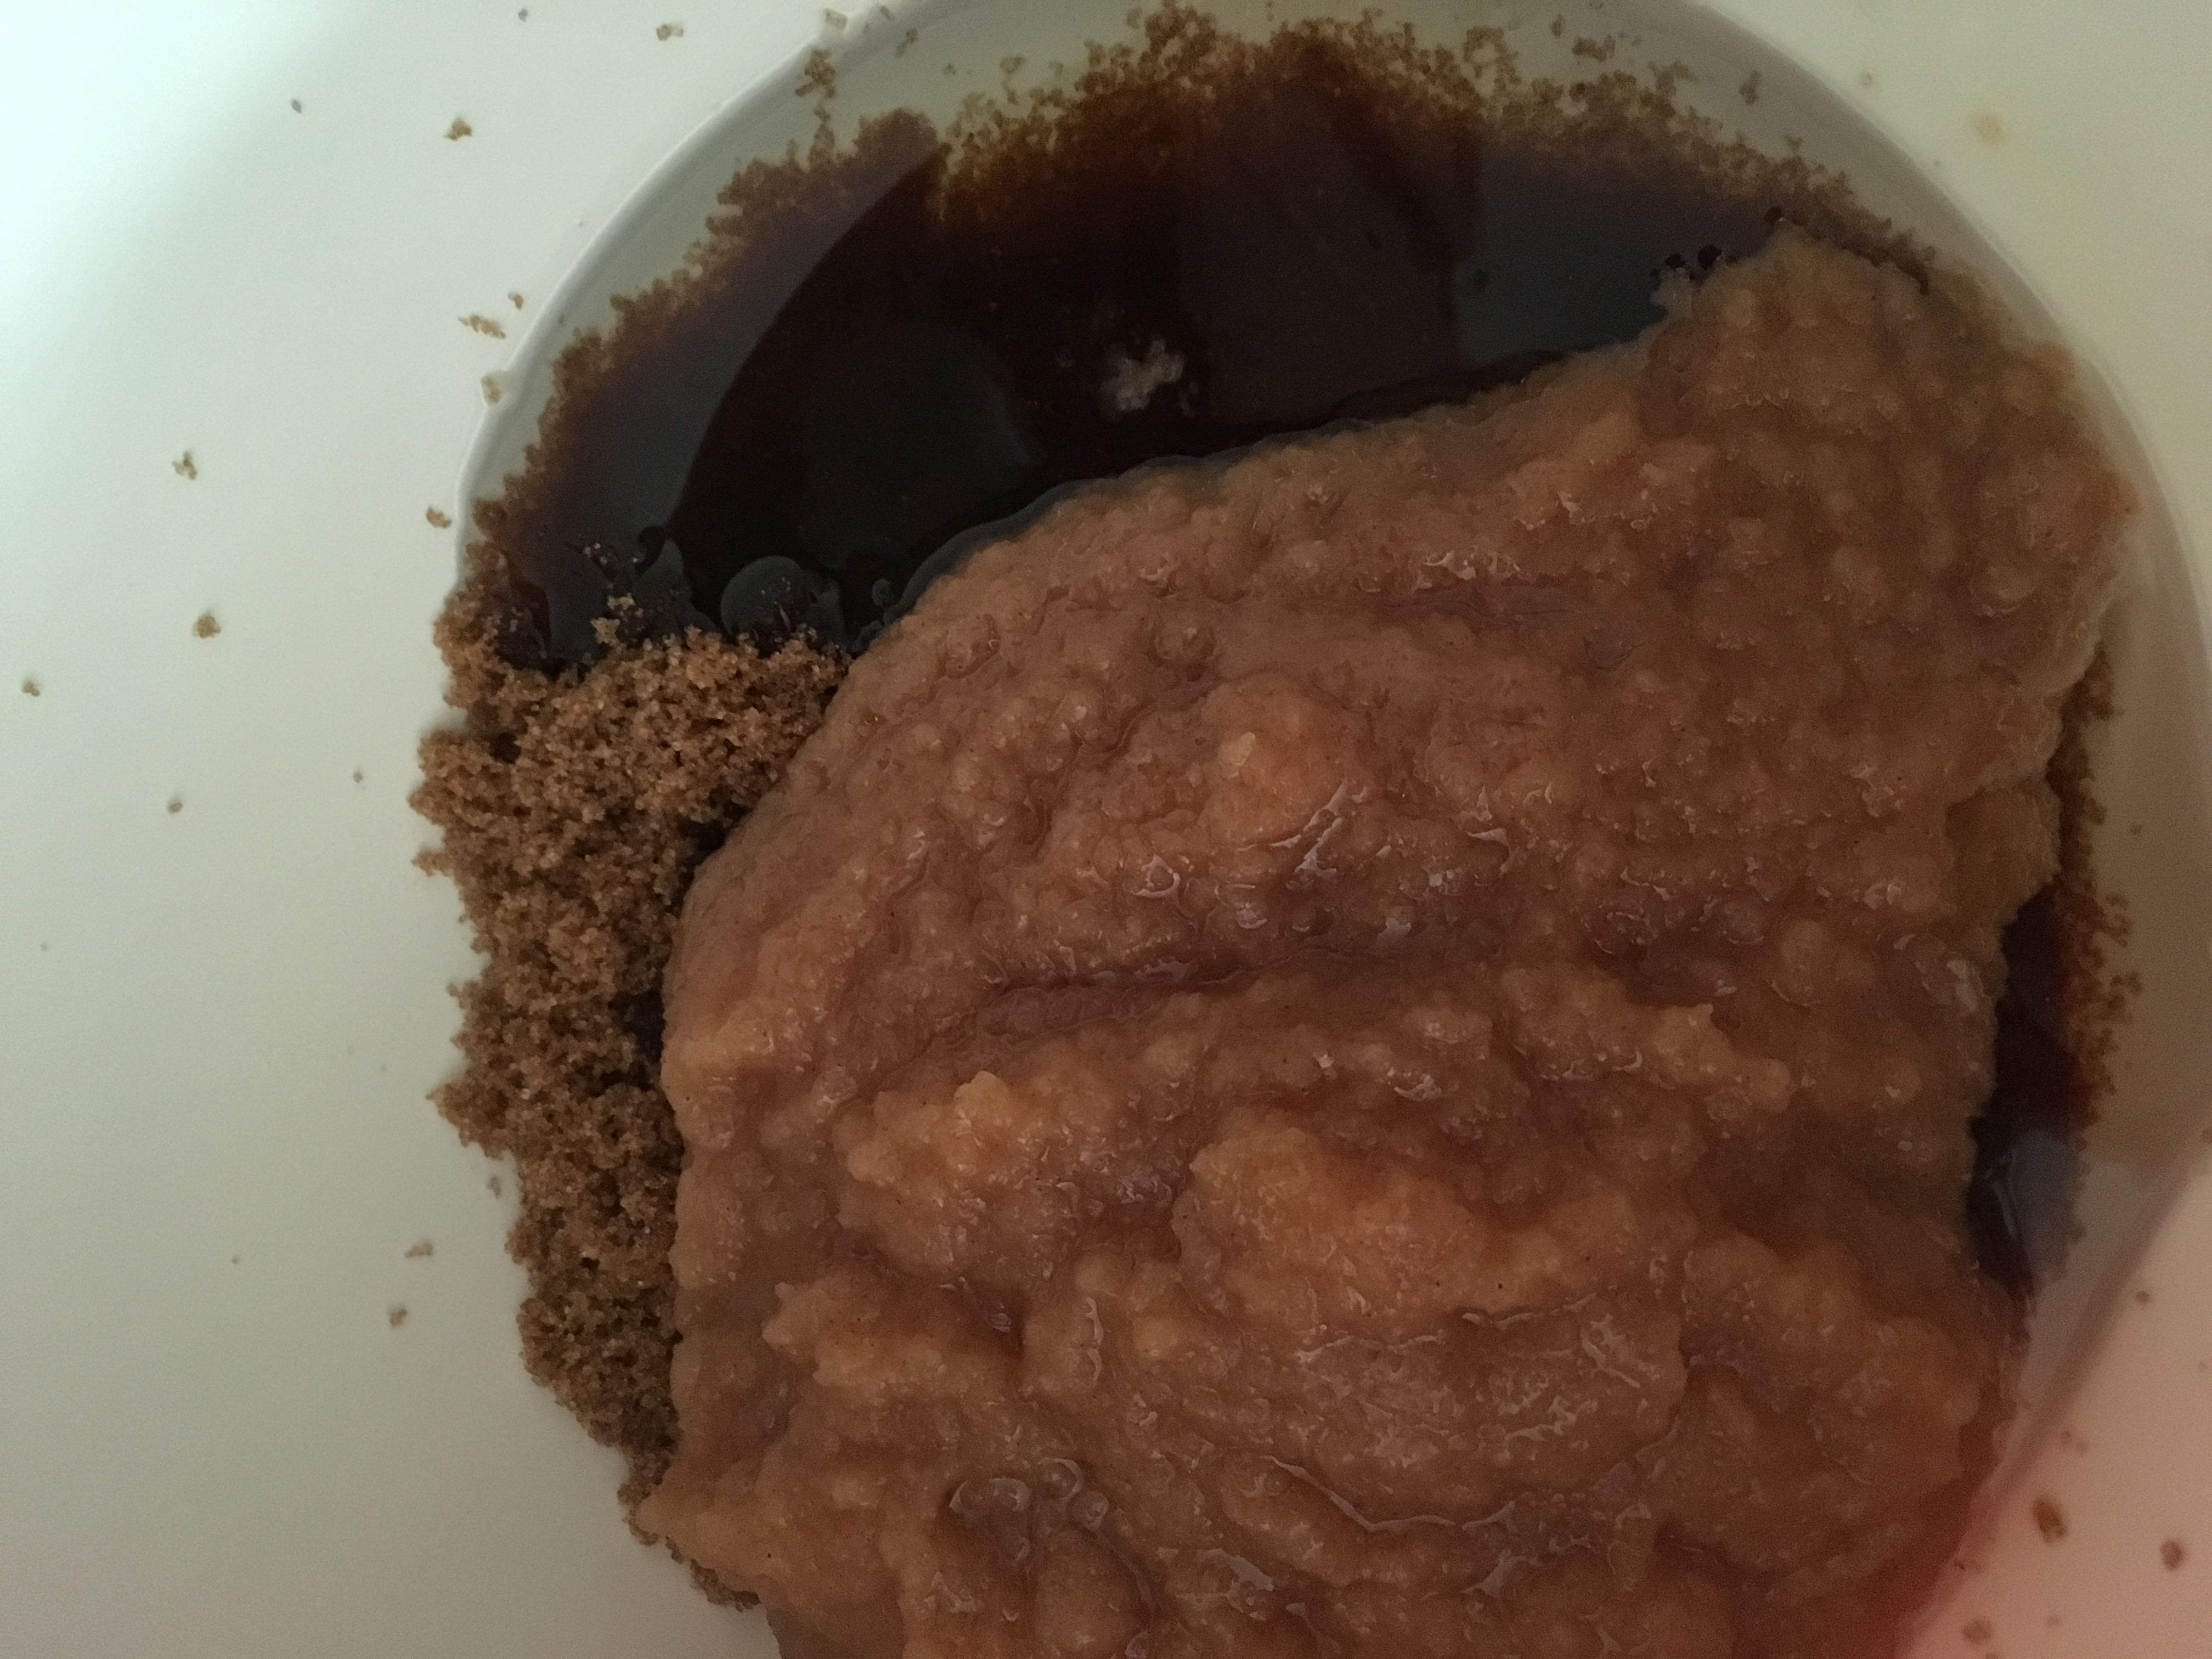
- 4 tbsp yogurt
- 1 1/2 tsp Kasuri methi powder
- 1 tsp chilli powder
- 1 tsp turrneric powder
- 1/4 tsp asofoetida
- 1/4 tsp baking soda
Ingredients
For the Stuffing
For the Gravy
For the dough
|
|
- Heat the ghee and add cashews and saute for 20 seconds, add raisins and saute for 30 seconds, add paneer, salt and chill powder and further saute for 40 seconds and remove from flame.

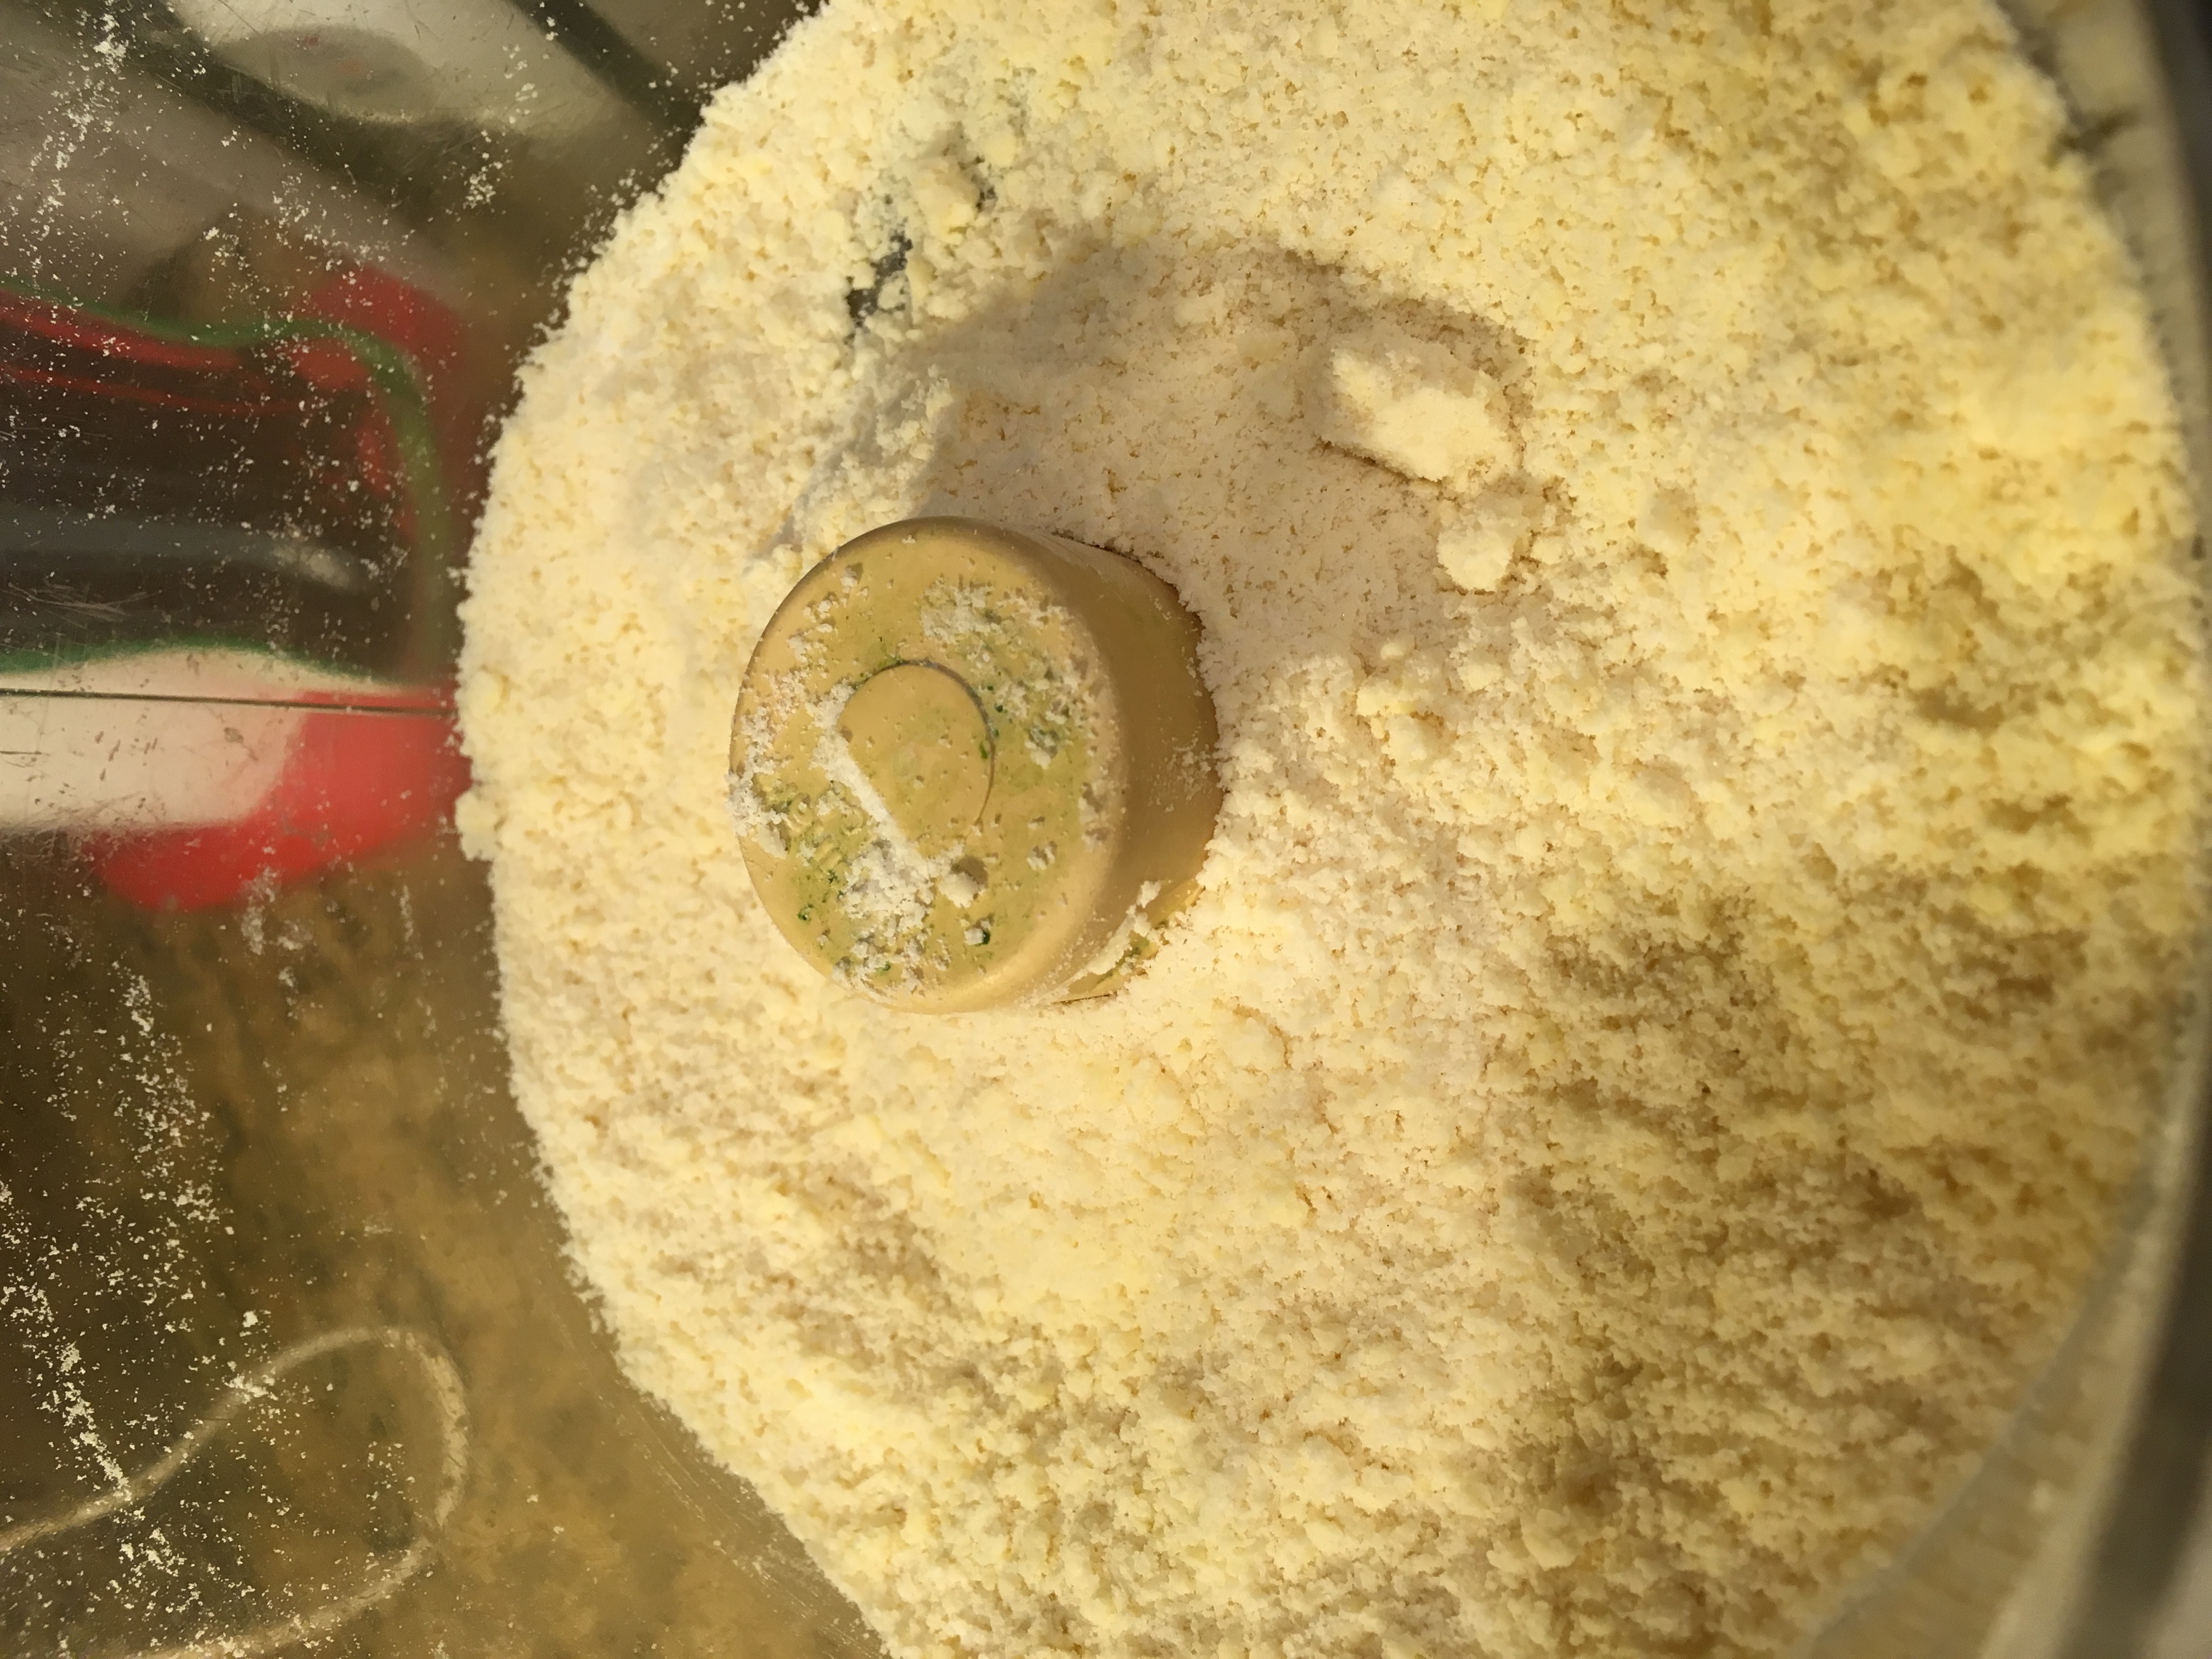
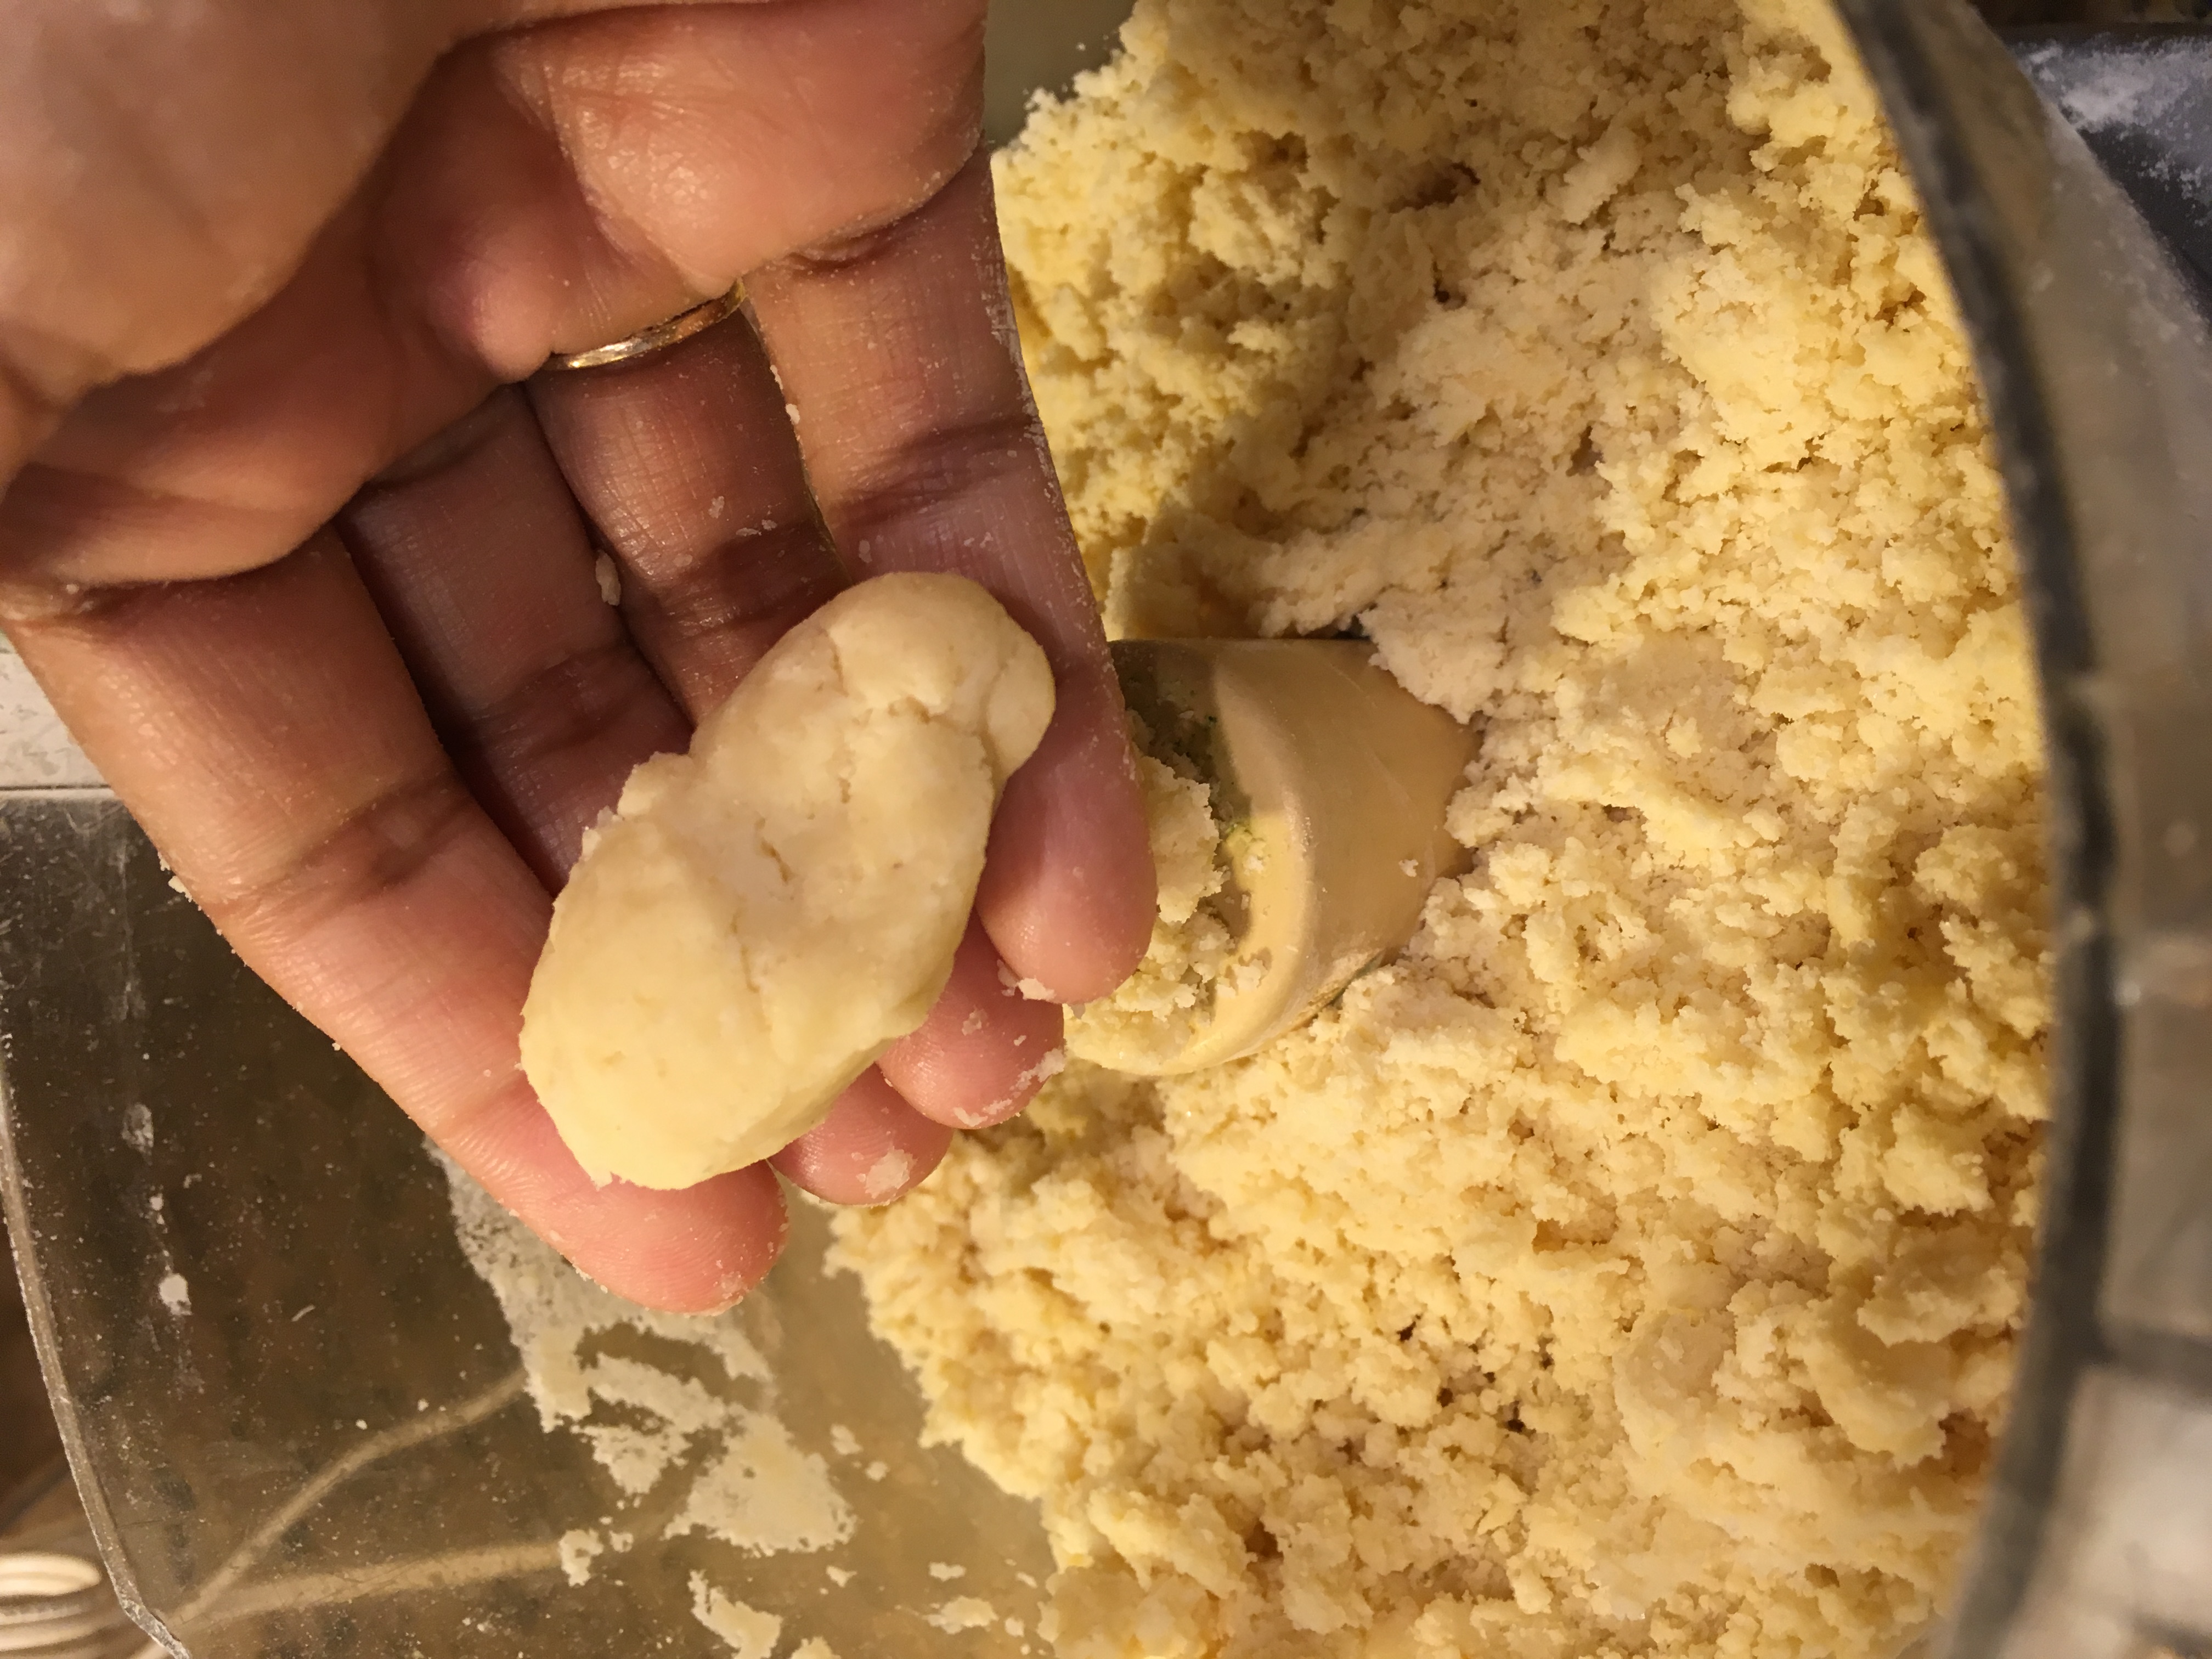
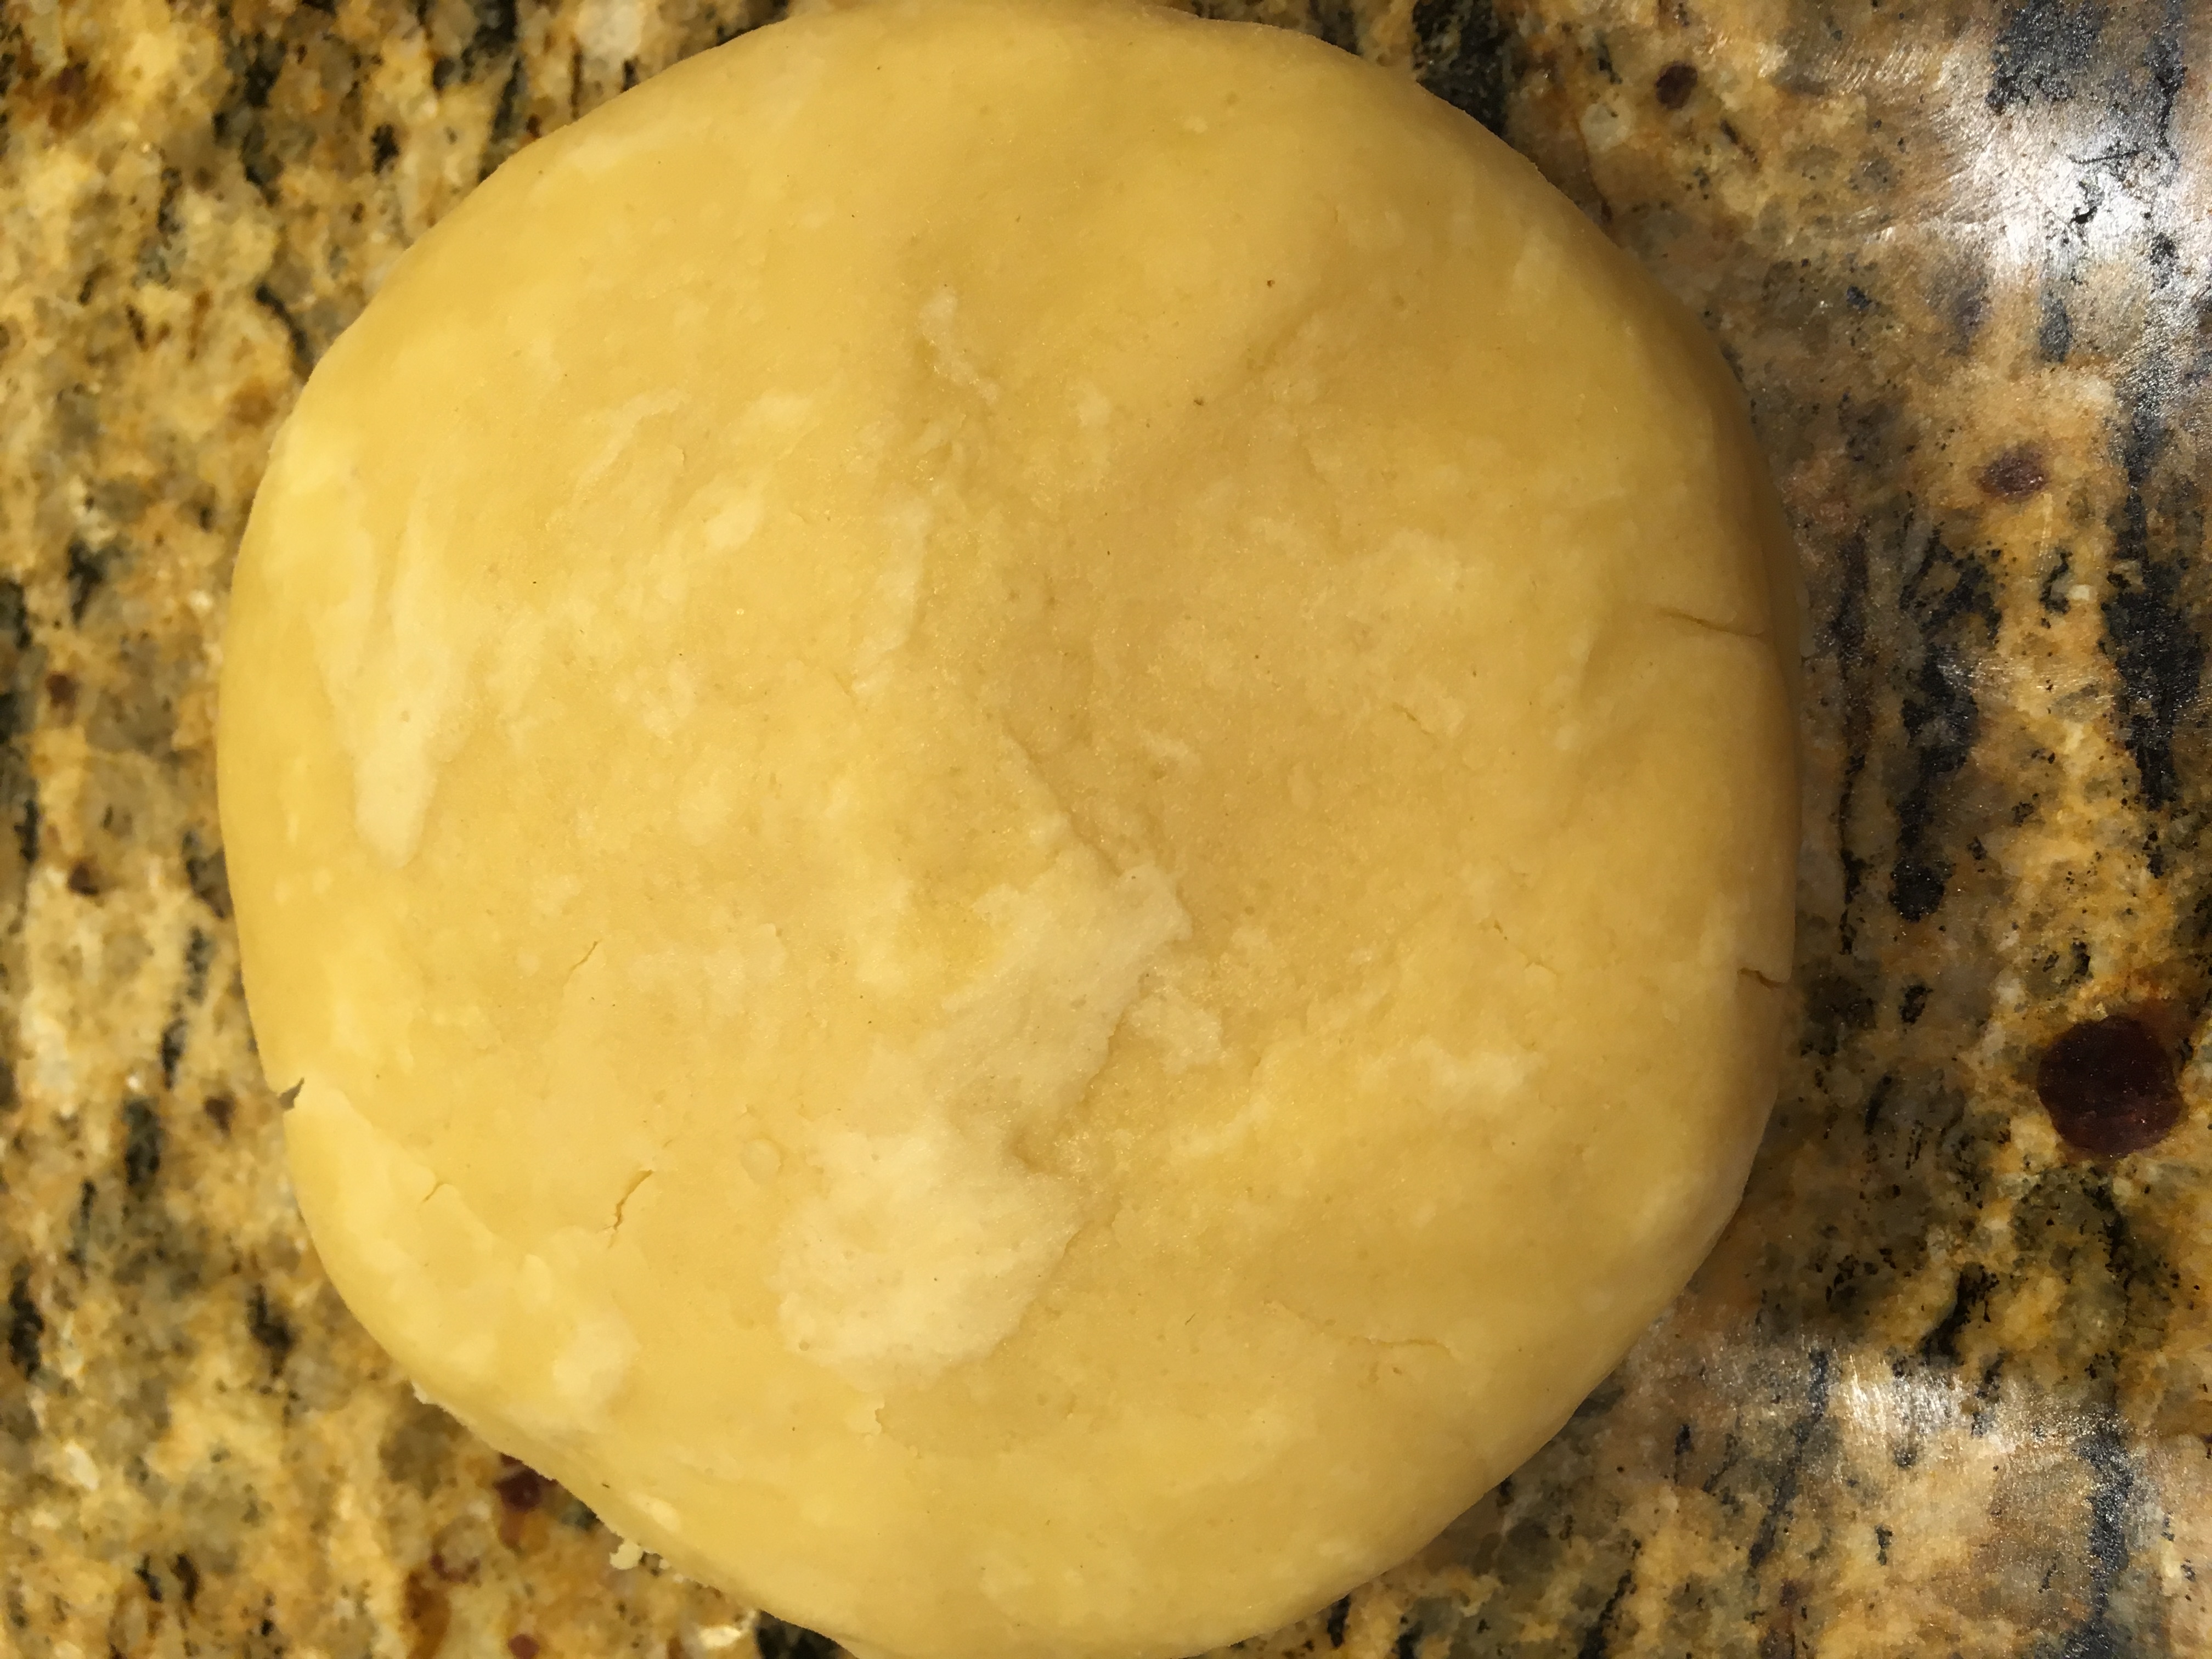
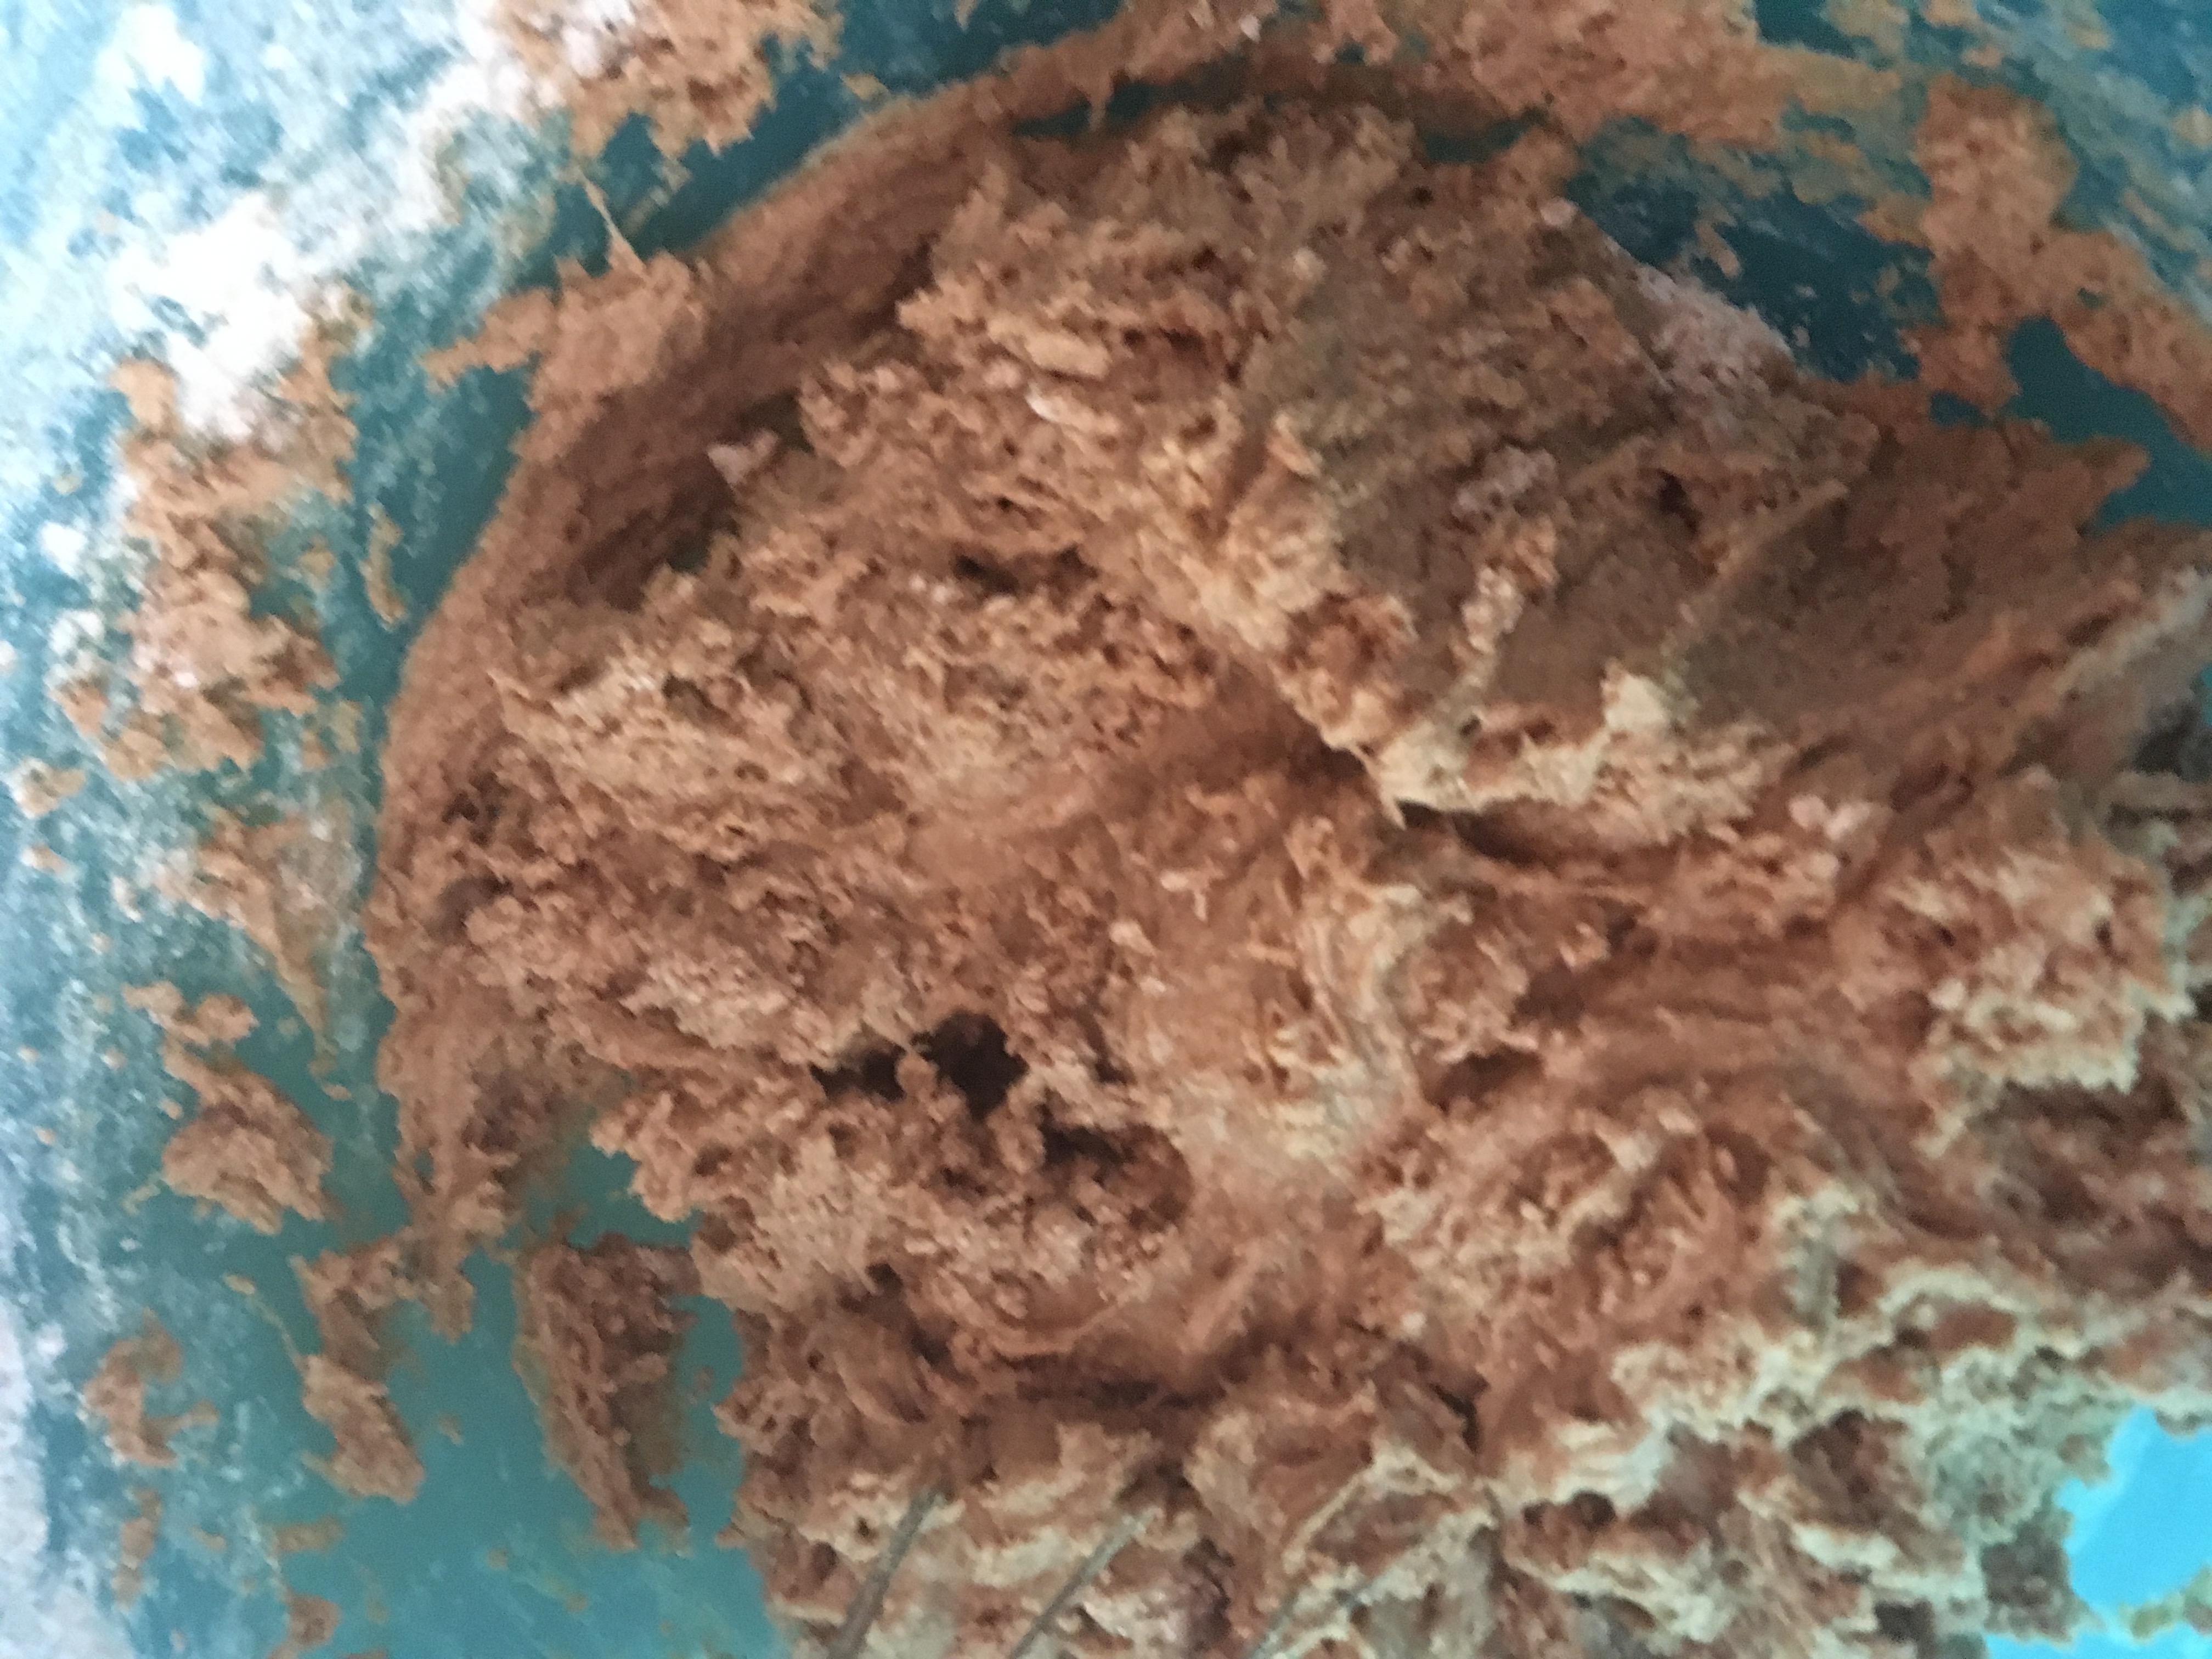
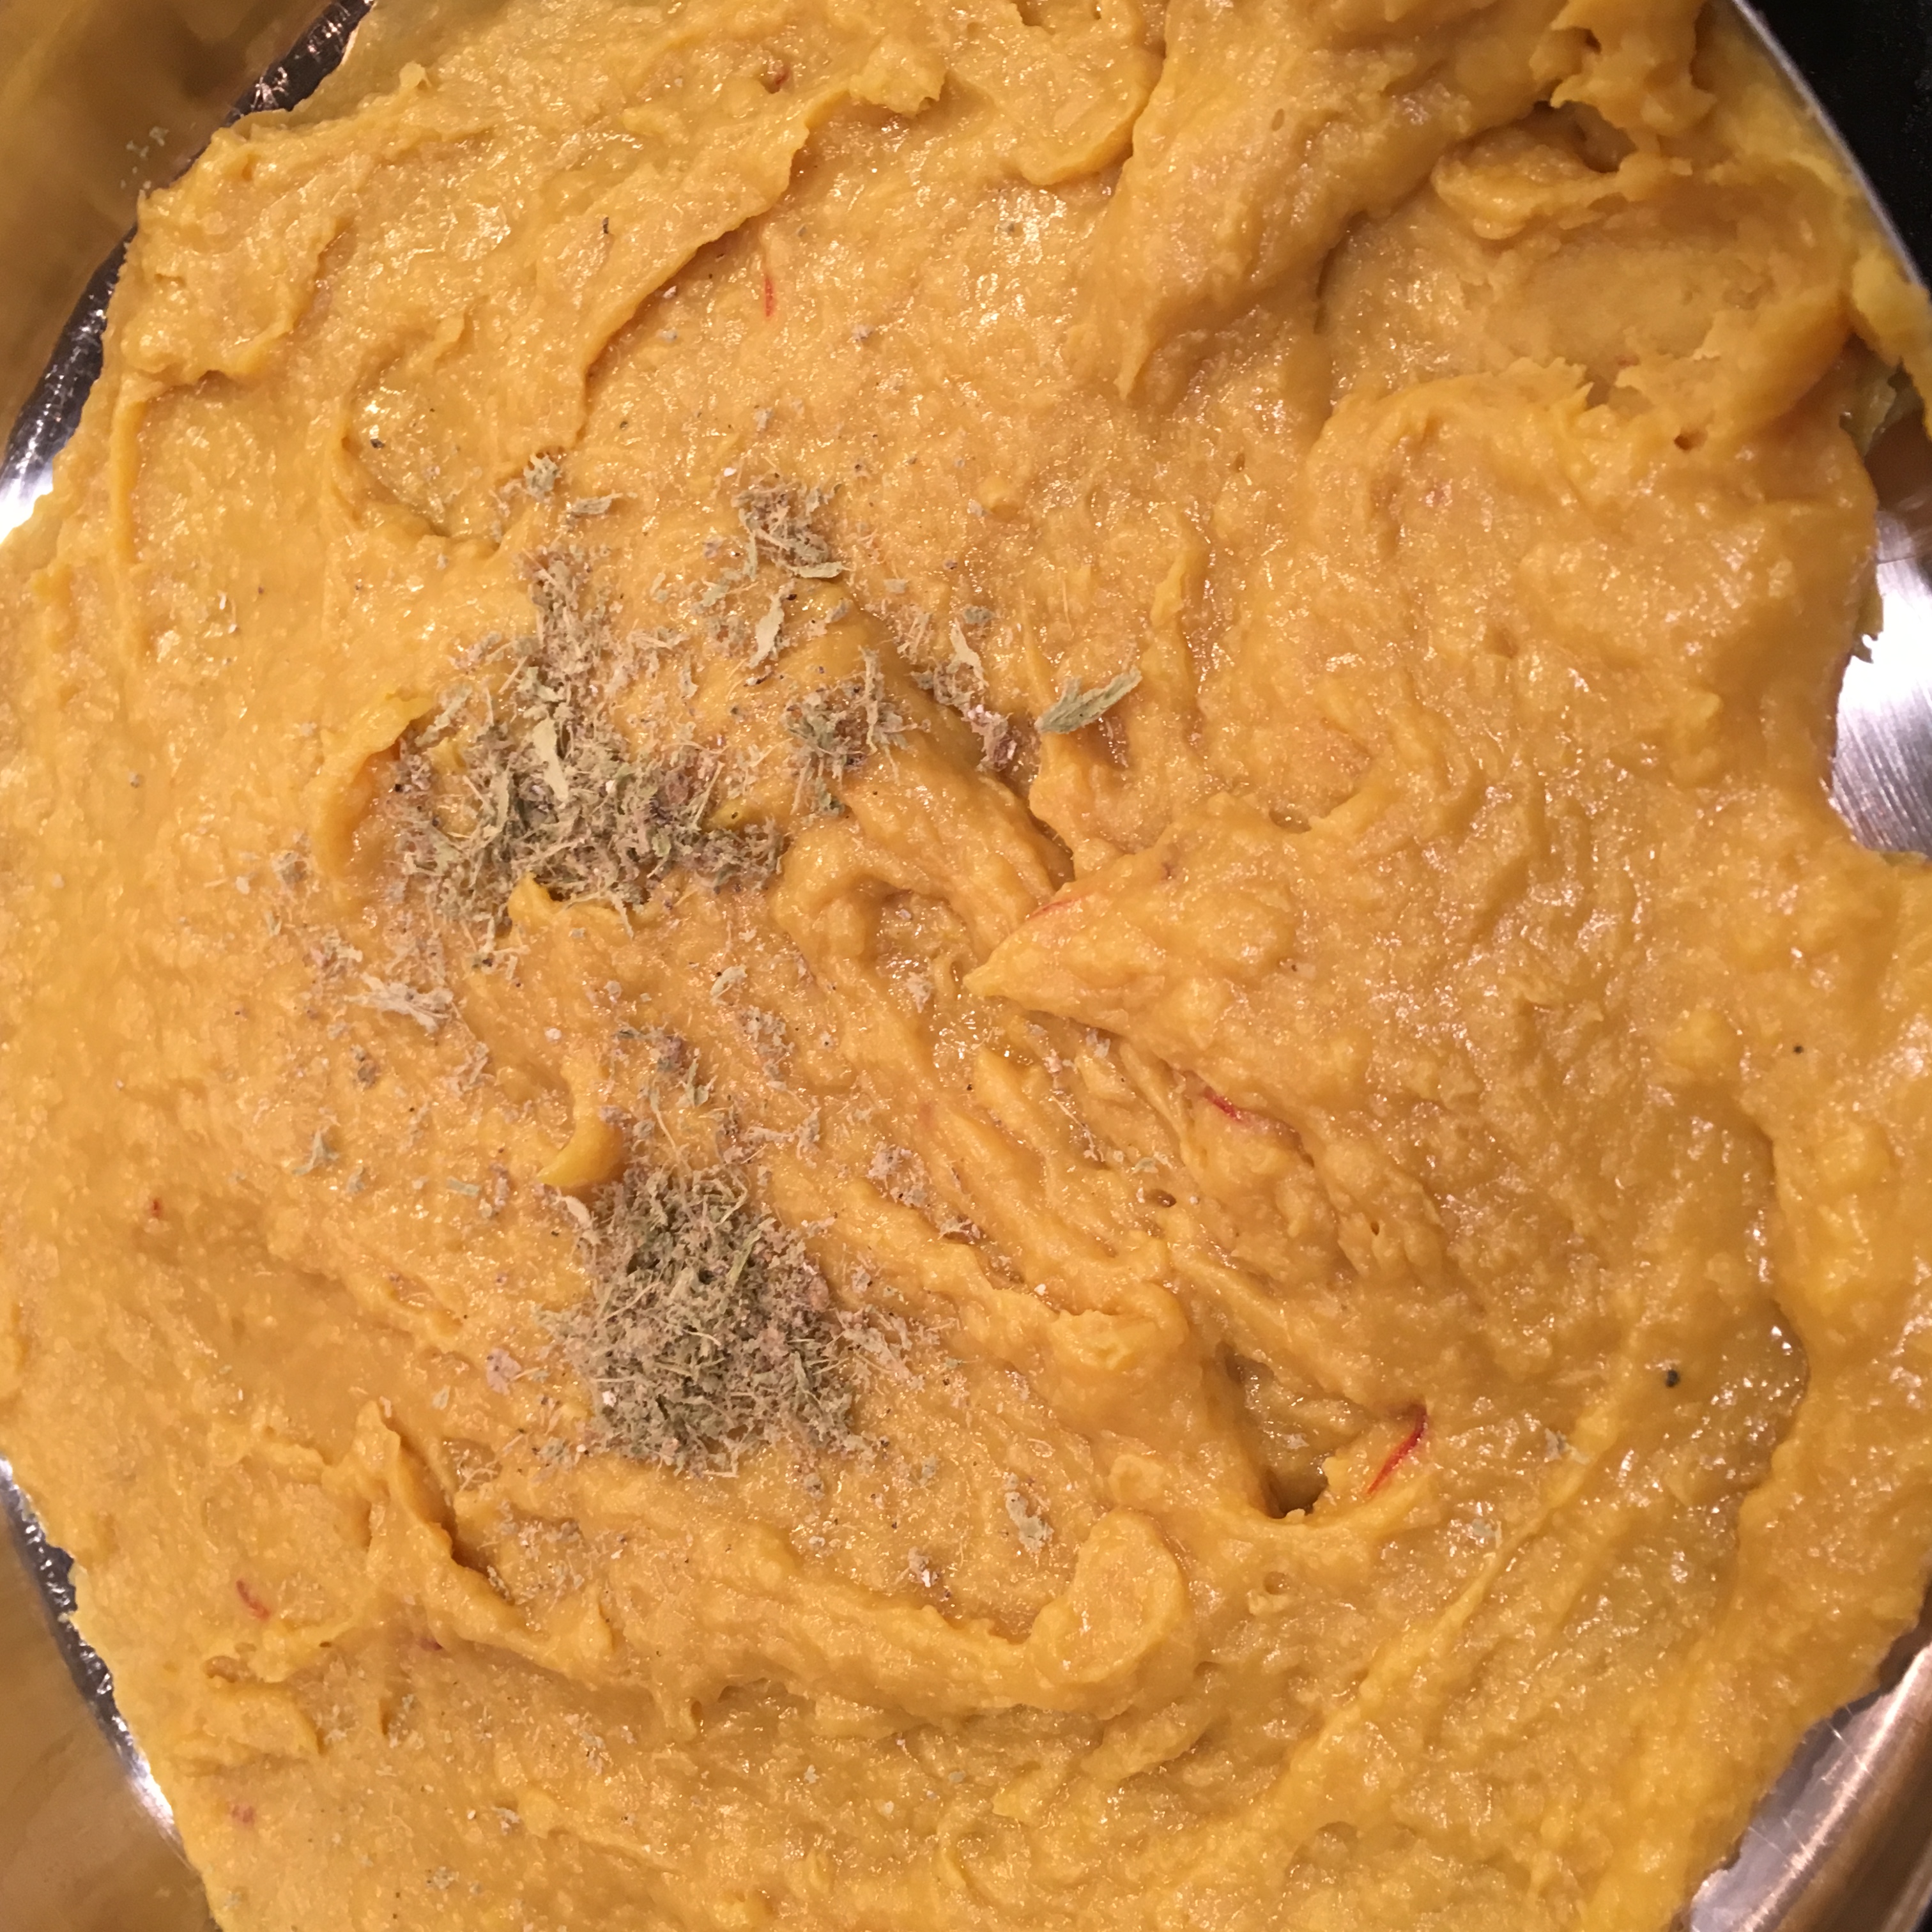
- Mix all the ingredients and taste for spice and salt levels. Bind all the ingredients into a smooth dough.If need more water for dough add yogurt.

- Roll the dough into a long cylinder shape.

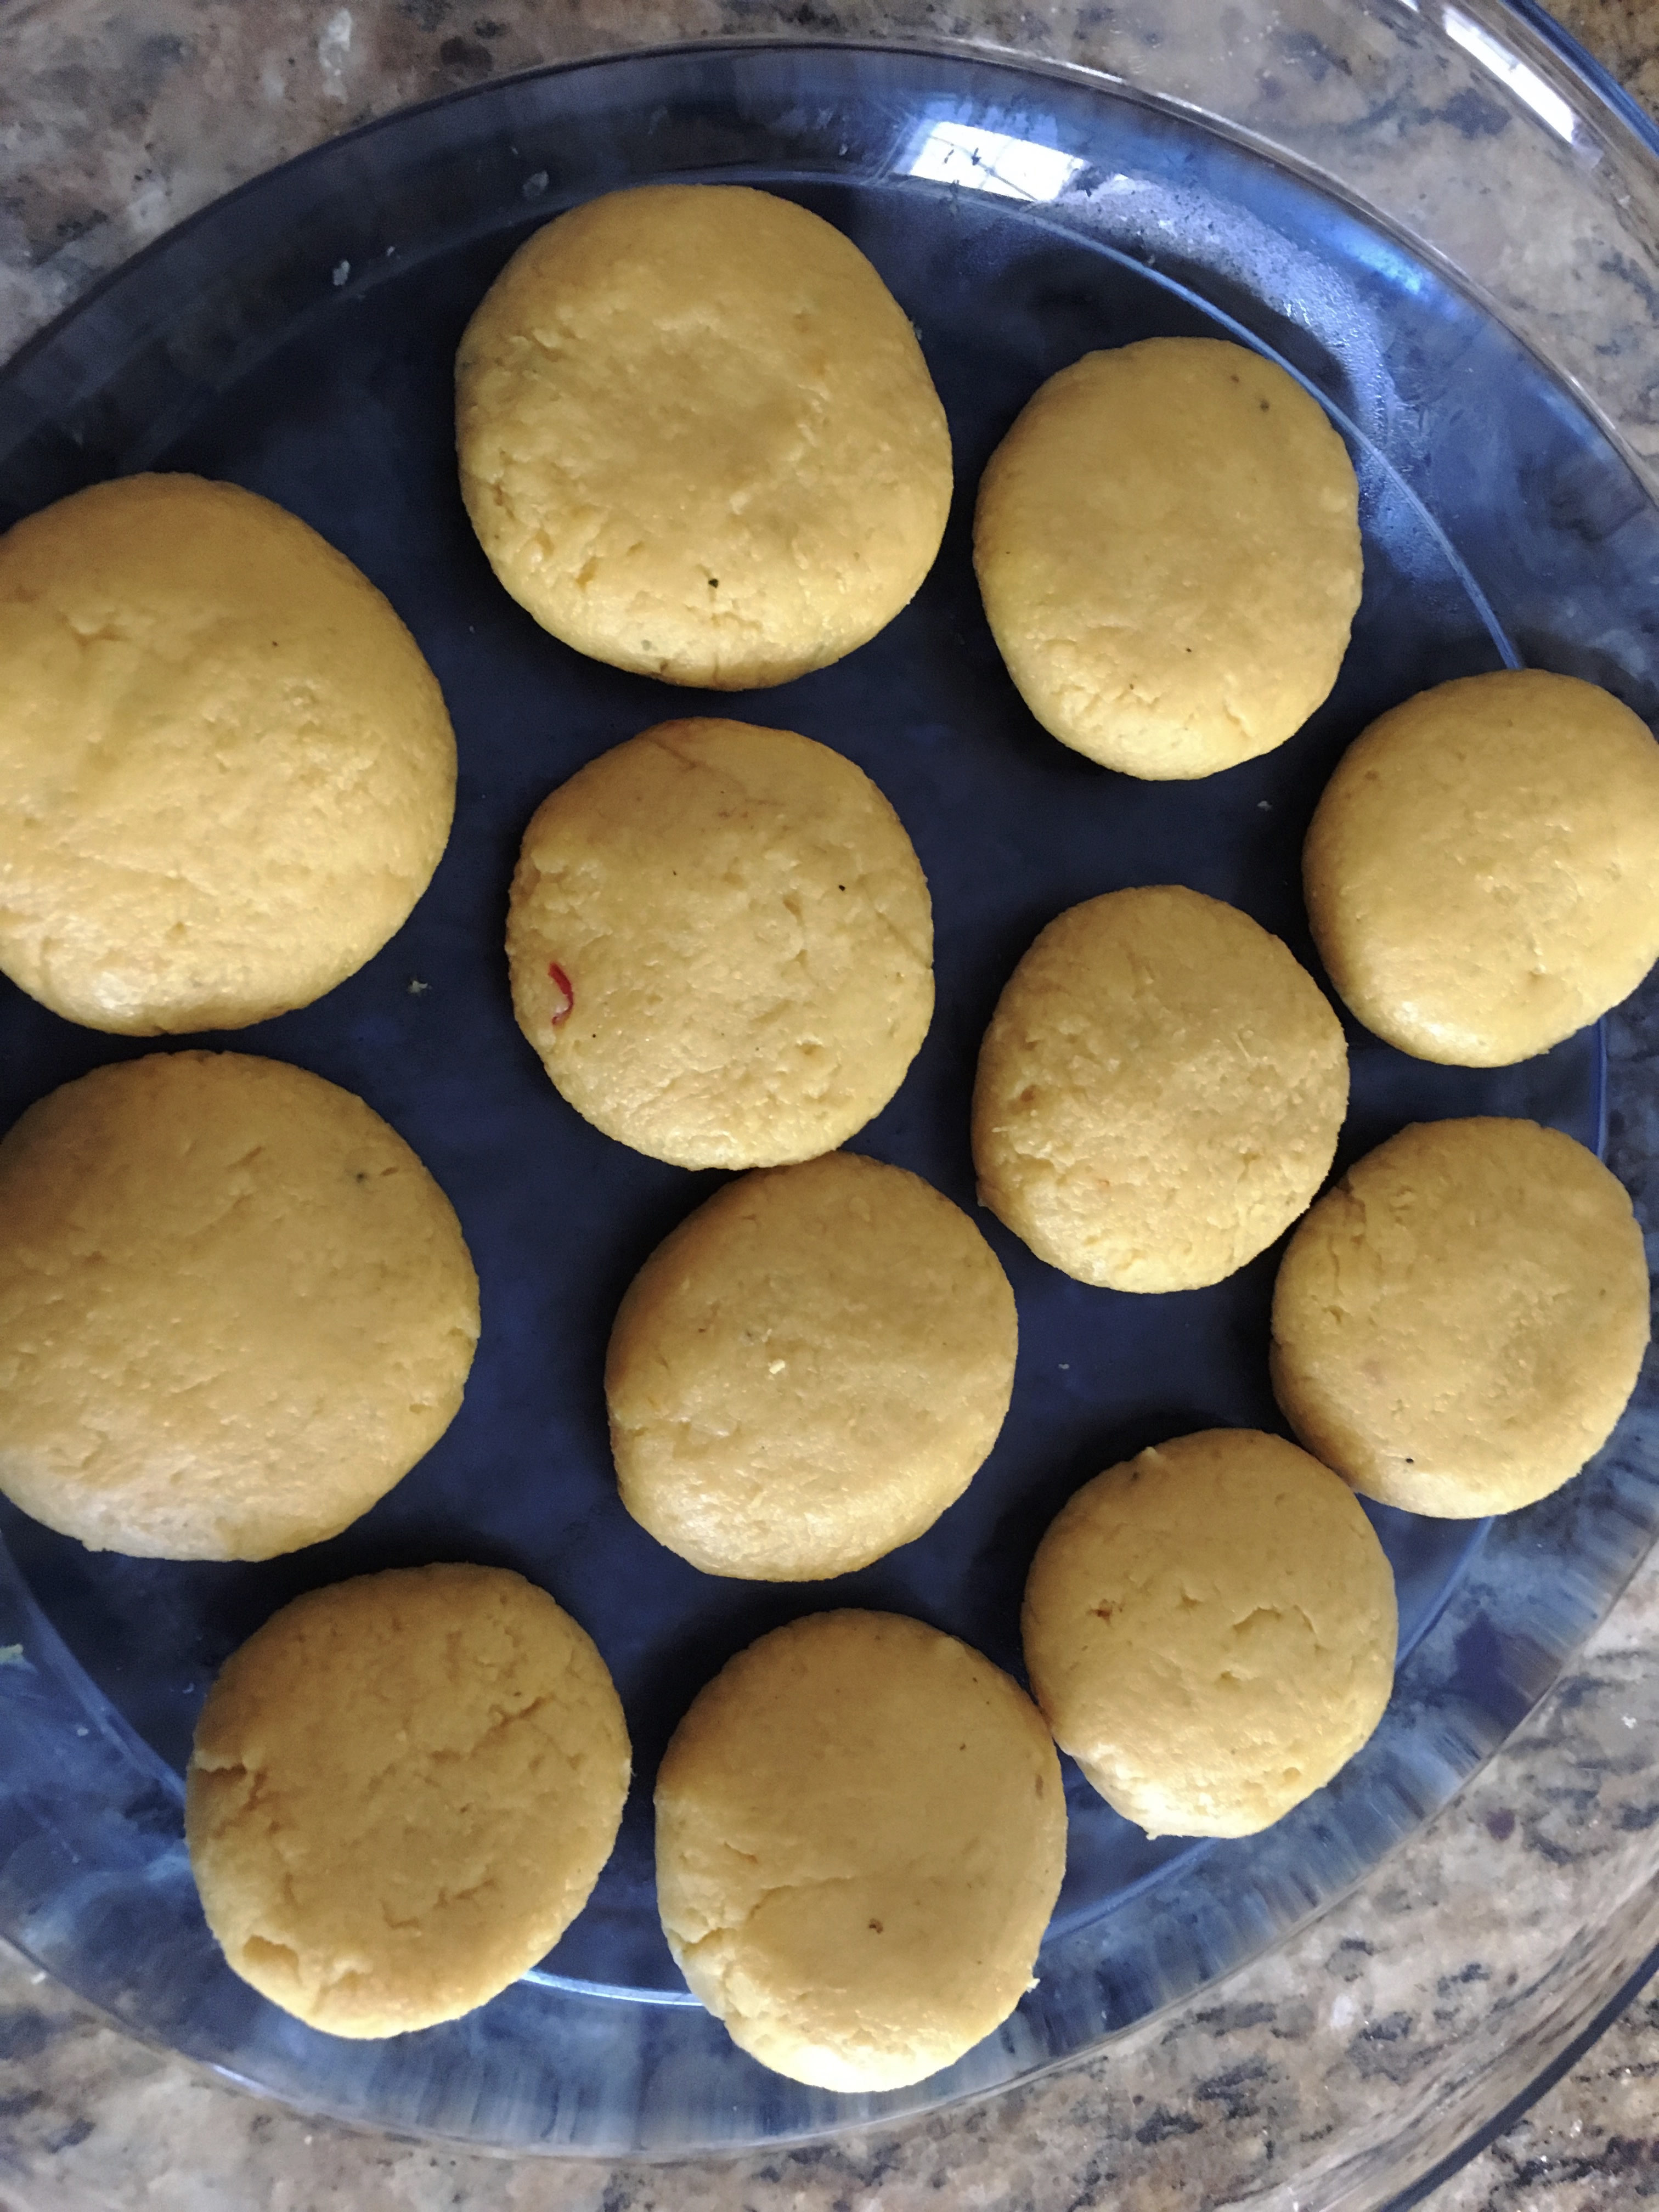
- Cut about 1/4 inch pieces of the dough. I was able to make about 22-23 pieces

- Make a ball of each piece and flatten it a bit between the palms and afterwards use the fingers to pat it and make it a little bigger. Fill about 1/2 tsp of the stuffing on it.

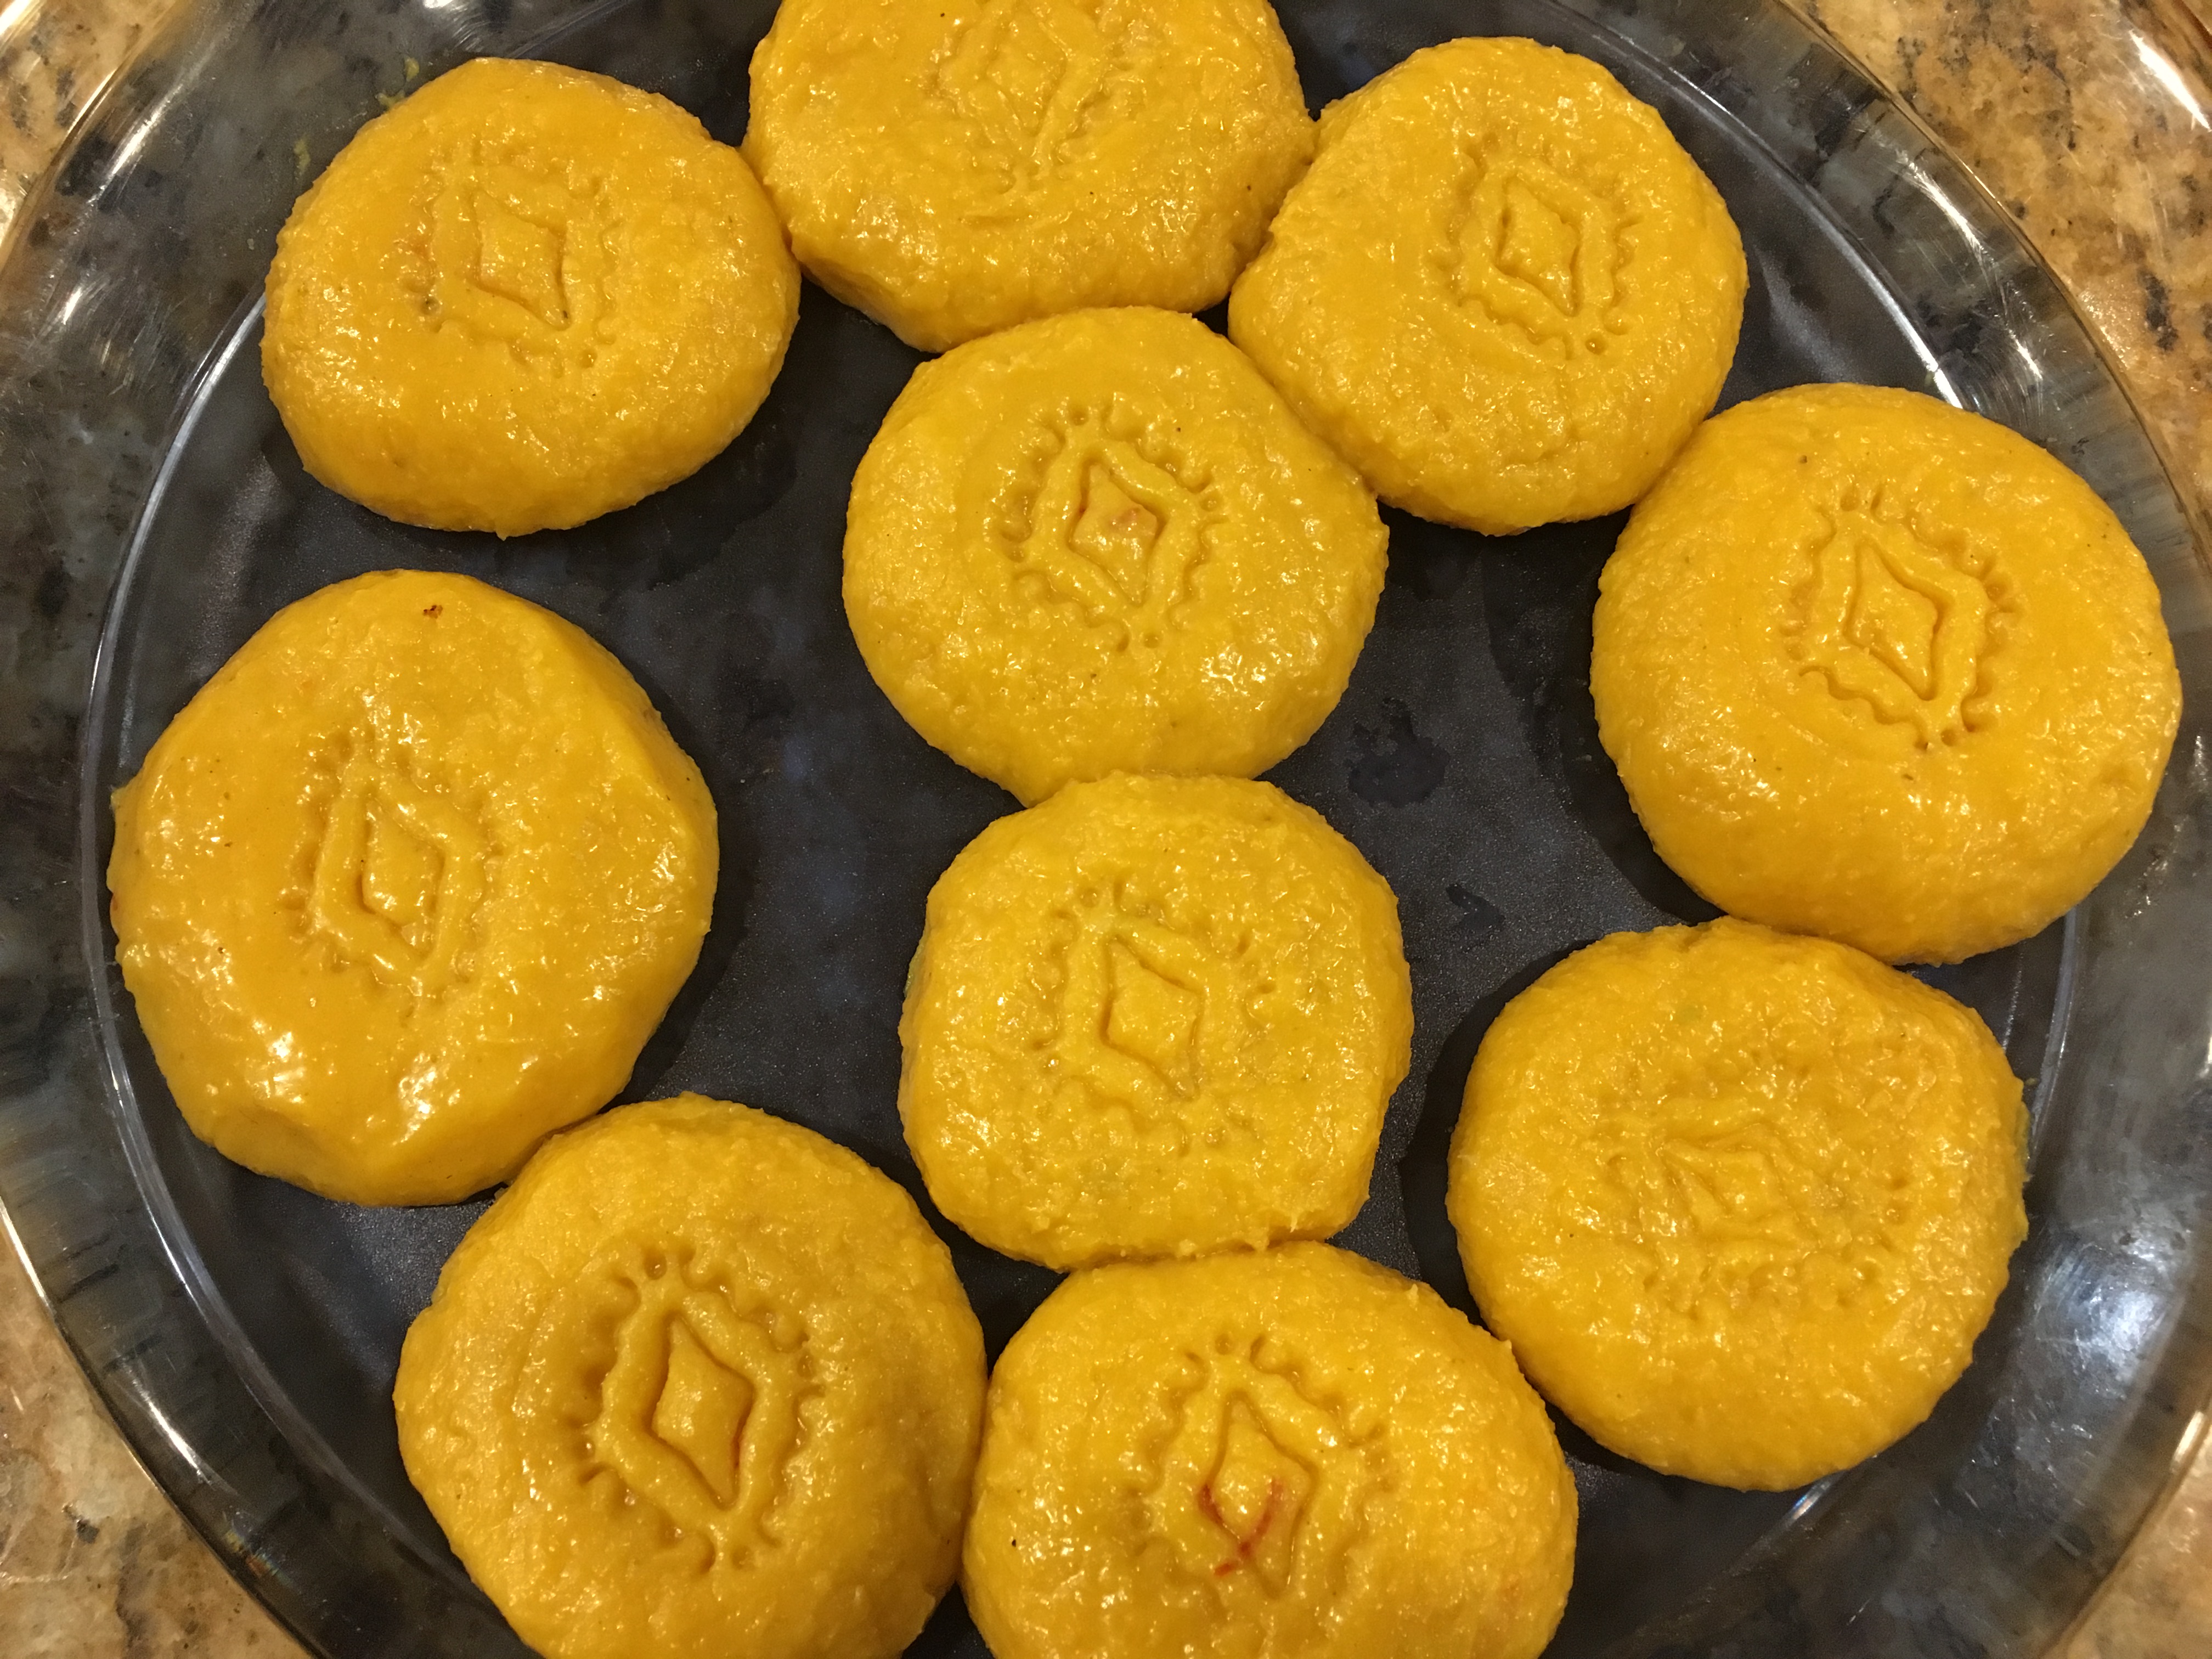
- Fold the edges of the dough inwards and make a con shape. If it s not easy to fold in a cone shape, first make a ball and then make a cone shape. Alternatively you can leave them as balls too. But typically this being royal, the cone shape associated was to make it extra ordinary.

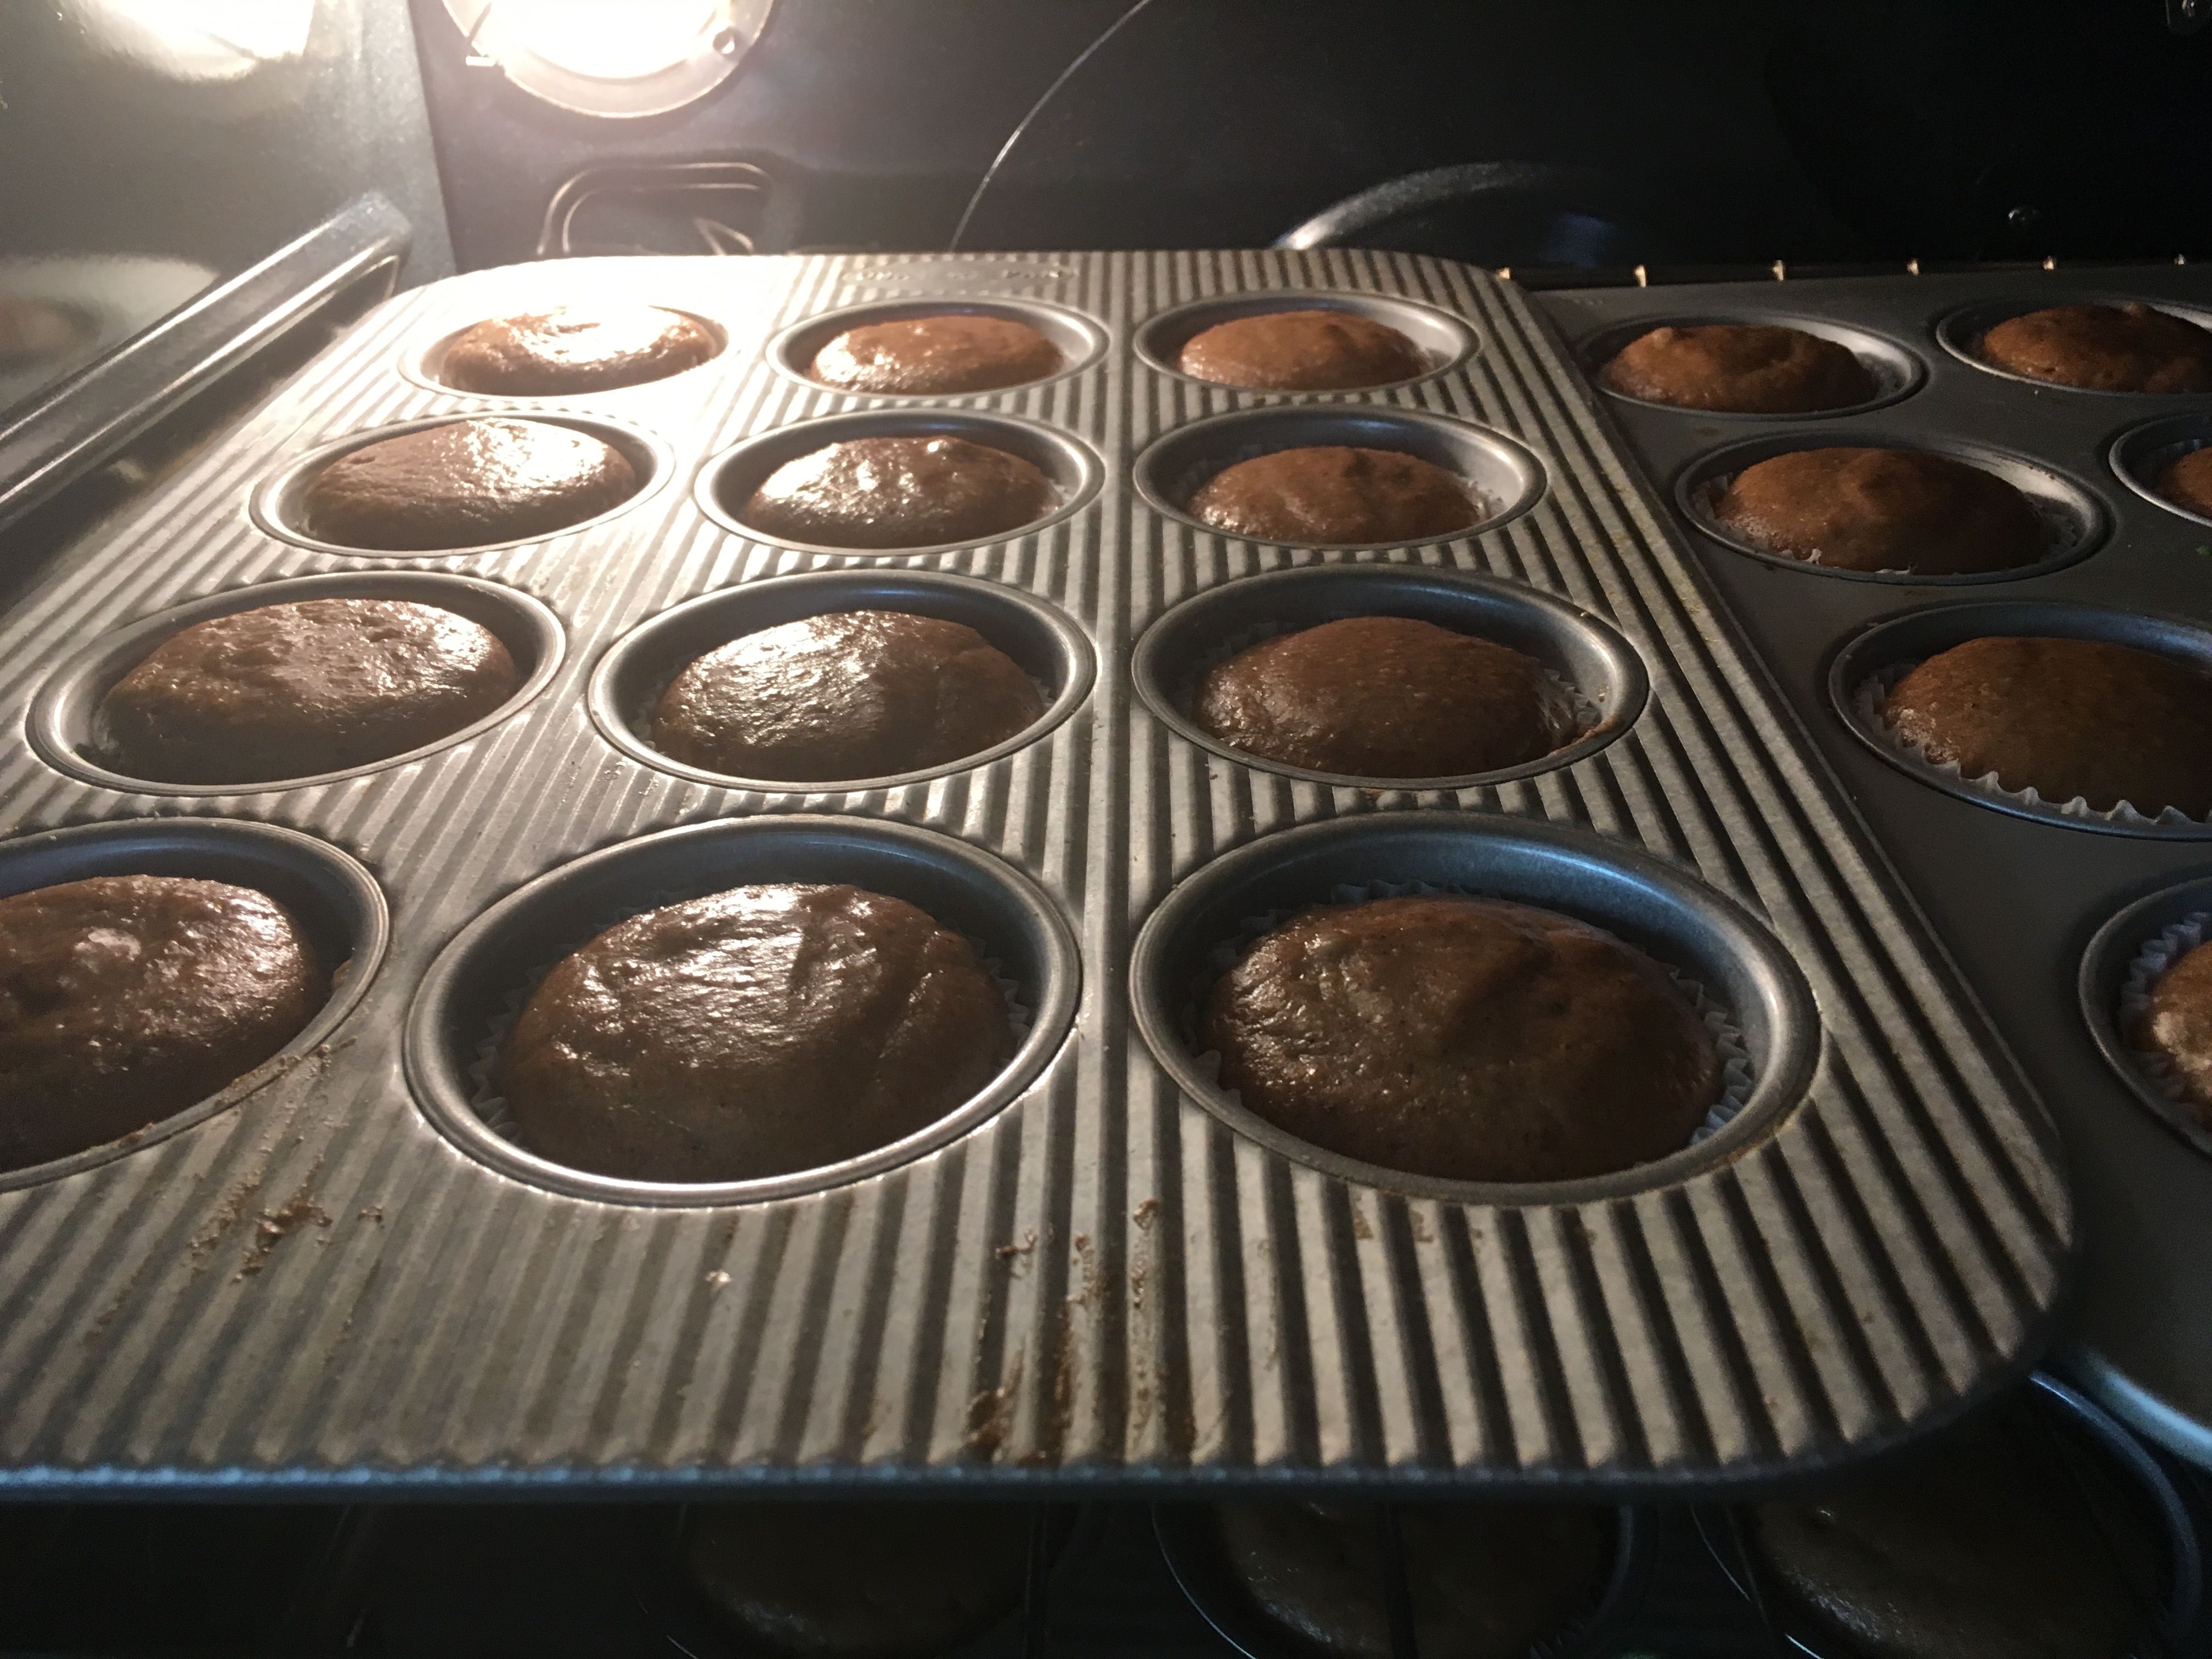
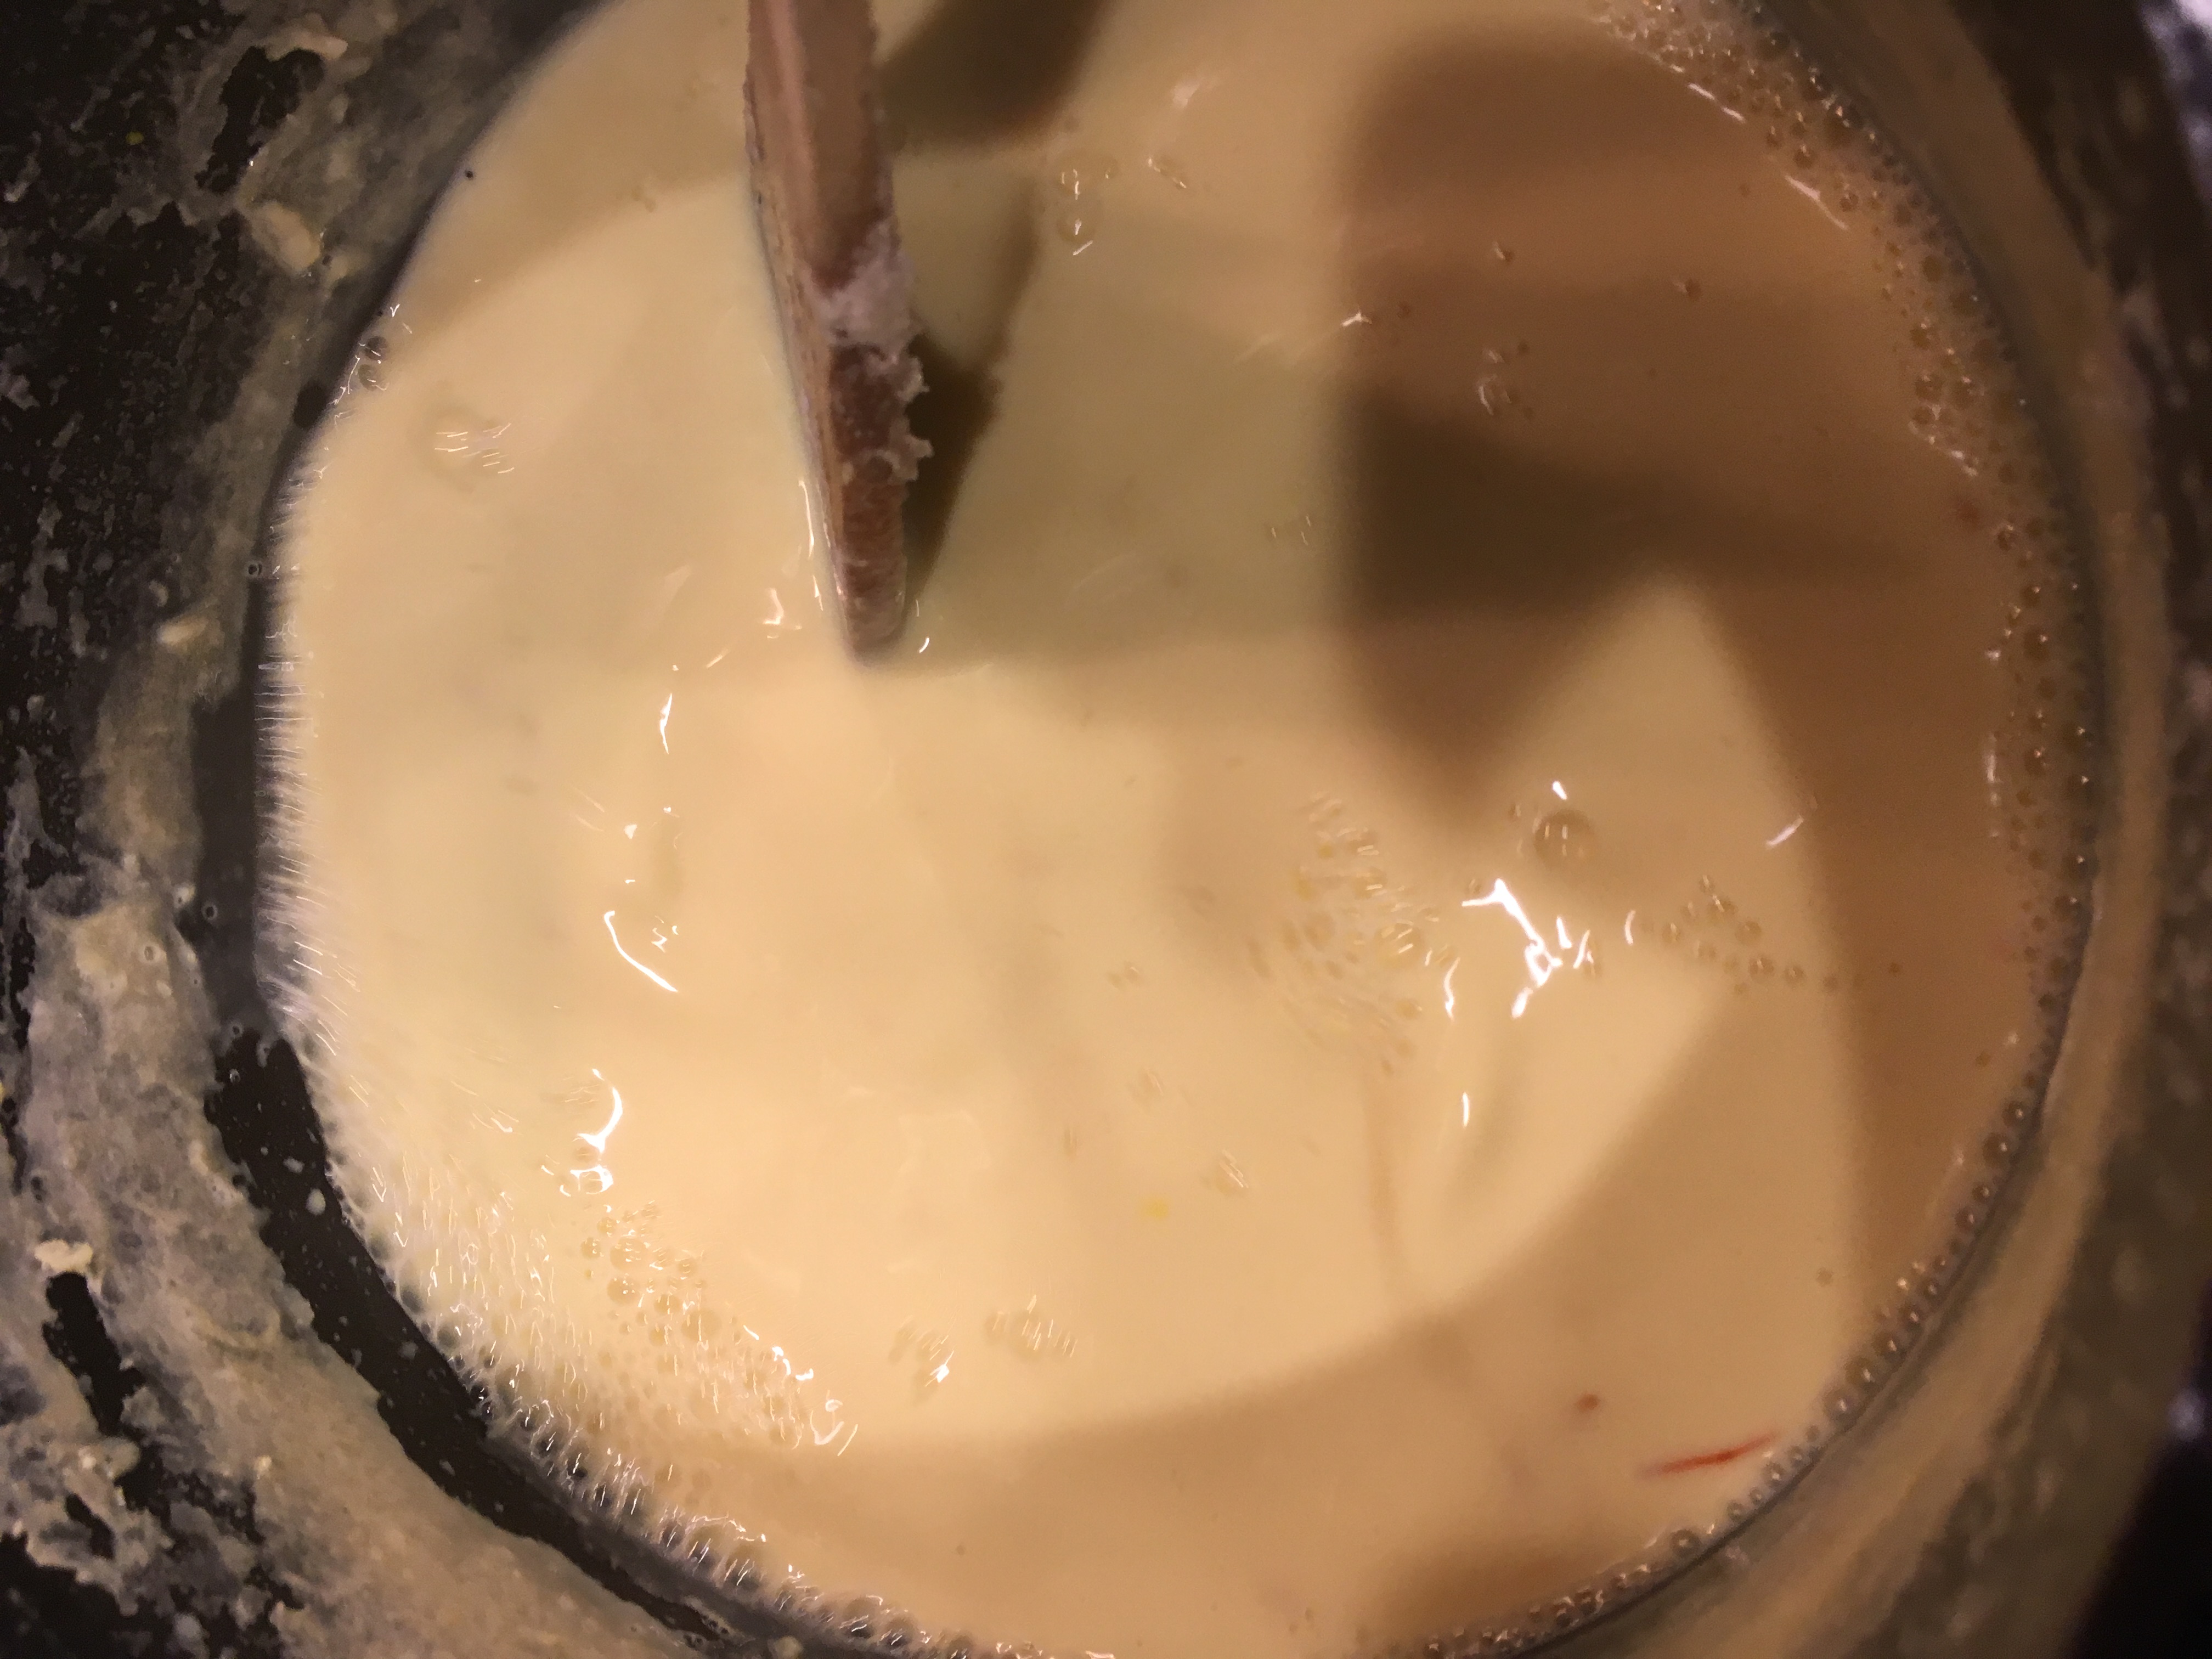
- Boil about 3/4 liters of water and add salt, yogurt and ghee. Add the cone gatte to it, ensuring that the quantity of water is sufficient for it to be submerged completely.

- Boil the gatte for about 10-11 minutes till they are completely cooked and rise to the top.

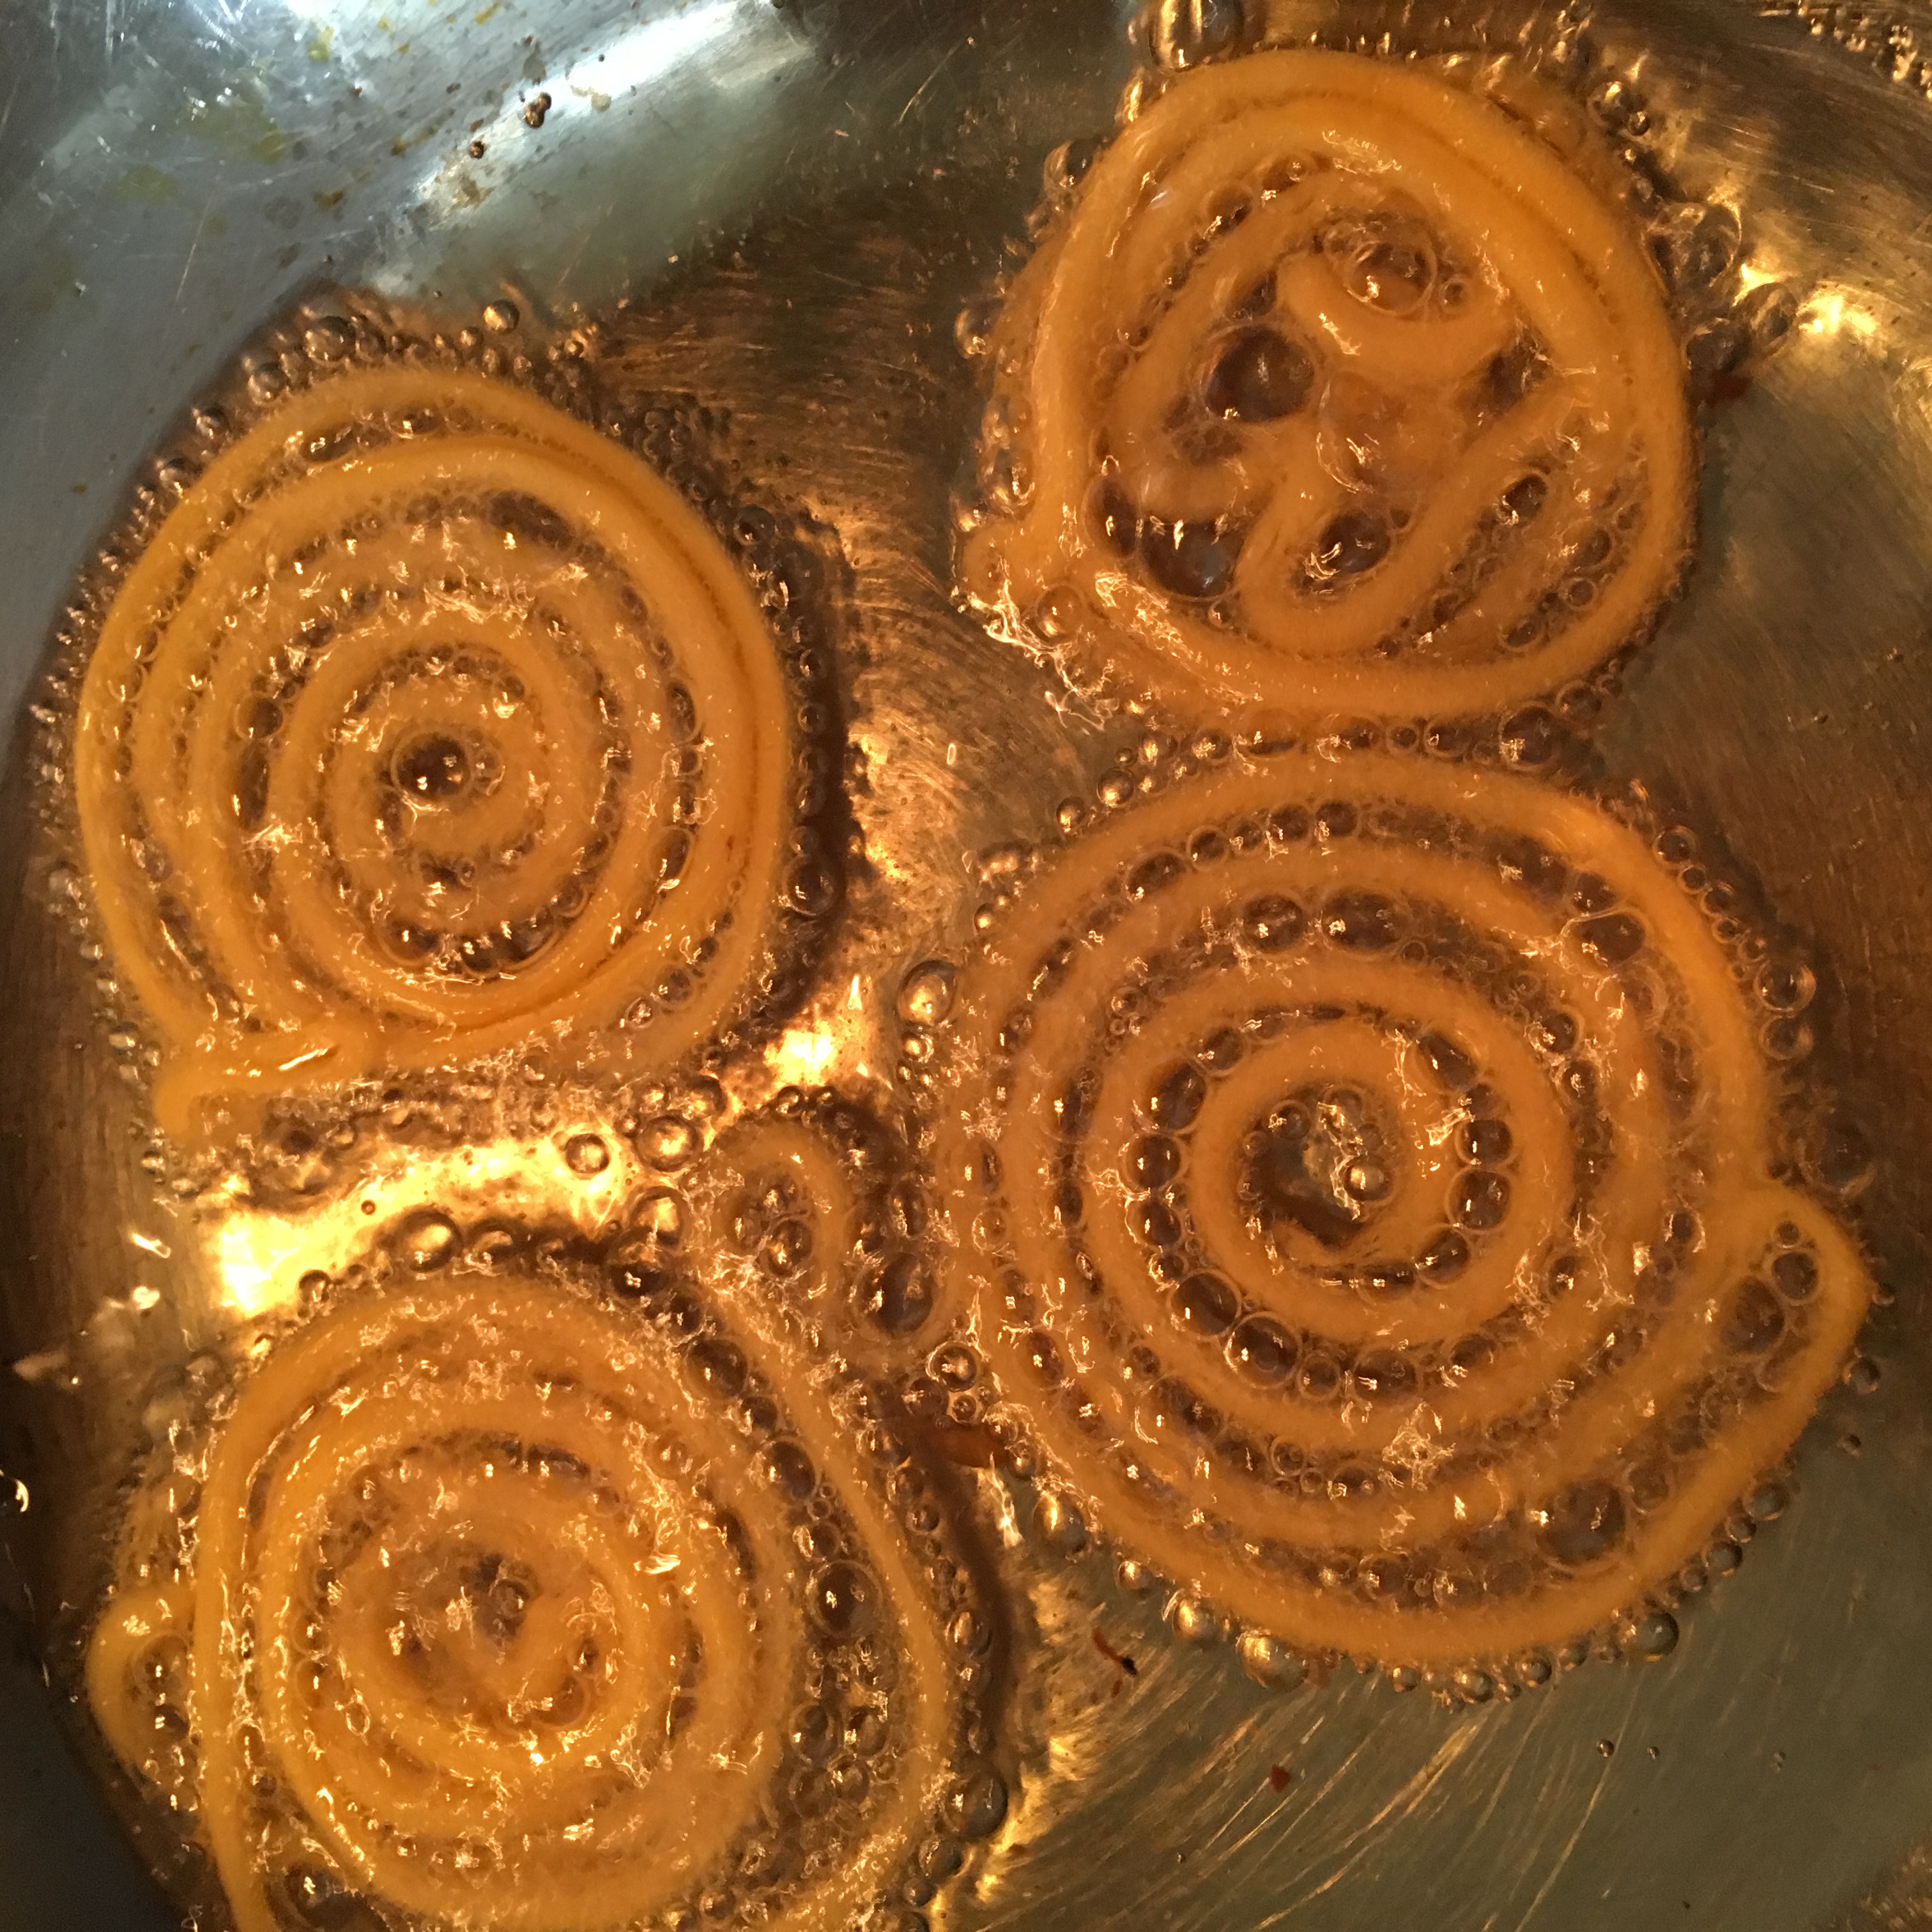
- While the gate are boiling heat the oil in a pan, once it warms up, keep it on a low flame. As soon as the gatte are cooked, instantly drop them into the oil for frying.Once they are light beige in color, remove from oil and cool.

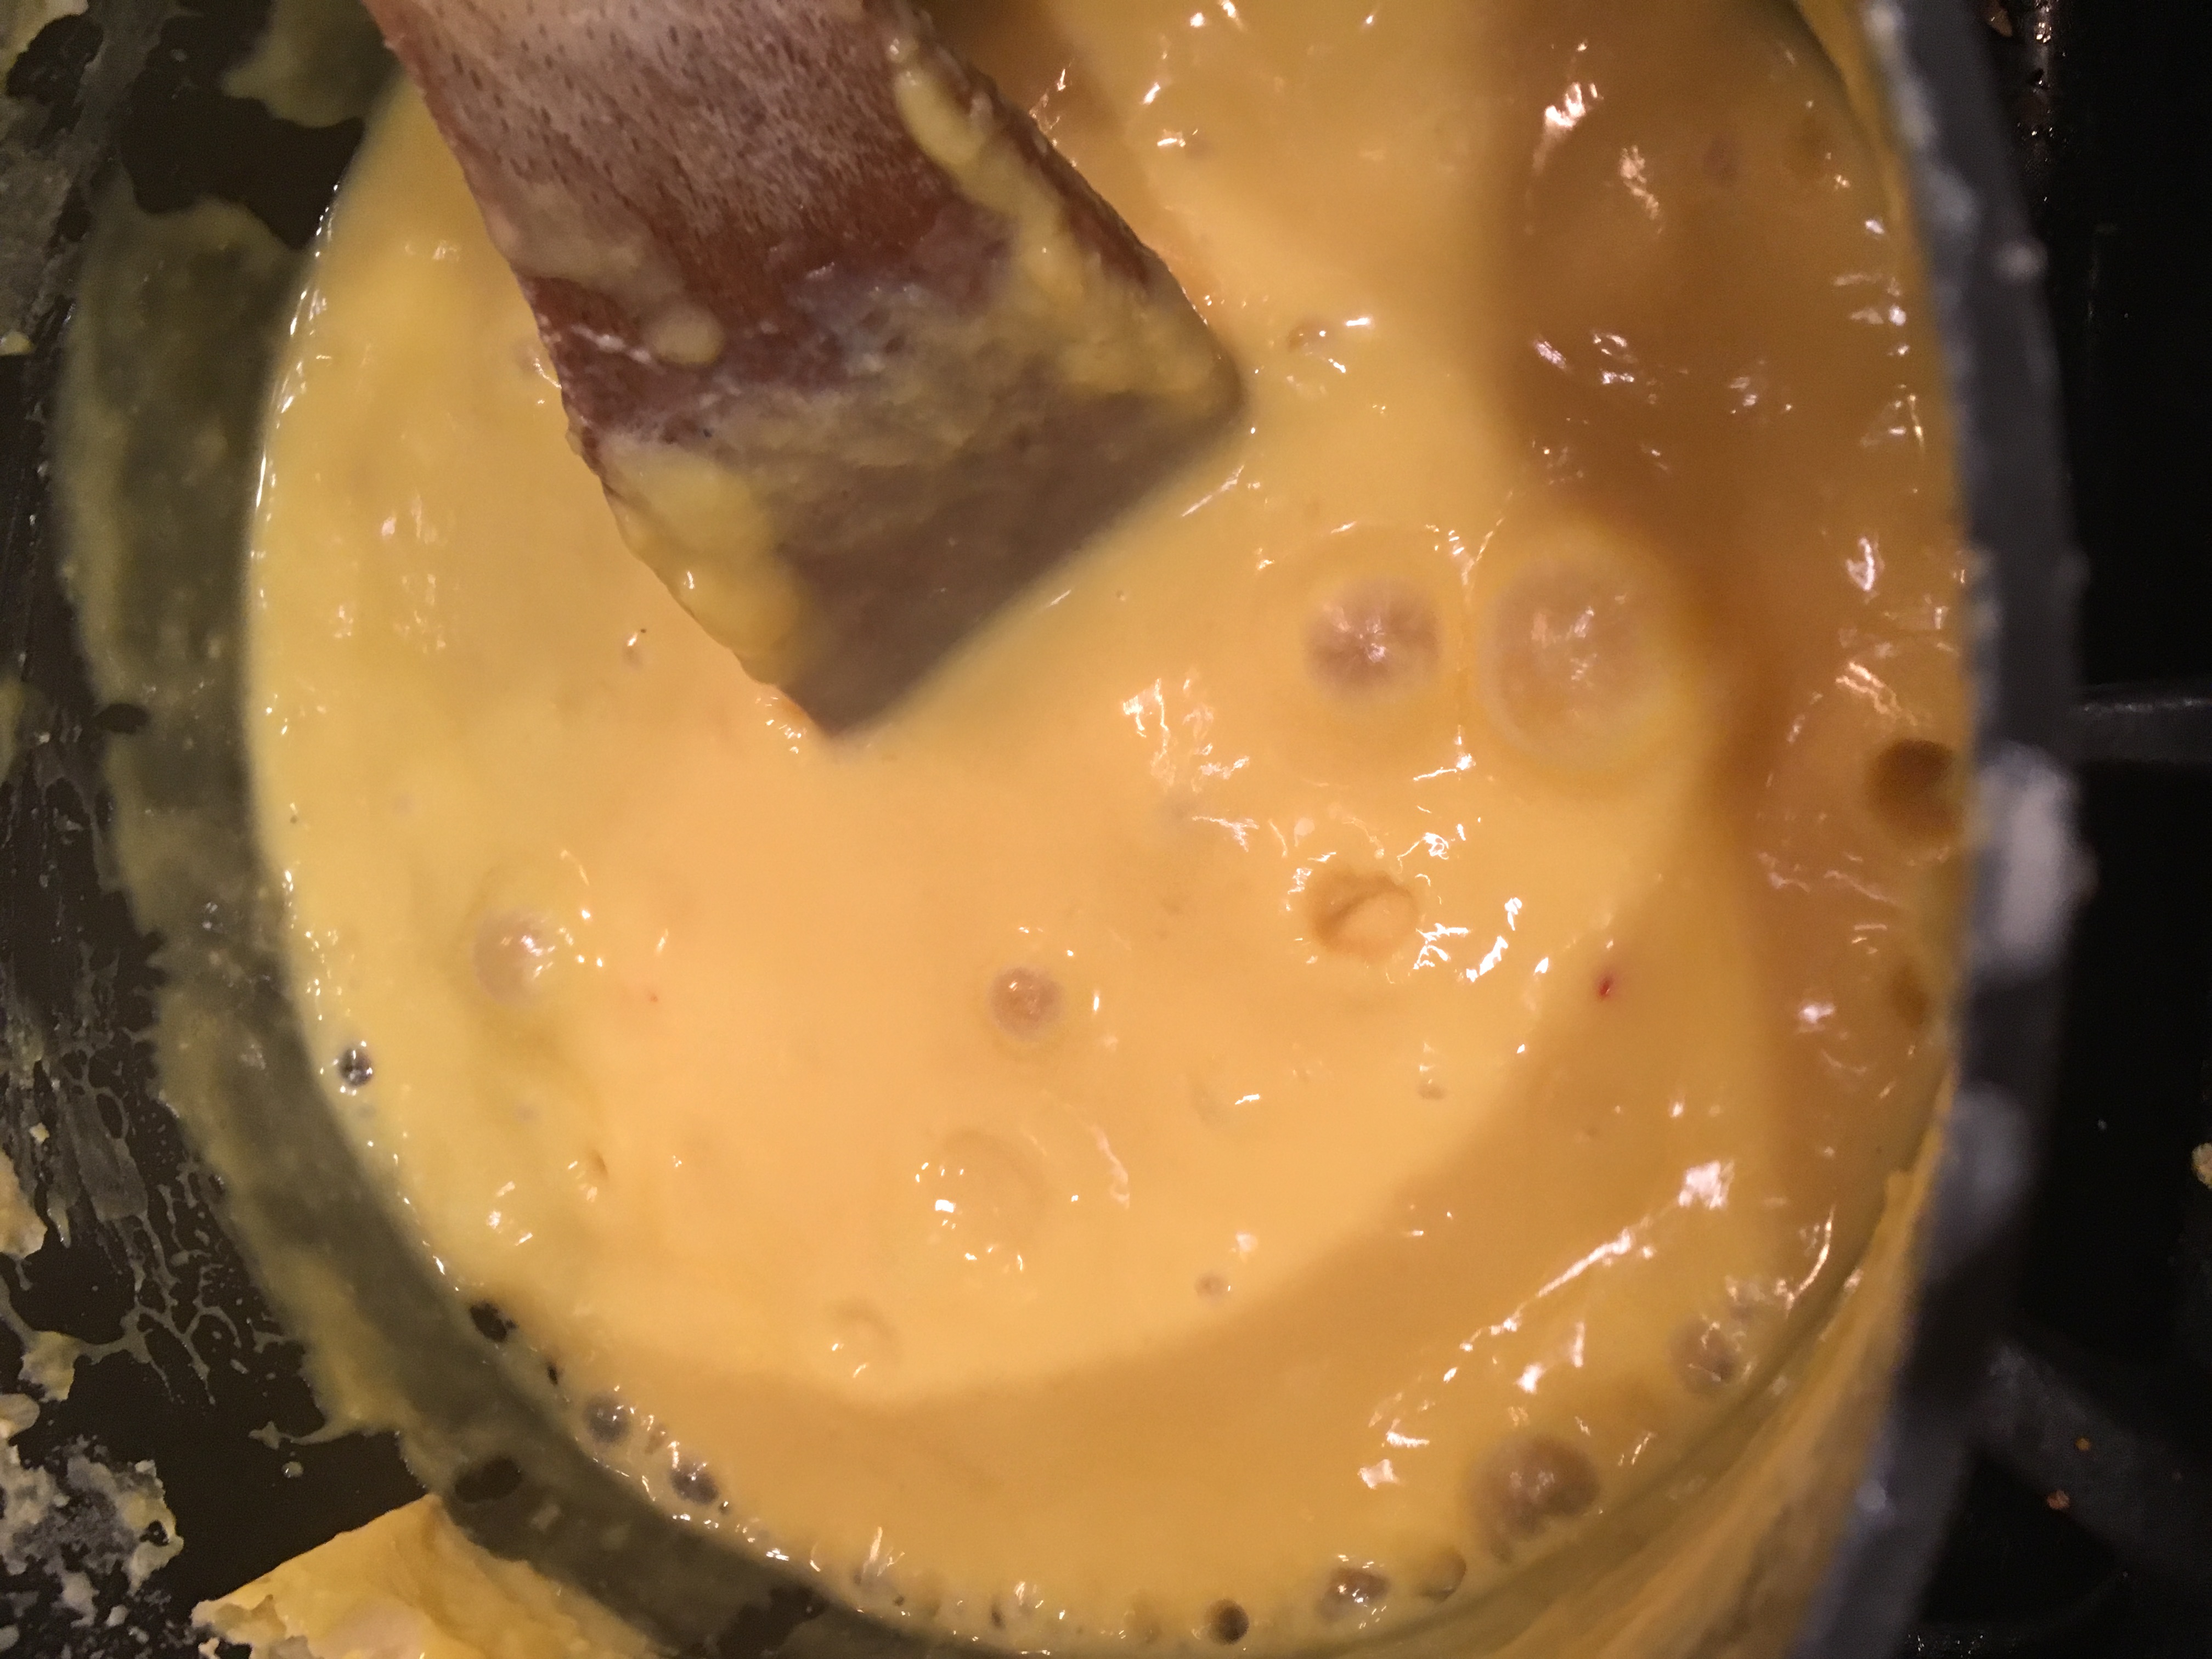
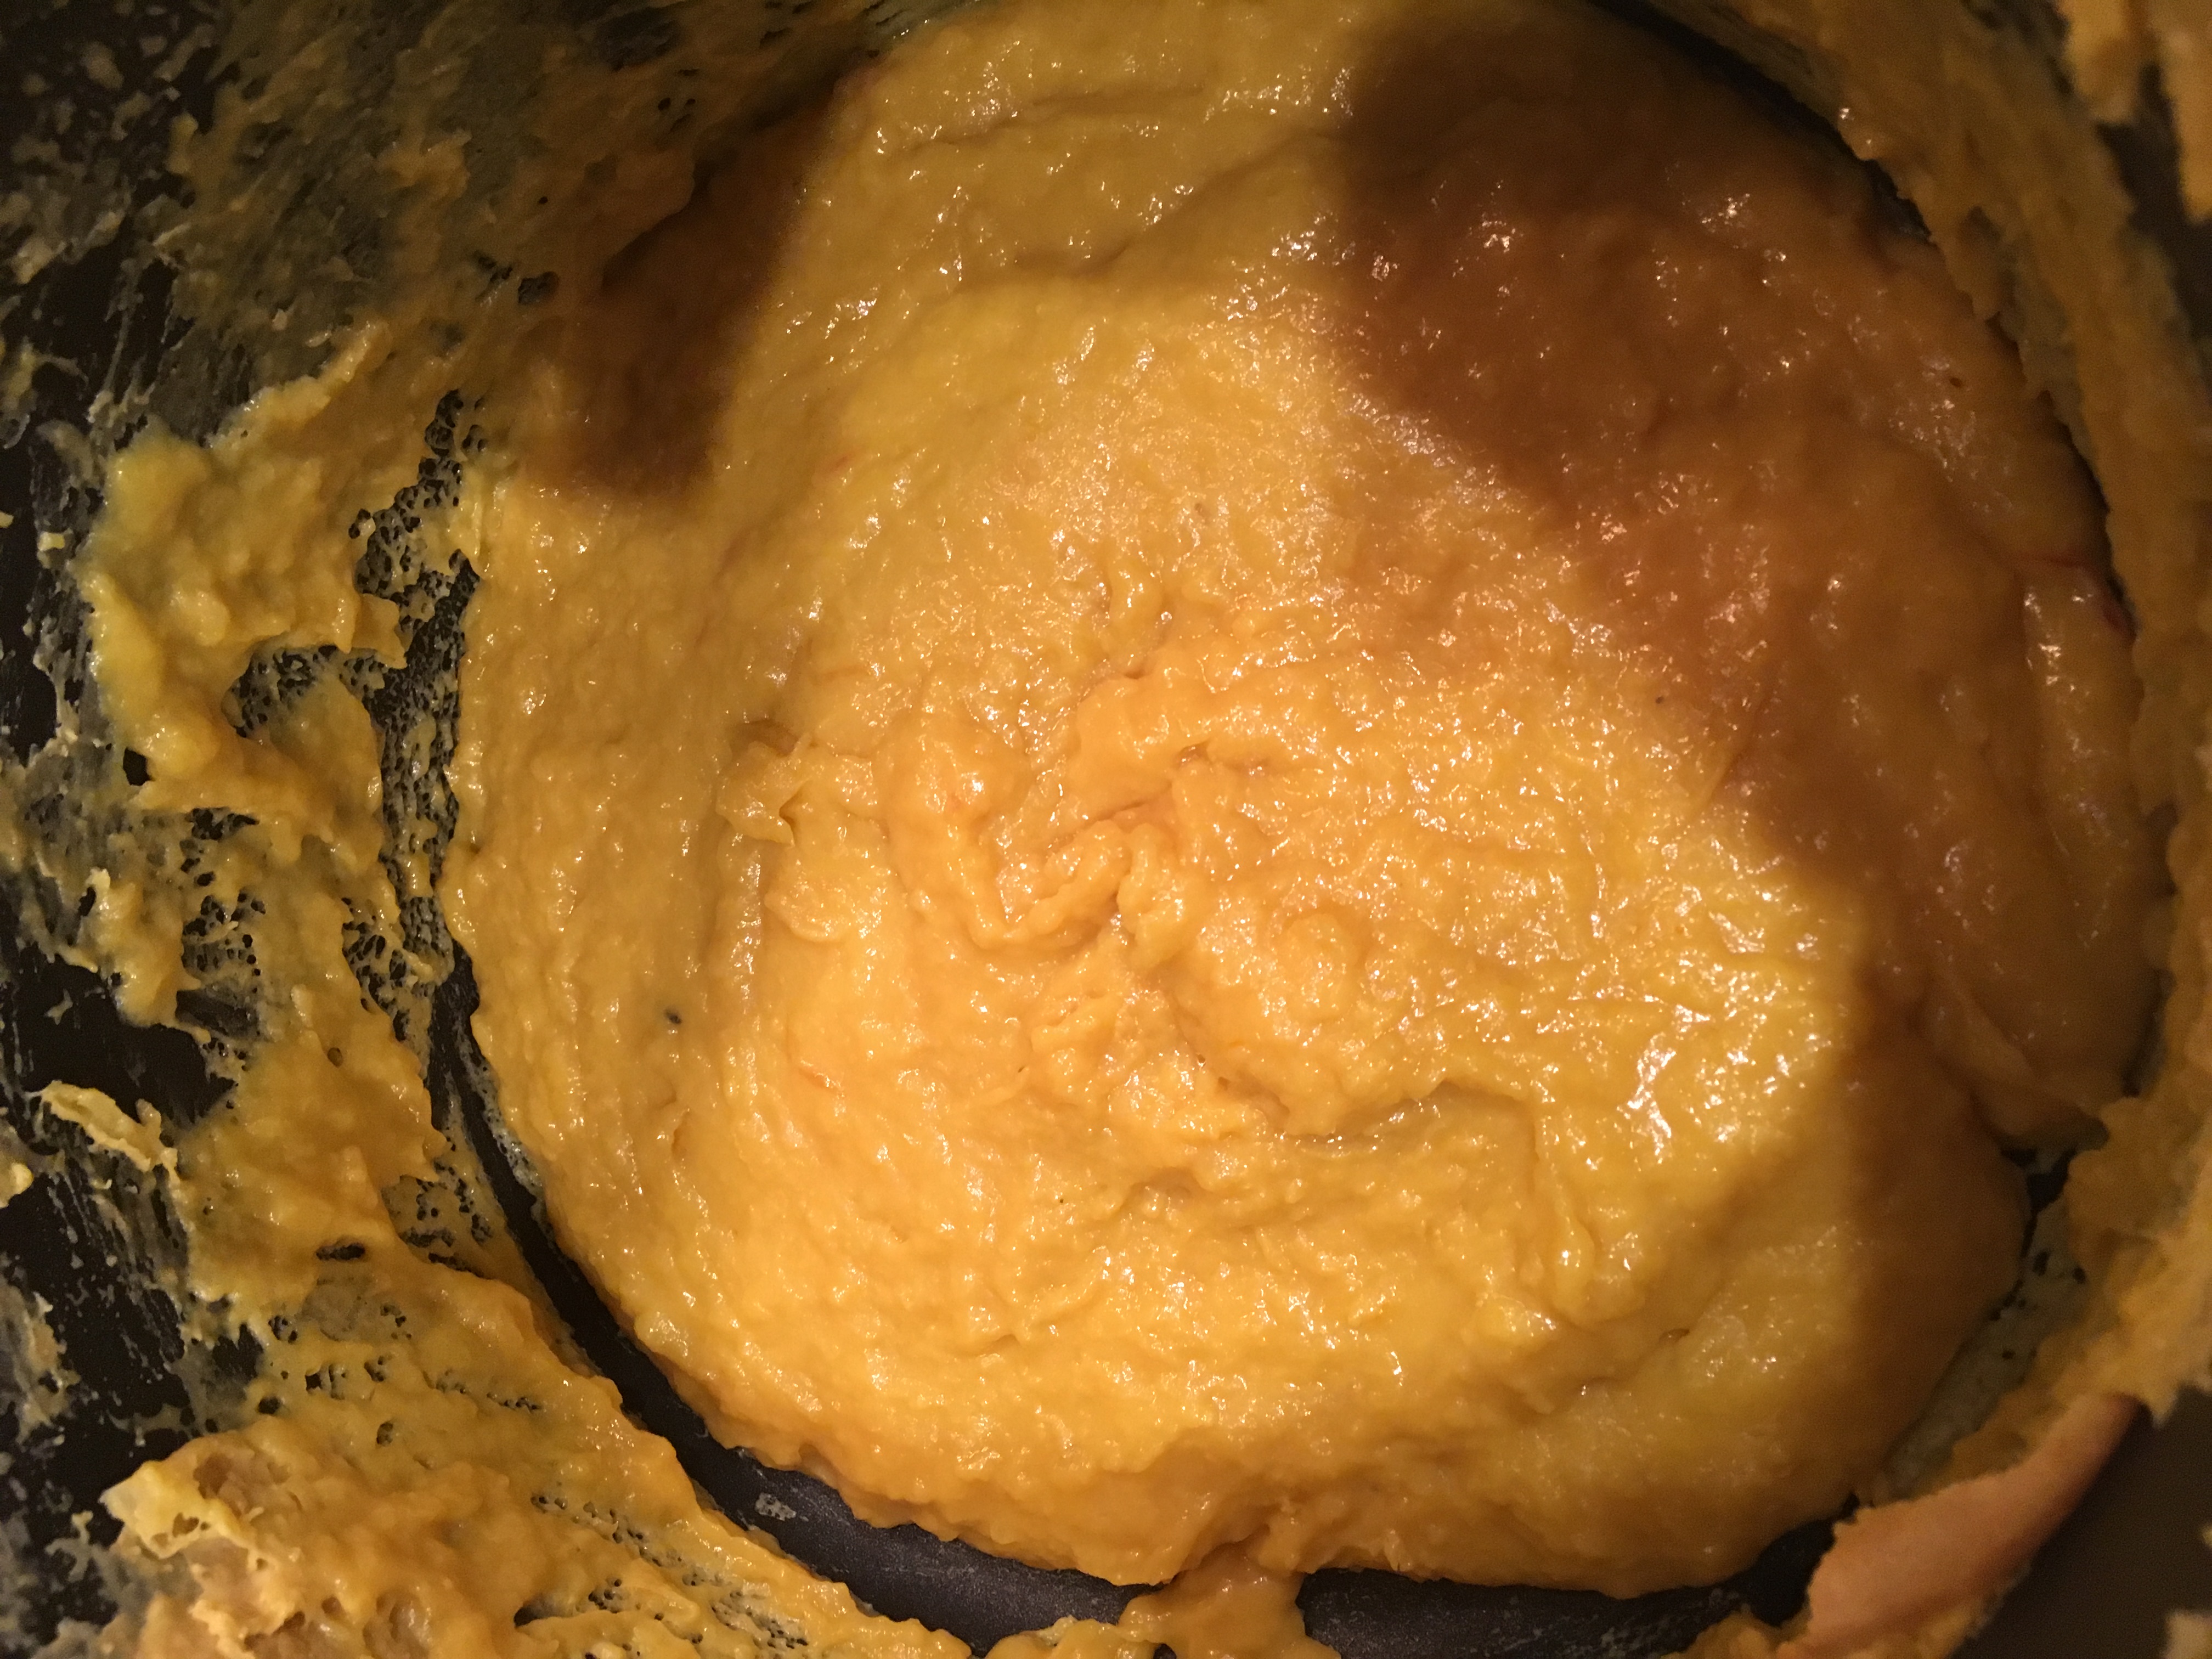
- Heat the oil and asafetida, dried red chillies and cumin seeds and allow the seeds to get slightly brown. Add fennel seeds, coriander powder, chill powder,salt and sauté the ingredients on a low flame for about a minute till you get the roasted aroma of the chickpea flour.

- Add yogurt and continue to simmer the gravy stirring continuously as otherwise the yogurt will break.

- Once the oil starts separating out, add the Govind Gatte to the gravy and simmer on low flame for about 10 minutes, and add about a cup of water, so that the gravy does not thicken too much while its cooking.

- Remove from flame and serve immediately or before serving add some water to keep the consistency fluid and then warm and serve with bread, rice or puri

- Enjoy the royal feast at home with this royal dish of Govind Gatte, accompanied here with Puri, Dahivada, Moong and Kadhi. All items of a Jain aatham chaudas 🙂

Tips
The original recipe has mava powder which I replaced it with paneer,as I feel paneer is more healthier and tastier.
If you like kasuri methi, sprinkle about a tsp of methi powder in the gravy while warming before serving.
Instinct Factor
Getting the cone shape could be challenging so ensure that flatten ball of the dough is not too thin, as otherwise it will break while frying or steaming.
Feel Factor
Even though the list of ingredients are way too many, the making of the dish is relatively simple and it just fill your home with aroma of spices and one can easily fall in love with the crispy fried Govind Gatte as snack or the crisp yet soft Govind Gatte in the tangy tomato yogurt gravy. I have found another jewel of the Rajasthani cuisine that promises to be on our list of enchanting flavorful recipes.
[contact-form-7 404 "Not Found"]