Posted on

Sabudana (mildly spiced Tapioca Pearls)

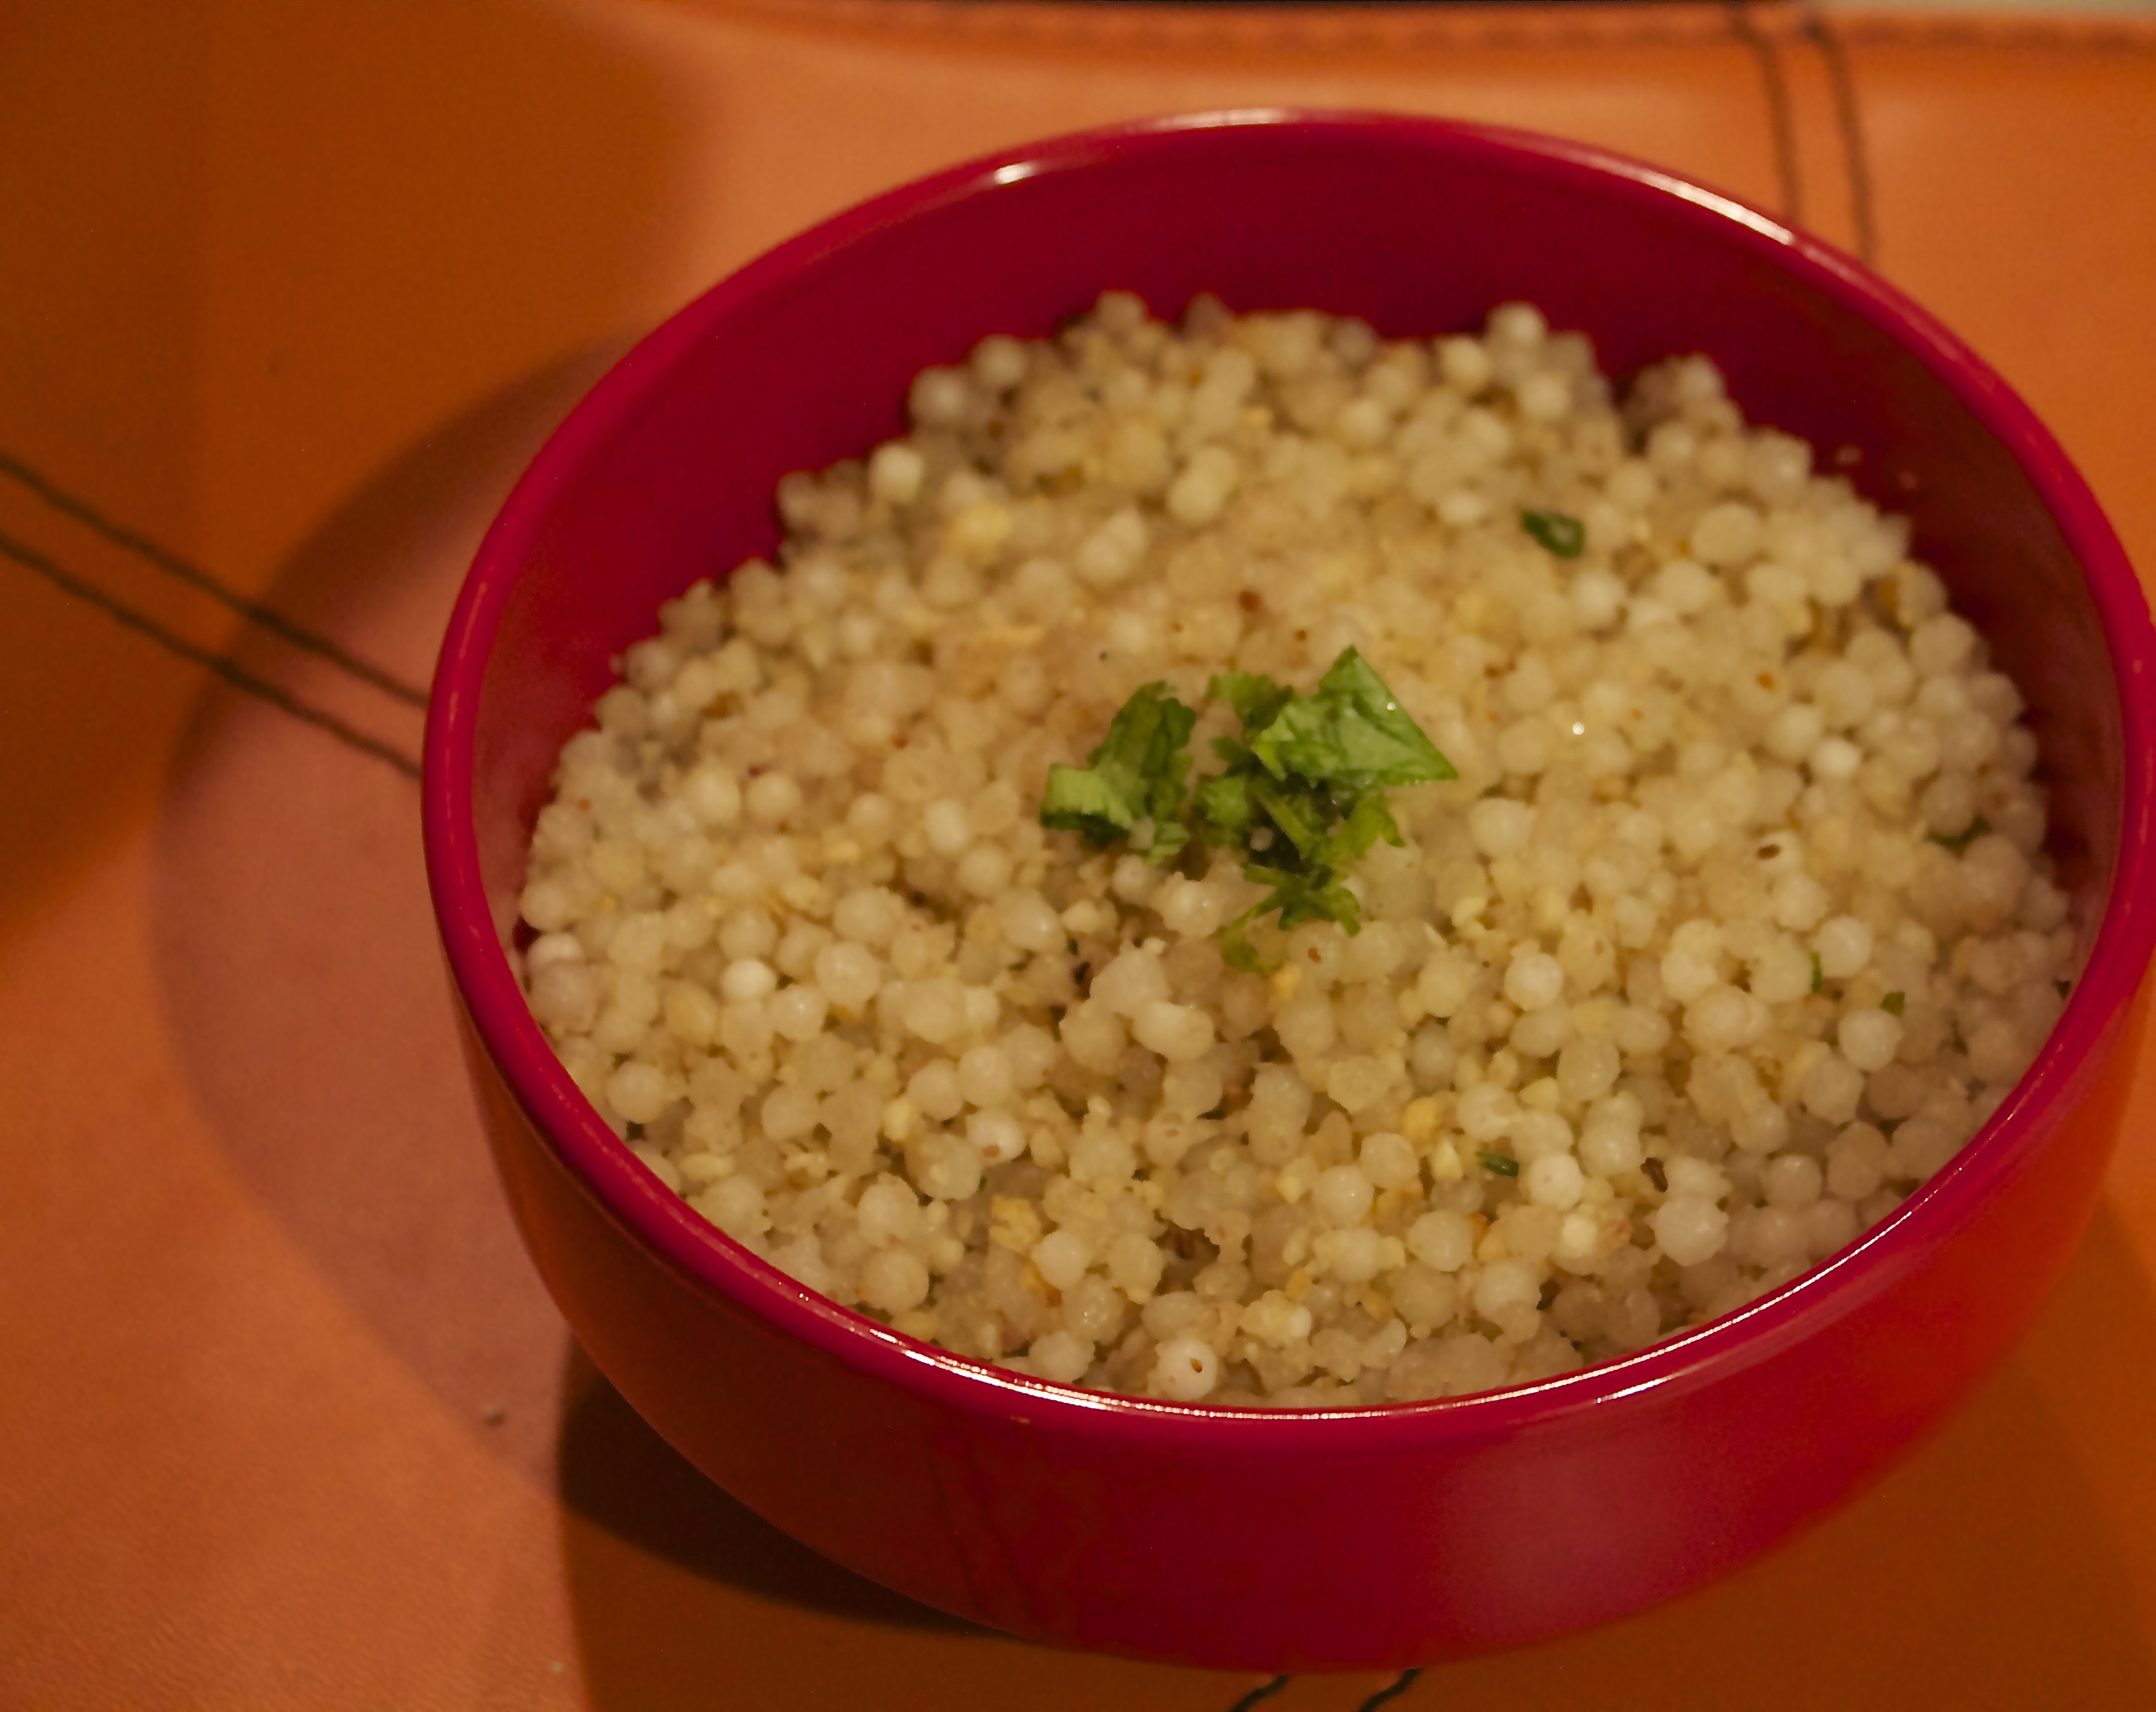
Sabudana or better known as Tapioca Pearls,  is an integral part of meals on holy fasting days in India, as it is  considered to be one of the purest form of starch. In the western world, we often see this as  a part of pudding, or bubble tea, but in Maharashtra, India, this is a staple breakfast item. Often it has potatoes added to the item, but I decided to exclude them, as it is already loaded with starch, and also follow my Jainism belief of avoiding root vegetables. Not having potatoes, also makes it faster to prepare!

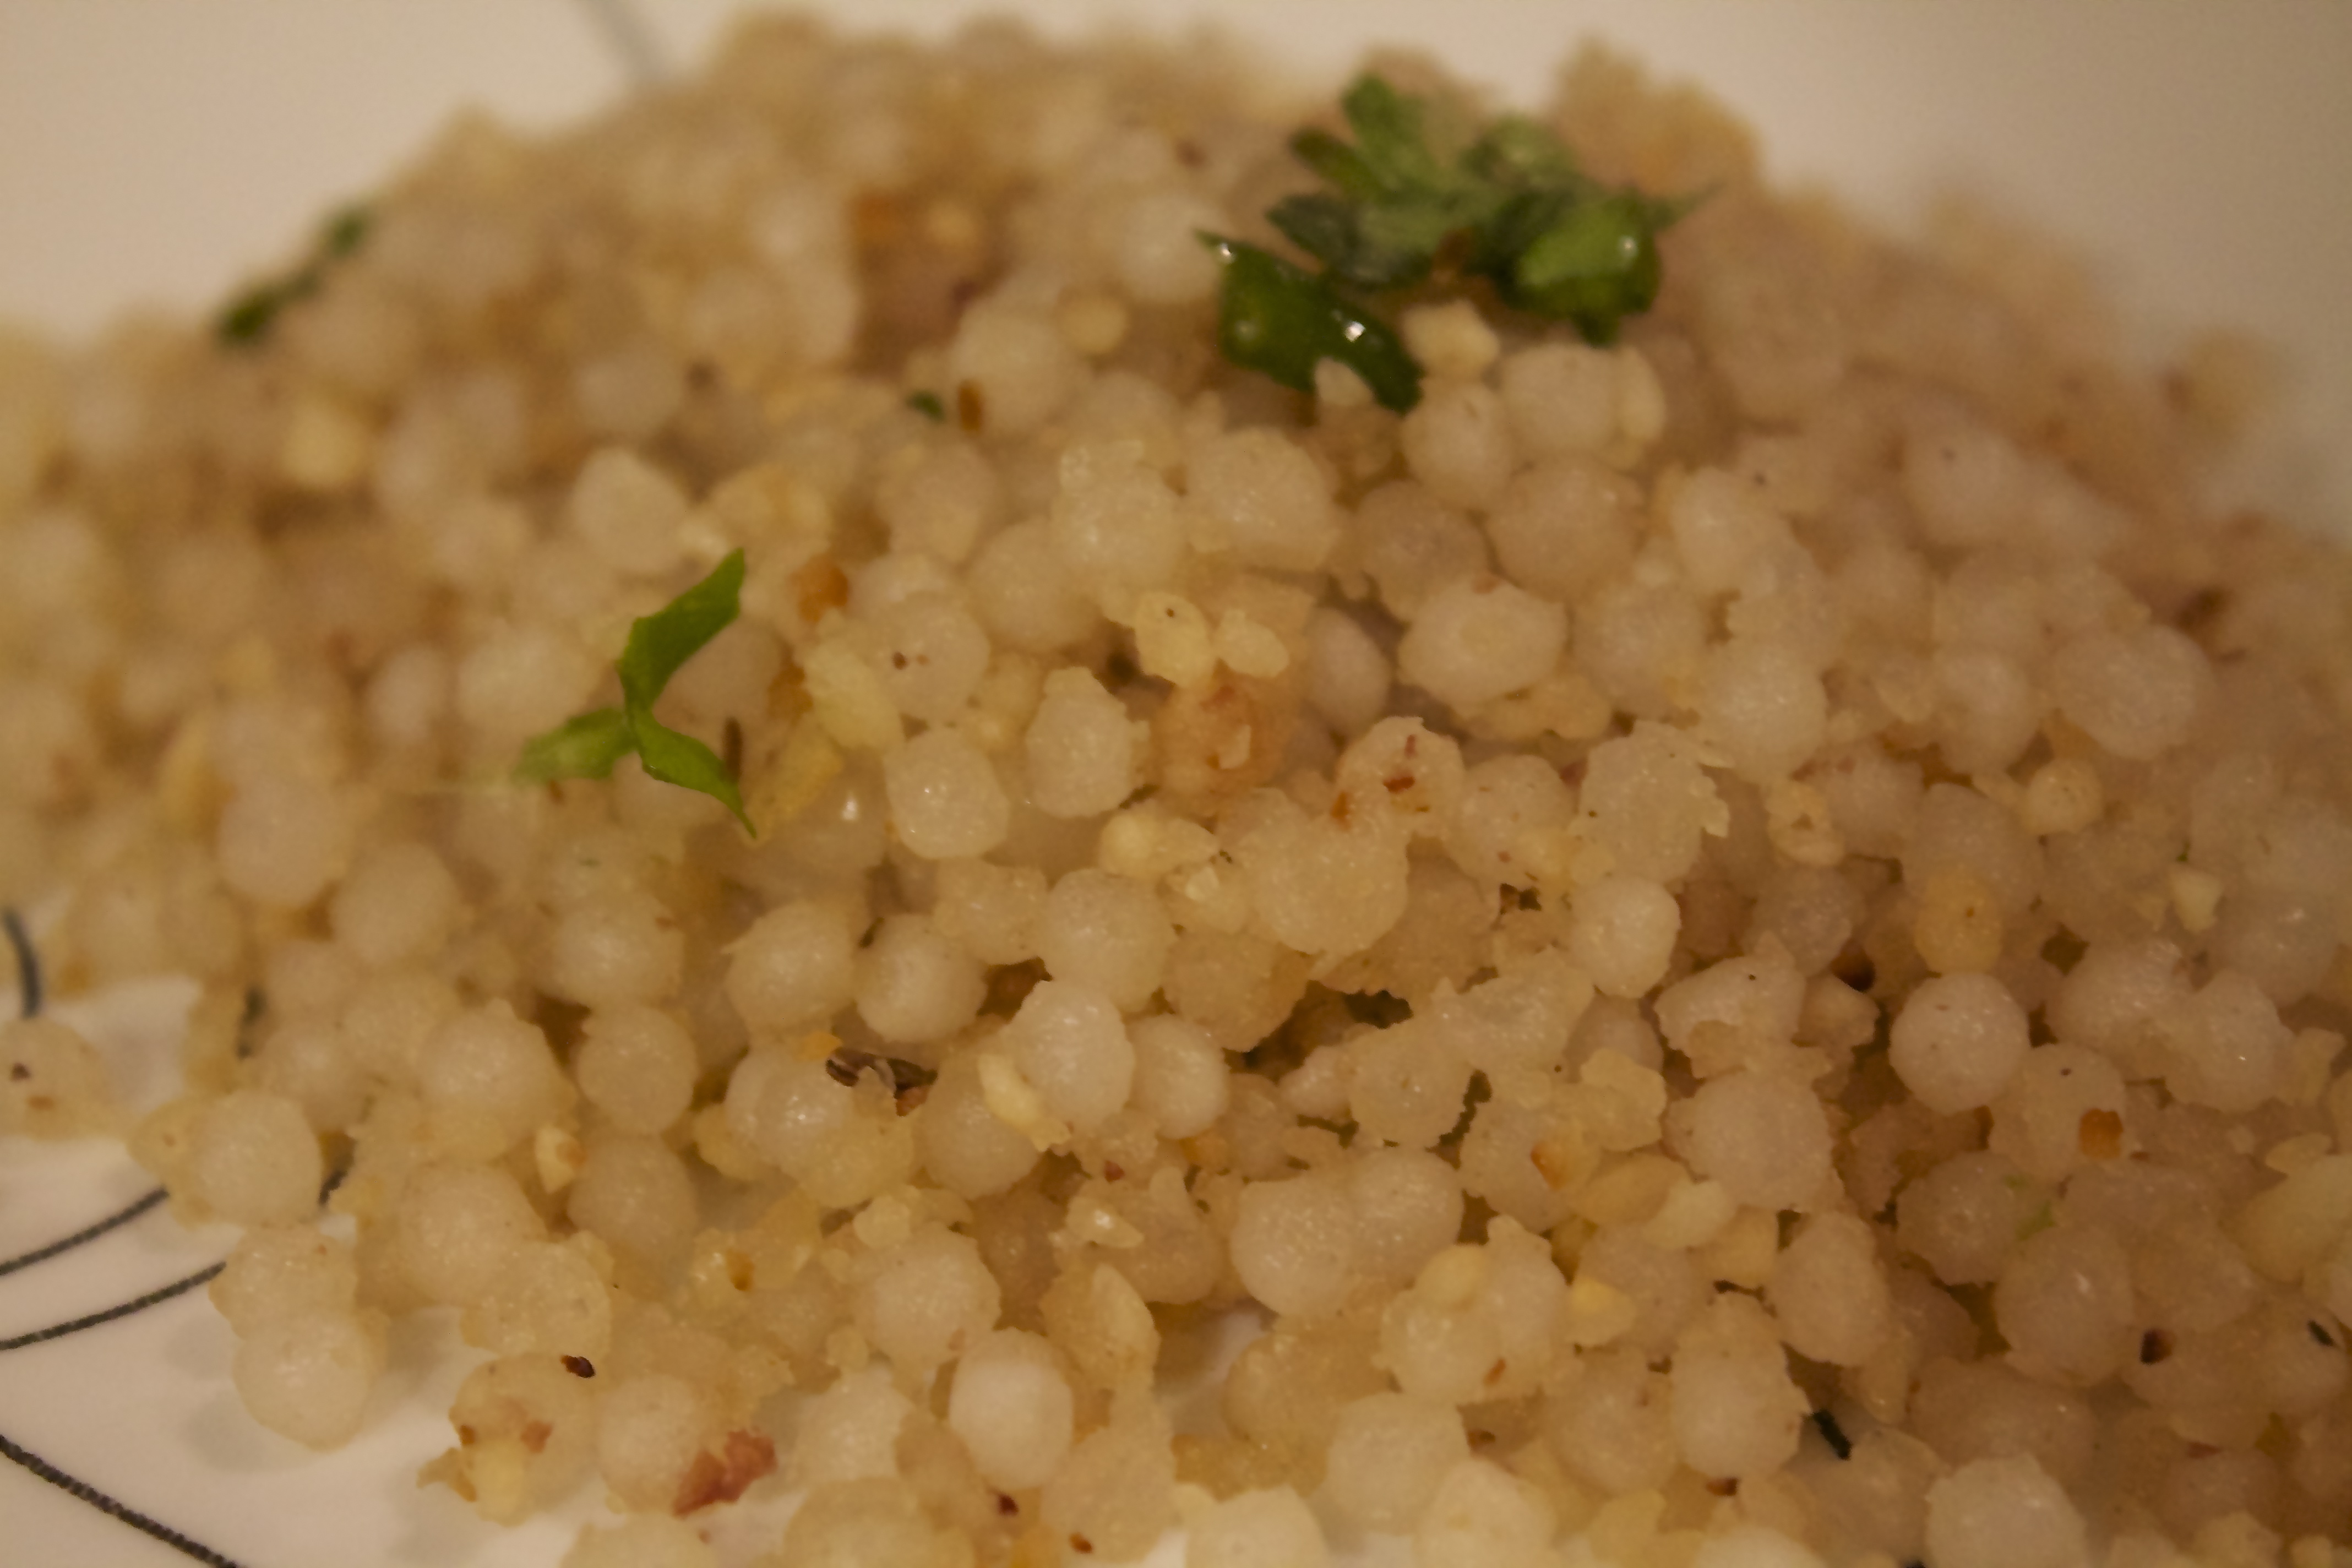
Often people admire this dish, but are wary of cooking it, as it has a reputation of becoming sticky. The trick of getting it right and feeling every individual pearl as you savor this dish, lies in the soaking and not cooking! The flavor of green chillies and crushed peanuts, keeps it light and it is a  fulfilling breakfast dish and a favorite in my family. It is so easy to cook, you probably would not mind cooking it, even if you have an  early morning flight to catch!

Recipe : 3 people

Cooking time:  15 min

Preparation time: 7 min

Soaking time : Overnight or 8/10 hours


Ingredients
  • I cup Tapioca Pearls or Sabudana
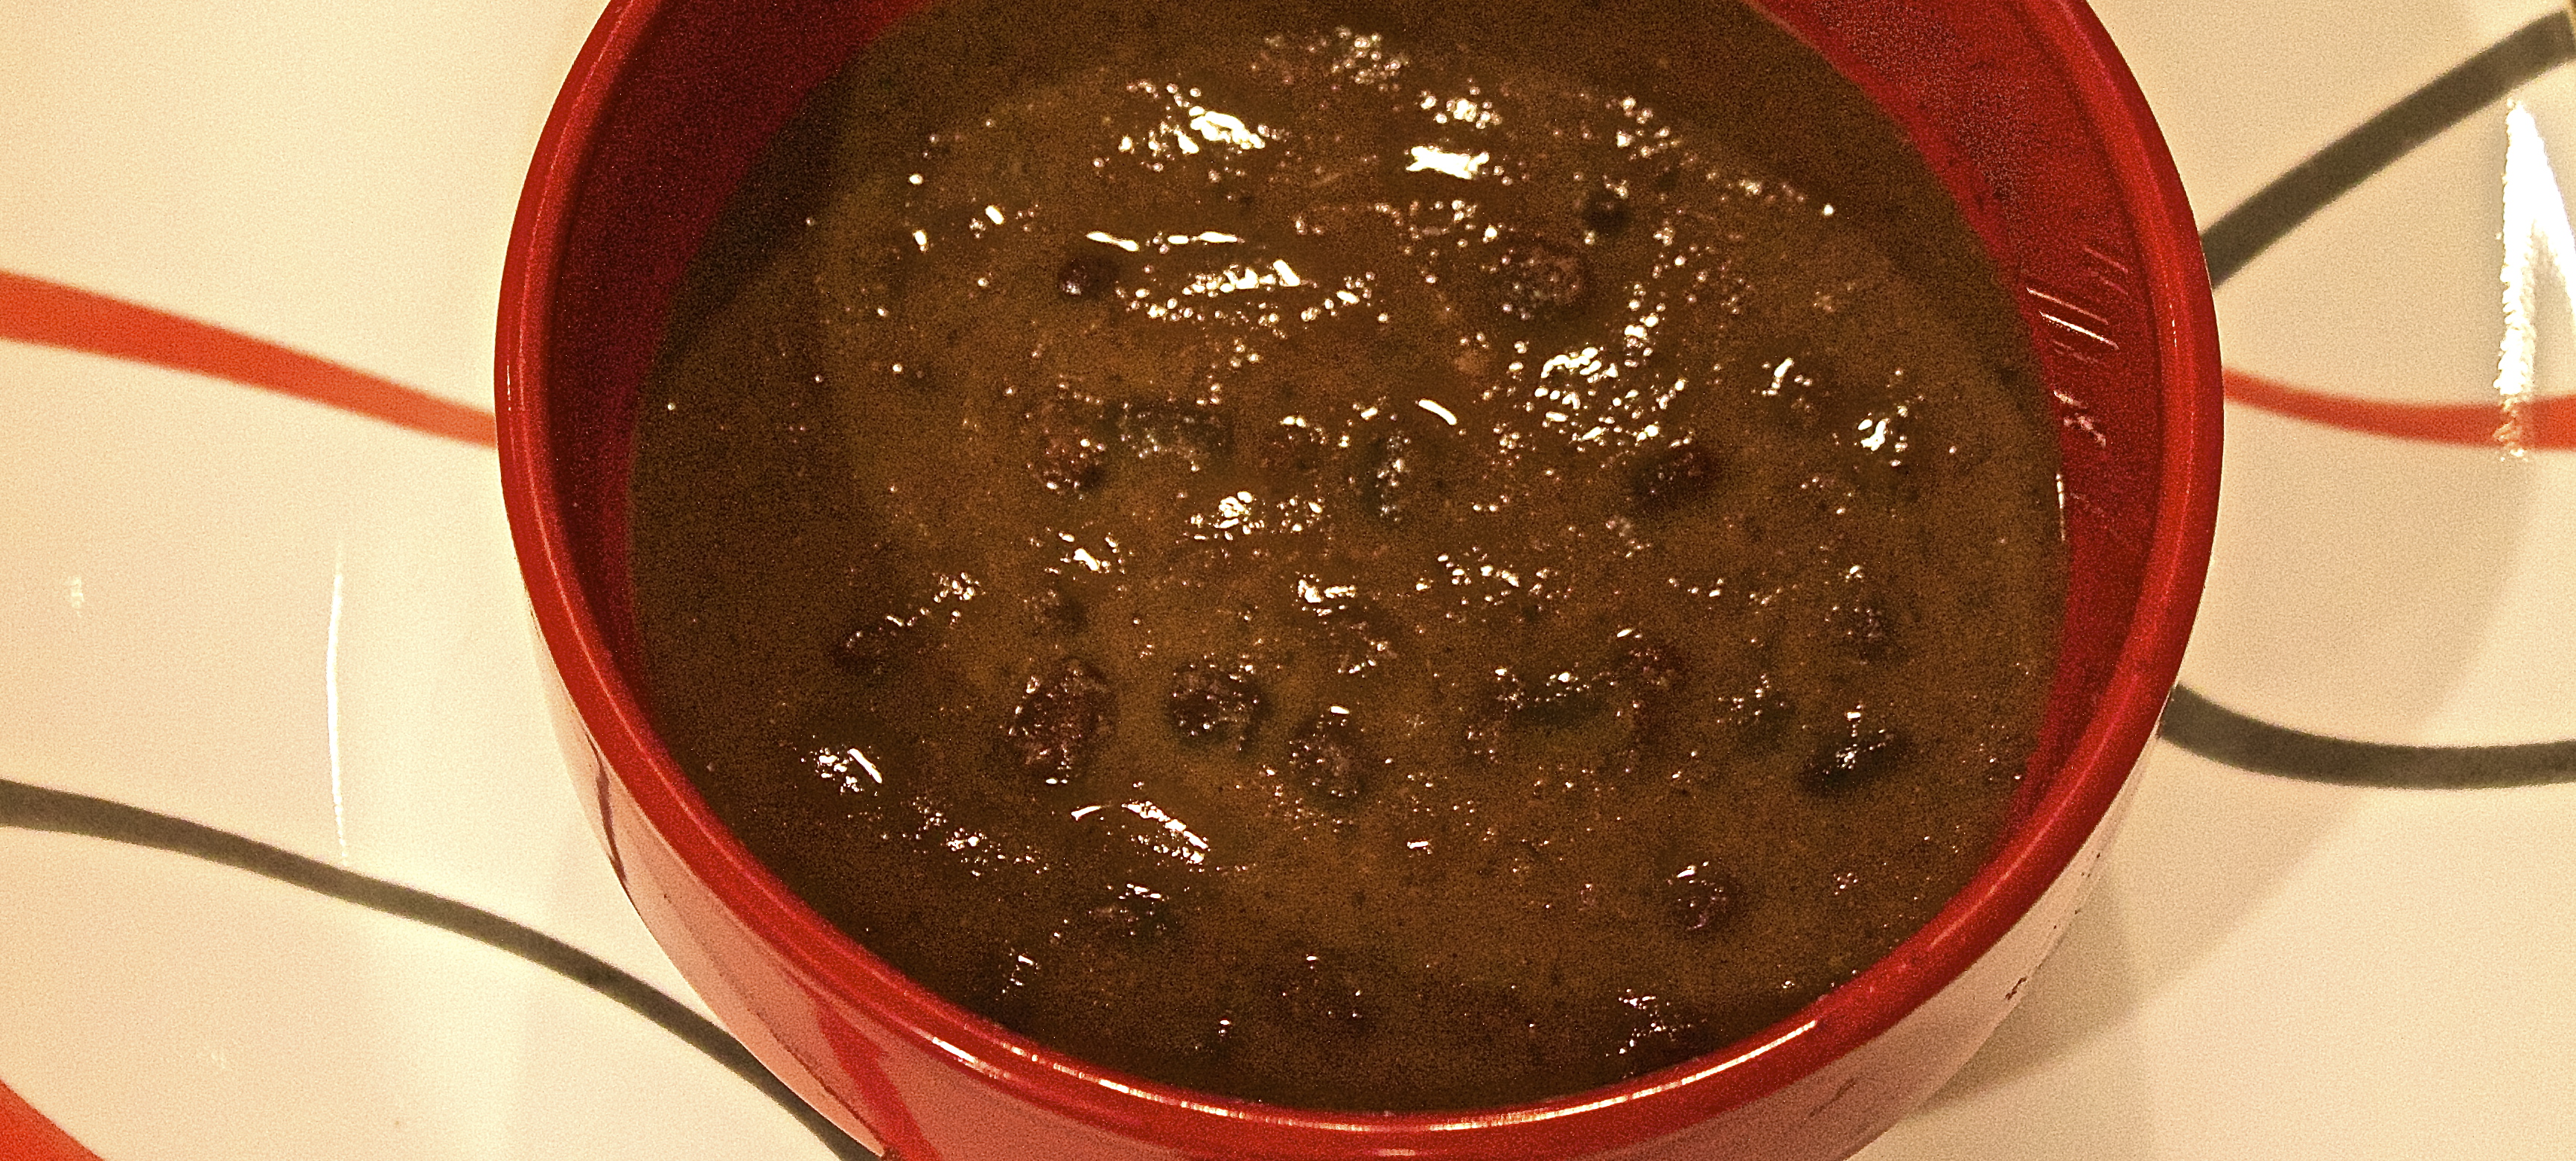
  • 3/4 cup of crushed roated peanut powder
  • 1 tbsp oil
  • 2 small green chillies, finely chopped
  • 1/4 tsp cumin seeds
  • Pinch of Asofoetida
  • 4-5 curry leaves
  • Few drops of lemon
  • Coriander leaves to garnish
Method
Washing/Soaking
  • Take the broadest pan you have
  • Put the Tapioca pearls in to wash.
  • Fill the pan with water and very gently rinse the seeds.
  • Remove the dirty water. Repeat this process thrice.
  • The fourth time , fill so that the water level appears to be a thinly coated layer atop the Sabudana.
  • Cover it with a lid and let it soak for 8/10 hours.

Cooking

  • Add the roasted crushed peanuts to the soaked sabudana and mix it thoroughly with gentle hands.
  • Heat the oil in a broad pan over a medium high flame.
  • Crush the cumin seeds in your palm and add to oil
  • Wait for it to become golden brown.
  • Add finely chopped green chillies and stir
  • Add curry leaves (gently crushed) to the oil.
  • Add a pinch of asofoetida
  • Add the sabudana/peanut mix to the oil and gently stir for a minute.
  • Add salt to taste and stir for another minute.
  • Sprinkle few drop of water on the top.
  • Cover with a lid and put on slow medium flame to cook for 1o minutes, gently stirring after 5-7 minutes.
  • Squeeze a few lemon drops, stir , cover and cook for 2- 3 minutes.
  • Switch off the flame, and let it rest for 5-7 minutes.
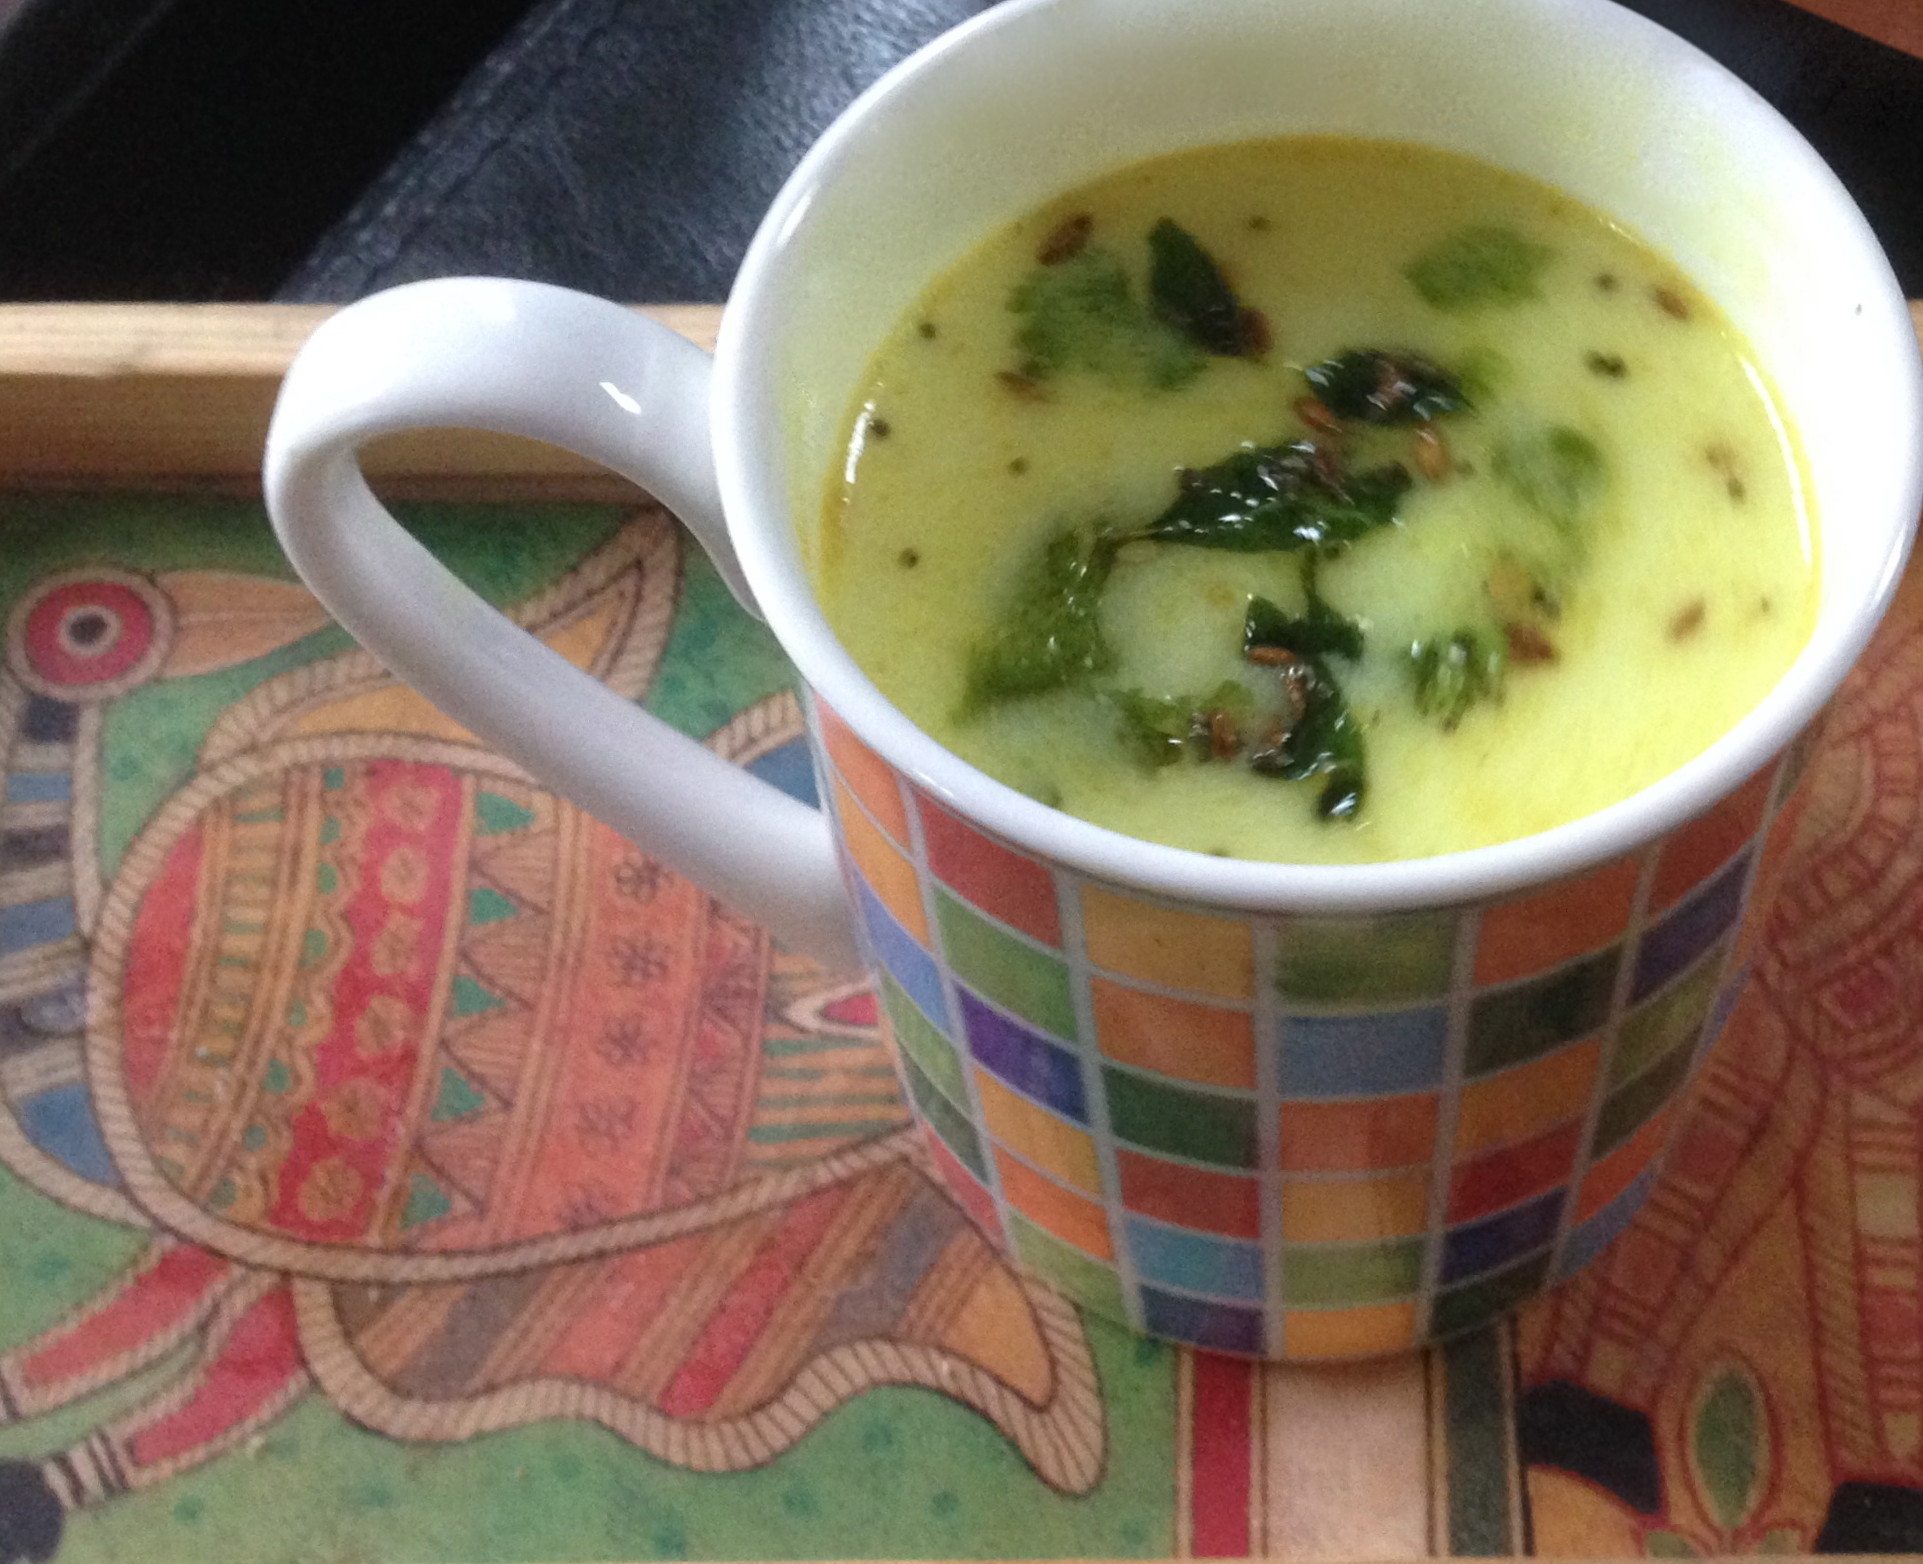
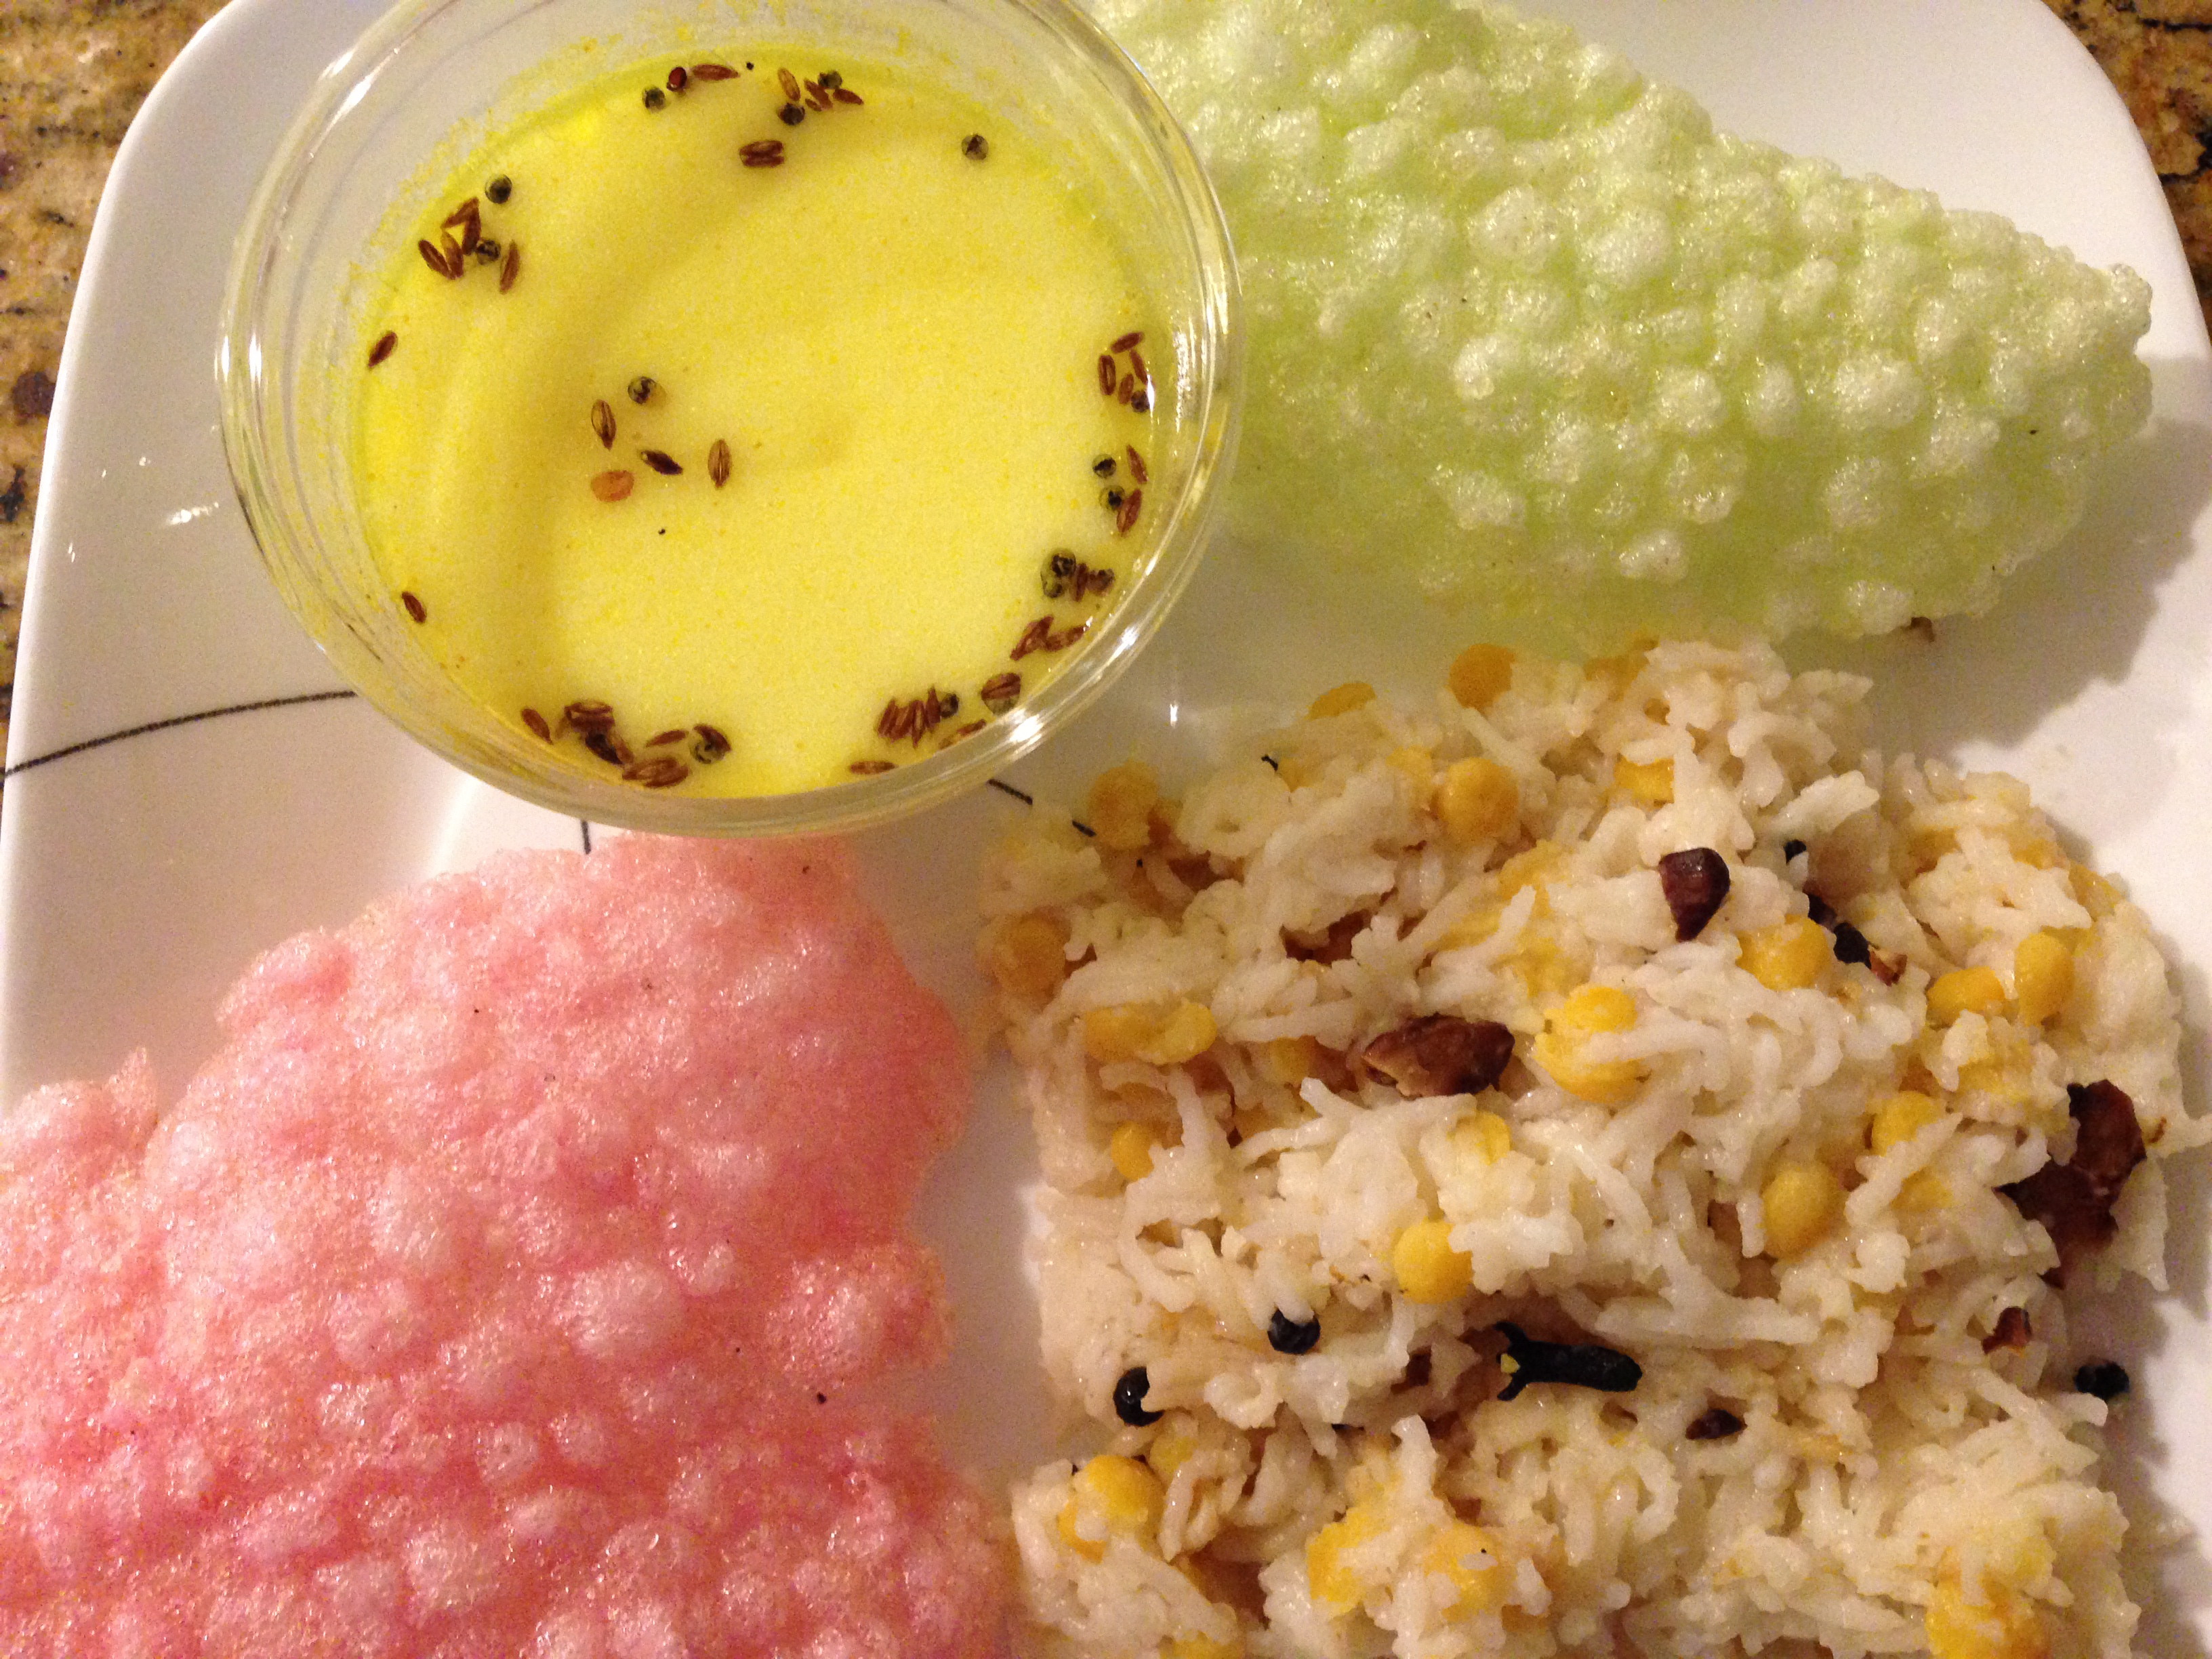
  • Garnish it coriander and serve with yogurt or savor it alone.


Tips

Using a thick bottom vessel for cooking Tapioca will not let it stick at the base.

Instinct factor

Gauging the water level  for soaking of  Sabudana.

Feel factor

There is always a feeling of accomplishment,when you have each and every Tapioca Pearl  well cooked, soft, and remaining as an individual pearl. The crushed peanut flavor with spices is simply yum and  I prefer to eat this with plain yogurt. This dish feels like a fusion of Indian/Thai Cuisine.


IMG_2112


[contact-form-7 404 "Not Found"]


[shopeat_button]

Posted on

Black Bean Bisque

Inspired by Panera’s extremely popular vegetarian Black Bean soup,  which unfortunately is not available all the days of the week, I decided to try recreating the same flavor and was pleasantly surprised at the outcome! What is a bisque? It seems the word originated in French cooking, for a thick creamy soup texture. This soup with a piece of San Francisco Sour Dough bread and home made fries is a delicious combination on a winter evening and will make you a fan of Mexican cuisine, if you are not already!

Recipe : 3 people
Ingredients by Volume
  • 1 can of Black Beans(15.5 oz)
  • 1/2 cup tomato puree
  • 5 pods of garlic- minced
  • 1/2 cup diced onions
  • 1 tsp roasted cumin powder
  • 1 1/2 tbsp butter
  • 2 cups of water
  • fresh ground black pepper 1/8  tsp or to taste
  • salt to taste

Method

  • Heat butter in a saucepan
  • When the butter melts,  add the minced garlic
  • Stir the garlic for two minutes.
  • Add the chopped onions and str till golden brown
  • Add salt and two cups of water
  • Simmer for 10 minutes on medium flame
  • Add 1/3rd content of the black bean can along with the liquid.
  • Blend the mixture.
  • Add black pepper and simmer for another five minutes.
  • Add roasted cumin powder
  • Add the remaining black beans
  • Simmer for further 5-7 minutes, or till the thickness of  soup to your preference.

Tips

Using an organic can of black beans may even improve the taste further.

Instinct Factor

Purely guided by the tastebuds over here , so feel free to create your verison.

Feel Factor

Extremely satisfying  to the taste buds for that hot piping creamy thick texture of a bisque in addition to the  attractive look of brown gravy and black beans.


[shopeat_button]

Posted on

Yogurt Soup ( Spiced Warm Buttermilk)

A  very traditional  household dish,  that has found a lot of appreciation, in recent fusion cuisine menus is yogurt soup. Extremely easy to make and  is a perfect accompaniment for  those fall/spring/winter chill days when you want a quick warm soup that is healthy and light on the stomach too. Yogurt Soup  has been found to be appealing to American food palette too, as I often observe this in a local  Indian cuisine restaurant Anokha where the guests are often not of Indian origin. We recently had a thanksgiving/holiday kick off celebrations with a few of my american neighbors at Anokha,  and they were extremely delighted to explore the Indian cuisine with us and I am glad to acknowledge that friendly neighbors are a blessing to have indeed!!

Recipe: 3 people

Cooking time : 5 min

Preparation time:  5 min

Ingredients by Volume
  • 1 cup of wholemilk yogurt ( using low fat/non fat yogurt will have sour taste, and it will also break the yogurt while boiling) The brand I use is Desi Natural Dahi Whole Milk, available in Indian Grocery Stores
  • 4 cups of water
  • 1 tbsp oil
  • 1/4 tsp mustard seeds
  • 1/4 tsp cumin seeds
  • 1/4 tsp turmeric powder
  • 3 curry leaves
  • 1 small green chilly chopped finely.
  • Pinch of asafoetida
  • Salt to taste
  • Coriander leaves for garnishing
Method
  • Add the yogurt and water in a deep pan.
  • Using a whisk, churn the yogurt and water, till yogurt has completely blended.
  • Add salt and whisk some more.
  • In  small frypan or a saucepan,  put oil to heat on medium high flame.
  • Add mustard seeds to the oil and wait for them to crackle.
  • Add cumin seeds and wait till they become golden brown.
  • Add turmeric
  • Break the curry leaves with hand into small pieces and add to the oil.
  • When curry leaves crackle, add the chopped green chillies.
  • Add the pinch of asafoetida.
  • Remove from flame.
  • Add this to the yogurt mix.
  • Put the yogurt/water mix to heat on a slow-medium flame for 2 minutes , stirring constantly, so that the yogurt does not break.
  • Garnish it with chopped coriander and serve warm.
Tips

Getting the tempering right, is the key to flavor in this soup.

If the yogurt is not too creamy, reduce the water content accordingly.

If the yogurt is too sour, you can add 1/2 cup milk to balance the taste.

Instinct factor

Watch for the soup, so as to not over boil and break the yogurt.

Feel factor

An extremely light soup that is healthy, spicy and comforting. This is one of my comfort foods, that brings back childhood memories.
[contact-form-7 404 "Not Found"]
[shopeat_button]

Posted on

Rice/Bengal Gram Dal Pulao

As a Jain follower, we have certain days of the month where we avoid green vegetables totally, and eat only grains/lentils/fruits/dried fruits.  This implies a compulsory high fruit and protein rich diet, that leads to healthy living. This dish is one of my favorites to make on these kinds of days. The yogurt soup has the flavor of spiced up buttermilk, which is light on the stomach and can be quickly done in under five minutes and served instantly.

It recently dawned on me that eating only lentil & grain based diet on such days, leaves me a lot of time at hand to spare, as chopping vegetables, sauteing and cleaning up after that is  reduced. This definitely gives me more time on such days, particularly to catch up on my non-fiction reading.  In my opinion, this  is how religion sometime succeeds  through rituals,  in  simplifying  your daily tasks and routines.

Today’s selection is a Rice/Chana Dal (Bengal Gram Dal) Pulao. The traditional name of this dish is Baraj and this dish also happens to be a favorite rice pulao of my sister. The pulao is fragrant and spicy with the sweetness of cinnamon and zing of the cloves and black pepper. Chana dal is found to be extremely useful for diabetic patients per http://www.mendosa.com/chanadal.html

Recipe: 3 people

Cooking time : 20 min

Preparation time:  20 min

Ingredients by Volume
  • 1 cup rice
  • 3/4 cup chana dal (Bengal Gram)
  • 1/2 tbsp clarified butter (Ghee)
  • 10 cloves
  • 10 whole black pepper
  • 1 large stick of cinnamon
  • 2 dried red chillies
  • 6 whole cashews
  • pinch of asofoetida
  • salt 3/4 tbsp approx.
  • 4 cups of water

Method

  • Wash the rice thrice in plenty of water, in fresh water every time.
  • Add the bengal gram dal.
  • Add 4 cups of water to the rice/dal mix and let it soak for half an hour.
  • In a small frypan, put ghee to heat on medium high flame.
  • Once the ghee melts, add cloves.
  • Wait for cloves to become big.
  • Add cinnamon stick and wait for it to double in size.
  • Add dried red chillies to this.
  • Stir for 30 seconds
  • Add cashews and stir till golden brown.
  • Add pinch of asafoetida
  • Remove from flame.
  • Add the above seasoned tempering to the rice/lentil mix.
  • Cook the rice/dal/tempering mix on medium high flame for 4 whistles.
  • When its done, you should smell the aroma of ghee/cinnamon/cloves.
  • Switch off the flame when done, and let it rest for 15 minutes.
  • Serve with plain yogurt or yogurt soup.[aio_button align=”none” animation=”none” color=”yellow” size=”small” icon=”search” text=”Recipe” relationship=”dofollow” url=”http://cookingbyinstinct.com/yogurt-soup-spiced-buttermilk/”]
Tips

If you do not have the rice cooker that whistles, you can use the electric rice cooker with the same proportion of water. Alternatively, you can put the same in an open deep pan with about 3 cups of water on  a slow to medium flame and cover it with a lid and cook till rice and dal are soft and excess water evaporates.

Instinct factor

When cooking in a pan, feel the rice/dal  for its softness, and trust yourself on the aroma of the cooked rice.

Feel factor

A fragrant aromatic combination of buttered rice flavored with bengal grams, cinnamon, cloves, dried red chillies and black whole peppers is a simple meal that is also considered to be a complete everyday meal in many Indian households, specially when combined with yogurt.

[contact-form-7 404 "Not Found"]

 
[shopeat_button]

Posted on

Idlis (Steamed Rice/Lentil Cake) using Instant Mix

Hot steamed  rice Idlis with chutney is a great weekend breakfast and can be made easily even if you do not have fermented dough at your disposal . From the various instant mixes available, the one I have found best to work at  all times is Gits Idli mix, available in most Indian Grocery Stores or even can be ordered from Amazon too! Often we have found this to be a better  option than eating restaurant Idlis, where the Idli dough might be stale or over fermented and sour. This is a very easy recipe for an extremely healthy nutritious breakfast, and  an ideal choice to swap donut or a muffin for a healthy Idli – per SFGate article http://healthyeating.sfgate.com/nutrition-idli-2667.html.

 Recipe :  18 Idlis

Cooking time 40 min

Preparation time 7 min

Special Equipment needed- Idli cooker with idli mould plates [aio_button align=”none” animation=”bounce” color=”brown” size=”small” icon=”shopping-cart” text=”Shop” relationship=”dofollow” url=”http://www.amazon.com/Happy-Stainless-Steel-Cooker-Maker/dp/B008PY88AM/ref=sr_1_4?ie=UTF8&qid=1386471001&sr=8-4&keywords=idli+maker”]


Ingredients by Volume

  • 1 pack Gits  Idli mix (200gms  or 7 oz) [aio_button align=”none” animation=”bounce” color=”brown” size=”small” icon=”shopping-cart” text=”Shop” relationship=”dofollow” url=”http://www.amazon.com/Gits-Idli-Mix-200g/dp/B004XTCMEG”]
  • 2 cups water
  • 1 tbsp oil
  • Oil to grease the idli mould


Method
  • Grease the idli mould with a few drop of oil. You can skip this step if you would like to cut the calories. The pic here shows idli steamed without the initial grease. Greasing helps to remove the idli smoothly from the mould.
  • Put to boil 1 litre of water inside the idli cooker, and cover the cooker with  a lid. Put this at near high flame, on your second highest burner.
  • Pour the content of the mix into a wide and deep bowl. I often use a Large Prep Bowl.
  • In a separate bowl, mix water and oil.
  • With one hand pour the water/oil mix, at a medium pace in to the large prep bowl, and with the other hand, circularly agitate or stir vigorously the idli mix, as the water is being poured. This step is crucial to idlis being fluffy.
  • Continue doing this for about couple of minutes, and you will see the idli mix rising.
  • As soon as you see white foam and the dough rising, pour this mixture into the idli moulds, almost up to the edge.
  • Lower the gas flame, open the idli cooker with caution using a towel or oven glove.
  • Put the idlis moulds with dough, inside the idli cooker
  • Cover with the lid and raise the flame to high.
  • Cook for 20 minutes and then switch off the flame.
  • For further 20  minutes, keep the the cooker closed.
  • Then slowly open the cooker, remove the idli moulds
  • Wait for about 20 seconds, and then using a butter knife slowly release the idlis from its outer edge.
  • Serve with chutney or eating it with a dash of melted butter/clarified butter(ghee) is also equally delicious.

 Tips

If you have left over idlis, you can cut them into 1/3 inch wide strips, and fry them in deep oil to golden brown color at medium to high flame.. This is a crunchy idli snack bite and you can top it with chaat masala or black pepper. Idlis  are great for school lunches, meals or appetizers.

If you do not have access to Idli cooker, you can try the same in  Aebleskiver pan. Put water  in a deep pan. lay the Absekier pan on top, and this should be wider then the water pan, so that steam does not get lost.  Cover the Absekier pan with a dome kind of lid so that the steam is trapped inside.

Instinct Factor

The water hardiness determines the quantity of water you need for the mix. This recipe is based on the US density of water. If the Idlis are not soft, you can modify, to add 1/4 cup more water and hopefully this should make it more fluffier.

Feel Factor

A feel good breakfast, as besides it  being healthy, easy and extremely nutritious, it has a light and fluffy look and taste and also gives you extra relaxing time on a weekend morning !

[contact-form-7 404 "Not Found"]
[shopeat_button]

Posted on

Snowflake Chocolate Strawberries

Snow Flakes Strawberry

Watching snowflakes falling is a highly mesmerizing moment for me, and on a cold winter day, a bar of chocolate is always desirable. So, I thought of making a romantic moment come alive, with strawberries, chocolate and coconut snowflakes! The crunchy cold coconut on chocolate was a delightful taste to linger and savor on.

Recipe :  20 Strawberries

Ingredients
  • 1  (3.5) oz  bar of milk chocolate bar
  • 1/3rd  bar of  (3.5) oz of  dark/semi sweet chocolate
  • 2 tbsp shredded dry coconut
  • 1 pound washed strawberries
  • Toothpicks
  • Styrofoam /Thermocol  Thick sheet (12″ * 18″ in dimension at least 1/3rd ” thick)
Method
  • Take a microwave safe bowl- preferably a glass one.
  • Break the milk chocolate bar into small pieces into the microwave bowl.
  • Heat the milk chocolate at  high power setting
  • Stir at every 30 seconds until completely melted.
  • Remove from microwave.
  • Break the 1/3rd dark/semisweet bar into half.
  • Add them to the already melted chocolate and keep stirring .
  • Stir till no lumps are left and its a smooth flowing mixture.
  • Pour the mixture into a deep small bowl, so as to easily dip the strawberry.
Dipping the Strawberries
  • Take a toothpick, and insert into the  strawberry from the top till 2/3 of the way.
  • Hold the strawberry from the toothpick and dip it 2/3 of the way into the mixture.
  • Swirl the strawberry 3-4 times to get a thick coating of chocolate
  • Turn it upside down , and keep swirling till the tail of the strawberry is invisible.
  • You can tilt the strawberry a  little bit, to make the tail invisible.
  • Then insert the upside down strawberry into the styrofoam sheet , till it remains steady and straight.
  • Repeat for all remaining strawberries.
  • Sprinkle the desiccated dry coconut onto the strawberries to give the snowflake effect.
  • Refrigerate the Styrofoam Sheet containing strawberries for couple of hours.
  • Remove the toothpicks before serving the chilled strawberries

Tips

If the chocolate mixture cools and starts thickening, you can microwave it for 10 sec, stir and re- use. Make sure your strawberries are firm, so as to hold the toothpick.  Better to sprinkle more coconut then less, as it will fall off. You can also keep the leaves on  the strawberries,  to give the Godiva Strawberries Look!

Instinct Factor

Swirling technique comes with practice, but if you have ever roasted marshmallows on fire, you are well trained to dip the chocolates!

Feel Factor

Classy  romantic dessert readily available in your kitchen!


[contact-form-7 404 "Not Found"]


[shopeat_button]

Posted on

Vegan Chocolate Chip Cookies

Welcoming fall with the aromatic smell of cookies baking in your home, puts you in the mood of holiday cheer and honing your baking skills. It inspires you to try something new this season. The recipe is my teenage daughter’s favorite and whenever she feels like exploring in the kitchen, this is her go to recipe. Achieving this measurement went through rounds of trial and error, but the end result was loads of smiles and baking memories!

Recipe :  15 Cookies

Cooking time  : 30 minutes

Preparation time : 15 minutes

Ingredients
  • 2 cups unbleached all purpose flour [aio_button align=”none” animation=”bounce” color=”gray” size=”small” icon=”shopping-cart” text=”Shop” relationship=”dofollow” url=”http://www.kingarthurflour.com/shop/items/king-arthur-unbleached-all-purpose-flour-5-lb”]
  • 3/4 cup canola oil
  • 1  1/2 cup. brown sugar
  • 2 teaspoons baking powder
  • 2 teaspoon vanilla imitation essence
  • 1/2 teaspoon salt
  • 2 1/2 teaspoon dark cane syrup
  • 1/2 teaspoon cinnamon powder
  • 60ml water
  • 1/3 cup chocolate chips
Method
  • Mix everything , make 15 round balls
  • Flat the rounds and  place on baking tray lined with parchment paper.
  • Keep 2 inches difference between two flat rounds
  • Put some chocolate chips on top of the flat round
  • Pre heat convection oven at 375 degrees
  • Bake for 5 min  on top rack
  • Rotate 180 degrees
  • Bake 4 min on the bottom rack
  • Rotate again 180 degrees and move to top rack
  • Back for next 2 min
  • Open the oven for 10 sec
  • Bake for another 3 min
  • Remove from oven
  • Shift cookies on cooling rack
  • Cool for 5 min
  • Store the cookies in airtight container.

Tips

Storing immediately in  airtight container will keep it fresh and moist. Rotating cookies keeps the baking even at all levels.

Instinct Factor

Brown color to your desire. the cookies will darken a bit after cooling.

Feel Factor

Perfect start to Fall baking and Holiday Celebrations with soft crunchy cookies!


[contact-form-7 404 "Not Found"]
[shopeat_button]

Posted on

Farfalle Pasta with Sweet Peppers

Cute little bow shaped pasta has some artistic appeal in it, which inspired me to  add some color with peppers. Thankfully, these are also extremely easy to cook. It is a perfect lunch companion that is quick to make and which will also make your afternoon meal colorful and basil fragrant!

Recipe :  1 Serving

Cooking time : 10 minutes

Preparation time : 5 minutes

Ingredients by volume
  • 2 cups of Farfalle Pasta [aio_button align=”none” animation=”bounce” color=”gray” size=”small” icon=”shopping-cart” text=”Shop” relationship=”dofollow” url=”http://www.wegmans.com/webapp/wcs/stores/servlet/ProductDisplay?langId=-1&storeId=10052&catalogId=10002&productId=765200″]
  • 2 tbsp + 2tsp olive oil
  • 1/3 cup thinly cut mix of red and yellow sweet peppers
  • Black Pepper
  • Salt to taste
  • Sea Salt
  • Southwest Chipotle Mix
  • Dried Basil Leaves
  • Fresh Basil Leaves
 Method
  • Heat olive oil  in a deep wok or deep round cooking vessel.
  • Add thinly sliced sweet peppers to it.
  • Add salt and saute for 3-4 minutes.
  • Add dried basil leaves and cook for another 1 minute.
  • Add  chipotle  mix and cook for another minute and remove from flame.

For the Pasta

  • Put 1 liter of water to boil in a deep pan.
  • Add 1tsp oil and a pinch of salt to the water.
  • Cook pasta in hot water for about 8-10 minutes.
  • Remove from flame and drain the pasta in a strainer.
  • Add the cooked pasta to the sweet pepper and stir
  • Sprinkle some freshly grounded pepper and sea salt on the top.
  • Garnish with fresh basil leaves.


Tips

Peppers and Pasta can be cooked simultaneously

Instinct Factor

Cooking time for Pasta- better to undercook than overcook. You can cook further in microwave if needed, before adding the pasta to peppers

Feel Factor

Light colorful appetizing easy to cook pasta


[contact-form-7 404 "Not Found"]
[shopeat_button]

Posted on

Apple Pancakes with Maple Syrup


Apple Picking and fall go hand in hand. With all these varieties such as Stamen, Fuji and Granny Smith to choose from, it can sometimes be overwhelming. Just remember, the apple that has the best crunch for you is the right one for this recipe and any other apple recipes! My favorites are Stamen and Fuji.  A dear friend’s invite for an apple picking birthday party led to this delicious combination of Apples and Maple on the wholesomeness of pancakes. It’s perfect for a morning breakfast!

Recipe :  3 Small Pancakes

Ingredients by Volume
  • 1/2 cup pancake mix [aio_button align=”none” animation=”bounce” color=”gray” size=”small” icon=”shopping-cart” text=”Shop” relationship=”dofollow” url=”http://search.kingarthurflour.com/search?p=Q&view=grid&af=type%3Aproducts&w=pancake”]
  • 1/3 cup whole milk
  • 1 tbsp oil
  • 1 tbsp plain yogurt
  • 2 tbsp water
  • !/3 cup grated  apple (Fuji or Stamen apples taste better)
  • Oil to grease
Method
  • Mix  well all the ingredients together ( except grated apple) in  a bowl.
  • Leave it to rest for 10-15 minutes.
  • Heat a flat griddle for a couple of minutes.
  • Grease it with a 3-4 drops of oil .
  • Take 1/4 cup of mixture and pour into the griddle in the centre.
  • Flatten a bit to thin it.
  • Put 1/3r of the grated apple on the top.
  • Put couple of drops around the pancake .
  • Cook on a slow-medium flame for a 3-4 minutes.
  • Turn it over and cook for another 3-4 minutes or till attaining a golden brown color to your liking.
  • Serve with Maple Syrup.


Tips

Cook on slow- medium flame on your highest burner. If the flame is too slow it will become crisp. To get even browning, it has to be on medium flame.

Instinct Factor

Browning to your desire

Feel Factor

Delicious Apple taste with softness of pancake and yet slight crunchy feel of apple.


[contact-form-7 404 "Not Found"]

 
[shopeat_button]

Posted on

Spinach Broccoli Herringbone Puff

Spinach Broccoli Herringbone Puff


Spinach Broccoli Herringbone Puff has Spinach and Broccoli, a combination loaded with iron. It is a great dish to blow away those dreary days. The zing of spicy chillies and garlic , nestled under the crunchy exterior of pastry sheet, makes you just  leave everything and grab a bite of this!  It was a fully satisfying experience in  adapting  this web based idea to a new taste and flavor. The herringbone needlework design inspired me to give this new idea its name.


Recipe :  6 Puffs

Cooking time :  45 minutes

Preparation time : 20  minutes

Ingredients by  Volume[shopeat_ingredients][/shopeat_ingredients]
  •  One Ready to Use Frozen Pastry Sheet [aio_button align=”none” animation=”pulse” color=”gray” size=”small” icon=”shopping-cart” text=”Shop” relationship=”dofollow” url=”https://www.amazon.com/Pepperidge-Farm-Pastry-Sheets-Frozen/dp/B000Q7KAYI”]
  • Spinach- 180 gms / or 1 /2 medium bag of  frozen spinach or 2 medium size bunches of fresh spinach
  • Broccoli- 1/2 cup diced in small pieces (including the stiff base part)
  • Green onions- 2 sprigs minced
  • Garlic- 3 pods minced
  • Small Green Chillies- 2-3 finely chopped
  • Salt to taste
  • Black pepper to taste ( If using freshly ground pepper, then about 4 times churned)
  • Olive Oil – 1 tbsp

[shopeat_ingredients][/shopeat_ingredients]

[shopeat_button]

Method
  • Chop finely the fresh spinach .
  • If using frozen spinach, first thaw the spinach
  • Keep the  frozen pastry sheet  at room temperature for about an hour or thaw in micorwave.
  • Heat 1 tbsp oil in a deep vessel for about 30 seconds on medium flame
  • Add minced garlic to it and saute for 1 minute
  • Add green chillies and saute for 1 minute
  • Add  finely diced broccoli and stir for about 4 minutes.
  • Add finely chopped spinach and stir for 2 minutes
  • Add 1/4 cup water
  • Add salt to taste
  • Cook on medium flame for 10 minutes
  • Add black pepper and remove from stove and let the mixture cool
  • Use some all purpose flour , or any kind of flour readily availalbe to dust a large rolling surface ( countertop or large rolling base would be ideal)
  • Open the pastry sheet flat, and lay flat  on top of the rolling surface and flatten the edges and middle a bit using a rolling pin board
  • Using knife, cut along the fold lines in long rectangles. Then make one cut in the middle to make six small rectangles.
  • Make 6 rectangles of equal size ( dividing into three parts  first, then making a half of the three parts)
Filling the puff
  • Take one rectangle piece and lay it vertically
  • Visually make three vertical parts of the piece.
  • Divide the spinach mixture in six equal parts.
  • Take  one portion of spinach mixture and spread it  in the center vertical part.
  • Take a thin sharp knife and make horizontal cuts from middle to the edge. Do this for the other side. You should be able to make 9-10 cuts per side of the small rectangle.
  • Start from the left top and fold each strip towards a ” V” shape
  • Then take the right top and fold down over the already laid strip to complete the “V”
  • Continue this way to make a herringbone pattern all the way to the bottom
  • Pinch  and close the top and bottom of the puff if it is going to spill out the mixture
  • Bake in a pre heat oven at  400 degrees F for about 45  minutes or until golden brown.


Tips

Spinach Broccoli Herringbone Puff tastes very appetizing without garlic and green onions too !  So a neat starter for a Jain follower too.

Instinct Factor

Trust your instinct to guide you in the flavor and color and adjust the spice level to your taste.

Feel Factor

Spinach Broccoli Herringbone Puff satisfies the desire for Crunchy Monsoon, Rainy, Fall Day  Desire of  Eating similar to a fried appetizer, but with a healthy twist!


[contact-form-7 404 "Not Found"]

[shopeat_button]