The festival of colors Holi,which just went by is celebrated with much fanfare in the land of Rajasthan. My imagination takes flight and I imagine the royals of the land playing with colors in their elaborate costumes and the exquisite castles filled with colorful dresses and colorful faces. At such festive occasions, the royal chefs must be busy cooking and inventing royal dishes. and the courtyard maybe filled with delicious sweets and snacks! One such royal dish is Govind Gatte Stuffed Dumplings in Tomato Gravy, a rich dumpling gravy based entree, filled with richness of cashews, raisins and paneer. There is the ordinary Gatte recipe popularly known as Gatte Ki Subzi whose recipe I blogged earlier. The version detailed today is for those special moments and occasion to make them more memorable.
Differentiation between the two recipes relate to the shape, stuffing and the gravy, This is festive so it has been depicted in a triangle form, with stuffing and in a tomato yogurt gravy. It is softer and since they are blanched and fried, one can relish them as side snacks too!
The festive occasion at our end besides being HOLI was also a milestone birthday celebration, so found the perfect opportunity to try out Govind Gatte. If short on time, the round shape gate is a which is a quicker shape for sure. The gravy has a nice tangy flavor and one gets a similarity to malai kofta gravy and texture. This can be also cooked on aatham/chaudas menu of the Jain tithi and including this will make the menu more festive and royal for the guests and family.
Personally I enjoyed the kauri methi , raisins and cashew flavor in the Govind Gatte and the yogurt tomato mix gravy. Cone shape of Gatte make it so very festive and colorful and the perfect dish of color, taste and texture from the land of royals and color. The good part is one can make the uncooked Gatte in advance for a day or two and then cook them as desired. Alternatively fry them and have them as snacks with tea and they are really delicious to eat alone too! I am sure the person for whom this was made must be named Govind, and must be a well loved royal to have a dish on his name, from Jodhpur.
Enjoy the festivities and the richness that are ever present in the Indiau cuisine with Govind Gatte Stuffed Dumplings in Tomato Gravy!
Print Recipe
Govind Gatte Stuffed Dumplings in Tomato Gravy
A chickpea flour recipe of stuffed dumplings in a yogurt based gravy
Heat the ghee and add cashews and saute for 20 seconds, add raisins and saute for 30 seconds, add paneer, salt and chill powder and further saute for 40 seconds and remove from flame.
For making Gatte
Mix all the ingredients and taste for spice and salt levels. Bind all the ingredients into a smooth dough.If need more water for dough add yogurt.
Roll the dough into a long cylinder shape.
Cut about 1/4 inch pieces of the dough. I was able to make about 22-23 pieces
Make a ball of each piece and flatten it a bit between the palms and afterwards use the fingers to pat it and make it a little bigger. Fill about 1/2 tsp of the stuffing on it.
Fold the edges of the dough inwards and make a con shape. If it s not easy to fold in a cone shape, first make a ball and then make a cone shape. Alternatively you can leave them as balls too. But typically this being royal, the cone shape associated was to make it extra ordinary.
Boil about 3/4 liters of water and add salt, yogurt and ghee. Add the cone gatte to it, ensuring that the quantity of water is sufficient for it to be submerged completely.
Boil the gatte for about 10-11 minutes till they are completely cooked and rise to the top.
While the gate are boiling heat the oil in a pan, once it warms up, keep it on a low flame. As soon as the gatte are cooked, instantly drop them into the oil for frying.Once they are light beige in color, remove from oil and cool.
Making the gravy
Heat the oil and asafetida, dried red chillies and cumin seeds and allow the seeds to get slightly brown. Add fennel seeds, coriander powder, chill powder,salt and sauté the ingredients on a low flame for about a minute till you get the roasted aroma of the chickpea flour.
Add yogurt and continue to simmer the gravy stirring continuously as otherwise the yogurt will break.
Once the oil starts separating out, add the Govind Gatte to the gravy and simmer on low flame for about 10 minutes, and add about a cup of water, so that the gravy does not thicken too much while its cooking.
Remove from flame and serve immediately or before serving add some water to keep the consistency fluid and then warm and serve with bread, rice or puri
Enjoy the royal feast at home with this royal dish of Govind Gatte, accompanied here with Puri, Dahivada, Moong and Kadhi. All items of a Jain aatham chaudas 🙂
Recipe Notes
Tips
The original recipe has mava powder which I replaced it with paneer,as I feel paneer is more healthier and tastier.
If you like kasuri methi, sprinkle about a tsp of methi powder in the gravy while warming before serving.
Instinct Factor
Getting the cone shape could be challenging so ensure that flatten ball of the dough is not too thin, as otherwise it will break while frying or steaming.
Feel Factor
Even though the list of ingredients are way too many, the making of the dish is relatively simple and it just fill your home with aroma of spices and one can easily fall in love with the crispy fried Govind Gatte as snack or the crisp yet soft Govind Gatte in the tangy tomato yogurt gravy. I have found another jewel of the Rajasthani cuisine that promises to be on our list of enchanting flavorful recipes.
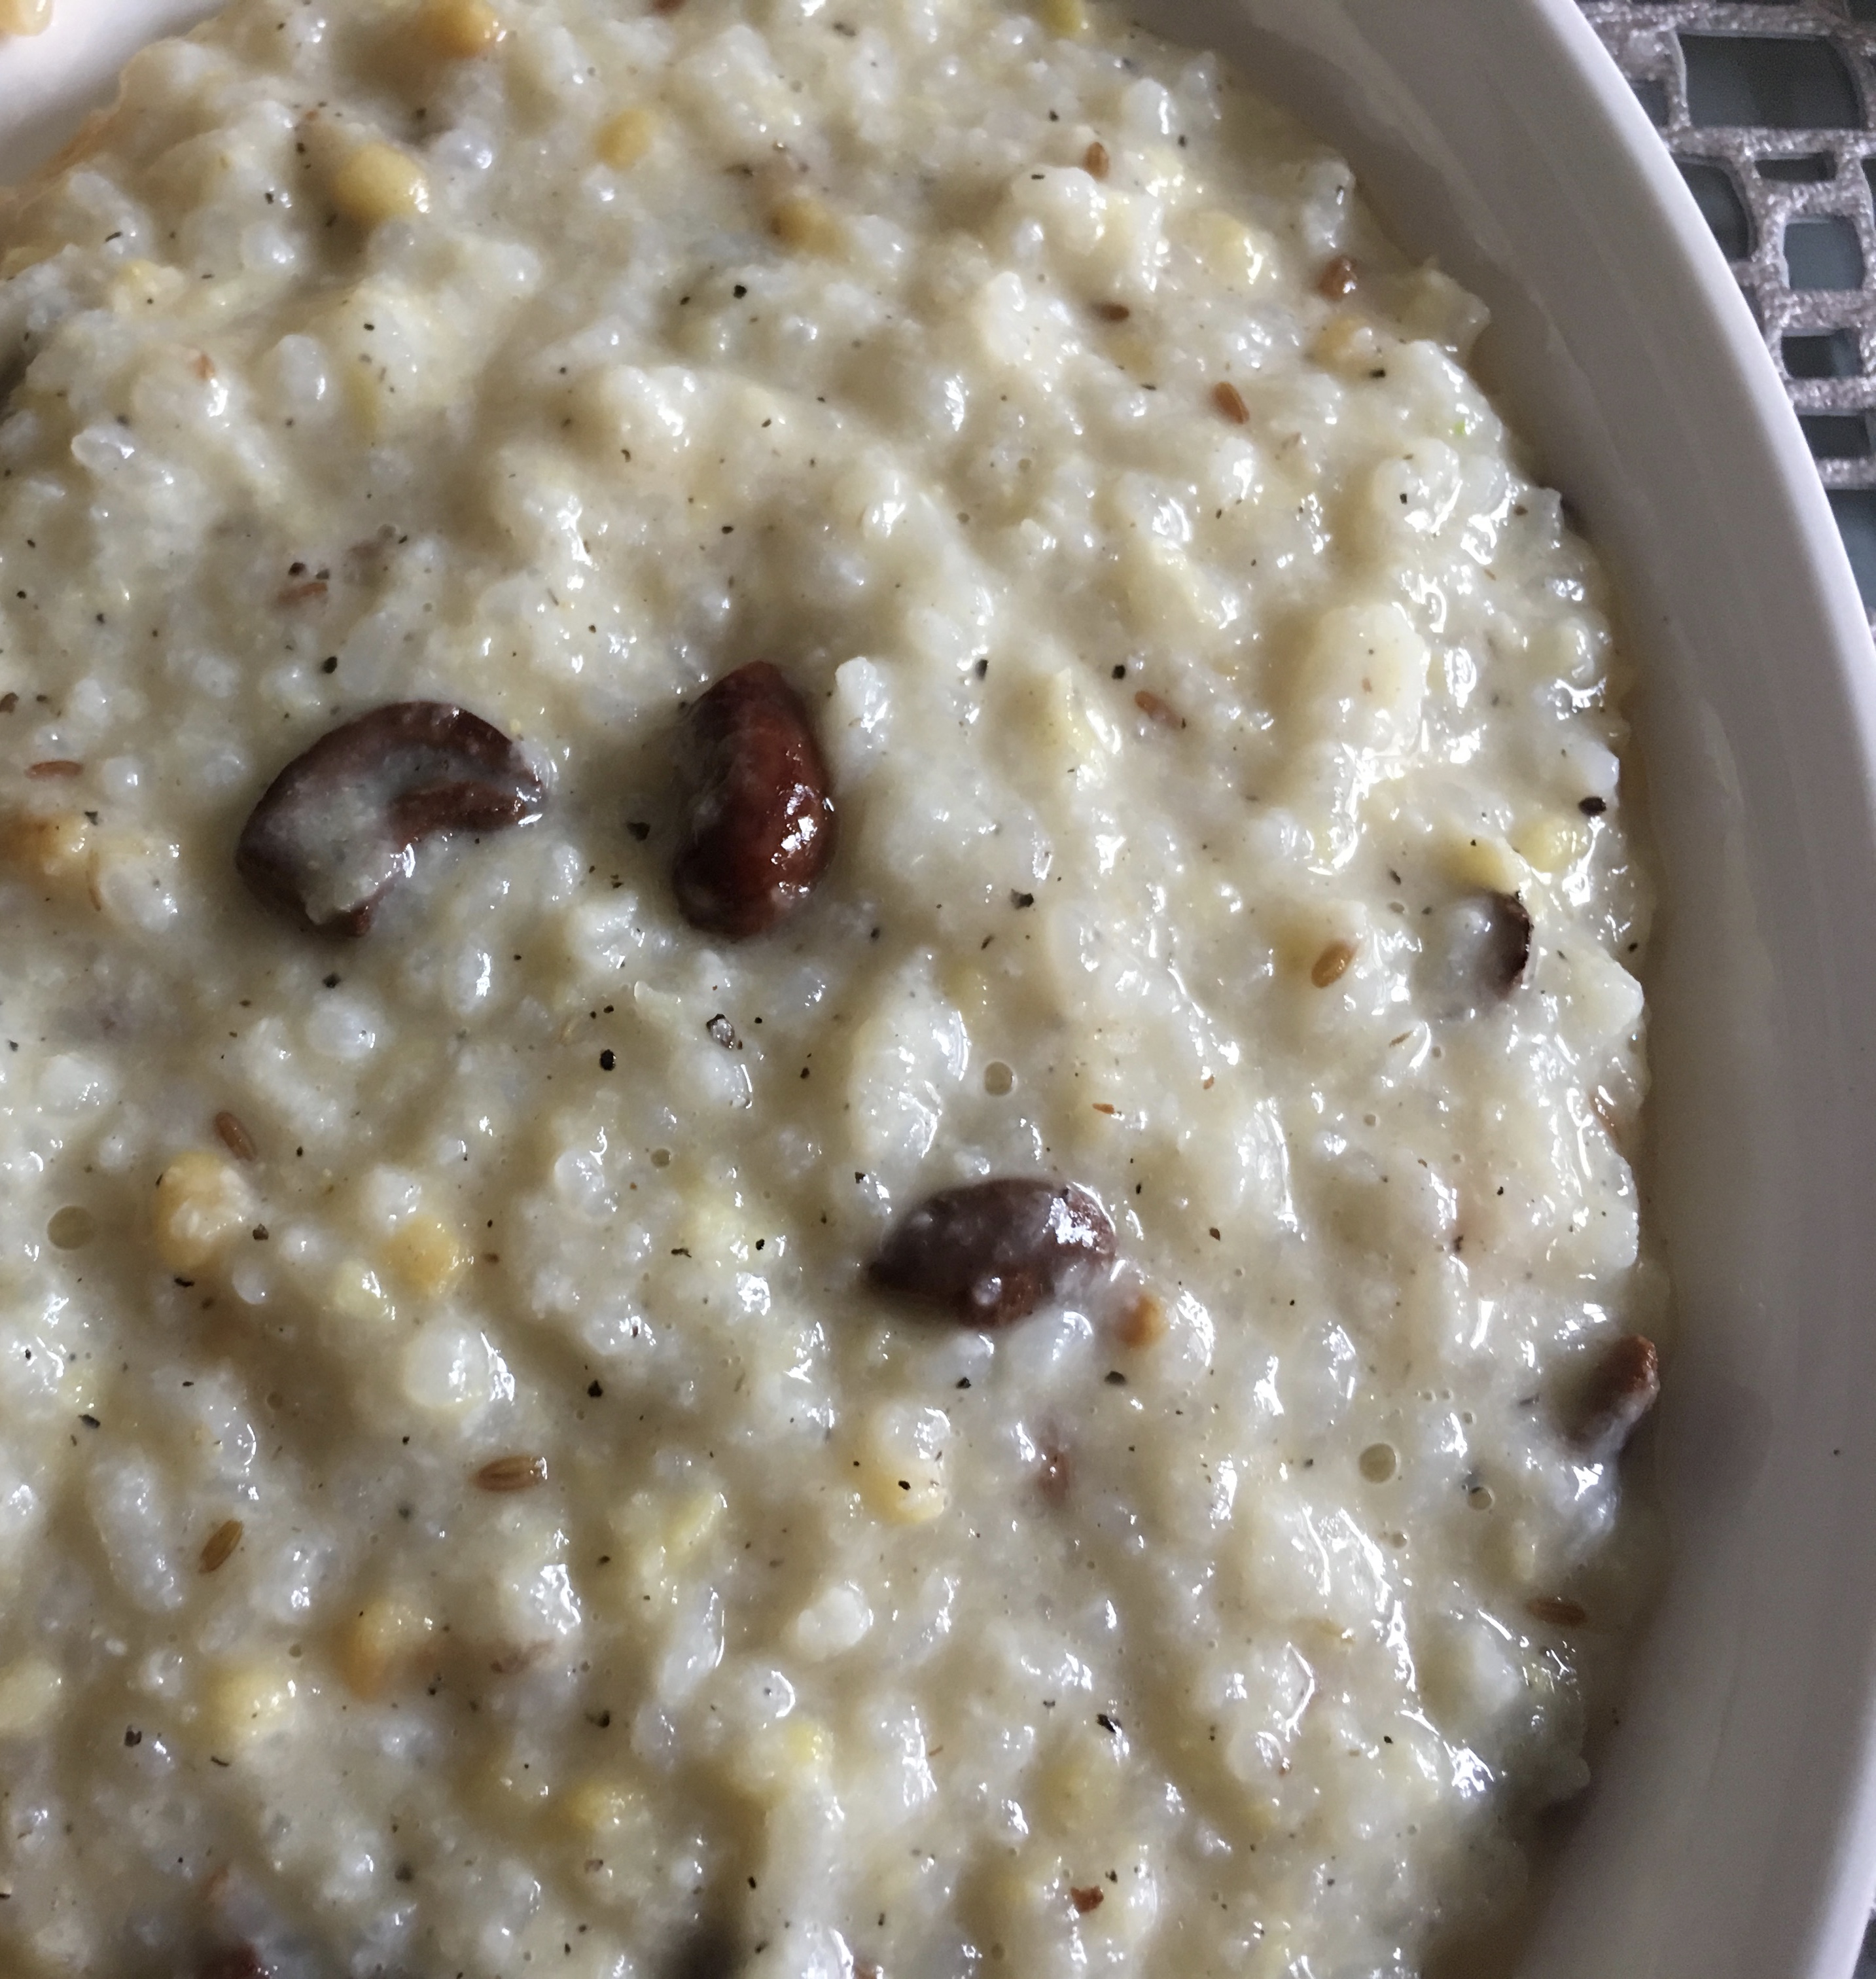
Temple Pongal Lentil Rice is the prasad one gets when one visits South Indian temples. The most famous south Indian temple is the Tirupati Balaji Temple in Andhra Pradesh. The temple is situated atop a hill and surrounded by seven hills around it. The access to the temple from the base of the city is a long winding road, and using the stairs/trails to hike up can take about 3-4 hours on foot. This is the most wealthiest of temples in India, with devotees giving large contribution as donations. This temple was what I visited post my marriage and coming from Jain household, was struck by the beauty, discipline and the utmost devotion expressed at various levels, from the learned priests to the the person working in the guesthouses over there. The temple prasad was just true delicacy, and having had my first taste of pongal as Tirupati Pongal, I am kind of spoiled by that. A lot of restaurants serve this Pongal as Ven Pongal or Khara Pongal, but not many come close to the color, texture and taste of the original Tirupati Pongal. So on this day of Pongal, I took the time to recreate what I remembered from my visit many many years ago and hope Lord Balaji is blessing me on this attempt!
The texture of Temple Pongal Lentil Rice as I remember was more like porridge, and made out of small grain rice. And I recollect the color as white base, and the taste of raw cumin and the yellow moong dal being seen clearly and of course dollops of ghee, cashews and black pepper! A lot of recipes on the web talk about adding curry leaves. ginger and turmeric. However, I decided against it as that does not match with my visual memory. I could be wrong, but still wanted to make an attempt to recreate the blessings I received via the temple pongal in the way I remembered. And besides the logic that makes sense, is that this prasad would be made as simple as possible, considering the vast number of devotees that visit the temple. And the logistics of carrying curry leaves, ginger all way atop a hill and then the labor involved in cleaning and cutting would be a bit too much. Not using the added ingredients also helps me keep this recipe suitable to the aatham/chaudas menu, when green and root vegetables are not consumed in the menu. There are some Jains who believe that the temple idol of Lord Balaji at Tirupati was originally an idol of Shri NeminathTirthankar. Whatever be the belief, the fact that today it is the most wealthiest temple and the most revered by devotees speaks volume for the faith of the devotee as well as the blessings obtained at the Tirupati Balaji Temple.
The Temple Pongal Lentil Rice is often cited as a complete meal as it has its content of grain, lentil and lots of protein via ghee and nutrition of cashews and black pepper. Black pepper was the original spice from India, used in place of red and green chillies. Pongal, festival of harvest in Tamil Nadu, is often celebrated by boiling milk over and Pongal also means boiling over.
Wishing all of you a Very Happy Pongal and loads of good wishes as you start a new year with optimism and good thoughts with the prasad of Temple Pongal Lentil Rice and blessings of Lord Balaji to guide you through the year!
Print Recipe
Temple Pongal Lentil Rice
Comfort and pure joy to eat this soulful rice and lentil recipe from southern India.
Dry roast the yellow moong dal in a pan for 2-3 minutes on low flame till you get the aroma of roasting,
Wash the rice thrice and soak with five and half cups of water for 30 minutes. After soaking, boil this soaked rice, along with its water. Add salt, peppercorns, cumin seeds and milk to it.
Keep stirring in between so that the rice does not stick at the bottom. Halfway through add the roasted yellow moong dal.
Once the rice and dal are cooked, and you have reached the desired consistency of the pongal, remove from flame. If the consistency looks to soupy, keep cooking till water is reduced.
For Tempering
Heat the ghee in a small vessel, and add cashews and stir till they are golden brown. Add asafetida and remove from flame. Add this to the rice and mix well, and cook rice for another 2-3 minutes for the flavor to set in.
Add the crushed pepper powder and keep stirring whole time, so that the rice does not set at the bottom.
Serve warm with Shakkar Pongal or with coconut chutney or pickle or just plain is also very delicious!!. Plain yogurt serves a good accompaniment to Temple Pongal.
Recipe Notes
Tips
Small grain rice are crucial to obtaining the texture of the pongal as well as cooking on the stove is important so that you can get the right texture. I used the Spanish Goya Rice as thats what I had at home and it worked well.
Ensure that the cashews do not get burned, and stay golden, which I missed out on.
Instinct Factor
Quite a bit of instinct involved in recreating this recipe by memory. I could be wrong, but I hope my readers from southern India will forgive me:) Feel free to add red chillies, some coriander, if you want to add some more spice and fragrance.
Feel Factor
Happy to have the prasad of Lord Balaji and invoke his blessings in some way! Texture was great according to my husband, who just loves this Pongal and any Pongal on earth. So much so that the Pongal restaurant in New York City, is his Mecca for this and we have to make a visit every time we are in NYC. So a compliment from him made my effort worthwhile.. Loved the cumin, black pepper and ghee flavor in this traditional temple recipe of pongal.
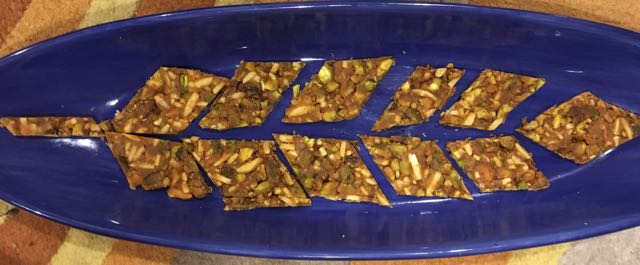
Pistachio Almond Chikki Chewy Bites is my attempt at making a dry fruit chikki in a jaggery base, instead of the traditional base of sugar, specially for dry fruit chikki. I decided to try this base, as I prefer the more nutritious jaggery as compared to sugar. No Makar Sankranti is complete without a bite of chikki, the traditional sweet of the Makar Sankranti festival. The chewy or crispy taste of the chikki depends on the quality of jaggery as well as the duration of cooking the jaggery. Jaggery from Kolhapur, works best for chikki, specially the golden colored jaggery. This time I had more darker colored jaggery, hence the color of the chikki is also slightly more darker than I would have preferred. I opted to also undercook the jaggery a bit, in order to keep it chewy, as preferred by my family members. The chewy texture would also do less damaging to the teeth when biting, as opposed to the extremely crispy traditional texture of chikki. Feeling a little creative, added a few drops of rose water were added to give a freshness of rose in the chikki,
Enjoy the fragrant, colorful, chewy and jaggery based pistachio almond chikki chewy bites, which is extremely quick to make. One can have a fresh batch of chikki in different flavors made every couple of days, since it takes very little effort and time. Check out the recipes for Sesame Chikki, Chocolate Walnut Chikki and Daliya Chikki from earlier blog posts. Tomorrow I plan to make the good old Til Chikki in the extreme crispy flavor, as that is how I like it, and sankranti is not auspicious enough, till one has had the combination of til and jaggery तिल गुड़!
Wishing everyone a happy cheerful Makar Sankranti and a season of good results and good tiding, and enjoy the display of Pistachio Almond Chikki Chewy Bites in a flying feather shape, akin to a flying kite!
Grease the chopping board, or a plate, or sheet of aluminum foil or wax paper with some ghee and keep it aside.
In a thick bottom pan, put the ghee to melt on a medium flame gas.
Once it melts, add the jaggery and water and let it melt. Keep stirring on medium flame, till the color becomes dark brown like a melted chocolate for about 6-7 minutes. If you want it more crispier heat the jaggery for about 8-9 minutes.
Once the jaggery is cooked well, reduce the flame to the minimum and quickly add whole pistachios, crushed pistachios, silvered almonds and rose water and mix everything into a nice big lump, stirring for a minute or she on the gas.
Quickly transfer the mixture on to the greased board. Using a roller pin, roll down into as far thin as you can roll, without breaking from between. Alternatively, press it with the base of steel bowl to flatten it further.
Cool for about five minutes, and make diamond pieces, by first making vertical lines, and then turning the board to an angle, and making diamond kite shapes.
Cool completely for 20 minutes, and then store in an airtight container.
Recipe Notes
Tips
The type of jaggery you use will also determine the texture of the chikki. To make it crisper, cook the jaggery for at least 9 minutes on medium low flame.
If the chikki is not as crispy, or too sticky, just reheat the whole lump adding a tsp of water and cook for 2-3 minutes, till it binds well.
Instinct Factor
Adding rose water was a result of listening to my instincts! Be creative and add some essences to give it a different feel!
Feel Factor
If you cannot fly kites in USA, at least lets have chikki and celebrate the Sankranti in some way! The roasted salty pistachio flavor goes well with jaggery and my family appreciated the chewy texture of this and I loved the green color of pistachios in the chikki!