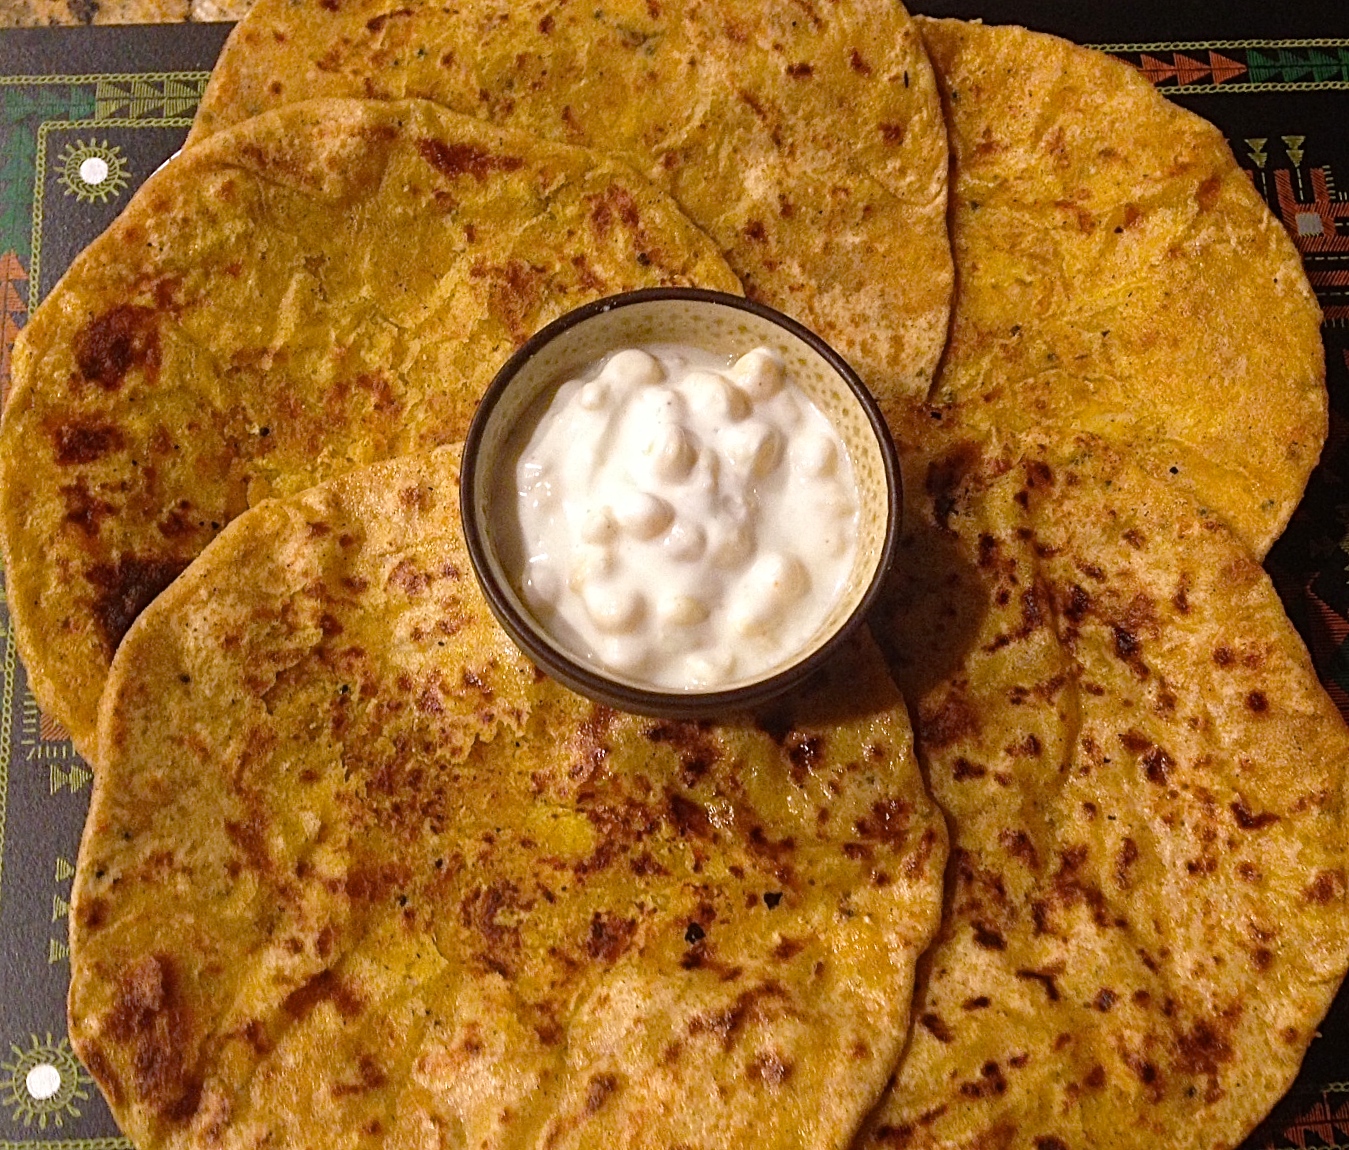
Muli Paratha, is bread stuffed with White Radish and spices. White Radish is also known as Daikon, meaning large root in Japan, the land it is suppose to originate from. It is also a winter vegetable and on researching I found it contains up to 27% of daily vitamin C. Some people can take the pungent taste of raw white radish, but I prefer the taste of white radish or Muli mixed with Bengal Gram flour. A lot of recipes details raw white radish with spices which I find difficult to roll, as water in the white radish makes it difficult. Hence I prefer the recipe with gram flour, which absorbs the excess water as well as makes the white radish easy to warm up to.
The addition of bengal gram flour makes it fulfilling and when it is accompanied with yogurt or boondi raita or pickle, it gives you the pleasure of consuming homely food! The leaves of white radish also taste well when cooked with bengal gram flour and often people make this as a side vegetable dish too. More on this next time I able to get some nice fresh green leaves along with the white radish. In Rajasthan, this is also used to make dhokli.
The credit of showing me this recipe goes to my mother in law, who first made Muil Parathas for me, and I still admire her soft, tasty Muli Parathas White Radish bread, as they are very delicious. Making Muli Paratha White Radish bread is easy, filling and can be a good variation to lunch meals or brunches or heavy breakfast on a weekend! Very little attention is needed while preparing the stuffing, so often this is my go to recipe when I am tied at various ends.
Recipe makes 8 parathas
Cooking time 40 min
Prep 10 min
Ingredients
- 3 cups grated white radish or white muli
- 6 heaped tbsp of gram flour
- 1/4 cup oil
- 1/8 tsp asofoetida
- 1/2 tsp mustard seeds
- 1/2 tsp turmeric
- 1 tsp red chilli powder
- 5 pinches of dry samosa kachori masala or garam masala
- salt to taste
Method
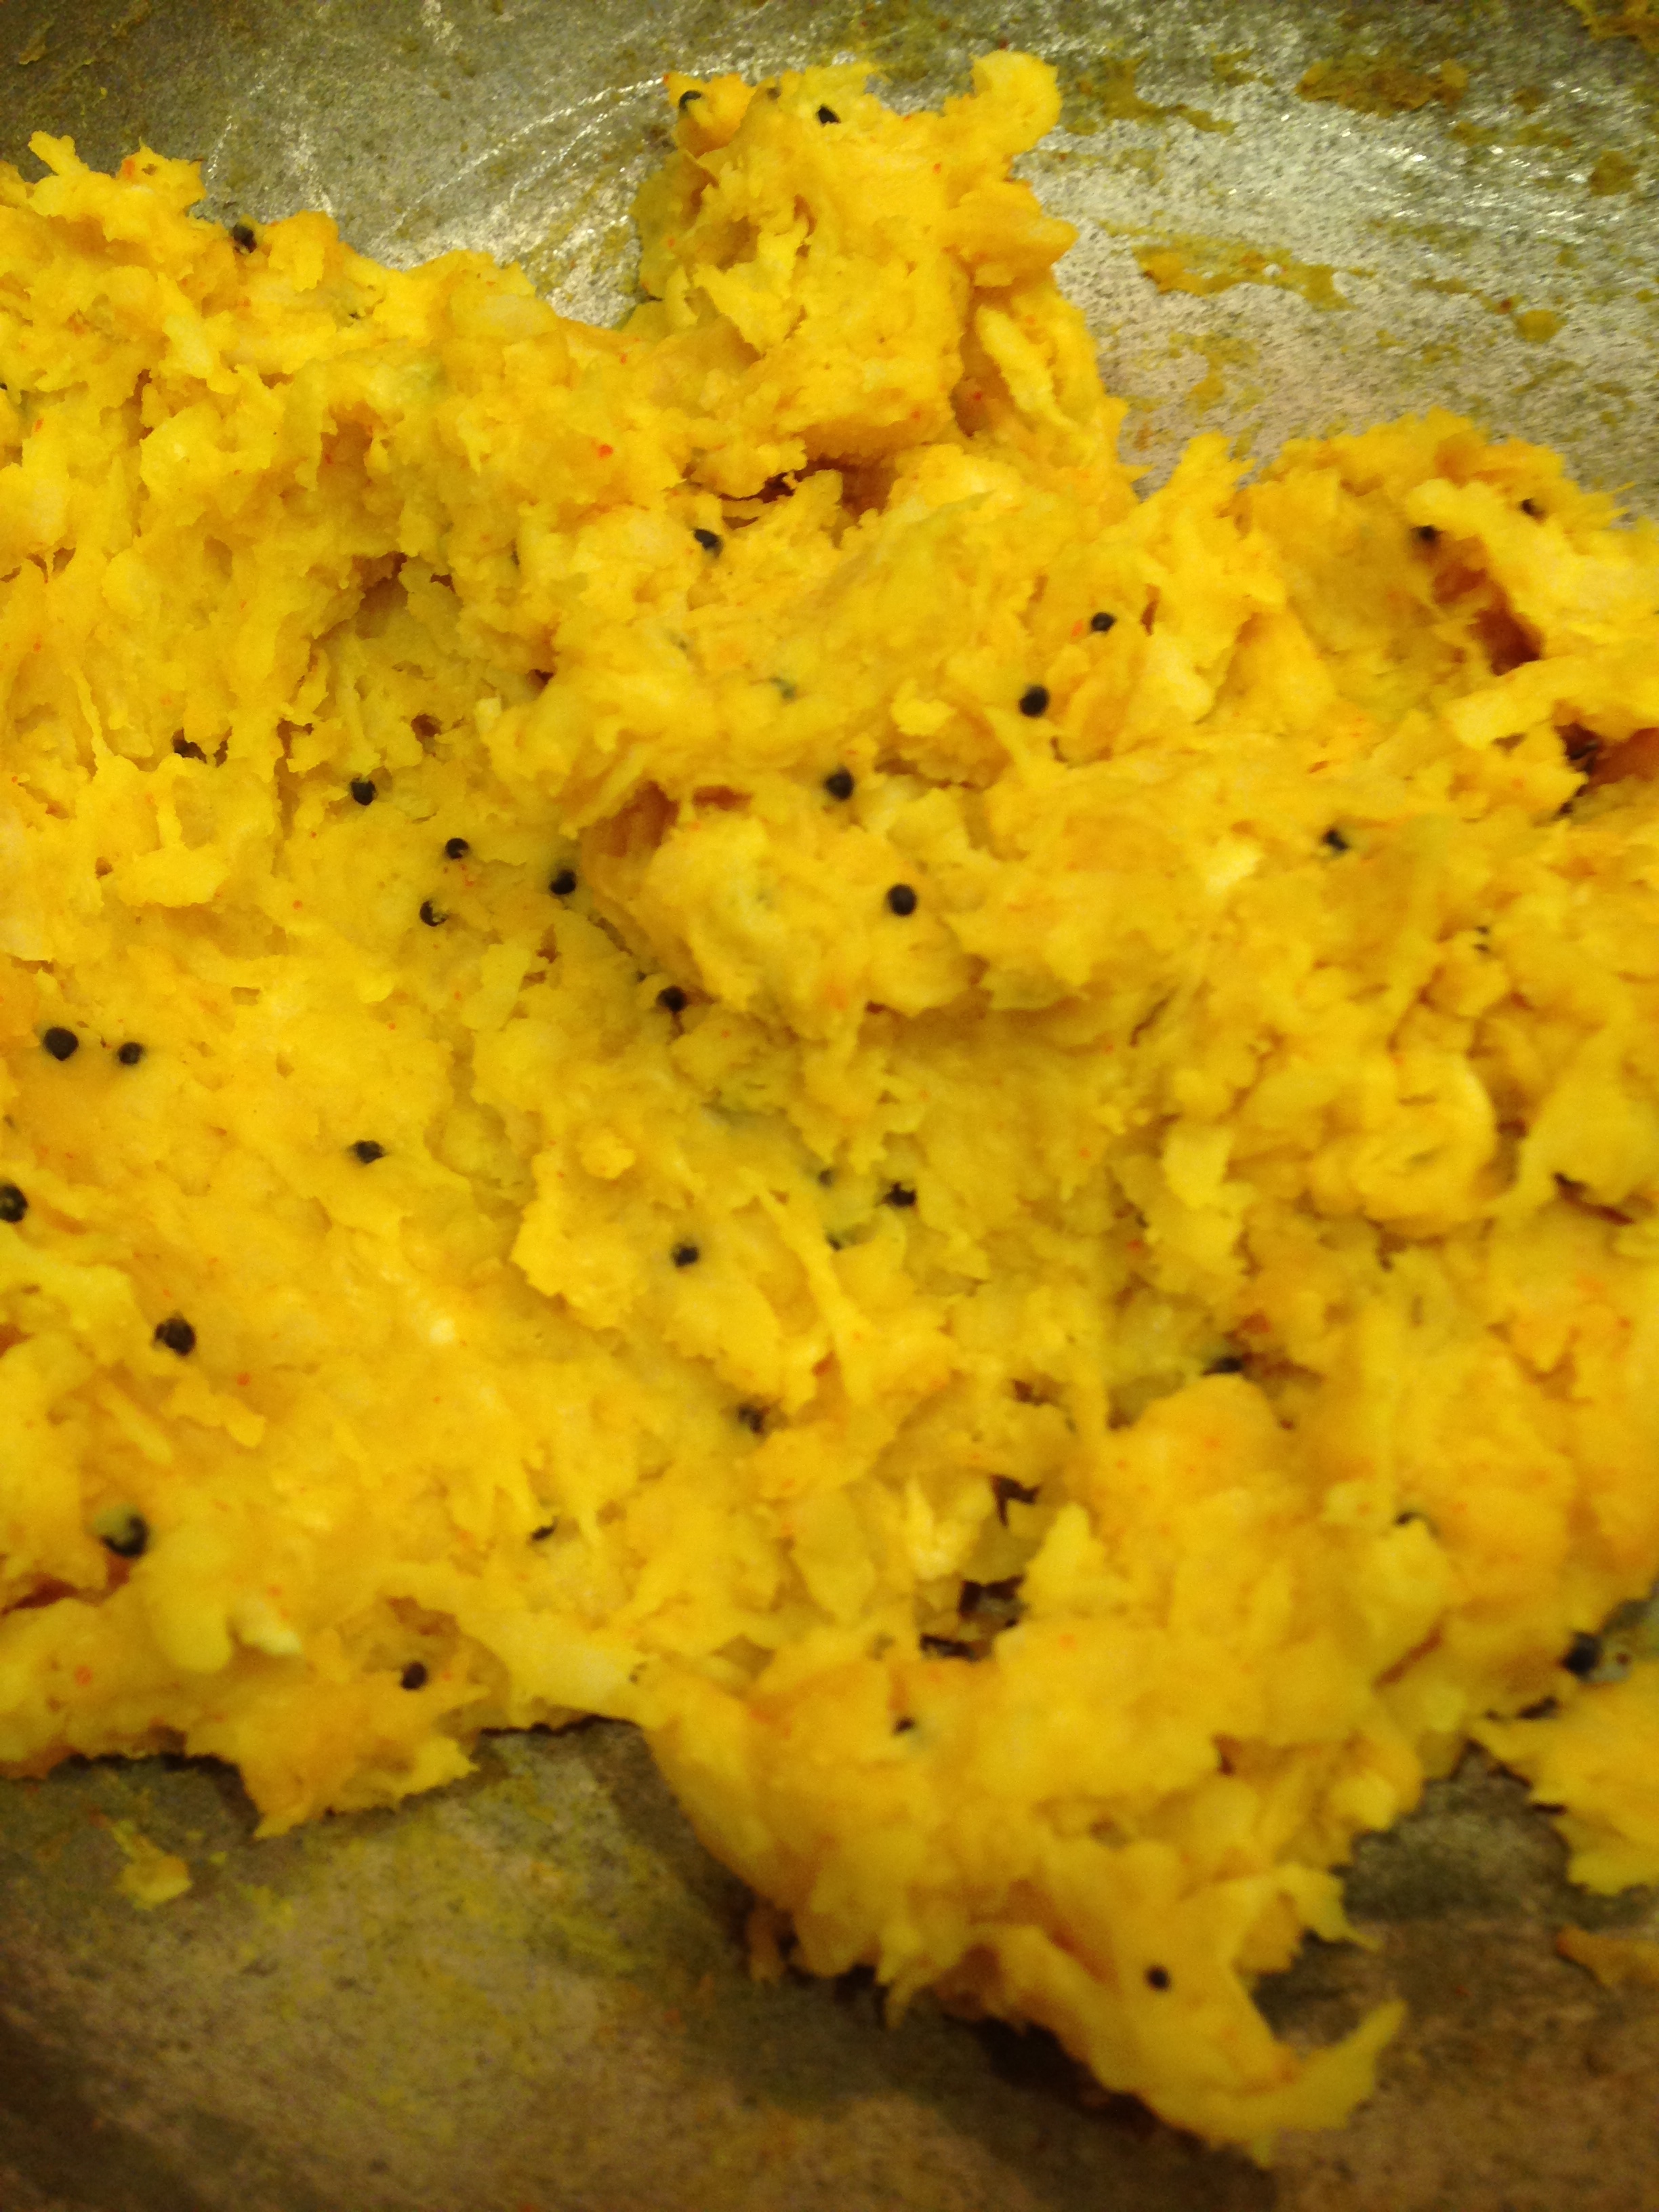
For the stuffing
- In a broad pan heat oil on medium flame.
- Add asofoetida first, then mustard seeds
- When mustard seeds crackle, add grated white radish or muli
- Add salt, turmeric, chilli powder and bengal gram and mix well.
- Cover and cook on low simmer flame for about 20 min.
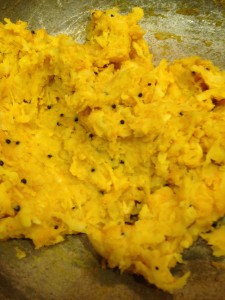
- Open and sprinkle the garam masala or dry samosa kachori masala and remove from flame
- Uncover and let it cool down for 15-20 min until completely cool.
For the bread
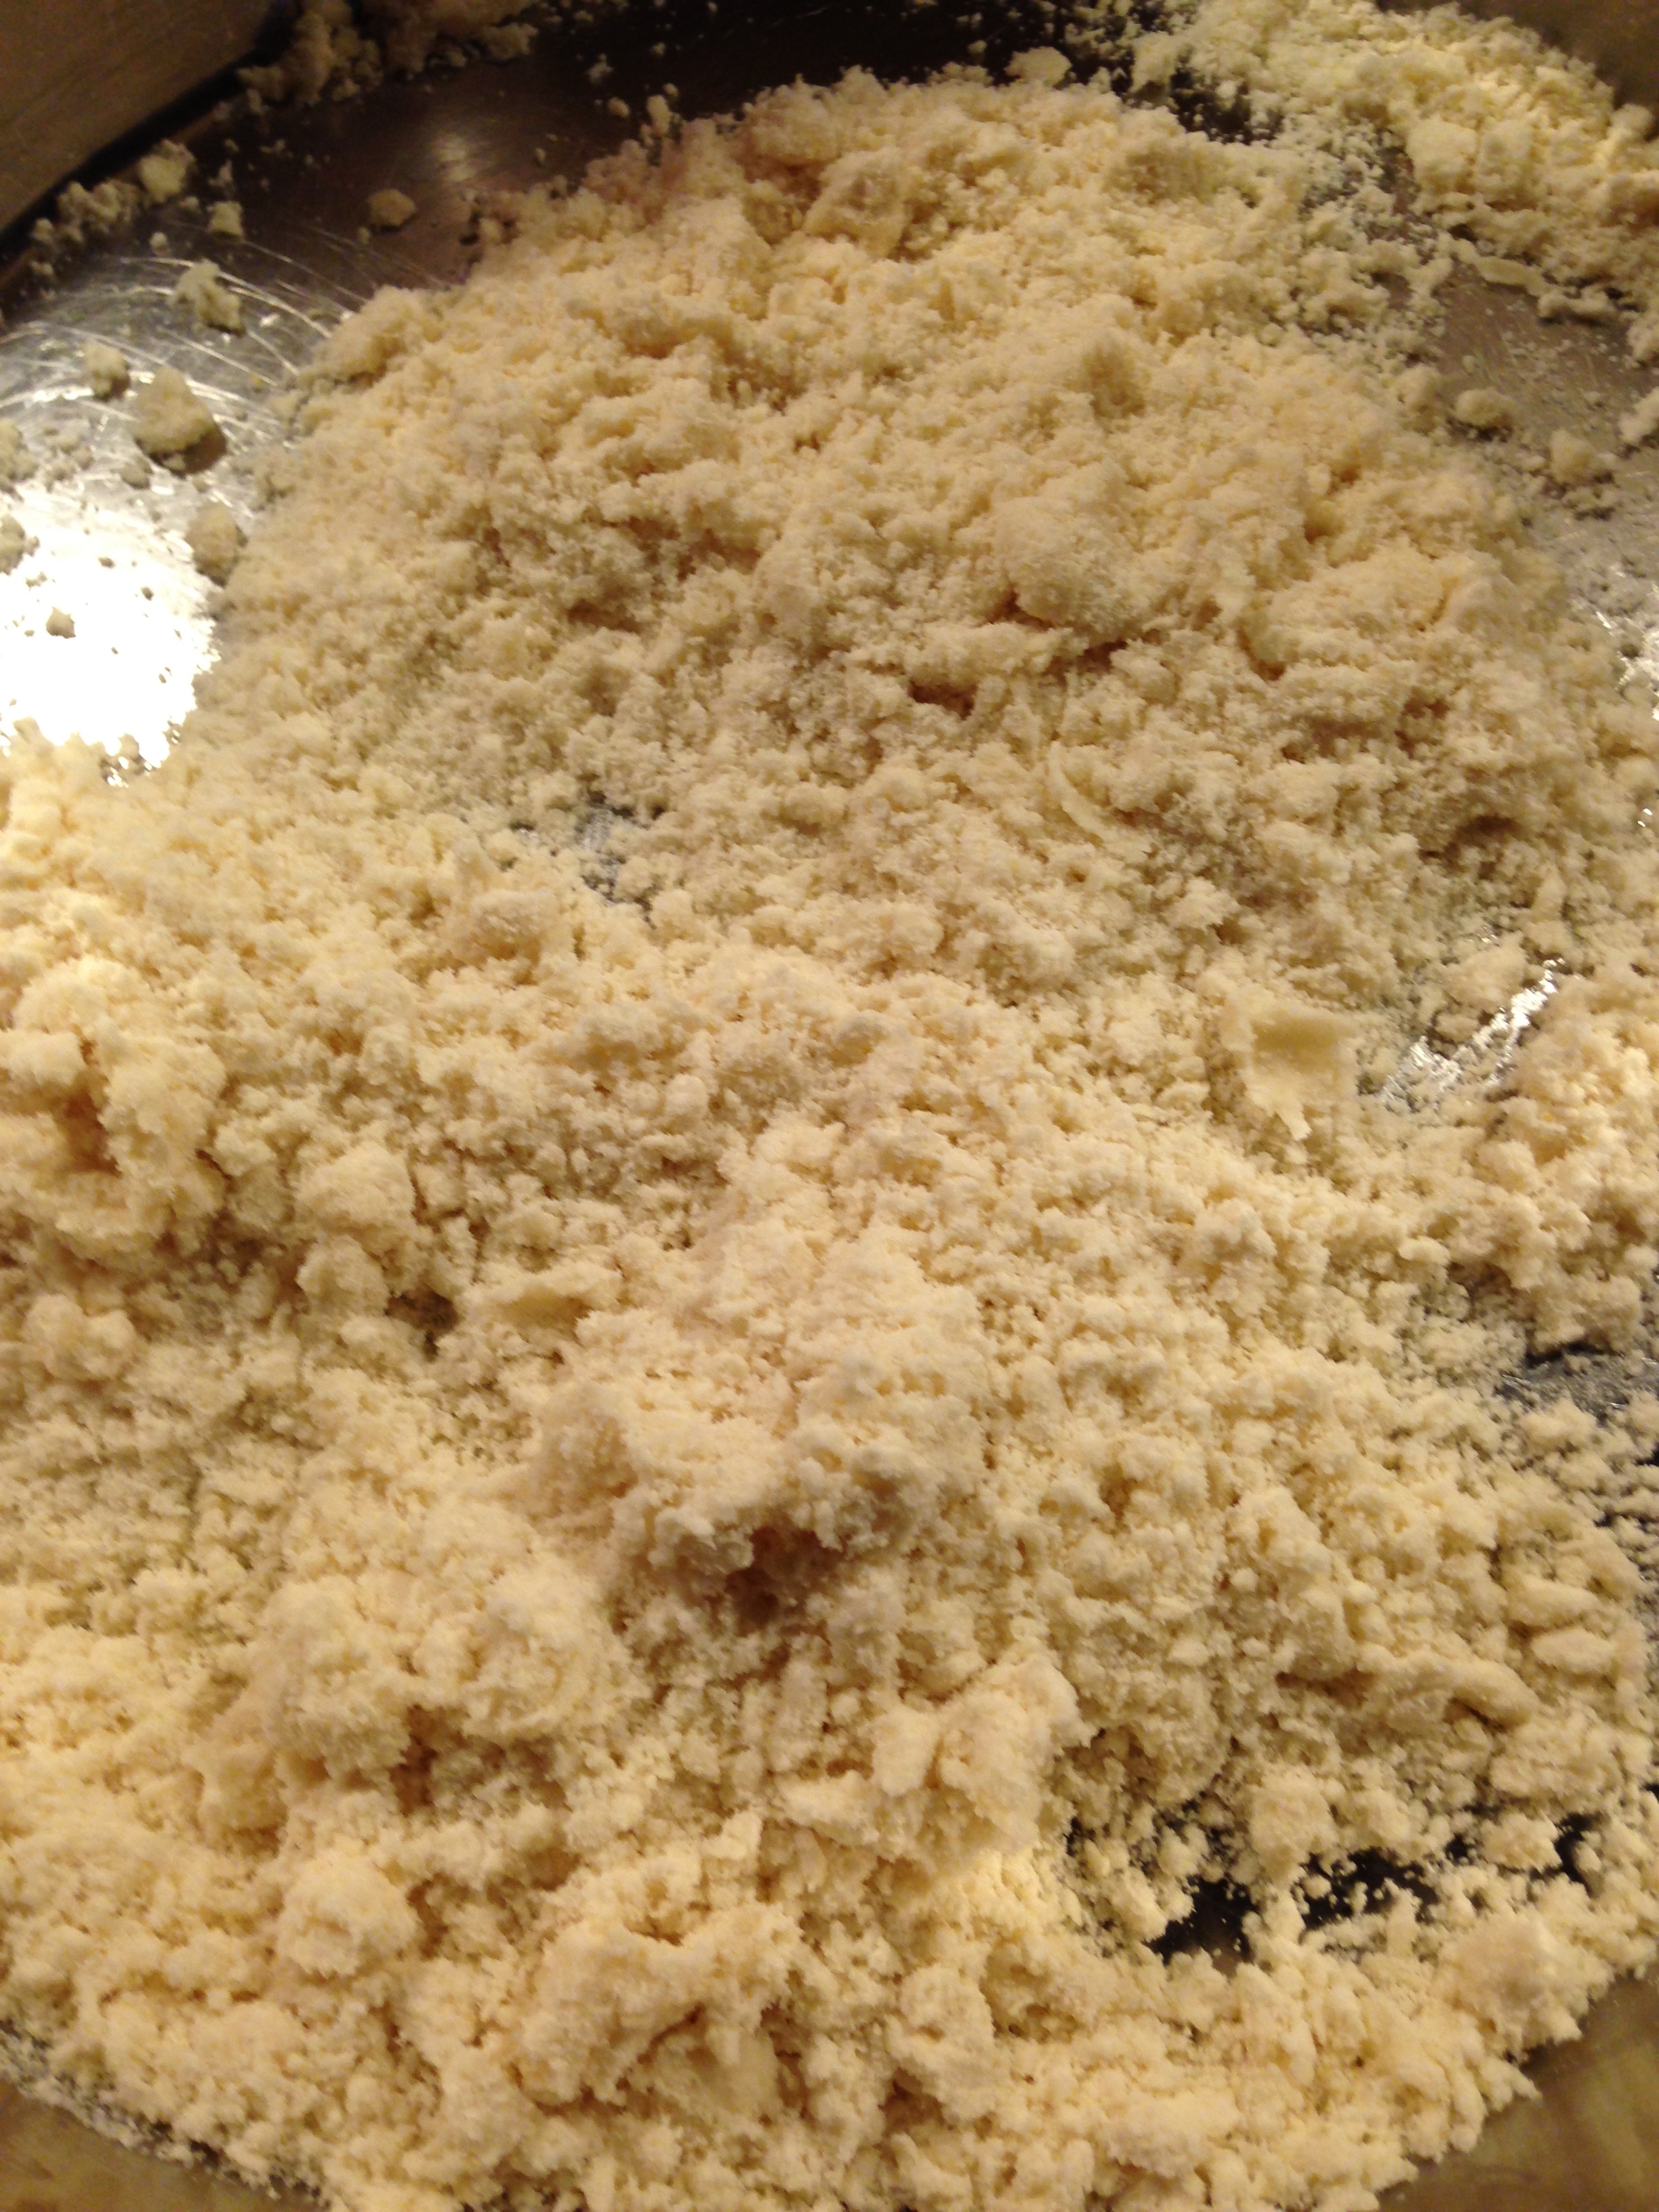
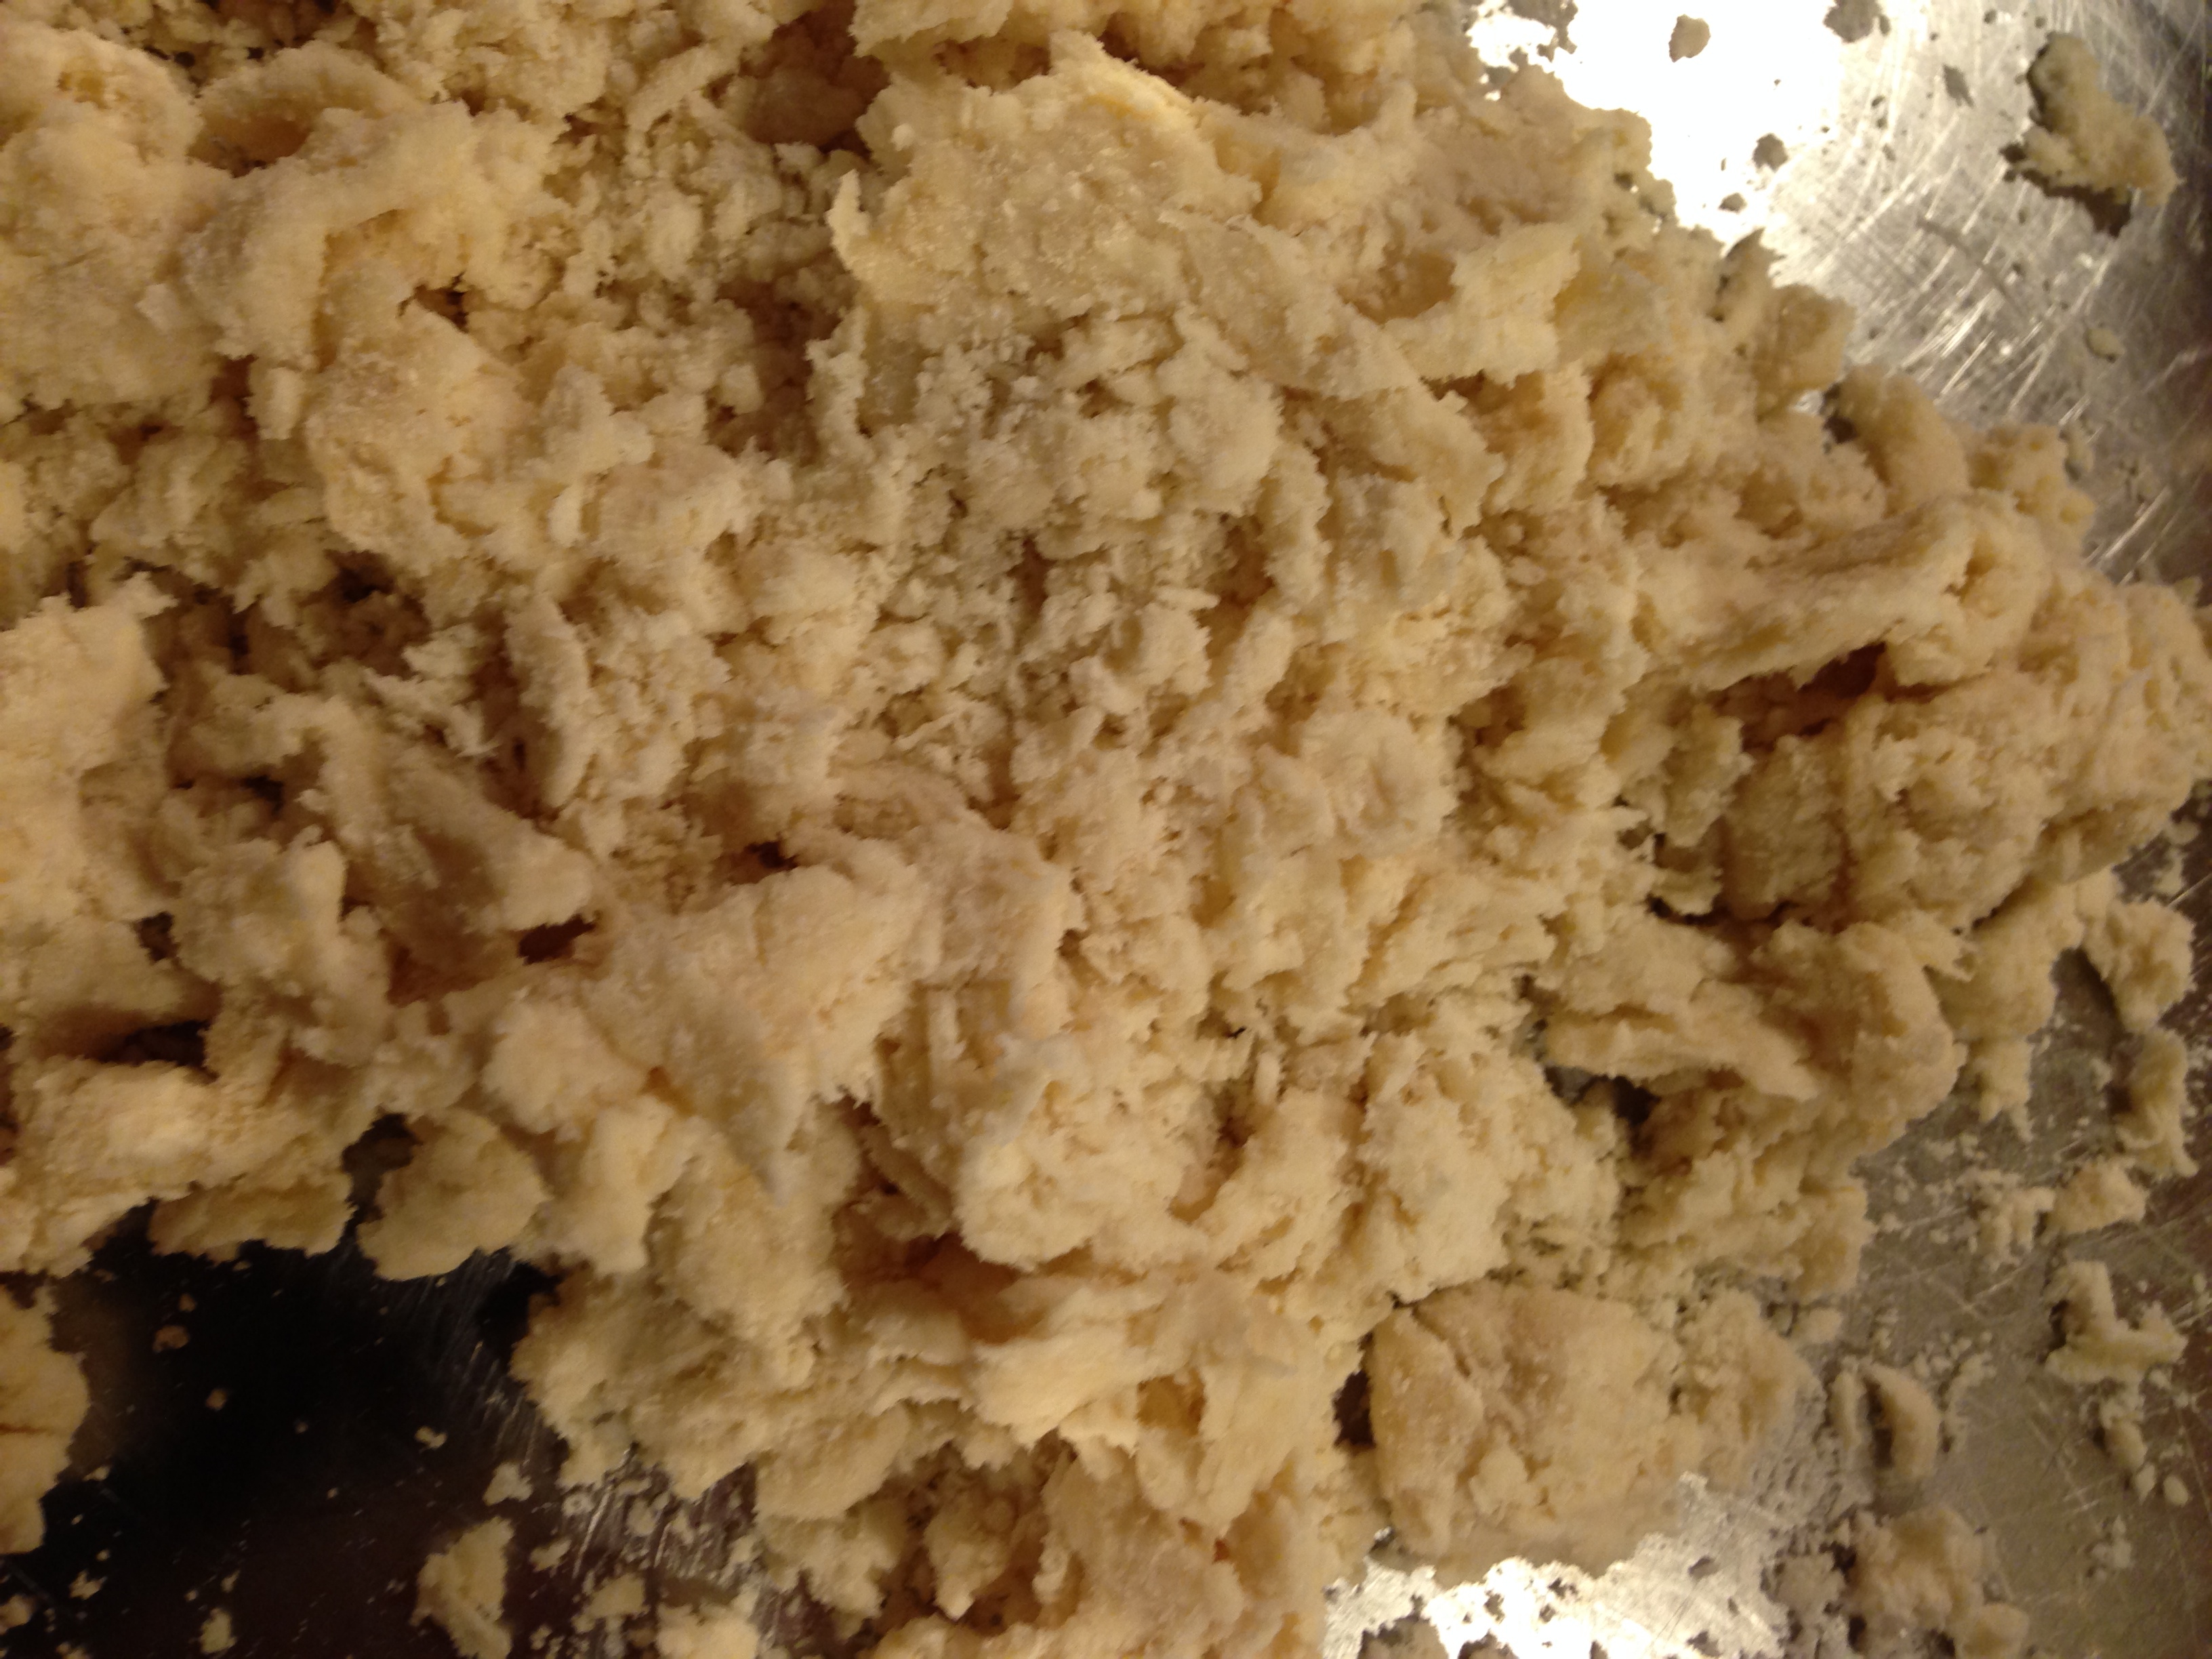
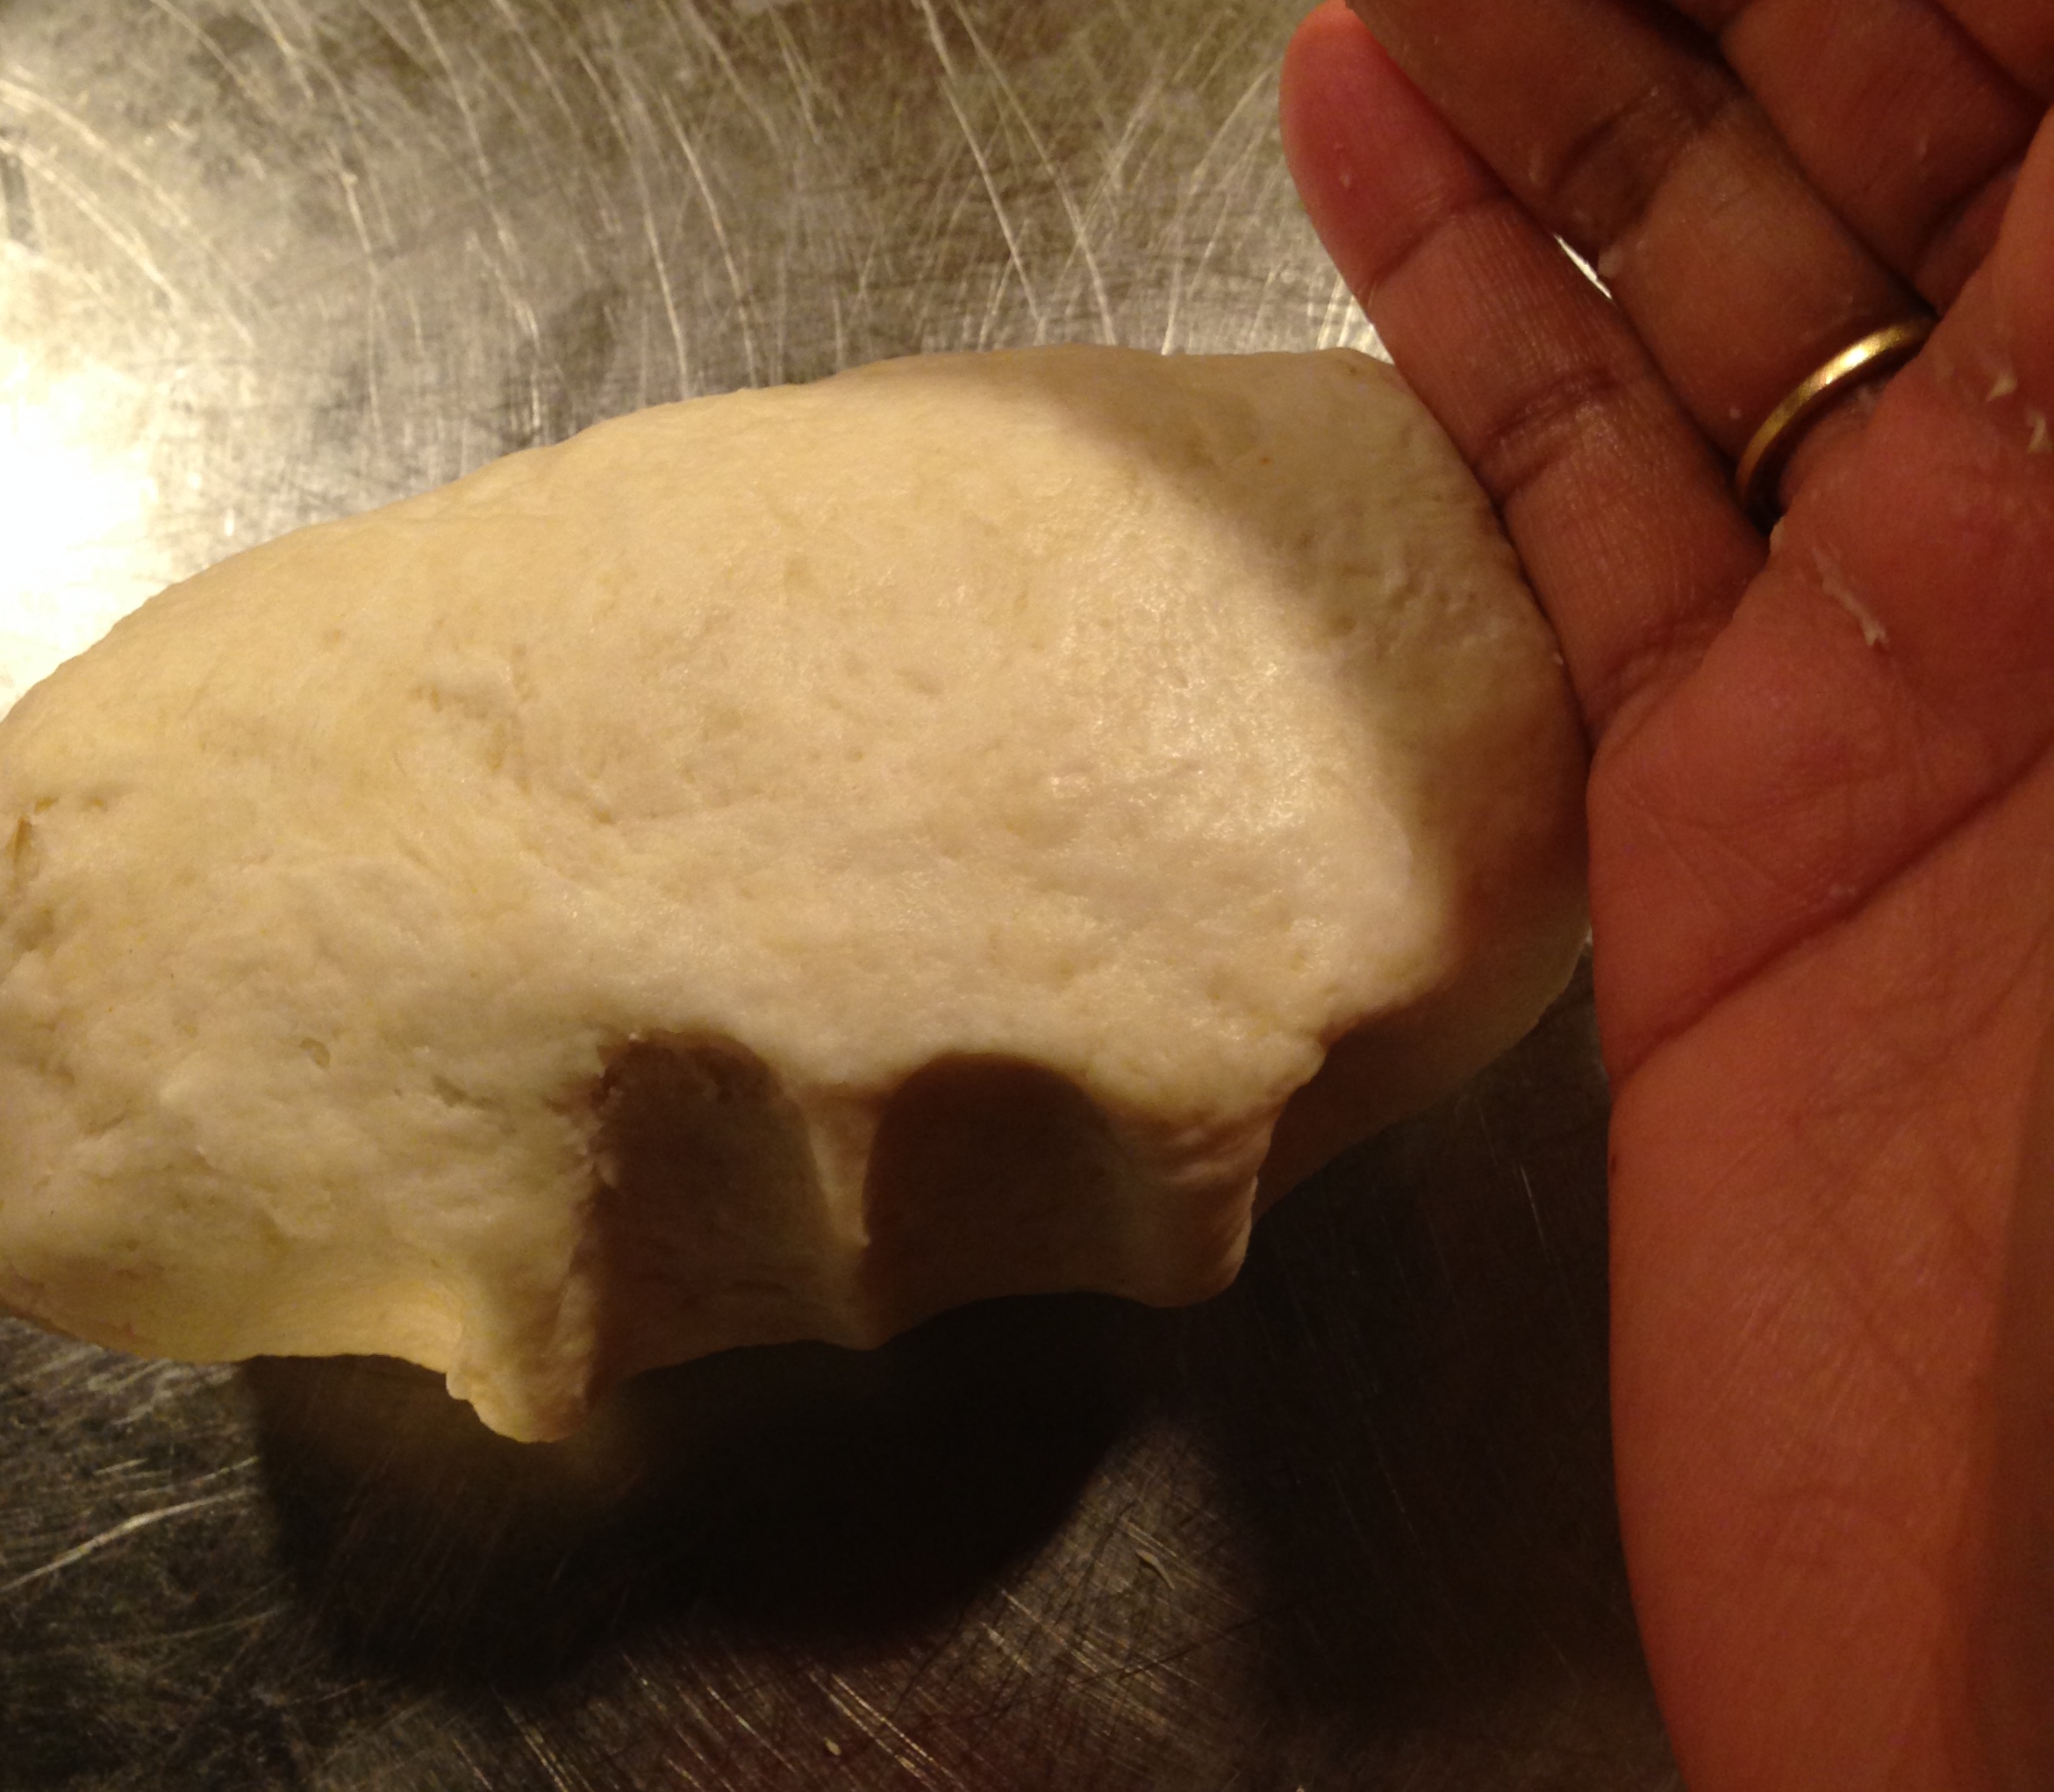
- In a broad pan, mix wheat flour, pinch of salt and one cup of water and knead into a soft dough.
- Cover and Refrigerate the dough for 30 min.
For rolling the paratha bread
- Divide the white radish stuffing into eight parts.
- Take a small golf ball size wheat dough. Make a round ball
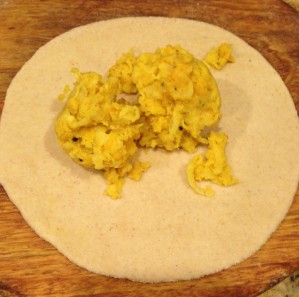
- Using a roller pin, flatten the ball in to a round circle about 5 inches round.
- Put one part of white radish muli stuffing onto the flatten round.
- Enclose the stuffing my covering from all sides towards the center.
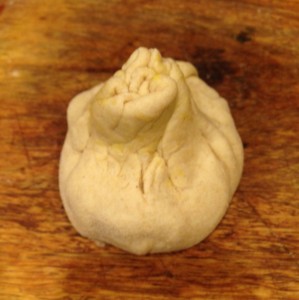
- Twist the closed stuffing and remove excess dough that protrudes beyond the round ball.
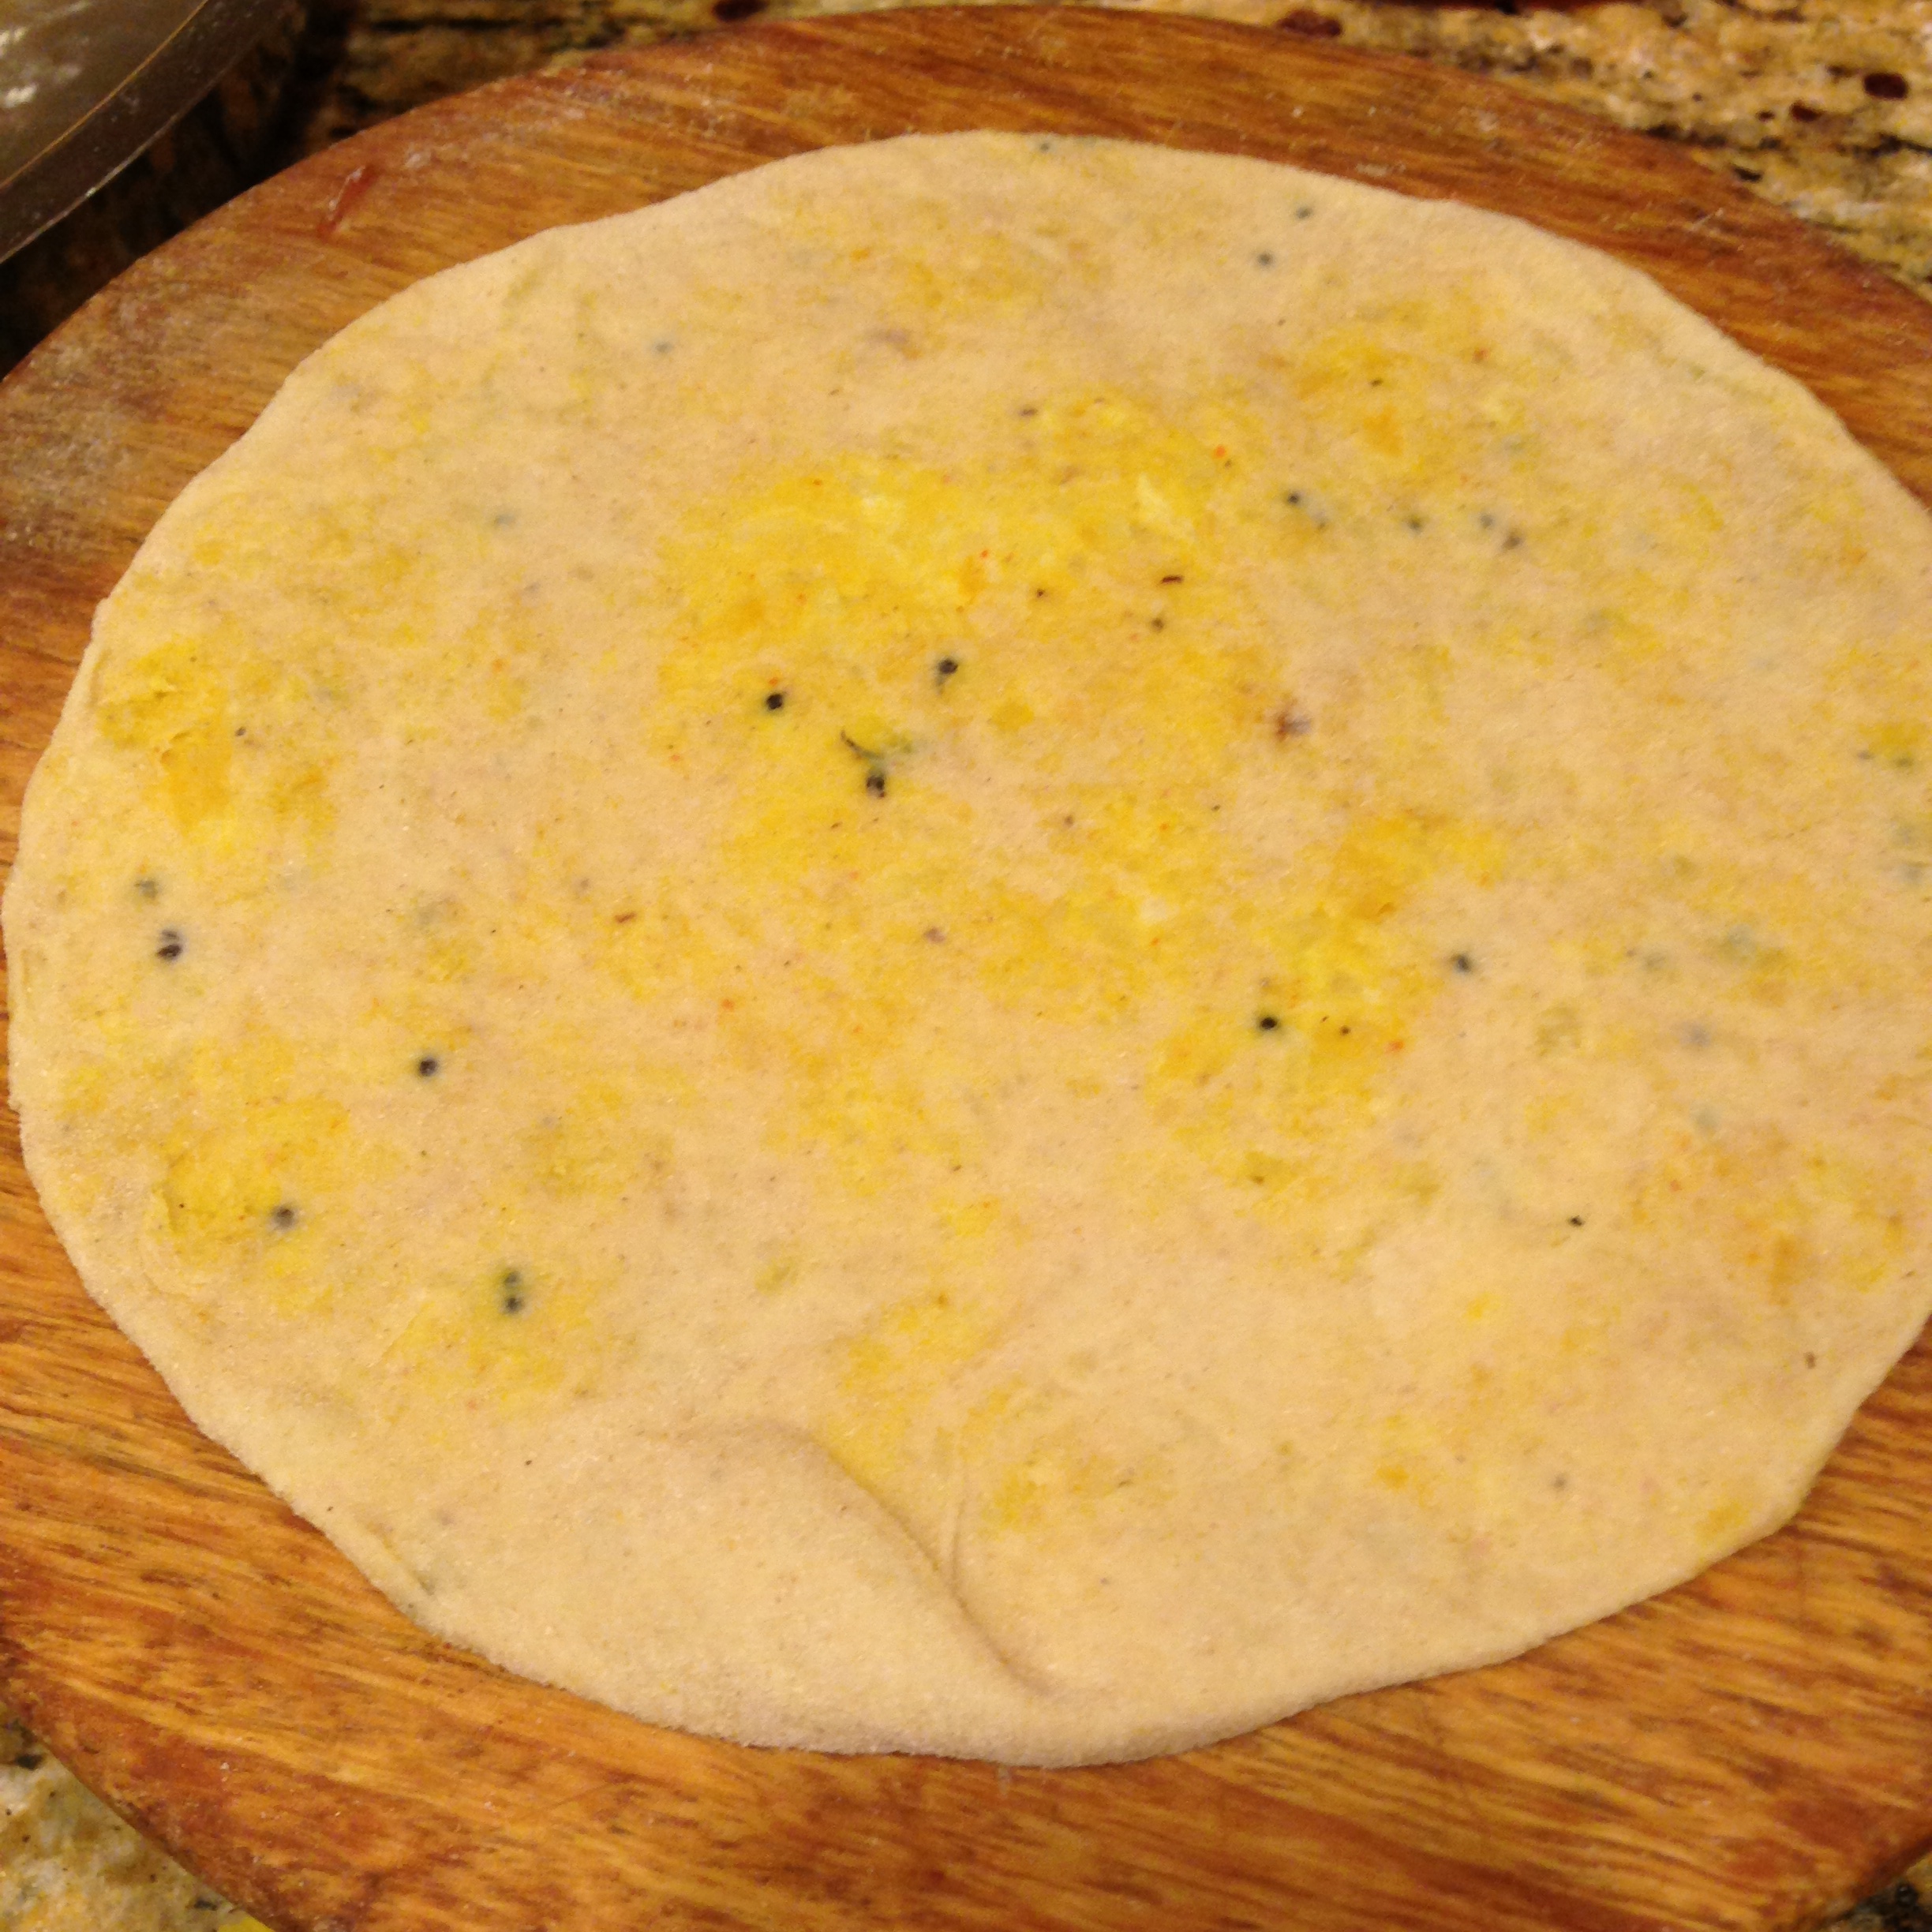
- Flatten a bit with the hand and using a roller pin and dusting flour(wheat flout), roll the stuffed ball into 7 inches flat circle.

- Grease a flat pan with oil and heat.
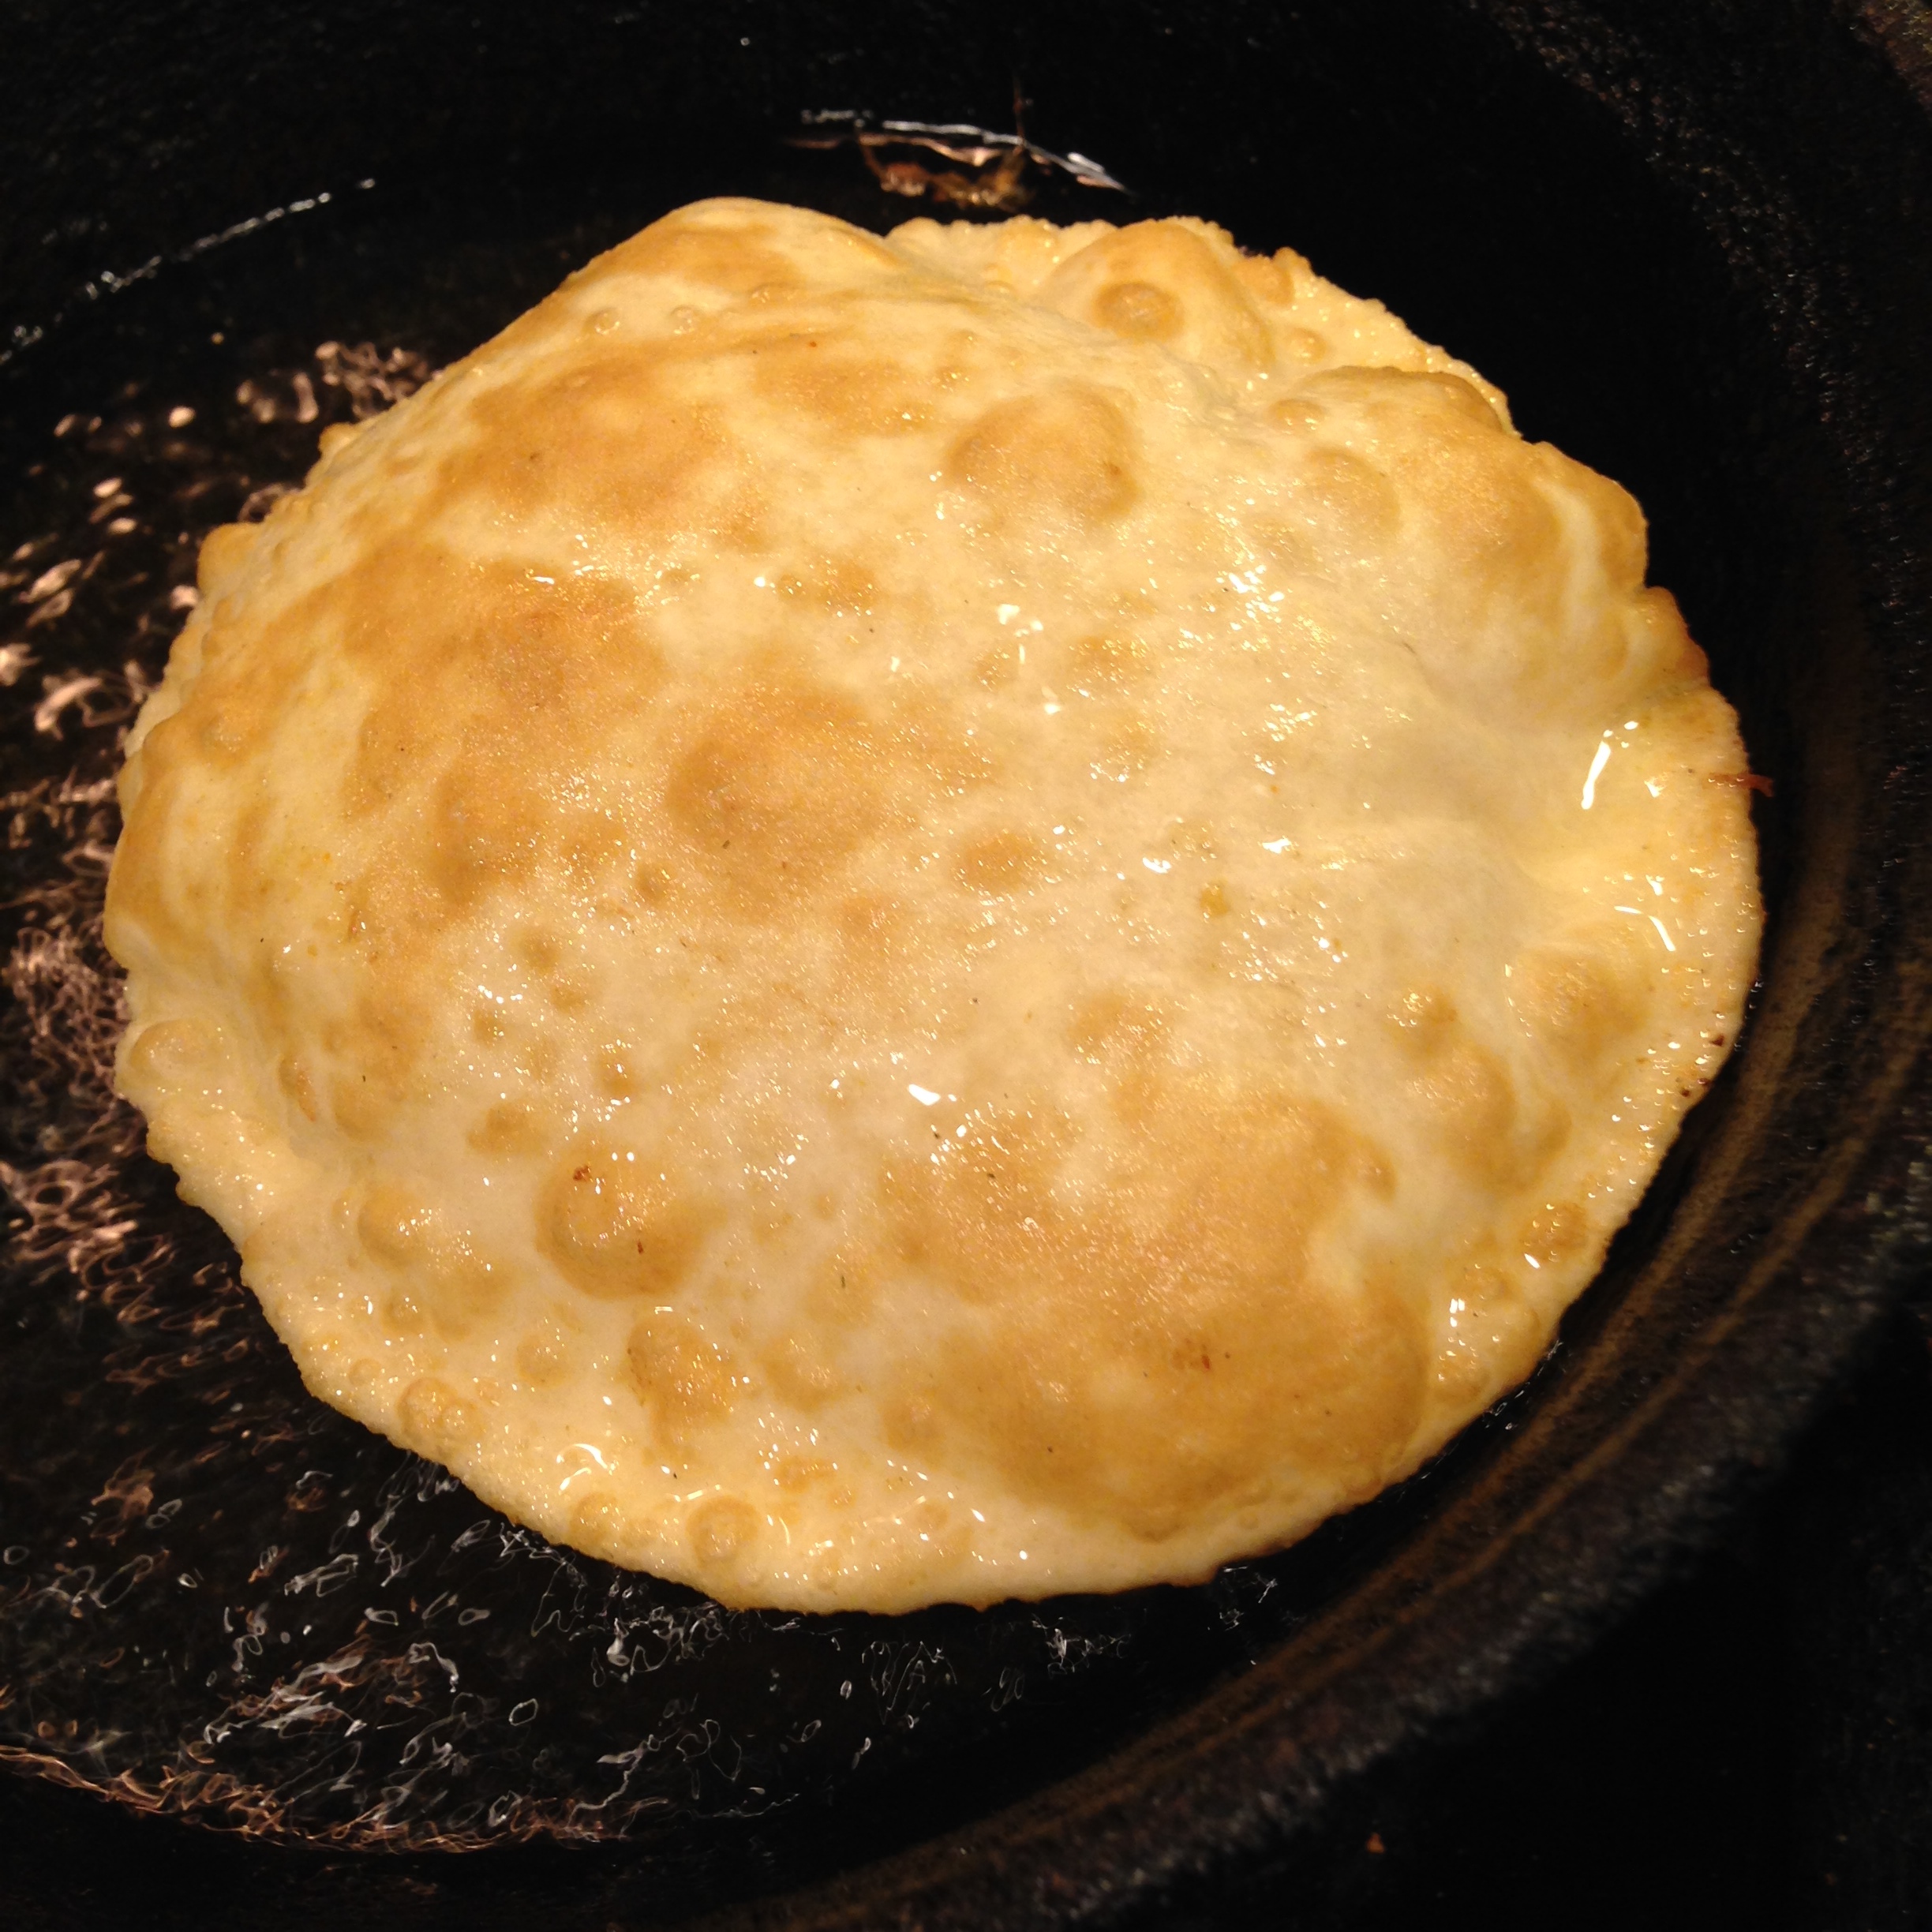
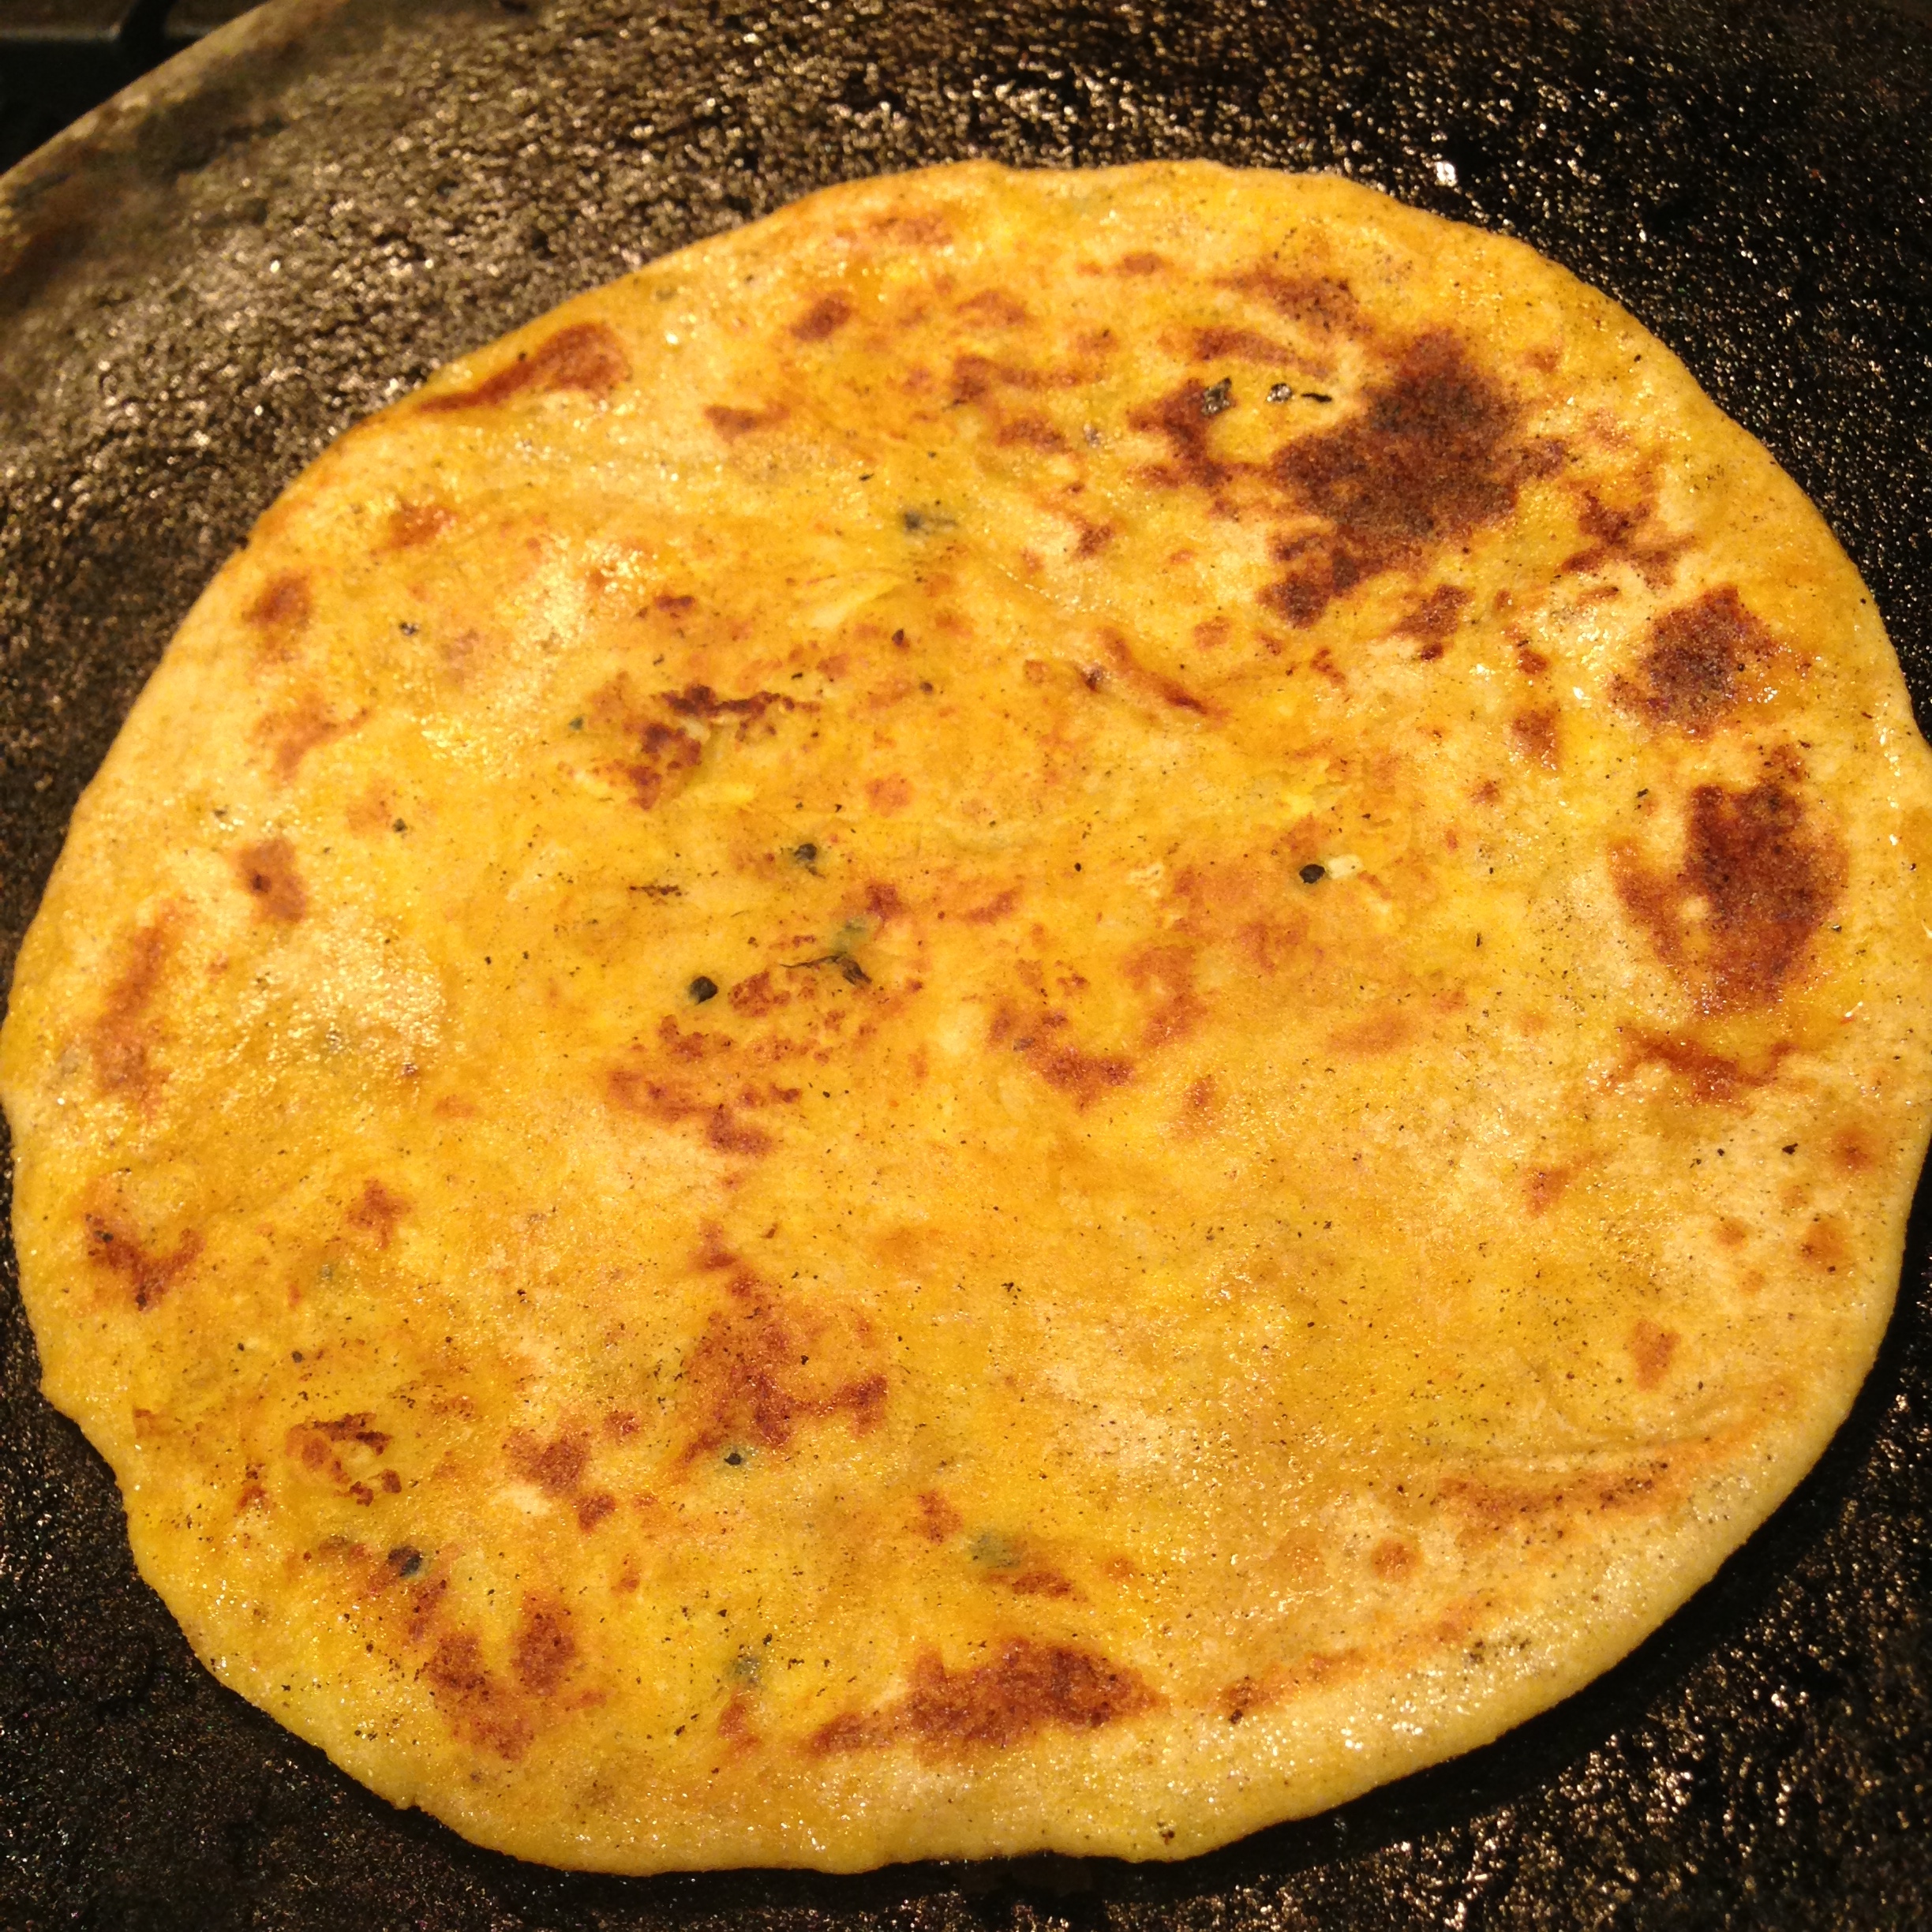
- Cook the flattened circle on medium heat.
- When brown spots appear, flip and pour a few drops of oil on the center and the side.

- Cook the other side and also pour some drops of oil and flip.
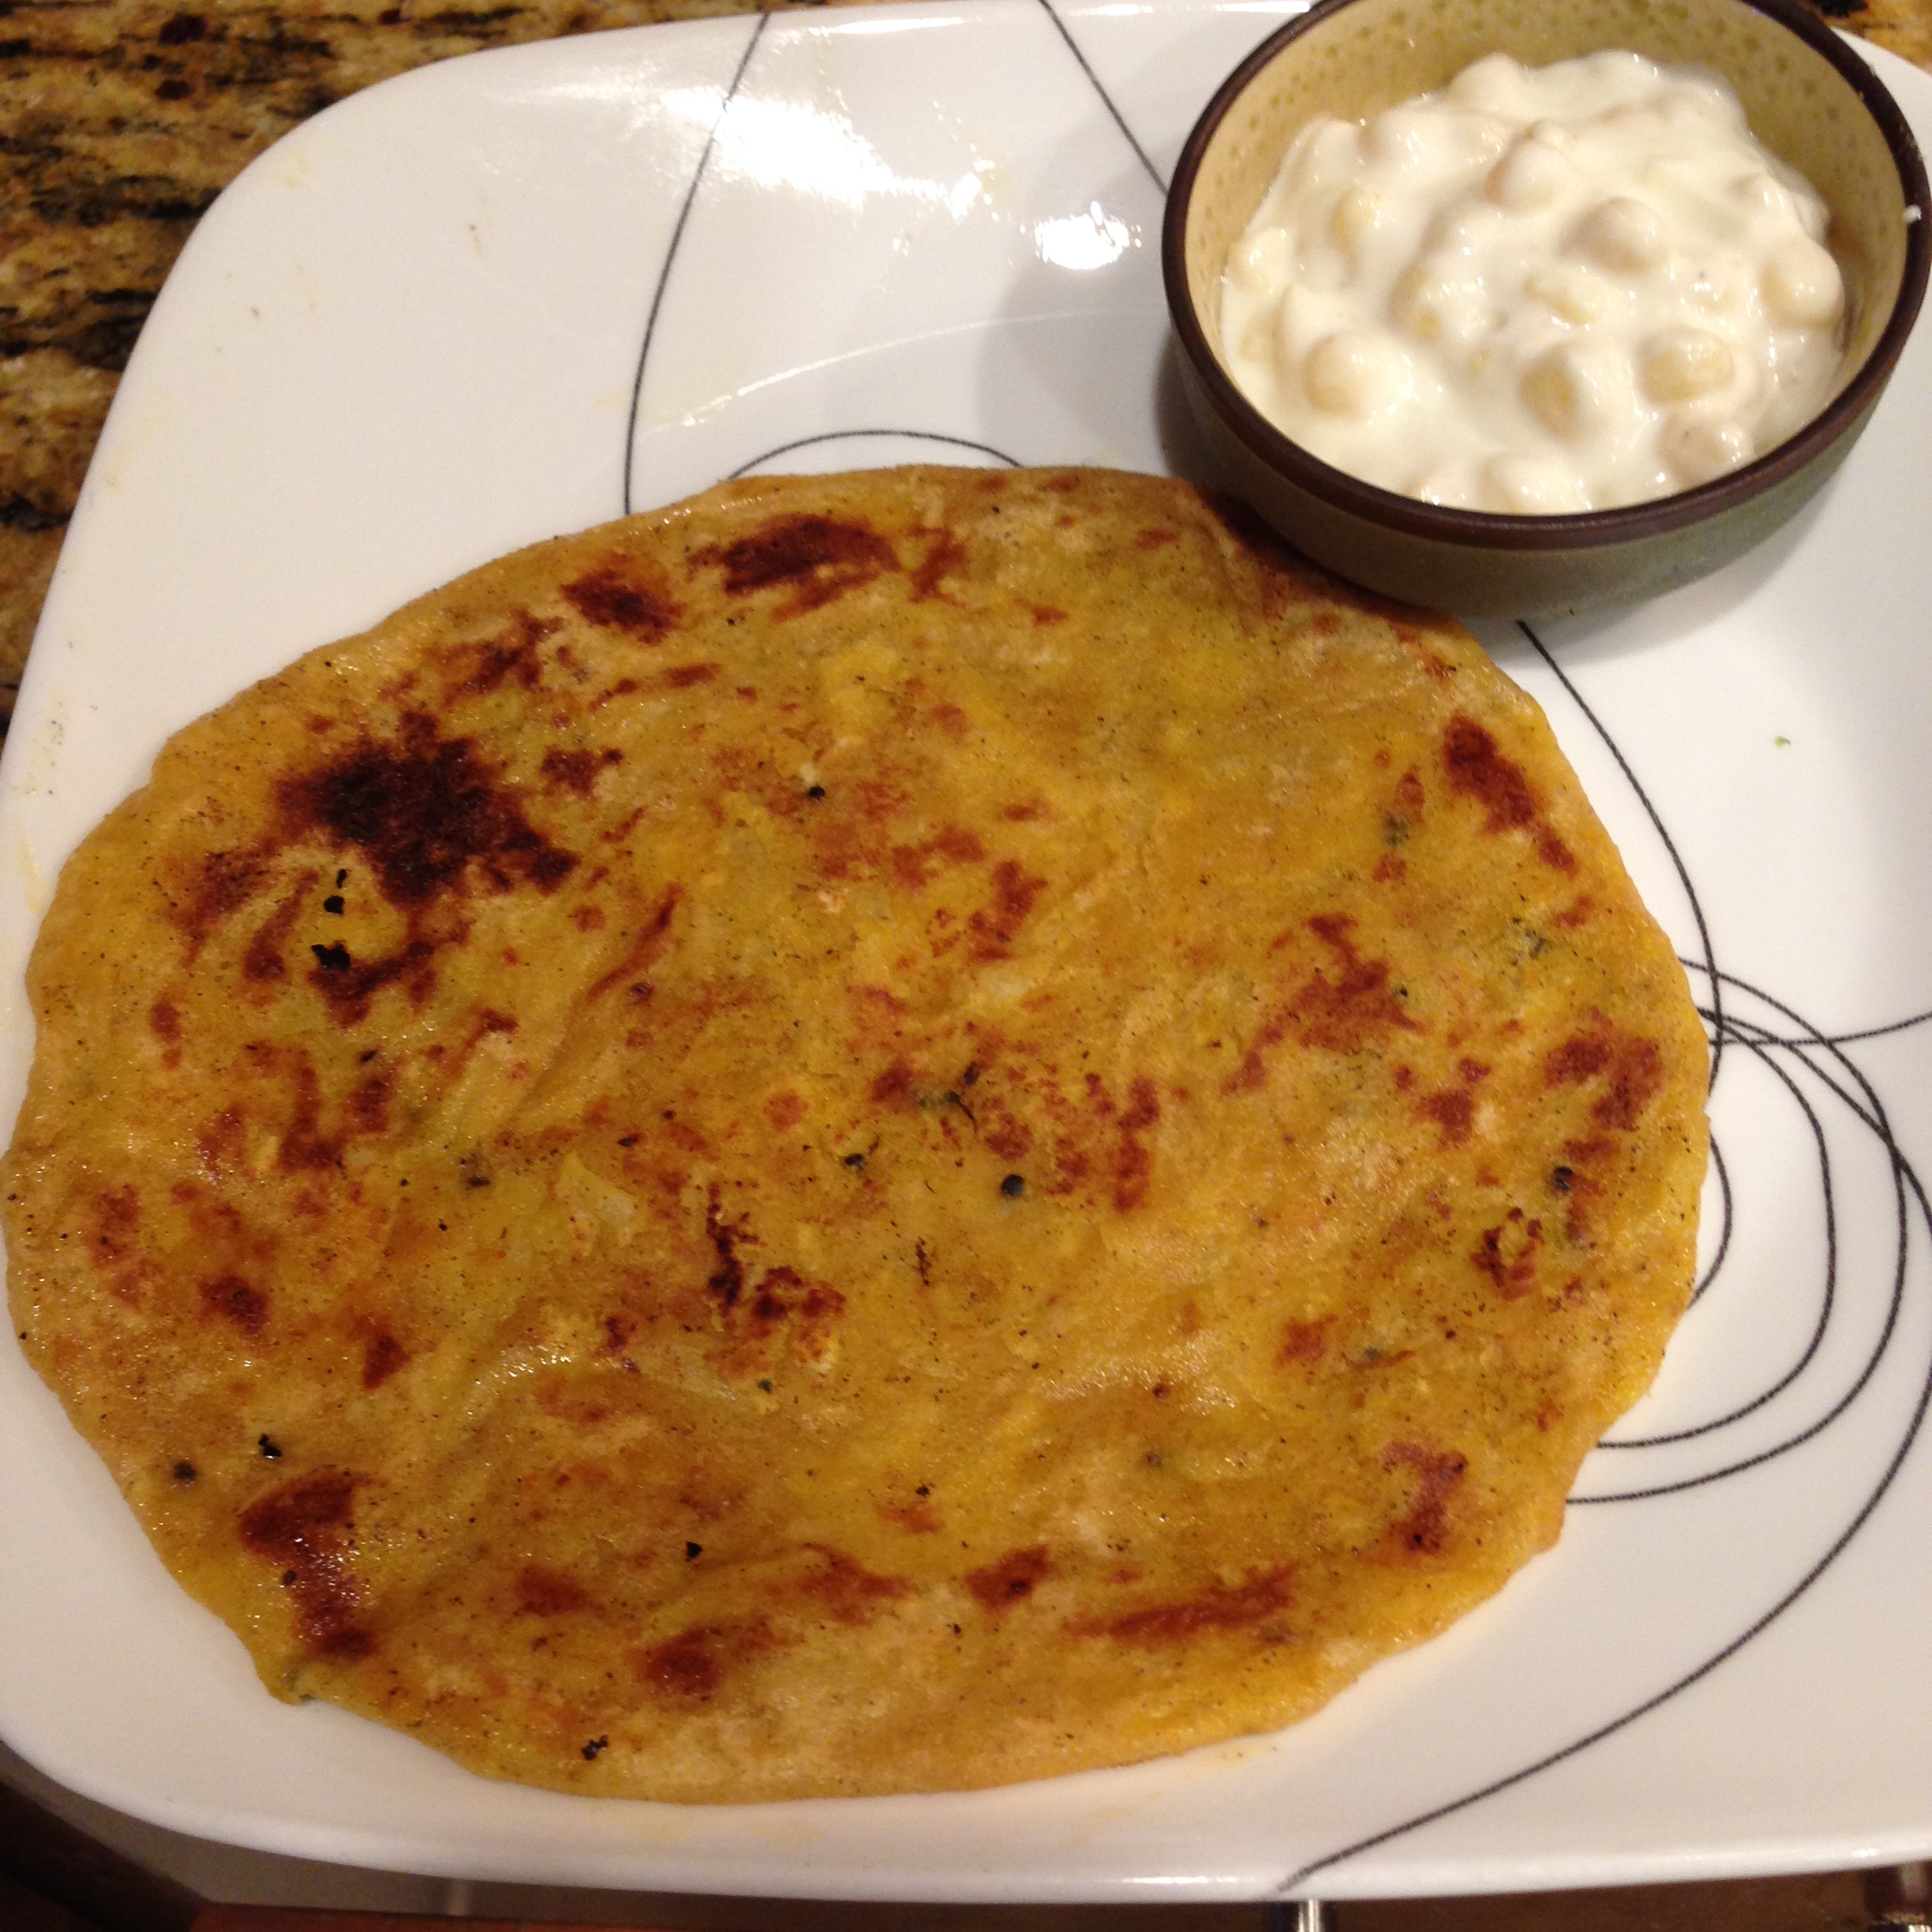
- Serve hot with boondi raita, plain yogurt or pickle.


TIps
Rolling the paratha with light hand and making sure that the middle of the paratha bread is not thick, will help in making the cooked paratha soft.
Instinct Factor
Even if some stuffing sticks out, while you roll the paratha bread, that is fine, as it will all get cooked and will look similar with the paratha. If the dough gets too sticky you may find it difficult to roll, so trust your instinct in preparing the dough and rolling it.
Feel Factor
A quick , easy dinner/lunch meal that is thoroughly enjoyed in the winter season as radish is a winter vegetable and when mixed with bengal gram and spices, gives you the quota of vitamin c and heat needed for facing cold winter days.
[shopeat_button]