With a busy work life schedule, as an adult or as a freshmen at college, you are always looking for recipes that ease the task of having nutritious meals that can be cooked in shorter span of time. These days my focus is in finding ways to make easy meals that my daughter can quickly make in her college dorm in a microwave. As a parent, I often worry about the quality of food that a college kid has and so to ease that worry, I send her this dry Instant Poha mix made at home, for her to use it as a breakfast, in between meals or when you are just craving for home cooked meals.
This idea also germinated when we were travelling to Italy this summer, and my mother being a pure Jain, would not have much option to eat out there. So carried this mix over there too, but unfortunately I discovered Italy does not have much prevalence of microwave in hotels hence it became difficult to use this there, But later, I also discovered, that I could have used boiling water and got a similar cooking result as when done in microwave,
It seems using this as a meal when traveling in India is prevalent in southern India, as well as there are a lot of vendors selling this mix in Mumbai Railway stations too. Also recently there are a lot of instant Poha, Upma, and Pongal Mix from Deep foods, MTR foods also available, All these products got me to make an attempt to try the Instant mix at home, as I can then control the spice level and the ingredients quality, make it a a fraction of cost then what is available in the Indian Grocery stores. It also gave me the flexibility to make it to suit Jain needs, as the Deep Foods/MTR has onion flakes in it.
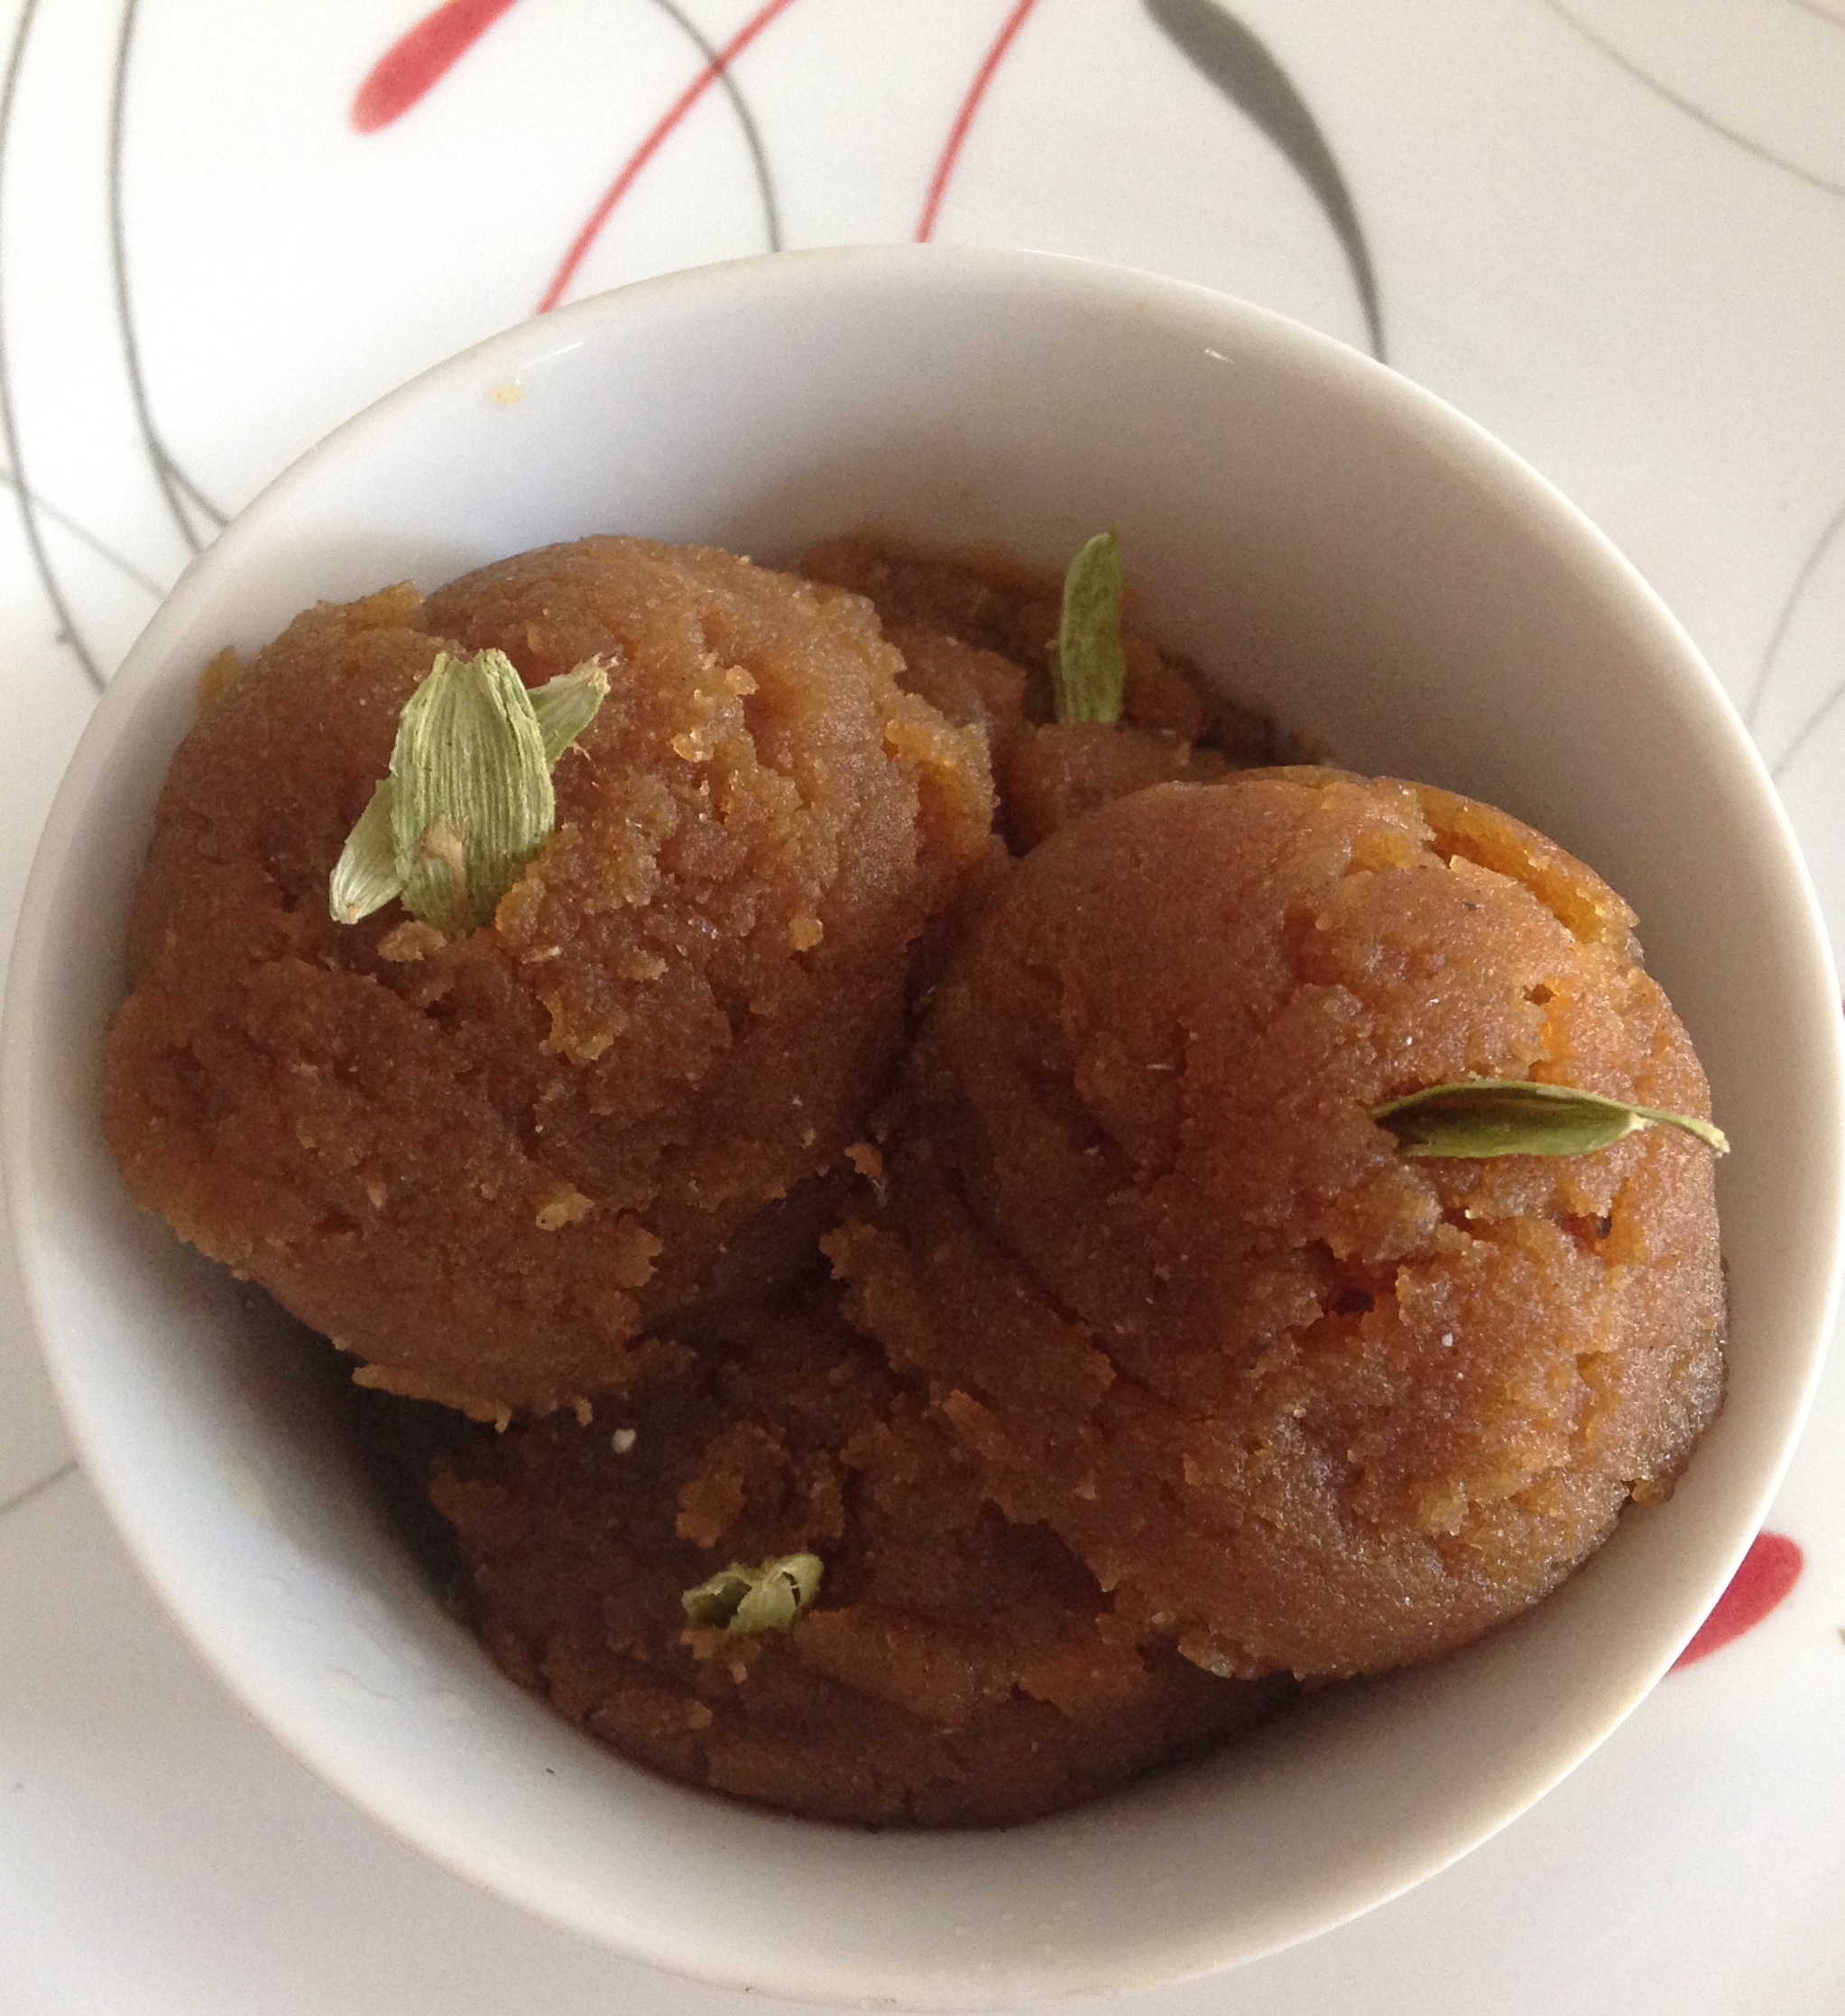
Having Poha in the morning is a comfort breakfast for many families including ours. With this Instant Poha mix, my mornings have become even more relaxed! For folks who can access boiling water on gas, there are resources on web which suggest adding the whole measure of water at one time and cover it and let it sit for 15 minutes with a lid on it. For this option, they suggest that the water should be about half a centimeter higher than the Instant Mix in a bowl. Unfortunately some college dorm rooms do not have the facility of kitchen, hence the experiment with microwave based approach.
It took some trial and error but found the right measure of water and time to cook to get the right consistency of texture and softness of Poha flakes. What I personally like about this recipe, that with very minimal supervision, I can cook it, and it frees me more time on a busy morning work day! The final outcome of Instant Poha is pretty close to gas cooking so do keep this recipe handy for quick meals, vacation meals, college and lunch meals!

| Prep Time | 3 min |
| Cook Time | 3 min |
| Passive Time | 10 min |
| Servings |
people
|
- 2 cups Poha/ Flattened rice Swad Brank Thick Poha
- 1 tbsp oil
- 1/2 tsp cumin seeds
- 1/2 tsp fennel sees
- 1/4 tsp turmeric powder
- 1/16 tsp asofoetida powder
- 1/2 tbsp sugar
- 12 crystals citric acid
- 3-4 curry leaves crushed
- 1-2 chopped chillies Hot Thai chillies
- Salt to taste
- 1 cup of water for 1 cup of dry Instant Poha Mix
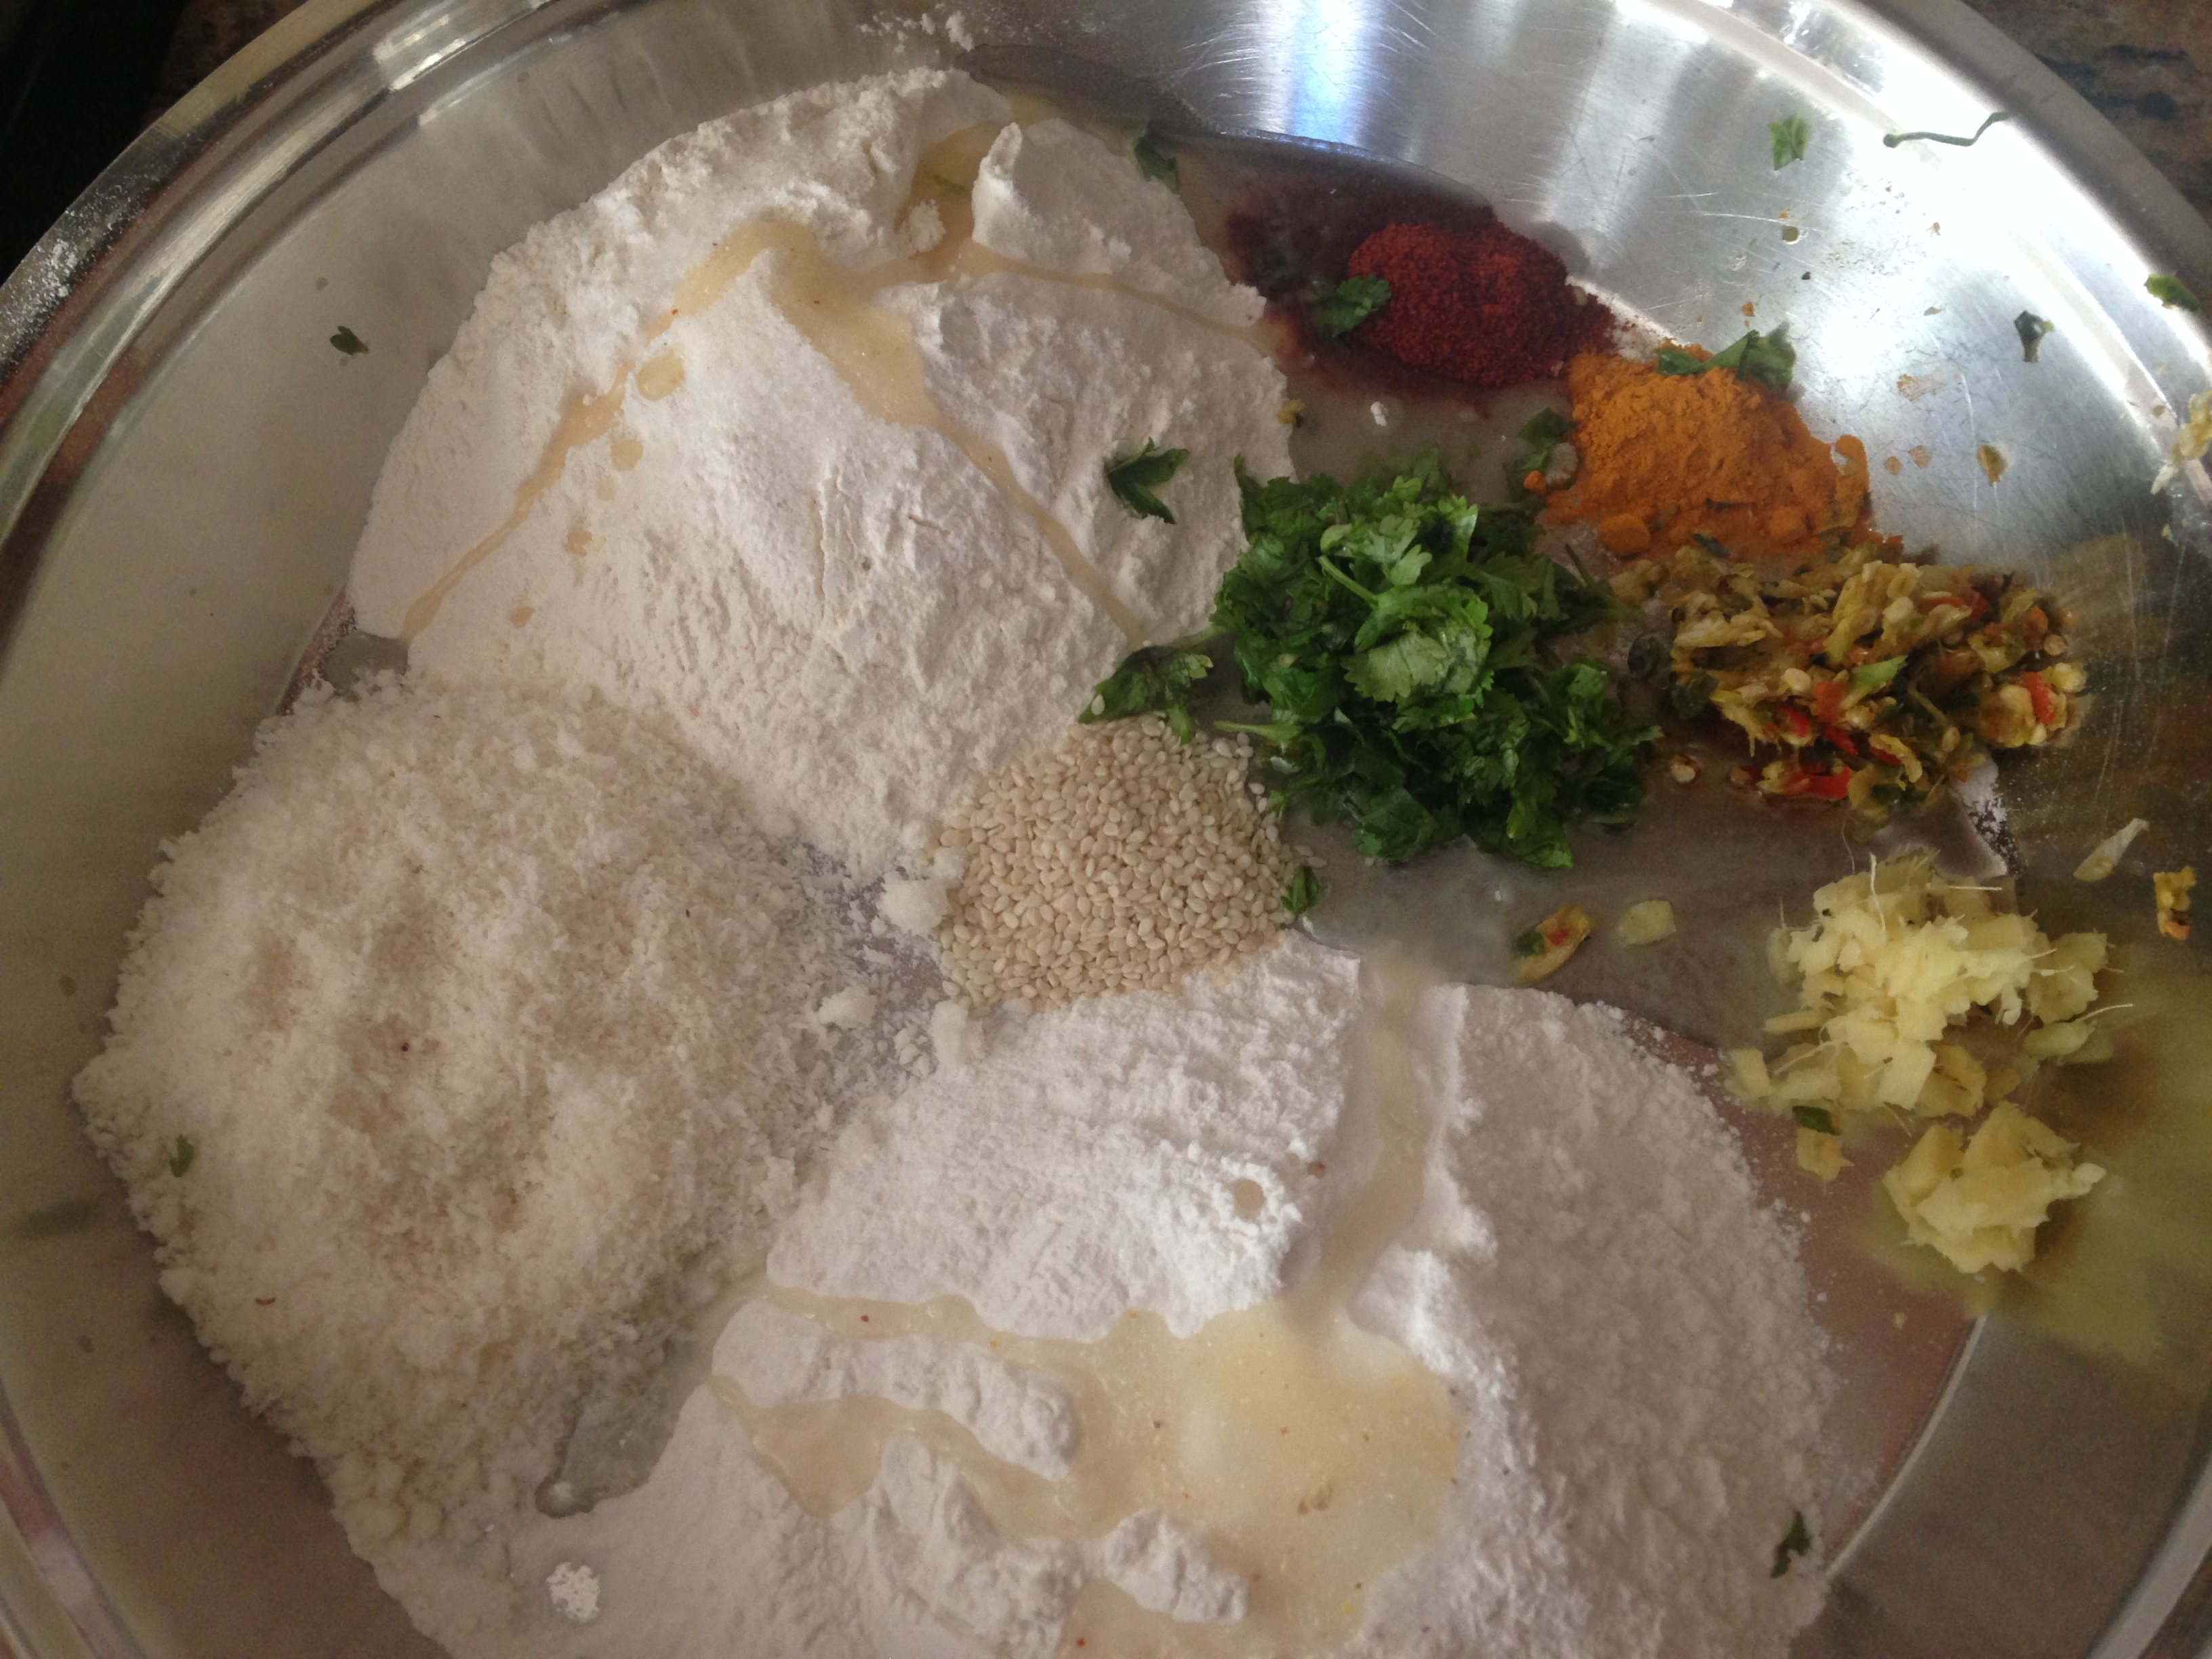
Ingredients
|
|
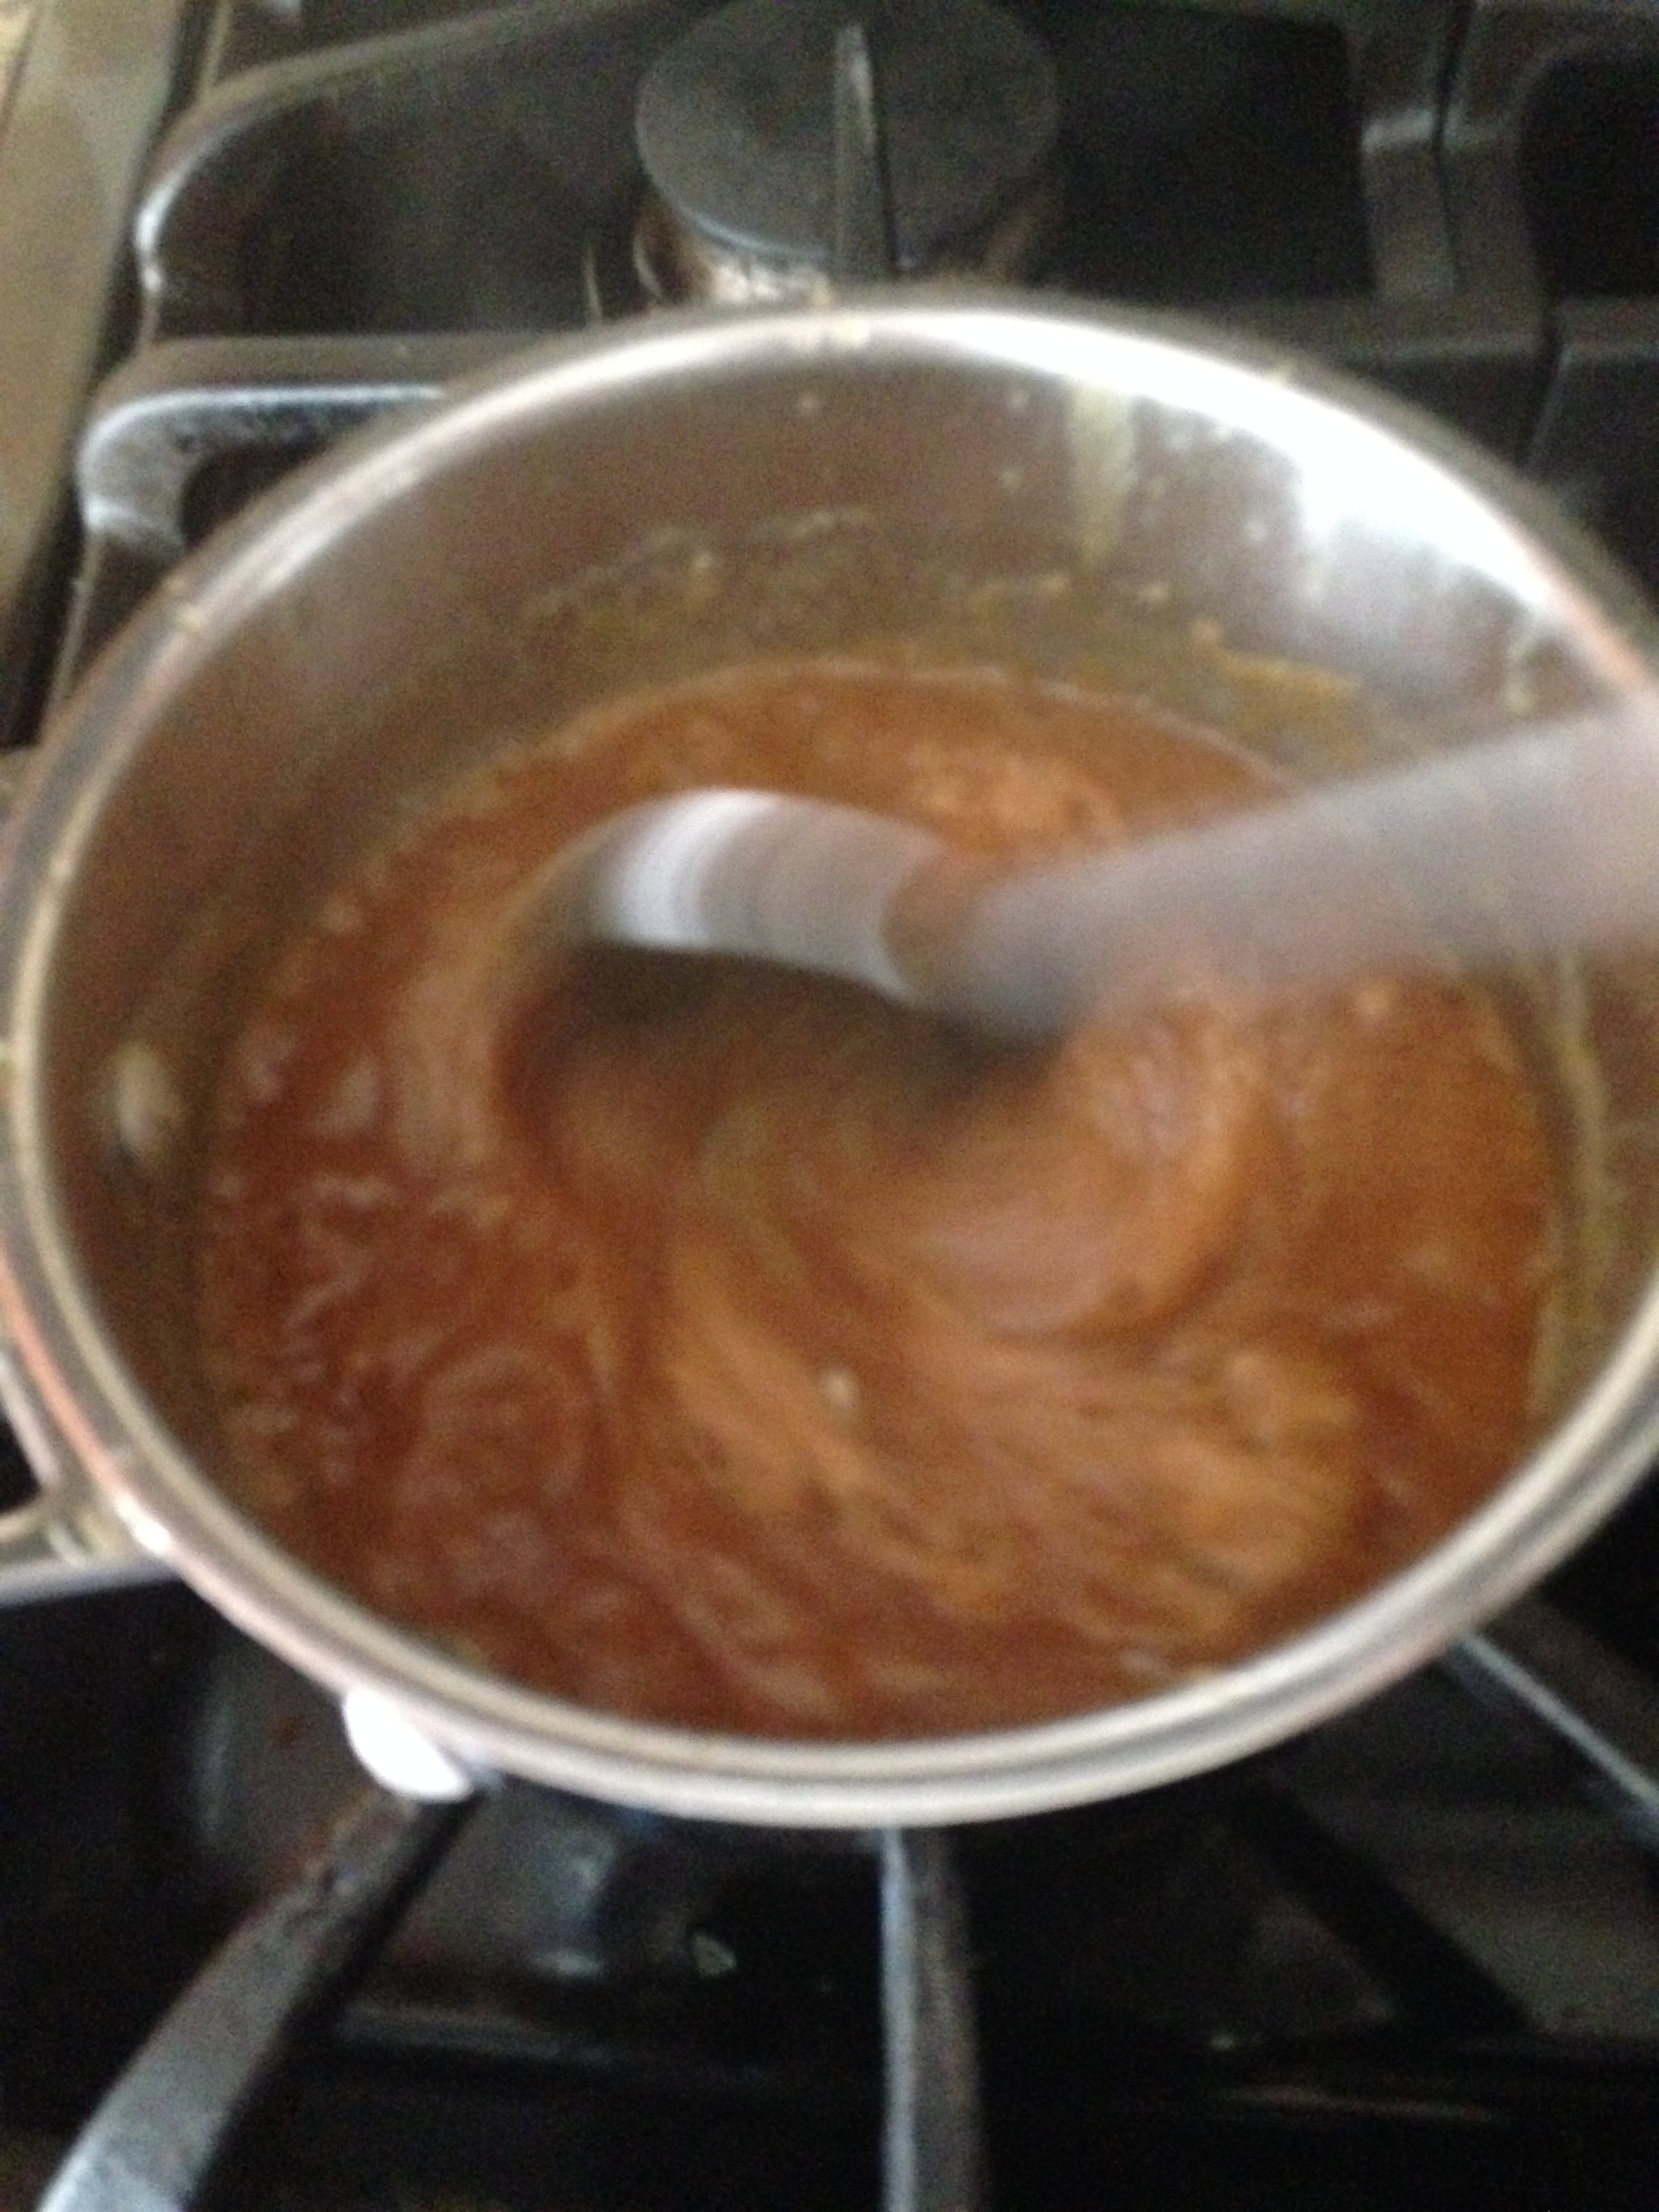
- In a flat pan, heat the oil. When the oil becomes warm, add cumin seeds and asafetida. As cumin seeds turn light brown, add chopped chillies, curry leaves, turmeric, fennel seeds and stir on low flame for 10-15 seconds.

- Add the poha flakes, salt, citric acid crystals and optional sugar and mix everything on a low flame for two minutes.

- Remove from flame and cool completely. Store the Instant Poha Mix in an airtight container or a ziploc bag and it should stay fresh for 3-4 weeks and hence can be pre-made and used later for easy convenient.

- For 1 measure of Instant Poha Mix, you will need approx 1 measure of water. So I tried with one cup of dry poha mix.
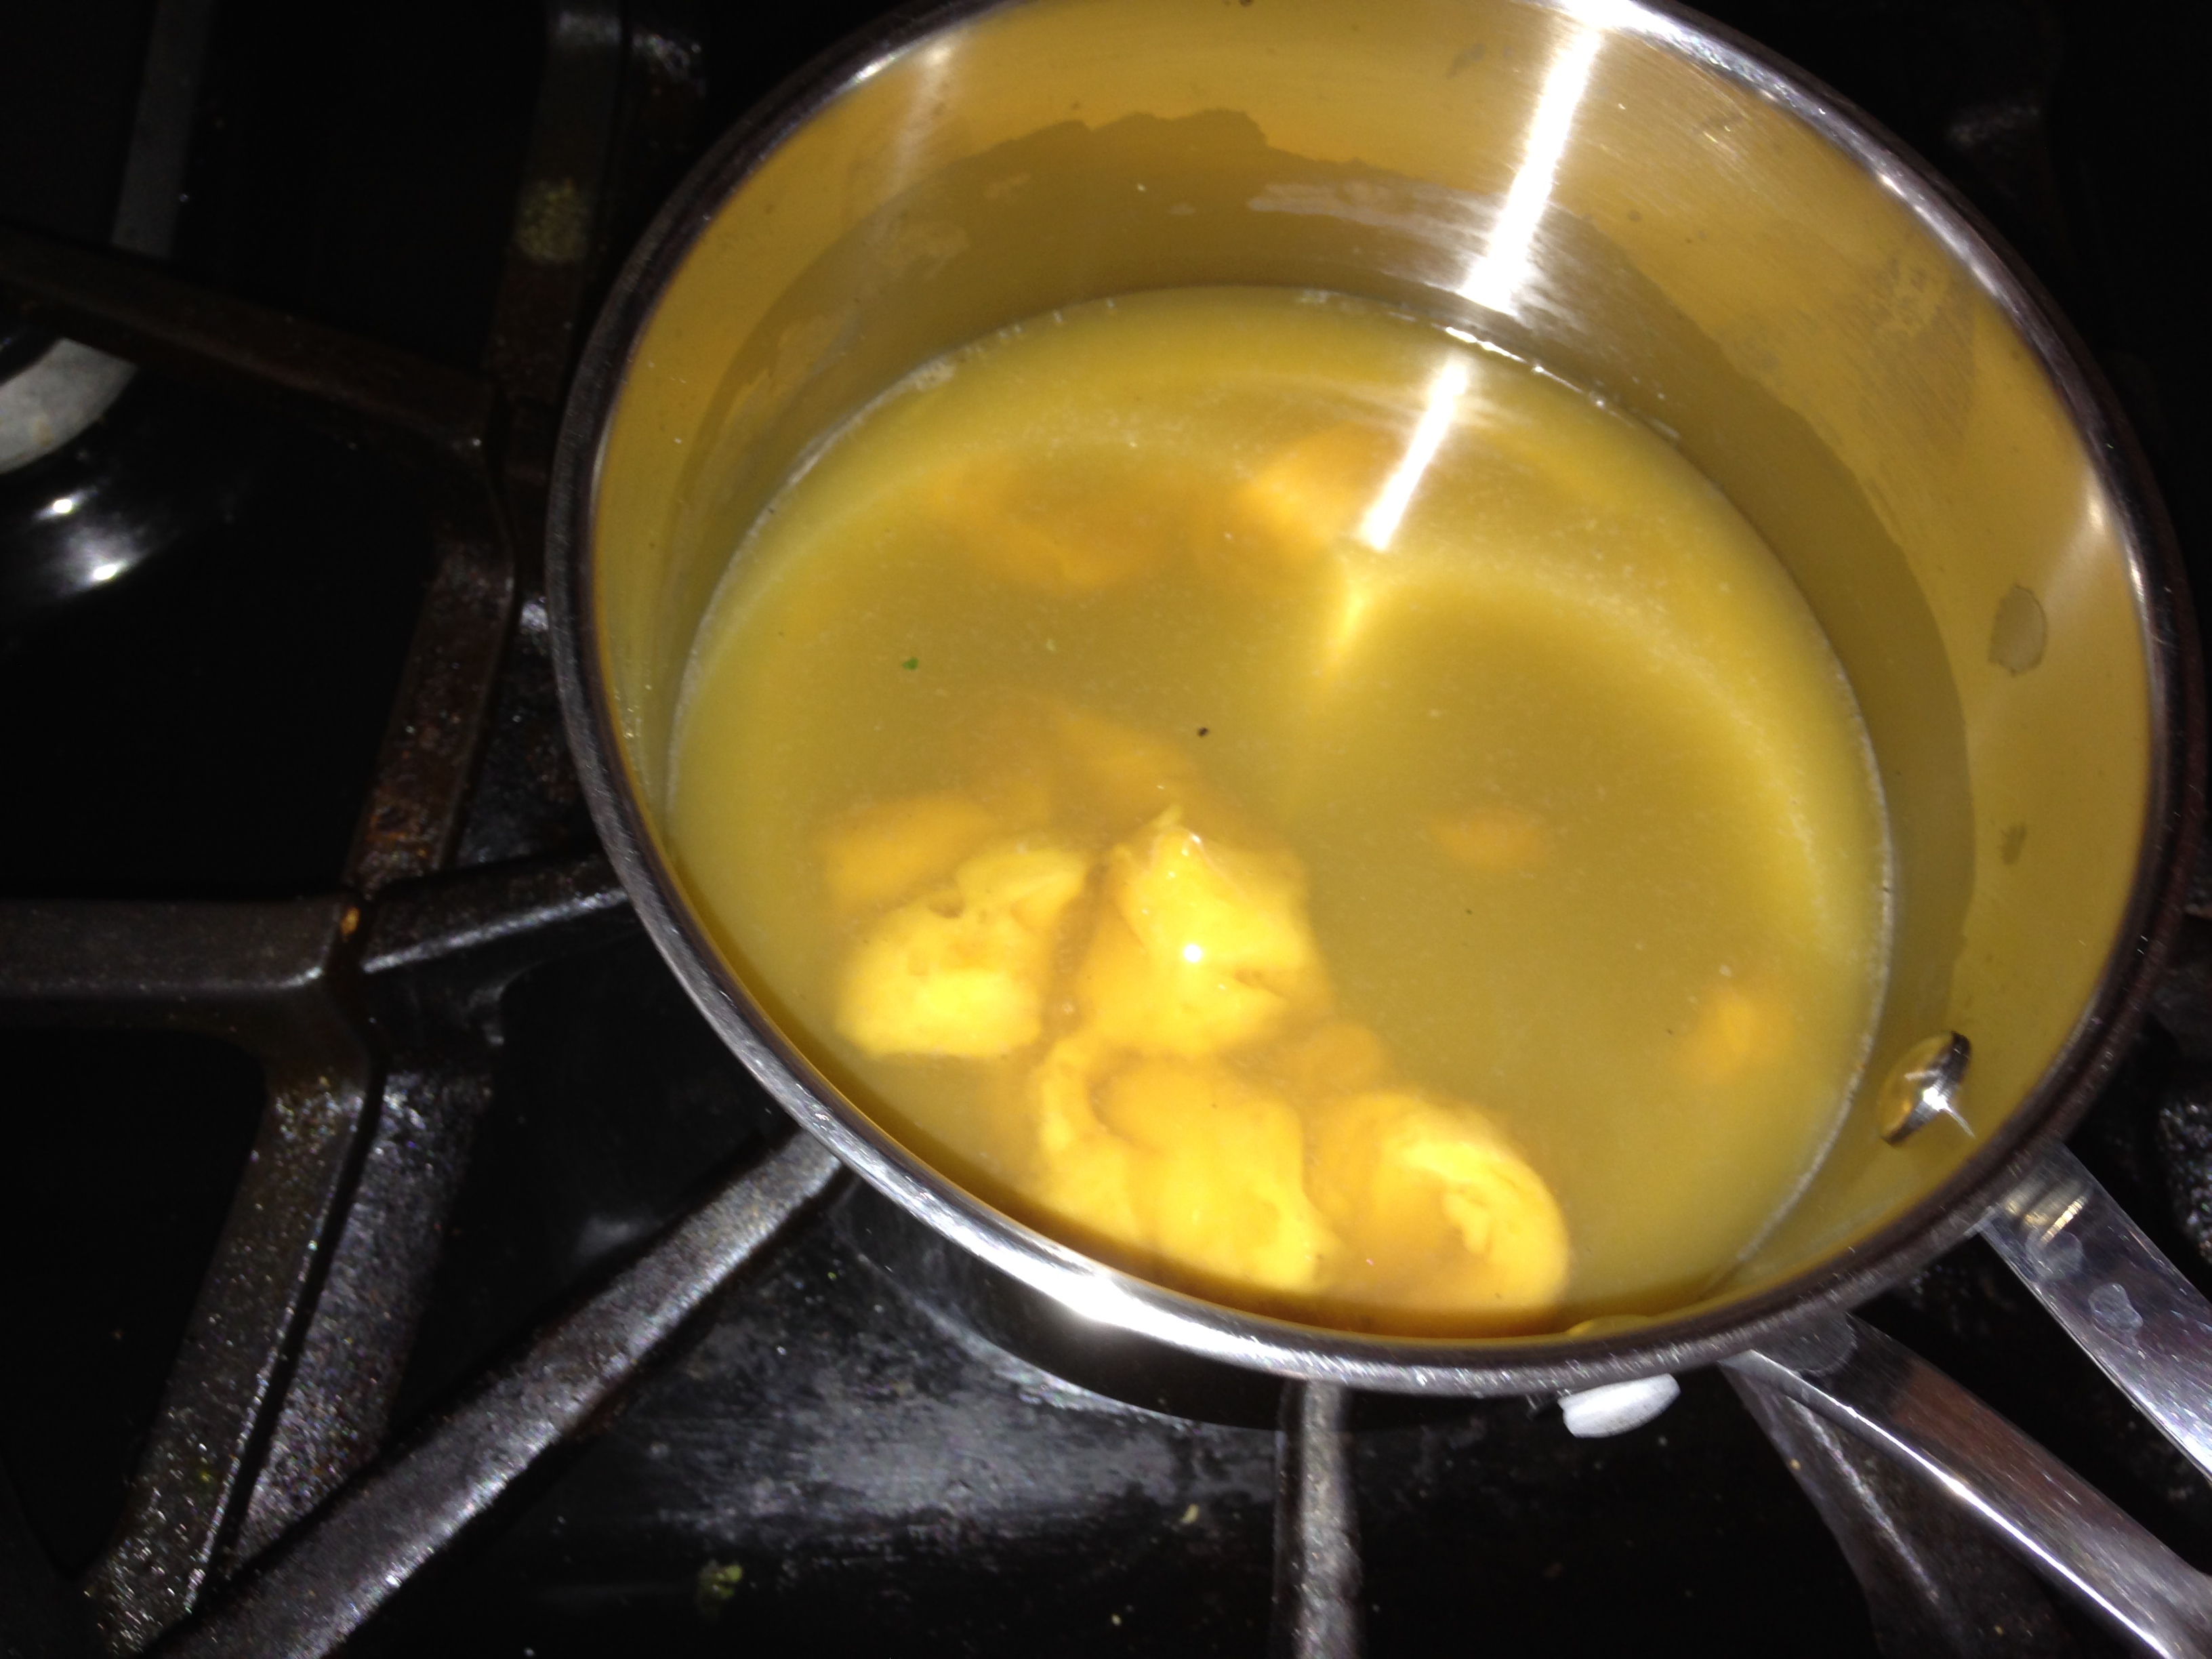
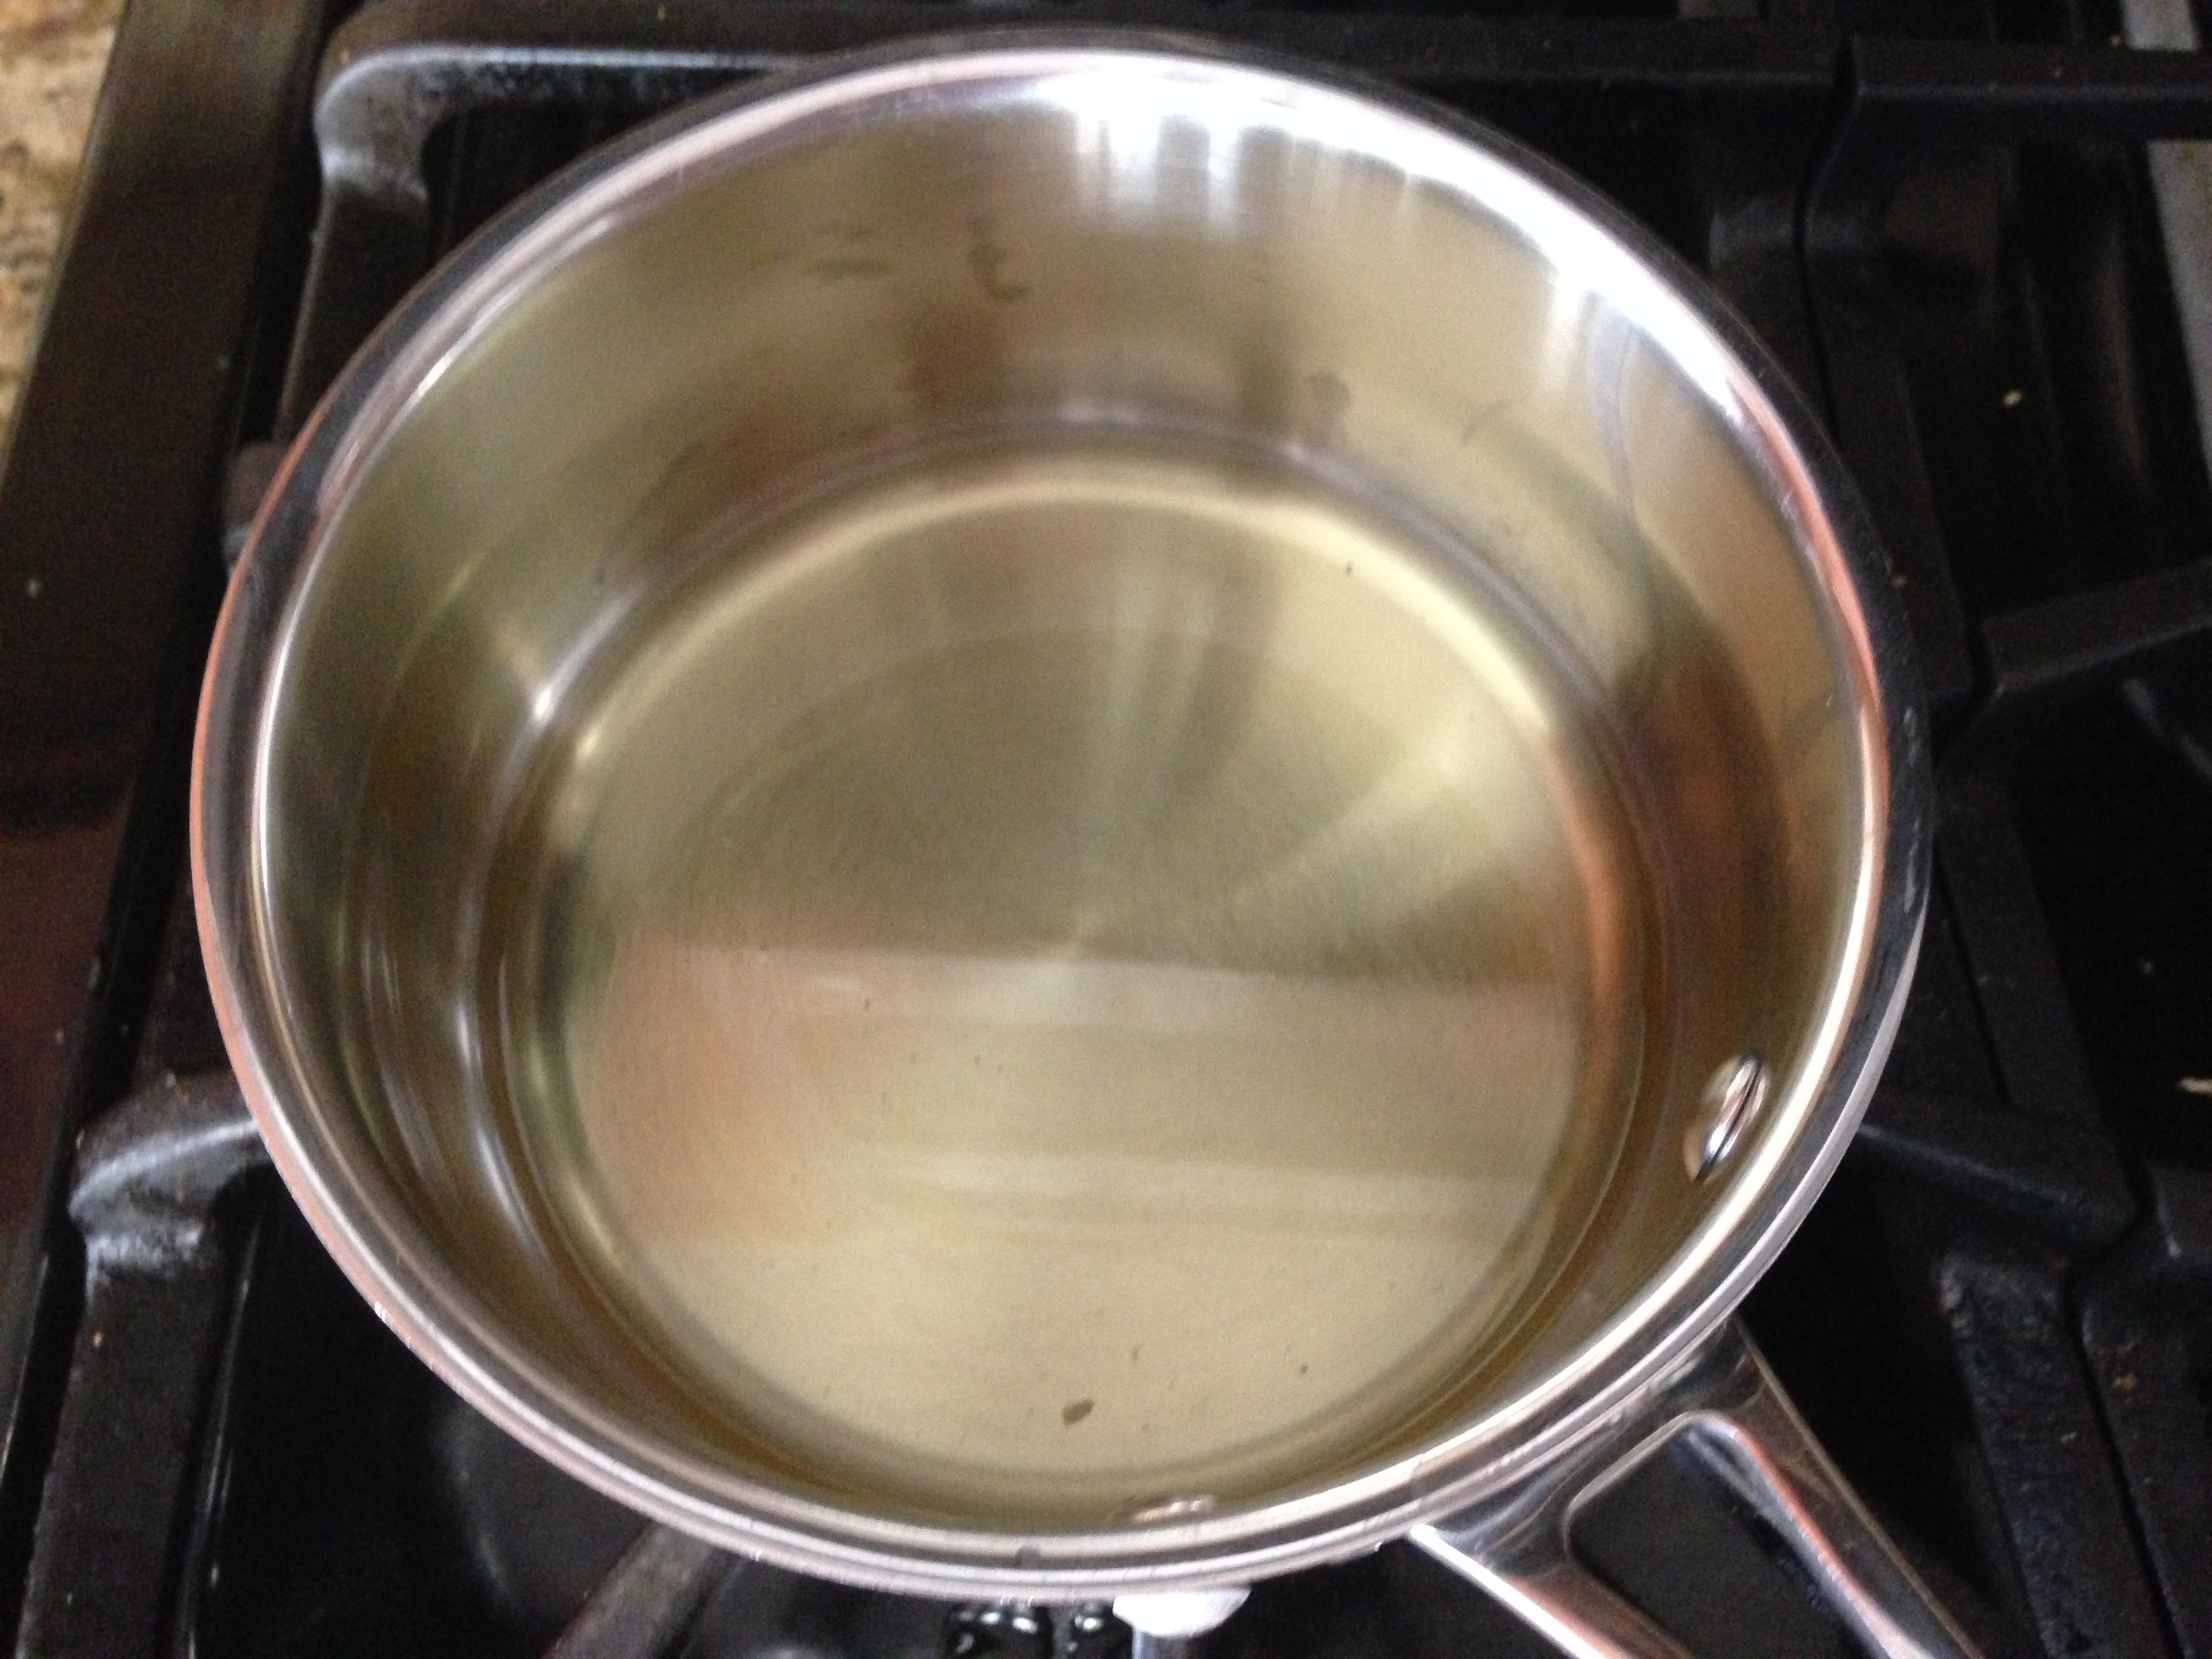
- Heat half a cup of water for 1 minute high power in a microwave.
- Pour one cup of Instant Poha Mix in a microwavable bowl. Add the warm half cup of water and cover tightly for five minutes.

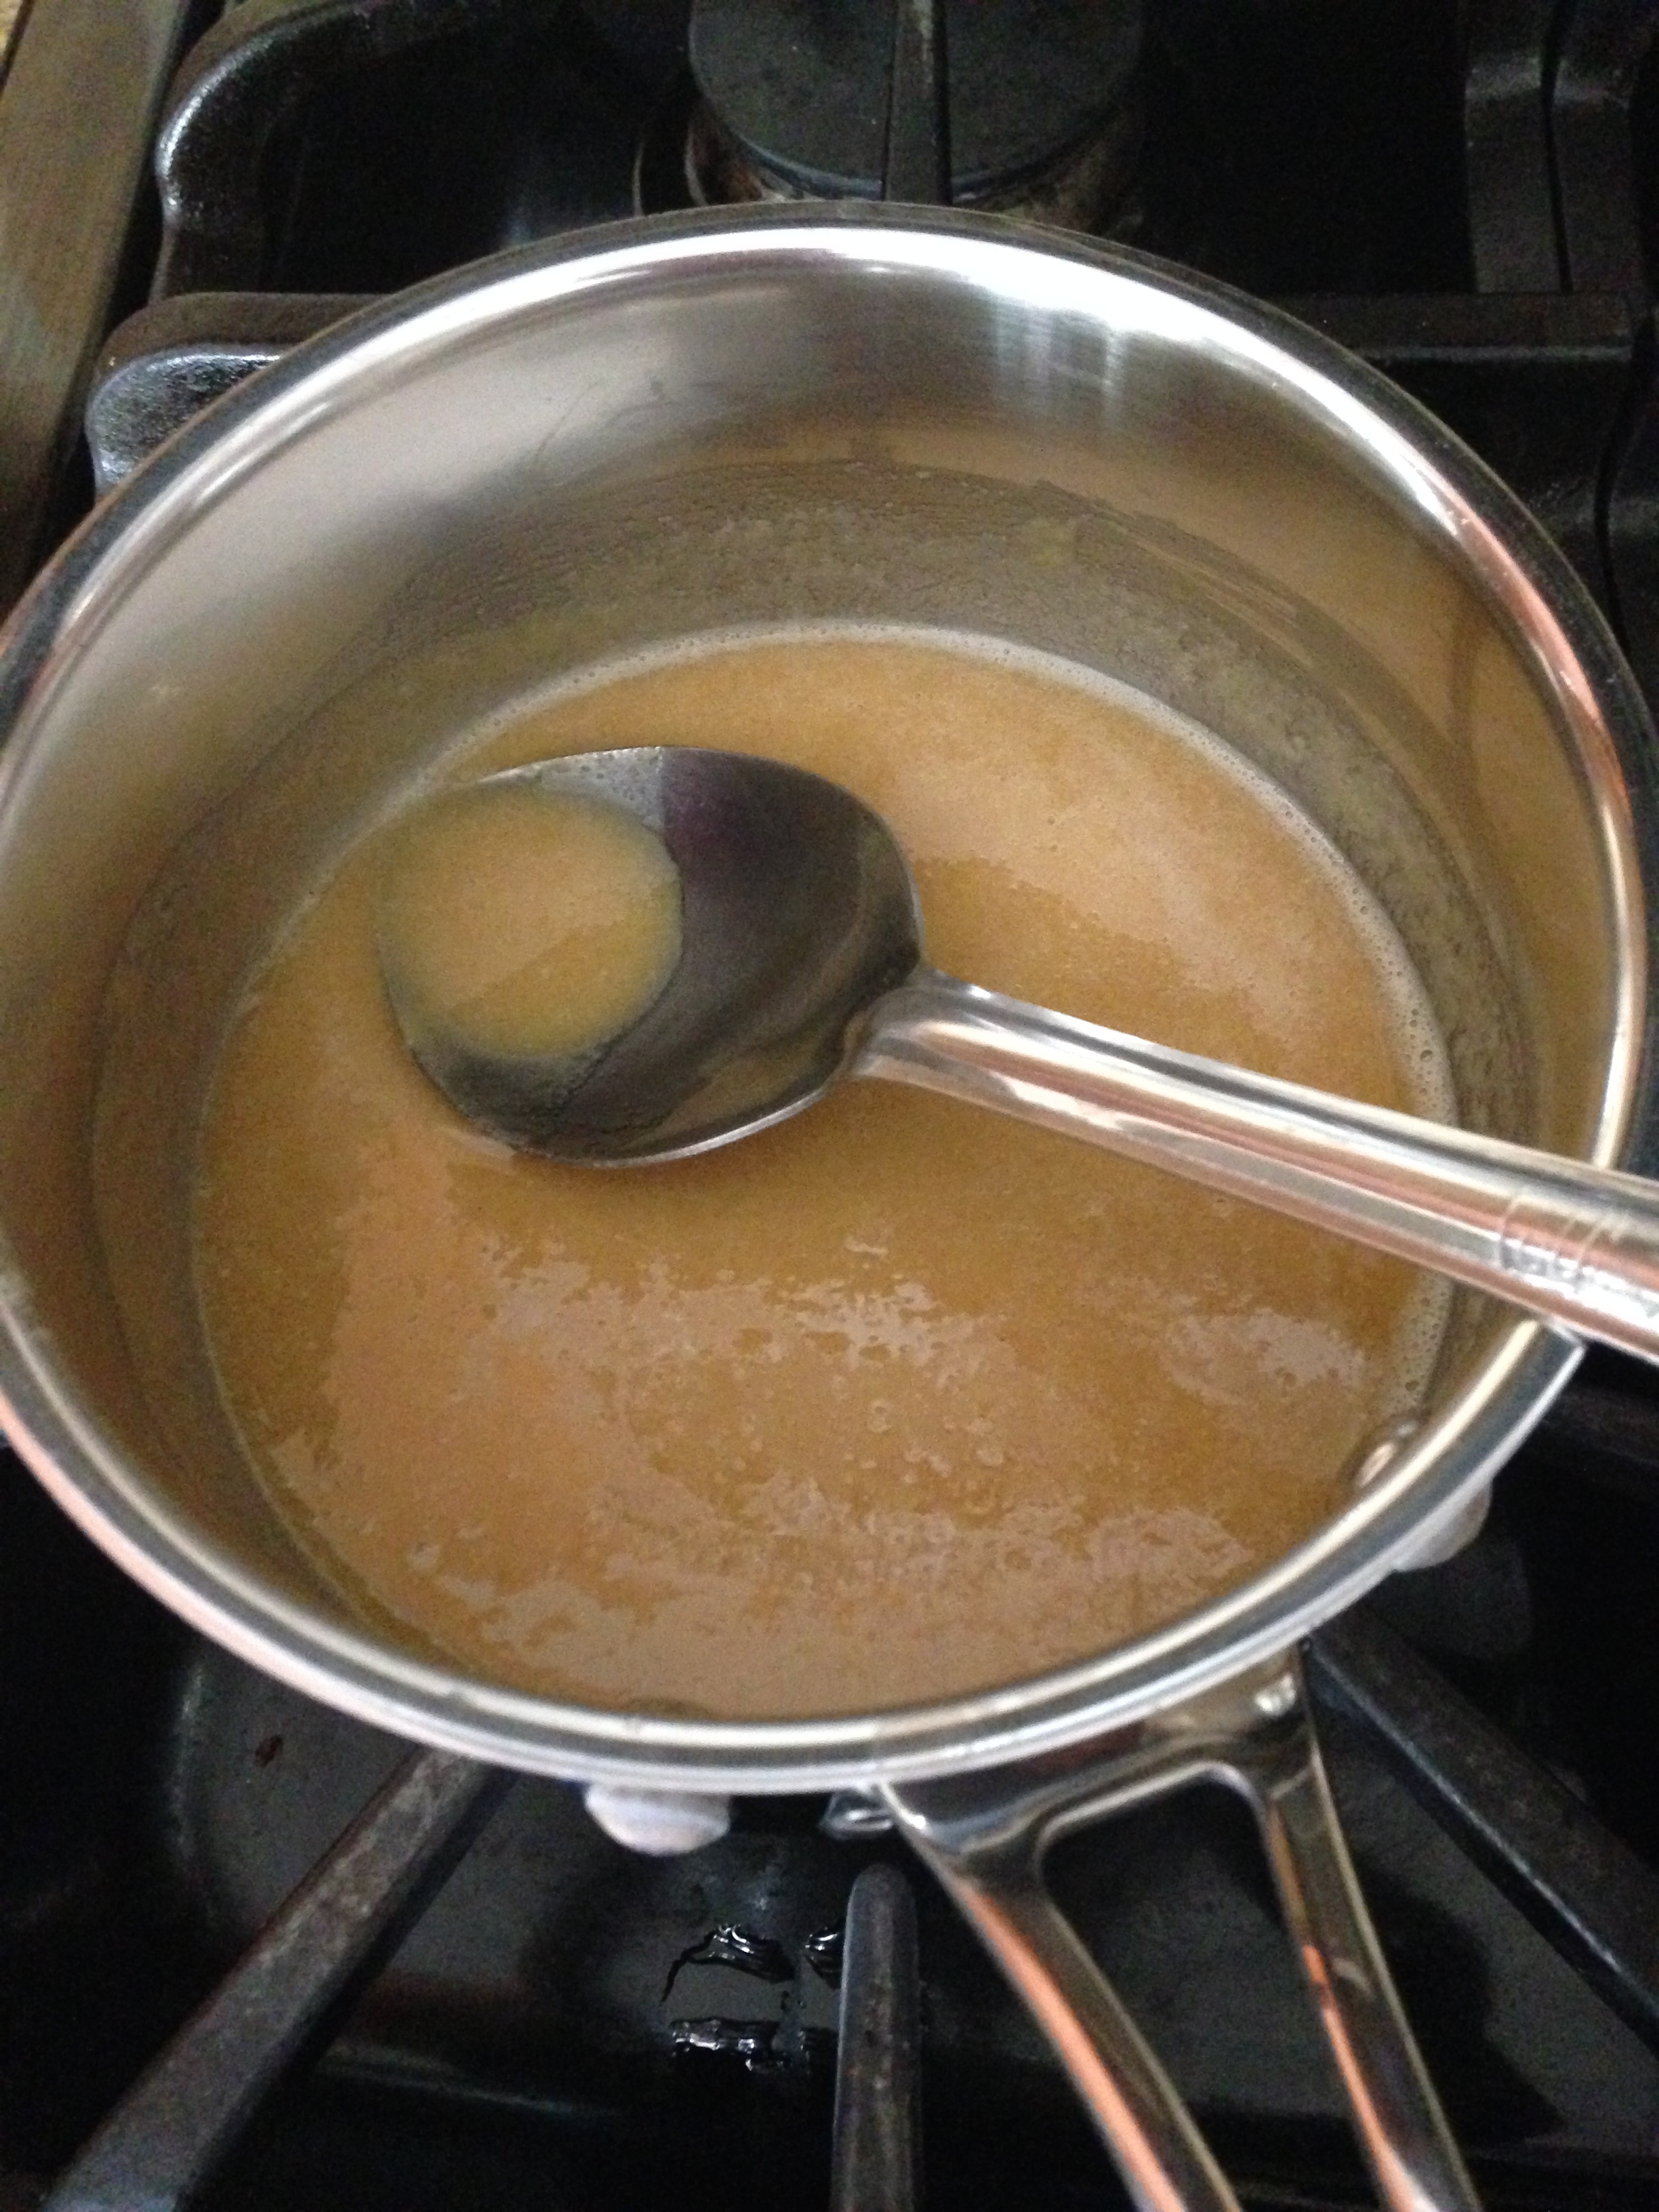
- Heat the remaining half cup of water for a minute, Add half of this warm water(1/4) cup to the Poha and again cover for another 5 minutes. Before adding the second round of water, flufff the rice with a spoon gently.

- After five minutes, sprinkle the remaining water , fluff the poha flakes and cook the poha in the microwave for 2 minutes, making sure that the bowl in the microwave is covered with a lid, so that the Poha does not become stiff.
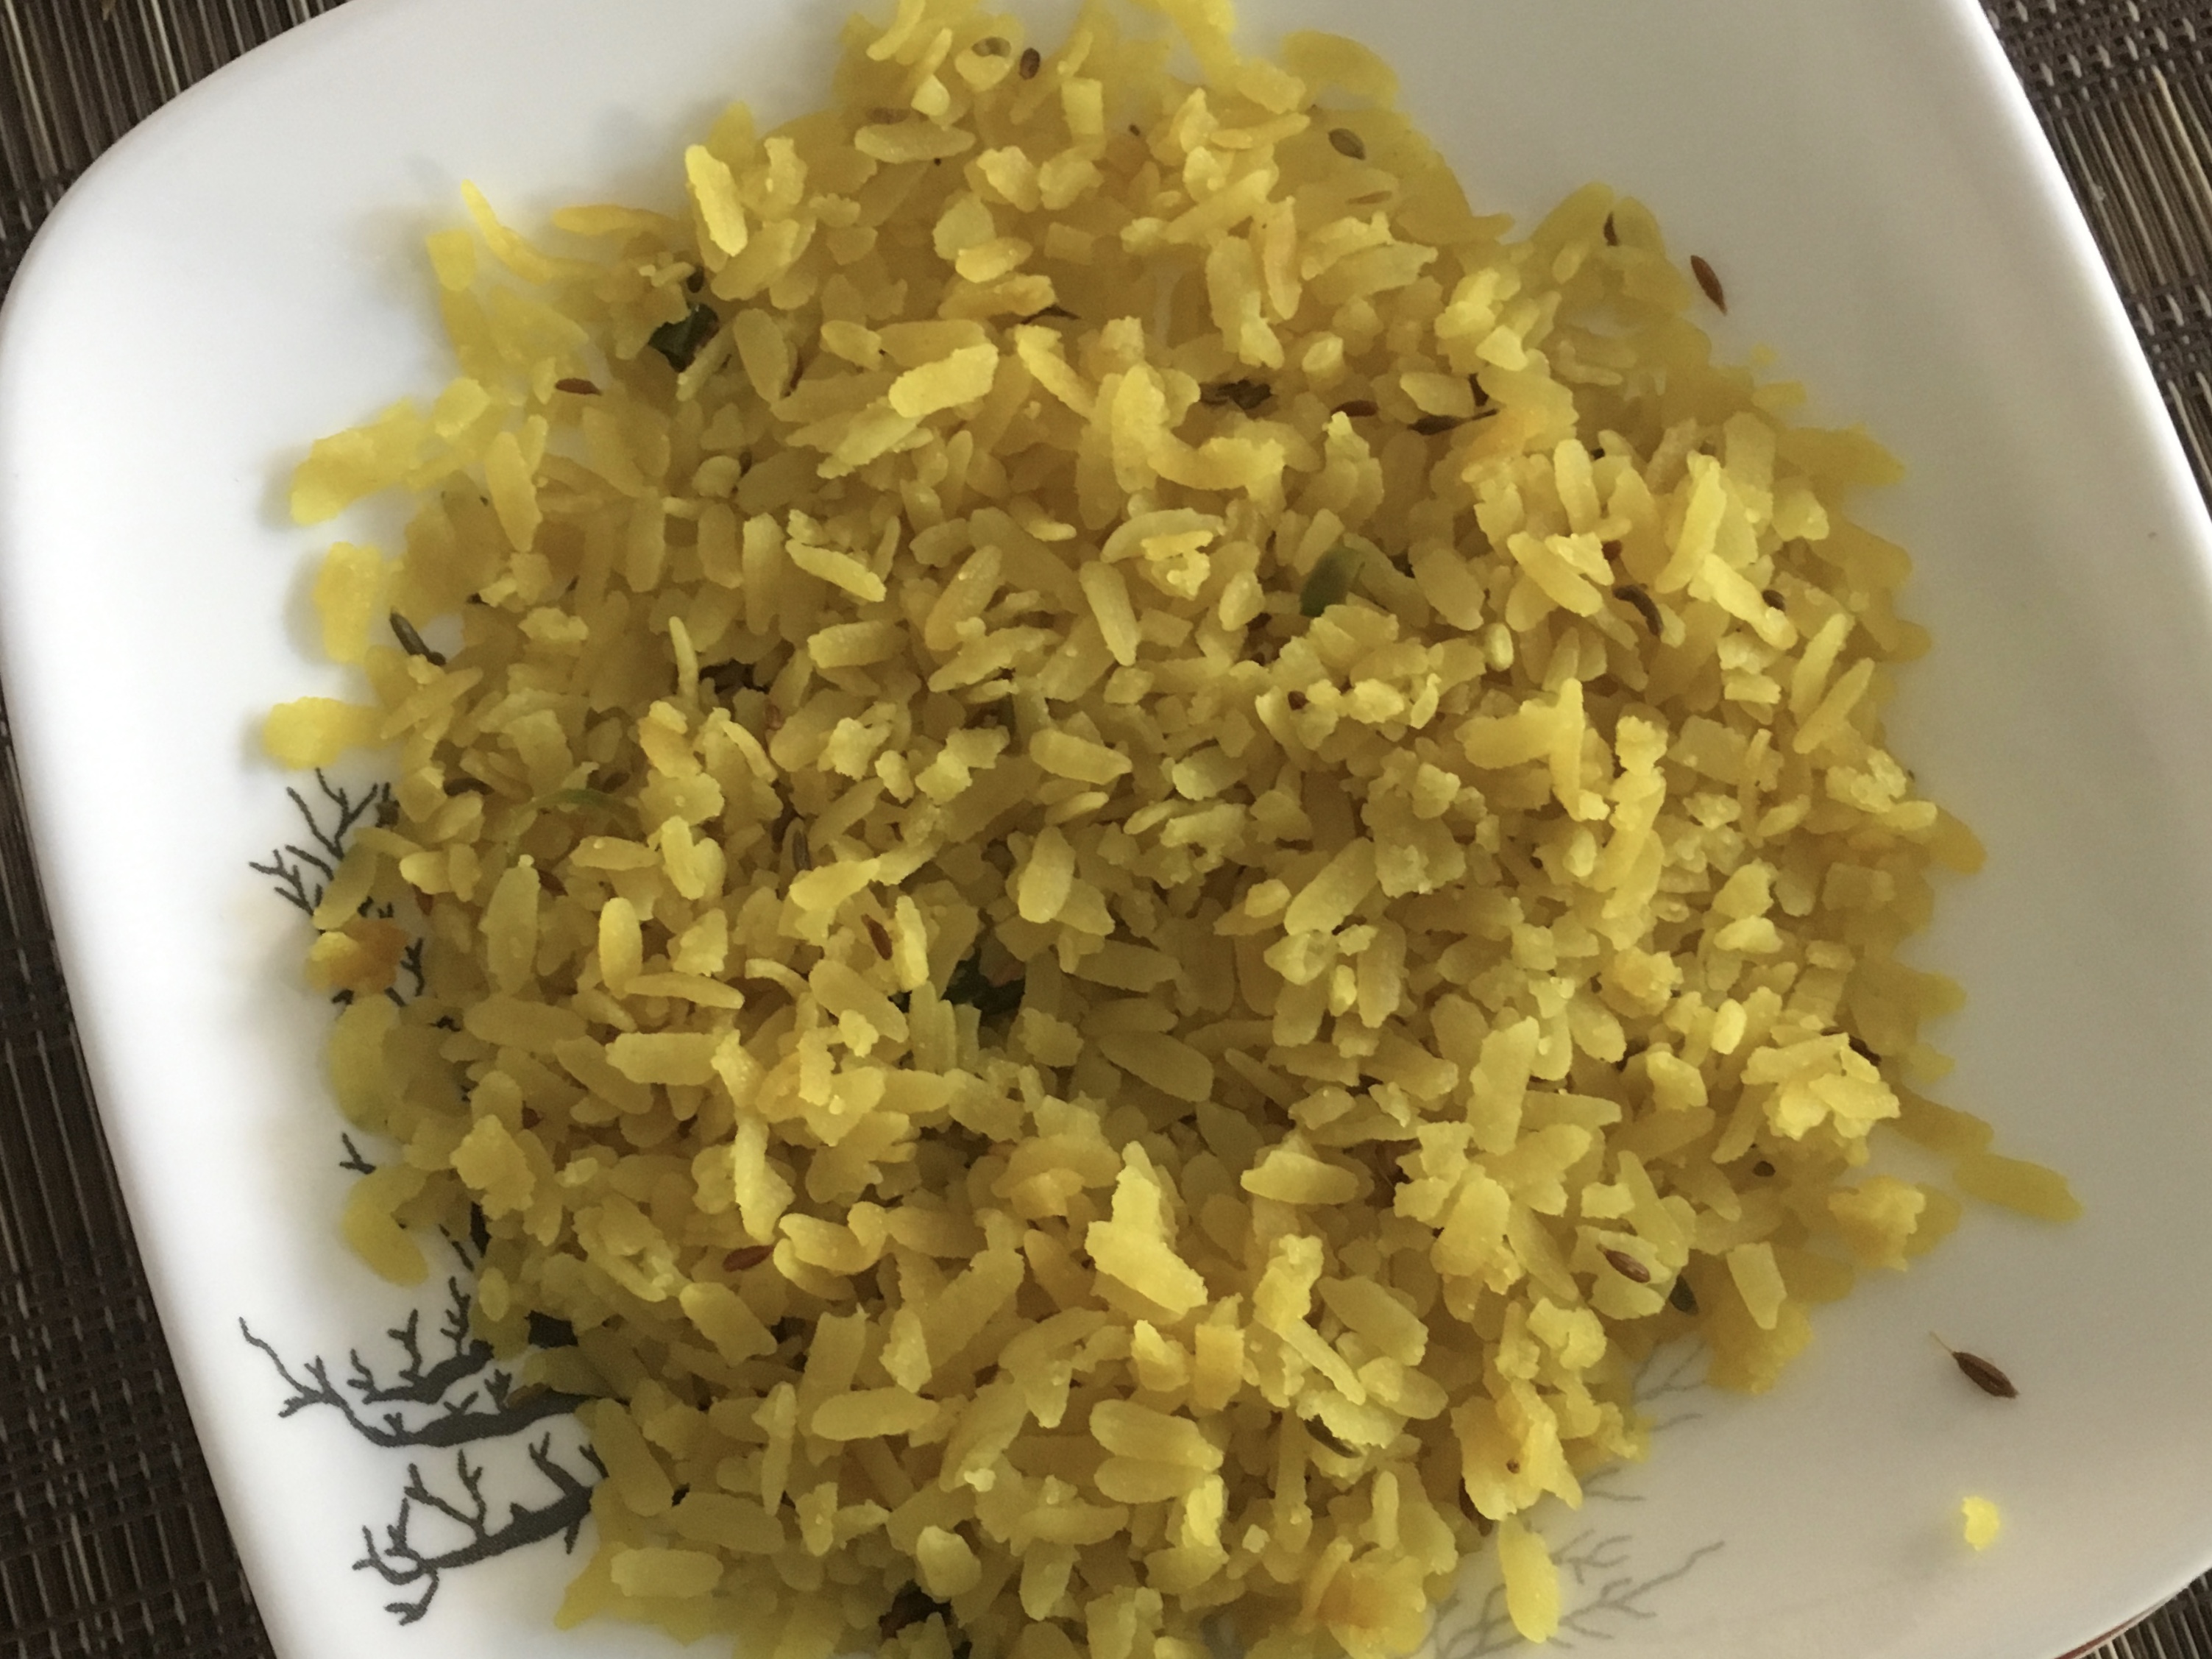
- Enjoy the Instant Poha in your college dorm or work kitchen!

Tips
If the poha flakes are very thick you will need more water or less water if the poha flakes are very thin,
Add fried peanuts to the mix which will retain its taste over a period of time.
Make sure you clean the poha of any unwanted items , as you will not be able to wash before you prepare the Poha Mix,
Instinct Factor
If making it for next day consumption, one can add boiled peas , potatoes, grated carrots to make it more wholesome meal.
Feel Factor
Taste of home for a college kid, a quick lunch meal, and a lazy morning breakfast at home! My husband is happy with this approach as he is always looking for ways to shorten the cooking time of meals! Its a great taste for the time and the ease it provides, so I would definitely use this as a quick meal option. But for someone who prefer the steam gas cooking, it will fall slightly short of their expectations, as all flavors will not integrate that well , but you gain some ,you lose some! However the above recipe of Instant Poha is definitely a recipe for when you need to do a cooking without a kitchen or take food when travelling!
[contact-form-7 404 "Not Found"]