Posted on

Beans Quesadilla

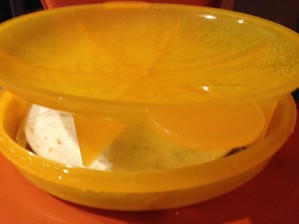
Quesadilla, a Mexican delicacy , with a musical ring to its name,  is made up from two Spanish words Queso for cheese and Tortilla for flat bread. Interesting for sure. And extremely easy to make, specially when you just heat in microwave using a quesadilla maker. I happened  to find this highly dependable microwave quesadilla maker, that makes  this amazing dish in minutes.

Quick, easy to make has been my focus for the last month or so as  some remodeling is being done in my house and hence am out of workable  kitchen space for some time. This is also the primary reason why I have not been able to share more  recipes of late.  But nonetheless will keep the momentum on for writing and sharing, even though renovation is never a time bound or and easy task as many would agree.

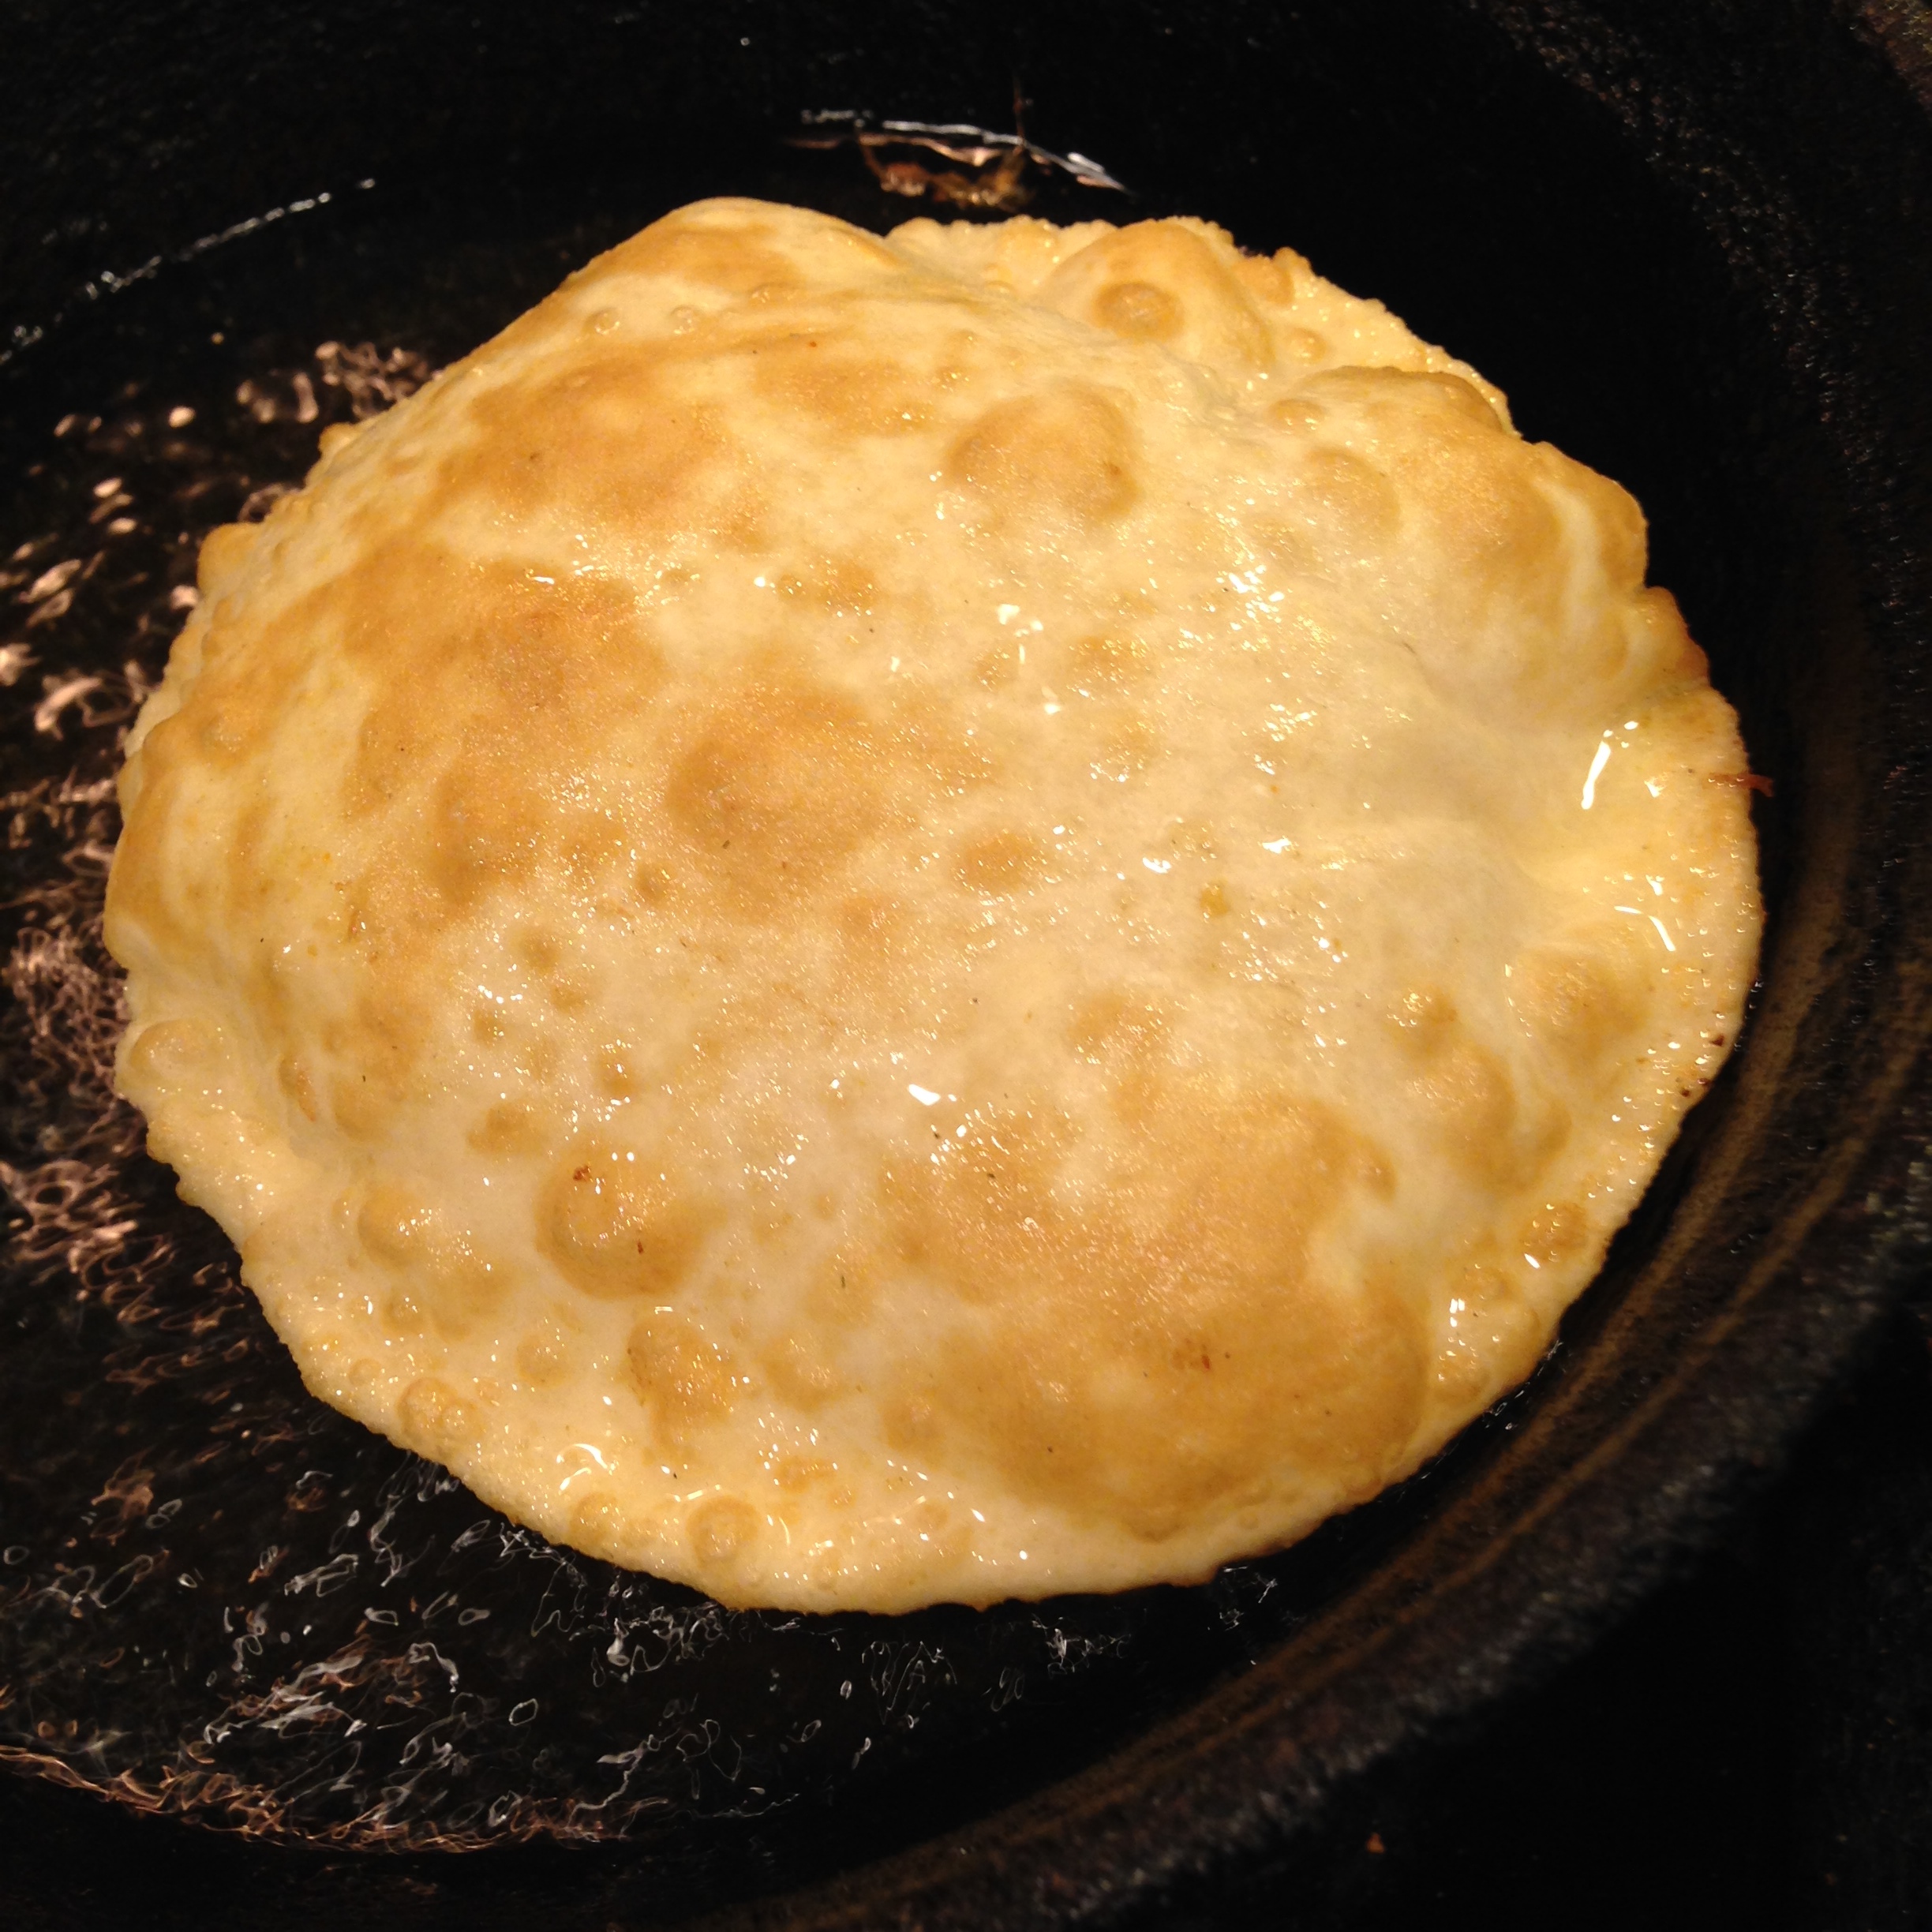
Even if you do not find a quesadilla maker, this can be cooked over a flat griddle needing  a couple of more minutes to cook, and will also give a nice crunchy flavor when cooked in a healthy does of oil on a griddle.

This recipe can be easy to make for lunches to go, or a quick TV dinner menu. The inside stuffing can be alternated with rice, only cheese, or even grilled vegetables taste yummy. This can be easily one of Rachel Ray under 5 minute meals!! I am sure many of us make this at home and it is no great technique, but the reason I was compelled to blog about this, was to share the quick microwave quesadilla maker, that I am very happy about!


Recipe Makes 2 Pieces of Quesadilla

Ingredients
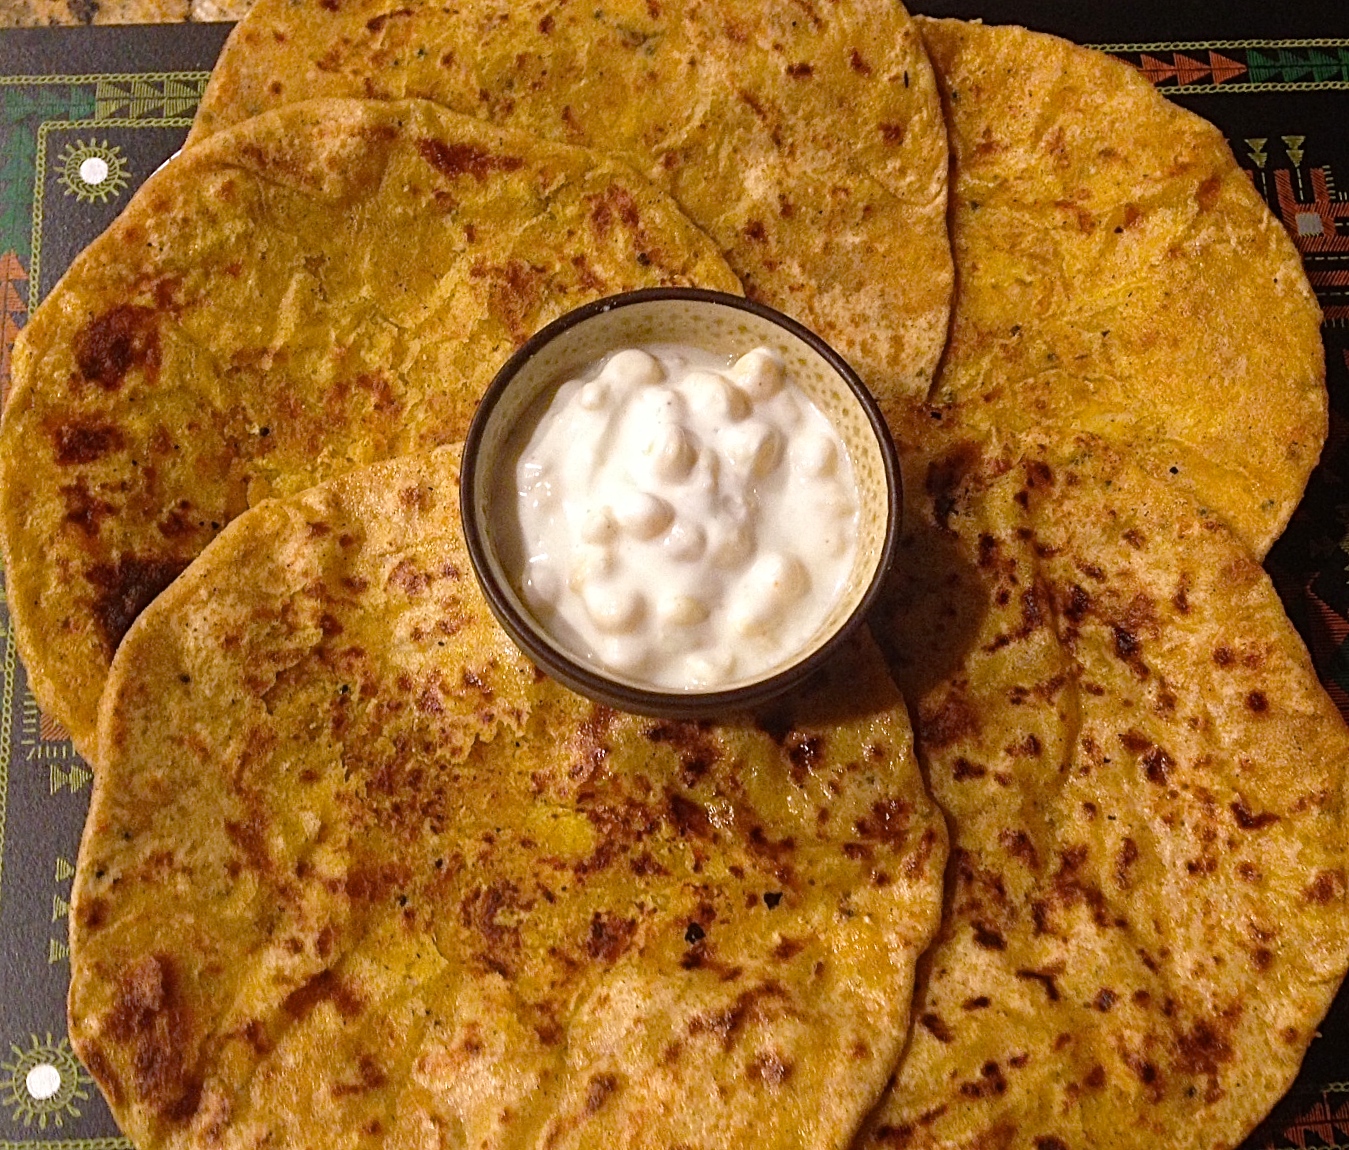
  • 4  Corn flour Tortilla(El paso Brand)
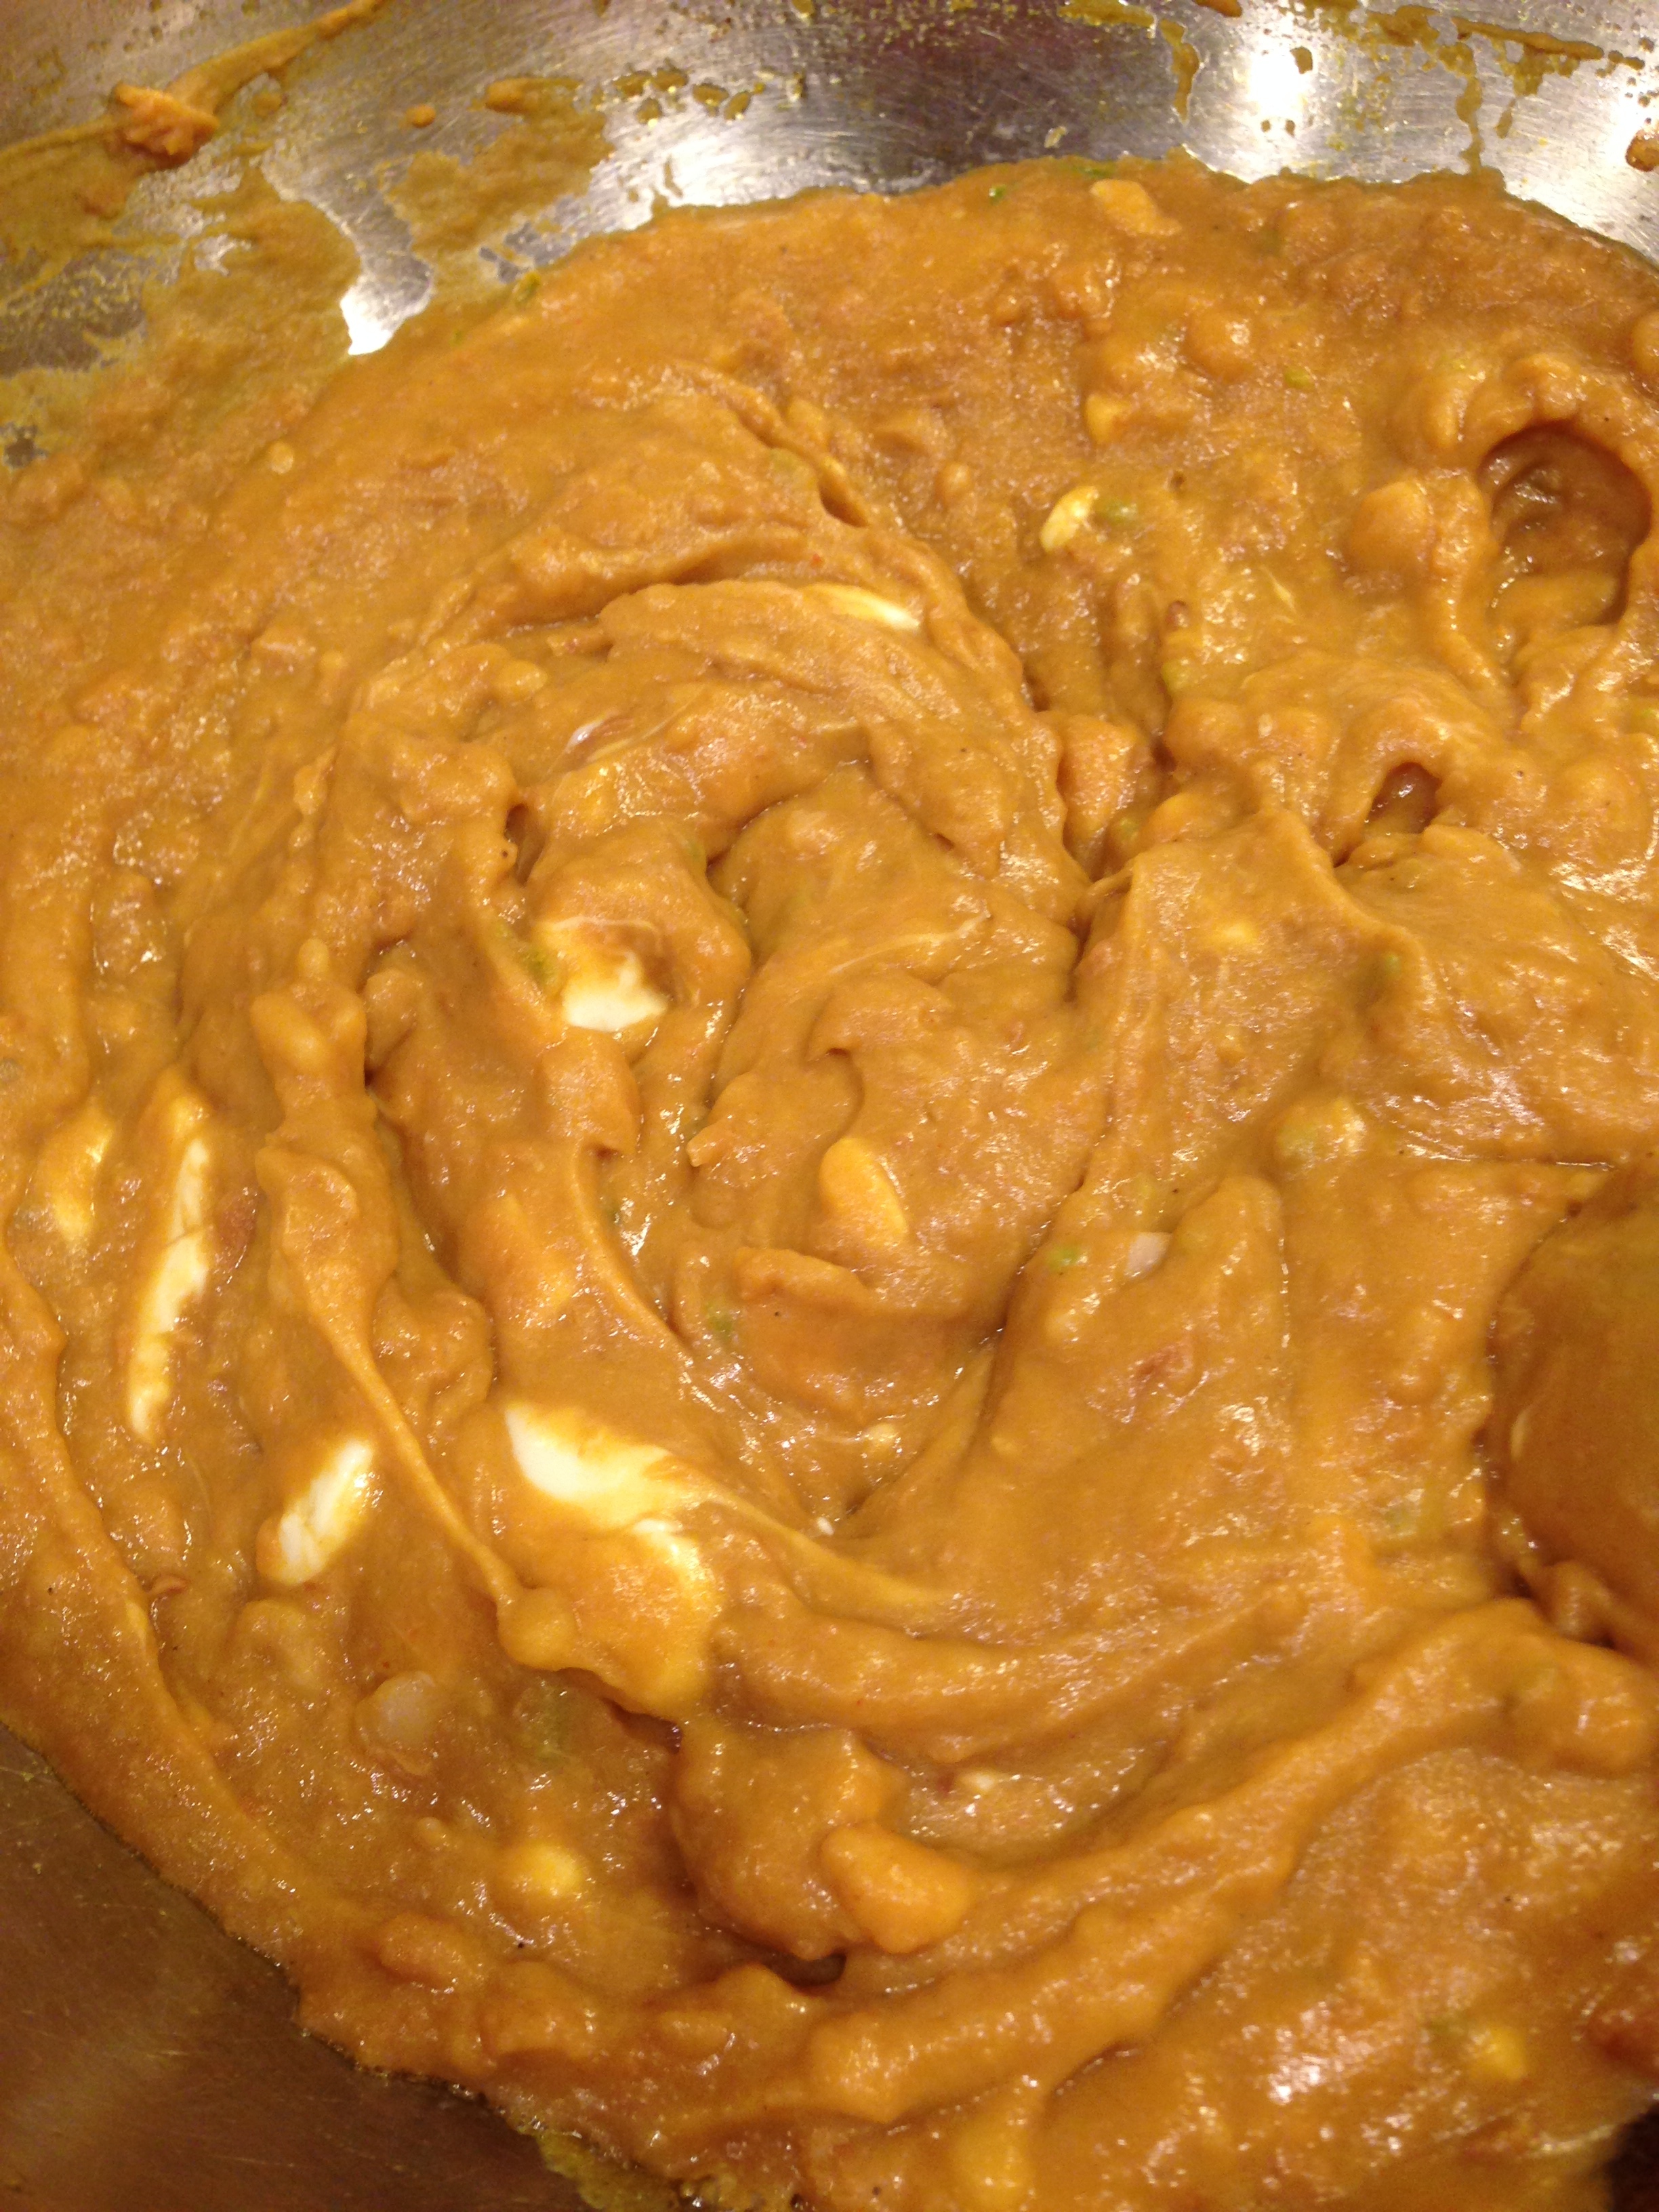
  • 2 cups  Refried Vegetarian Beans ( El paso Brand)
  • 3 lettuce leaves chopped
  • 1 tomato dice
  • 3-4 red/orange sweet peppers diced
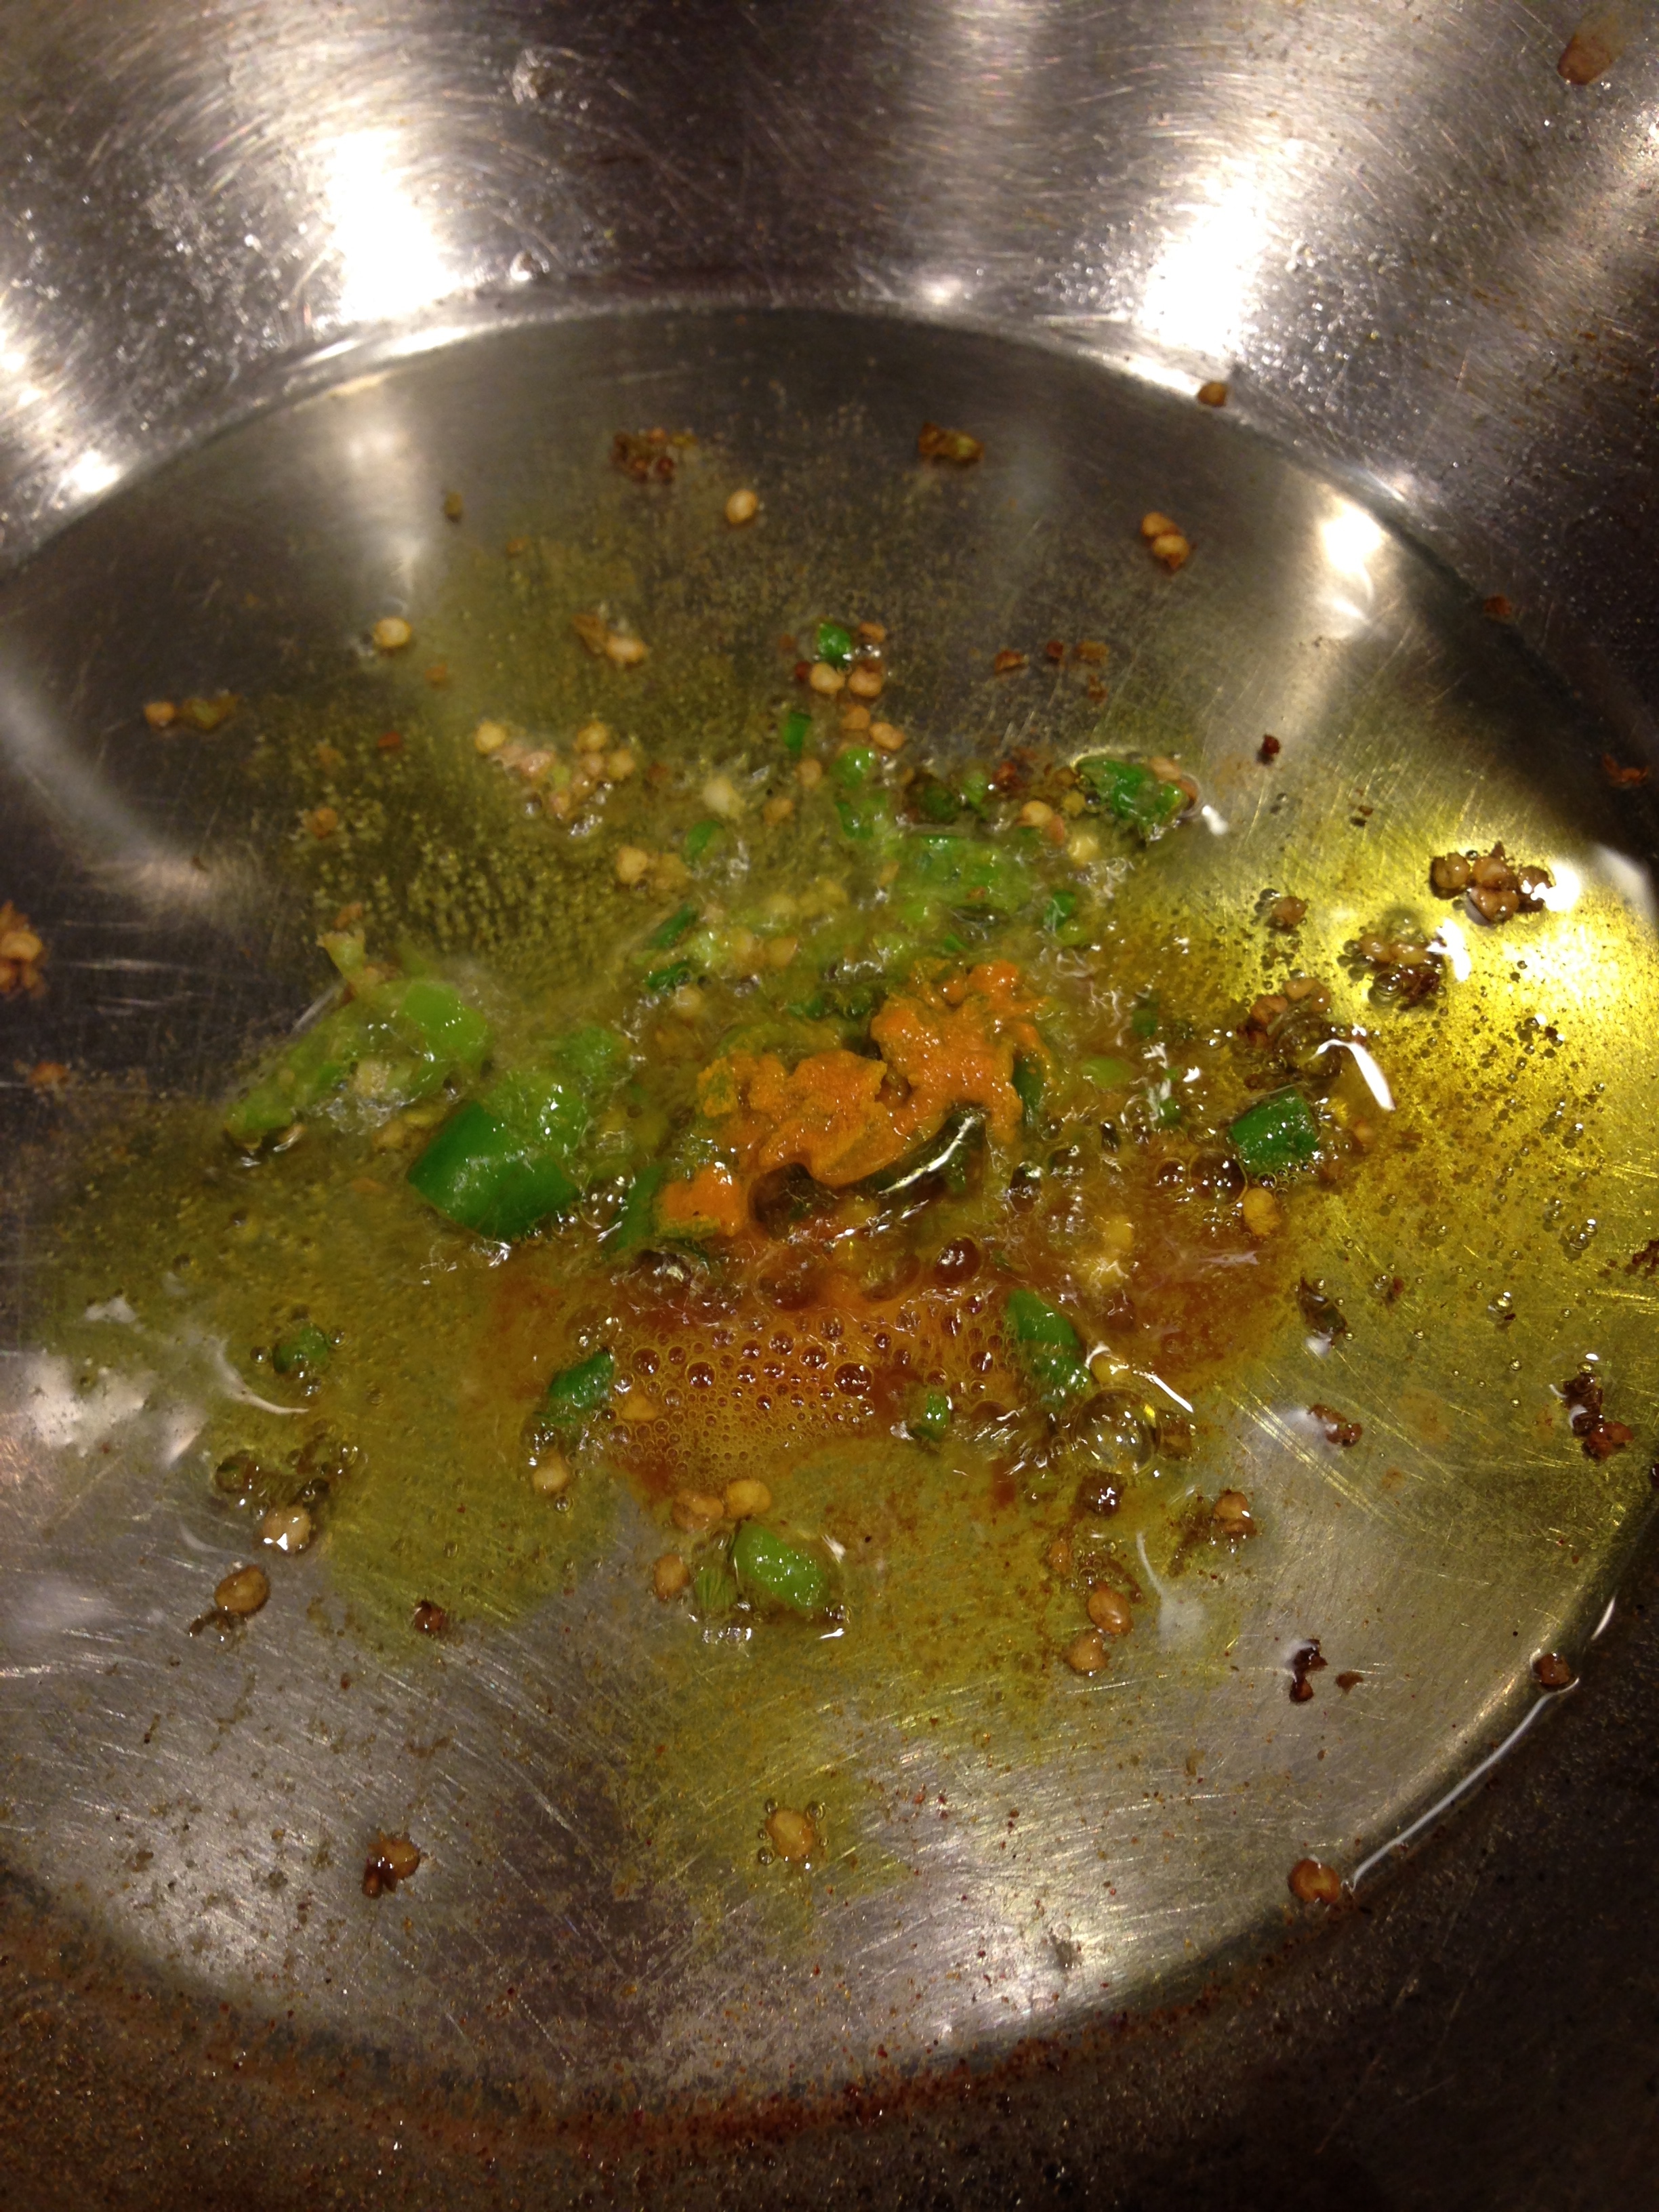
  • 1 green chlli finely chopped
  • 1/2 cup Grated Mexican Three cheese ( Montrey Jack, Cheddar or Colby Jack) or even Plain Old Amul Cheese would work.
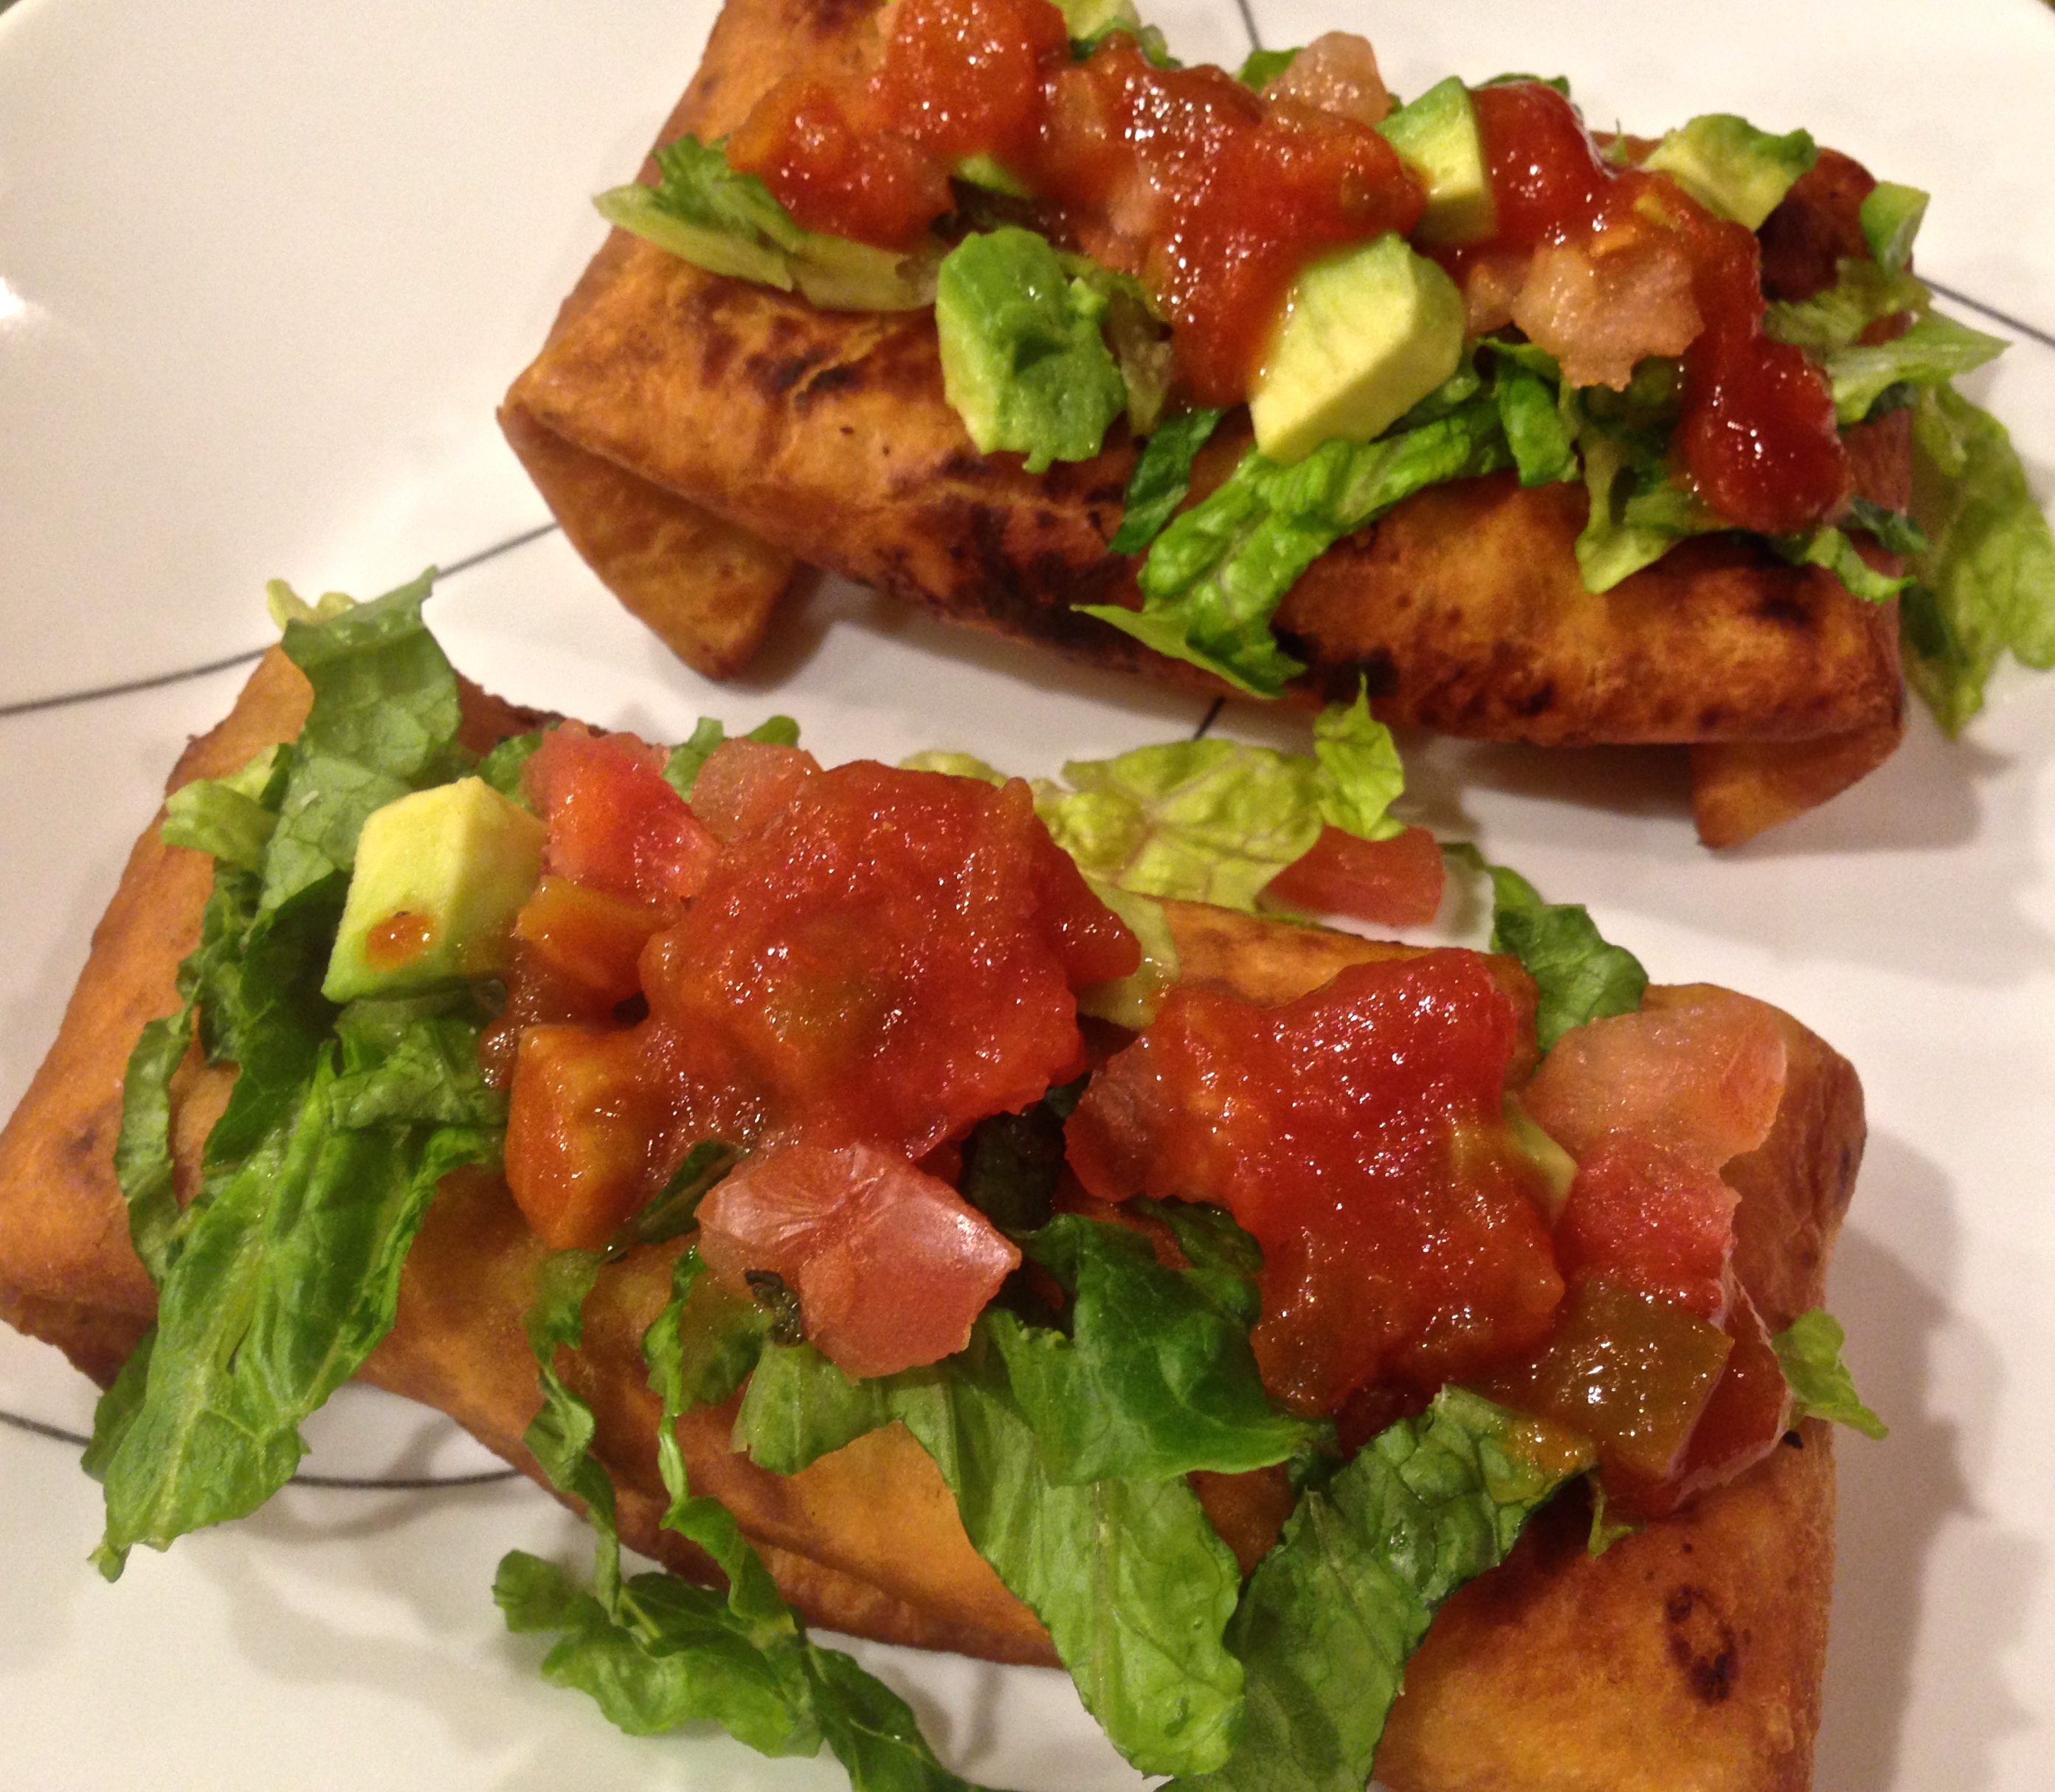
  • 5-6 tbsp Corn Salsa or Tomato Salsa
  • Nacho Cheese Sauce for topping (optional)
  • Sour cream for Topping(optional)
  • FOR ALTERNATE stuffings:
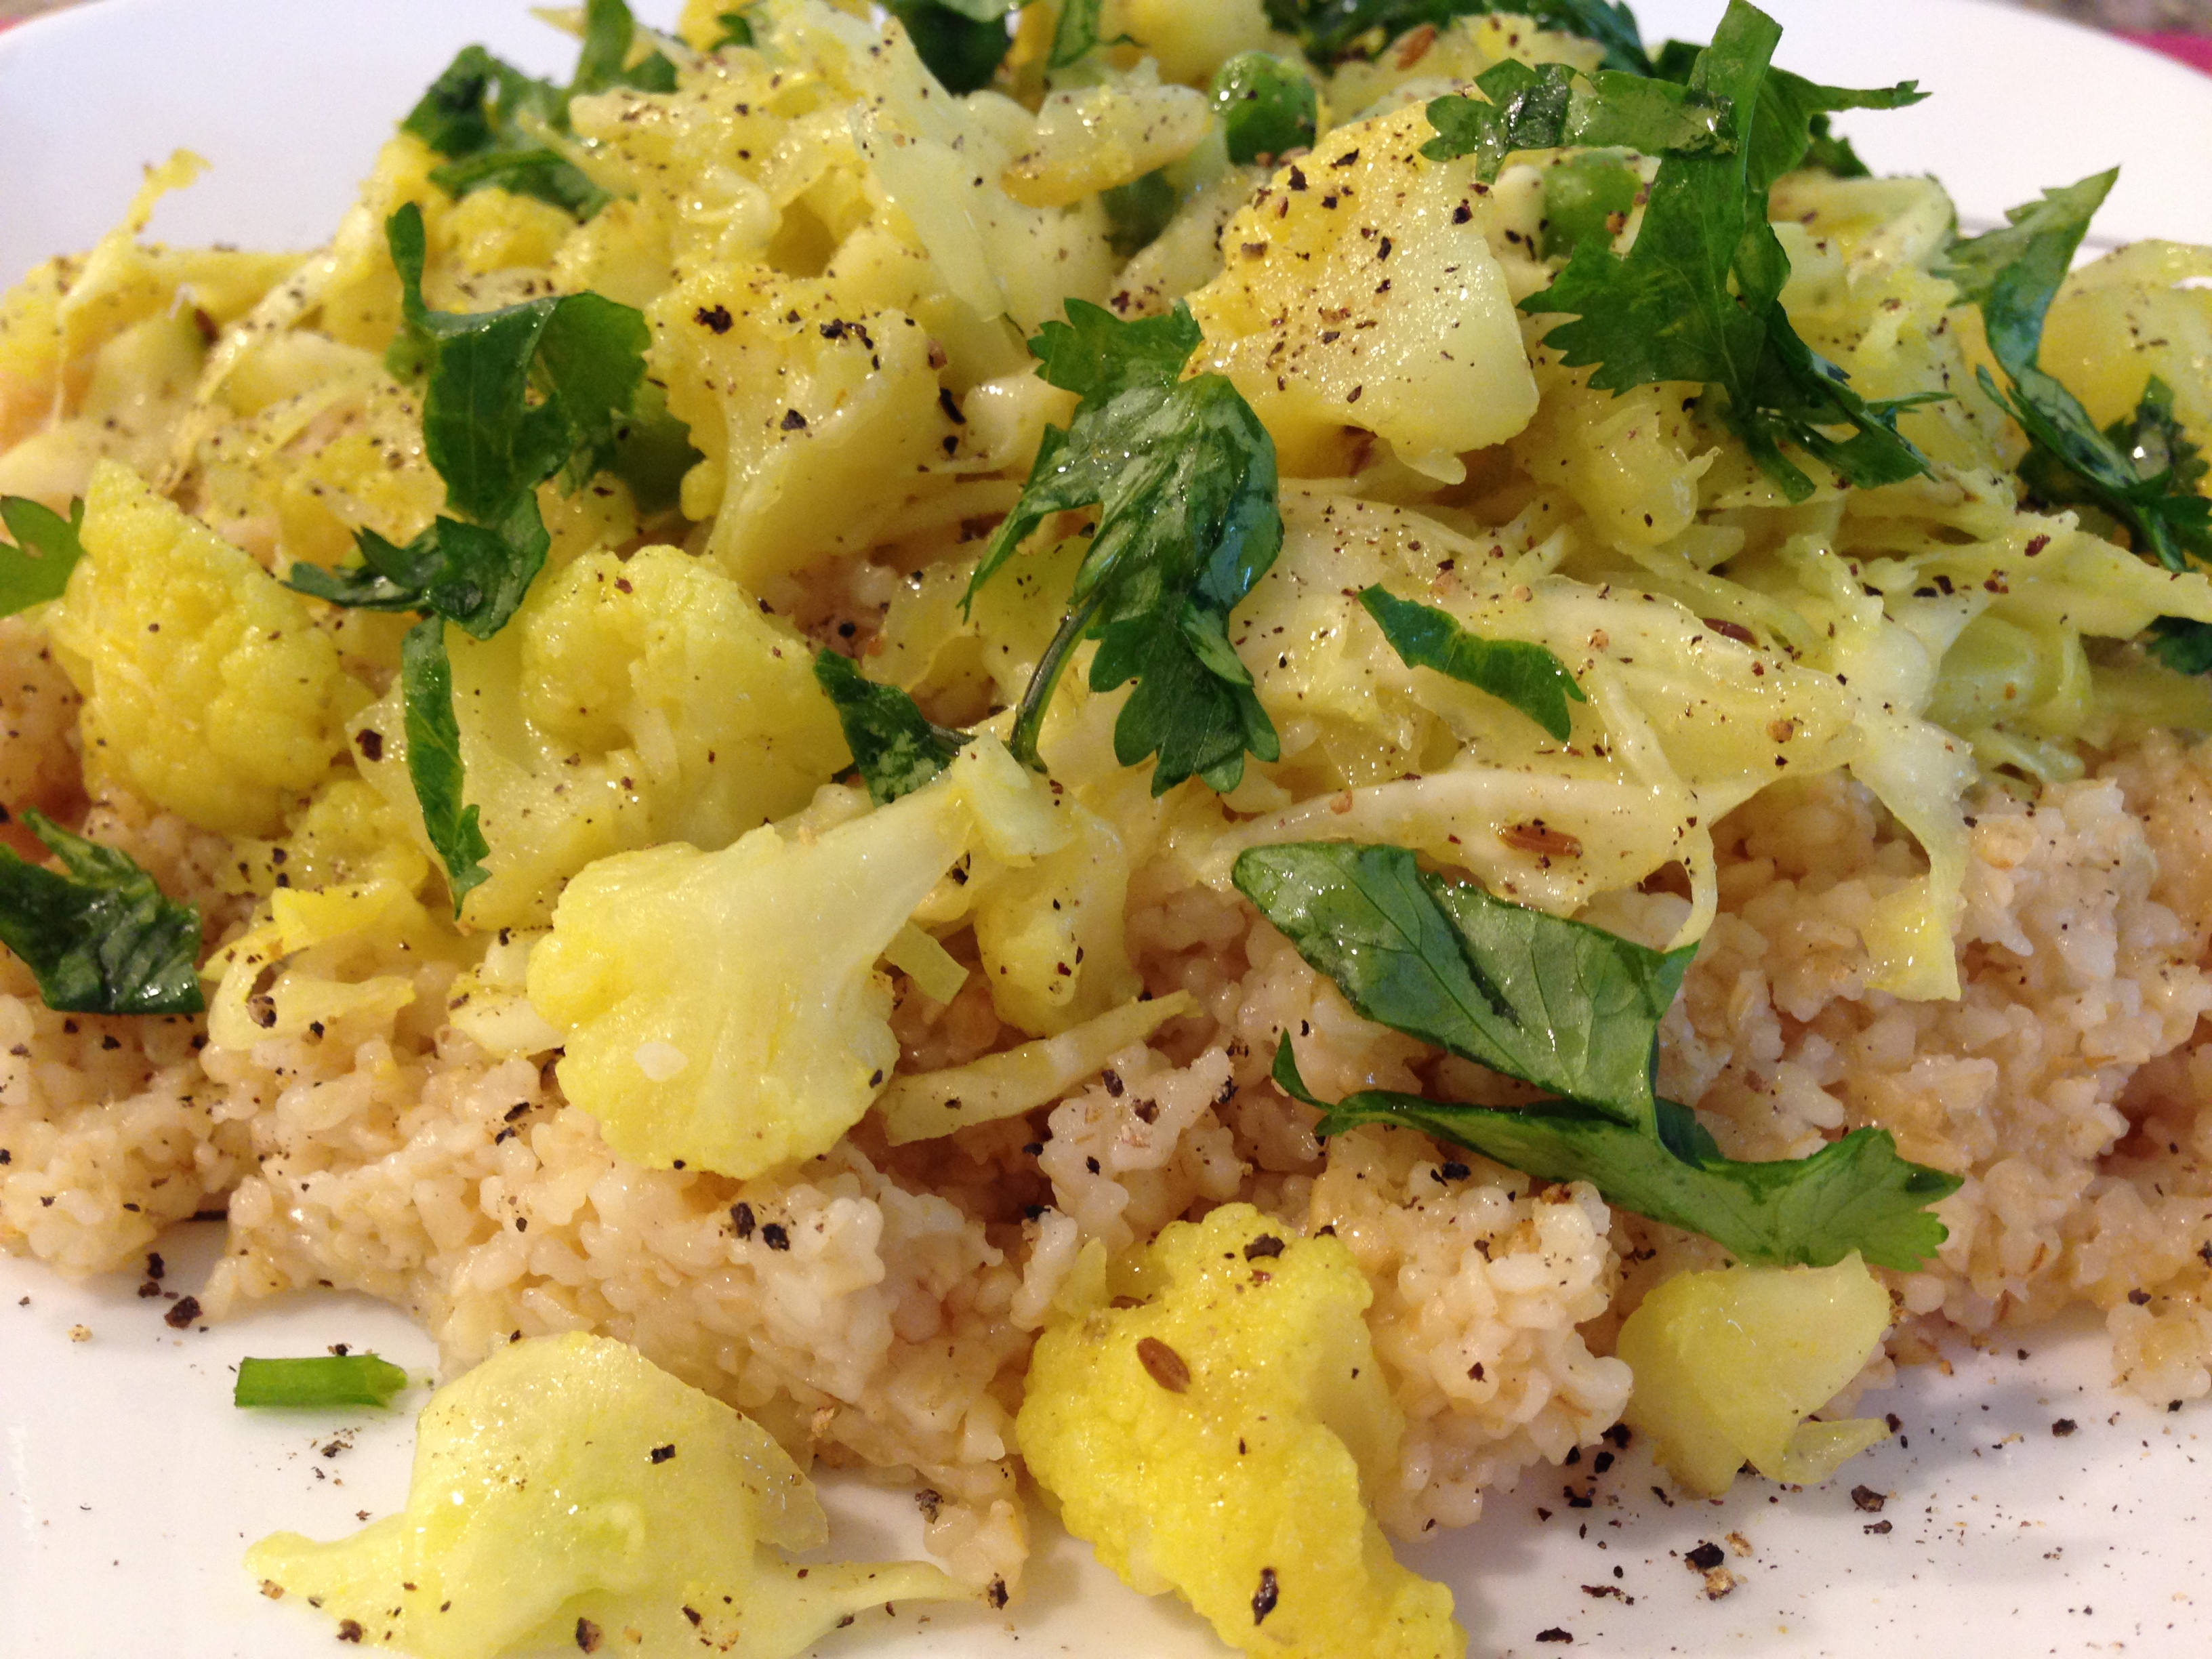
  •   2 cups grilled mix vegetables ( zucchini, bell peppers, sweet peppers, sliced red onions with some sea salt and groud pepper)
  •   2 cups cooked rice, blended with lemon, salt, boiled corn and chopped cilantro

Method

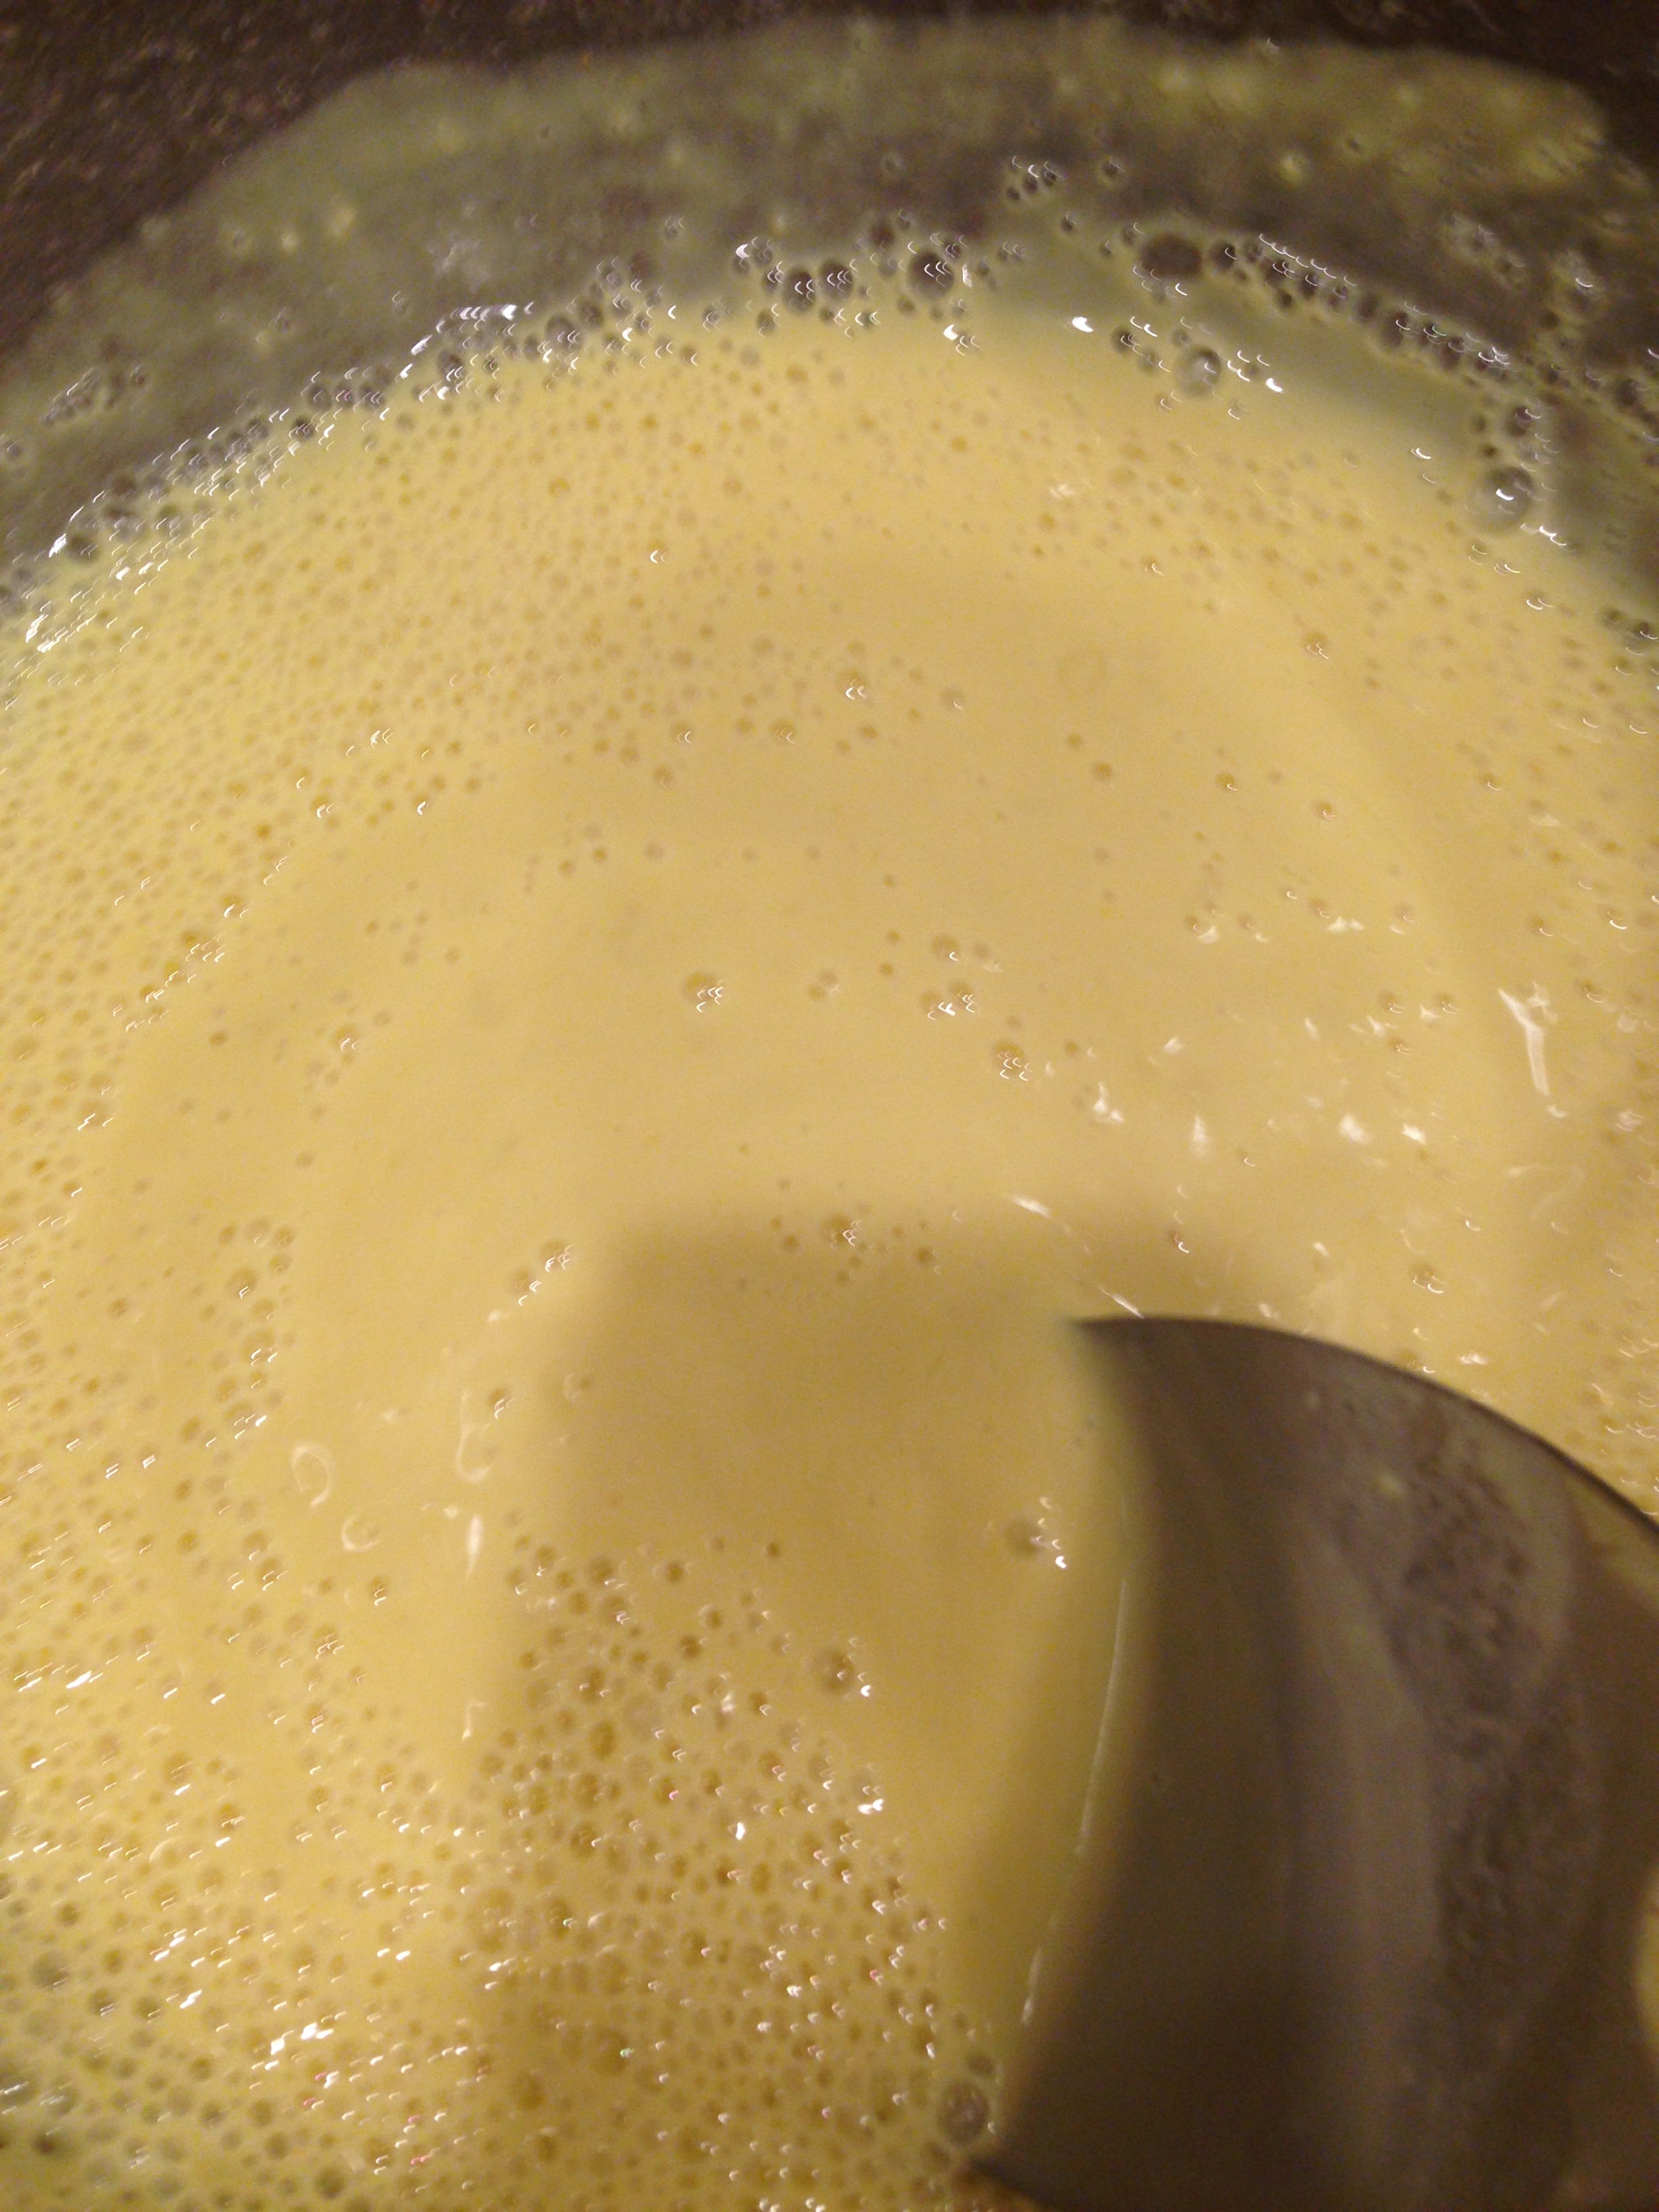
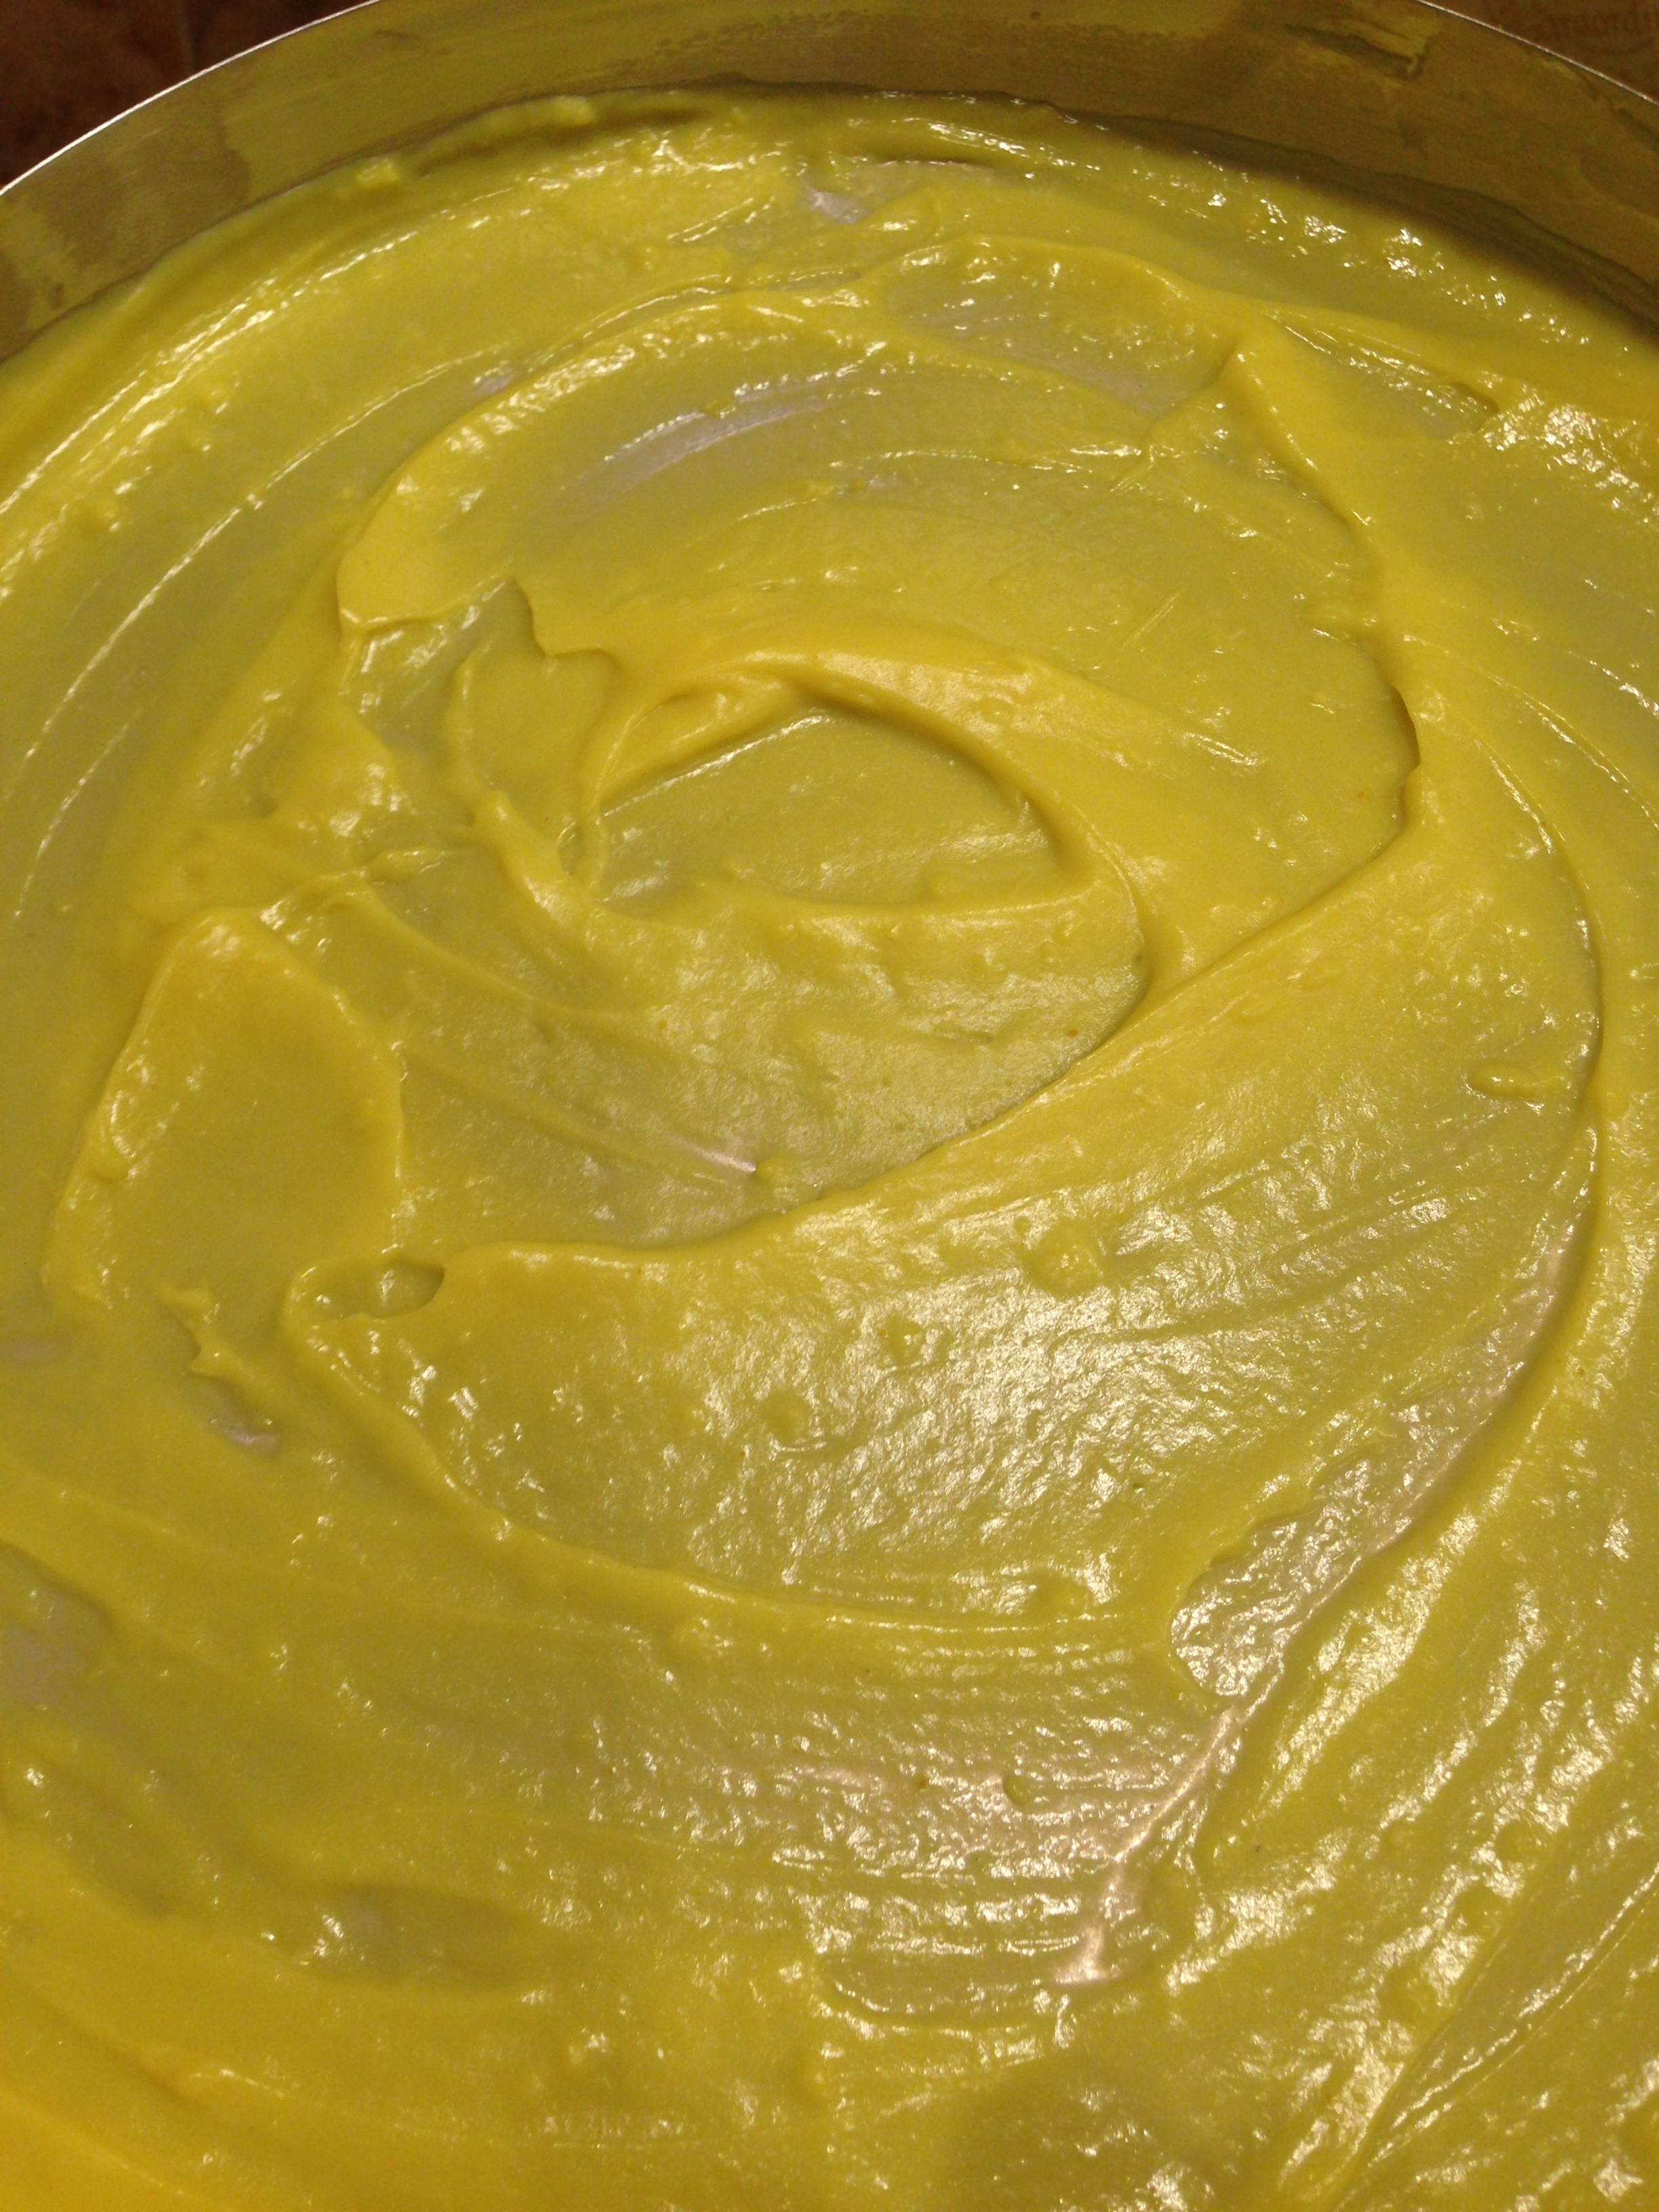
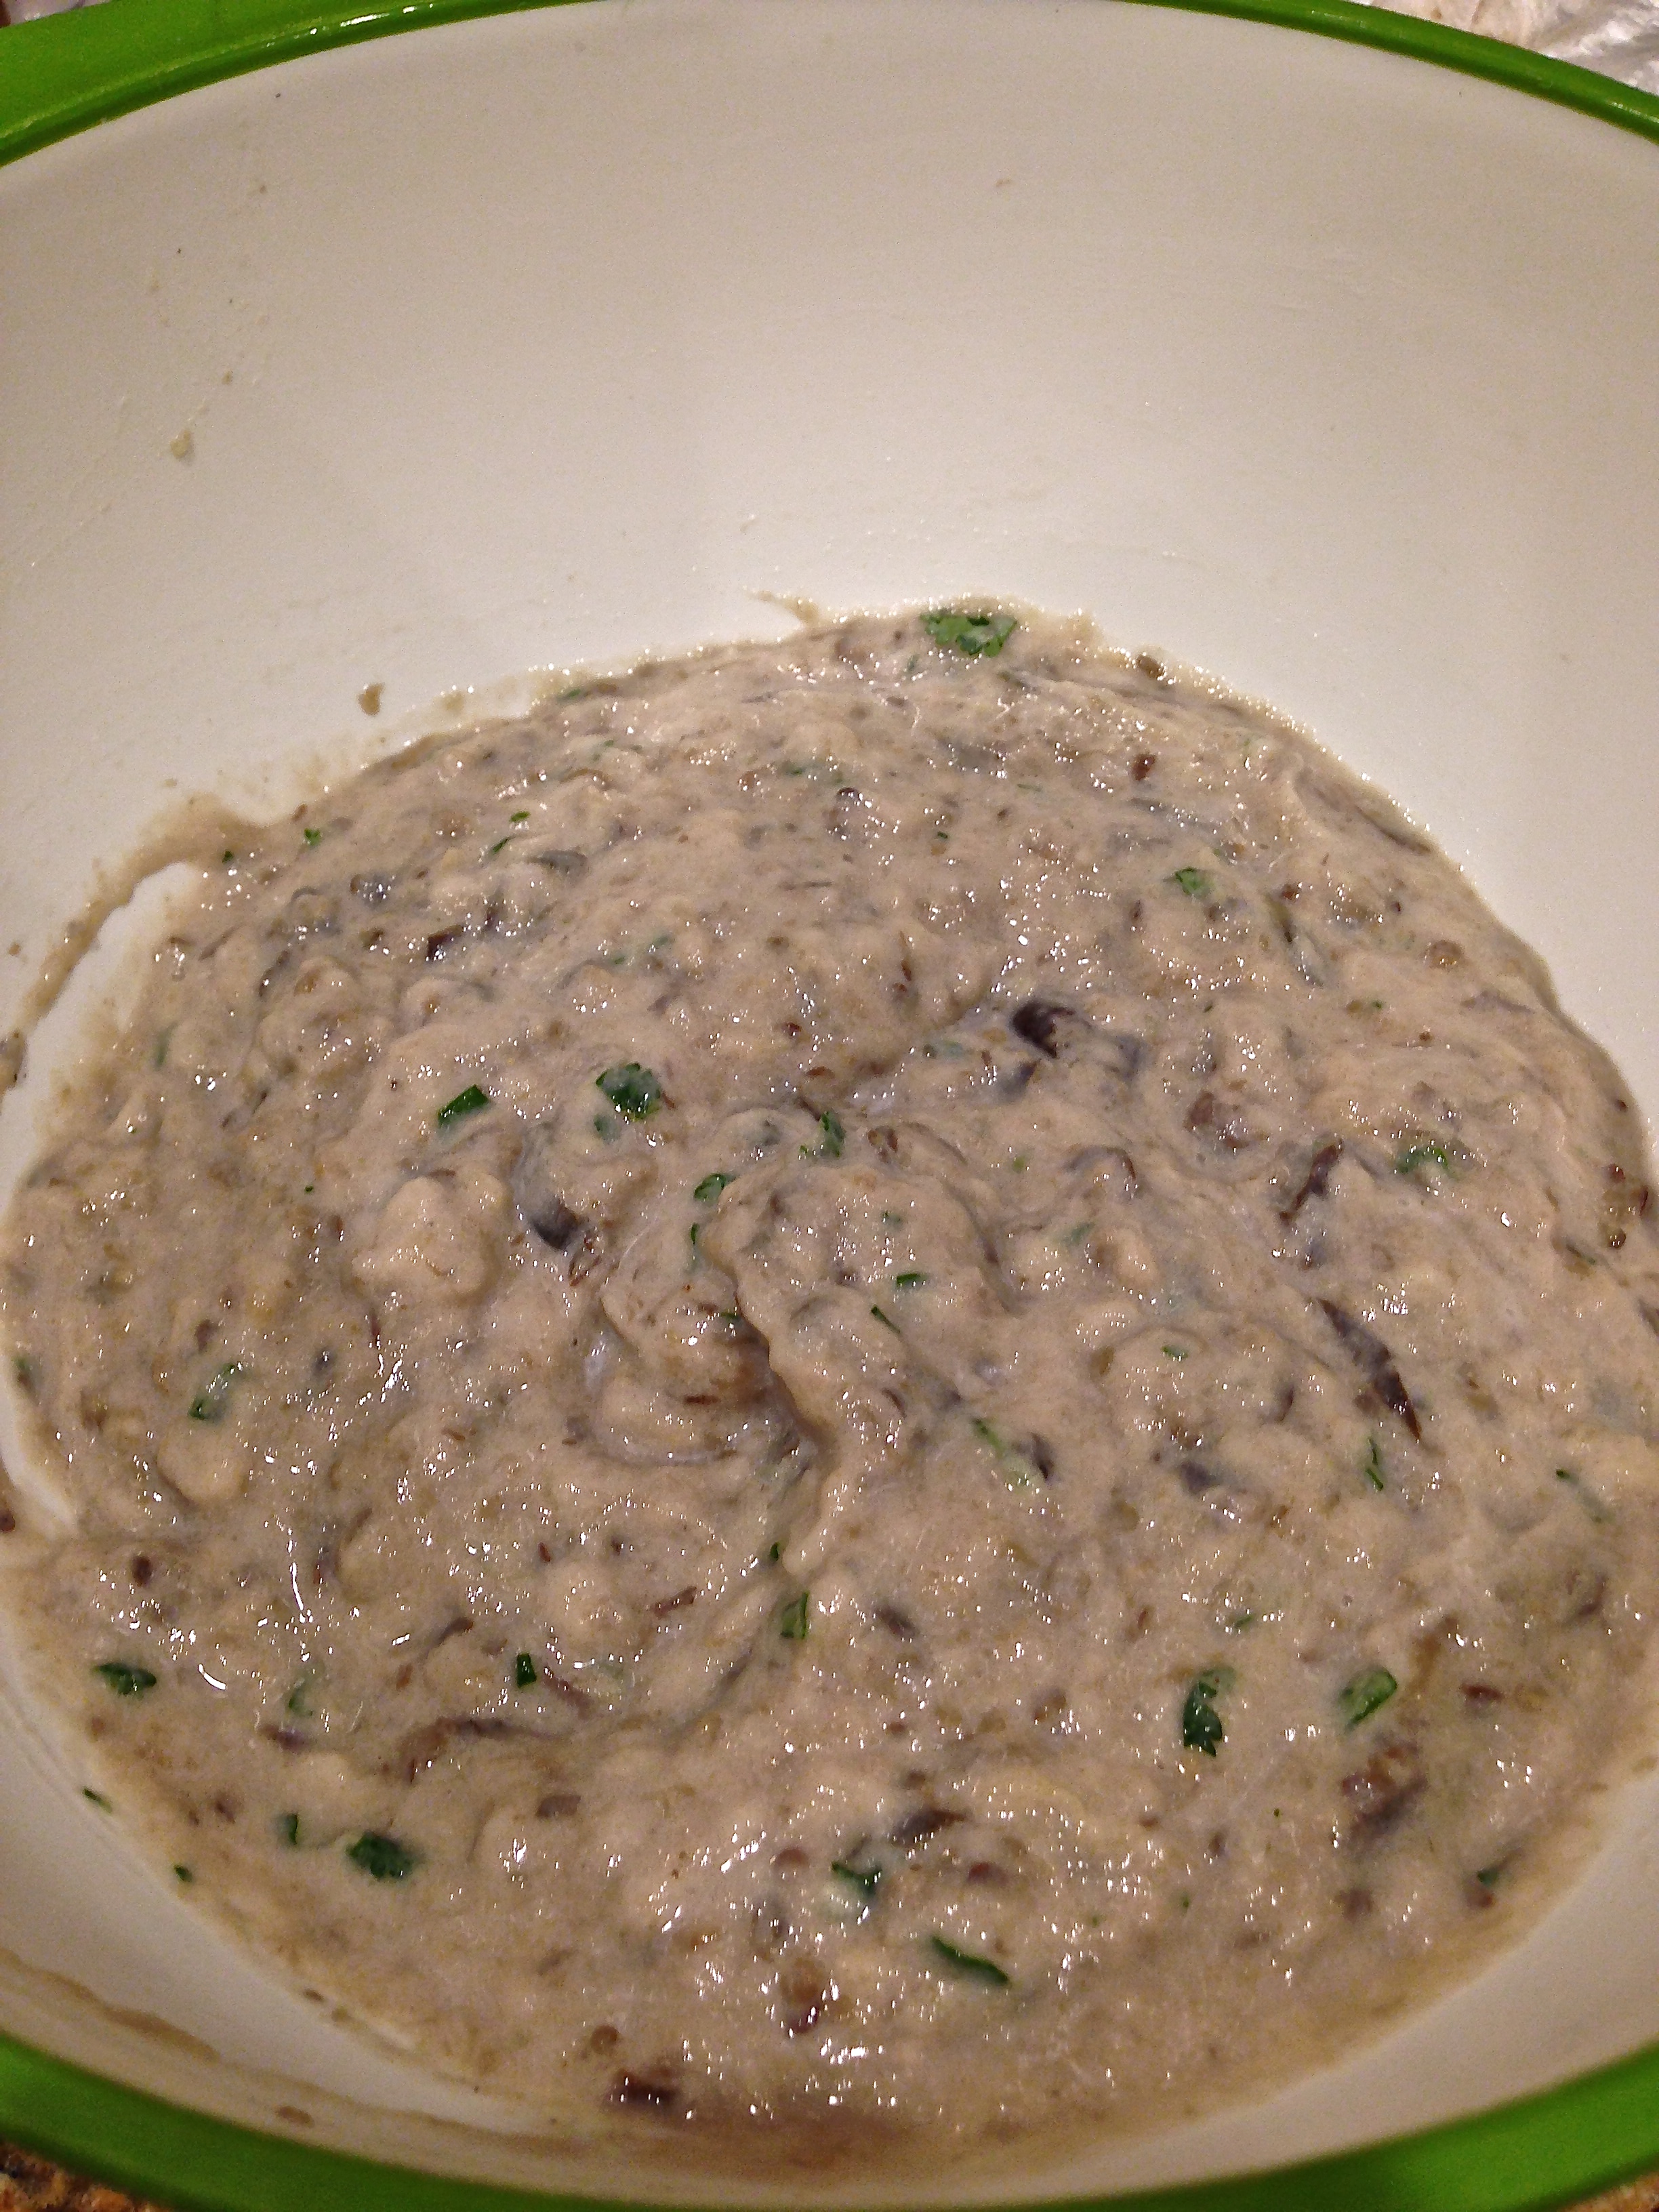
  • In a pan heat the oil and chilies and refried beans. Heat for about 30 sec.
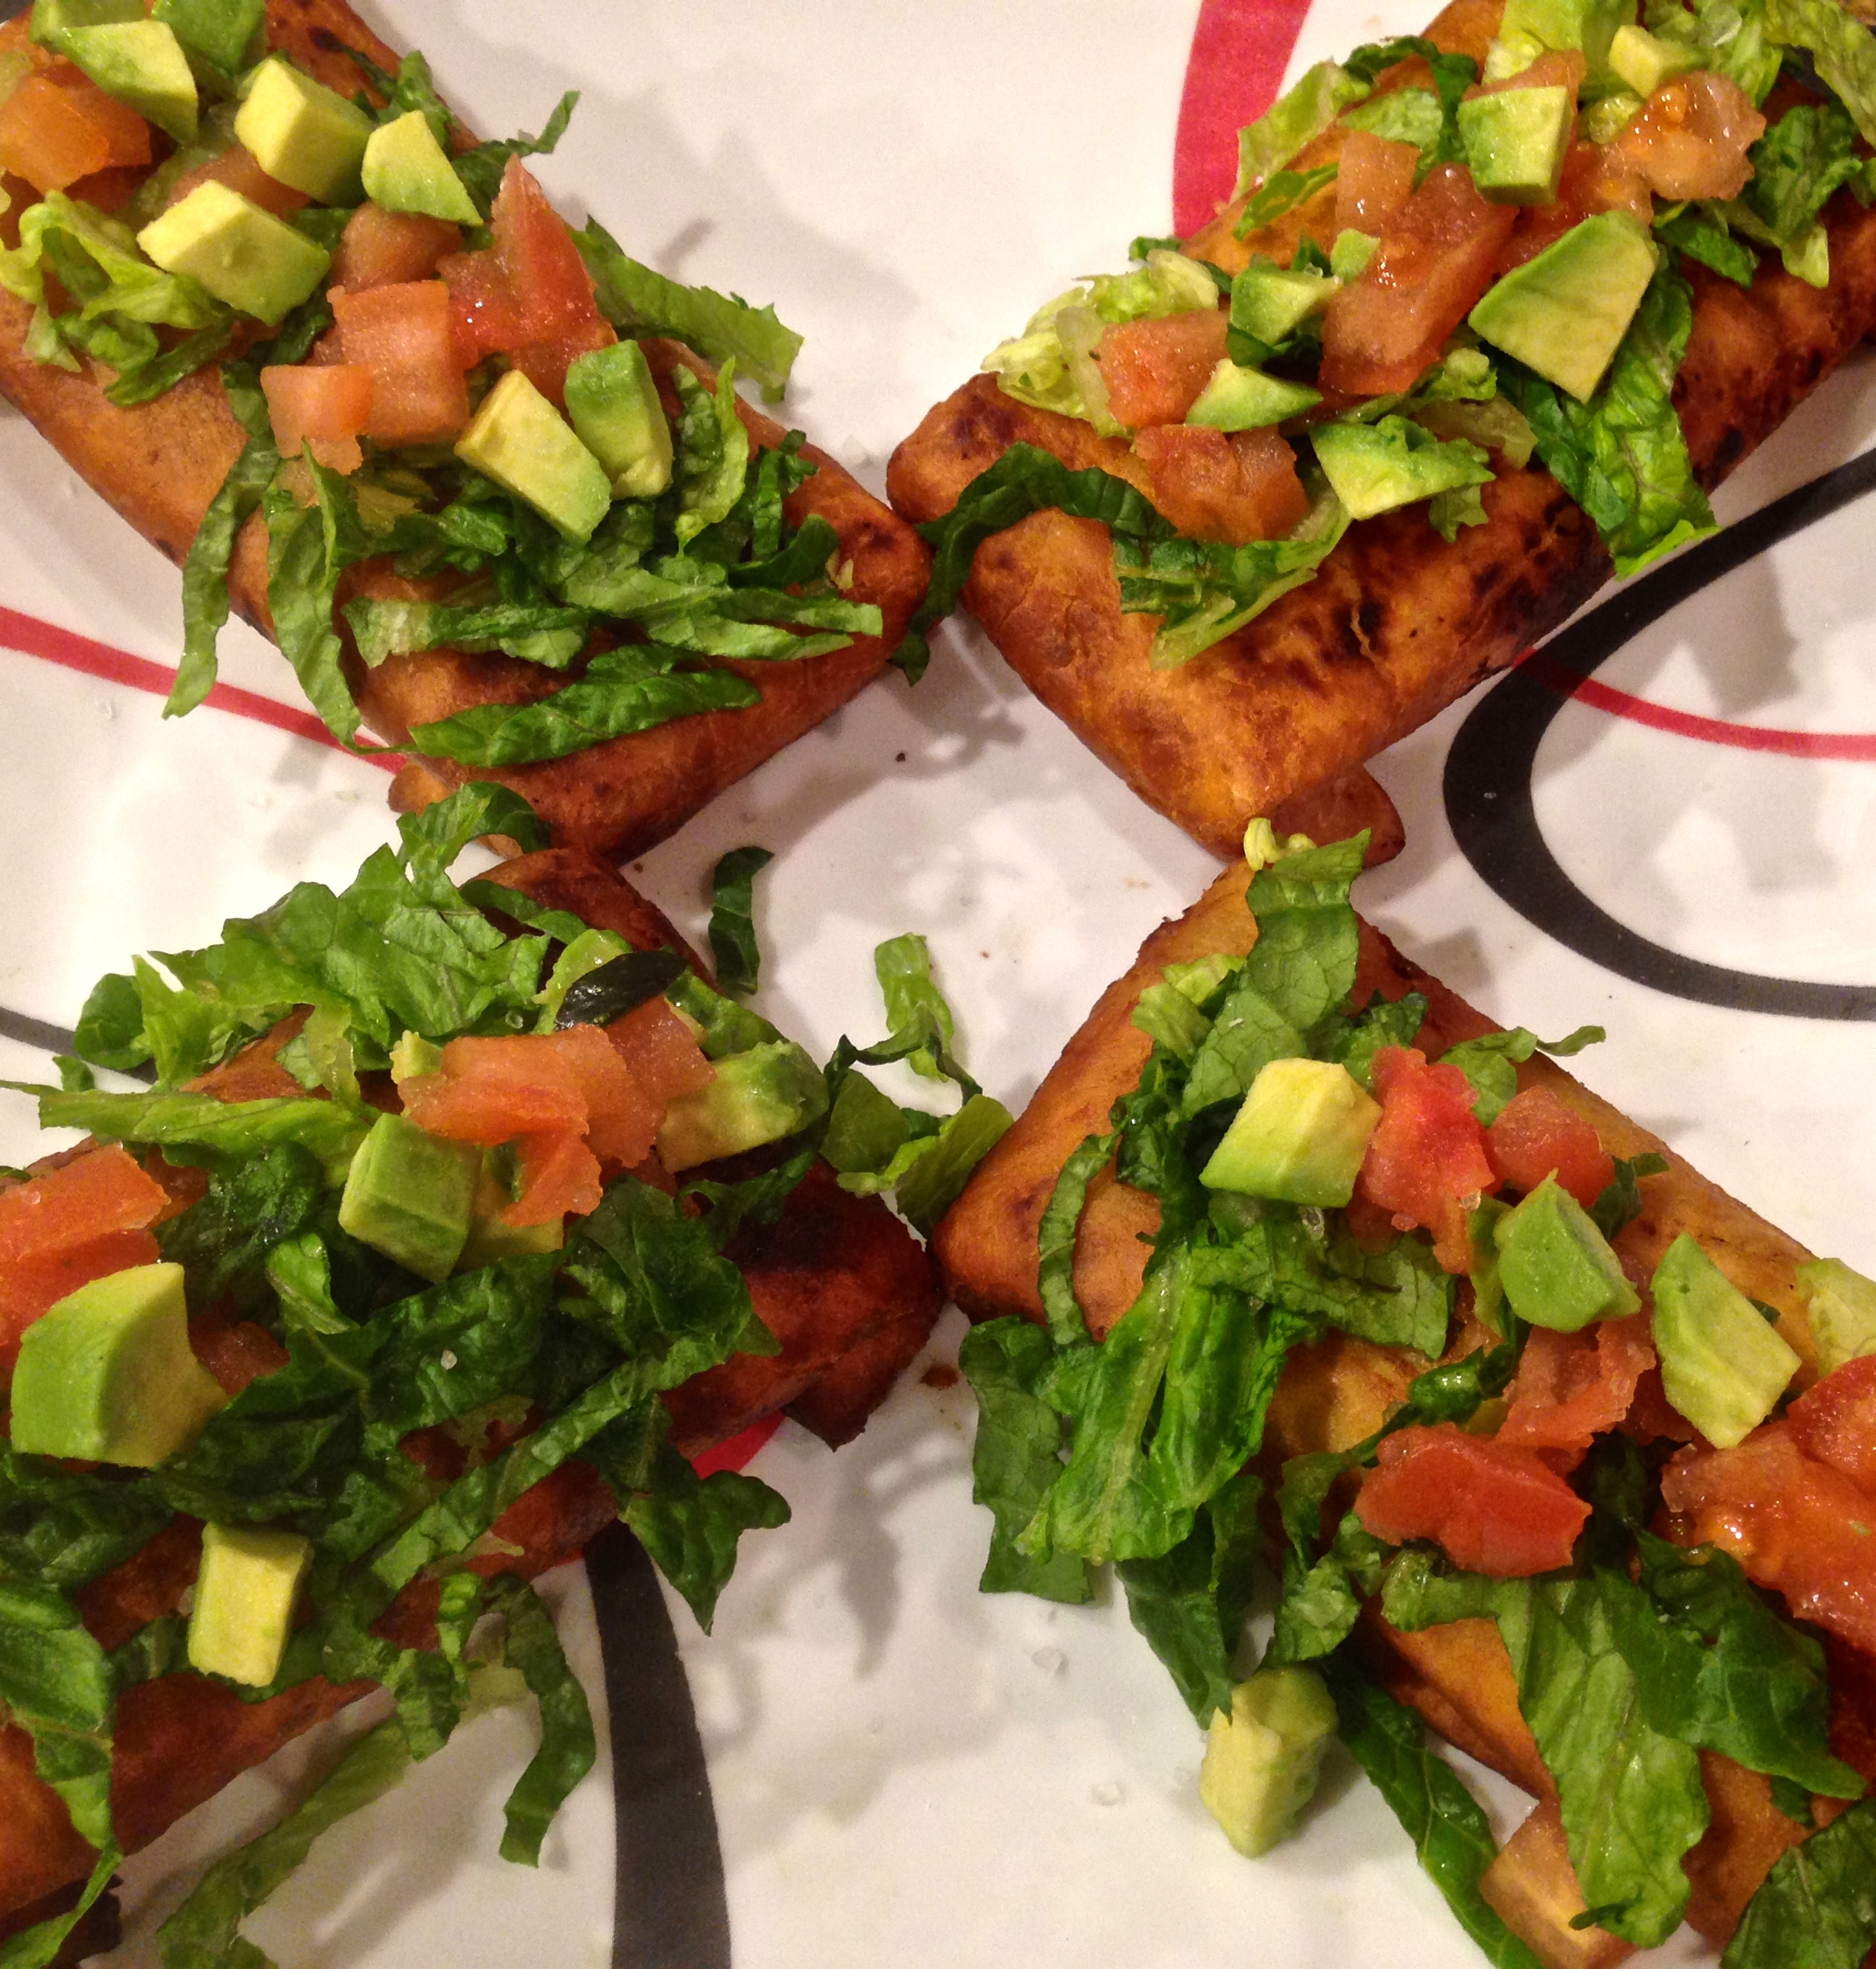
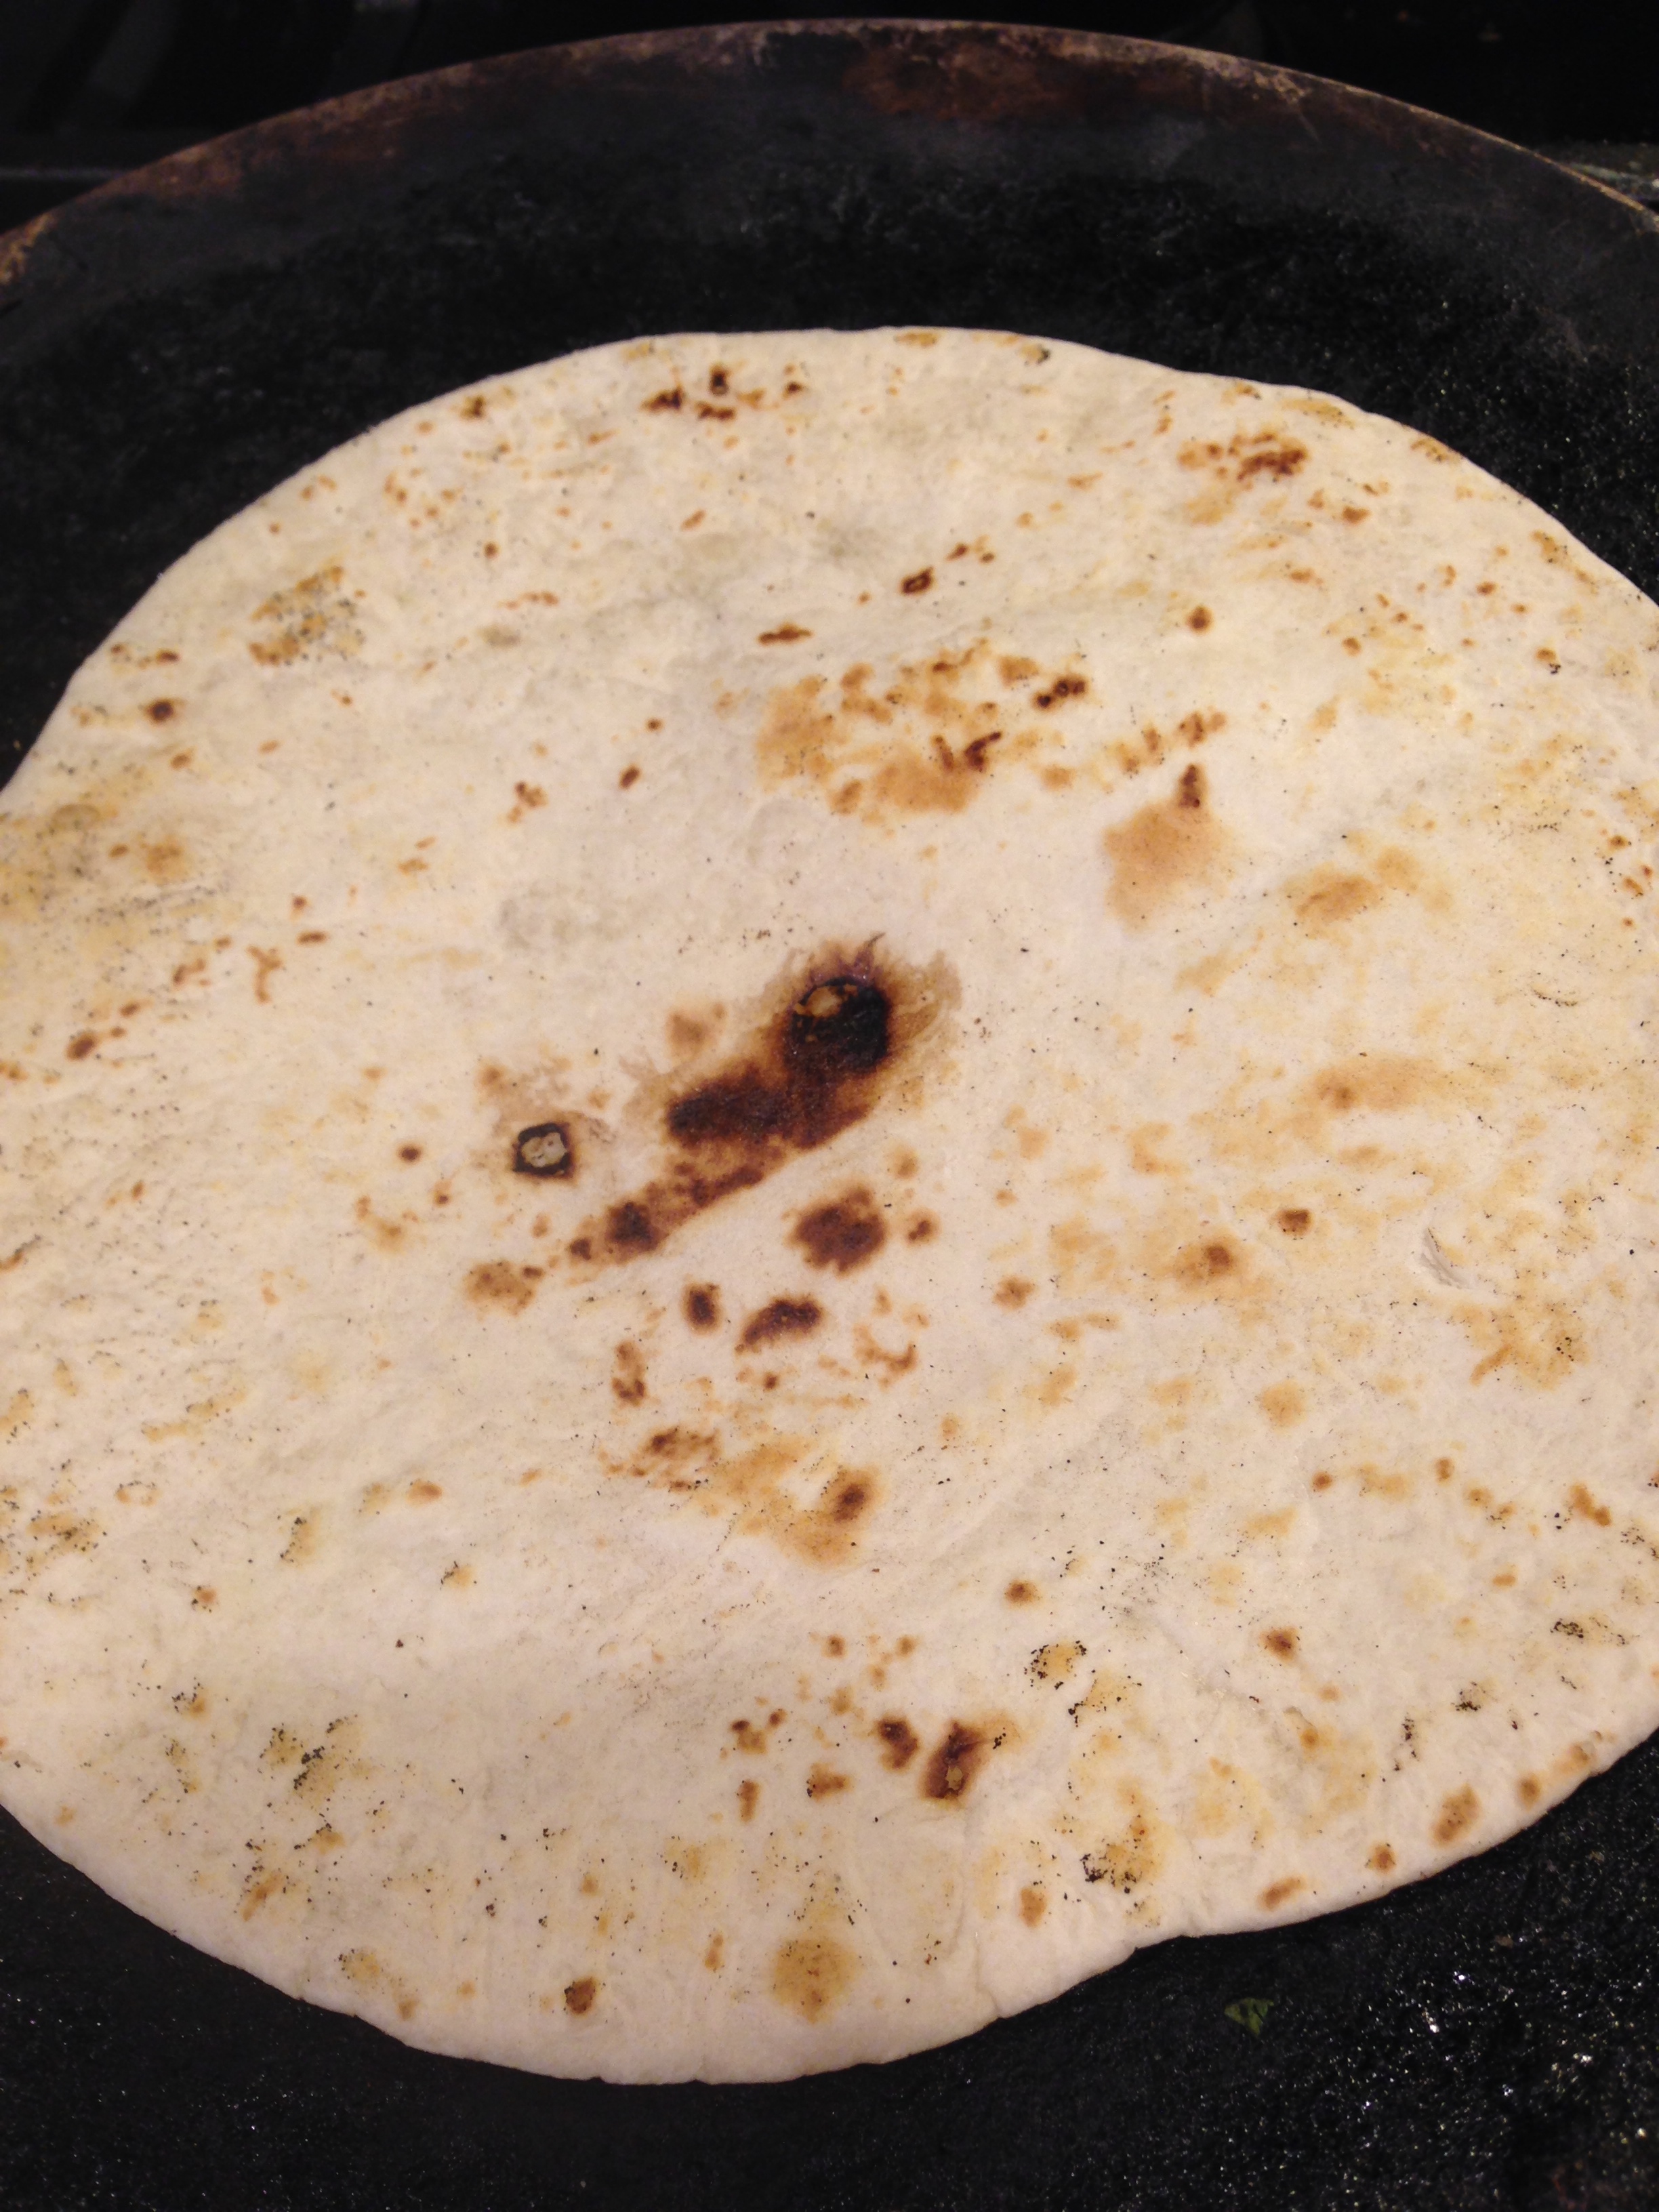
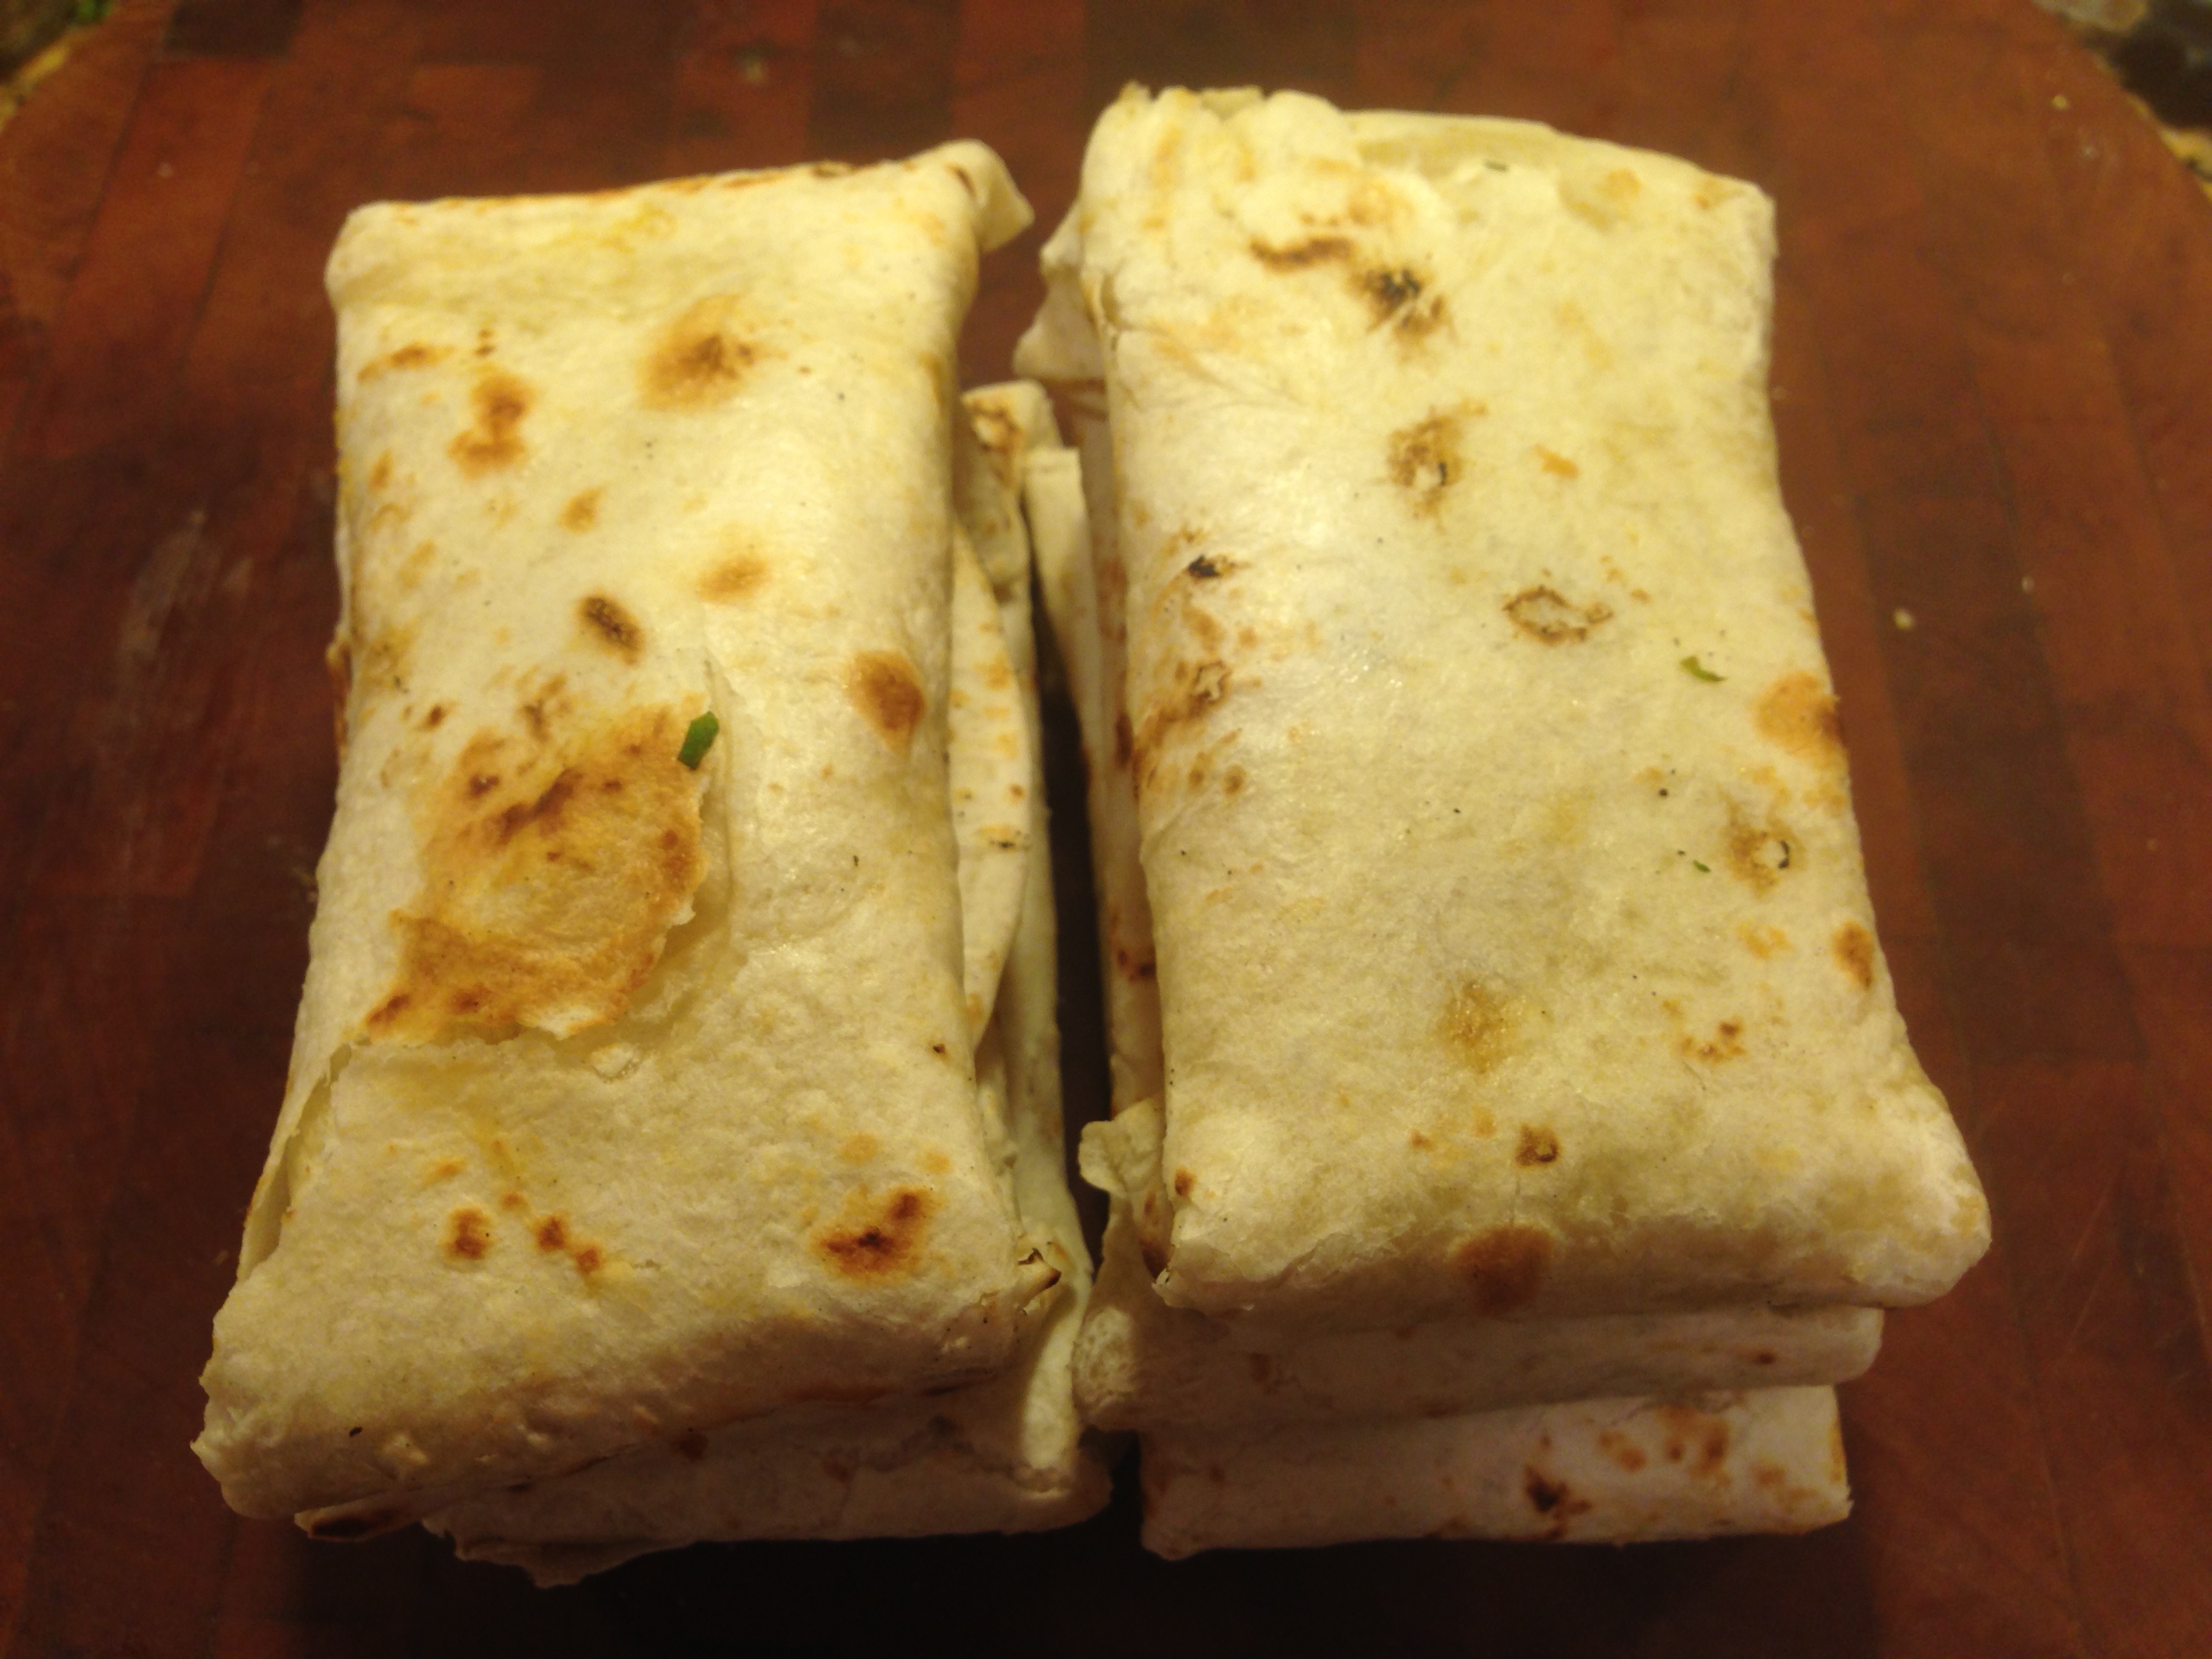
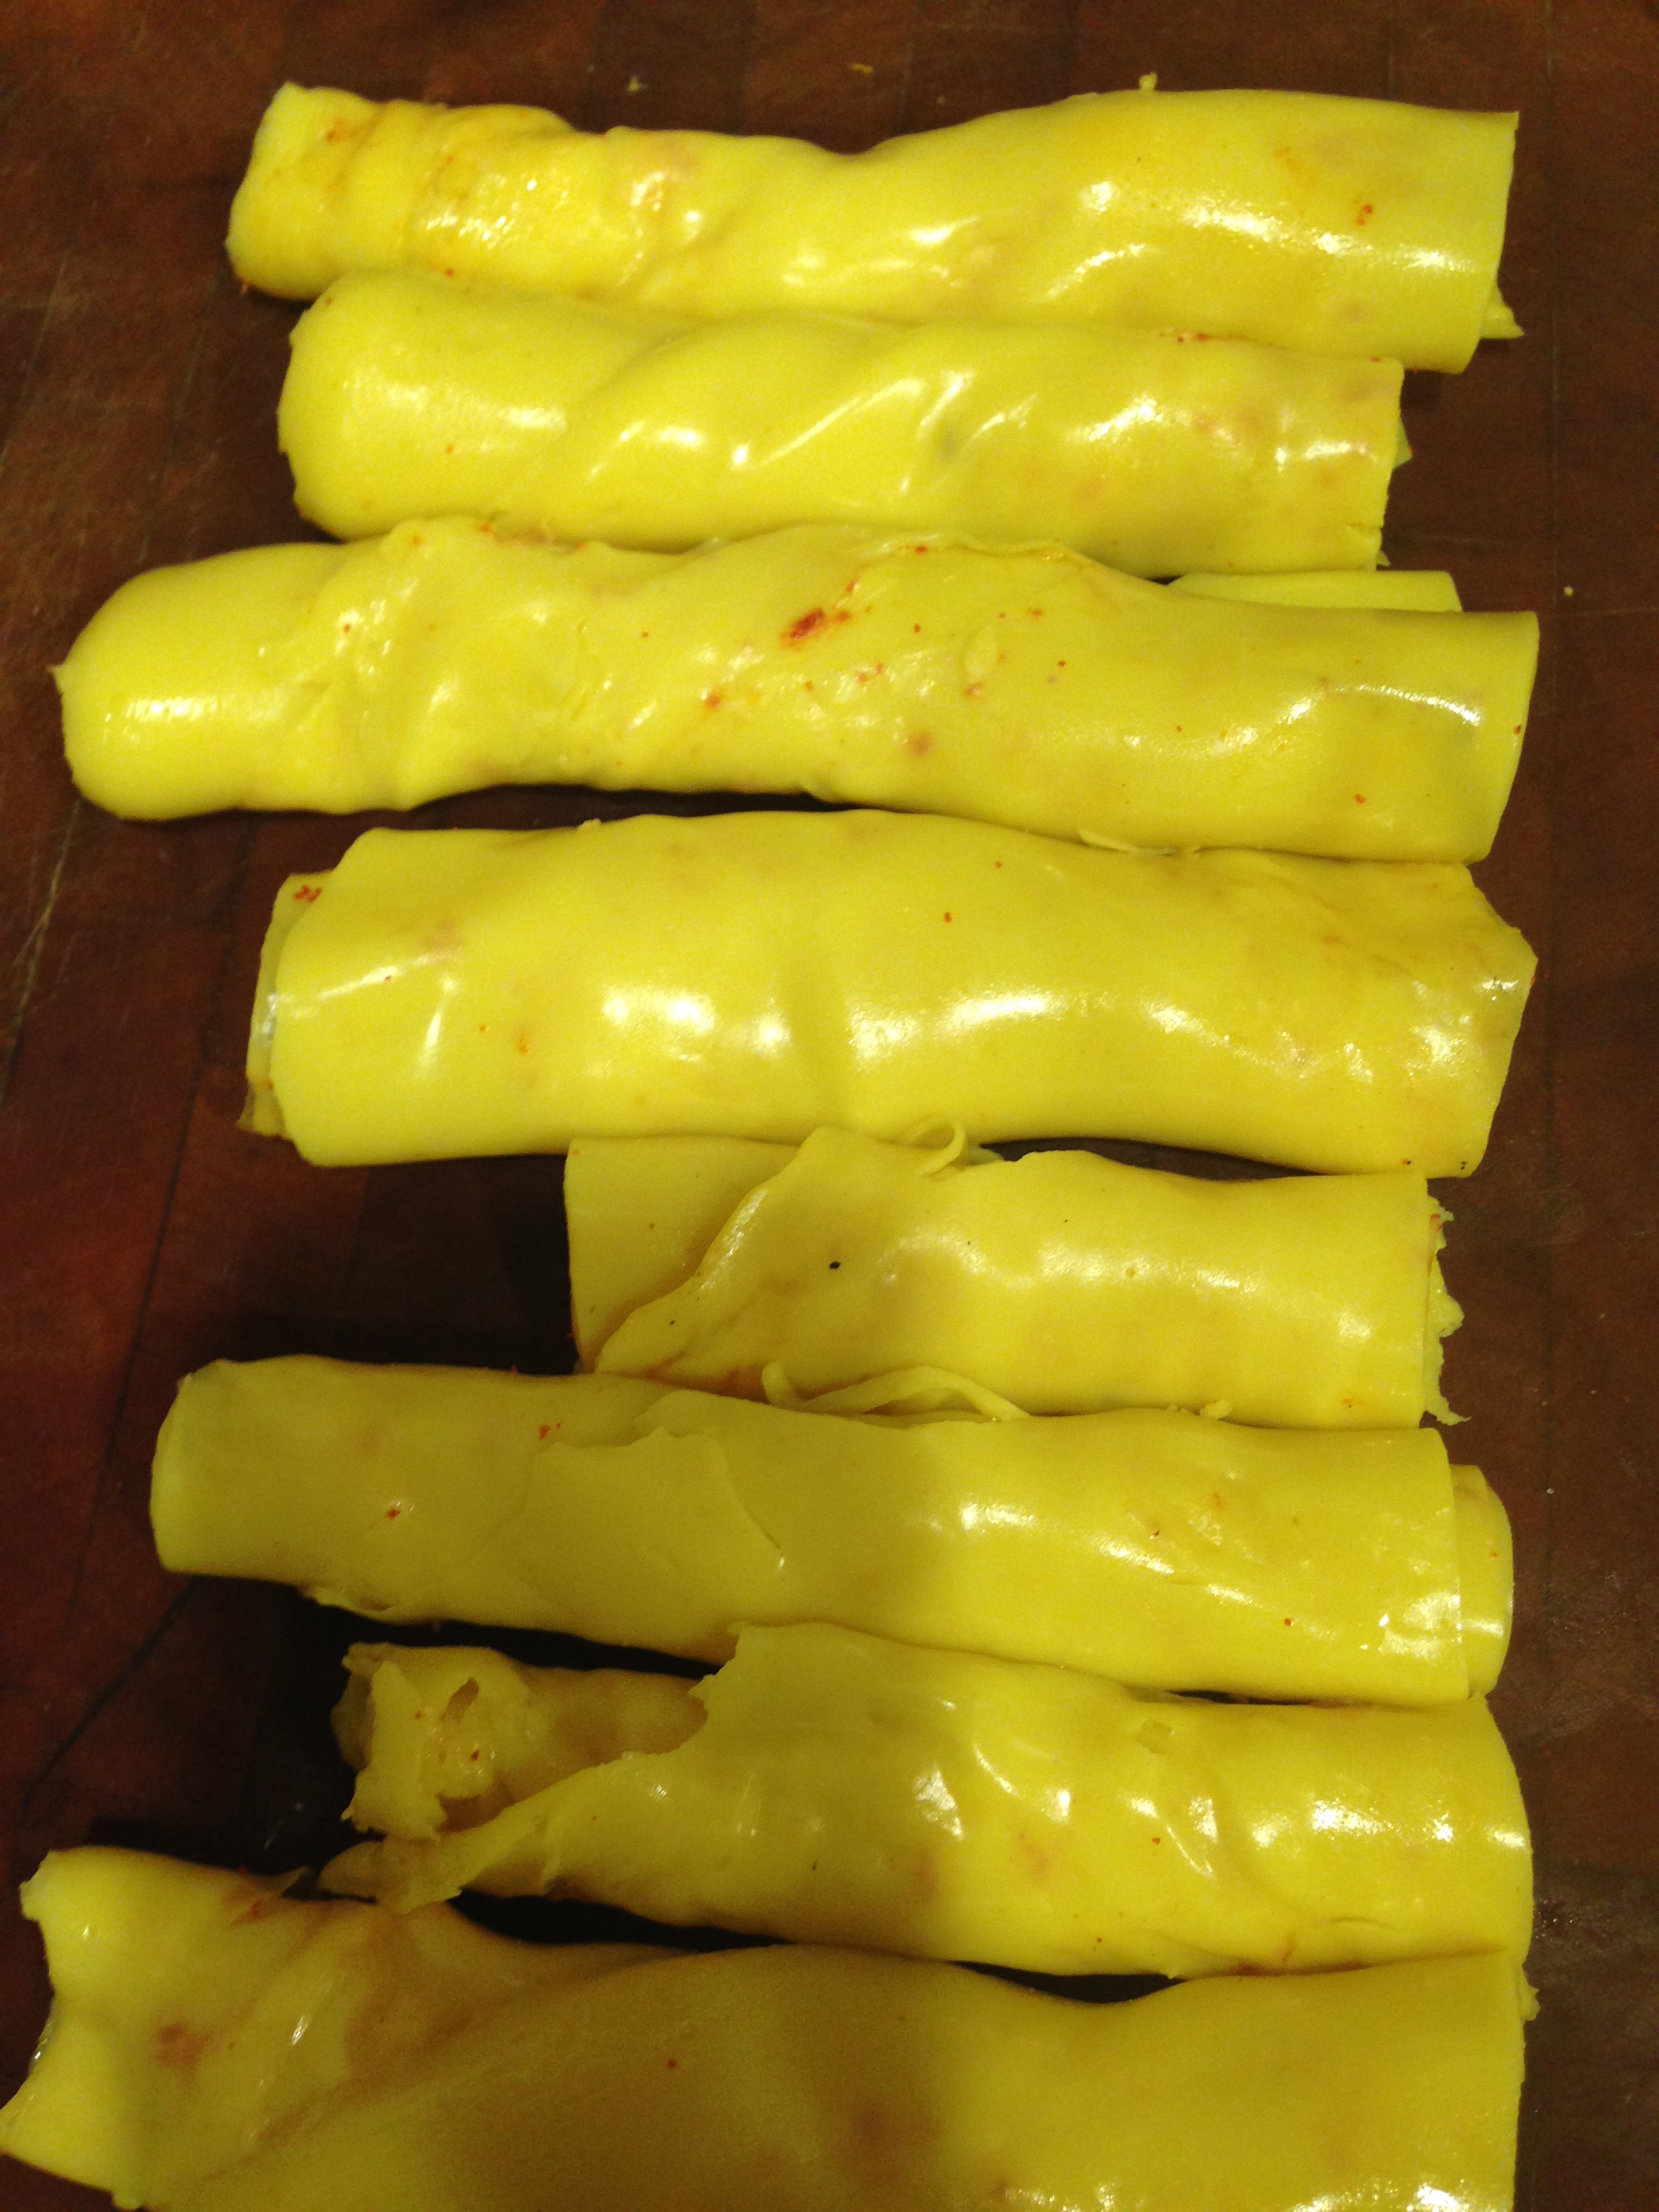
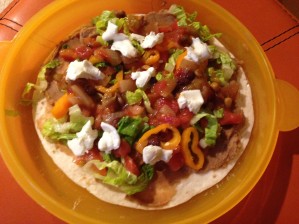
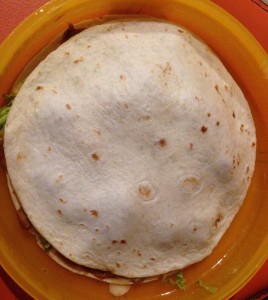
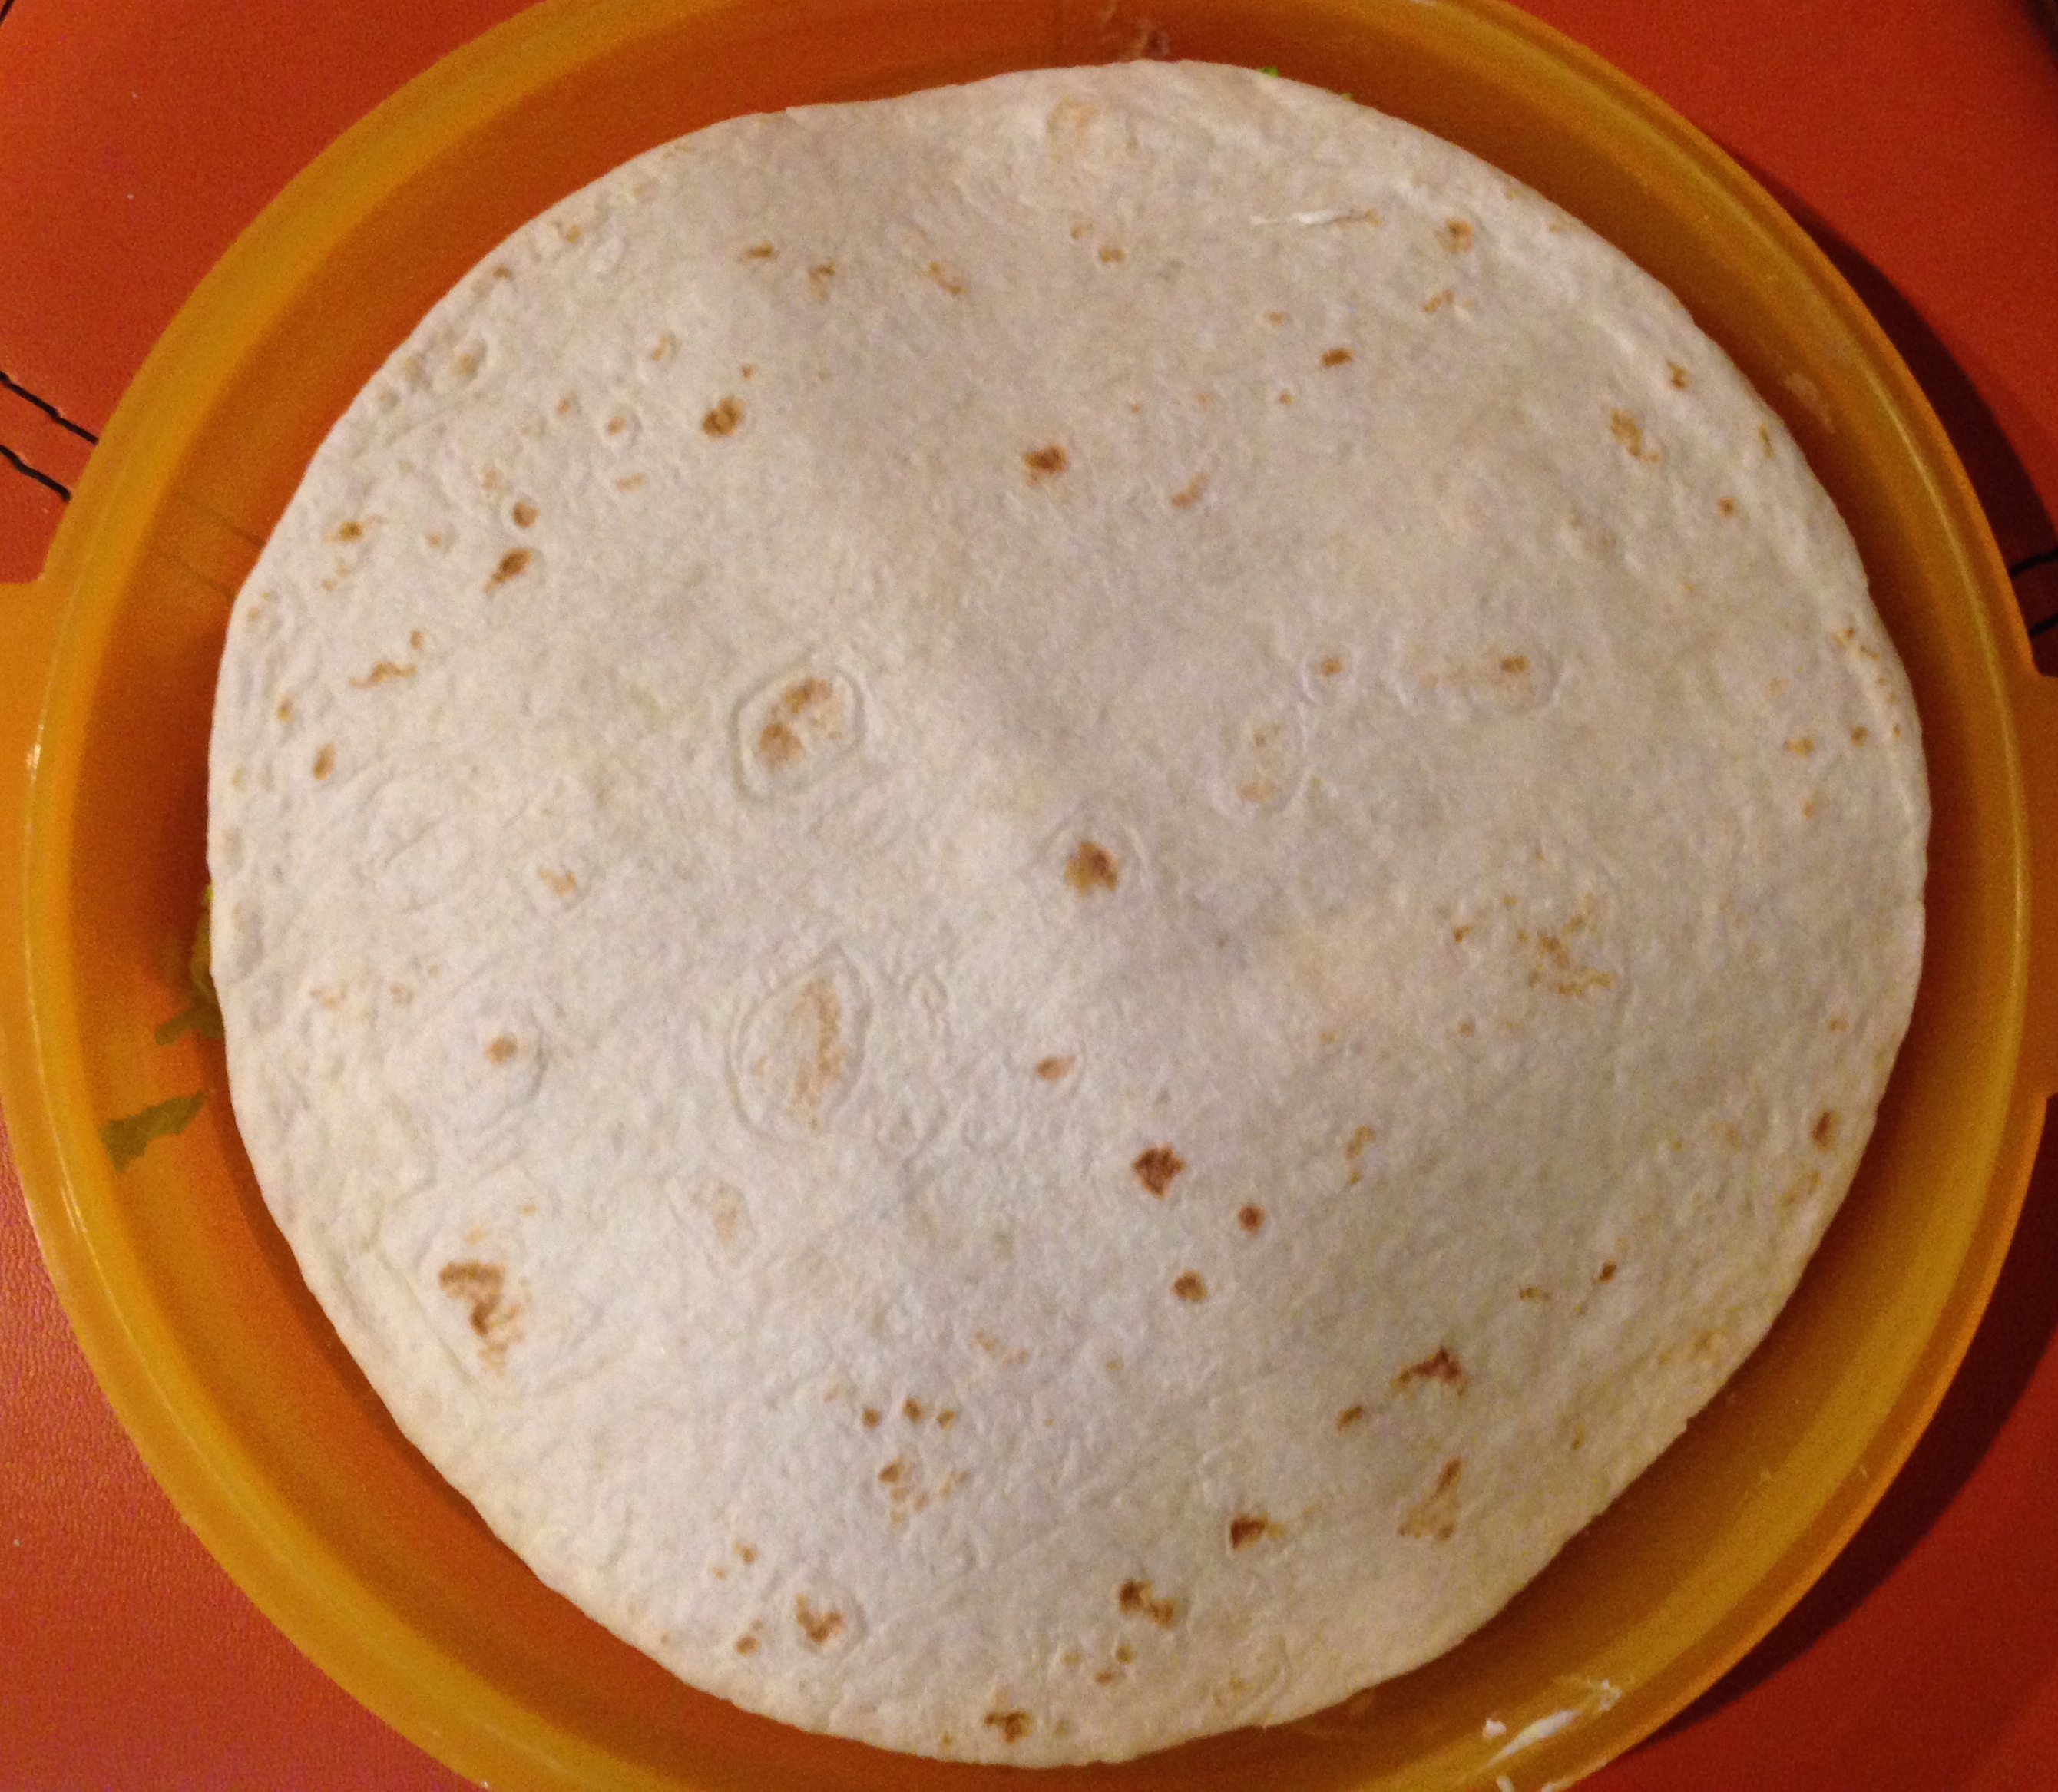
  • Lay a tortilla flat on the flat dish of the quesadilla maker and layer it with  half the quantity of refried beans, lettuce, tomatoes, peppers, some salsa and cheese.
  • IMG_3092
  • Cover it with another tortilla.
  • IMG_3094
  • Close the lid
  • IMG_3095
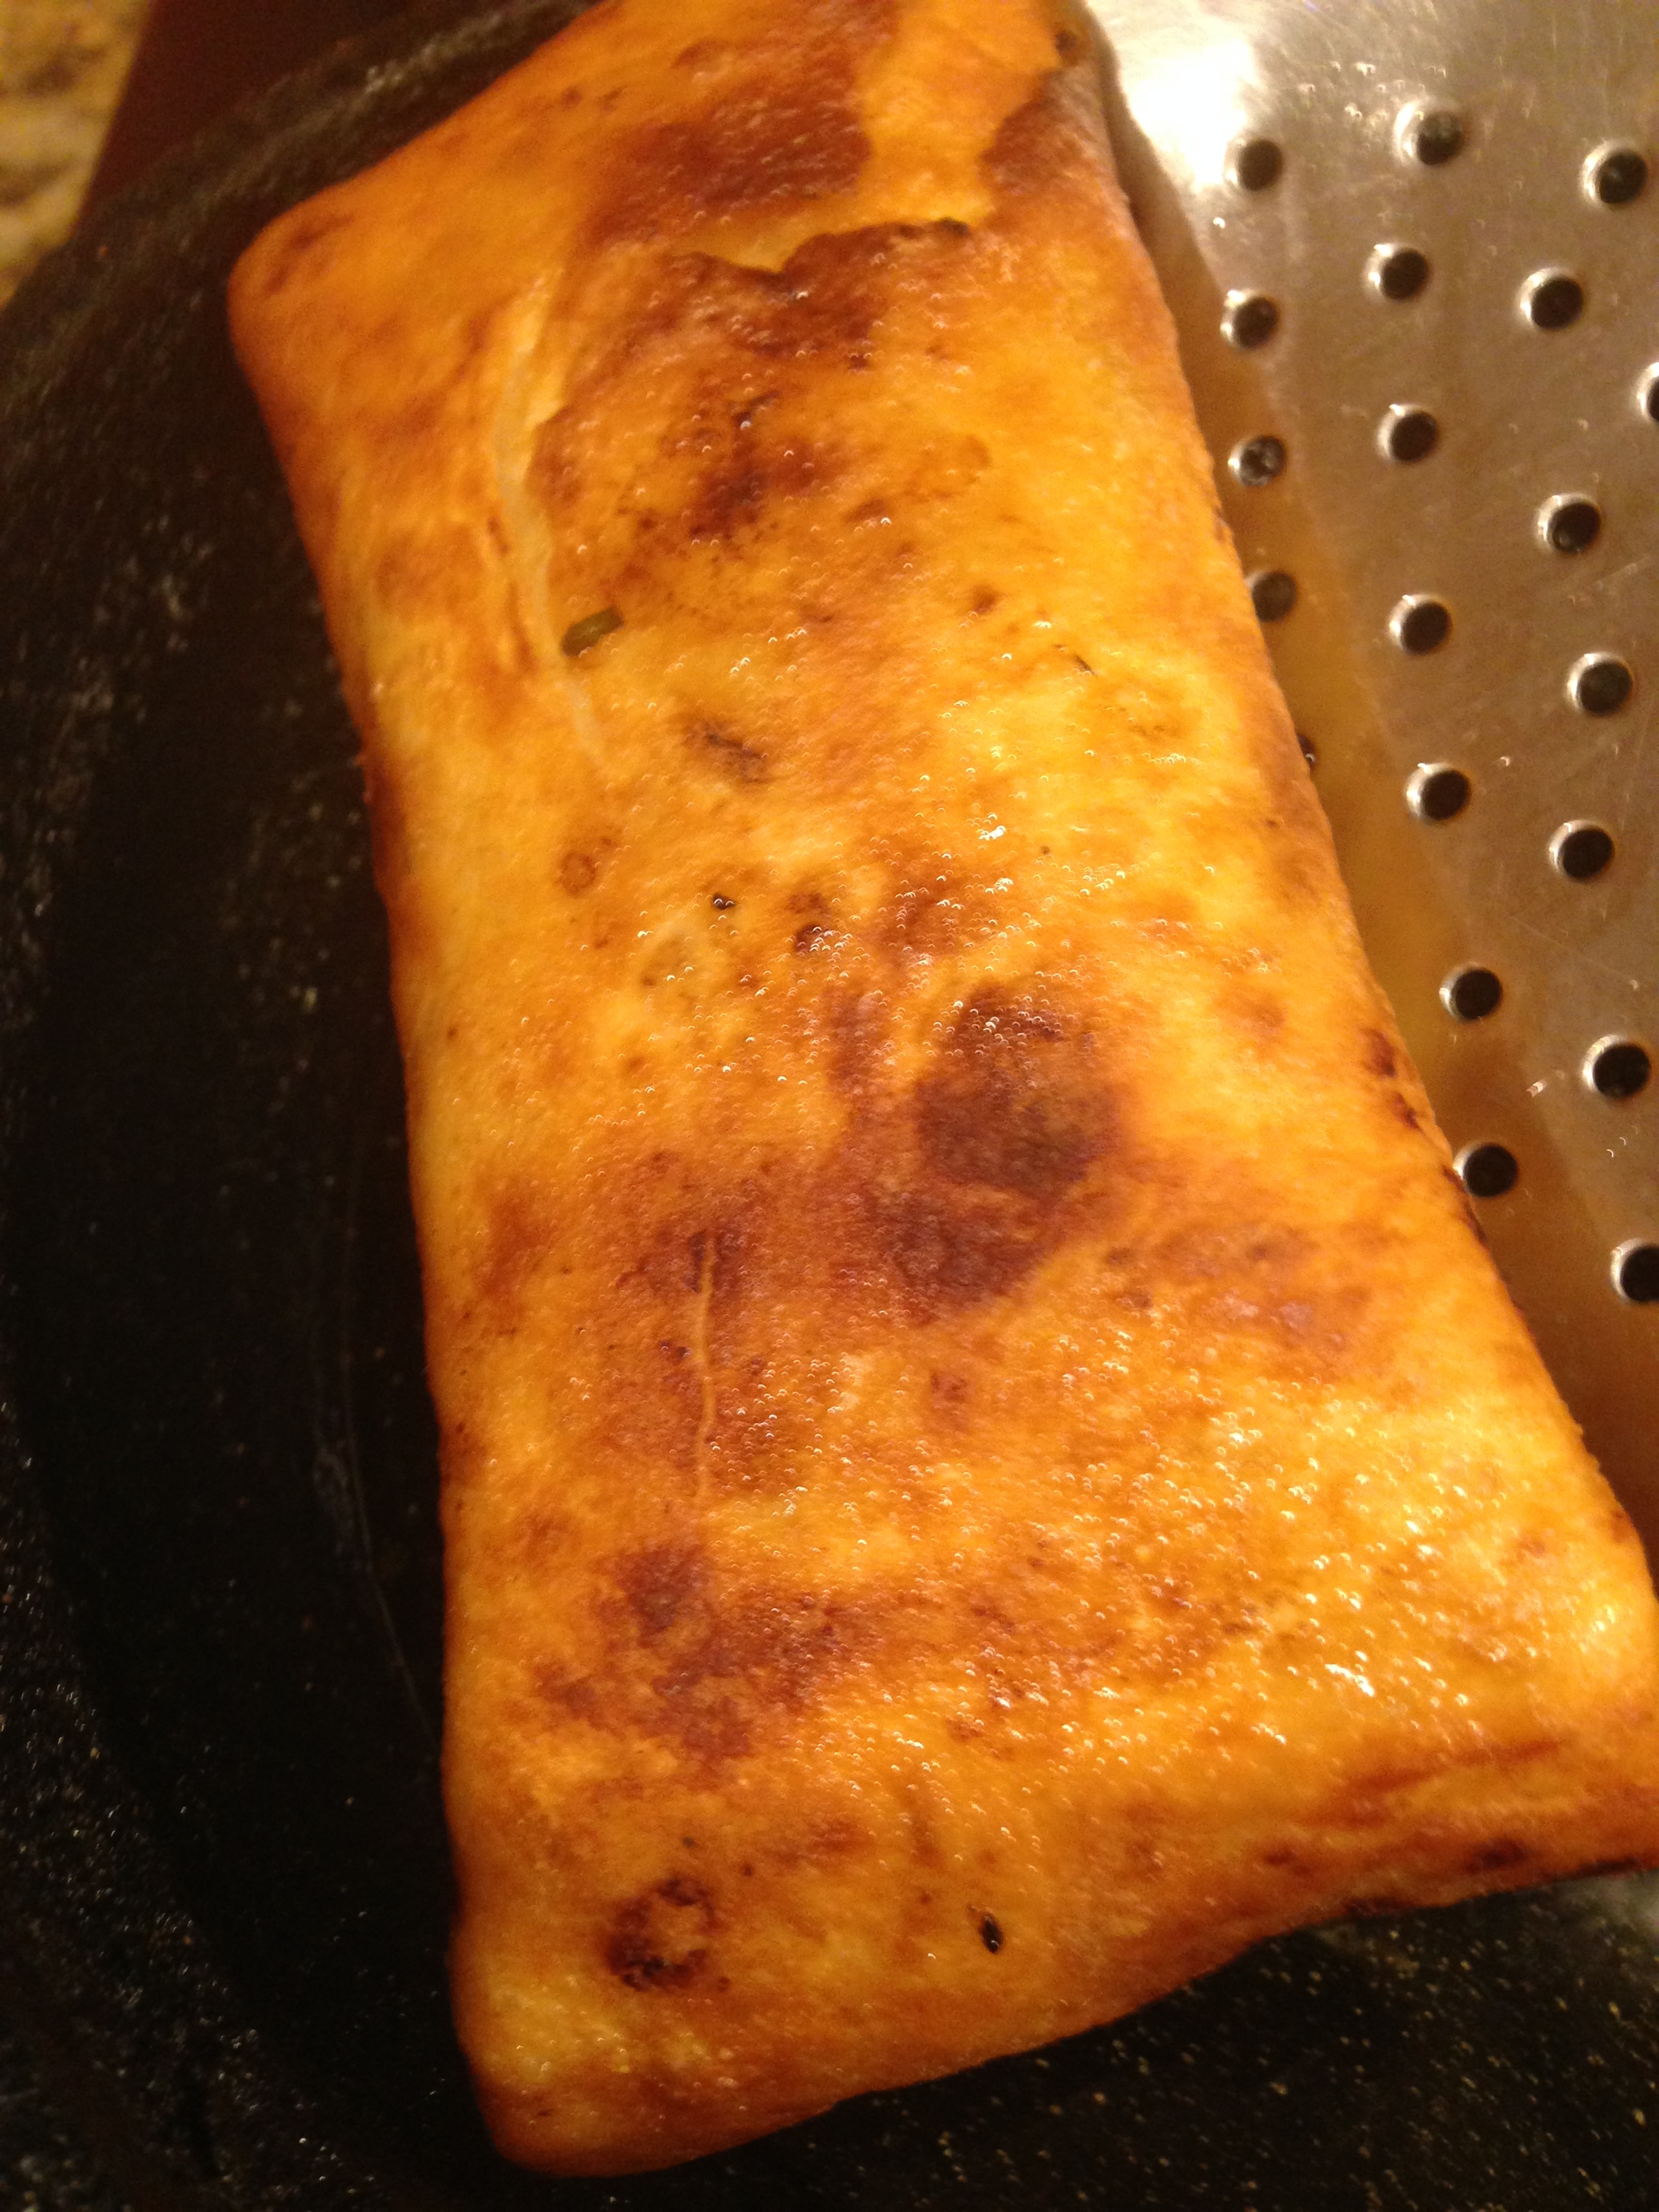
  • Microwave for 3-4 min.on high.
  • You will know its done when it rises in the center.
  • IMG_3096
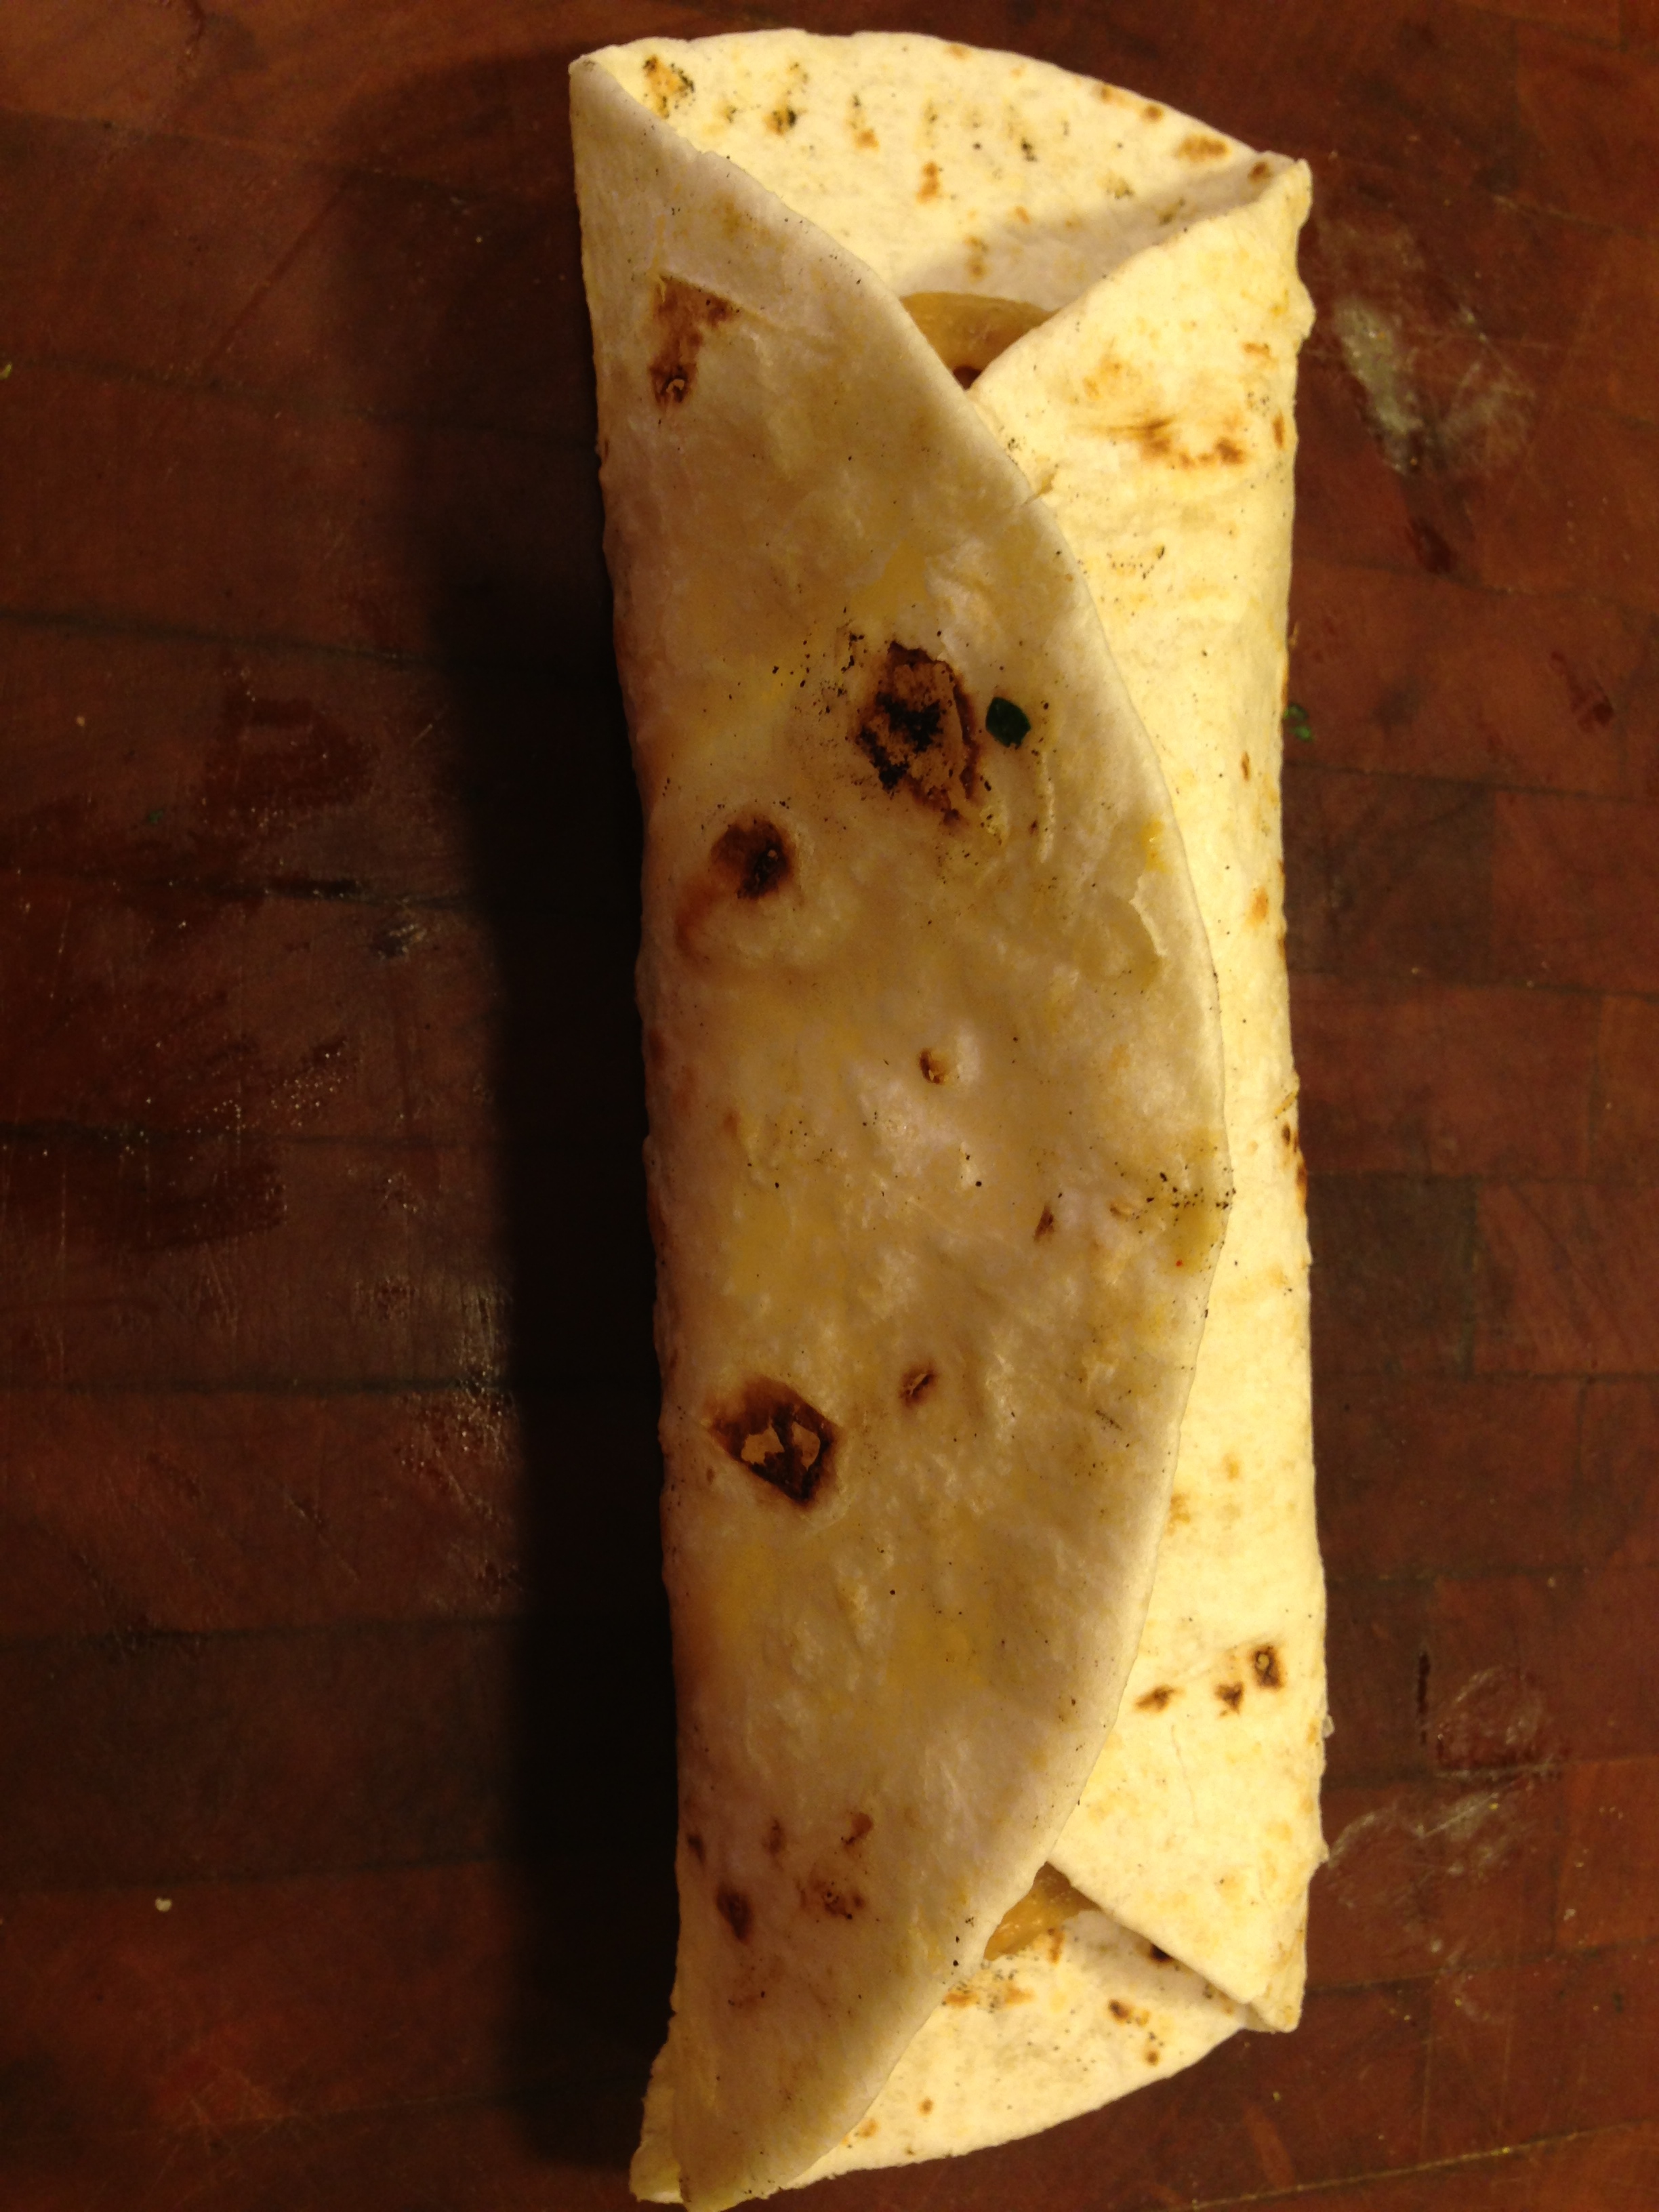
  • Open the top lid and flip it over .
  • IMG_3098
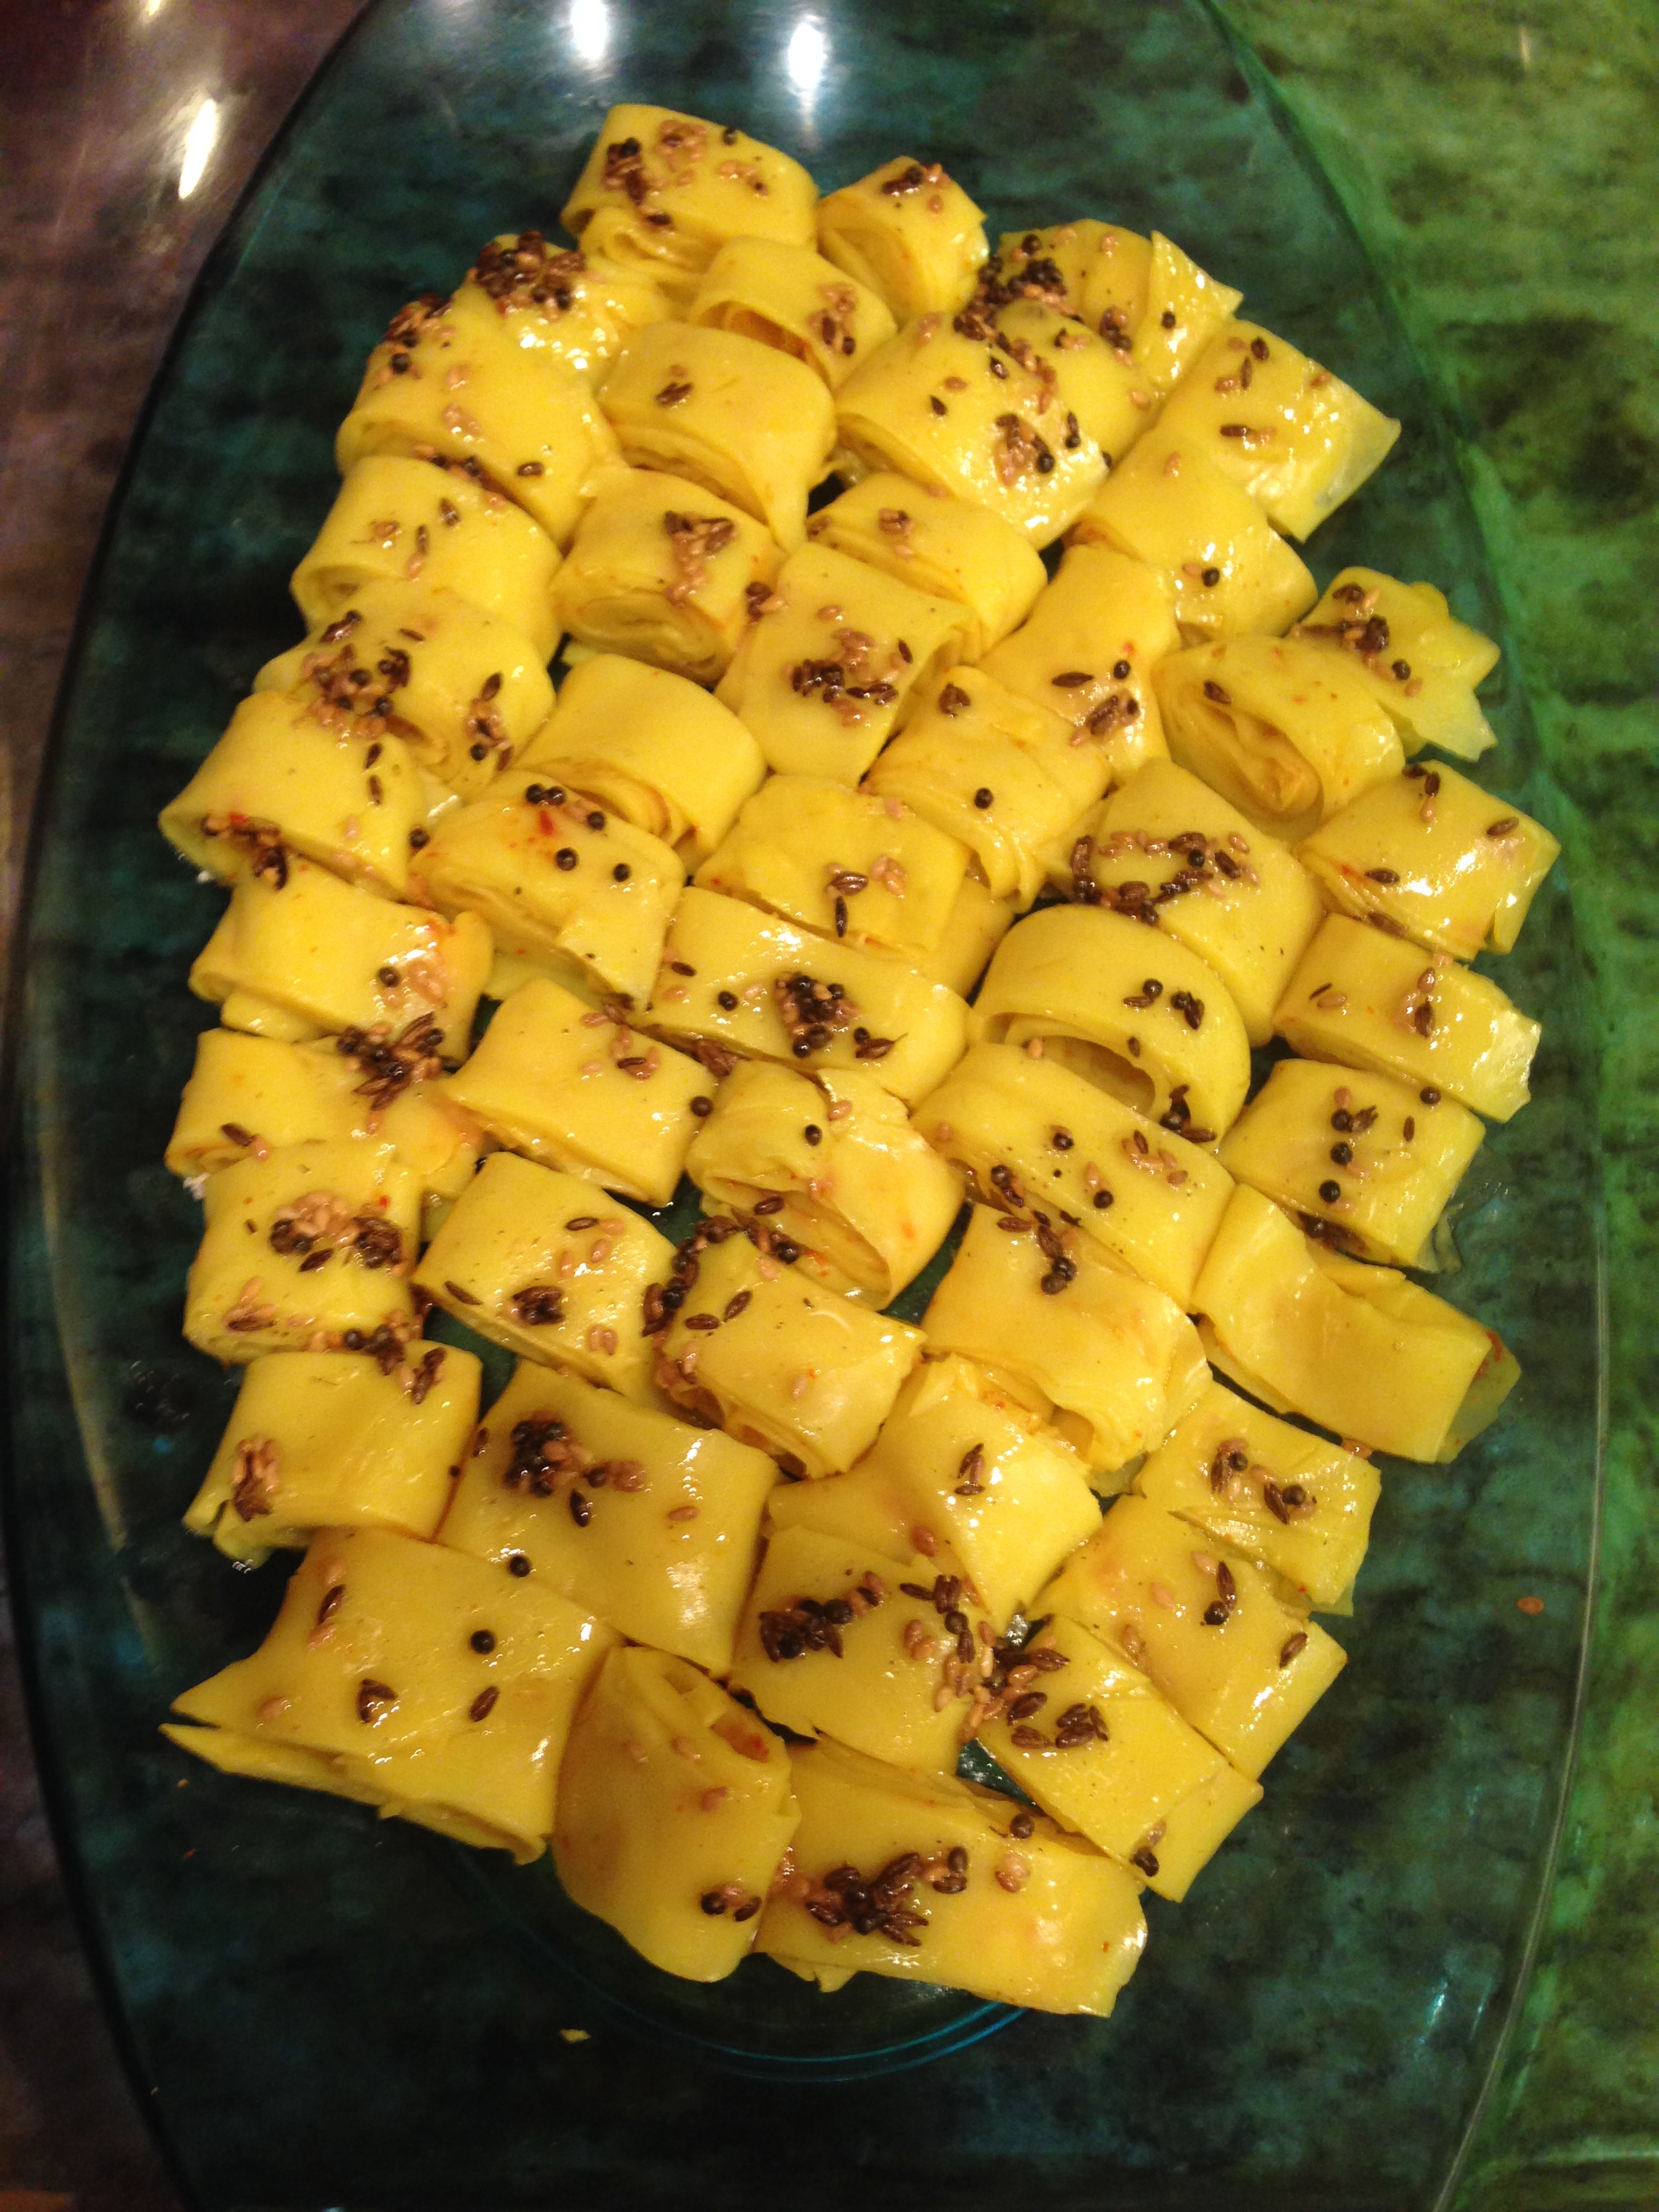
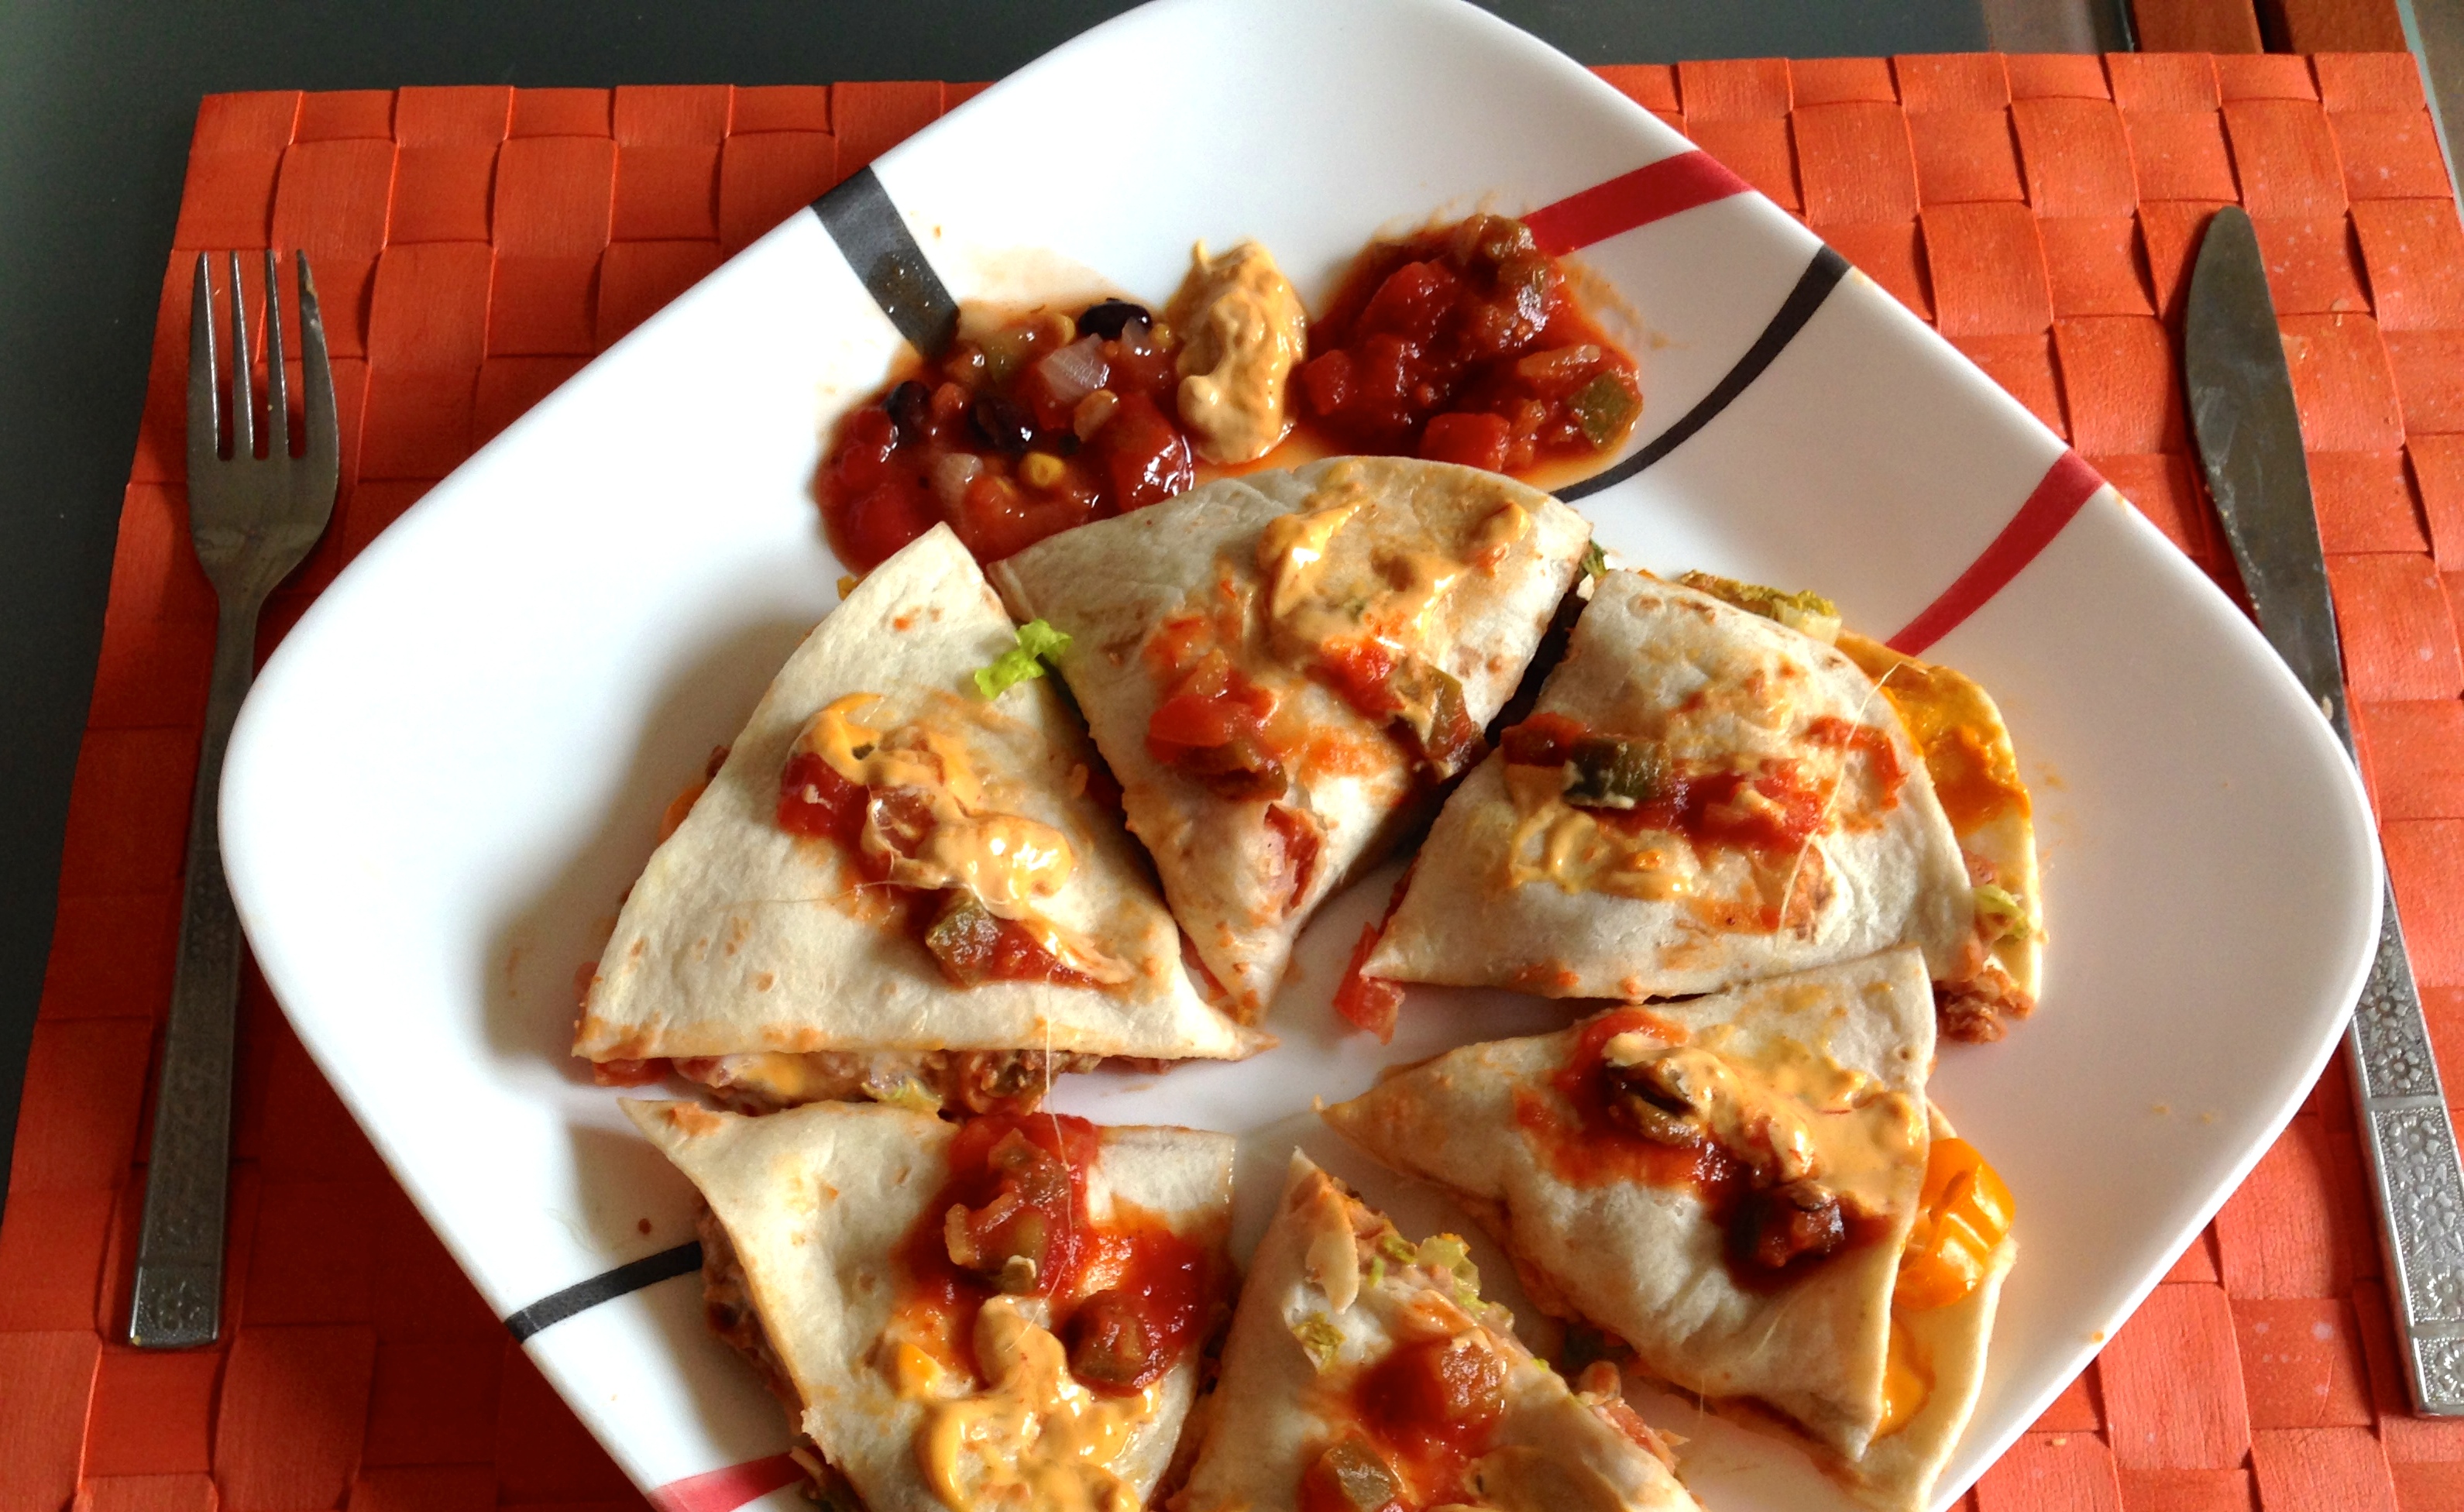
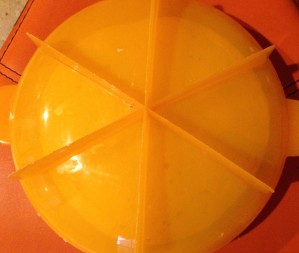
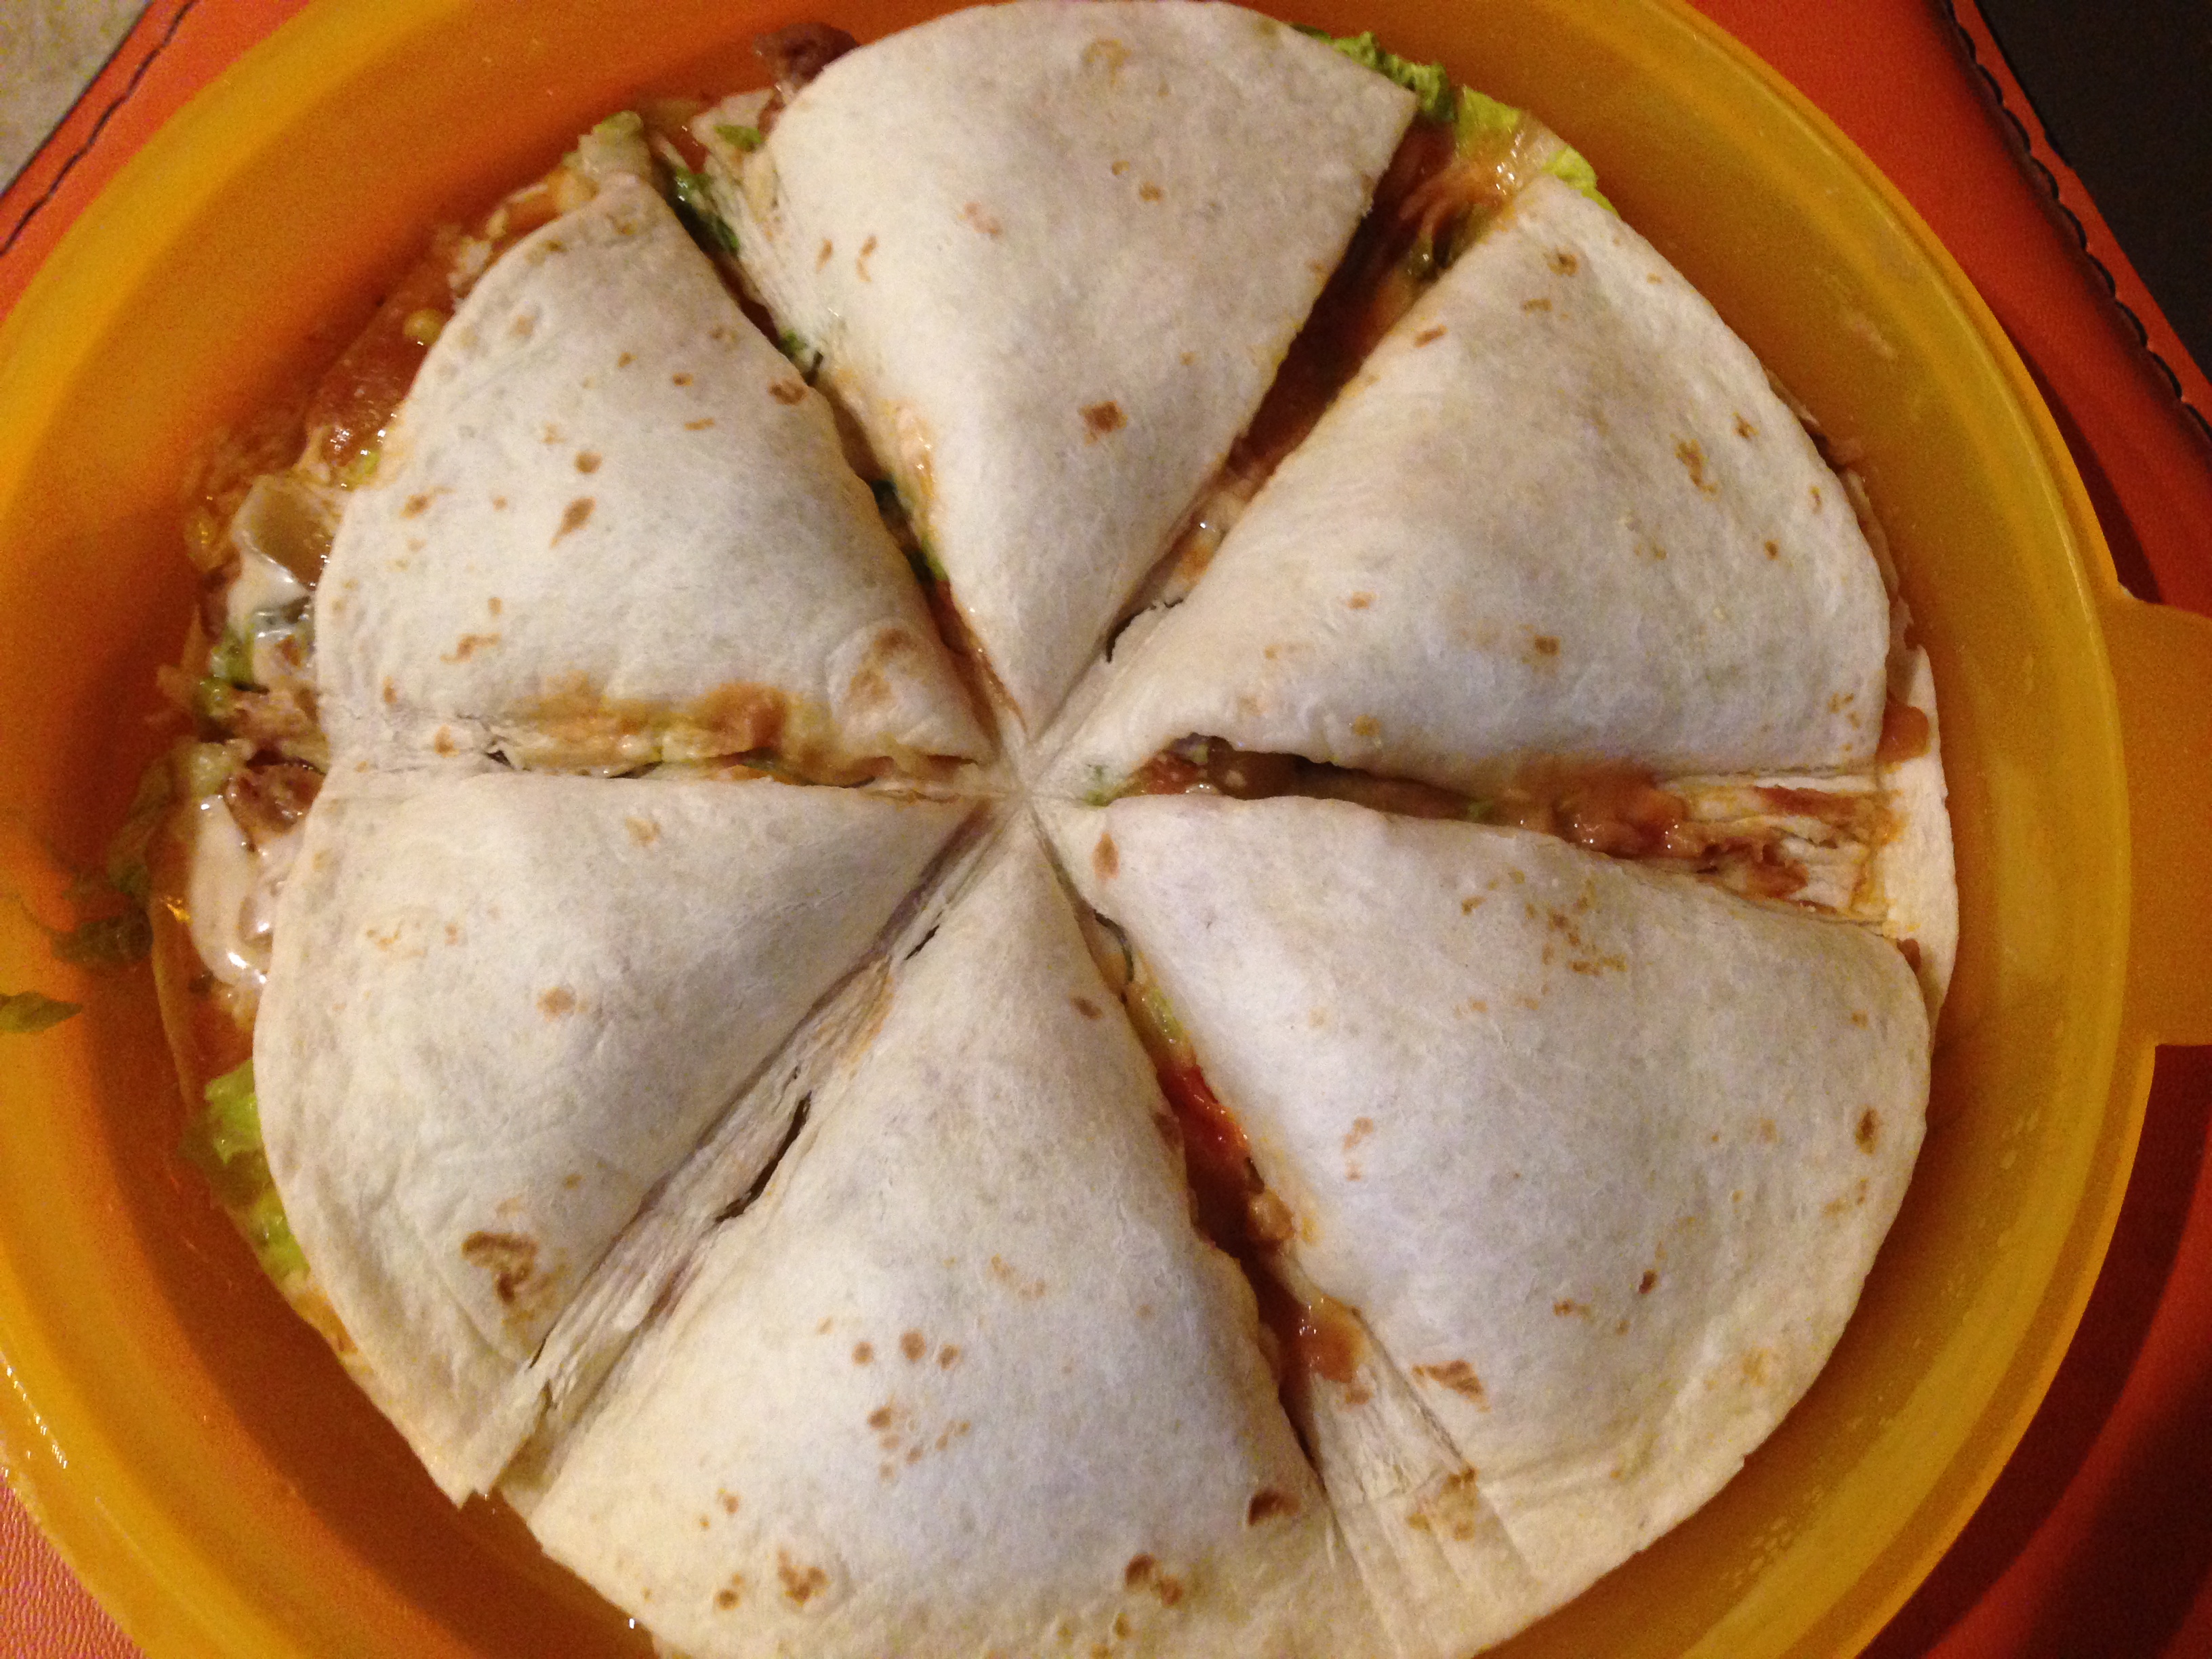
  • Place the sharp edges perfectly in the center and roll up and down on each edge, making clean vertical cuts in order to have triangles.
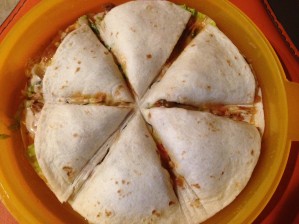
  • IMG_3100
  • Remove carefully.
  • Top it with your choice of cheese, salsa, sour cream or even no topping.
  • Enjoy warm or even after a few hours.


Tips

You really don’t need tips over here! Its just mix , heat and eat!

Well if you do not have a quesadilla maker, I would grease generous amount of oil on a flat griddle, heat the griddle and cooked the stuffed tortilla to golden brown on both the sides and cheese inside melts. This is my preferred way of relishing quesadilla as I prefer a crunchy texture to a soft texture.

Instinct Factor

How about trusting your microwave!

Feel Factor

When you are feeling lazy, but still want some exciting food, Beans Quesadilla would be my menu. Specially when you have access to ready made cans of Refried Beans, Tortillas, mix of Salsas and Cheese. Everything just melts into your mouth, and also gives a bit of spicy flavor,  making a routine lunch meal entertaining at home, school or office. I prefer the Beans stuffing to rice or Grilled Vegetables in a Quesadilla.


[contact-form-7 404 "Not Found"]


[shopeat_button]

Posted on

Eggless Chocolate Lava Cake

Birthdays call for cakes and a very easy cake to make, that has all the “oomph” factor, is the molten lava chocolate cake!! Some where on the web it was mentioned that as true in many cases, this one, also was a creation out of an accident! Some intern chef removed the chocolate cakes way too early from the oven, almost half way through and since the quantity was for a huge party, the head chef just decided on the spot to name this as the LAVA Cake , since the inside was still soft and VOILA there it was, a one time accident, now one of the most visually appealing, chocolate lover’s dream come true- Molten Chocolate Lava Cake.

Only befitting, that I decided to make this for my daughter’s 15th birthday as she is a chocolate lover and old enough to enjoy the molten hot lava cake!. She enjoyed it with a scoop of vanilla ice cream on the top and the second serving was just slurping the hot lava, along with the soft texture of the cake, creating a warm feeling of love all around!

What I also like, is that each one gets their own individual volcano of chocolate, and the best way to enjoy a cake, is when it is just out of the oven. No icing needed, no frosting needed, just hot cake aroma can fill your senses with delight!

This is also known as warm chocolate pudding cake as it is somewhere between a pudding and cake.  ≈

Enjoy this sweet  volcano and its eruption and personally I  was  equally mesmerized by the hot lava flowing out of the Hawaii Volcano!! When I inverted, I had not put the butter paper inside, and hence the top of the cake got stuck, but proved to be just perfect for the Volcano look and eruption!! So another accident turned beneficial. and reinforces my belief on trusting one’s instinct while baking this Eggless Chocolate Lava Cake!!

Recipe makes 2 chocolate lave cakes

Cooking Time 15 min

Preparation Time 15 min

Ingredients
  • 1/4 cup unbleached all purpose or cake flour
  • 1/2 tsp vanilla essence
  • 1/2 stick unsalted butter room temperature
  • 1/2 cup castor sugar
  • 1/8 cup low fat yogurt
  • 1 tbsp water
  • 1/2 bar of dark chocolate 72% cocoa( full bar is 3.5 oz)
  • 1/2 bar of  small godiva dark chocolate truffle bar(optional)
Method
  • Break the dark chocolate bar in big pieces.
  • Microwave half of the pieces on high for 45 seconds. Stir the chocolate
  • Add the remaining half  pieces , microwave for 30 seconds. Stir.
  • IMG_3126
  • Microwave for another 30 pieces.
  • Add the dark chocolate truffle bar pieces and microwave for another 30 sec.
  • Soften the butter and  add vanilla essence. Whisk the butter and essence with an electric whisk for 2-3 min.
  • IMG_3124
  • Add the castor sugar and mix well manually, till it forms a paste.
  • Whisk again with an electric whisk for 2-3 min.
  • Put the oven to pre-heat for 450 degrees for convection baking.
  • Add the all purpose or cake flour and mix manually.
  • Add melted chocolate and stir well.
  • Add yogurt and beat well for a 2 min.
  • Add water and beat for a min.
  • IMG_3143
  • Grease the ramekin moulds generously with butter.
  • Put a butter paper round inside the mould.
  • Pour the batter equally among the two moulds upto 3/4 of the mould height.
  • Tap the moulds to remove the air bubbles.
  • IMG_3144
  • On a baking pan, or cookie sheet, put the chocolate lava mix to bake.
  • Bake for 13 min.
  • Remove from the oven.
  • Cool for a min.
  • Gently release edges of the cake, with a butter knife.
  • IMG_3146
  • Take a plate and place it inverted on the top of the baked chocolate lava cake.
  • Flip the plate so the mould now rests on the top.
  • Gently tap the sides and release the cake.
  • You can top this with vanilla ice cream, powdered sugar or eat it just plain hot chocolate lava!

IMG_3134

Tips

To cut a round shape butter paper, put the ramekin mould on top of the butter paper, pencil the outline and cut it 1 mm smaller than the pencil circle.

Make sure that the chocolate does not burn in a microwave. Alternatively, you can melt the chocolate on a double boiler.Or heat a pan of water, put a vessel on top of it and gently stir the chocolate on top of it on a medium flame.

The cake is done, when the sides are baked and the center is a almost baked.

Serve instantly, as otherwise the molten lava will cool down and start solifiying.

Instinct Factor

Releasing the cake, via inversion, needs some tact and ability to handle hot containers. So having a good pair of hot gloves that are flexible helps over here.

Feel Factor

Eggless Chocolate Lava cake gives you a warm feeling of love, dark chocolate, melted in some parts, mixed with the soft chocolate on the outside, is simply Divine and can be made and consumed in under half an hour.  Top with cool ice-cream for that contrasting flavour, and for extra sweetness, dust some more castor sugar and spread your love!

Posted on

Mexican Chimichanga with an Indian Touch

Mexican Chimichanga- it is the name that caught my fancy and I wanted to try this! I instantly appreciated the similarity of a crunchy Indian Samosa with the Chimichanga crust. Of course the filling was different, but it looked so colorful and crunchy,  that was simply hard to resist. If you are red kidney bean fan and crunchy samosa fan, this will definitely become your one of the favorites soon.  The veggies on top add to texture and color and give a good contrast to the mashed kidney beans. You can either top it with guacamole or avocado. My avocado was not that ripe to make guacamole so diced it and tasted fine. I truly cherish this deep fried tortilla dish with my friends and family as somehow Chimichanga has happy ring to its name!

I am reminded of a friend who would take the refried beans and tortillas from USA to India and make Mexican Chimichanga  for her family  in India, as they use to enjoy this highly! This should prove the popularity of Mexican Chimichanga amongst Indians for sure!

Receipe makes 6 pieces of  Chimichanga

Cooking time: 15 min

Prep time : 15 min

Ingredients
  • 1 can plus 1/3 cup Vegeterain Refried  Beans
  • 3 tbsp oil
  • 6 hot green chillies finely choppped
  • 2 tbsp coriander finely chopped
  • 2 slices of cheese
  • 1/4 tsp turmeric powder
  • 1/8 tsp asofoetida
  • salt to taste
  • 1 pack corn tortilla (6 pieces)
  • oil to fry

For garnish

  • 2 cups lettuce thinly sliced
  • 1 cups tomato diced medium
  • 1/2 cup diced yellow red peppers
  • 1/2 cup diced avocado
  • Medium spiced tomato salsa
  • Guacomole
  • Sour Cream
Method
  • In a deep pan put the oil to heat.
  • Add asofoetida,  turmeric, chillies and stir for 20 seconds.
  • IMG_2873
  • Add red beans, salt and stir for 2-3 min
  • Add cheese slices and melt it  into the mix.
  • IMG_2875
  • Add coriander and remove from flame.
  • Heat a flat griddle
  • Put a corn tortilla to heat for 10-15 seconds on medium flame.
  • IMG_2878
  • Flip it over and heat the other side for 10-15 seconds and remove from flame.
  • Divide the red beans mix into 6 parts.
  • Layer 1/6th of the mix horizontally in the middle of the cooked tortilla
  • Fold over to the middle from the top and bottom.
  • IMG_2879
  • Fold over from both sides and flip it over.
  • Do this for all tortillas and red beans mix.
  • IMG_2881
  • Heat oil in a frying pan.
  • On a medium high flame, fry the refried bean stuffed tortilla( chimichanga) to golden brown
  • IMG_2886
  • Garnish  the chimichanga with some lettuce, tomatoes, peppers, avocado, guacamole,  sour cream, and salsa and serve hot.

IMG_2891


Tips

Just needs some technique in folding and frying,- fry with folded ends to the bottom of the frypan, as this will cook first and enclose the stuffing.

Instinct Factor

Heat the tortilla on a medium high flame, and do not have brown burnt spots as it will crack. when you fold and fry the tortilla

Feel Factor

I want it NOW, as my family members would say!! And you can have it too, as it is so quick to make!

[contact-form-7 404 "Not Found"]

 
[shopeat_button]

Posted on

Muli Paratha White Radish Bread

Muli Paratha, is bread stuffed with White Radish and spices. White Radish is also known as Daikon, meaning large root in Japan, the land it is suppose to originate from.  It is also a winter vegetable and on researching I found it contains up to 27% of daily vitamin C. Some people can take the pungent taste of raw white radish, but I prefer the taste of white radish or Muli mixed with Bengal Gram flour. A lot of recipes details raw white radish with spices which I find difficult to roll, as  water in the white radish makes it difficult. Hence I prefer the recipe with gram flour, which absorbs the excess water as well as makes the white radish easy to warm up to.

The addition of bengal gram flour makes it fulfilling and when it is accompanied with yogurt or boondi raita or pickle, it gives you the pleasure  of consuming homely food! The leaves of white radish also taste well  when cooked with bengal gram flour and often people make this as a side vegetable dish too. More on this next time I able to get some nice fresh green leaves along with the white radish. In Rajasthan, this is also used to make dhokli.

The credit of showing me this recipe goes to my mother in law, who first made Muil Parathas for me, and I still admire her soft, tasty Muli Parathas White Radish bread, as they are very delicious.  Making Muli Paratha White Radish bread is easy, filling and can be a good variation to lunch meals or brunches or heavy breakfast on a weekend! Very little attention is needed while preparing the stuffing, so often this is  my go to recipe when I am tied at various ends.

Recipe makes 8 parathas

Cooking time 40 min

Prep 10 min

Ingredients
  • 3 cups grated white radish or white muli
  • 6 heaped tbsp of gram flour
  • 1/4 cup oil
  • 1/8 tsp asofoetida
  • 1/2 tsp mustard seeds
  • 1/2 tsp turmeric
  • 1 tsp red chilli powder
  • 5 pinches of  dry samosa kachori masala or garam masala
  • salt to taste
Method

For the stuffing

  • In  a broad pan heat oil on medium flame.
  • Add asofoetida first, then mustard seeds
  • When mustard seeds crackle, add grated white radish or muli
  • Add salt, turmeric, chilli powder and bengal gram and mix well.
  • Cover and cook on low simmer flame for about 20 min.
  • IMG_2941
  • Open and sprinkle the garam masala or dry samosa kachori masala and remove from flame
  • Uncover and let it cool down for 15-20 min until completely cool.

For the bread

  • In a broad pan, mix wheat flour, pinch of salt and one cup of water and knead into a soft dough.
  • Cover and Refrigerate the dough for 30 min.

For rolling the paratha bread

  •  Divide the white radish stuffing  into eight parts.
  • Take a small golf ball size wheat dough. Make a round ball
  • Using a roller pin, flatten the ball in to a round circle about 5 inches round.
  • Put one part of white radish muli stuffing onto the flatten round.
  • IMG_2943
  • Enclose the stuffing my covering from all sides towards the center.
  • IMG_2945
  • Twist the closed stuffing and remove excess dough that protrudes beyond the round ball.
  • Flatten a bit with the hand and using a roller pin and dusting flour(wheat flout), roll the stuffed ball into 7 inches flat circle.
  • IMG_2947
  • Grease a flat pan with oil and heat.
  • Cook the flattened circle on medium heat.
  • When brown spots appear, flip and  pour a few drops of oil on the center and the side.
  • IMG_2951
  • Cook the other side and also pour some drops of oil and flip.
  • Serve hot with boondi raita, plain yogurt or pickle.
  • IMG_2953


TIps

Rolling the paratha with light hand and making sure that the middle of the paratha bread is not thick, will help in making the cooked paratha soft.

Instinct Factor

Even if some stuffing sticks out, while you roll the paratha bread, that is fine, as it will all get cooked and will look similar with the paratha. If the dough gets too sticky you may find it difficult to roll, so trust your instinct in preparing the dough and rolling it.

Feel Factor

A quick , easy  dinner/lunch meal that is thoroughly enjoyed in the winter season as radish is a winter vegetable and when mixed with bengal gram and spices, gives you the quota of vitamin c and heat needed for facing cold winter days.


[shopeat_button]

Posted on

Kheer Rice Pudding

Kheer, the traditional rice pudding is thoroughly enjoyed not only all over India, South East Asia, but closer to home, in New York City too. NYC boasts an upscale rice pudding Restaurant, known as Rice To Riches. When I first heard about a western version of traditional Indian Kheer, my  interests perked up and I put it on my  list of restaurants to be visited.The many flavours introduced in Rice to Riches encompass Cinnamon, Chocolate, and Valentine to name a few. It shows the popularity of rice pudding across nations and culture as it is a widely accepted and adapted rice dessert. Here is a link to their FB page https://www.facebook.com/pages/Rice-to-Riches/115786161777086

Here, I present the traditional way of Indian Rice Pudding, or Kheer. There is something comforting when you mix rice, sugar, and milk, and garnish it with cardamom, saffron, and nuts of your choice. The texture could be creamy and thick or a bit liquidy. It depends on what  you are eating it with.  The way Rice and Riches sells it, it is a creamy texture, which is perfect to eat it solo. If you are eating this as a part of meal with Puri/Roti you want it a little liquidy. Traditionally this dish can be consumed warm, cold or chilled. I prefer the cold/chilled version.  As a custom in Gujarat, people often make this on the full moon night in the autumn season ( Sharad) in October-November, the coolest nights.  People will cook kheer, put in the terrace to chill by the moonlight, sing songs, play dandiya and enjoy this Kheer with friends and family.

This is a simpler, easier and less time consuming recipe. As a result, this recipe is  kid friendly. Shortly, a group of kids are going to assist their parents and use this recipe to cook kheer and serve in a community kitchen project that they are part of. The recipe has been modified, based on Mrs. Dalal’s version. In my opinion, this probably could be one of the oldest Indian Desserts, whose reference is found in many mythological and religious texts, as also its two main ingredients , rice  milk and sugar are farm related  items. However the recipe detailed below does make use of  sweetened  condensed milk.

Recipe Makes 3 cups and serves 3 /4 people

Cooking time 15 min

Preparation 10 min

Ingredients
  • 3 cups of  whole milk
  • 1 cup cooked rice (preferably pressure cooked) or 1/3 cup raw rice cooked with two times water
  • 1/2 tsp cardamom powder
  • 3 tbsp sugar
  • 1/3 cup  sweetened condensed milk( Nestle Carnation Brand)
  • saffron strands 4-5
  • 1 tbsp water
Method
  • How to cook rice: Wash  and rinse 1/2 cup of uncooked rice  three times in plenty of water, draining water every time. . Soak the rice for half an hour in 1 1/2  cups of water. Cook the rice in pressure cooker to four whistles on a medium flame. Alternatively, put rice in a rice cooker and cook.  Cool and remove one cup of cooked rice for kheer.
  • In a deep pan( non-stick preferable), mix milk condensed sweetened milk,  and cooked rice and put it to boil on a medium high flame.. Once it boils over, reduce it to medium. add sugar and cook for a total of 15 min.. Remember to stir the kheer every 2-3 min.
  • IMG_2867
  • Remove from flame, add cardamom powder.
  • IMG_2861
  • Heat 1 tbsp water in microwave. Add saffron, 6-7 strands to the water, mix it and add it to the kheer pudding.
  • IMG_2863
  • You can serve this warm, or cool or chilled.

IMG_2865

 Tips

If you like the kheer, extremely thick and creamy like a pudding, use 2 1/2 cups of milk.

You can garnish it with some shelled pistachio, raisins also for a nut fruit flavor

Instinct Factor

While cooking rice, the softer the better! Overcooking rice helps over here in creating a creamy texture.

If you like a pudding texture which is thick and creamy,  reduce the milk to 2 cups.

As the kheer rice pudding cools down, it becomes thicker in texture, as rice absorbs milk. So what you see when you remove from flame to what to you see when it is chilled, the texture would have changed  a bit.

Sugar content needs to be adjusted based on the sweetness of the condensed milk, as non Nestle brand will have a different sweetness level to it.

Feel Factor

Comforting dessert for young and old,  made of rice and milk that is extremely easy to make, can be garnished with toppings of your choice of nuts, to innovative toppings of chocolate, and cinnamon to name a few! Slurping this rice pudding is simply pure JOY for some! It is pretty heavy to digest, and heavy on calories, so be prepared to take a nap after consuming a bowl of this!!


[contact-form-7 404 "Not Found"]
[shopeat_button]

Posted on

Grilled Paneer Cottage Cheese Toast

A breakfast and appetizer item that is extremely quick to make, is the open grilled paneer cottage cheese toast bread. It tastes delicious and looks very appetizing. The grilled paneer, flavored with green chillies and fenugreek has a unique flavour that gives a great start to the morning!

I was exposed to this highly nutritious breakfast at my in-laws, and since then, I often consider this as one of the highly appetizing breakfast item. It requires some effort in getting used to flipping the paneer, but now a days with non-stick griddle available, this is much easier. I always use to admire our cook(more like Man Friday) , Ramu, at my in-laws house, who use to get the perfect color and flip it without breaking the browning of the paneer in the middle! Unfortunately, he passed away too soon.. I have learnt a lot of easy tips on cooking from him.

The texture of the grilled bread is soft and the paneer also tastes soft with a slight crunch on the top. While making it, the green colors of chillies and coriander against white paneer looks attractive and when nicely cooked to an orang brown color, it looks also delicious! I also like the added spice from fresh black pepper and lemon in this mix.
This will also impress your guests suitably when you present them with another way to eat and enjoy the bread in the morning! Kids often love this and this was my valentine treat for my daughter!

Recipe makes 6 slices

Cooking time 15 min
Prep 5 min

Ingredients

• 1 1/4 cup of Fresh Paneer or about 7 cups of whole milk to make fresh paneer or cottage cheese
• 1 lemon juice to make fresh paneer or cottage cheese
• 1 tsp kasuri methi or dried fenugreek leaves(optional)
• 2 tbsp chopped coriander /cilantro leaves
• 8-9 hot  green chillies finely chopped
• 1/2 tsp sugar
• 1/4 tsp Fresh ground pepper –
• salt to taste
• 4-5 drops of lemon
• Ghee or clarified butter to grease
• 6 White or Wheat Bread slices

Method

  • To make fresh paneer, boil the milk in a deep vessel. Keep on medium high flame, and when it boils add juice of one lemon. If the milk does not curdle, add more lemon juice till it curdles. Remove from flame and strain the curdled milk . Leave the fresh paneer to drain for 10 min.
  • Once it cools down, mix all the ingredients together thoroughly.

IMG_2767

  • Take about 1/6 portion of the mix, and put it on a bread slice and pack it down using the palm.

IMG_2771

  • • Heat a flat griddle on a medium flame
  • • Grease 1/4 tsp ghee in the center and spread it.
  • • Flip the bread and put the paneer or cottage cheese side to grill on the flat griddle.
  • • Reduce the flame to slow – medium
  • • Pour some more ghee on the sides about 1/2 tsp.
  • • Wait for about 5 min.
  • • Using a flat spatula, gently flip the bread
  • • Add some more ghee and cook on the other side, till golden brown.

IMG_2772

  • Cut into 2 or 4 triangles.
  • Repeat the process for all other slices of bread, till cottage cheese or paneer is used up.
  • Serve with ketchup or any other accompaniment of your choice.


Tips

If using frozen paneer, you may want to microwave it a bit, to get bigger chunks, and I would break a frozen paneer by hand. I prefer using fresh paneer for this, as it always taste soft and binds well.

Using a non-stick griddle, will help you flip better, though I prefer the taste of normal griddle.

The trick lies in packing it firm and round in the middle, and you will know that it is done grilling, once you see some rising in the middle.

You can make this as an appetizer or finger food, by cutting the bread slice with paneer into six rectangles, and serve it with toothpick in the center.

Instinct Factor

Trust your instinct to guide you if the paneer is grilled well . If it is cooked, it will easily scrape off. Patience helps over here!

Feel Factor

A warm cottage cheese paneer bread toast breakfast  is such a healthy way to kick start your day, with calcium, grains and a few feel good spices of green chillies, black pepper, lemon and dried fenugreek leaves! When had warm, the nice grilled flavor of the cottage cheese, against the bread remains soft, which is a nice contrasting texture. Extremely easy to make, when fresh paneer is already pre made. And if you have a large griddle, you can make six slices at once!
[shopeat_button]

Posted on

Chhole Bhatura Chick Peas with Puffed Bread

Chhole Bhatura Chick Peas with Puffed Bread is a rural delicacy of North India, with taste of this recipe changing every 100 km or so! It is the most commonly available food on the road side while travelling. In fact some towns specialize in this, with this dish carrying the Prefix of Amritsar Chhole or Rawal pindi Chhole.  The one I am referring here is more like the Amritsar Chhole with Gravy. Rawal Pindi Chhole recipe, which is more dry,  I will share it at a later point. I often alternate this two styles of making chhole. This is also the most commonly found in most Indian Restaurants and highly appreciated by all, including Non-Indians. Every house hold, has their version of making chhole, and I have finally been able to replicate the mouthwatering Chhole Bhature that we had in Edison, NJ.

There are variations of making Bhatura puffed bread, some people use potatoes, as leavening agent, some use baking soda, or yogurt. I have opted for baking soda over here. The litmus test here is,  the softer and fluffier, the better !!

In Chhole Bhatura, the spicy gravy in the chickpeas chhole with the soft bread or bhatura is the quintessential north Indian  delicacy treat right in front of you, that you cannot resist to dig in!! We cannot beat the taste of this awesome food that is available in street Dhabas(roadside restaurants) in Delhi or North India, but hope this  is one more recipe of getting it right and  brings you closer to the dhaba style experience of India.

Recipe Makes for 3 people

Cooking time: 40 min

Preparation time: 15 min

Soaking time 5 hours

Ingredients:

For the Chhole

  • 1 1/3 cup  kabuli chana chole (chickpeas/garbanzo beans)
  • pinch of baking soda
  • 1/3 cup oil
  • 1/2 tsp turmeric powder
  • 1/2 tsp red chilli powder
  • 1 tsp pomegranate powder
  • 1 1/2 tsp chana masala powder(MDH brand)
  • 1 big bayleaf
  • 1 1/3 cup onions diced
  • 4 pods of garlic mashed
  • 3 green chillies finely chopped
  • 1 cubic inch ginger mashed
  • 1 tbsp coriander to garnish
  • 1/4 tsp asofoetida
  • salt to taste
  • one diced onion (optional for garnish)
  • slices of lemon ( optional for garnish)

For the Bhatura dough

  • 1 cup all purpose or maida flour
  • salt to taste
  • 1 1/2 tbsp oil
  • 1 tbsp yogurt
  • pinch of baking soda
  • 1/3 to 1/2 cup of water
Method
  • Wash thrice and rinse out the water each time.
  • Soak the chana in about 3 cups of water for 5-6 hours.
  • Add salt to taste to the quantity of chana and boil in a pressure cooker for upto 4-5 whistles.
  • Let the pressure cooker cool down.
  • In a broad pan, heat the oil.
  • Add asofoetida, then add the bay leaf.
  • As the bayleaf turns brown, add ginger and saute for 2 min.
  • Add diced onions and let it simmer on slow flame for 15 min.
  • Add green chillies and ginger and saute for 5 min.
  • Add 1 1/2 cup water, turmeric, salt, chana masala powder, chilli powder, pomegranate powder and simmer for 10  min on medium flame.
  • Blend the ingredients together with a hand blender.
  • Add the cooked chana along with its water to the gravy.
  • IMG_2428
  • Simmer together for 12 min.
  • Garnish with coriander and 10-12 drops of lemon and serve hot. Alternatively you can serve this with a slice of lemon and some chopped onions on the side.

For the Bhatura dough

  • In a broad flat pan, mix the dough, salt, baking soda and oil.
  • Whisk the dough thoroughly with hand.
  • IMG_2430
  • Add 1/3rd of half cup of water and mix into the flour.
  • Add additional 1/3rd  of half cup of water and bind the flour together.
  • IMG_2431
  • If the water amount is correct, the dough will bind perfectly, leaving no flour residue in your hand and the pan clean of any flour.
  • IMG_2433
  • If the heat temperature is high, you may need more water or if your hands are too dry.
  • Cover it with a wet paper towel, napkin for 10 min.
  • Divide the dough into 7 equal  round balls.
  • Roll the dough into a round circle about 3 inches round.
  • Roll this round circle into the dusting flour
  • Extend the circle to  about 6 inches round.
  • Heat about 3 cups of oil in a frying pan.
  • Heat to high.
  • When the oil starts smoking, insert the flat dough circle into the oil.
  • Wait for it to rise like a ball with golden spots, and then flip it over using a large strainer.
  • IMG_2439
  • Once you see the brown spots on the back side too, drain the excess oil and serve hot as an accompaniment to Chhole Chick Peas


TIps

Soaking can be done overnight for readily available to cook the next day.

If the chhole or chick peas have become too soft, you can cook only for half the time in the gravy or for 10 min max for it soak in the gravy.

Rolling perfect round circle comes with practice. For people new to rolling, I would use big round cookie cutters, and make circles from a big rectangle flat rolled dough.

Frying is ideally done in an open fryer with a frying slotted spoon with flat base, used to flip and strain

If you do not want to make Bhatura, this is equally enjoyed with ready to eat Kawan Parathas, easily available in Indian Grocery Stores.

Instinct Factor

Frying the Bhature requires some practice in flipping over, but when you see it rising in a big round ball, it makes you happy! The art lies in sliding in the oil.  the side of bhatura  that you worked on, face down, and then putting some pressure on the center, with the frying spatula.  Advised to wear an apron while frying. Gauging if the bhatura is cooked needs you to rely on the instinct. Even if it becomes too brown, it will just become a bit crispier.

Feel Factor 

An all time food that promises to bring sunny smiles every time! Eat it as a brunch, lunch, dinner or even super late night meal. I have fans of this in my family who prefer to eat one day over, as the taste just matures the next day. There is something about a big round ball of golden brown spot bread and  chick peas, that  warms the hearts of everyone  Enjoyed best in the chilly cold weather days.with the spicy chickpeas and soft warm puffed up bread. There are simply so many versions of this, but this is our family favorite, based on the taste inspired from a famous restaurant Khasiyat, in Edison, NJ. And the name says it all, the Khasiyat( speciality) of Chhole Bhatura or Chick Peas with Puffed Bread is unparalleled in taste and texture!

[contact-form-7 404 "Not Found"]
[shopeat_button]

Posted on

Khandvi Bengal Gram Rolls

Khandvi Bengal Gram Rolls is a delicacy from Gujarat. It is often a staple item in Jain Gujarati family for sure. This is often a part of the menu when a Jain household is observing its no vegetable day. On these days, items are often made from lentils.  This is very easy to make, but looks quite complicated, and that is the cool part of this recipe. I have listed the traditional Jain way of making this, which does not use buttermilk, as often mentioned in other recipes.  A  Jain follower observes not to mix Bengal Gram and Buttermilk together, unless the buttermilk is cooked first. I’ve also seen my mother make this with lemon, as we observed this rule very strongly when growing up.  I feel the lemon in it, and it gives it an ultra smooth and thin texture that looks more delicate and elegant, as compared to what is commercially available.

When I got married, this is one of the appetizers my in-laws were curious to know if I could make it! This delicacy is a signature hallmark of a Jain Gujarati family.

The texture of bengal gram rolls, is soft, smooth and the oil garnish on the top with mustard seeds crackling, gives it a slightly crunchy flavour over a smooth roll. Due justice can be done only by tasting this super yum delicacy. It is  truly enjoyed by most people as kids like the roll look and adults will enjoy this finger food appetizer anytime.

 Recipe makes 60 pieces about 1/2 inch in size.
Ingredients

For Khandvi Rolls

  • 1 cup besan bengal gram flour
  • 2 tbsp lemon  juice
  • 1/8 tsp asofoetida
  • 1/3 tsp turmeric powder
  • salt to taste
  • 1/4 tsp chilli powder
  • oil to grease

For Garnishing

  • 1 tsp mustard seeds
  • 1 tsp cumin seeds
  • pinch of asofoetida
  • 2 tbsp coriander chopped
  • 2 tbsp fresh/frozen coconut grated (or dry coconut can also be used)
  • 3 tbsp oil 
  • 5 green chillies chopped(optional)
  • 3-4 green curry leaves(optional)

4 flat dishes about 8-10 inches in diameter.


Method:
  • Grease the dishes with oil on the front and back of the dish with oil. Both the sides of the dishes can be used to spread the Bengal Gram Roll paste. If you do not feel comfortable using the back of the dish, you will need more dishes.
  • In a broad thick bottom pan, mix besan bengal gram flour, water, lemon juice, asofoetida, salt and turmeric powder till no lumps are left. This is the mix for making the khandvi bengal gram rolls.
  • Put it to heat on a medium flame, stirring constantly.IMG_2250
  • Keep stirring constantly until it thickens to a paste around 8-10 minutes later.
  • The paste will start leaving the edges of the vessel.

IMG_2253


  • Remove from flame, and quickly spread the mixture evenly, using as much as is needed to evenly cover the diameter of the plate. 
  • The paste cools quickly, so you need to spread this fast and quick.
  • IMG_2258
  • Do this till all the paste is used up.
  • Cool for 15-20 min.
  • Spread some oil on the paste.
  • Sprinkle some red chilli powder
  • Using a knife, cut the circle into half.
  • Slightly release the edges of the paste from the plate, using your fingers, by pushing the paste inwards.
  • Start rolling into rolls, using one half of the circle, rolling it tight.
  • So every flat dish will give you two rolled circles.
  • Gently lift the rolls and put it on a cutting board or flat surface.
  • IMG_2259
  • Cut the long rolls into 1/2 inch horizontal cuts.
  • Heat the oil in a pan on a medium flame.
  • Add asofoetida, mustard seeds.
  • When mustard seeds crackle, add cumin seeds.
  • When cumin seeds turn golden brown, remove from flame.
  • Using a spoon, spread this garnish over the cut khandvi bengal gram rolls.

IMG_2262

  • Garnish it further with fresh/frozen coconut and coriander.


Tips

Remove the seeds from lemon juice. I use a tea strainer to strain the lemon juice,

Mixing the bengal gram flour properly is needed, so that no lumps are left.

Keep stirring so that no lumps are formed while cooking.

To cut the long rolls, into small pieces, I prefer to line them one below other, and then slice it vertically in 1/2 inch gaps across all rolls.

You can add green chillies to the oil garnish on the top if you prefer. I often make this on days where we avoid green vegetables, hence often dont use green chillies and coriander too on this recipe. But these toppings no doubt add more flavour to the recipe. 

Instinct Factor

Spreading the bengal gram paste on the dish, comes with practice, but make sure you cover all the aspects of the plate.

If you see lumps on the top, that is fine, as this is going to be on the inside.

Feel Factor

A smooth, soft delicacy that just melts in your mouth. This is highly attractive, very quick to make appetizer that is simply YUM! The fresh coconut and coriander garnish atop the lemon flavored bengal gram rolls is a delicacy which will get a lot of WOW factor from your guests! And not to mention the feel good feeling you will  have once you make this complicated looking easy appetizer.

[contact-form-7 404 "Not Found"]


[shopeat_button]

Posted on

Cracked Wheat with Vegetables(Daliya Khichdi)

Cracked Wheat also known as Daliya or Lapsi in Hindi/Gujarati is a healthy form of eating daily nutritious food.Cracked wheat has many advantages for weight loss,  hypertension amongst other things as elaborated in this article http://healthyeating.sfgate.com/cracked-wheat-benefits-5717.html  Traditionally Indians are used to eating cracked wheat as a form of sweet item, but here it is presented with vegetables. This is a power breakfast with wheat, fibre and vegetables. The vegetables on the top have a nice tangy and refreshing taste due to lots of lemon and black pepper, which is the most delicious part for me.  This can also be an alternative to daily routine of eating oats to assist metabolism and weight loss. It is a quick meal under half an hour and it is a complete breakfast/lunch meal. You can variate the toppings of vegetables to your liking.

This is also a very comfortable baby food, and  the very first meal I gave to my daughter was this recipe without the vegetables. It is soft and nutritious and  with lots of fibre, easy to eat, after just garnishing with some black pepper and salt. An Indian way of eating  everyday oatmeal!

I like vegetables to have some crispiness when used as a topping on this, as it goes well with the softness of the pressure cooked cracked wheat, and adds a crunchy flavor through the crisp cabbage. It gives a fulfilling feeling when you have this complete meal and it is  warm,colorful and tangy! The first time I was exposed to this, I had it as a breakfast, so I continue to enjoy this as a breakfast item, and truly so,  as oats are normally considered as the best breakfast option by many. More commonly this recipe is also known as Daliya Khichdi.

Recipe makes for 3 people

Prep time : 10 min

Cooking time: 15 min

Ingredients
  • 1 cup cracked wheat
  • 1 1/2 tbsp ghee(clarified butter)
  • 4 cups of cauliflower cut into small florets
  • 3 cups of  shredded cabbage
  • 1/2 cup of peas
  • 1/3rd cup oil
  • 1/4 tsp cumin seeds
  • pinch of asofoetida
  • 1/2 lemon
  • freshly crushed black pepper
  • salt to taste
  •  2 tbsp coriander to garnish
  • 1/4  tsp turmeric powder
Method
  • In a pressure cook heat the ghee.
  • Add the cracked wheat and stir for 4-5 min on medium flame, until it changes color to pinkish brown.
  • IMG_2585
  • Add a pinch of salt and water.
  • Pressure cook that for 4 whistles on medium flame.
  • In a broad pan, put oil to heat.
  • When it heats, add asofoetida and cumin seeds(crushed in your palm)
  • Wait for it to become golden brown, and add turmeric.
  • Add the cauliflower and cook for 5 min. stirring in between.
  • Add cabbage and salt and cook for further 7 min . stirring in between.
  • Add peas and cook for 4 min.
  • IMG_2584
  • Remove from flame.
  • Remove the cooked cracked wheat from the cooker.
  • In a plate, put the warm cracked wheat at the bottom, top it with vegetables.
  • Garnish with nice dose of lemon, black pepper and coriander.
  • Serve hot.
  • IMG_2588


Tips

A lot of variation of vegetables is possible, such as carrots, spinach, but I prefer to have the above combination.

Cracked wheat can be alternated with bulgur wheat too, which will require less cooking time, as bulgur wheat is precooked. You may want to cook it to 2 whistles for bulgur wheat.

When you cook the cracked wheat and vegetables separately, you have the right texture for both of them, without overcooking either of them. And for this recipe, this is a crucial aspect.

Vegan Variation: Replace the ghee with oil and roast the cracked wheat.

Instinct Factor

Roasting of the cracked wheat to your desire, and enjoying the aroma of cracked wheat in ghee.

Feel Factor

When properly cooked, it has the perfect fluffy texture of cracked wheat, topped with the lemon yellow color of vegetables and green peas, with lots of lemon and black pepper. Inviting and fulfilling as well as extremely nutritious recipe for sure!

[contact-form-7 404 "Not Found"]
[shopeat_button]

Posted on

Eggplant Dip with Tortilla Chips

Super Bowl fever in the air, the biggest sport of USA. Tradition for Americans to huddle in front of the TV with friends and family, and enjoy a round of good game, heated conversations, watch some truly memorable ads and look forward to the famous half time entertainment performances. This year’s match is being played in Rutherford, NJ, my home state for a long period of time. The biggest ad spending happens here, and the conversations of which ad was the best continues to be office and social conversation for sometime. I have slowly warmed up to this game,  from my earlier interest of watching only half time performance. I have fond memories of watching this with friends, over various years, attending super bowl parties, to watching it on giant projector screen in my neighbourhood clubhouse. Super bowl generates a lot of interest in the community via the game,  attention capturing TV ads which also gives you the glimpse of the  new products being introduced.  I often enjoy the car ads that are being shown, and top of my recall so far is the Maserati Ghibli ad and am looking forward to Bruno Mars halftime performance.

One food that is a traditional part of this game watching is Tortilla Chips with various assortment of dip including Salsa, Hummus and  Guacomole. And so I made this Eggplant Dip, that has been a standard dip in my mother’s house , and I also wanted to relish the Tortilla chips with the Eggplant dip, and create a new combination to eating Tortilla chips, this Super Bowl. At my mother’s place, we use to mash this in the stone based mojavo pestle and bowl, as commonly used to make the Guacomole in western world. It must be something in the volcanic rocks that gives the flavor some edge.

Hope you enjoy this Eggplant Dip with your favorite Tortilla chips at a future sport watching event, as we enjoyed this at home and as far as the Super Bowl goes, looks like Seattle is in the winning seat!

Recipe Makes for 3 people

Cooking time `10 min

Preparation time 5 min

Ingredients
  • 8 inch (medium sized) eggplant
  • 3/4 cup yogurt
  • 1/8 tsp asofoetida
  • 1/2 tsp coriander powder
  • 1 1/2 tbsp chopped coriander
  • salt to taste
Method
  • Slice the eggplant into 8 or 4 long slices.
  • Add 2 cups of water and pressure cook them upto to 4 whistles on medium flame.
  • Let the pressure cooker cool down. 
  • Remove the cooked eggplant and 1/2 cup of water from the pressure cooker into a prep bowl.
  • IMG_2606
  • Add yogurt, salt, asofoetida, coriander powder, coriander  and mix well.
  • You can use a mojavo mortar pestle, or whisk it, to blend well.
  • Chill the dip for about 15 min.

IMG_2608

  • Garnish it with a sprig of coriander
  • Serve cold with chips of your choice.
Tips

If you like sea salt, replace ordinary salt with sea salt as it tastes well.

Yogurt should not be too sour, otherwise it will mar the taste.

Instinct Factor

The color of the eggplant dip to your liking. If you like a more darker shade, feel free to add some more of the water from the cooked eggplant.

Feel Factor

Mediterranean dip with a new flavor, quick and easy,  with a taste that is refreshing due to the yogurt and chilling. Eggplant and yogurt is an interesting combination when flavoured with asofoetida, sea salt and cilantro!


[shopeat_button]