Posted on

Healthy Churma Ladoo Jaggery Sweetballs with Wheat and Pearl Millet

Healthy Churma Ladoos with Wheat and Pearl Millet

Ganesh Chaturthi, celebrating the birth of Lord Ganesh, cannot be complete without making Churma Ladoo. So I decided to try making the Healthy Churma Ladoo Jaggery Sweetballs with Wheat and Pearl Millet. Lord Ganesh is known as the harbinger of all things favorable and auspicious, and everyone welcomes him to their homes with intense devotion, worship him with sincerity and in the end, immerse or do visarjan in water. Huge idols with lot of artistry are created. Prayers are done with lot of joy and enthusiasm. Ganesh Chaturthi co-incides with Sanvatsari for Shwetamber Jains. A day after the Ganesh chaturthi, the Das Lakshan  of Digamber Jains start and culminates after 10 days. The last day of Das Lakshan and the Visarjan or Immersion of  Lord Ganesh, again co-incide on the same day. This close proximity of important festivals for  Hindu and Jain religion highlight the close evolvement of  Jain and Hindu religions. Indians believe very strongly in the rising moon’s energy to enable their tasks. In Jainism, the fifth day of the rising moon period is considered highly auspicious for obtaining the right and true knowledge, and knowledge being the central tenet of Jainism, hence all good things start on the fifth day of the rising moon, and that explains in my view, why Das Laxan starts on the fifth moon day and ends on the anant chaturdashi (14th day) near full moon day, enabling all to maximize their spiritual learning and progress, aided by the good vibrations during a rising moon period. Intermingling of rituals, religions and customs makes one think, that all religions are part of the same truth, viewed differently and having a common goal of liberation.

As a young child, my grandmother would make gor jaggery ladoo from leftover roti. Chuma ladoos which come originally from Rajasthan, were either fried in ghee or made via bati(cooked in oven) and made with sugar. Obviously the more ghee or fat, the more tasty it is going to be! But since we are going the healthy way, I resorted to cooking chapati/bhakri and added the bajri pearl millet to make it even more healthier. The crunch comes from semolina, which maybe avoided if you have bhakri atta which is a little more granular than normal wheat flour for roti.

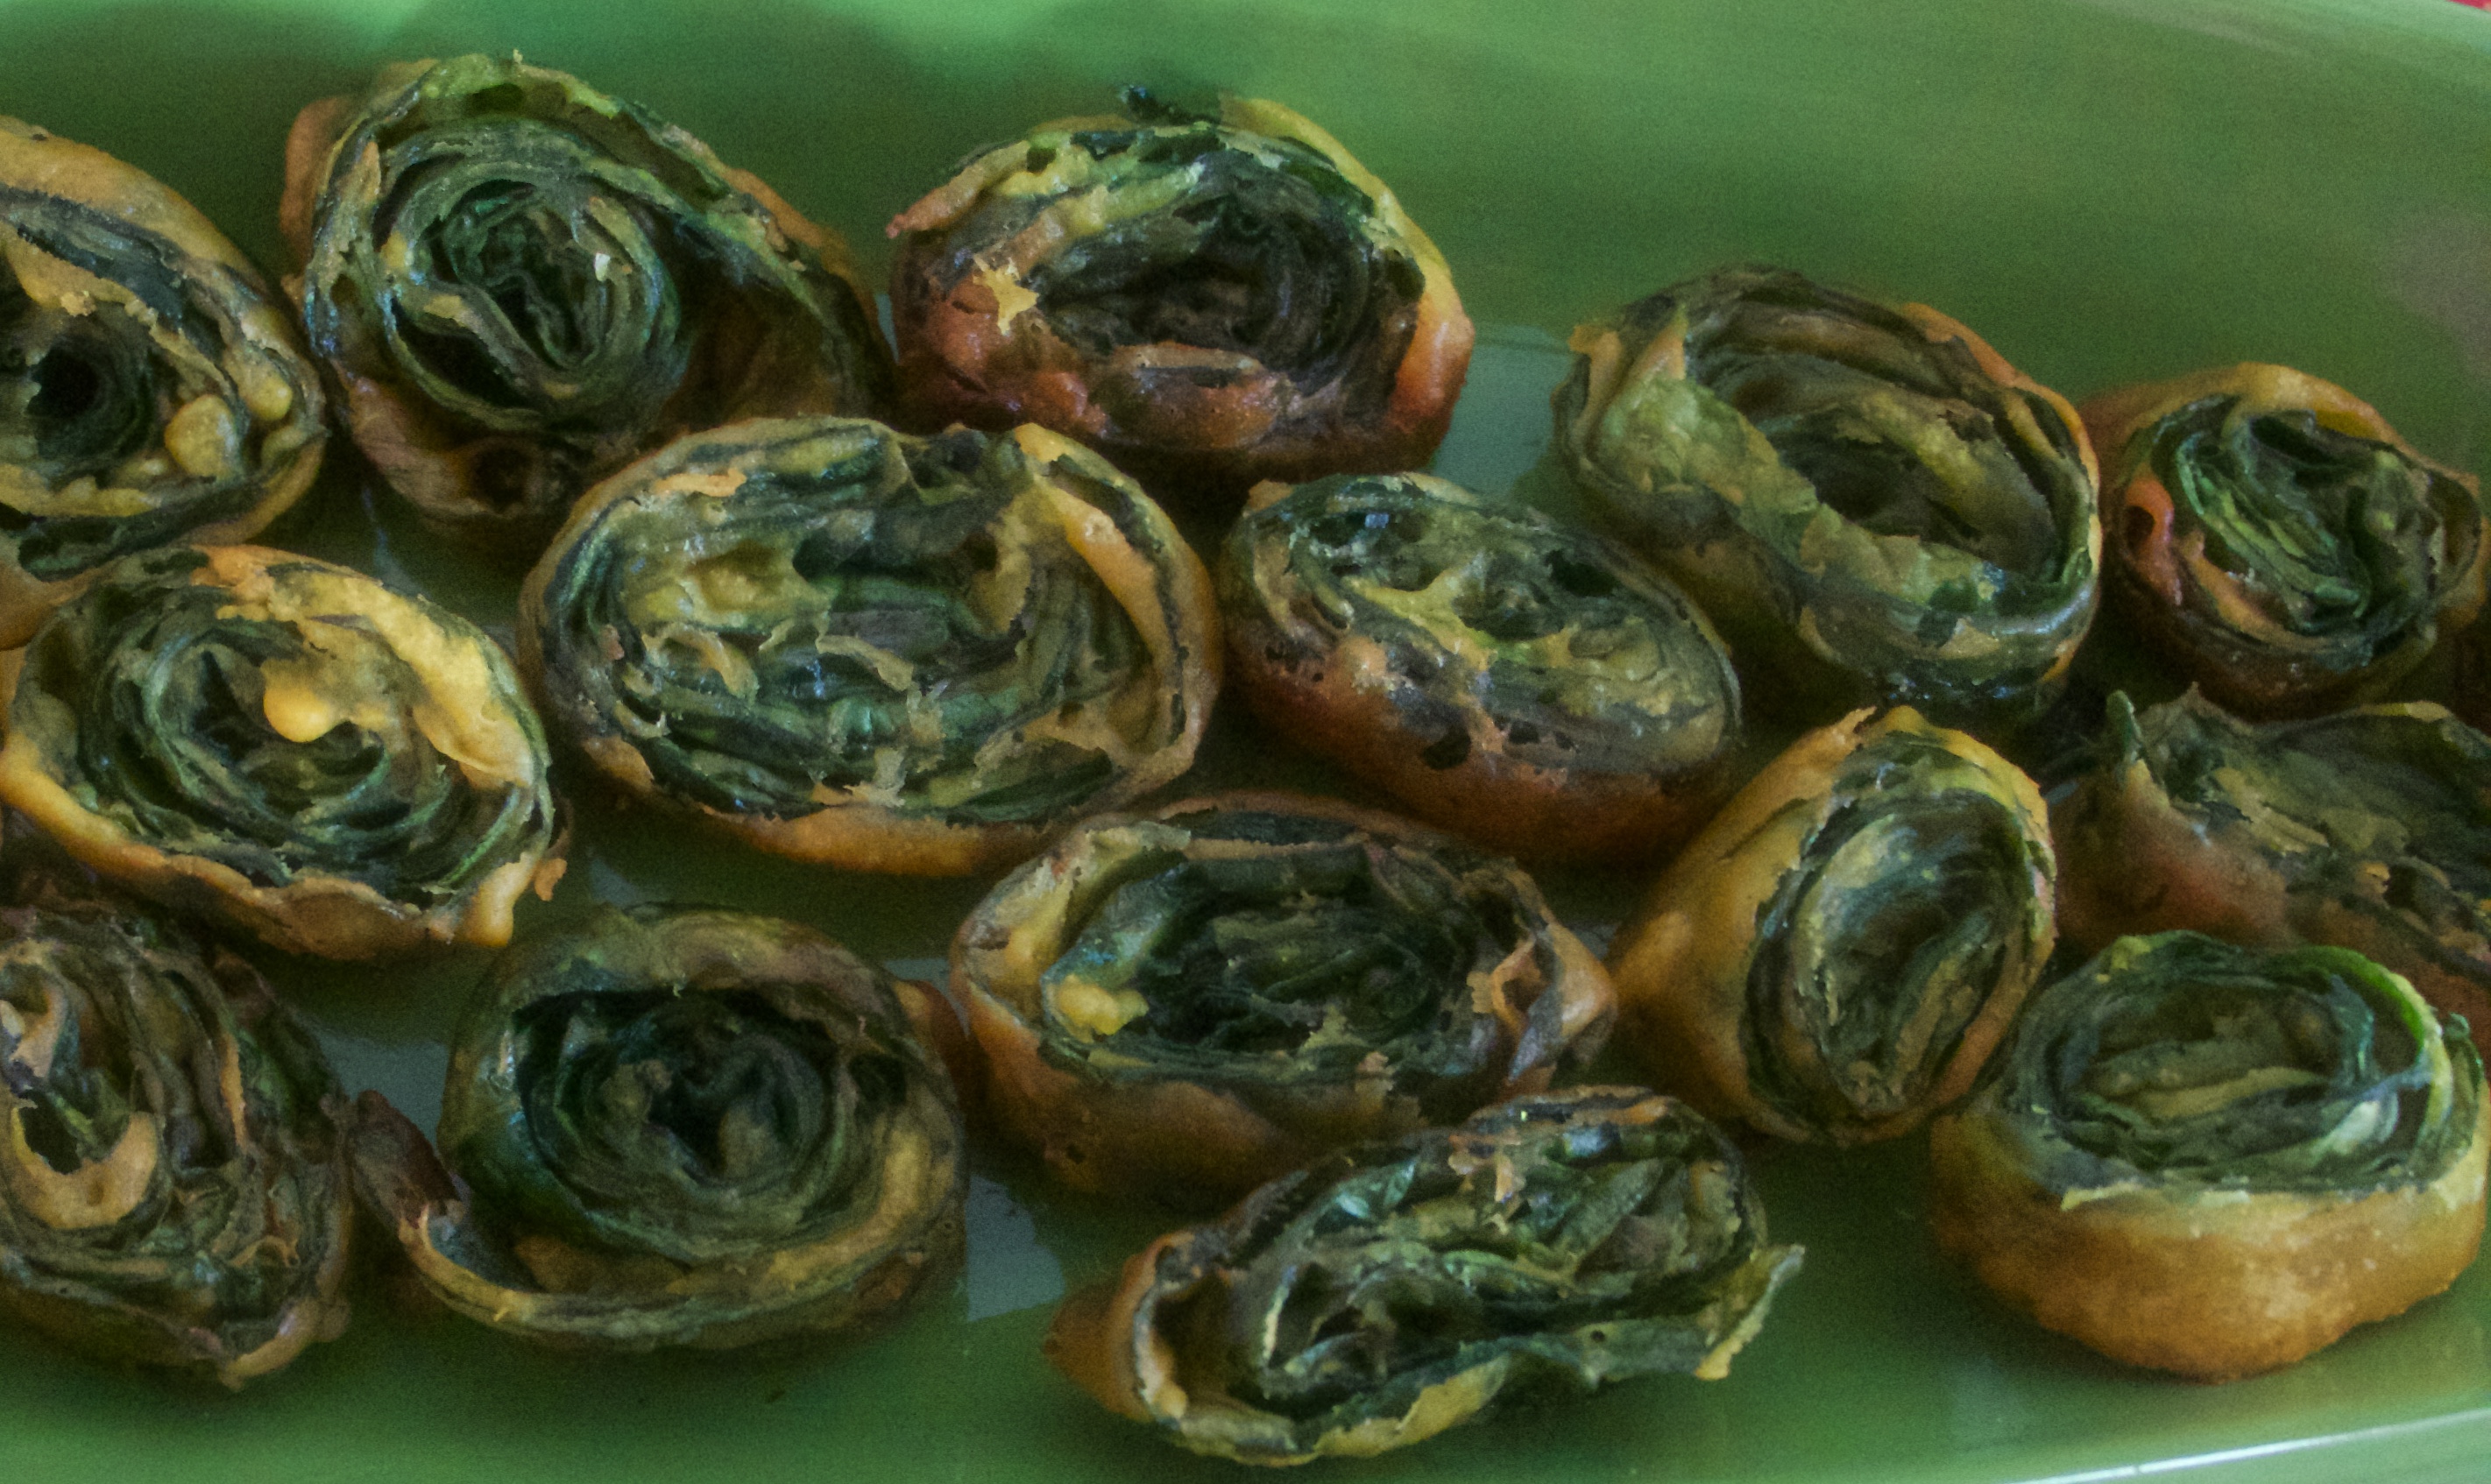
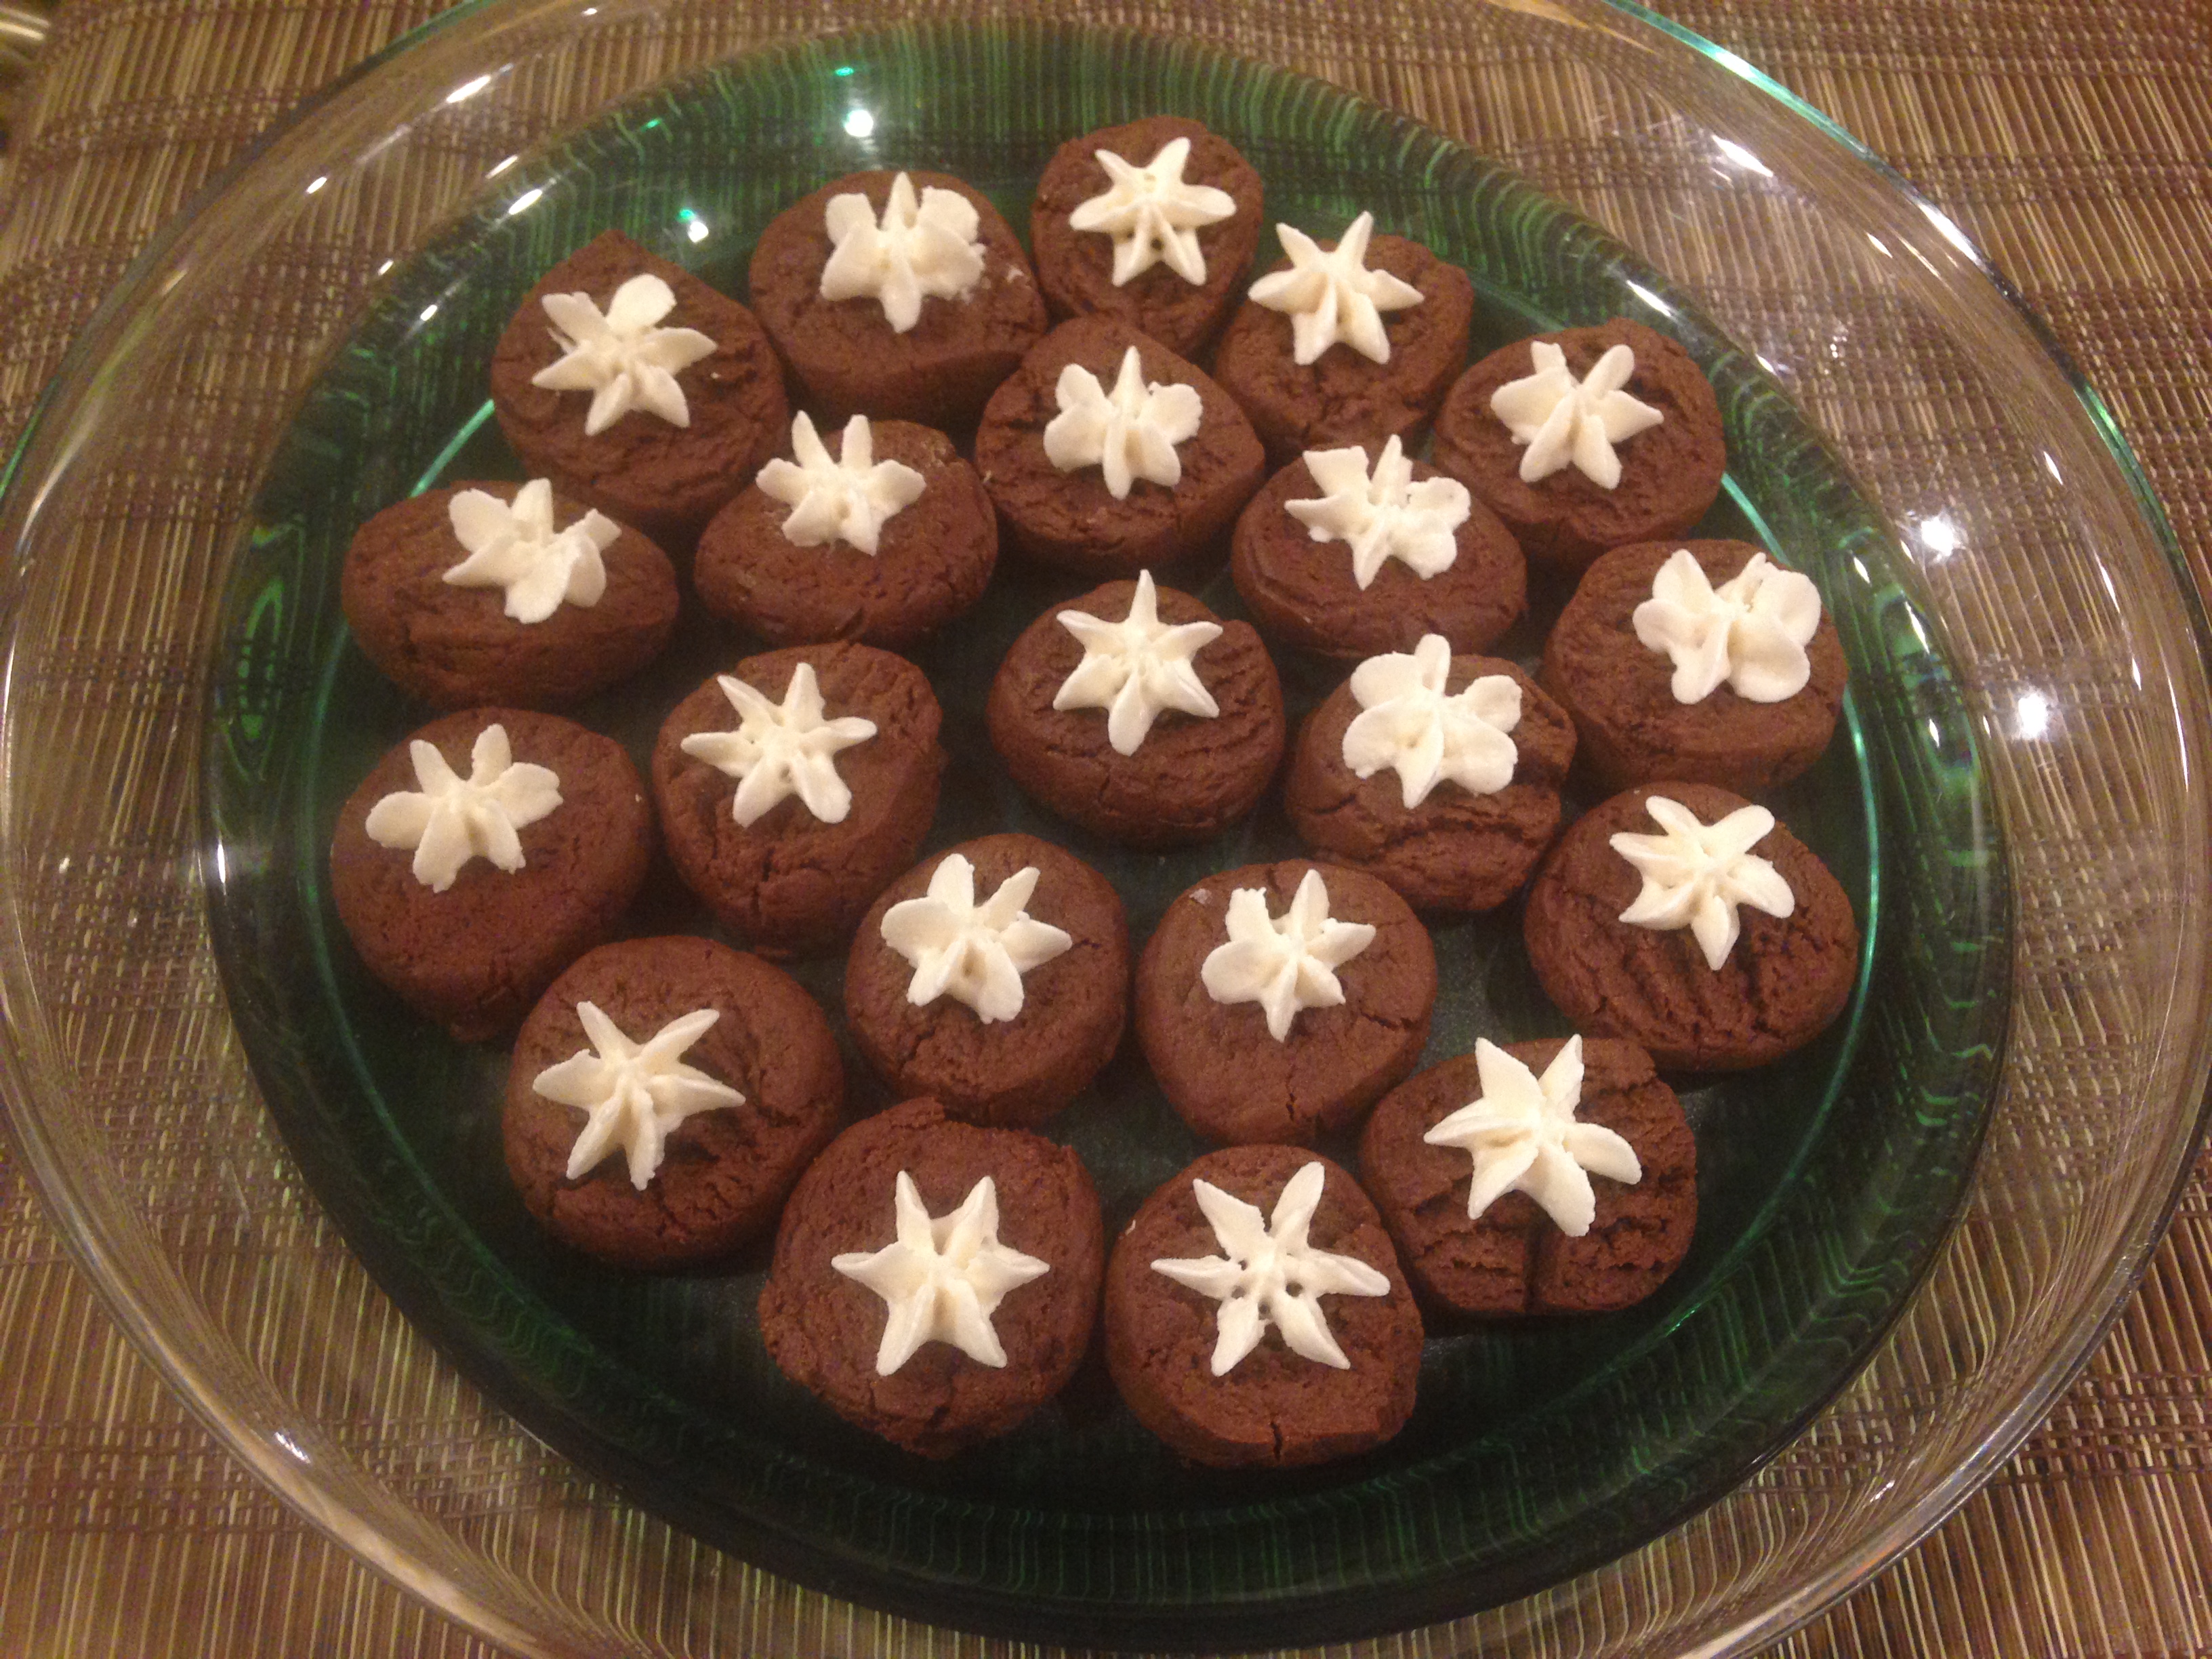
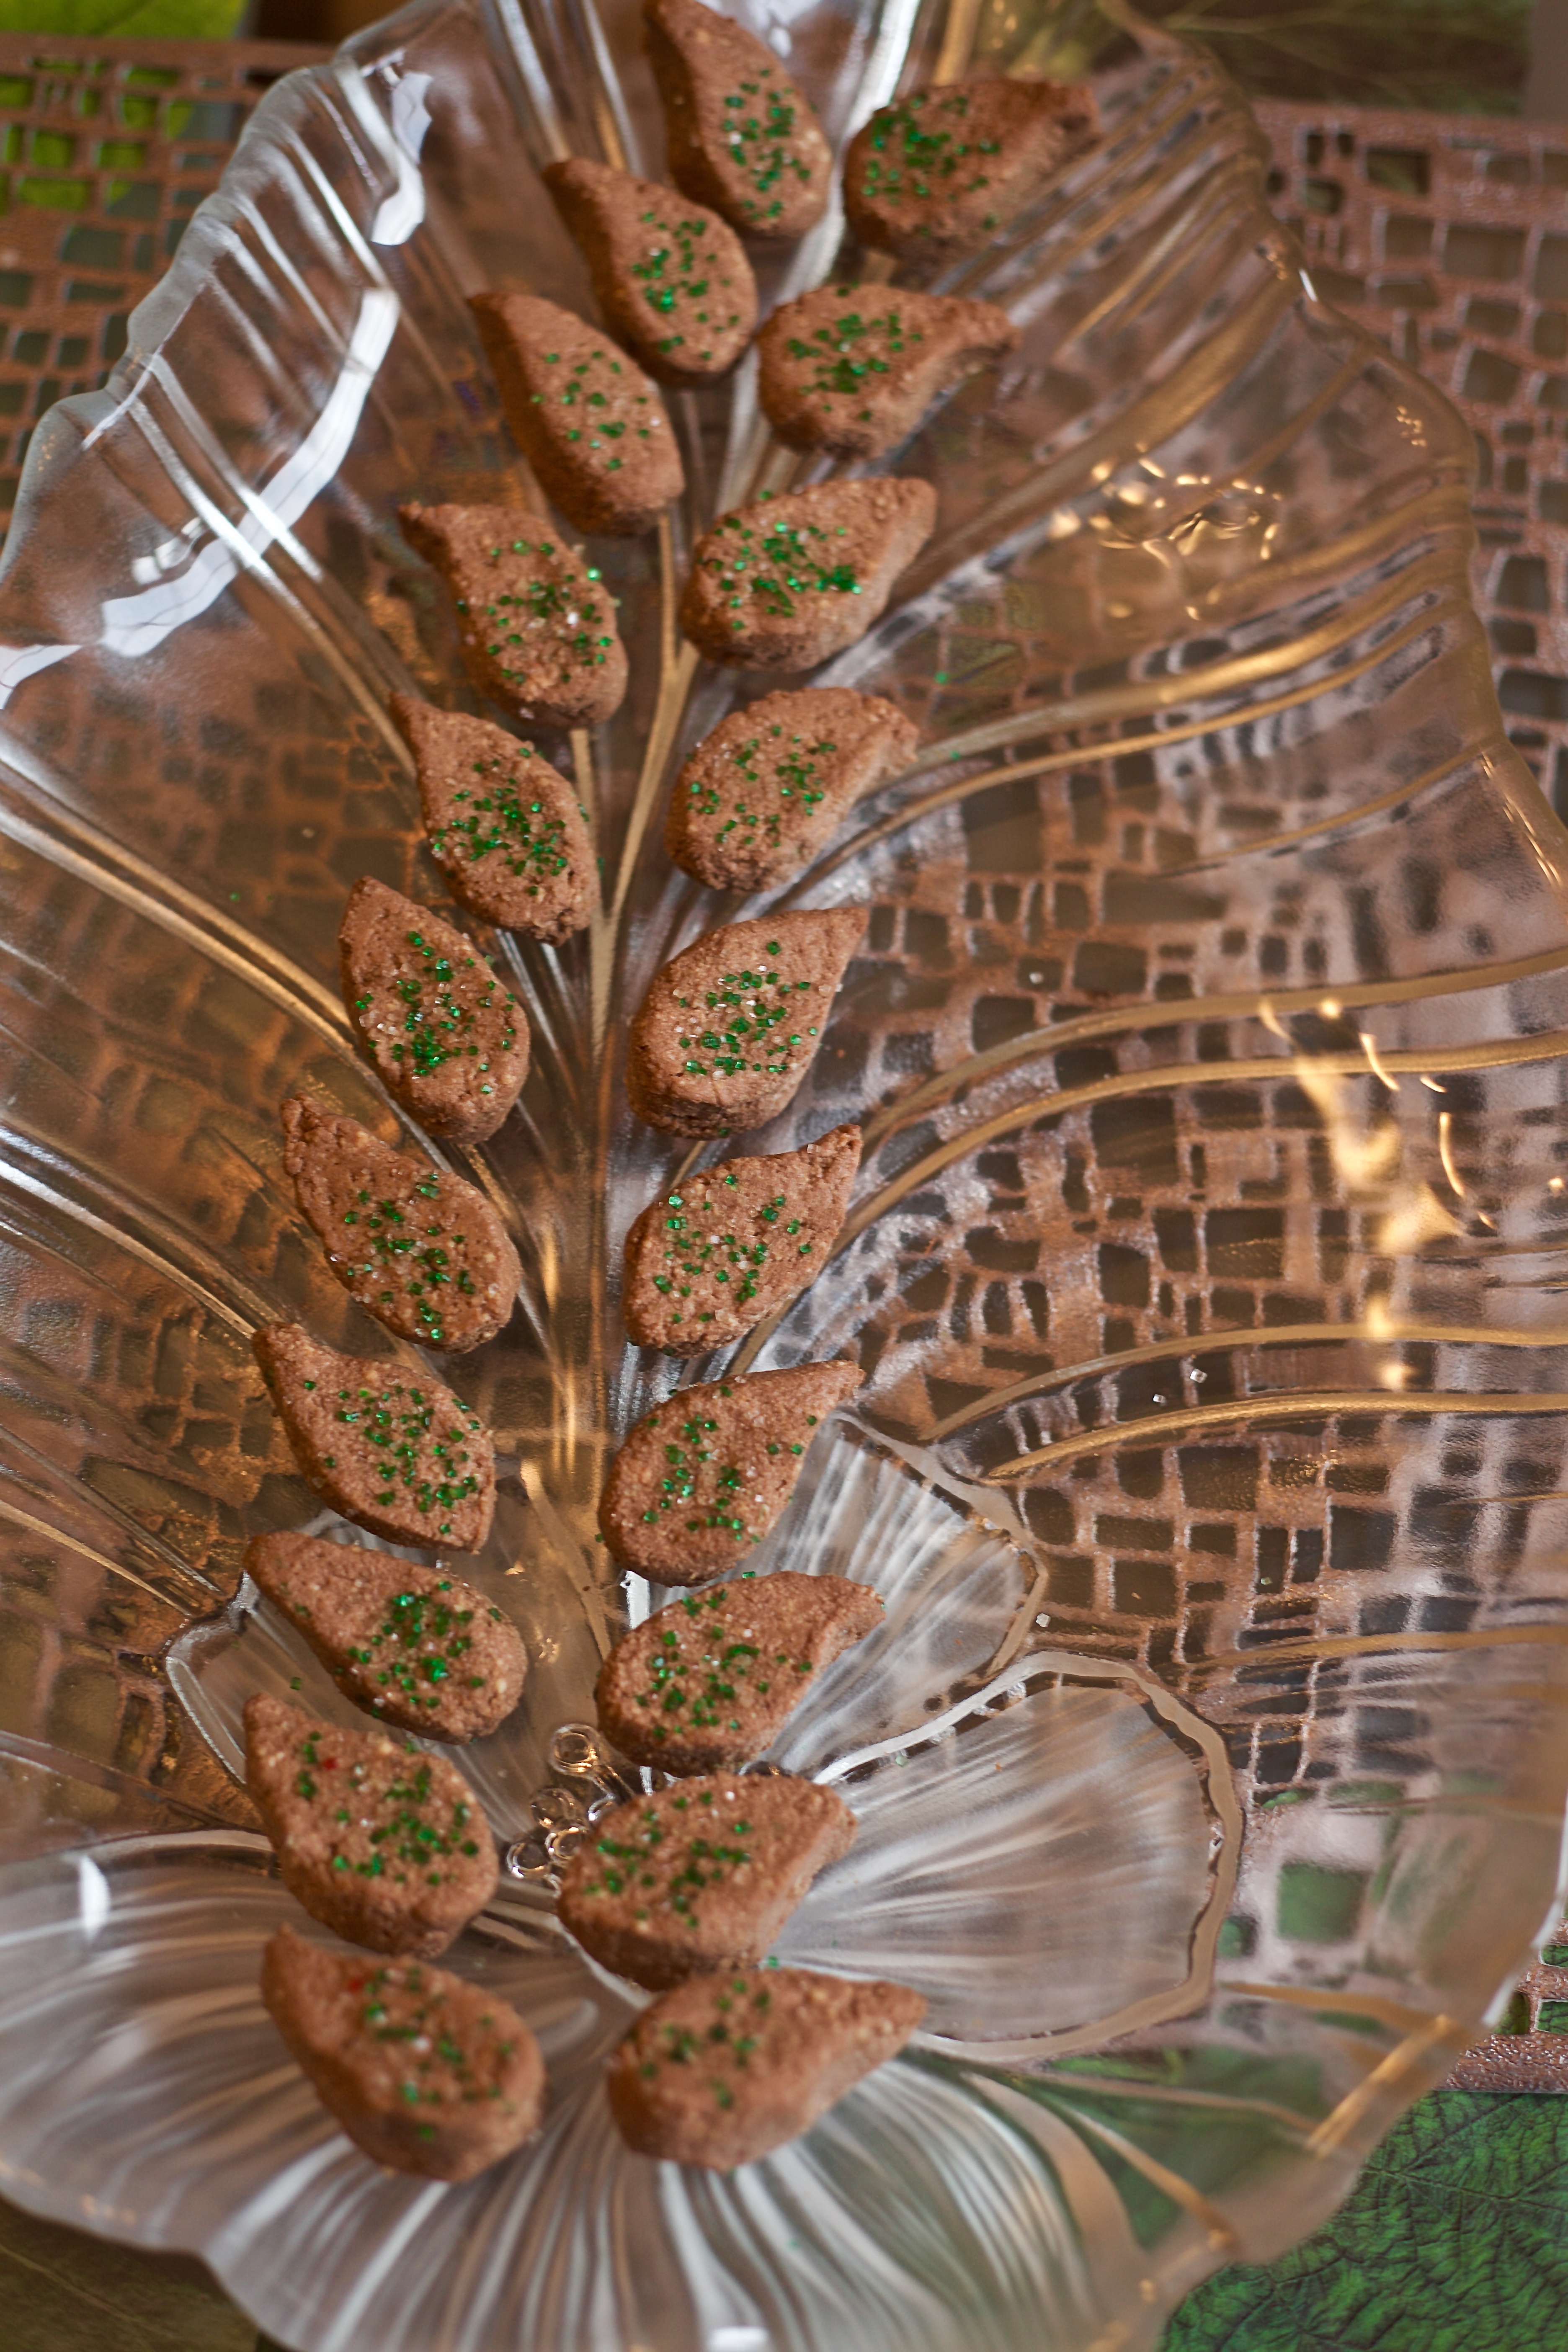
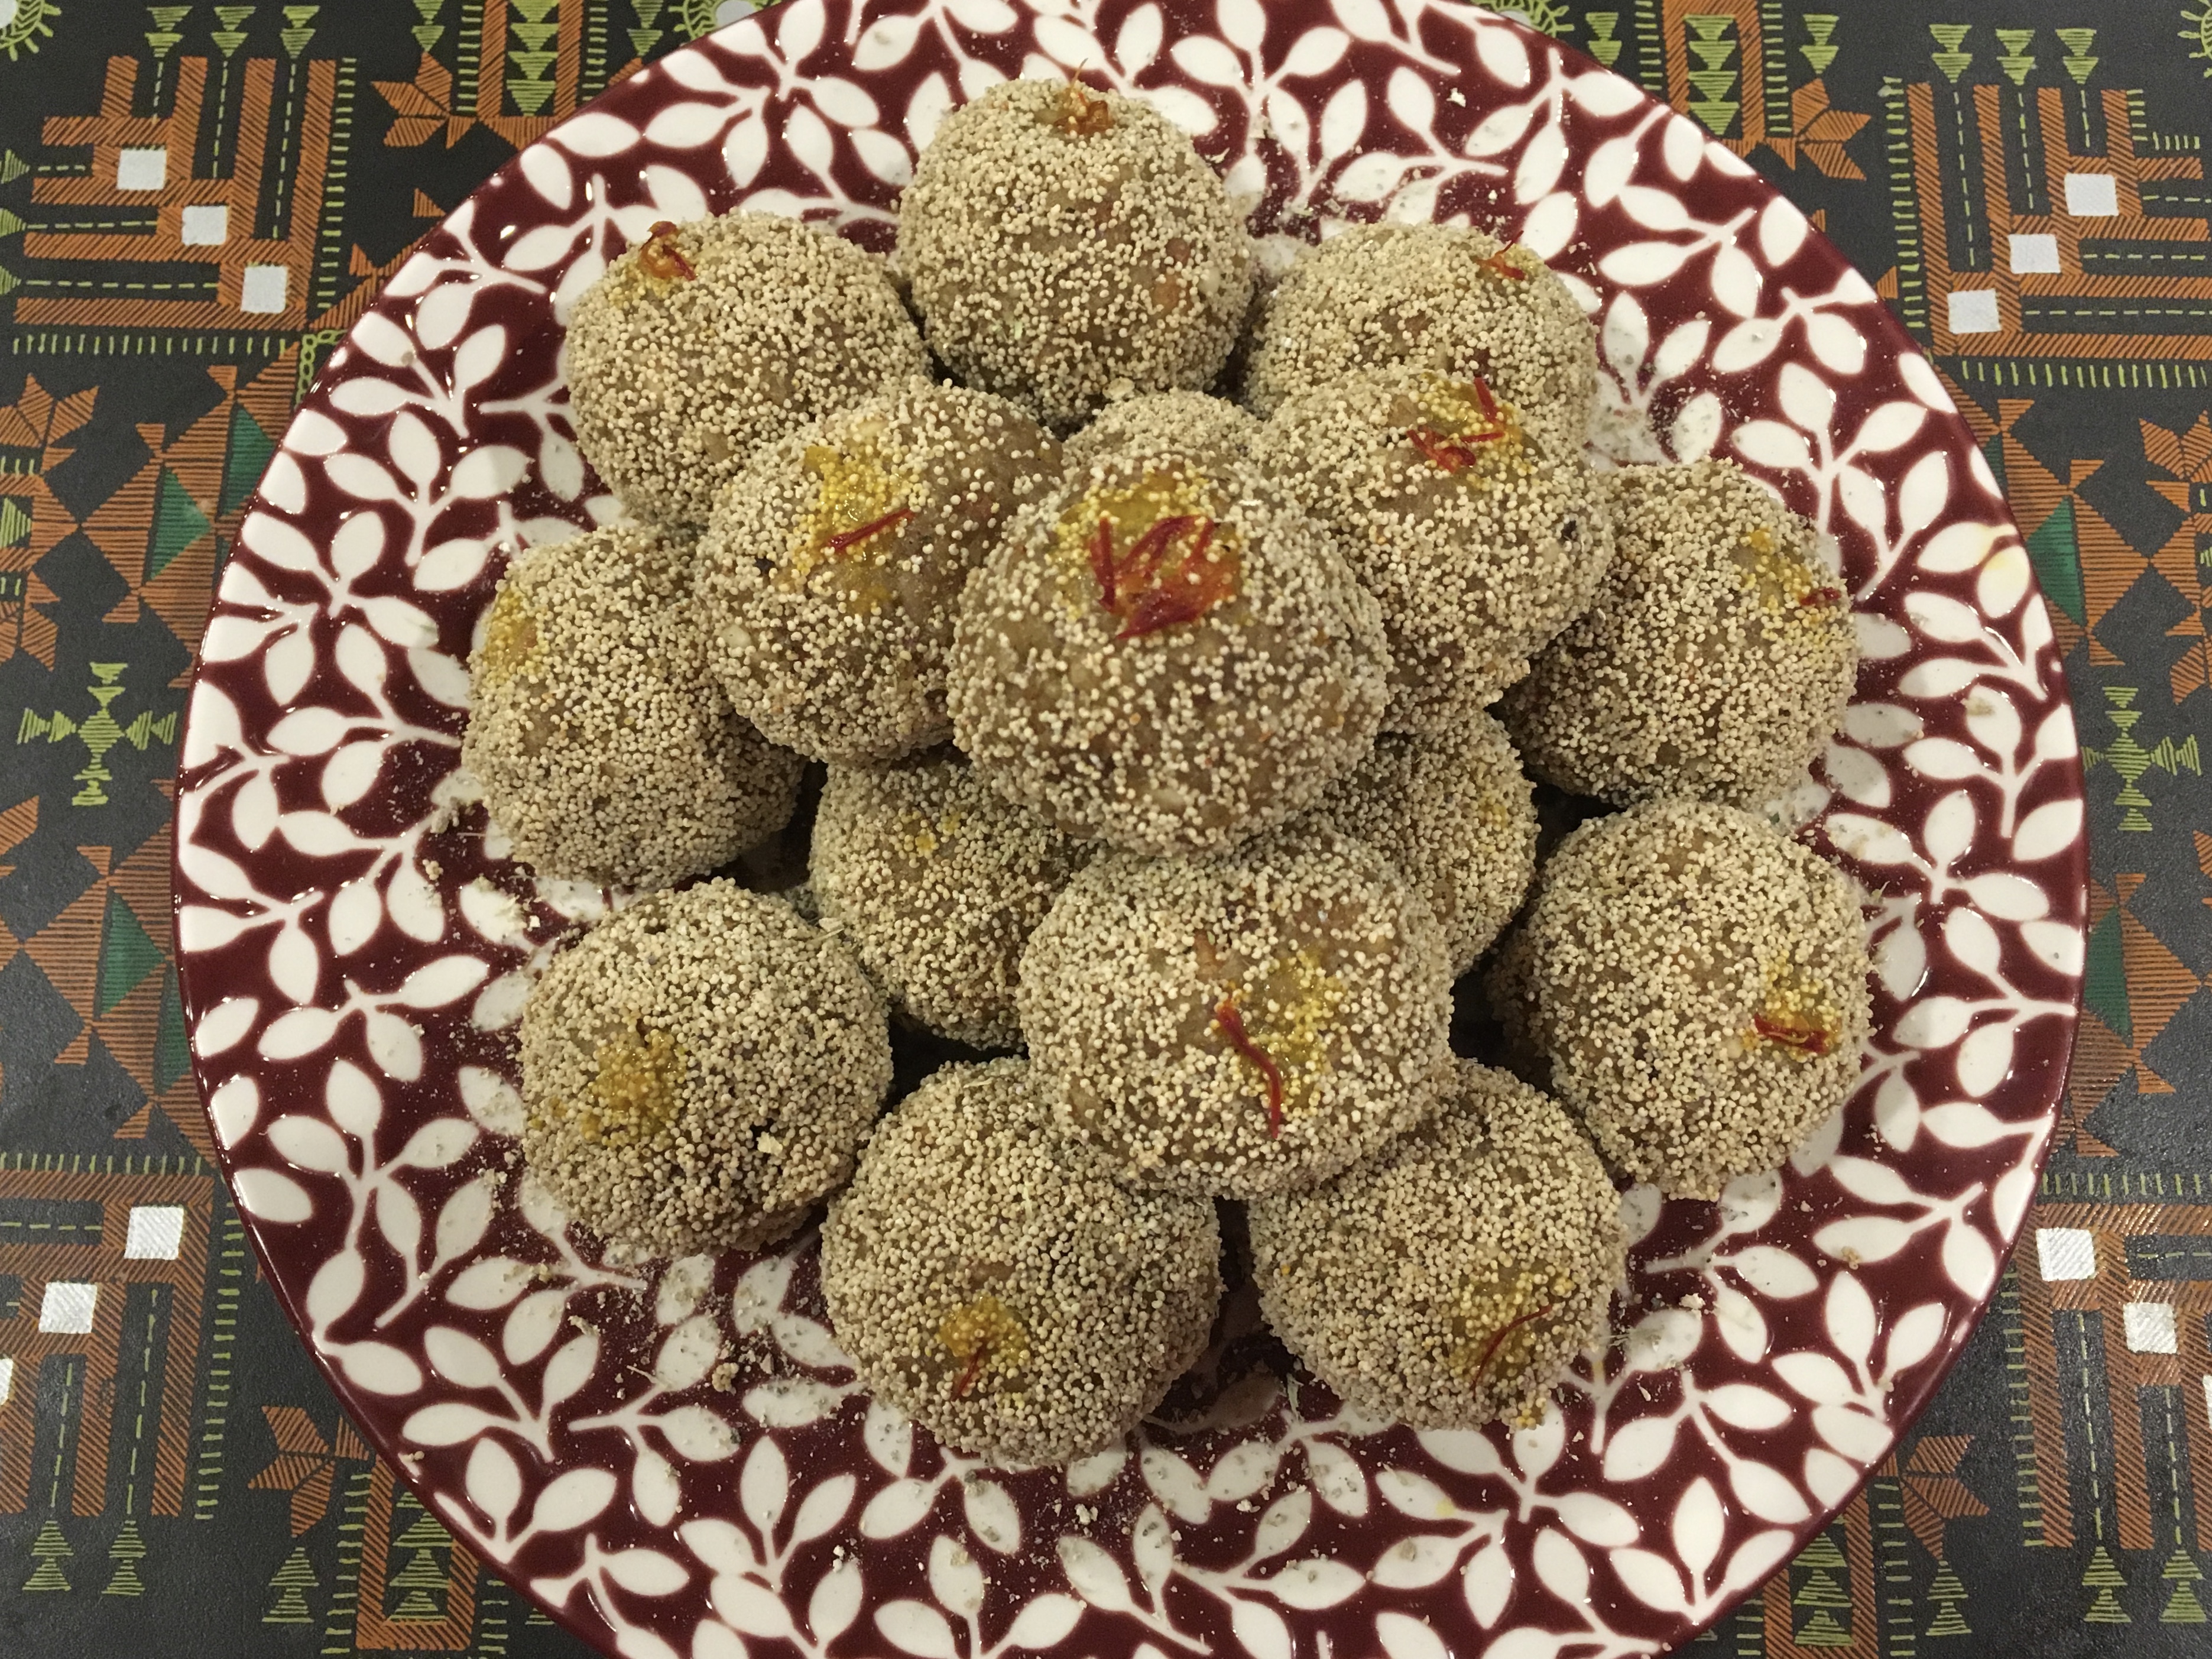
The covering of poppy seed and added flavor of nutmeg,cardamom and cashews bring more texture , taste and color to an ordinary jaggery ladoo. By not frying it in ghee, we have reduced the fat content to half, so thats a big thumbs up for healthy alternative in this recipe.

Through this post on Healthy Churma Ladoo with Wheat and Pearl Millet, I would like to invoke the blessings of Lord Ganesh and may all good things come your way and  convey Micchami Dukkadam from my side to all Jain Shwetamber/Sthanakvasi readers of this blog!


Recipe makes about 15 ladoos

Time to Prep : 7 min

Time to cook : 30 minutes

[shopeat_ingredients][/shopeat_ingredients]

Ingredients

  • 1 cup whole wheat flour for roti
  •  or 2 cups whole wheat flours for bhakri
  • 1 cup semolina rava( not to be used if using bhakri flour)
  • 1 cup pearl millet flour
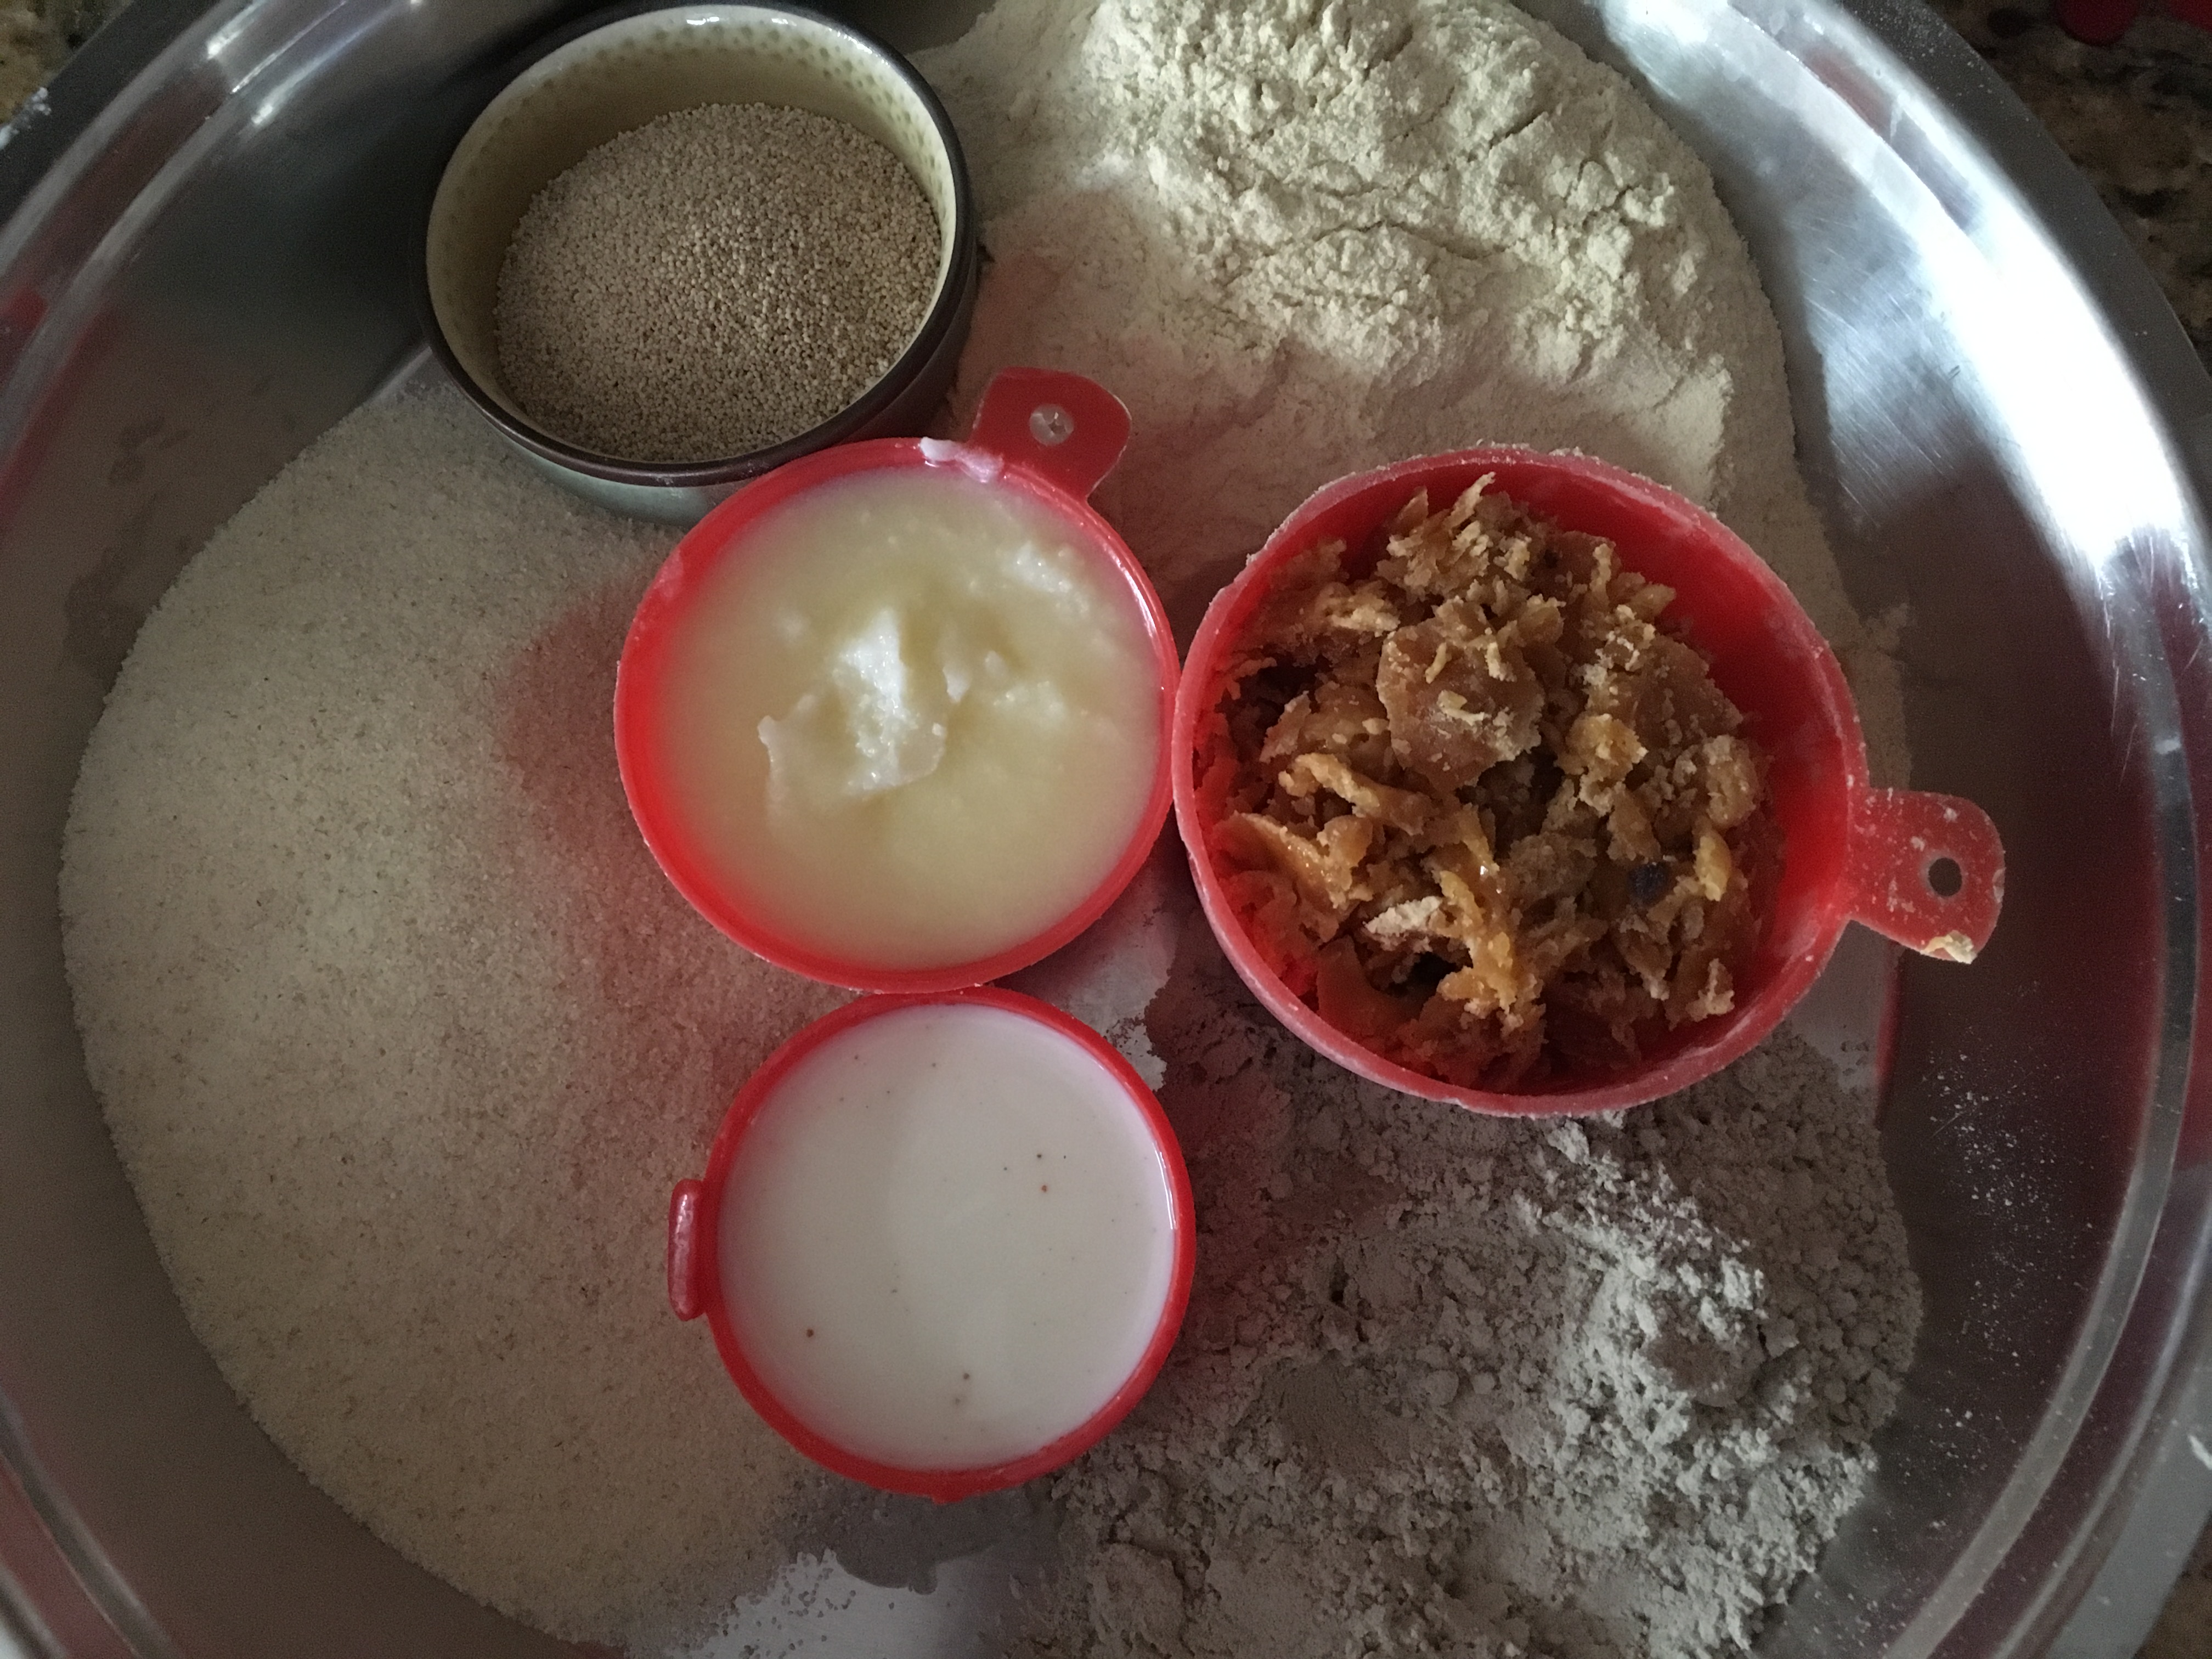
  • 1/3 cup milk
  • 1 cup water
  • 1/2 cup ghee unmelted
  • 1 cup sliced jaggery
  • 1/4 cup cashew pieces
  • 1/2 tsp nutmeg powder
  • 1 tsp cardamom powder
  • 7-8 strands of saffron

IMG_1711

Method

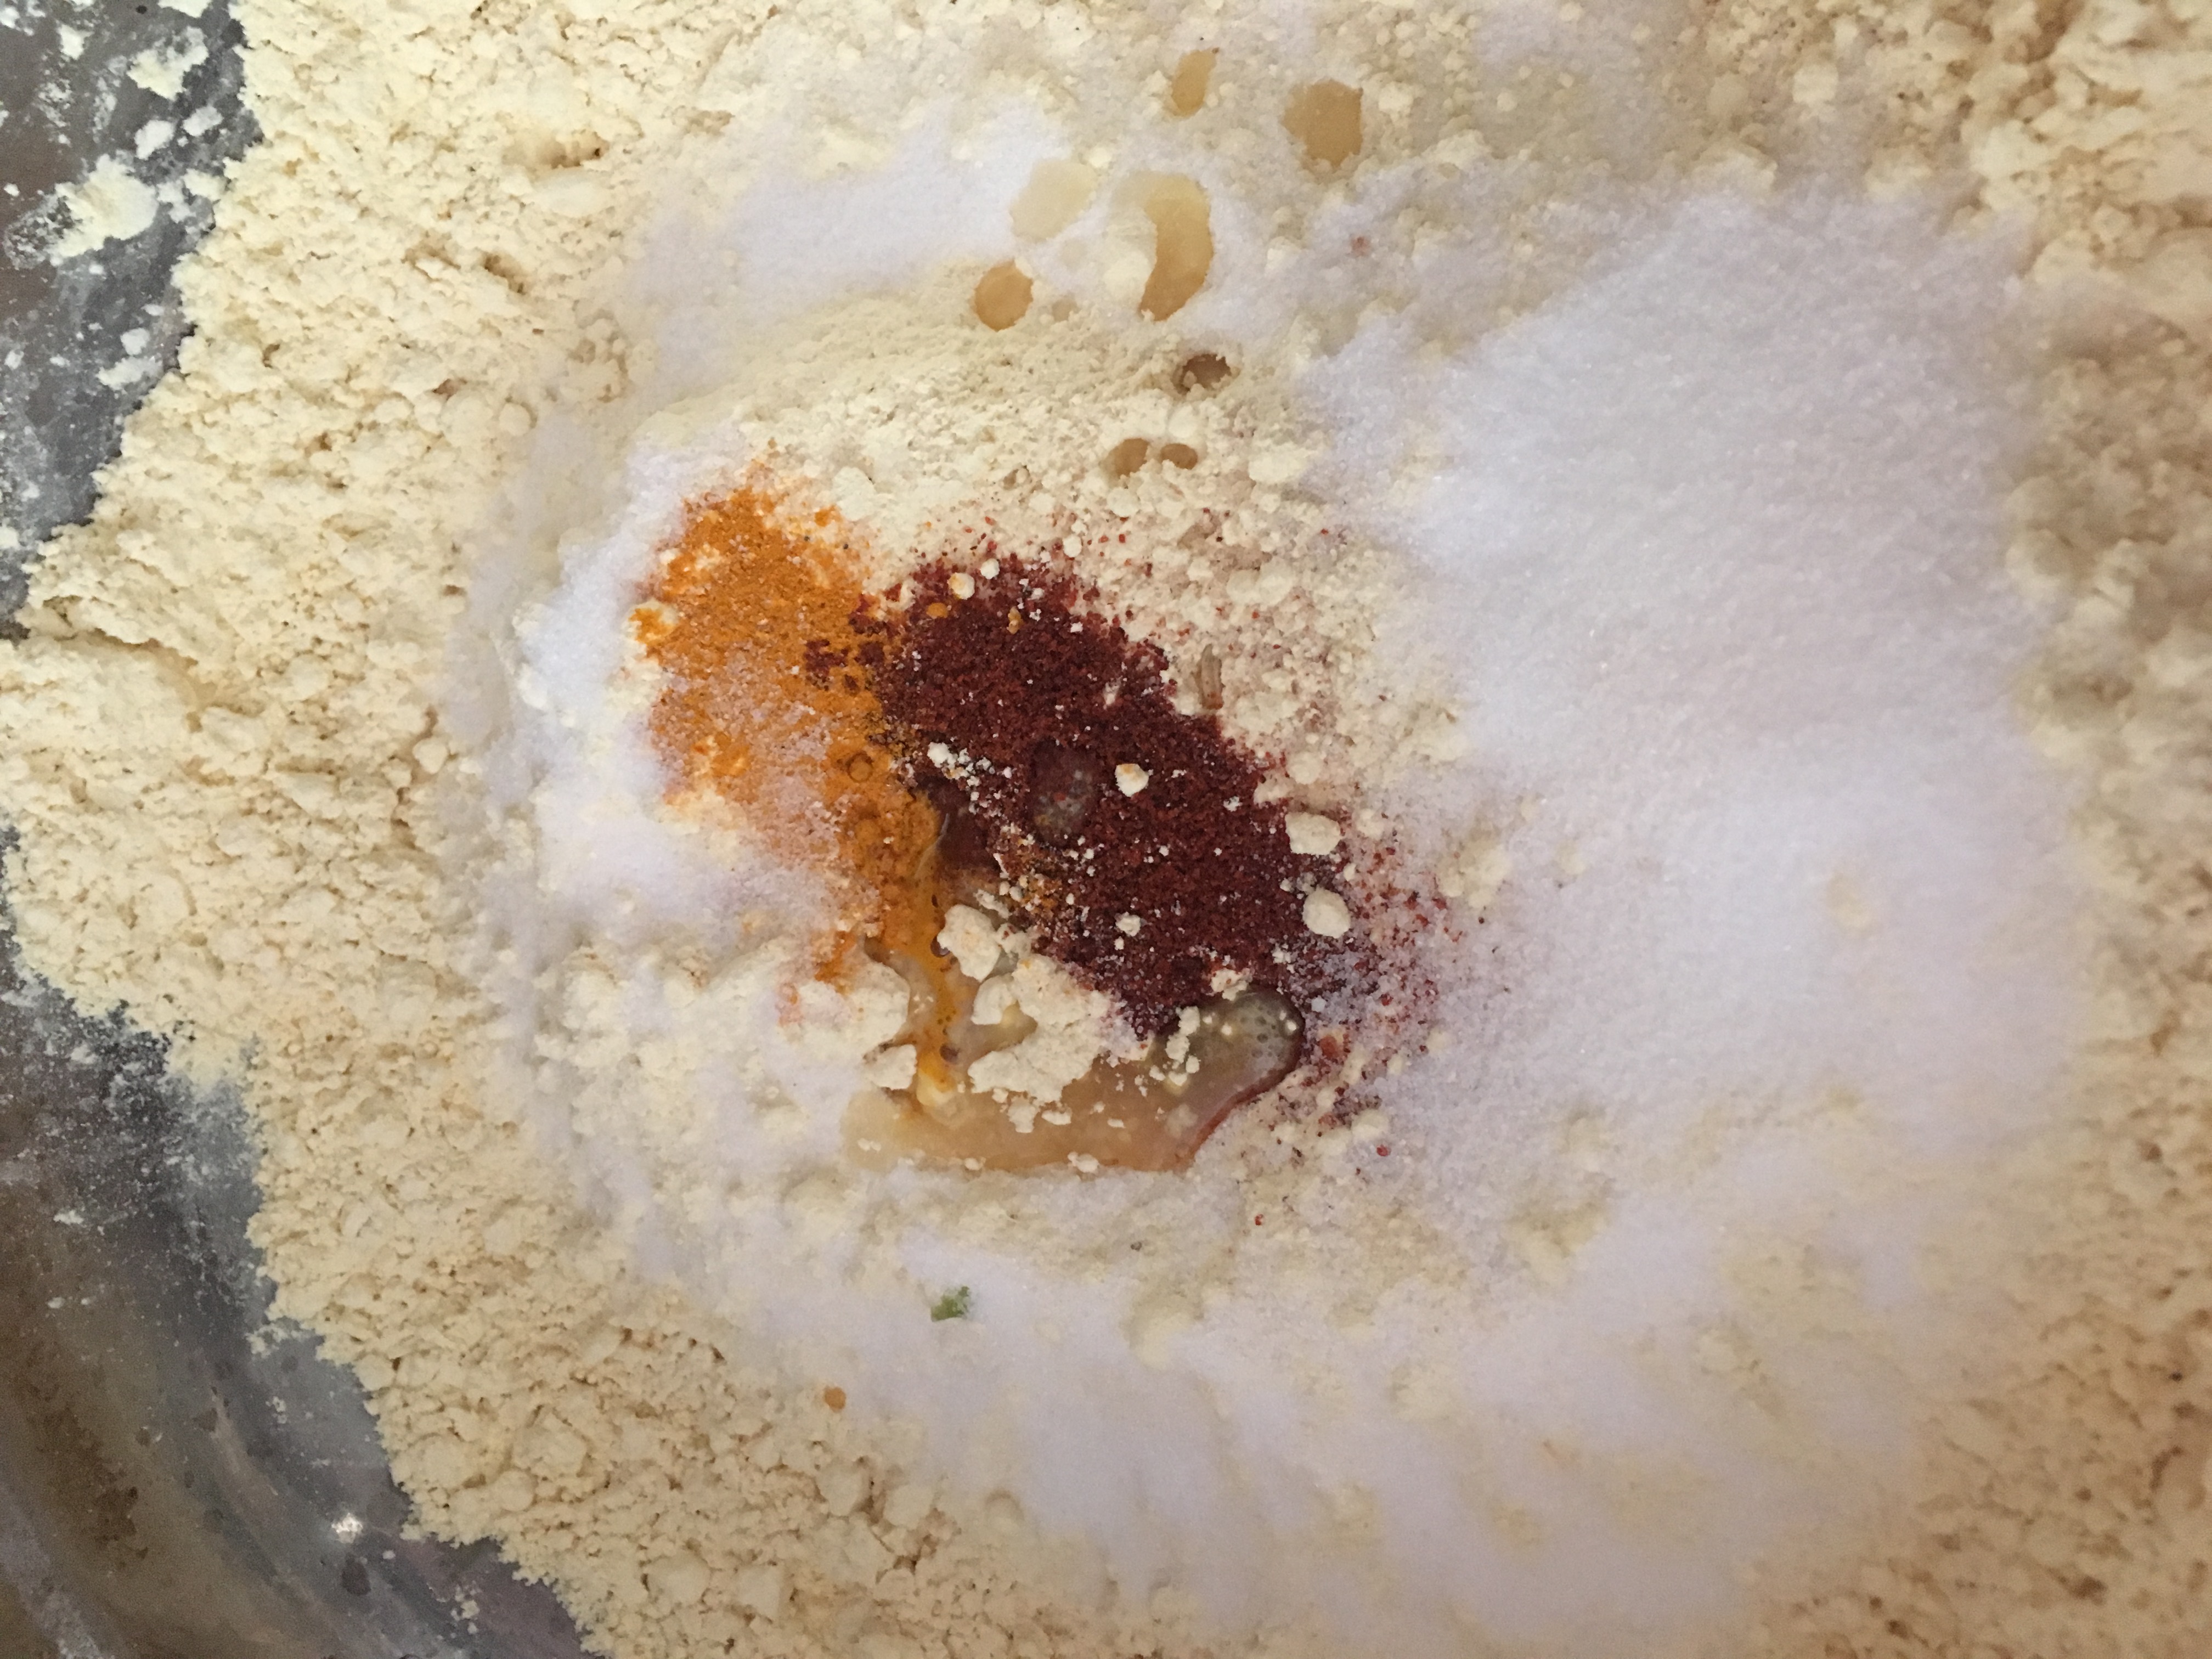
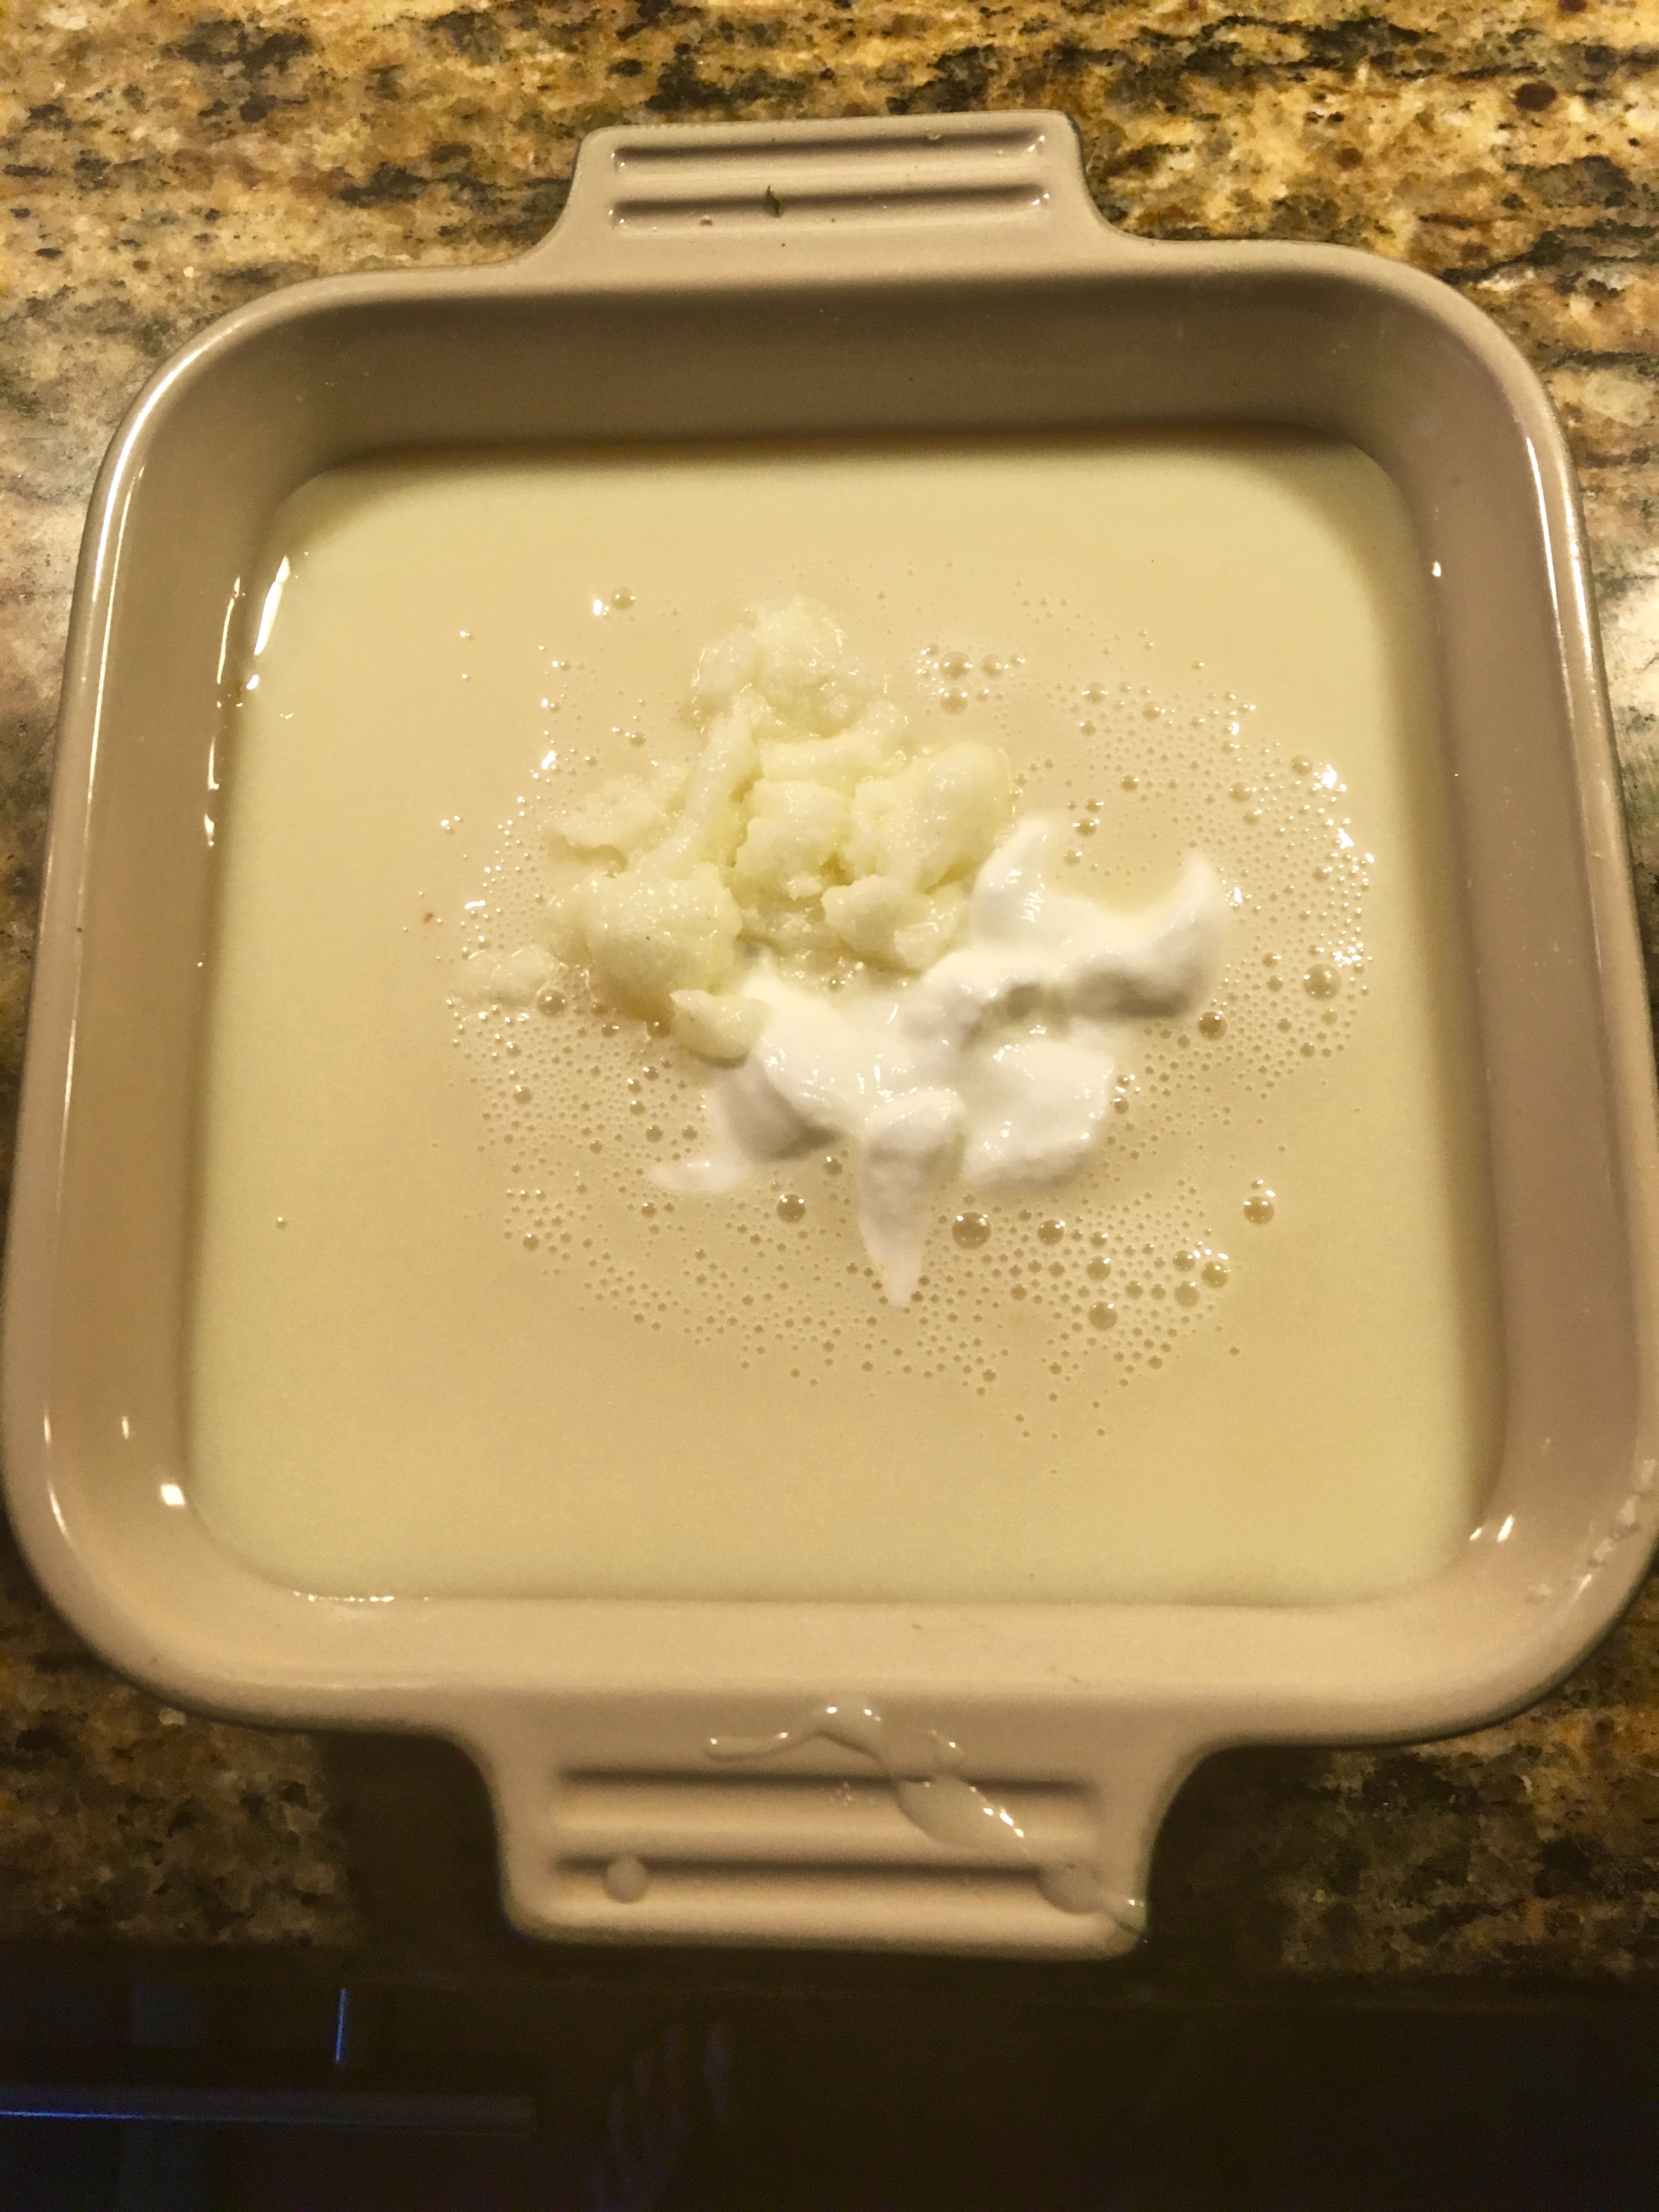
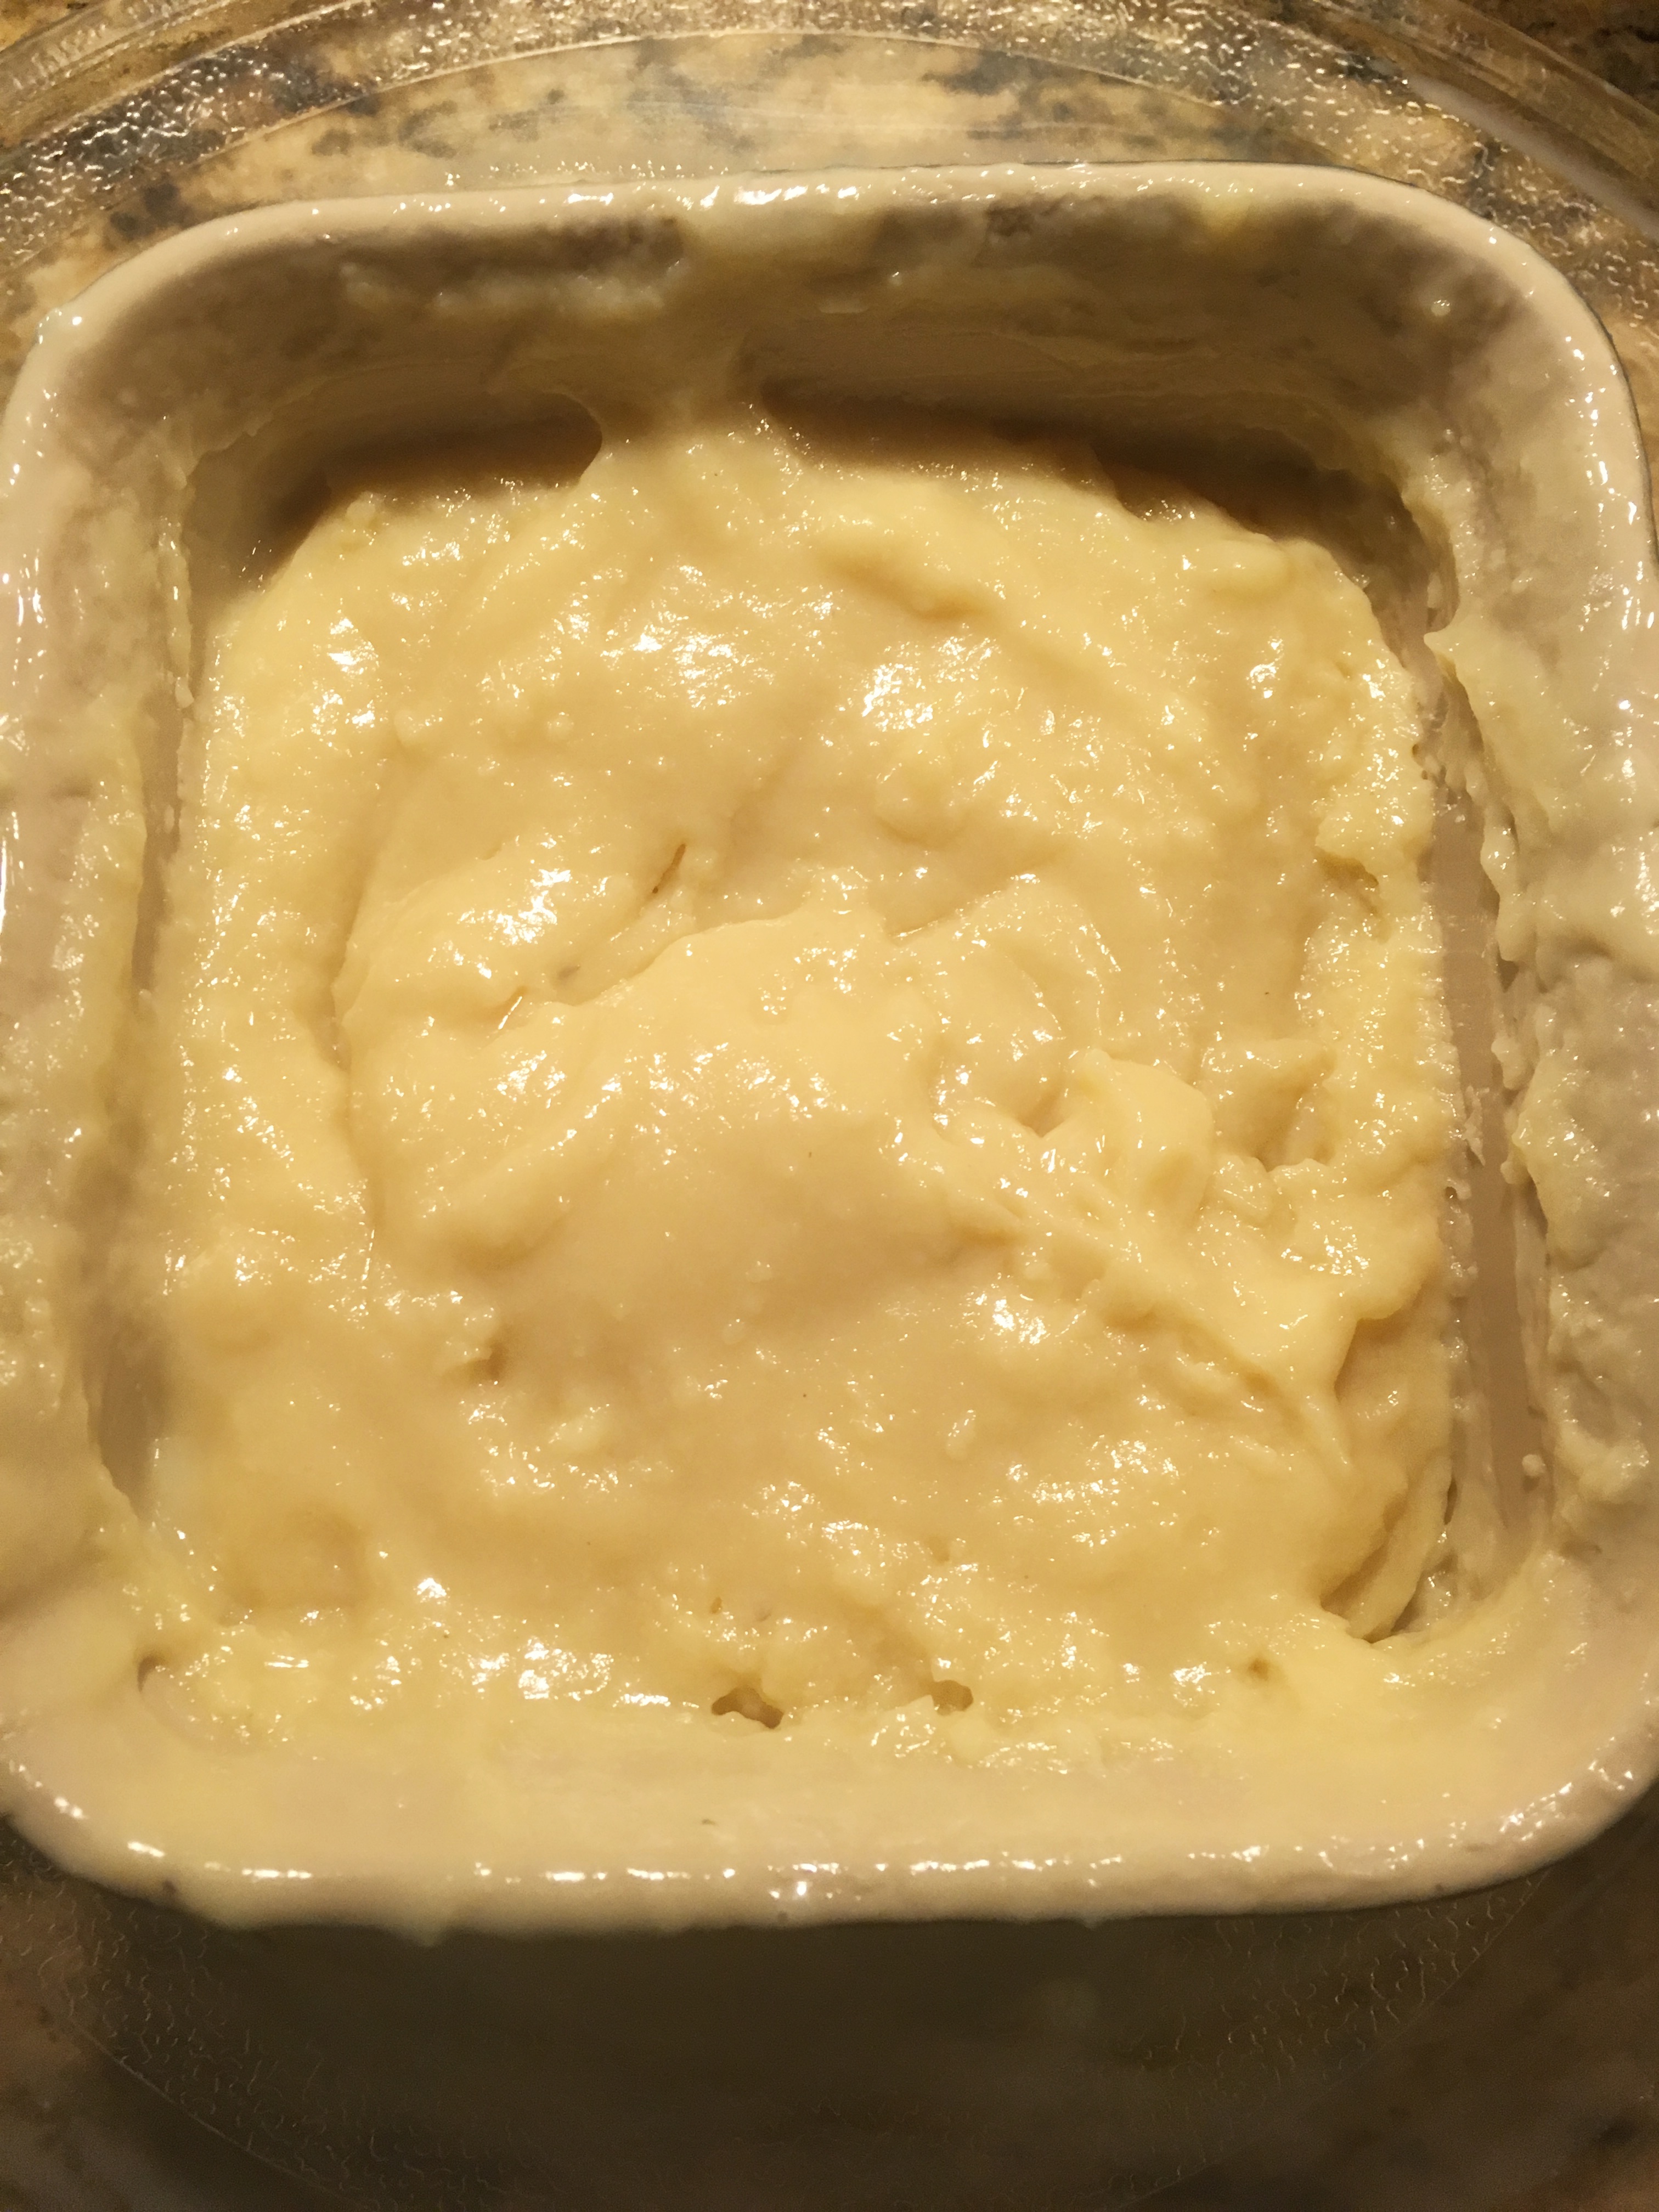
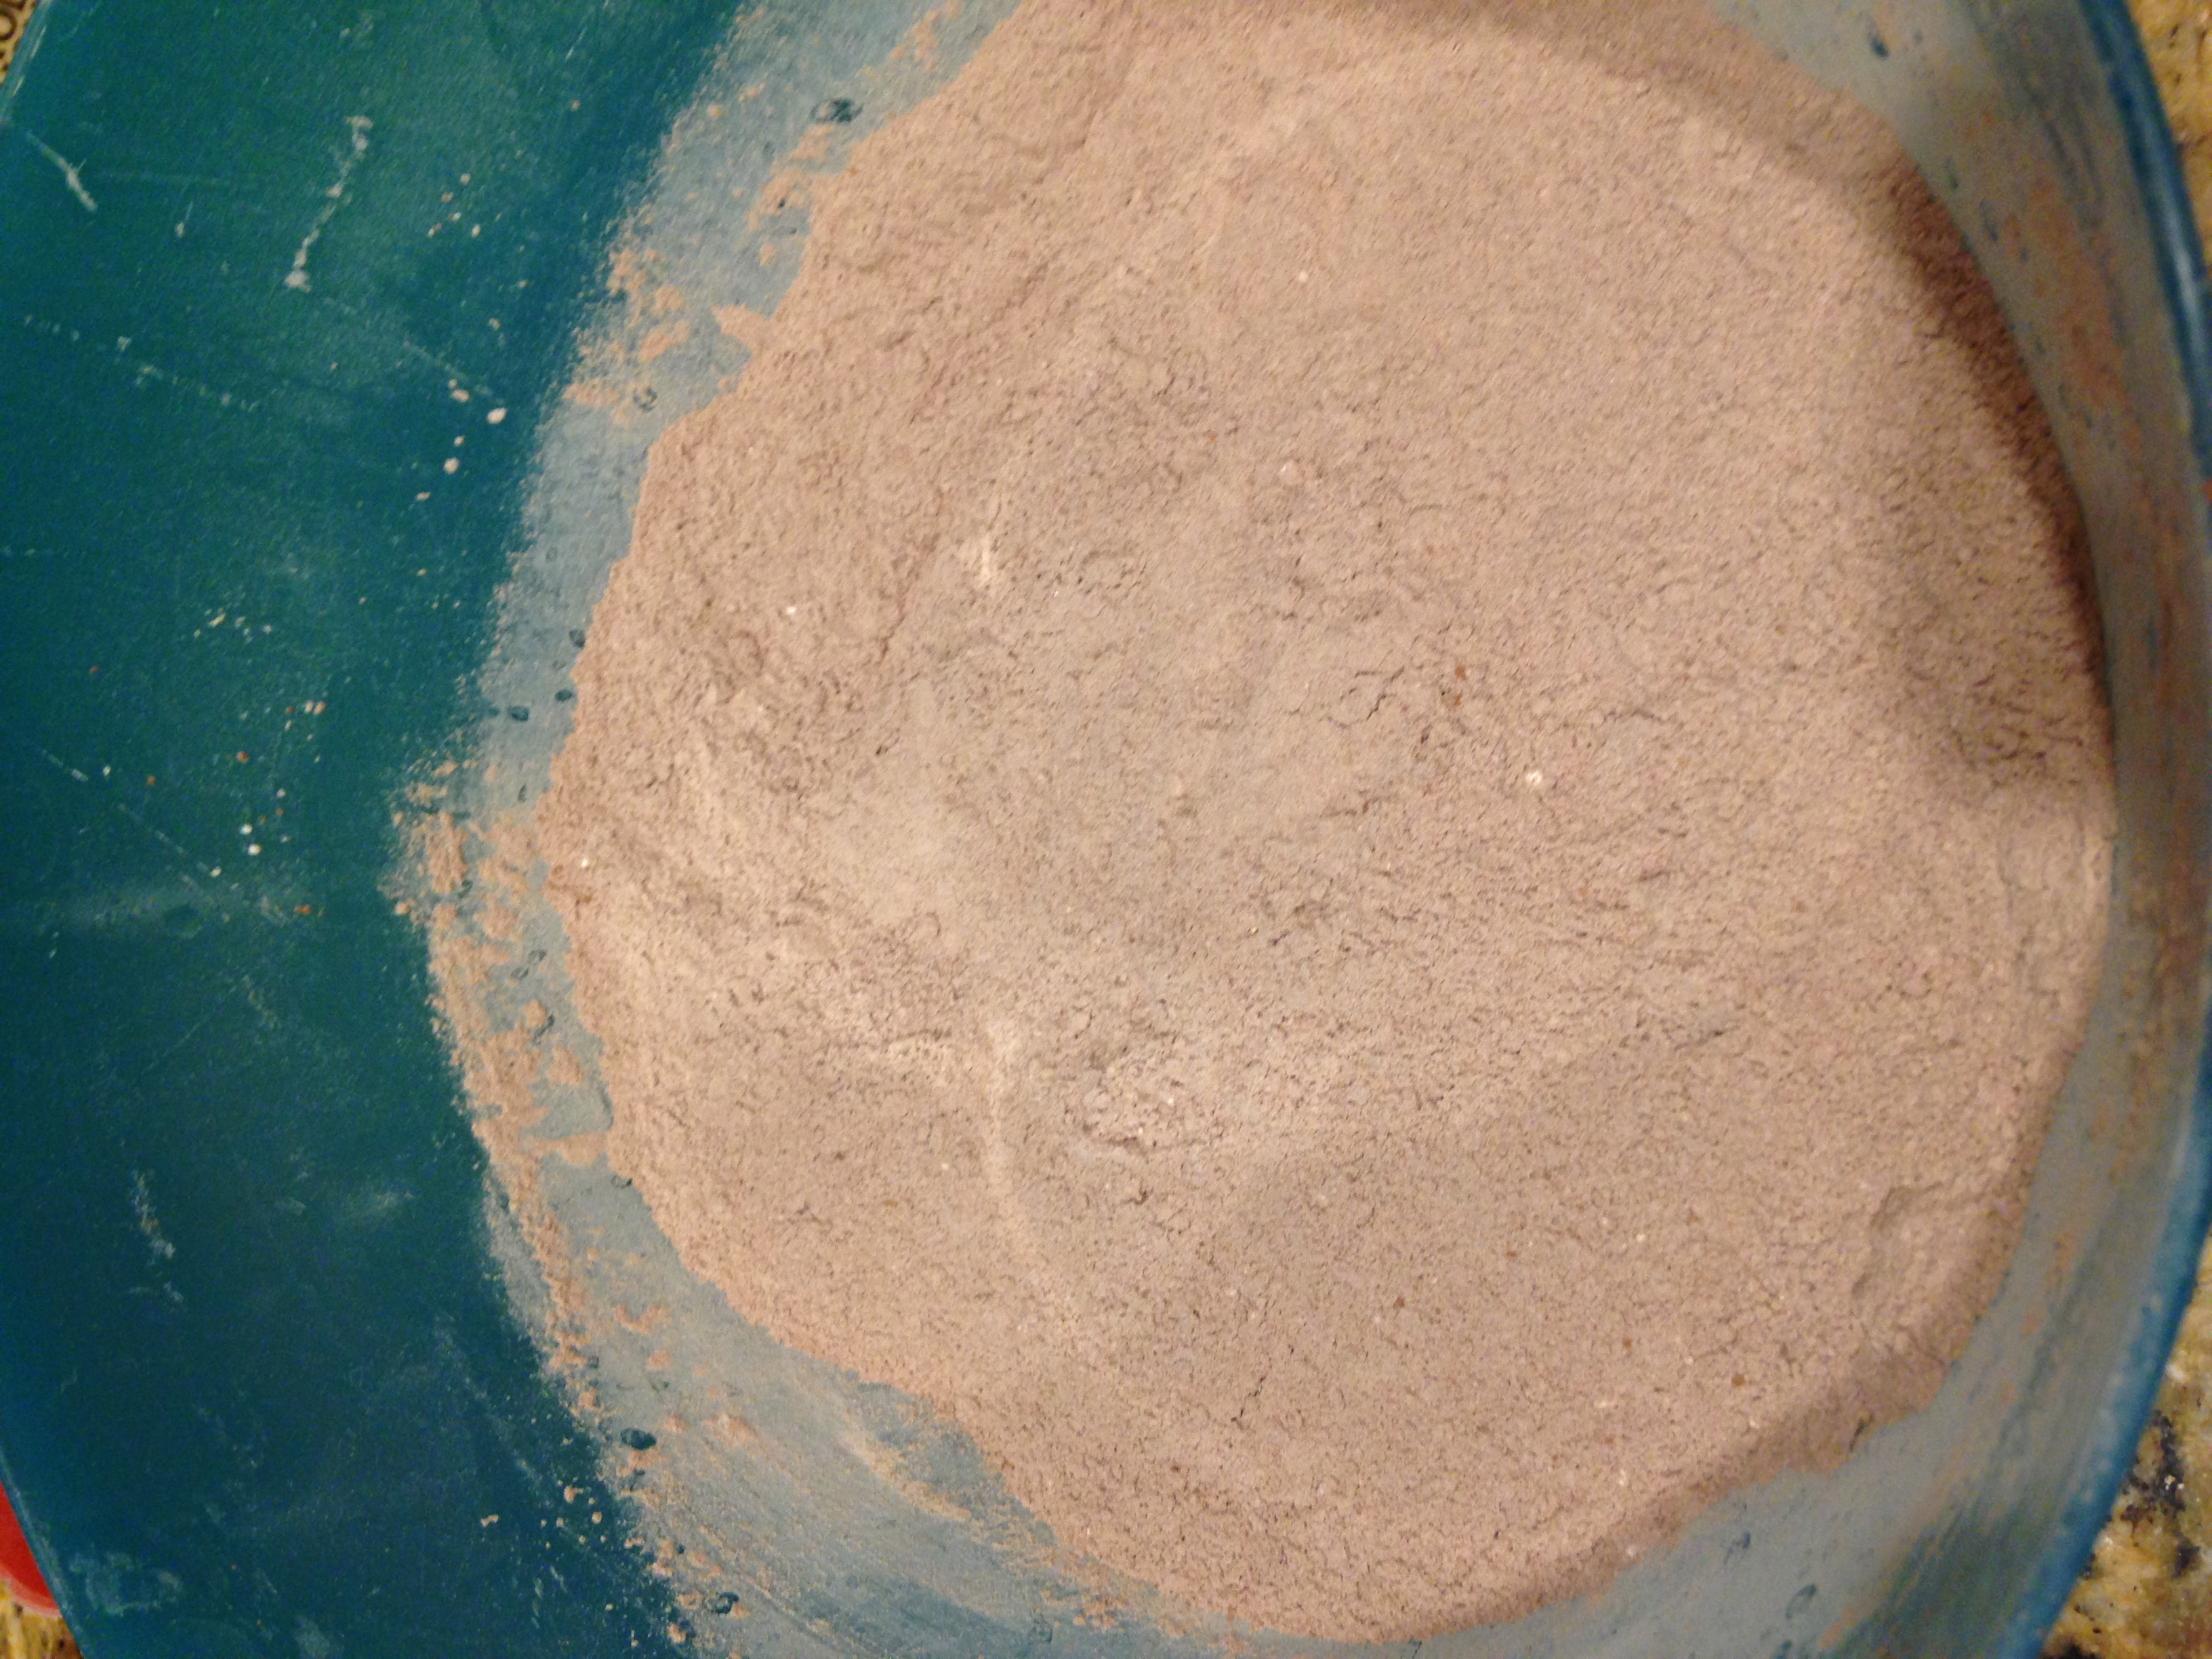
  • Mix the flours, milk and water and knead all into a stiff dough.

IMG_1712

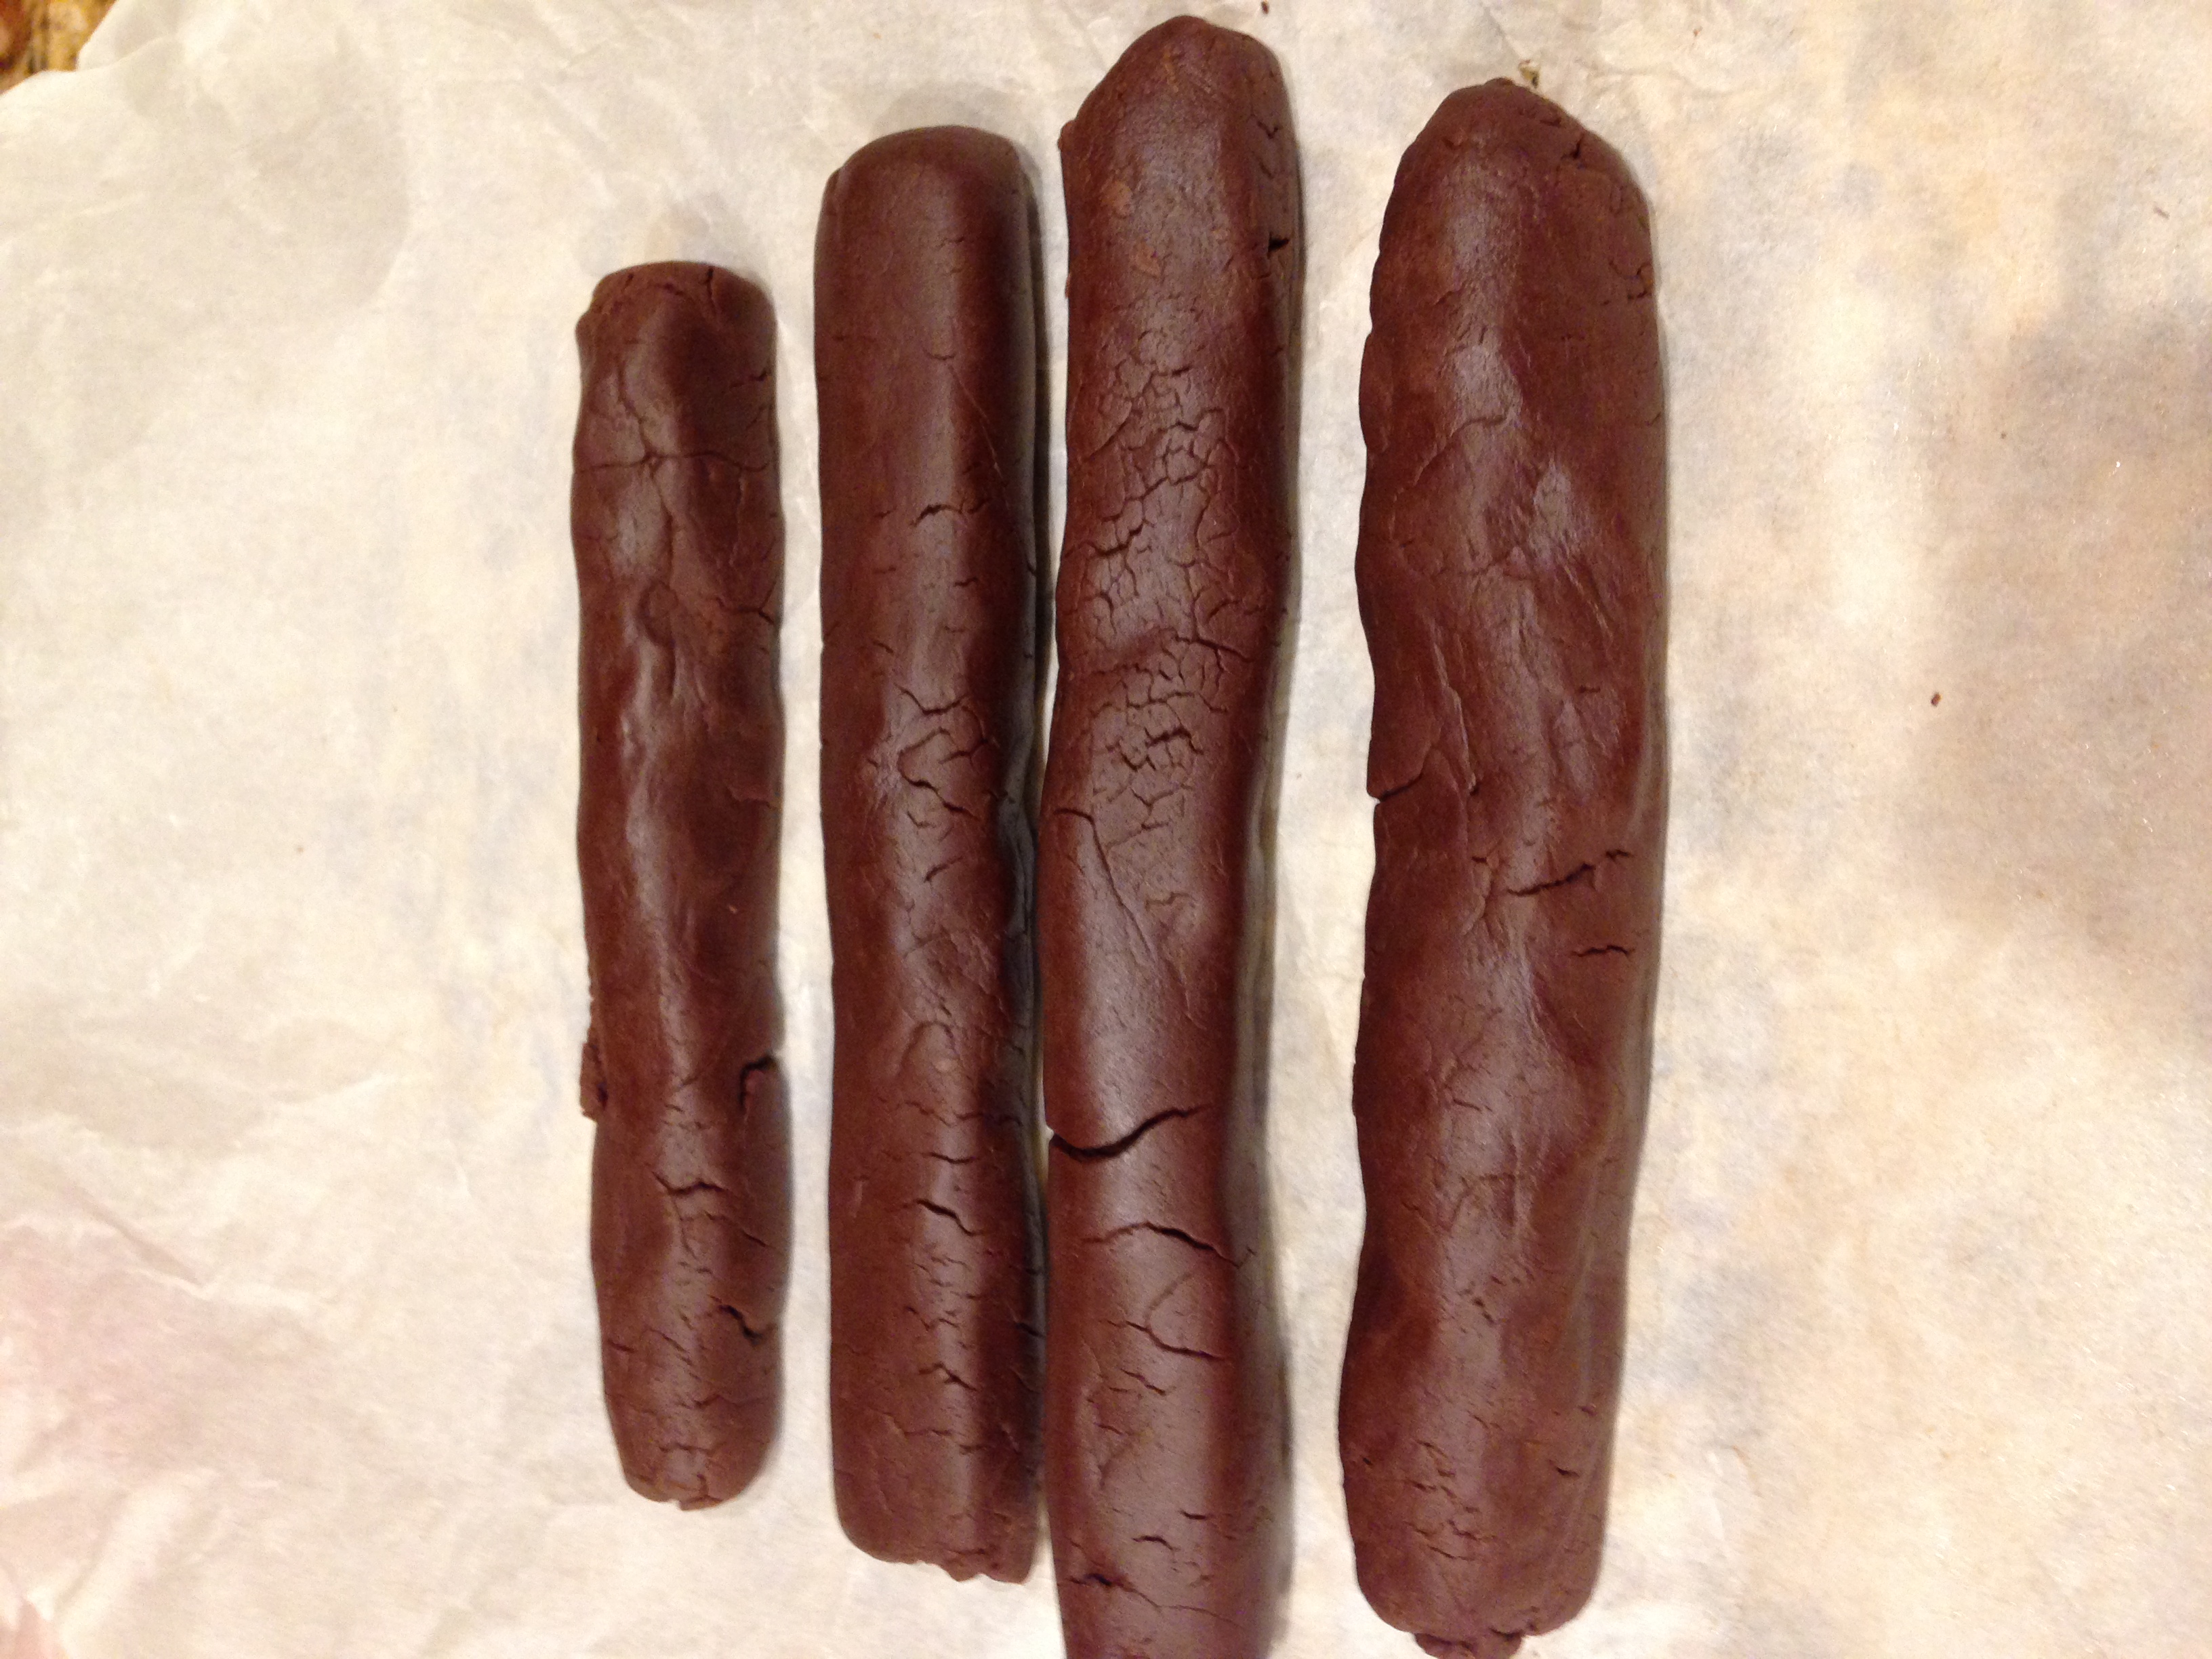
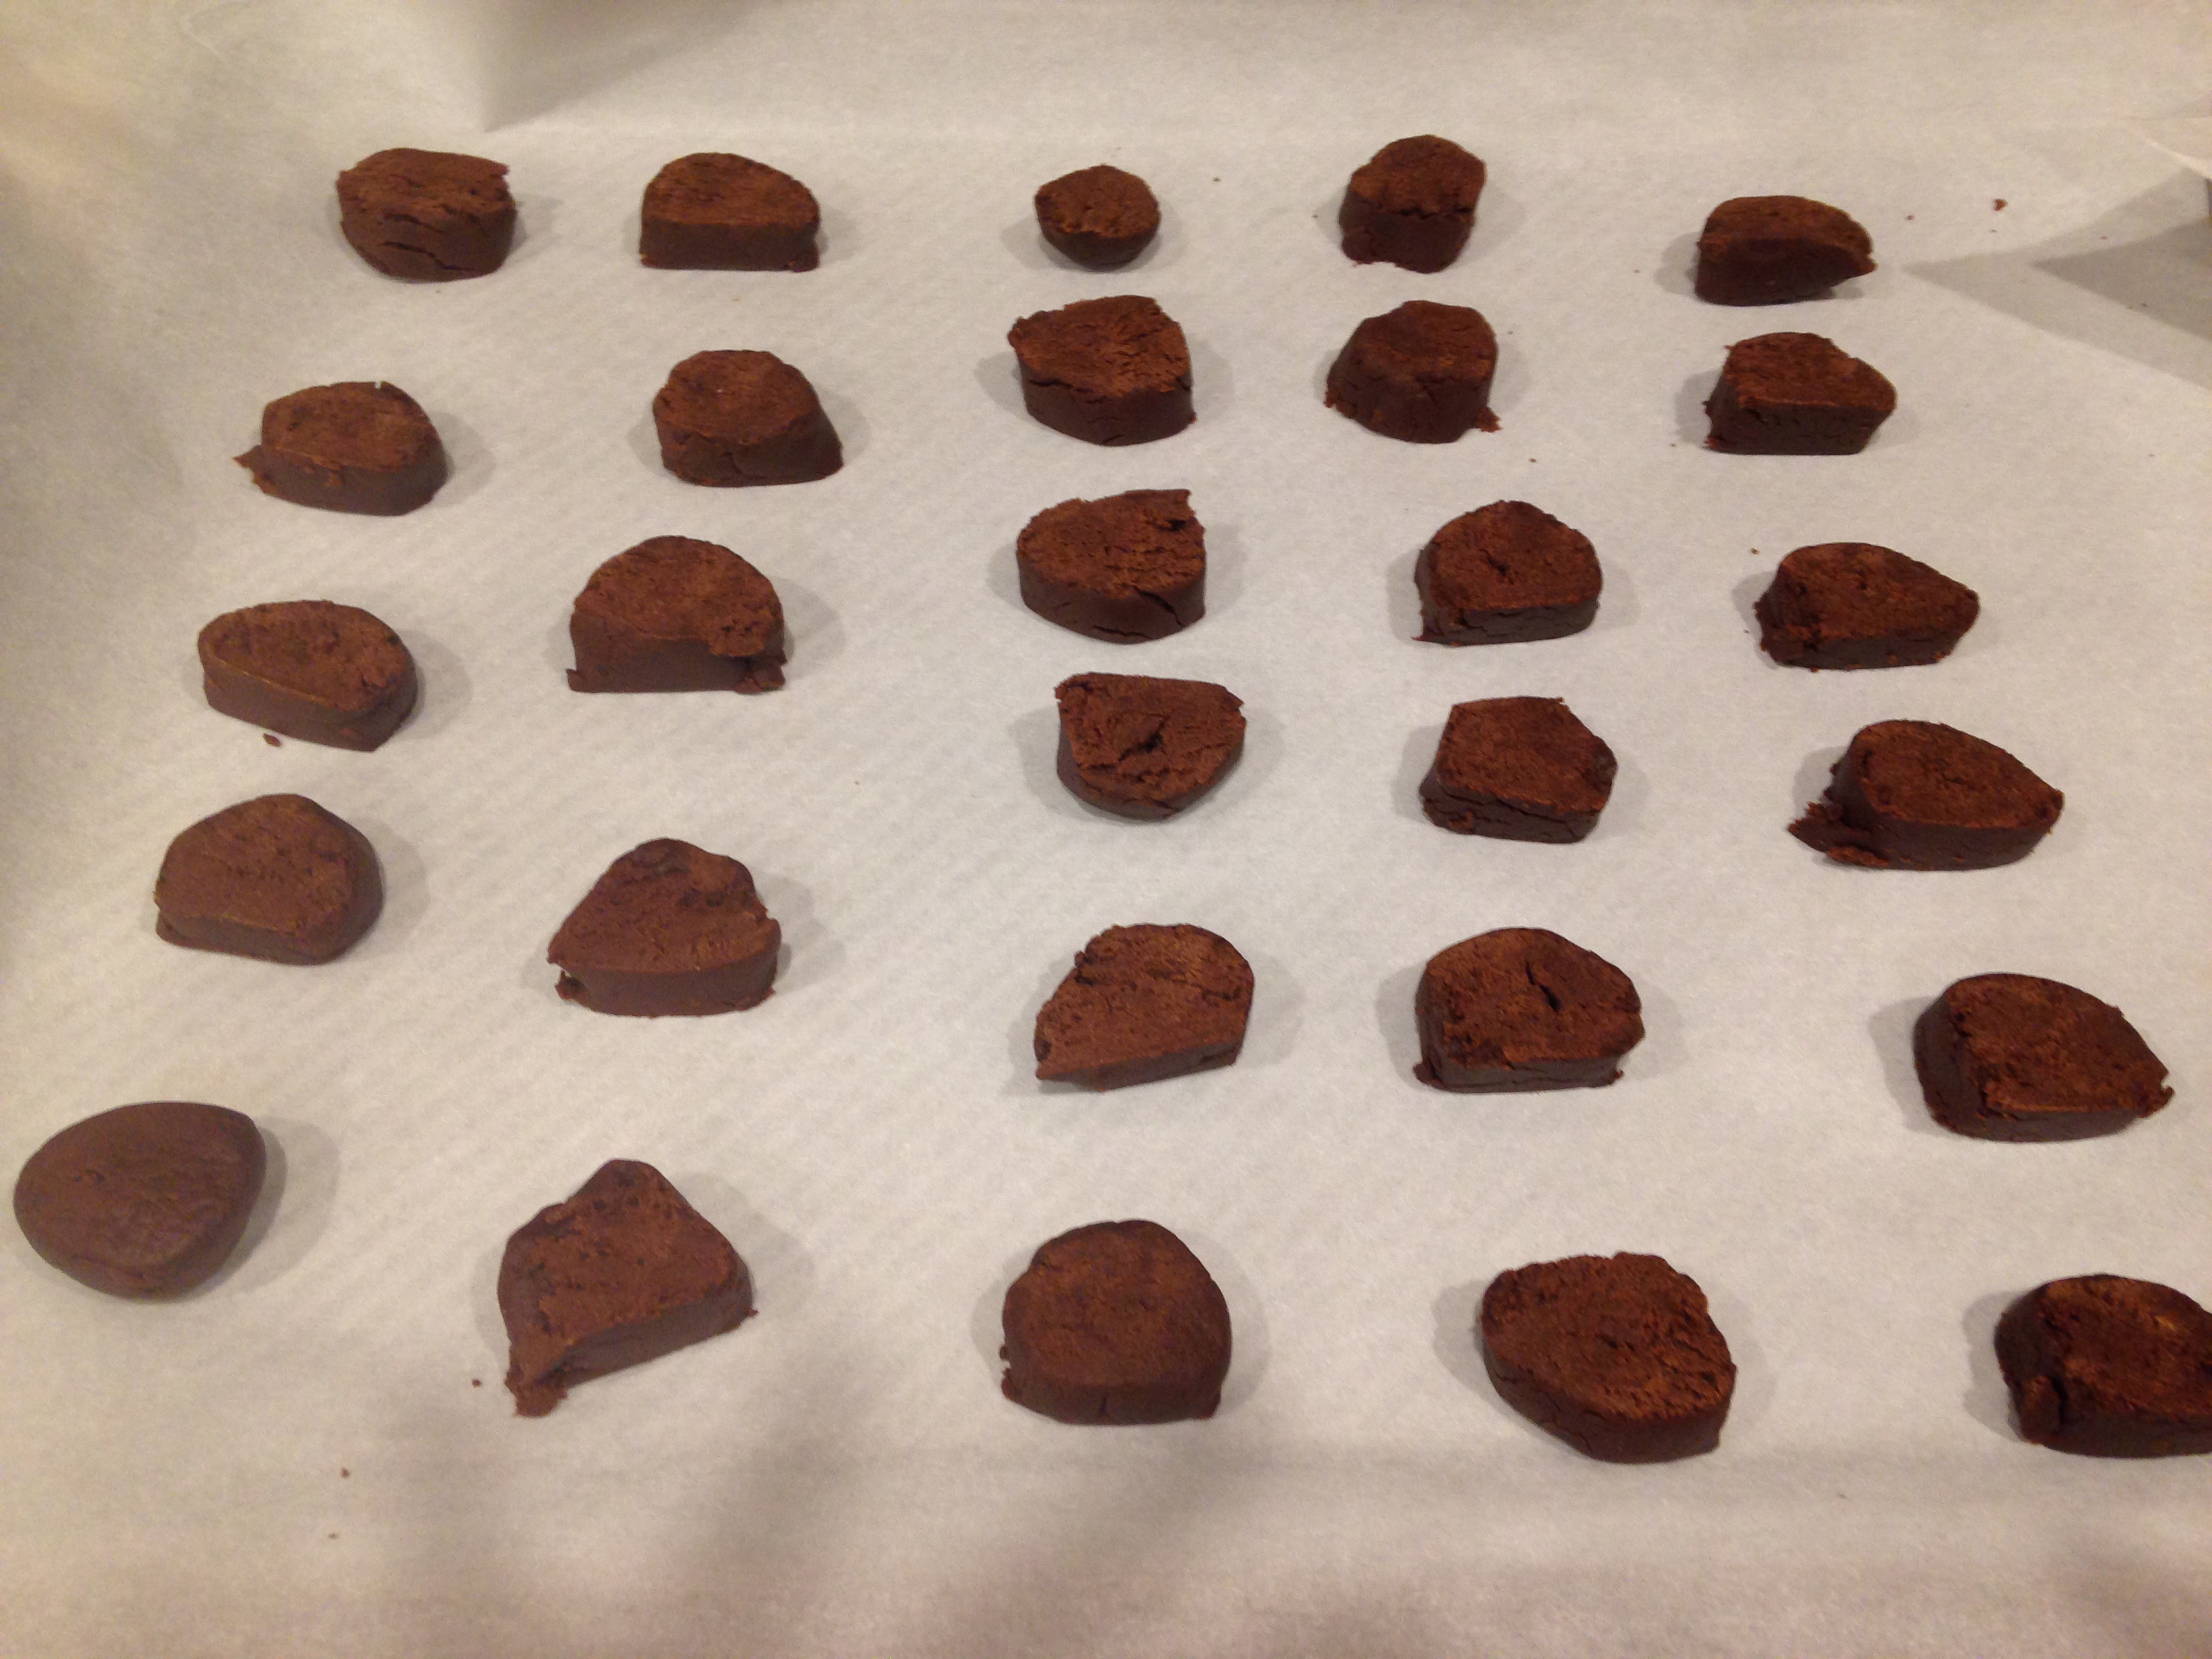
  • Divide the dough into six parts and make balls.
  • Roll the dough into a slightly thick rounds as in Bhakhris.
  • Indent the rolled dough with end of the rolling pin, so as to cook well.

IMG_1714

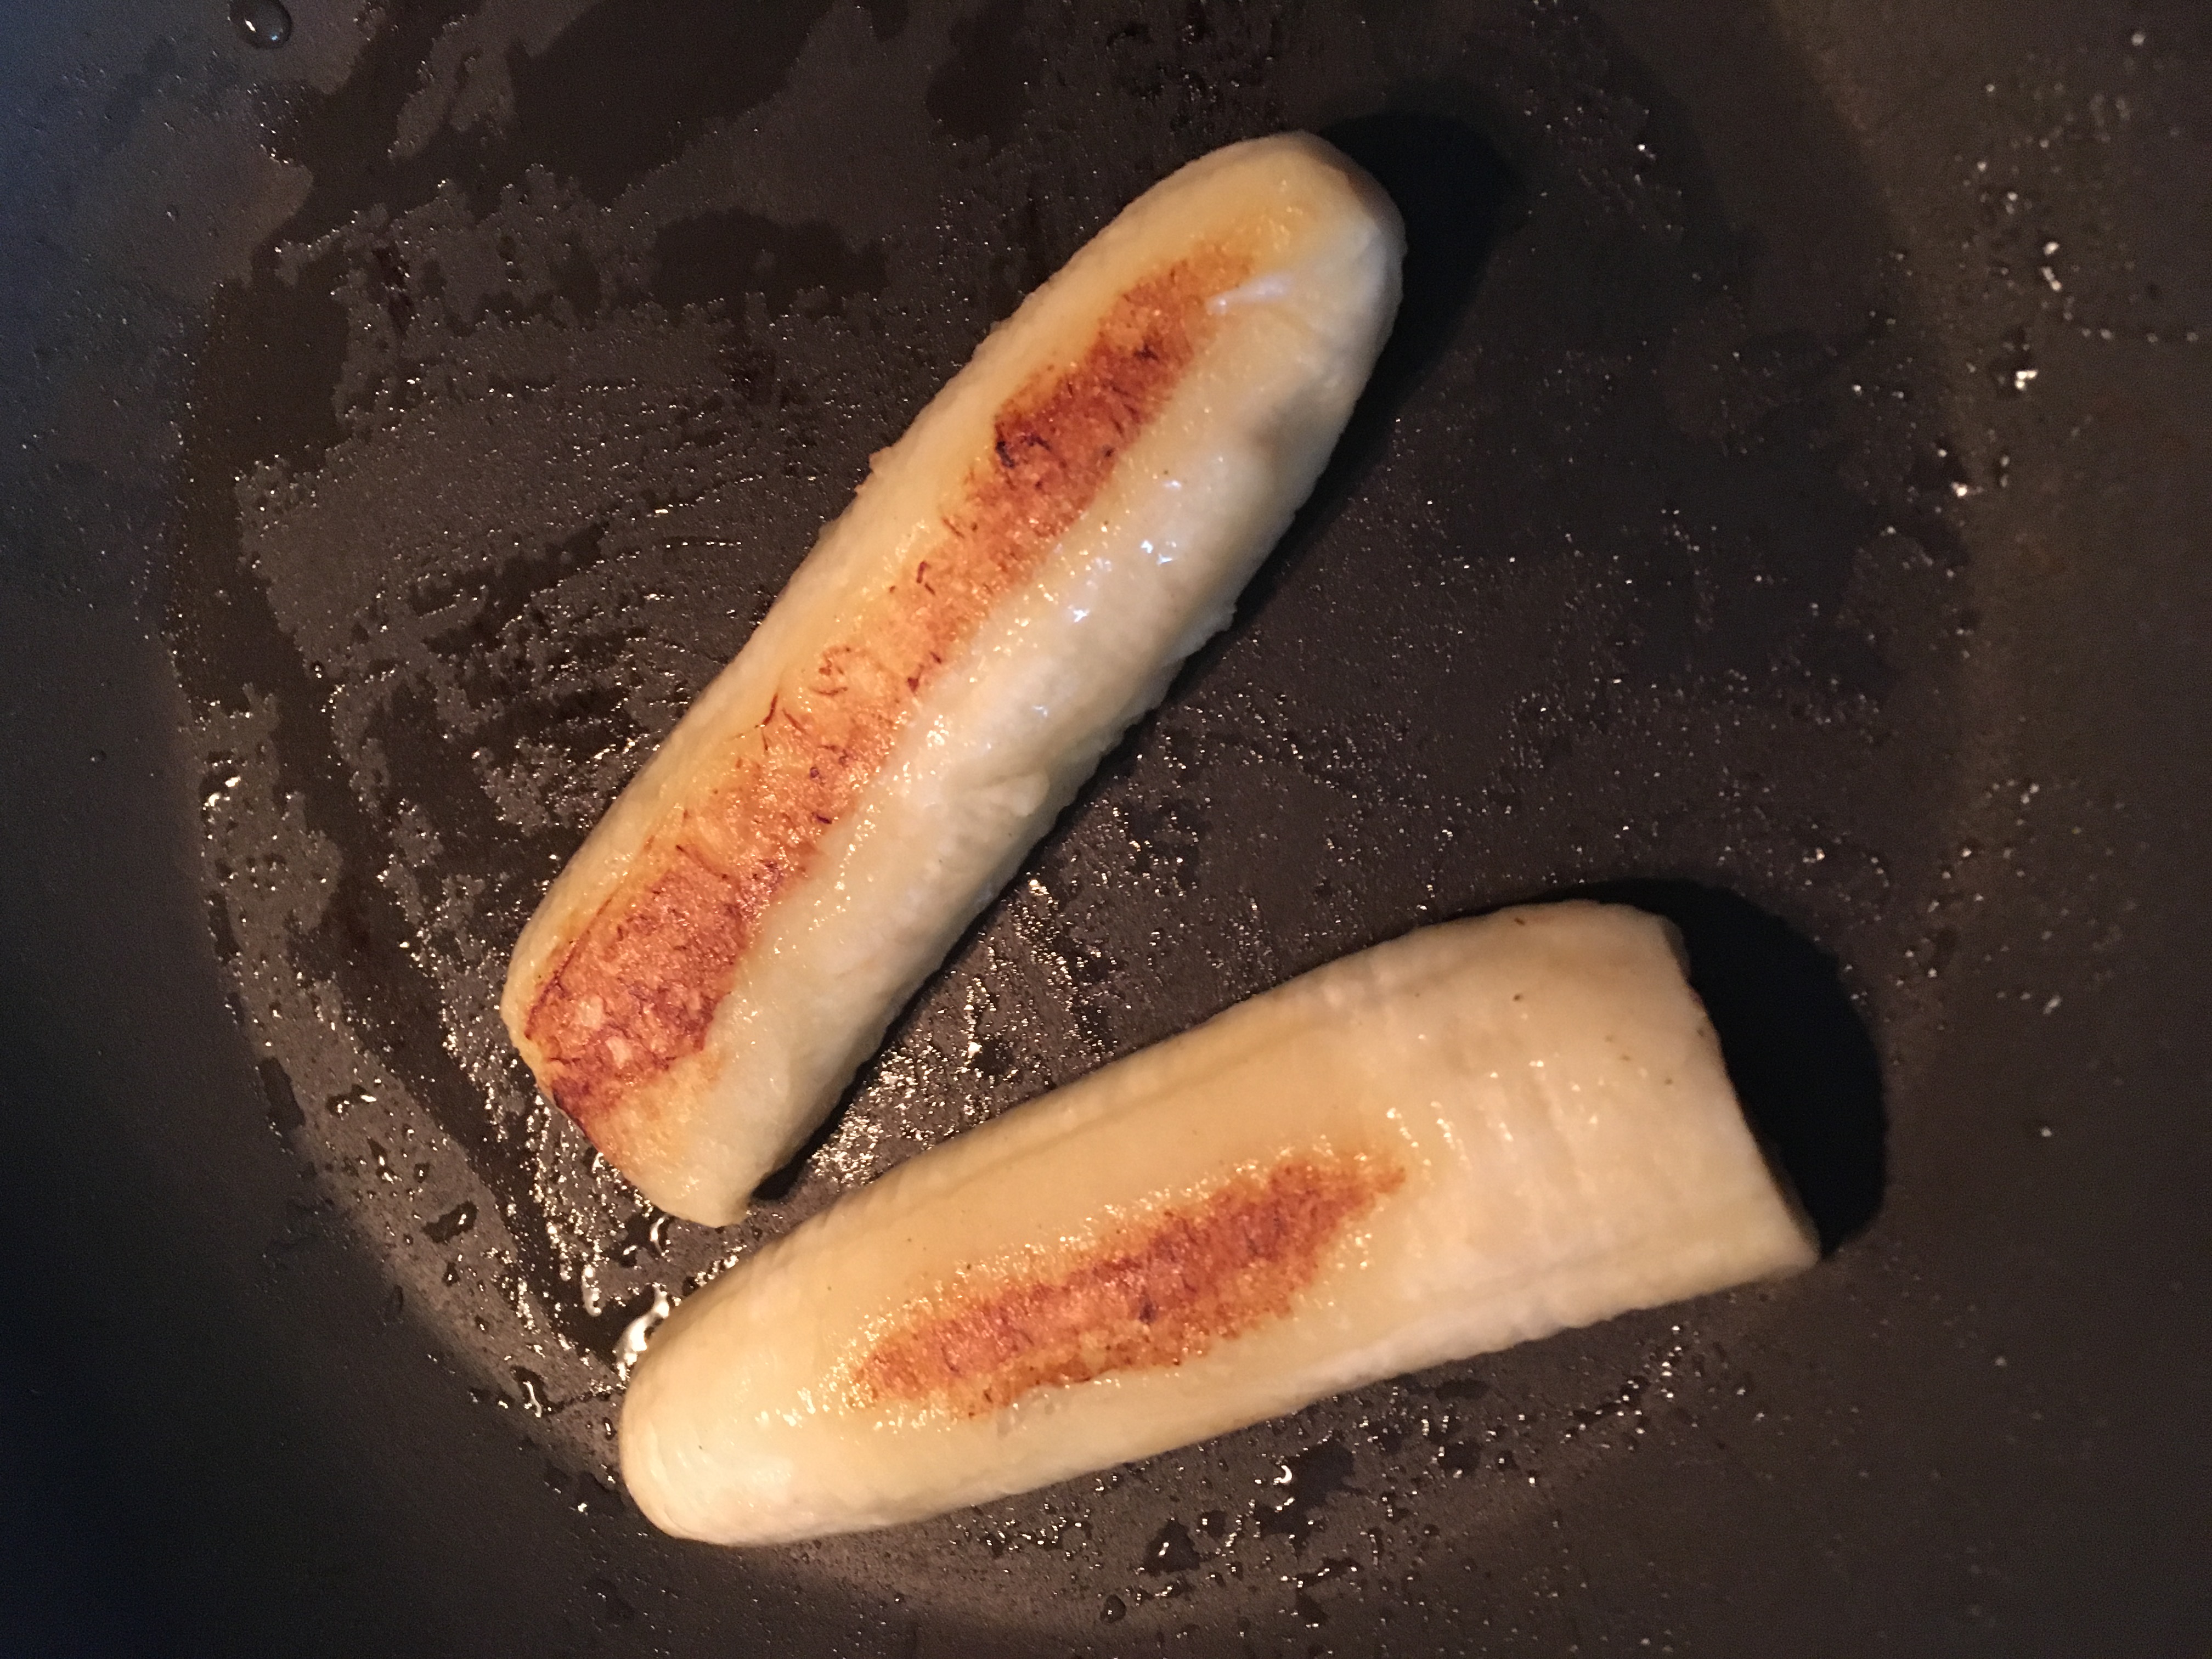
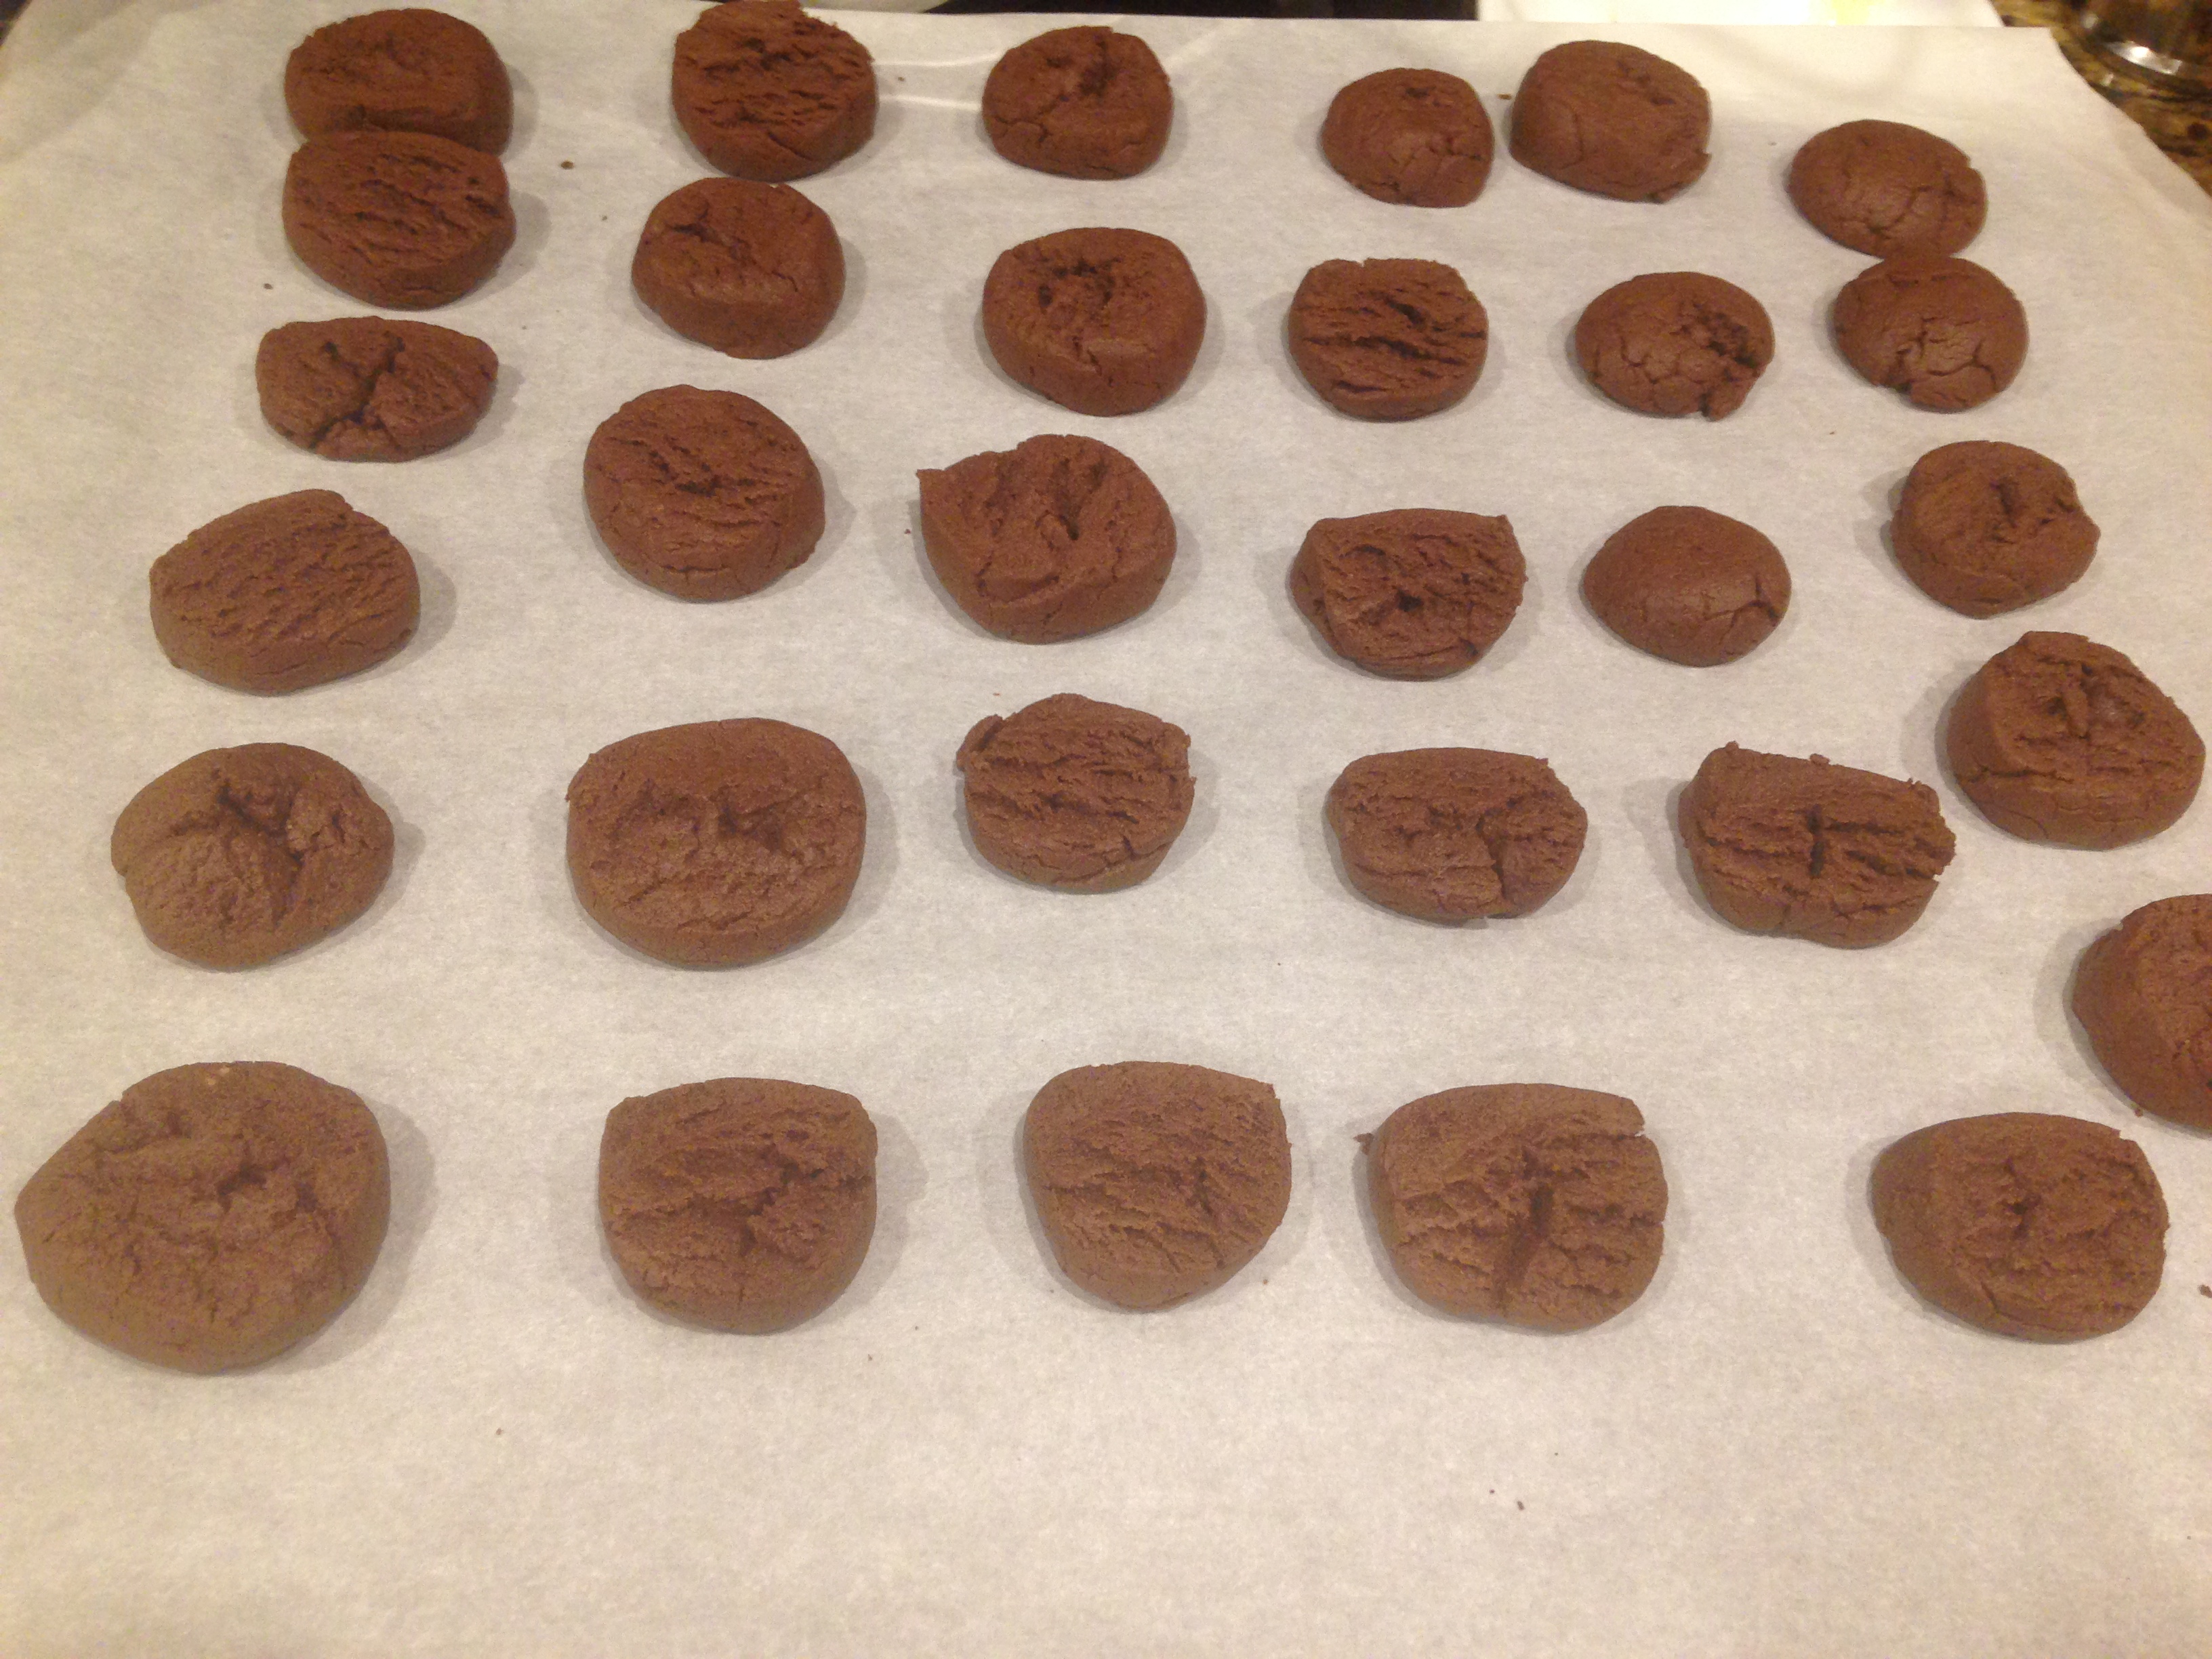
  • Heat a thick griddle on a low-  medium flame.
  • Cook the bhakri on medium flame, so that is in not too stiff, and also not too soft.

IMG_1716

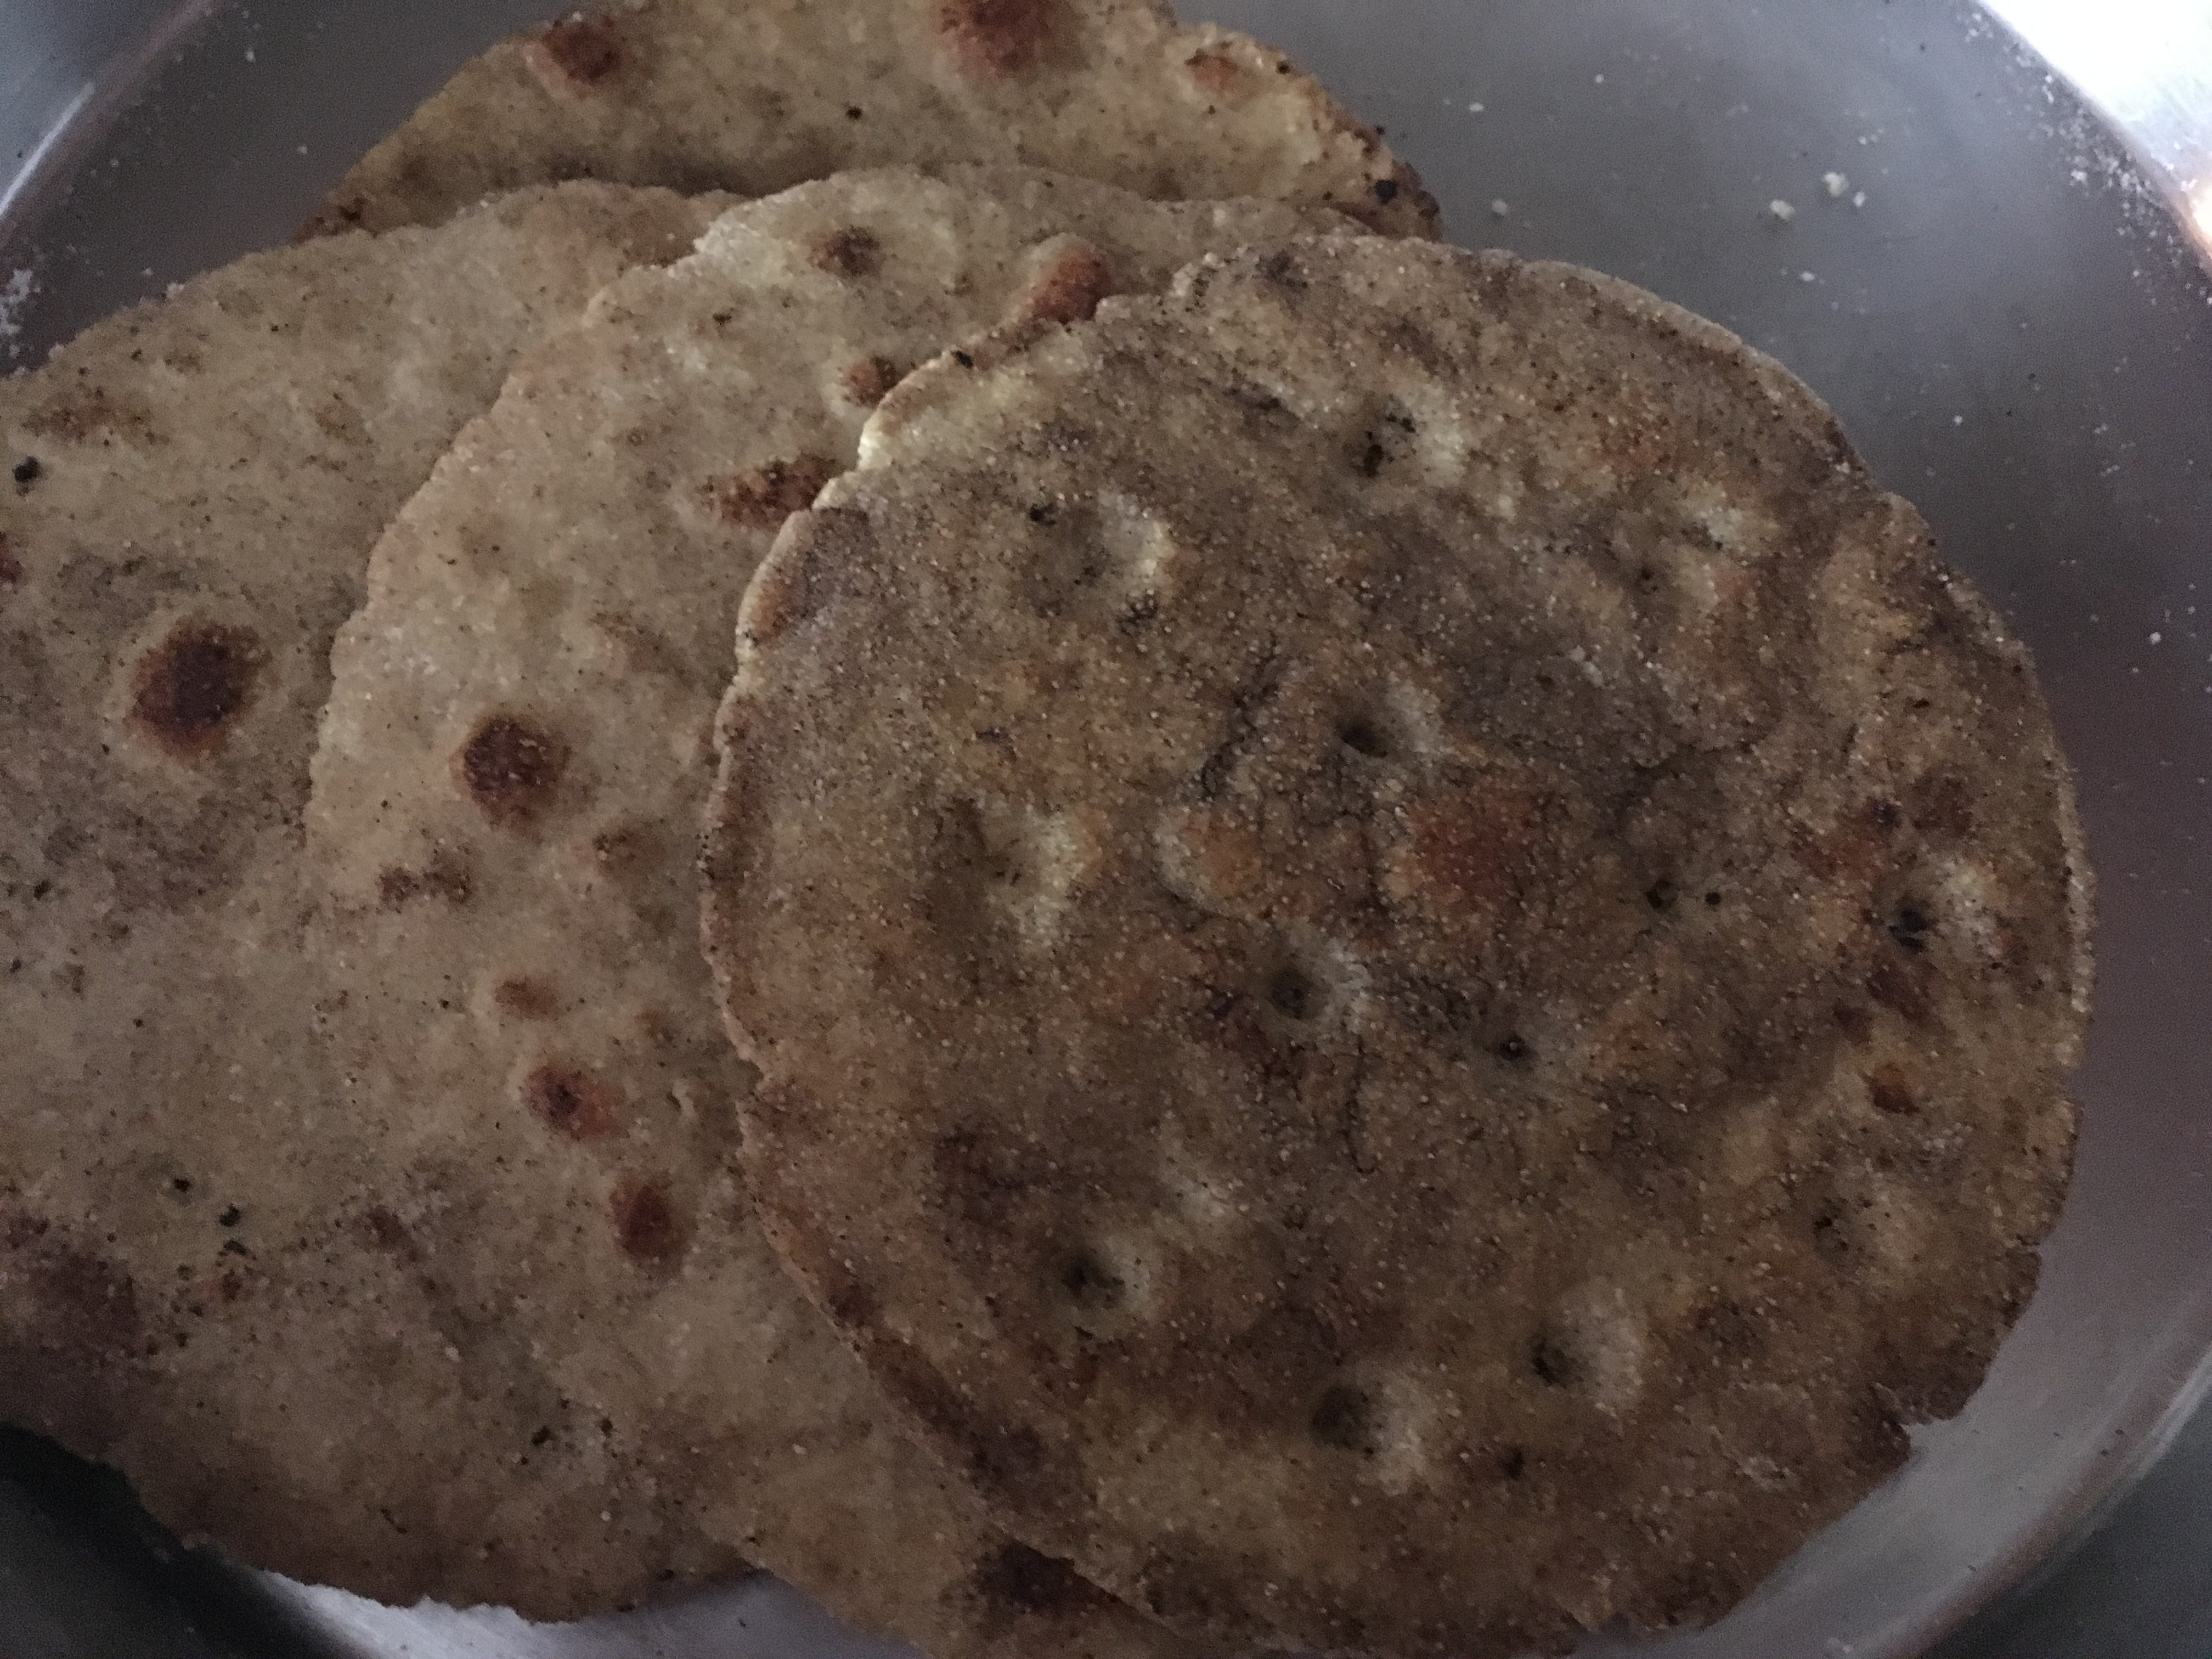
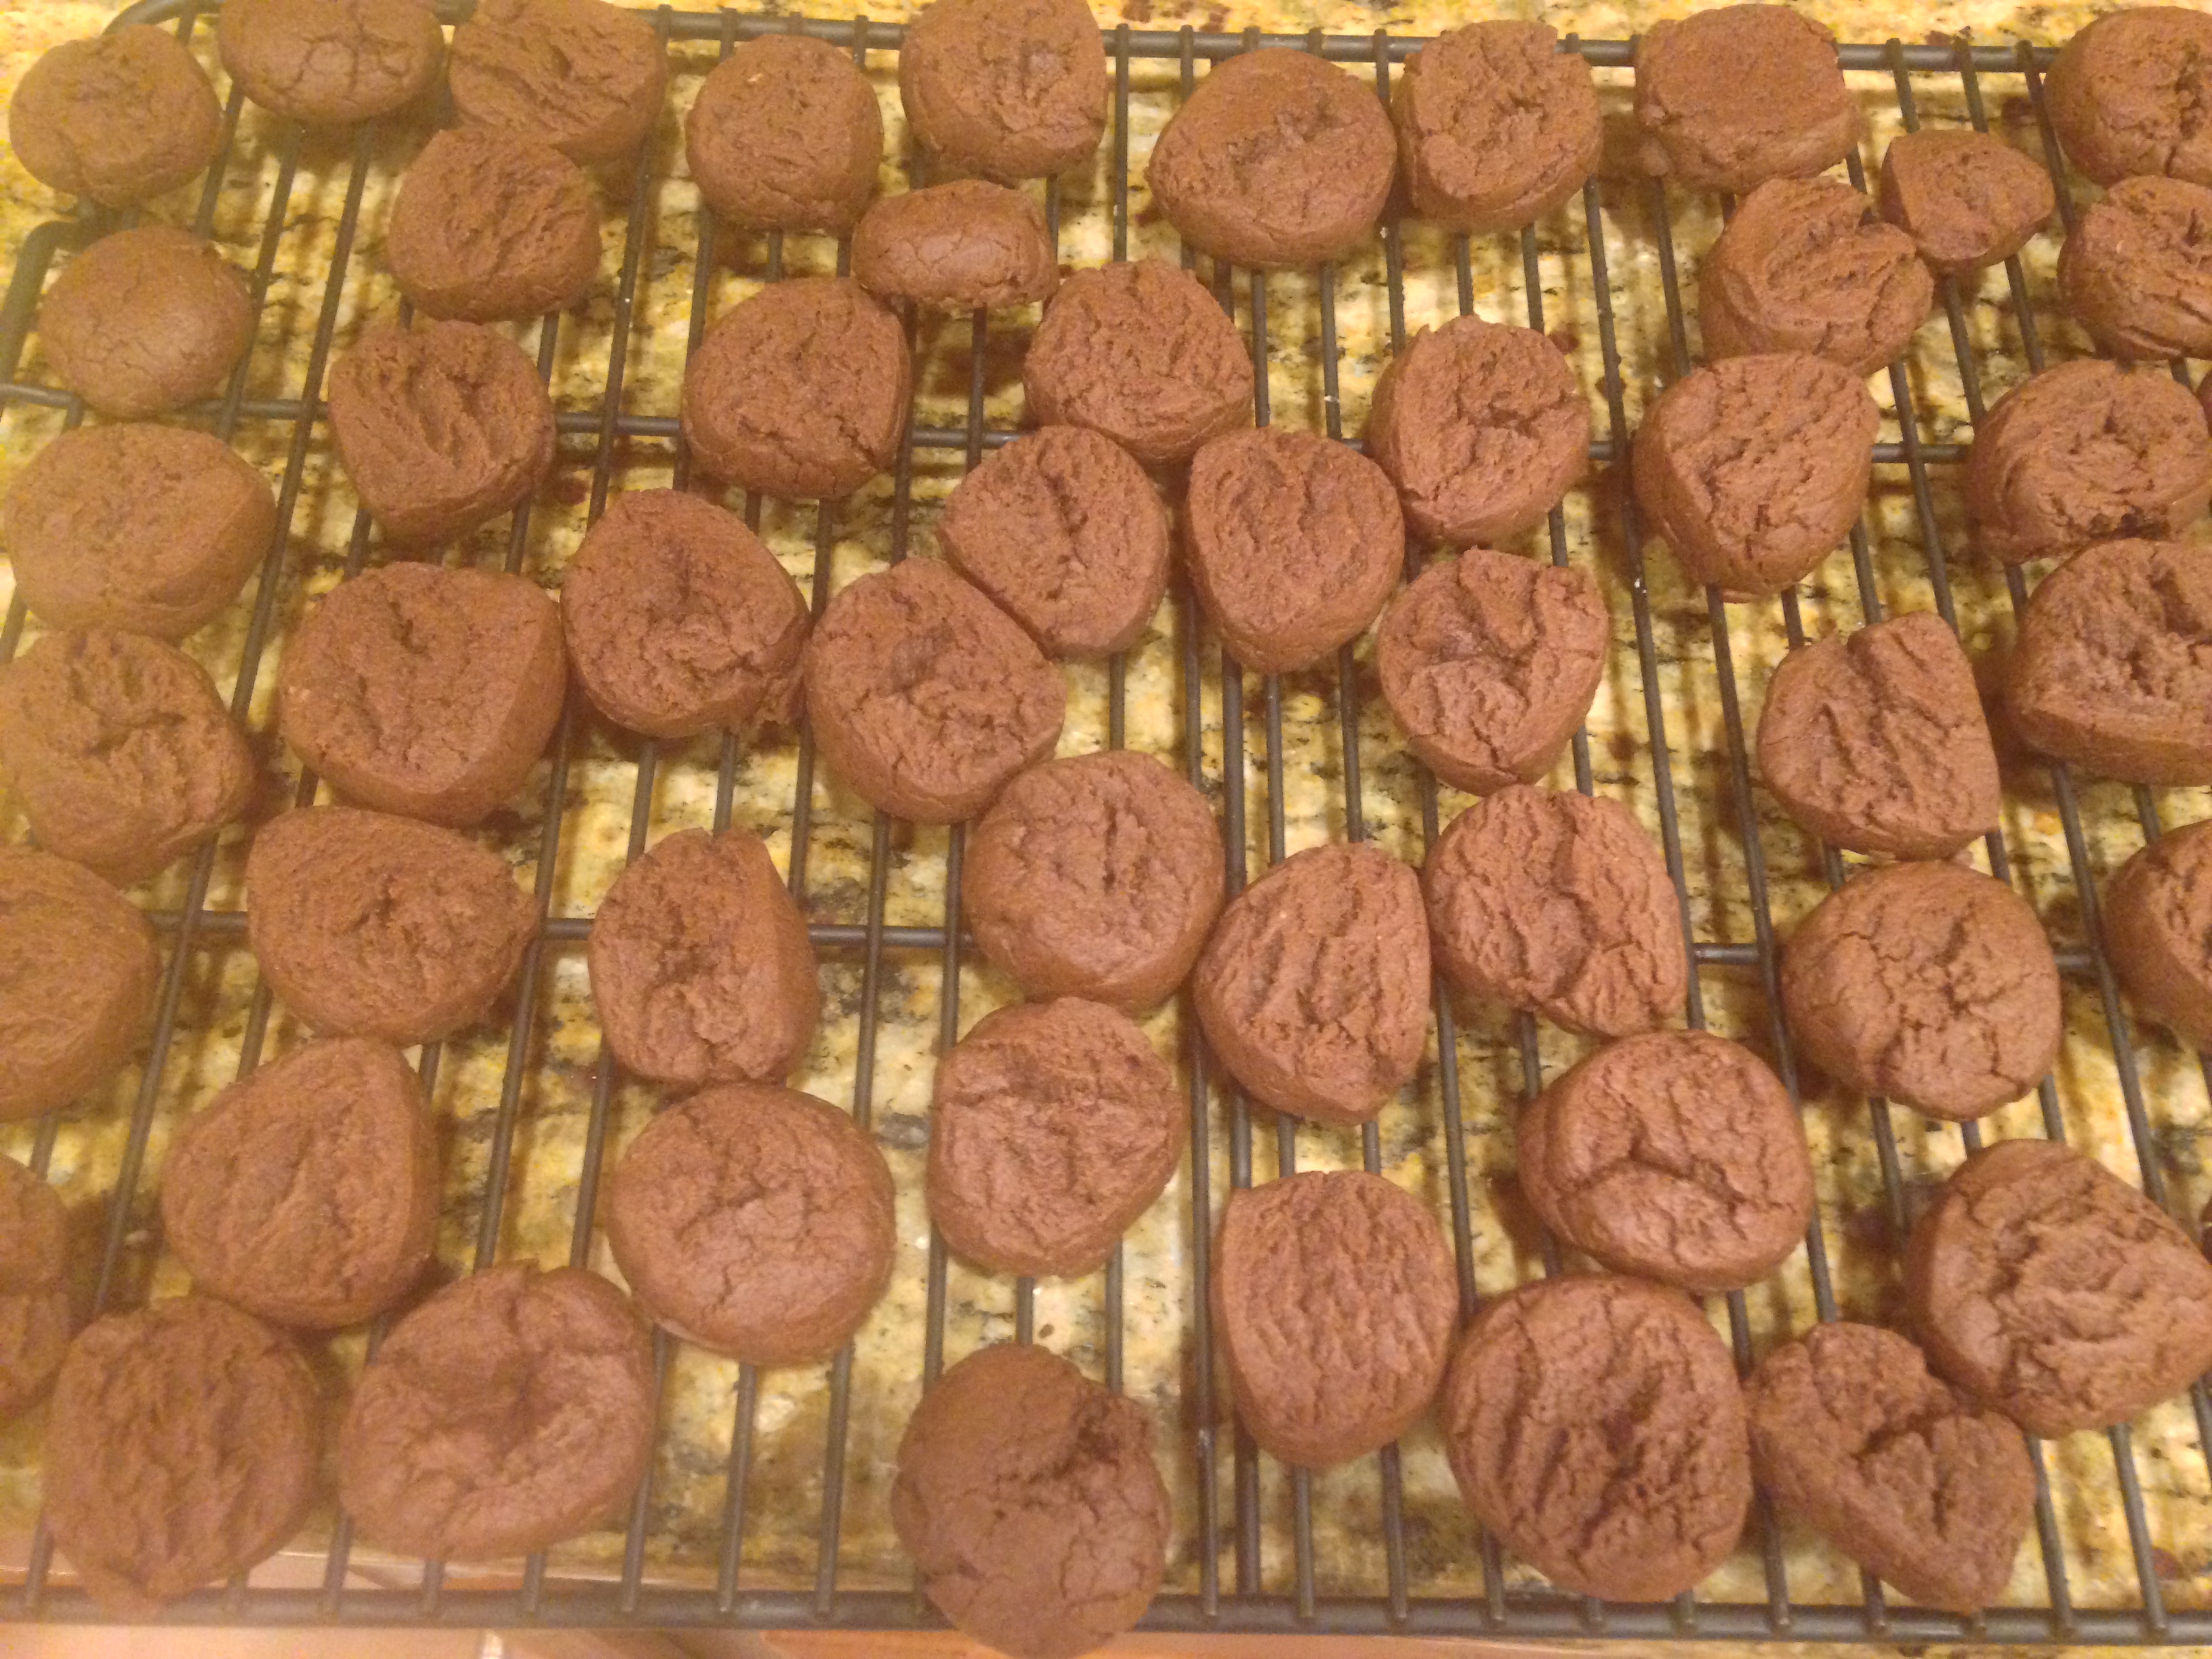
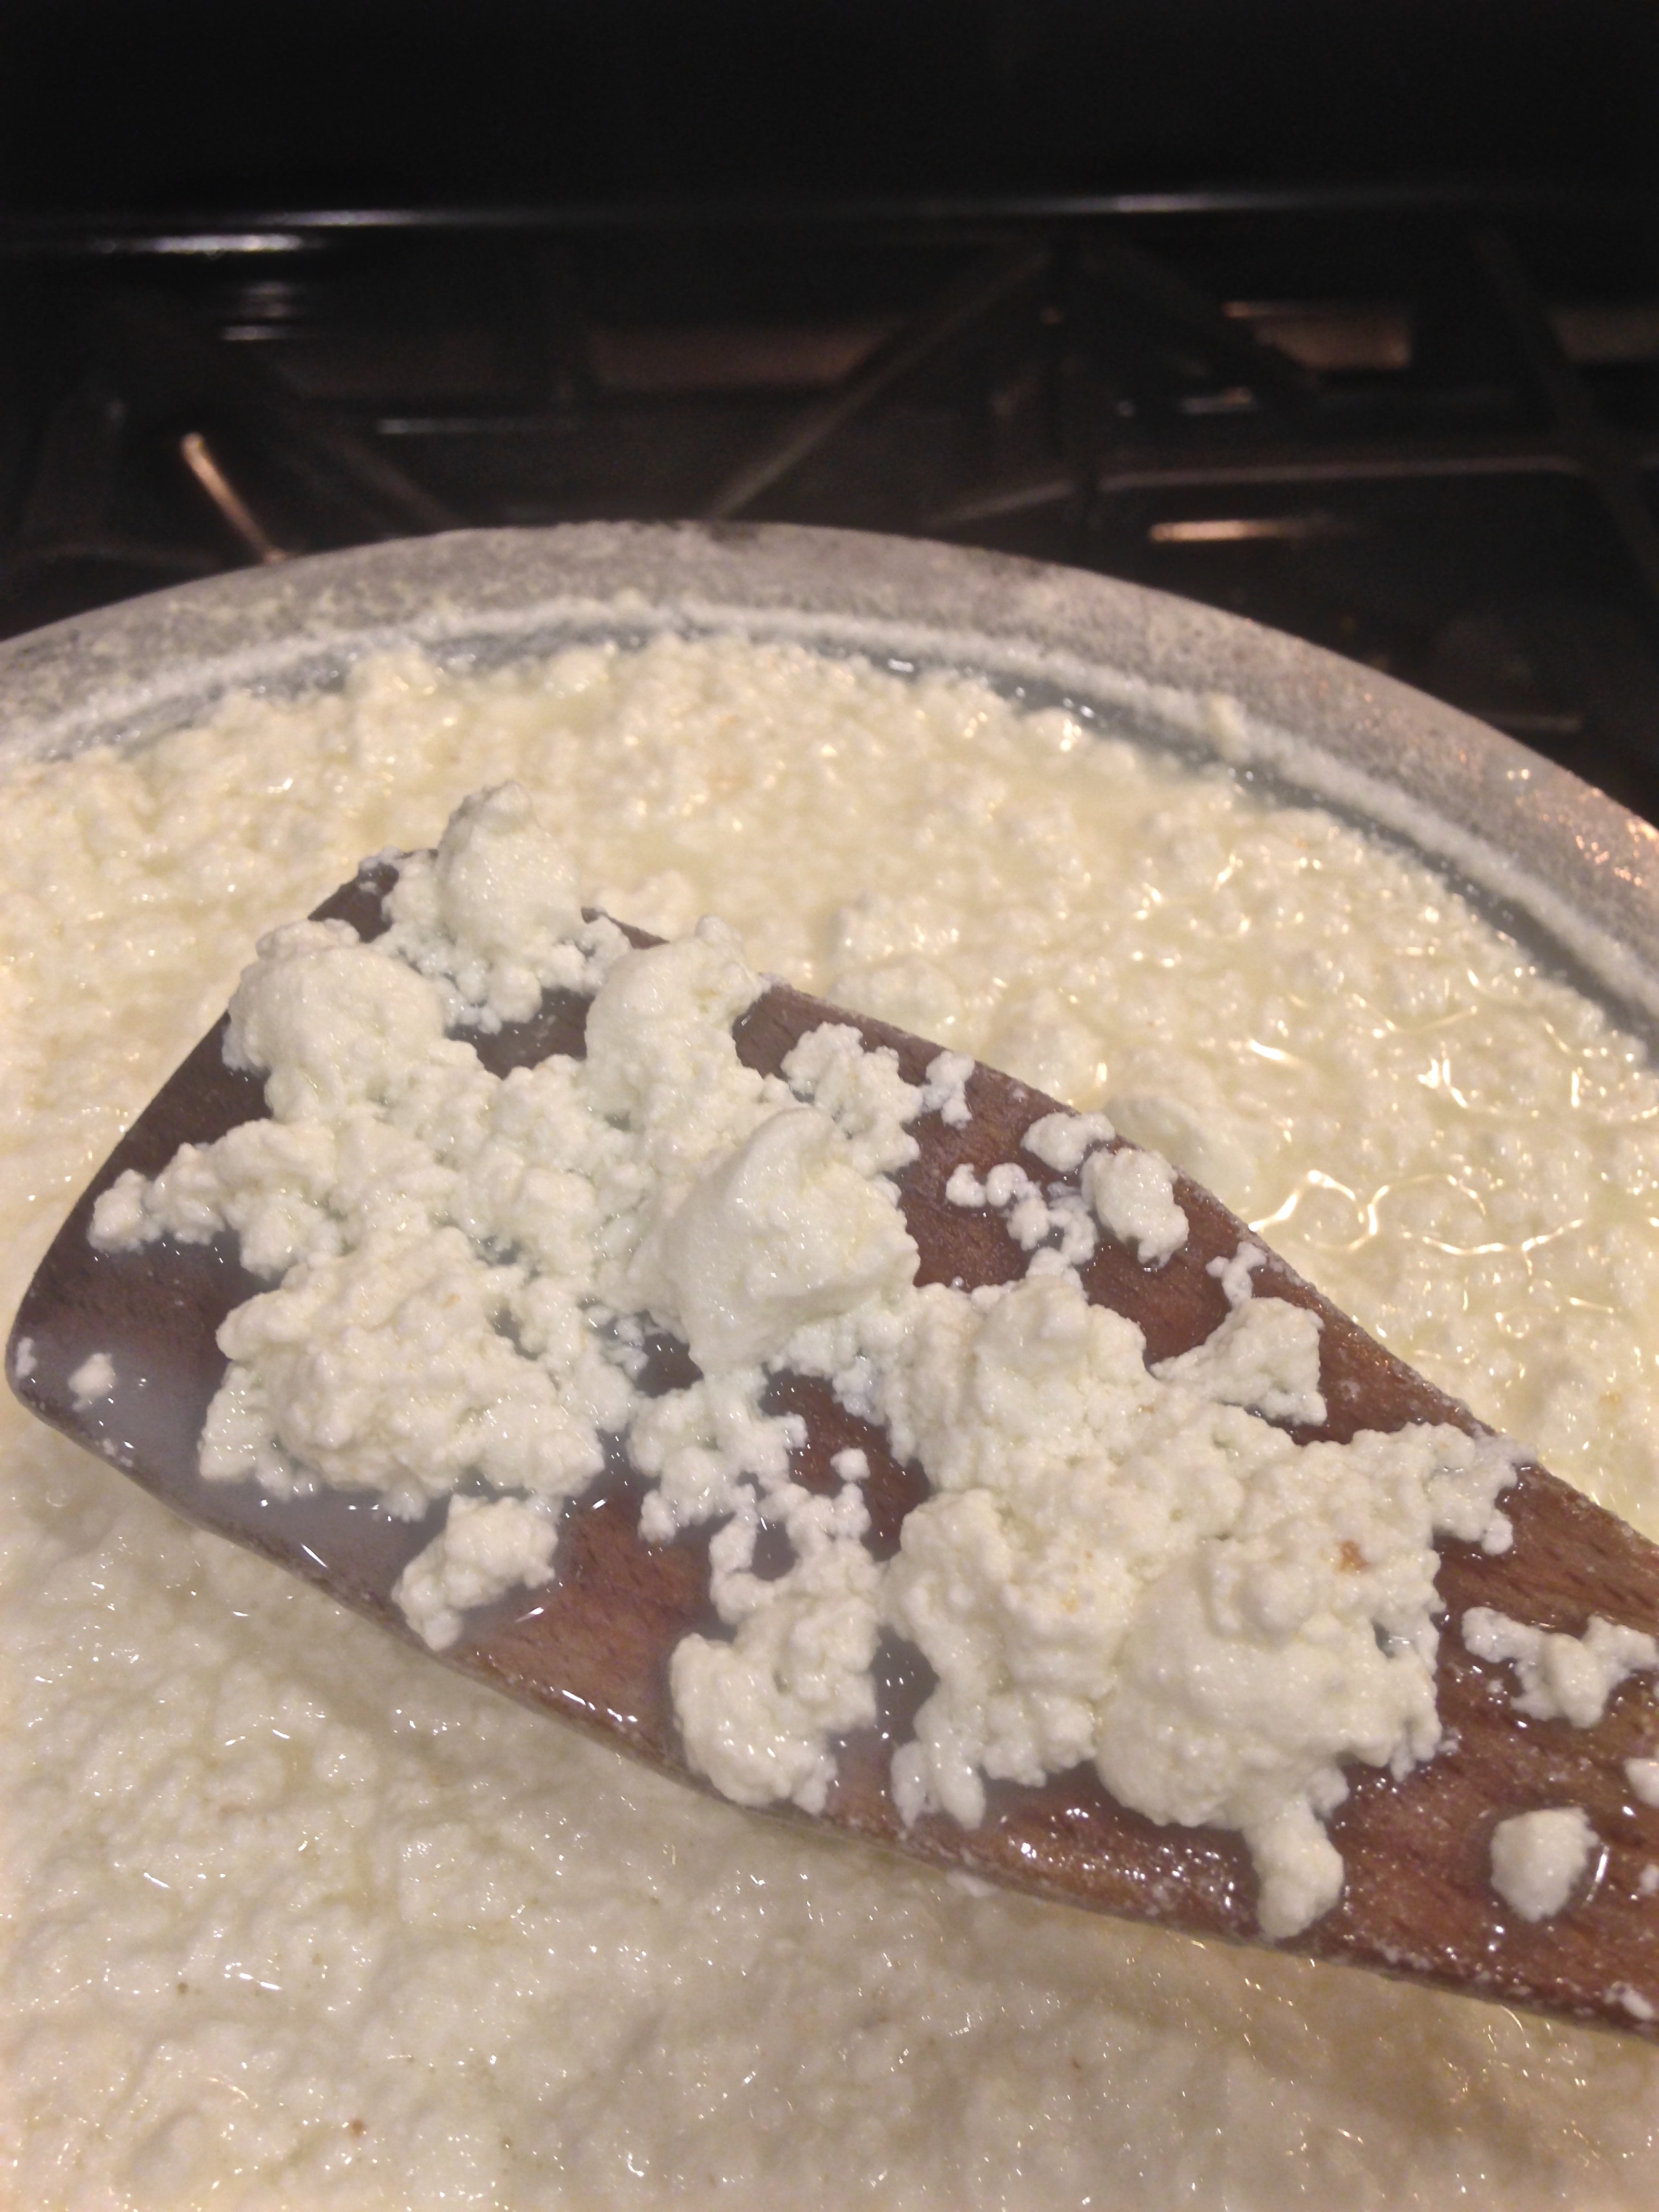
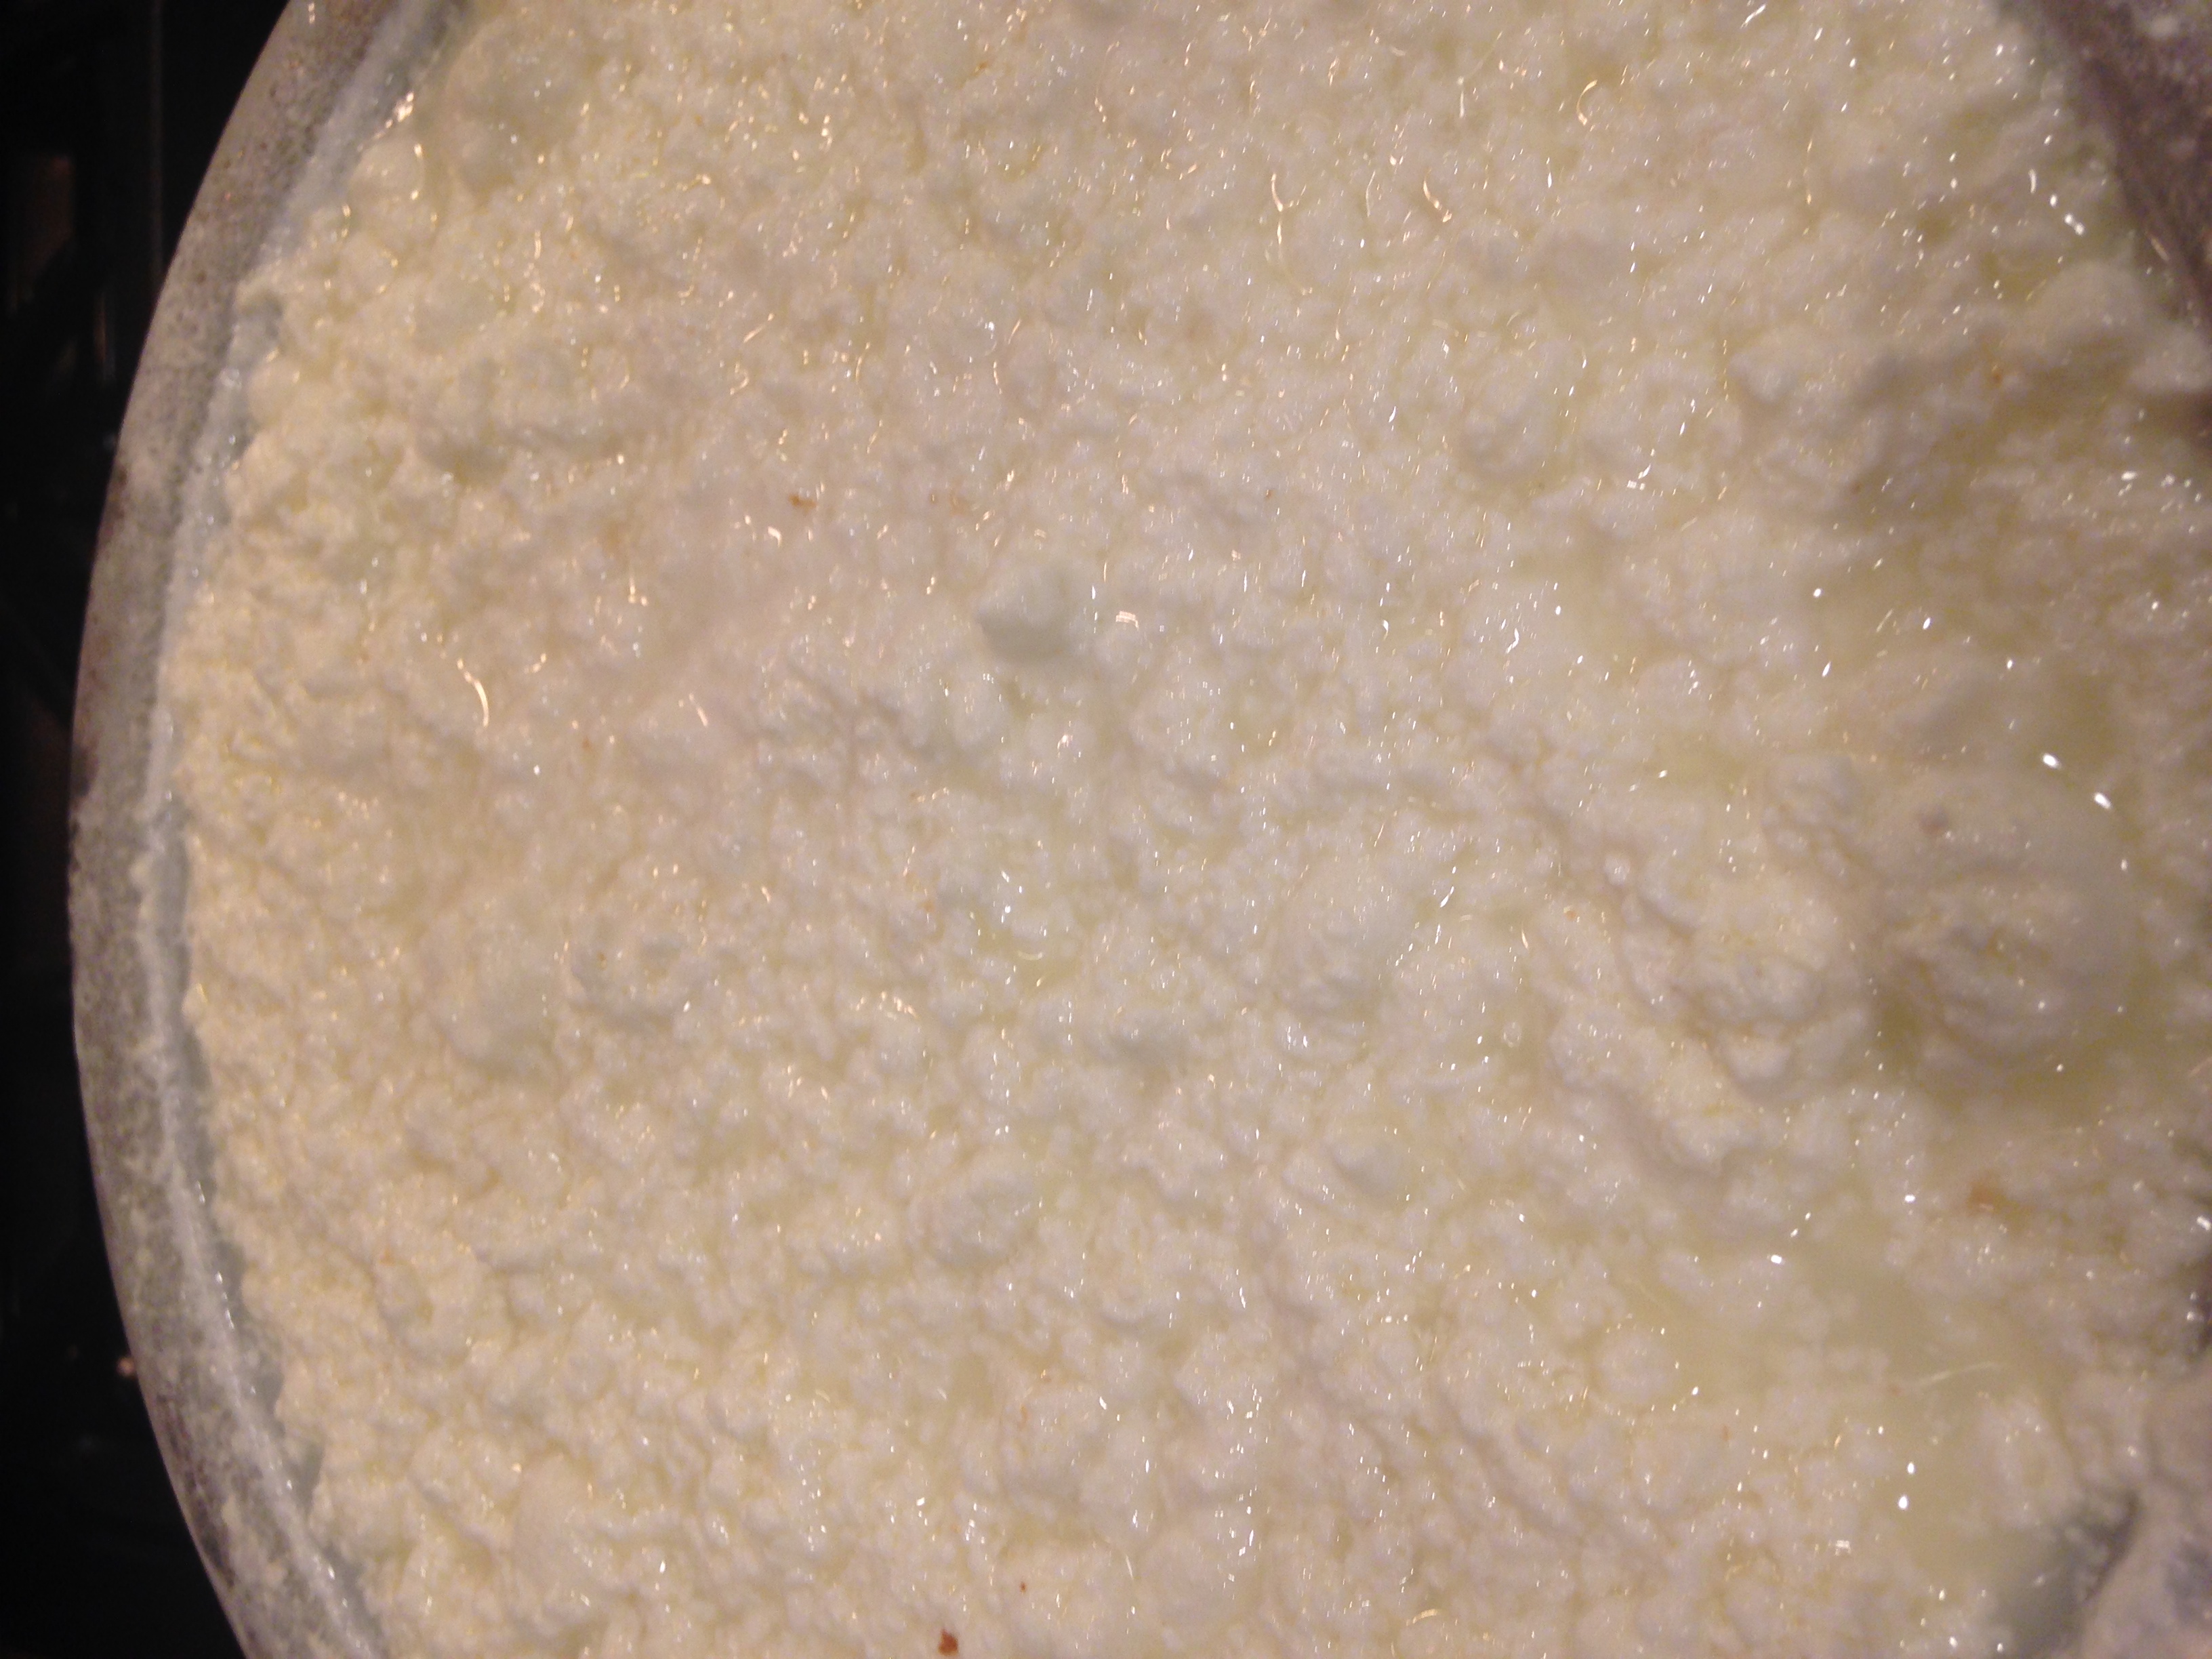
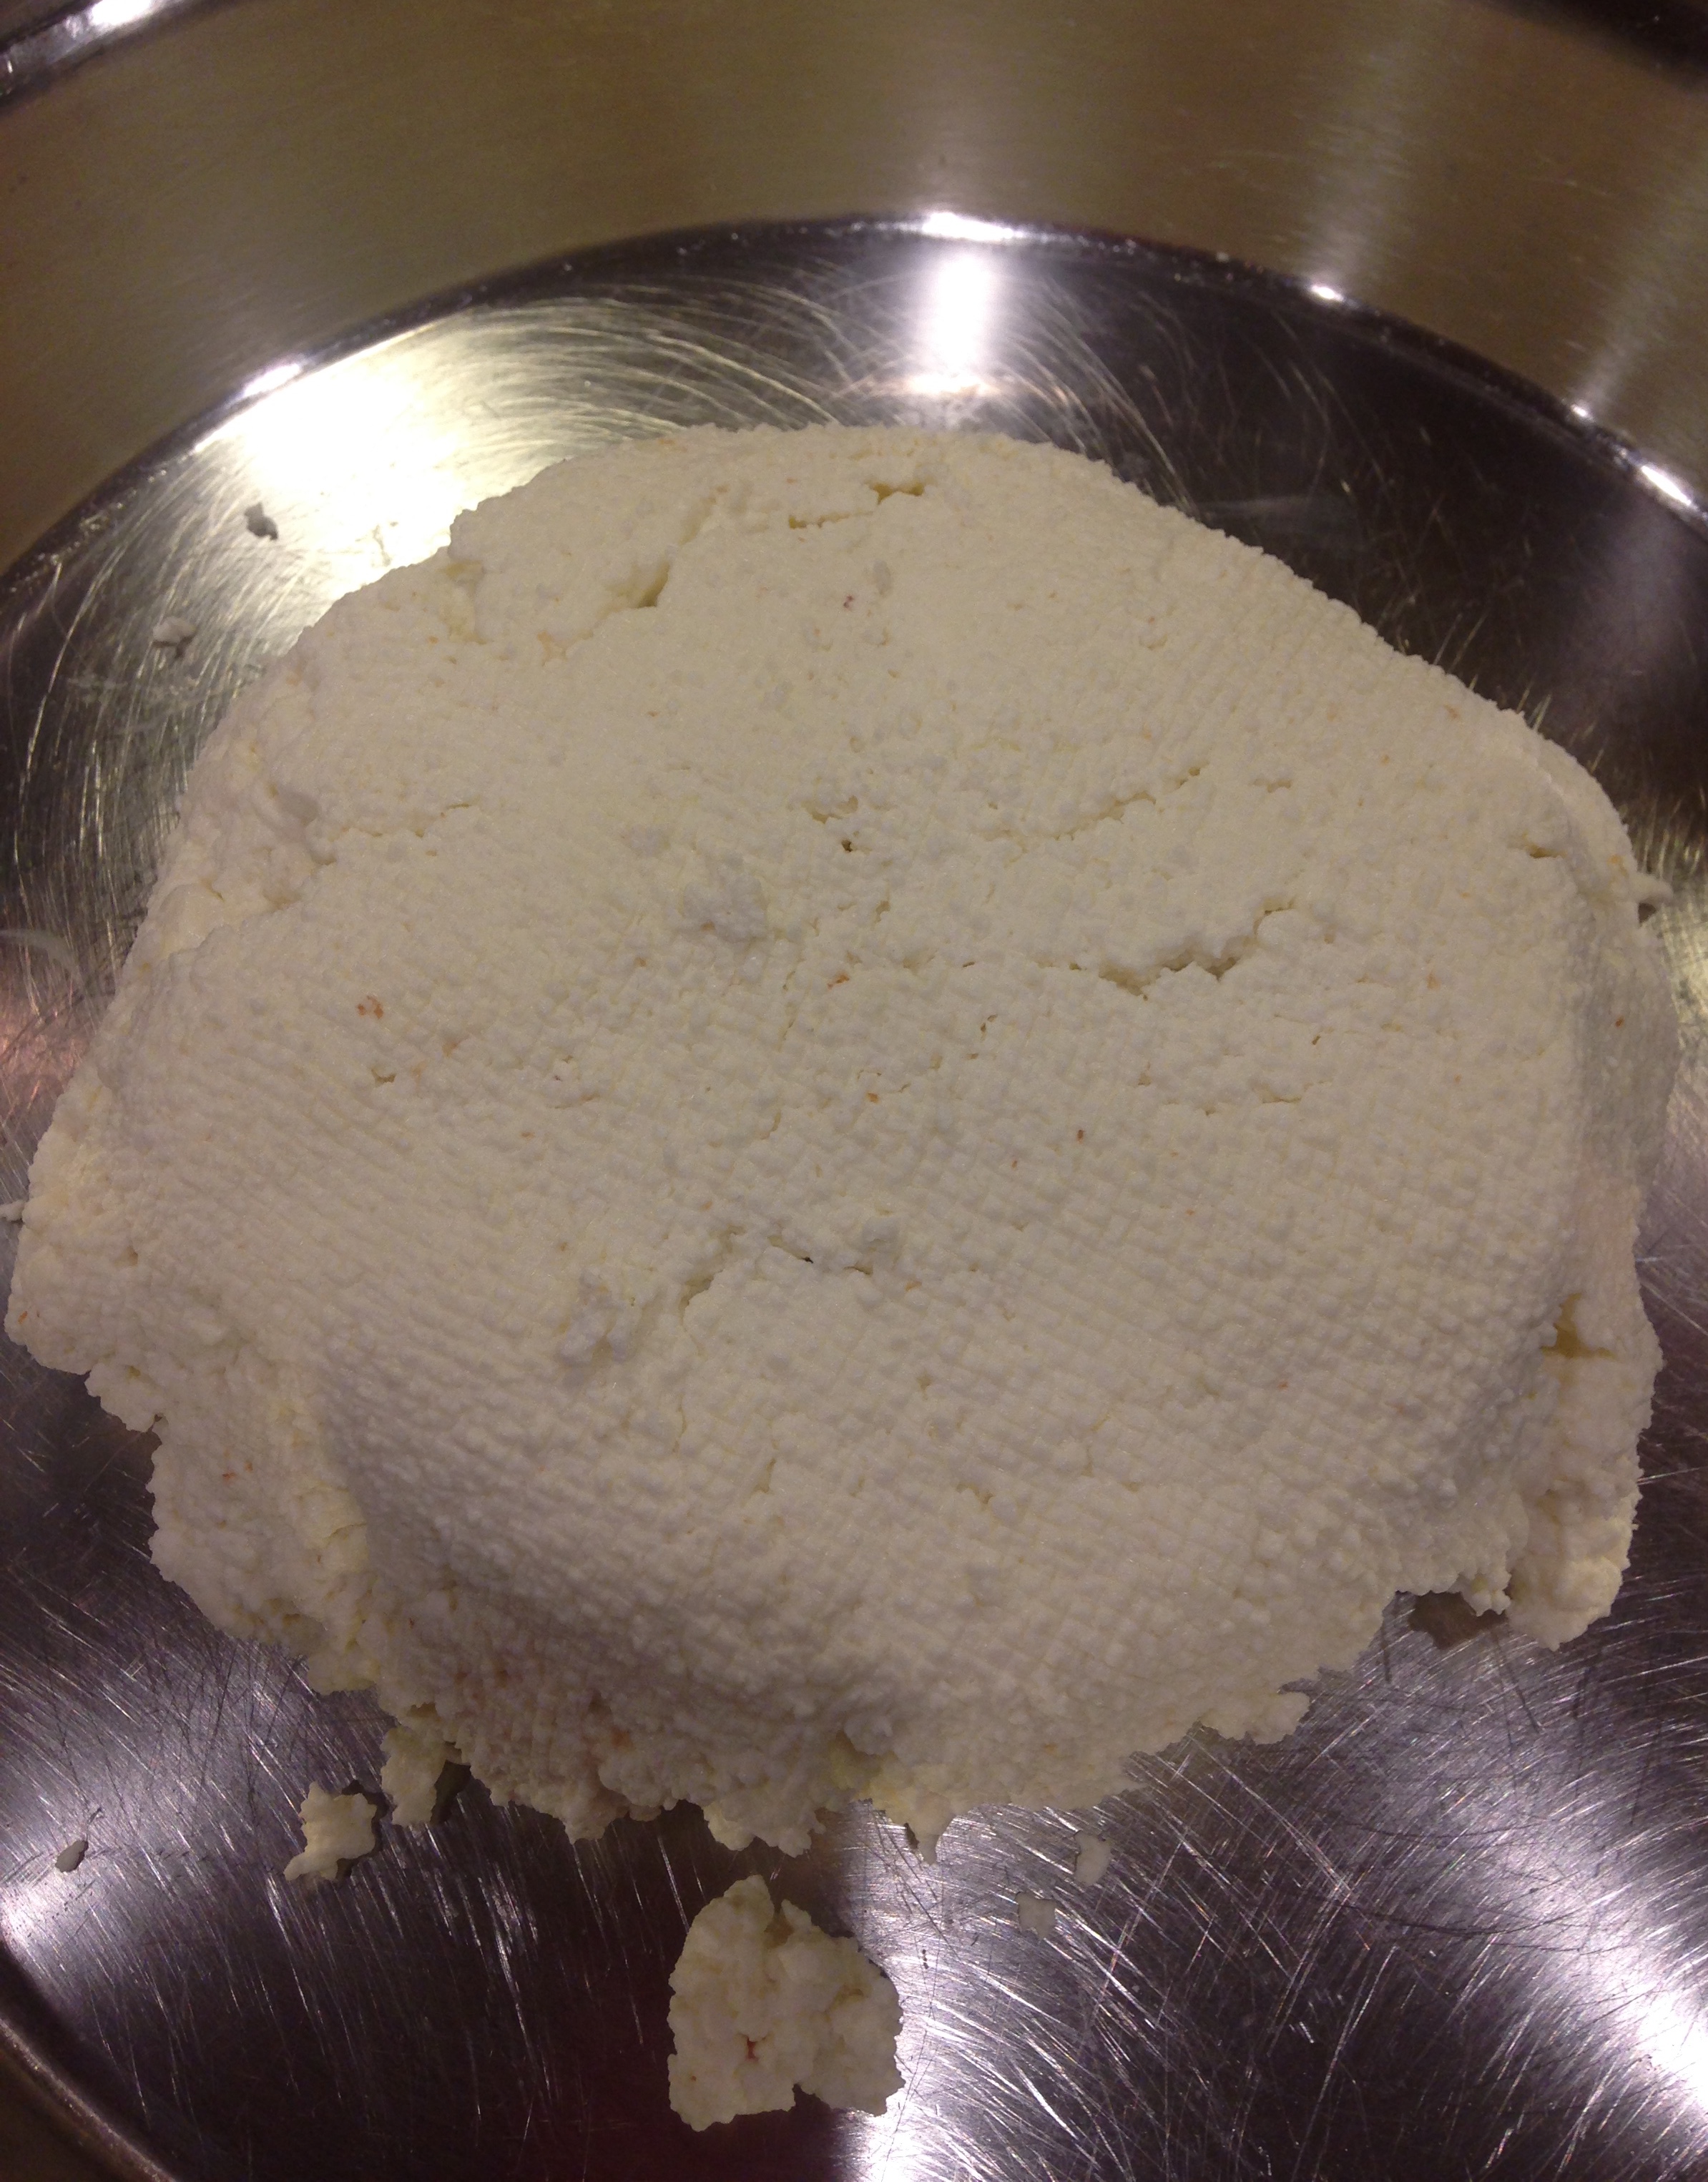
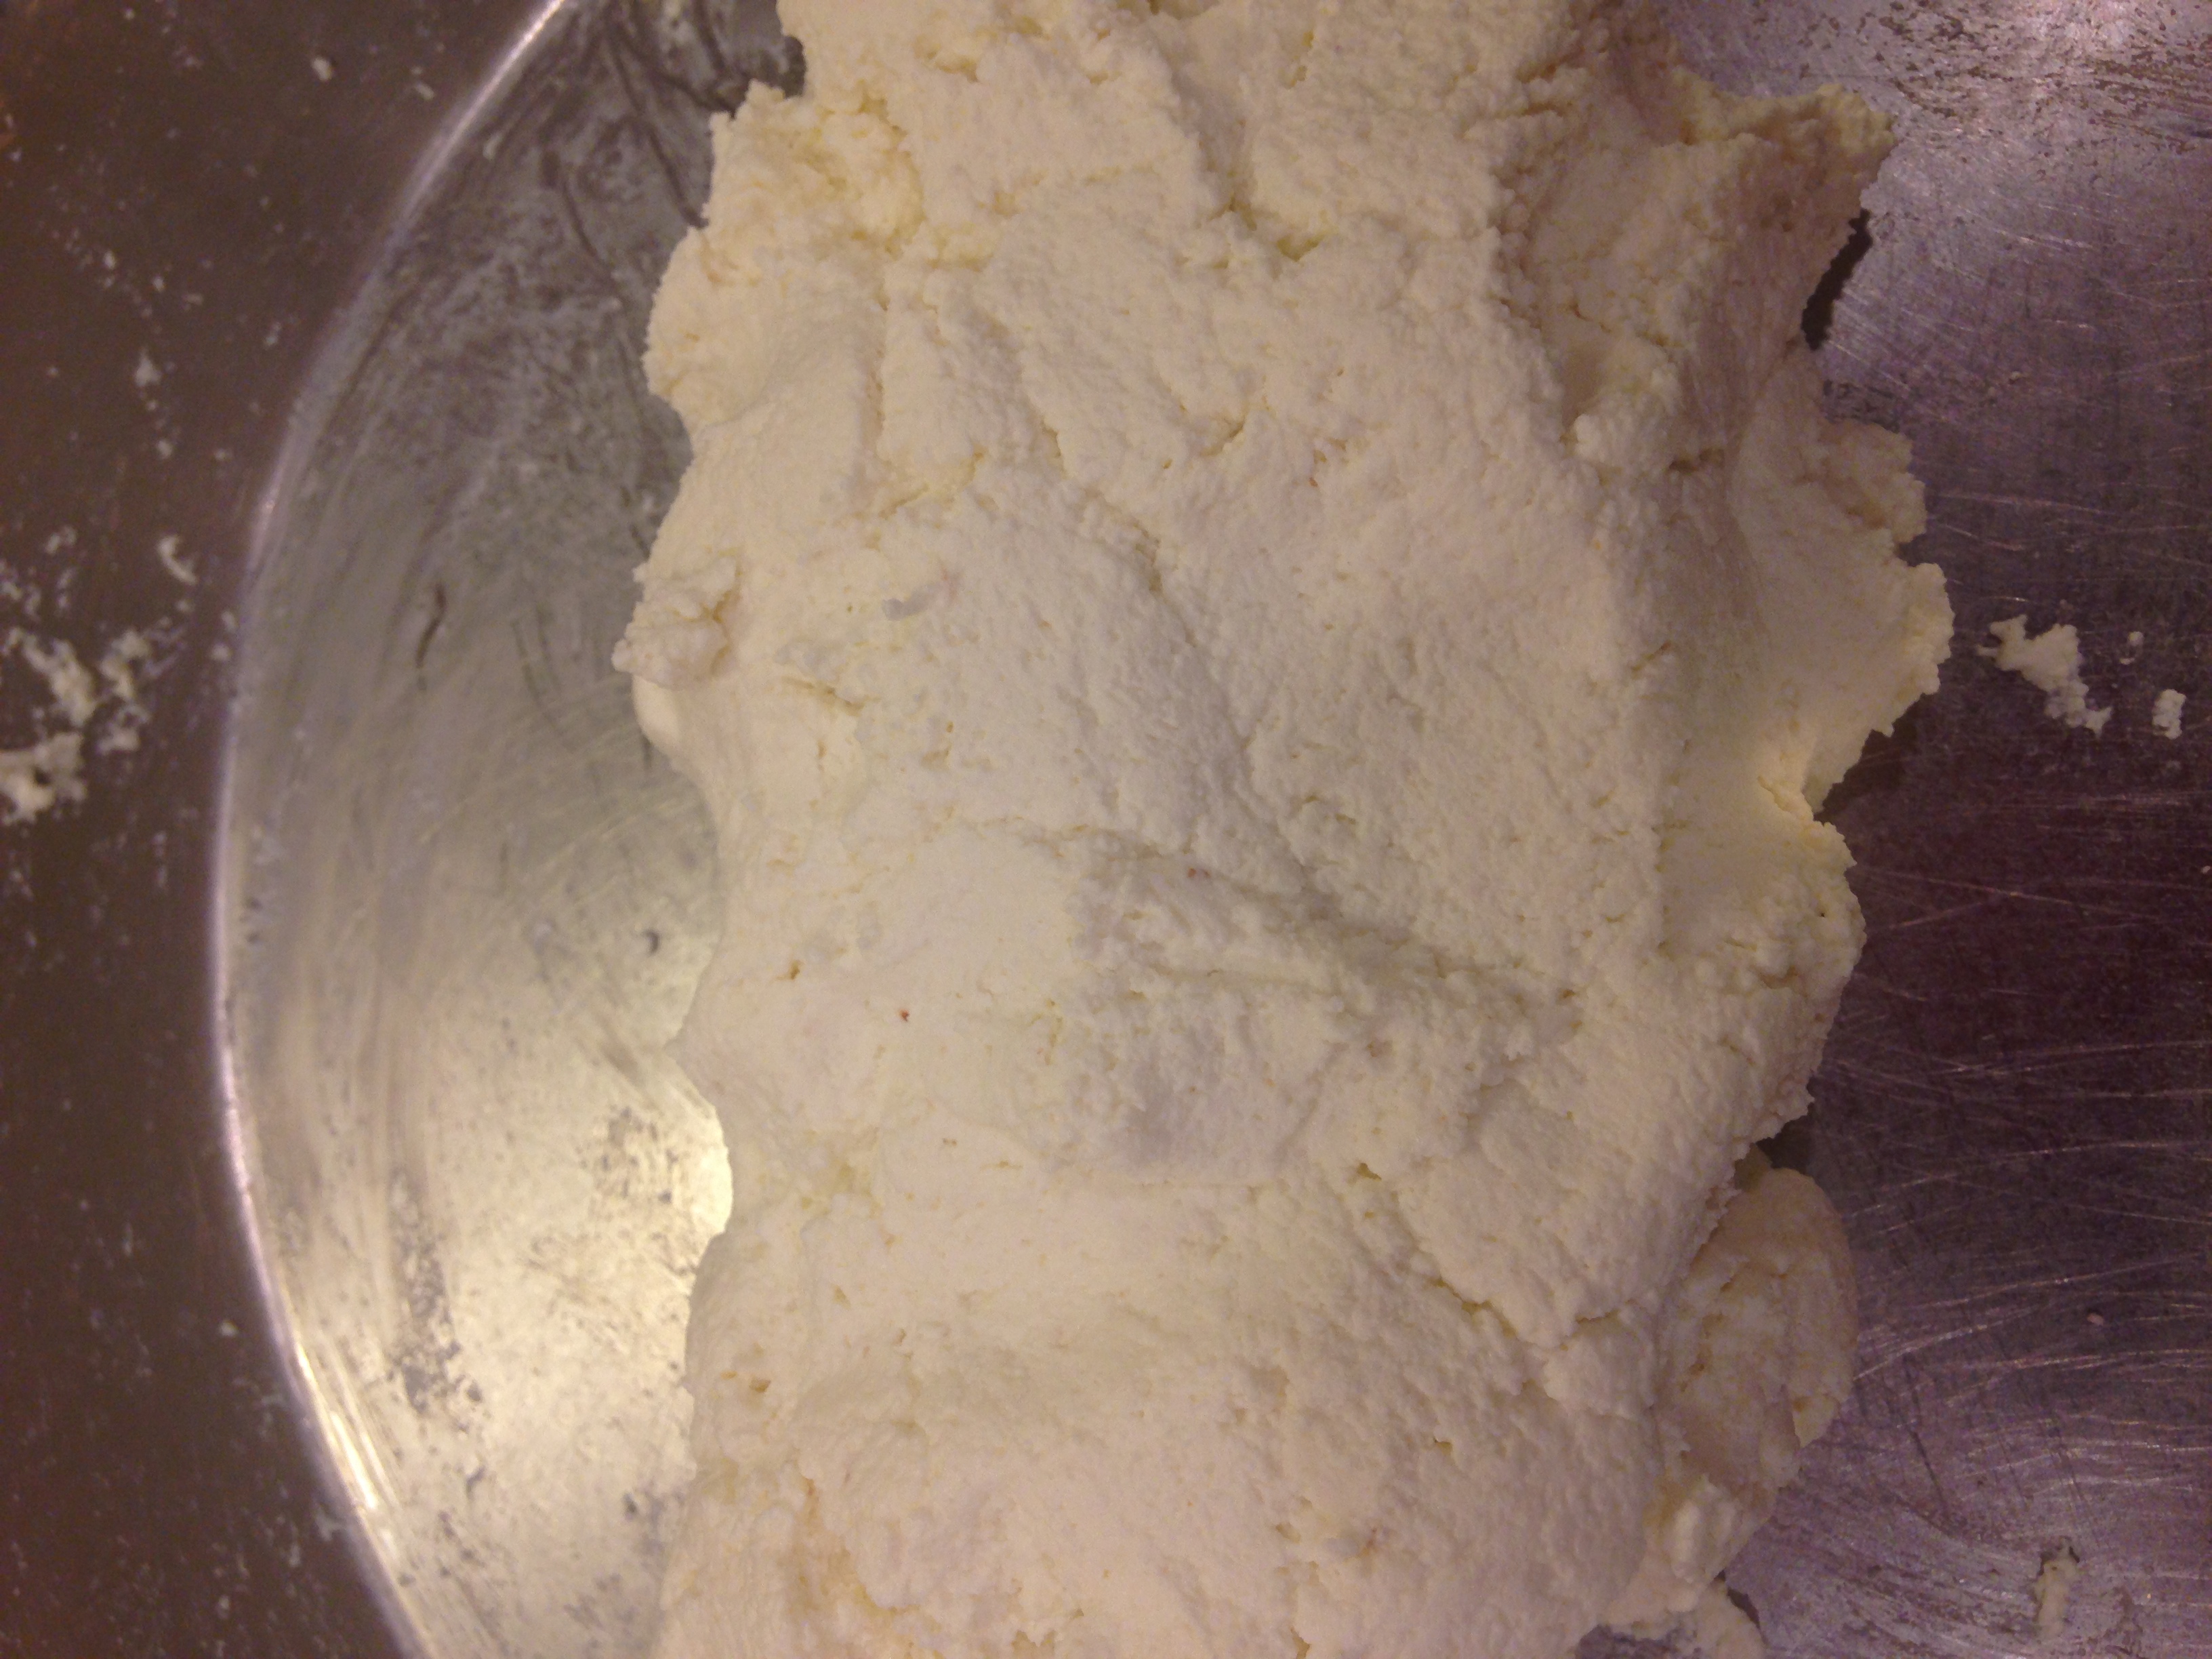
  • Cool the bhakris and break them into pieces.

IMG_1717

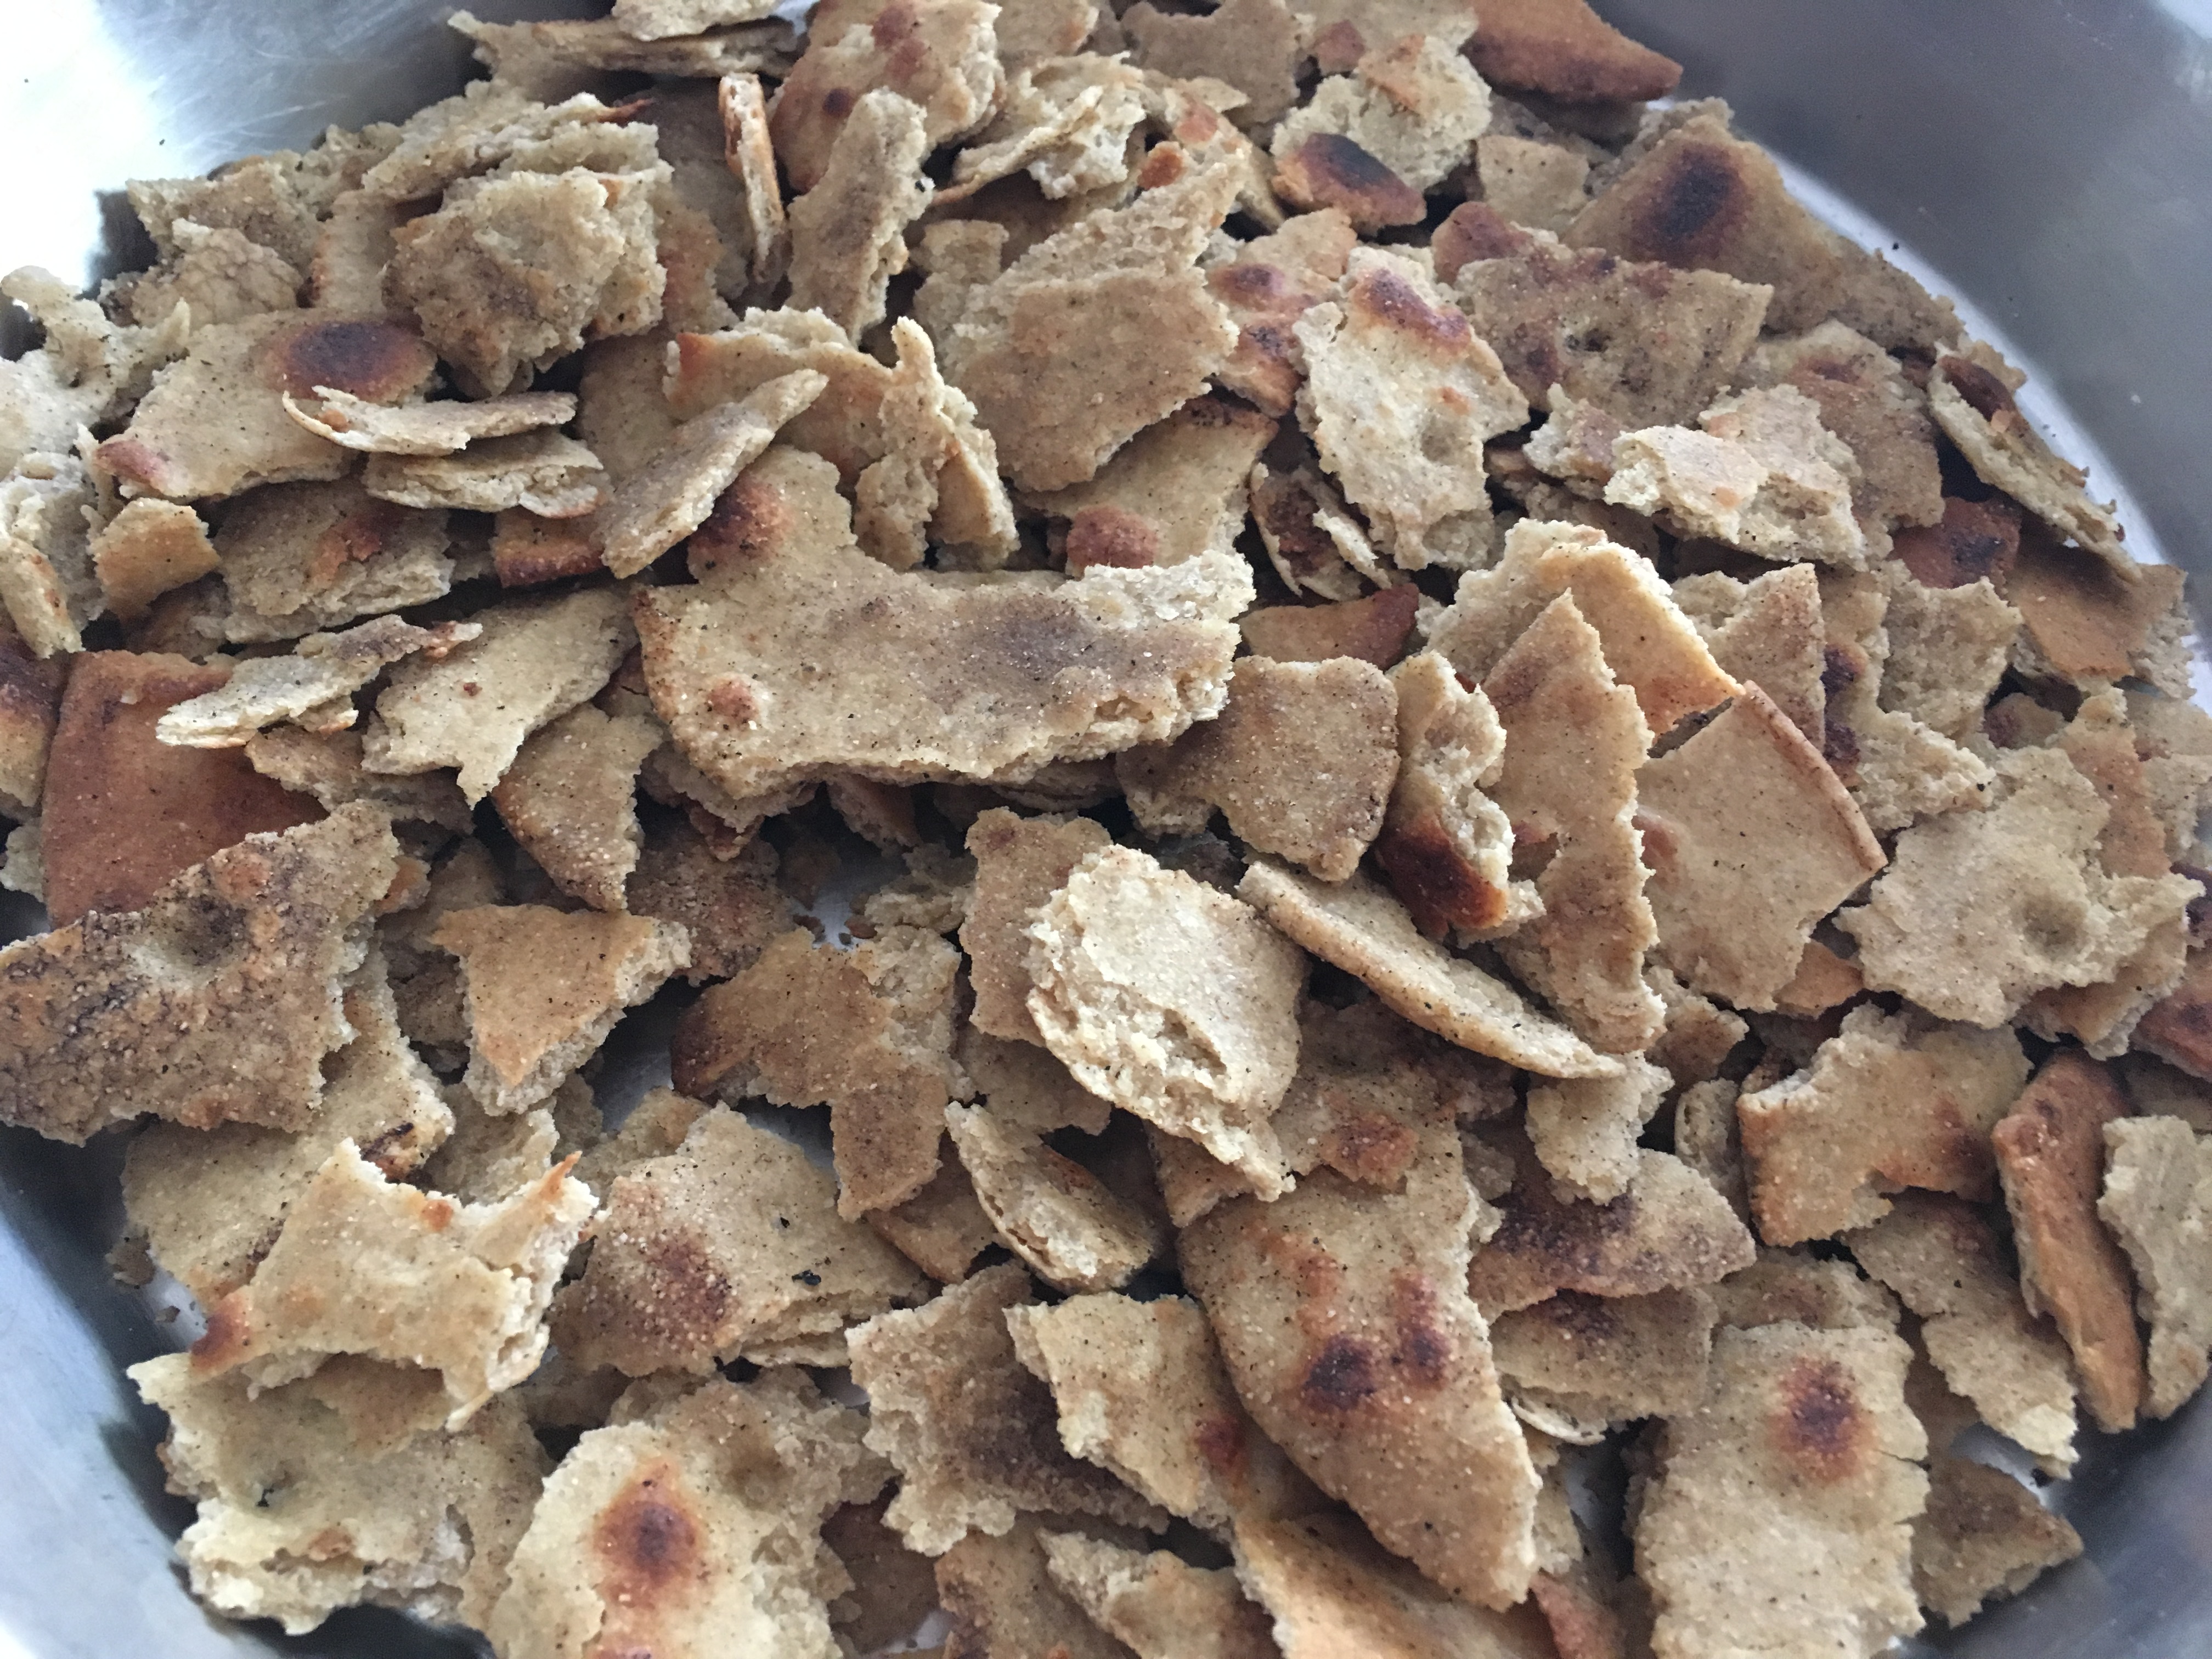
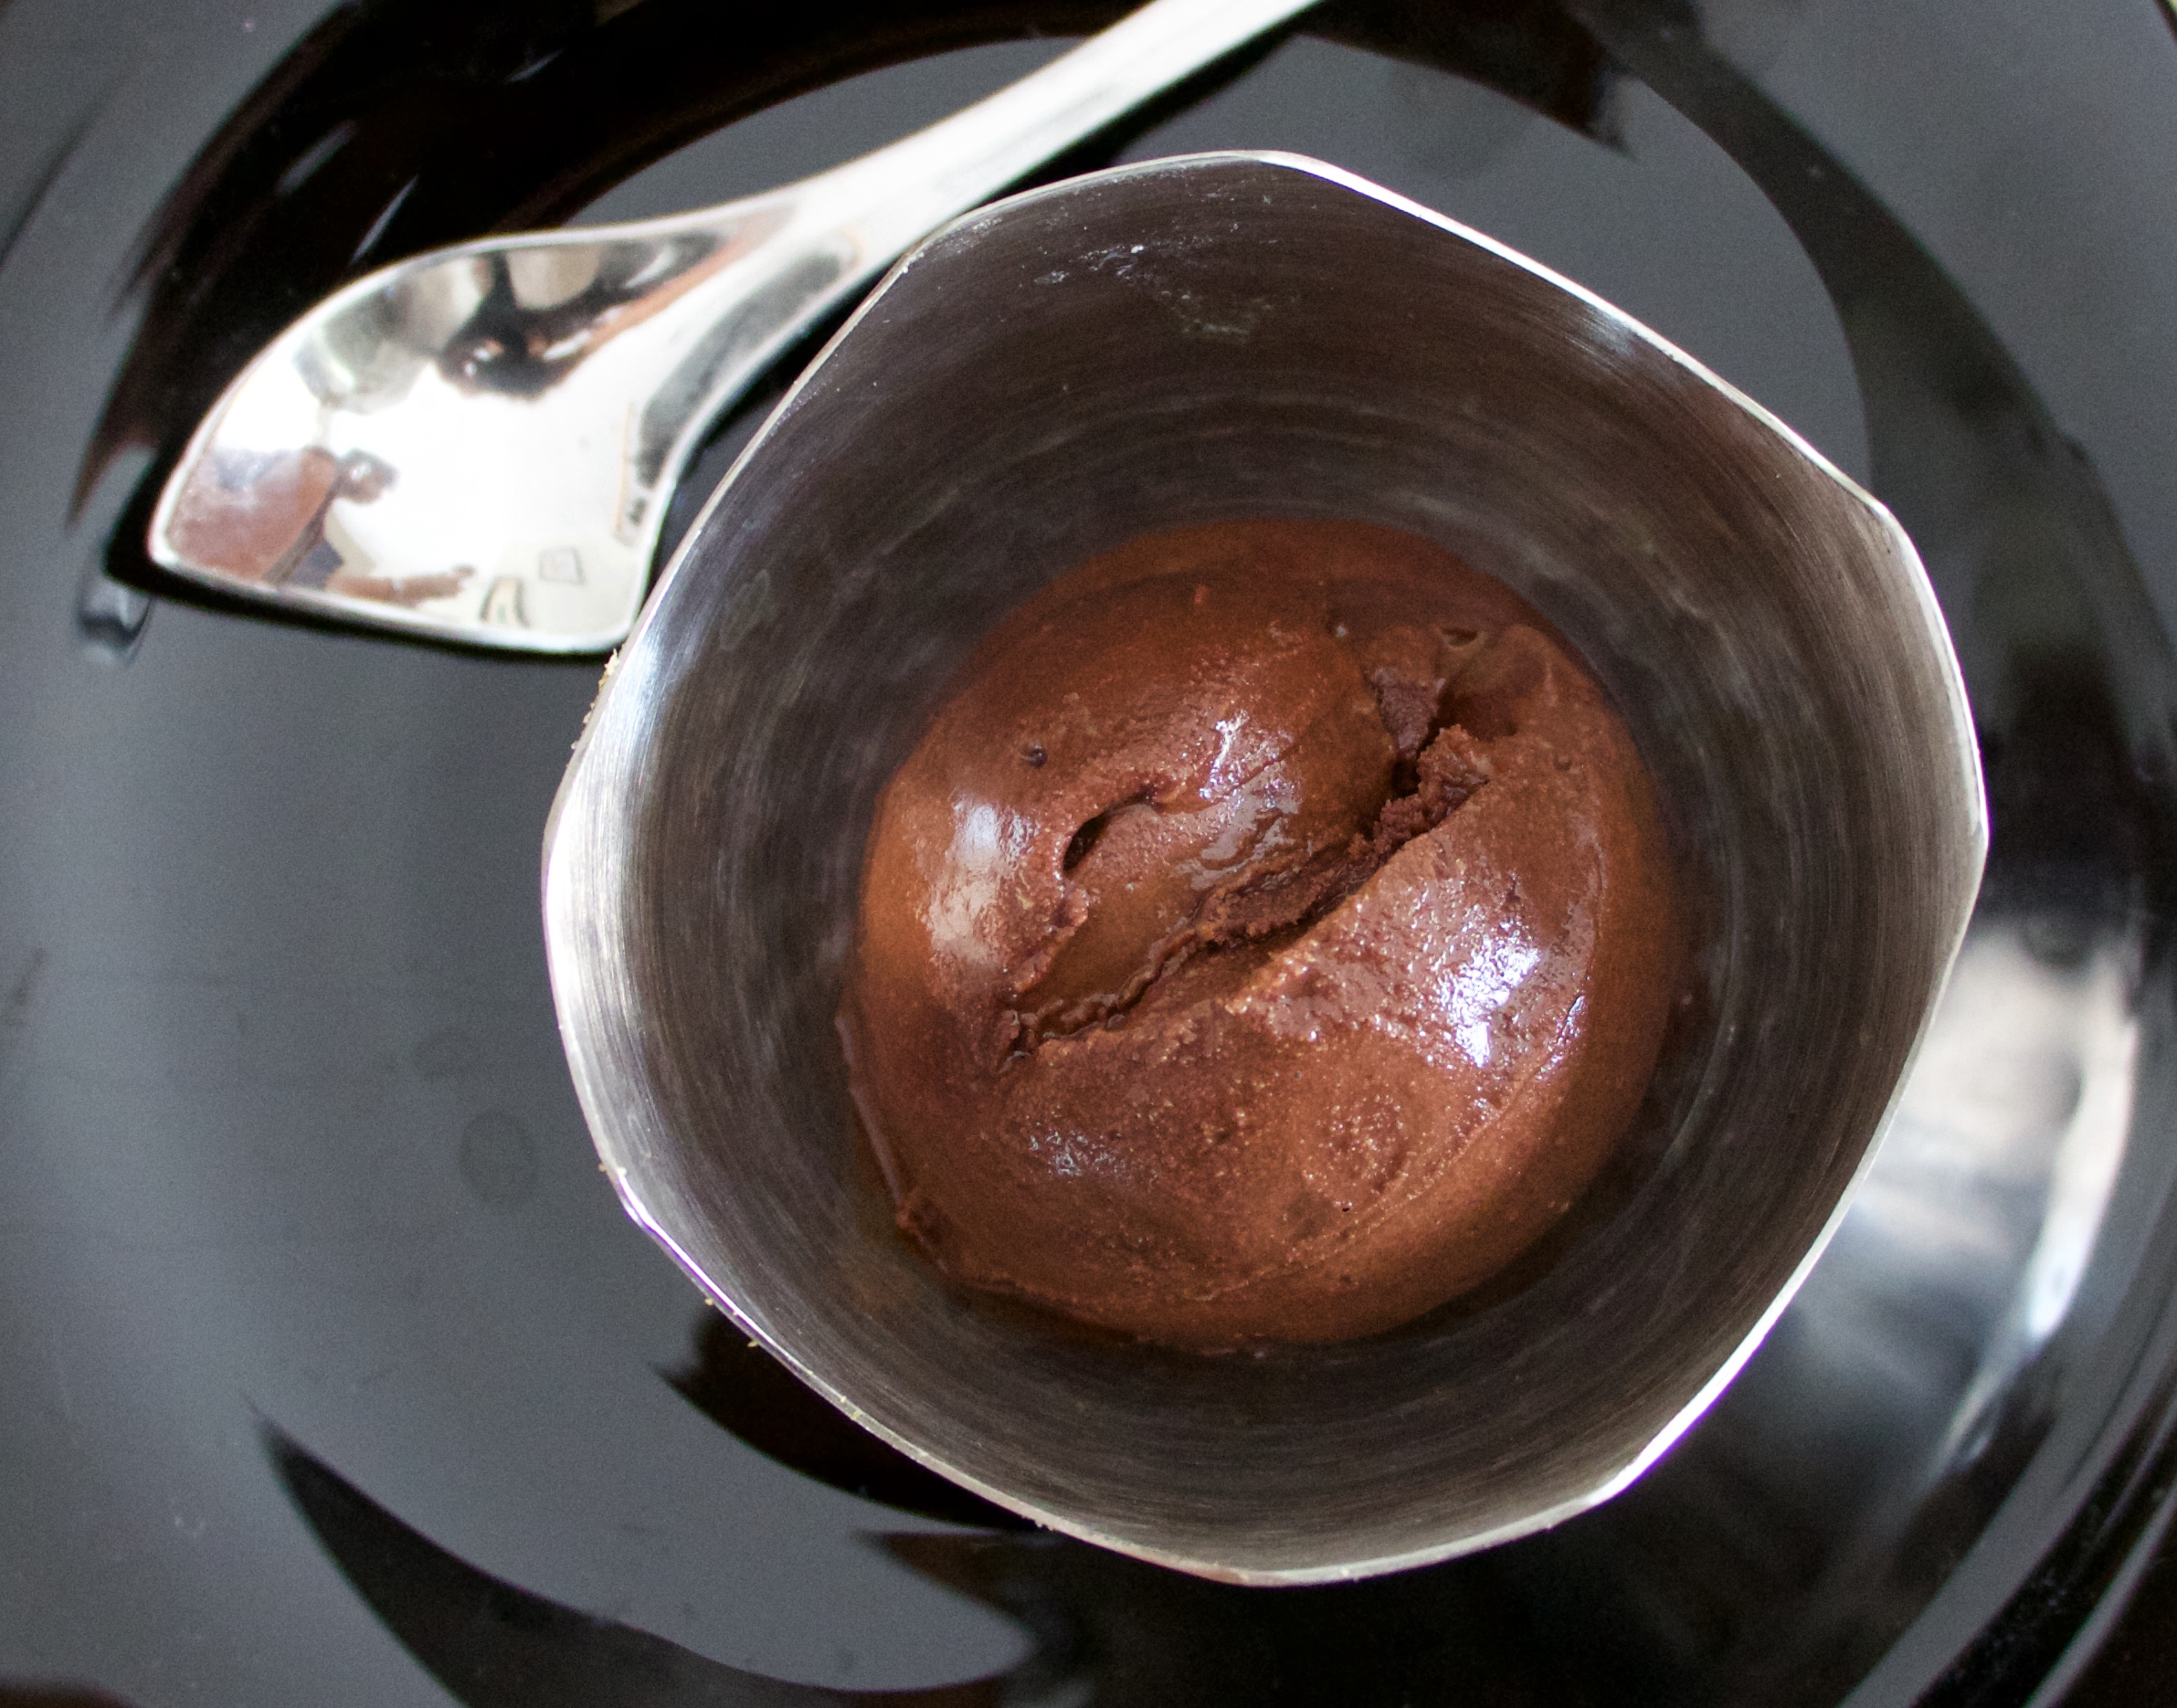
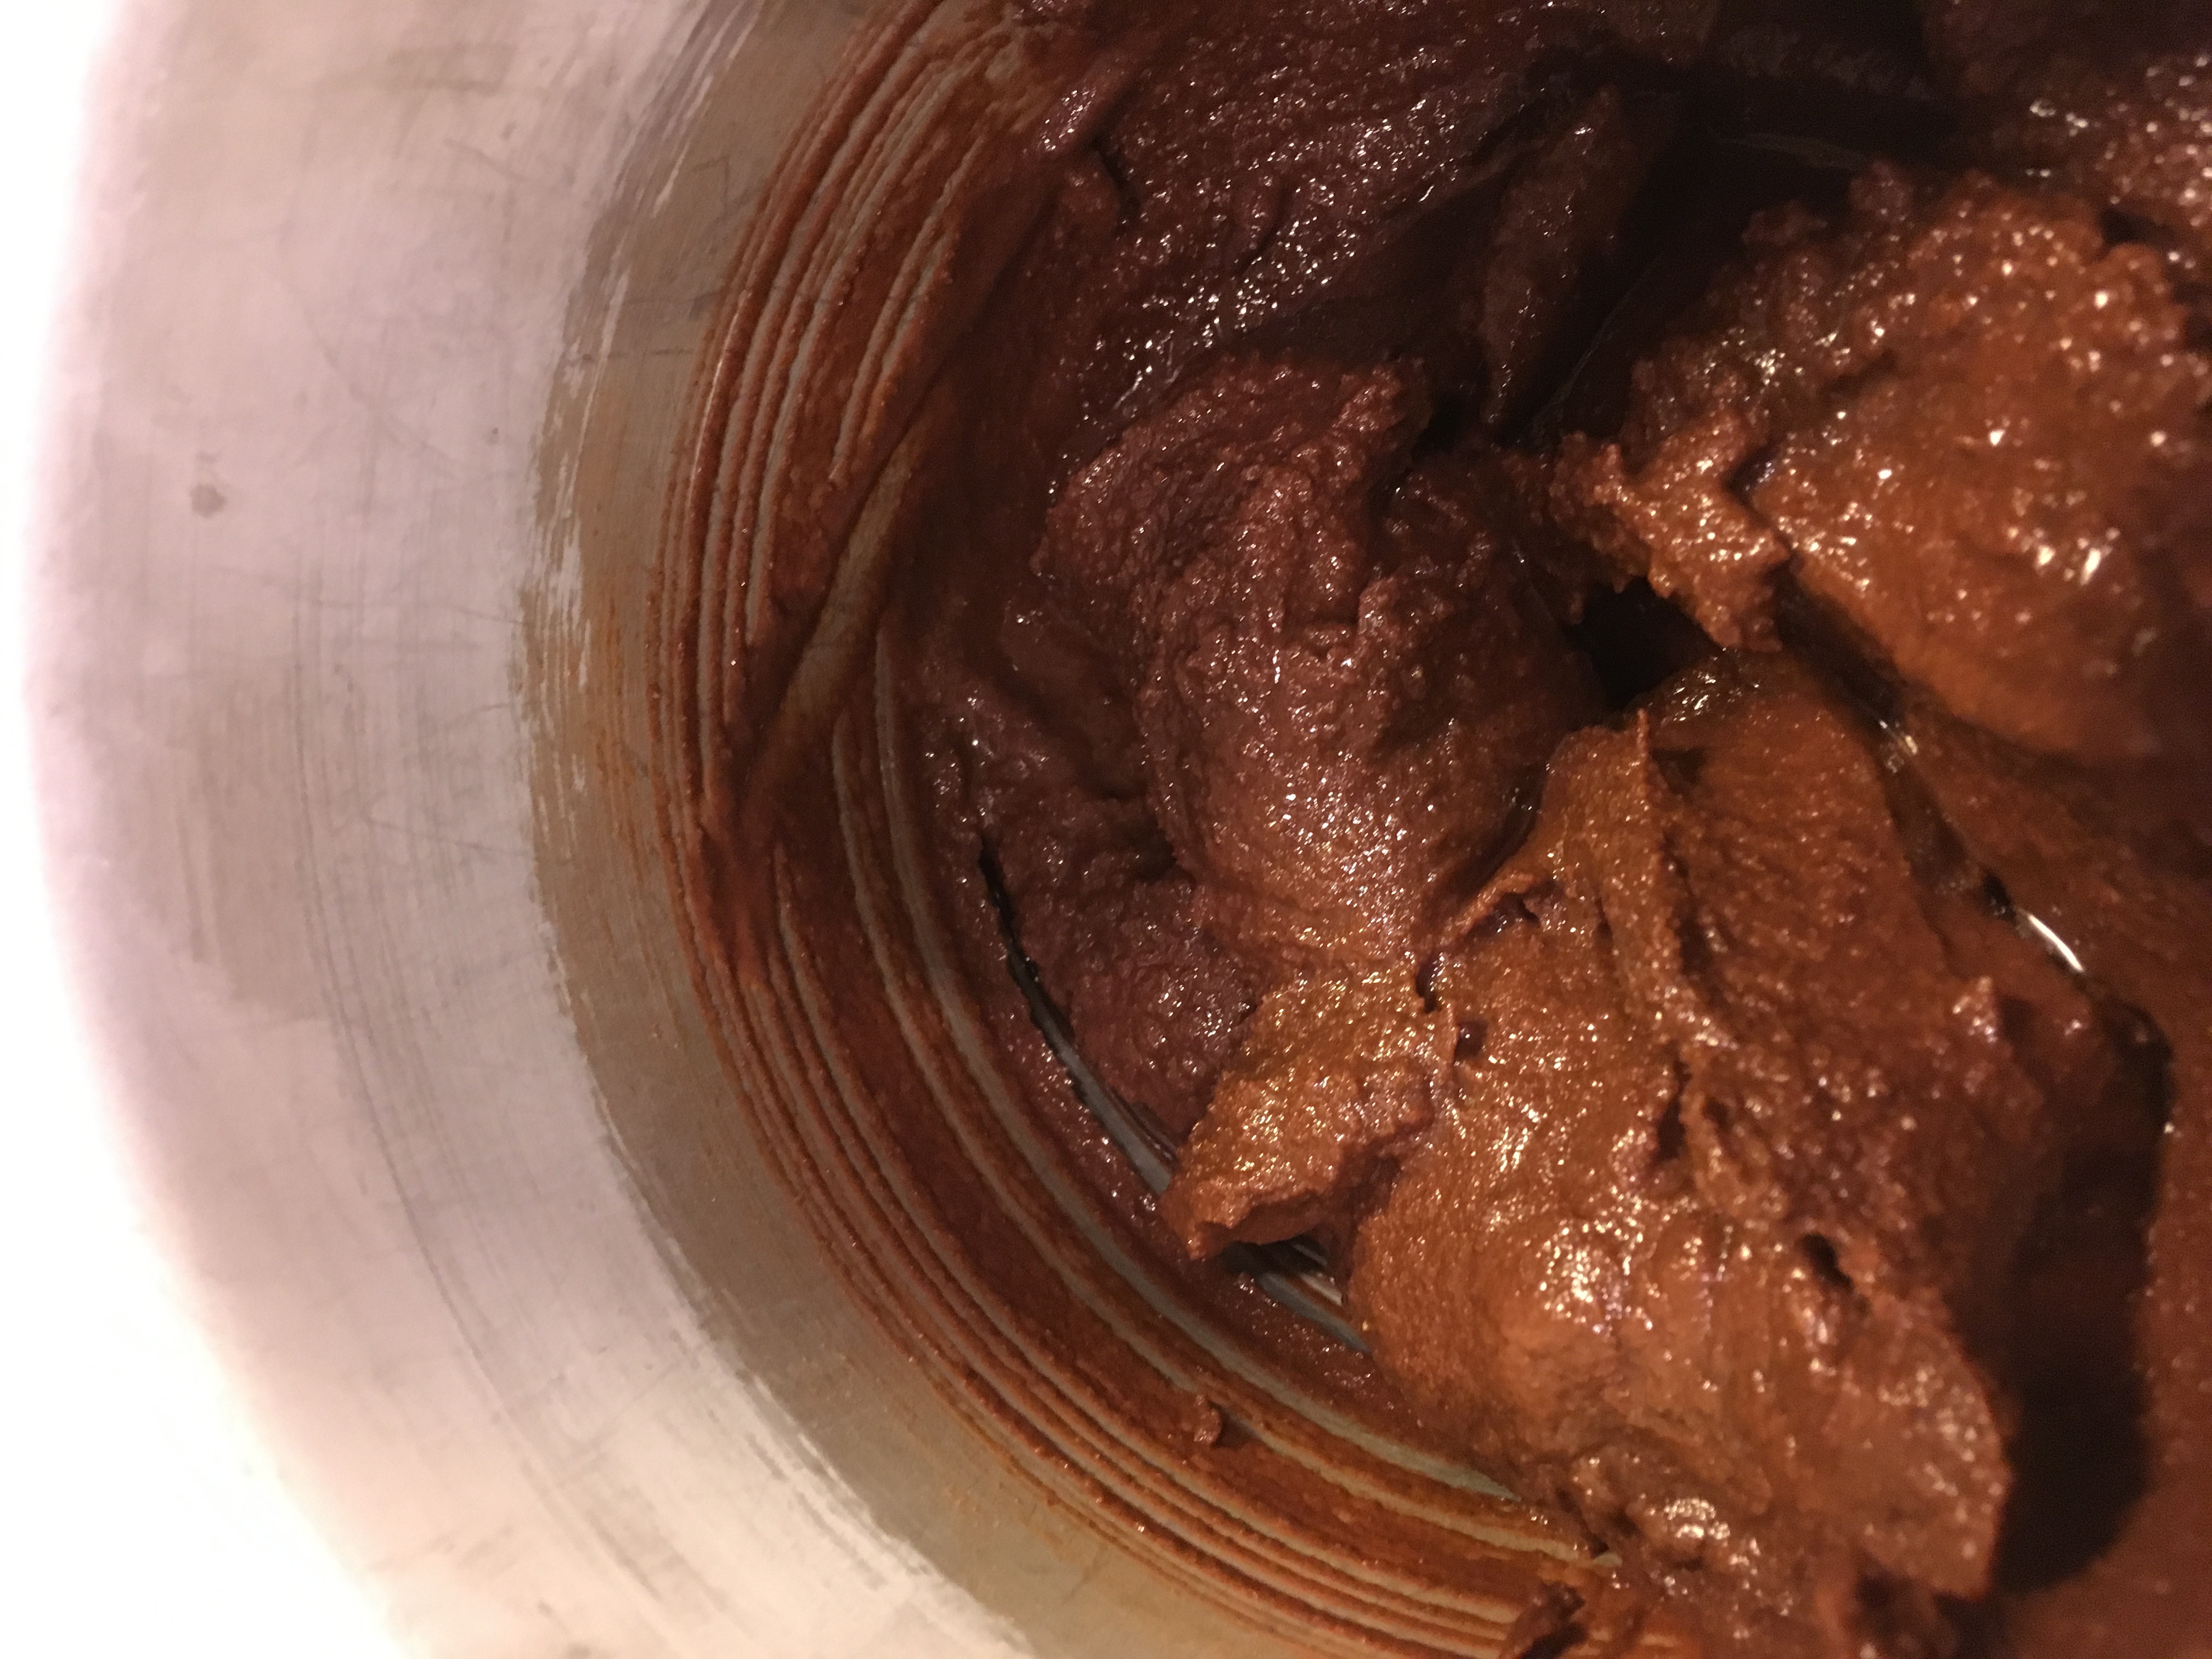
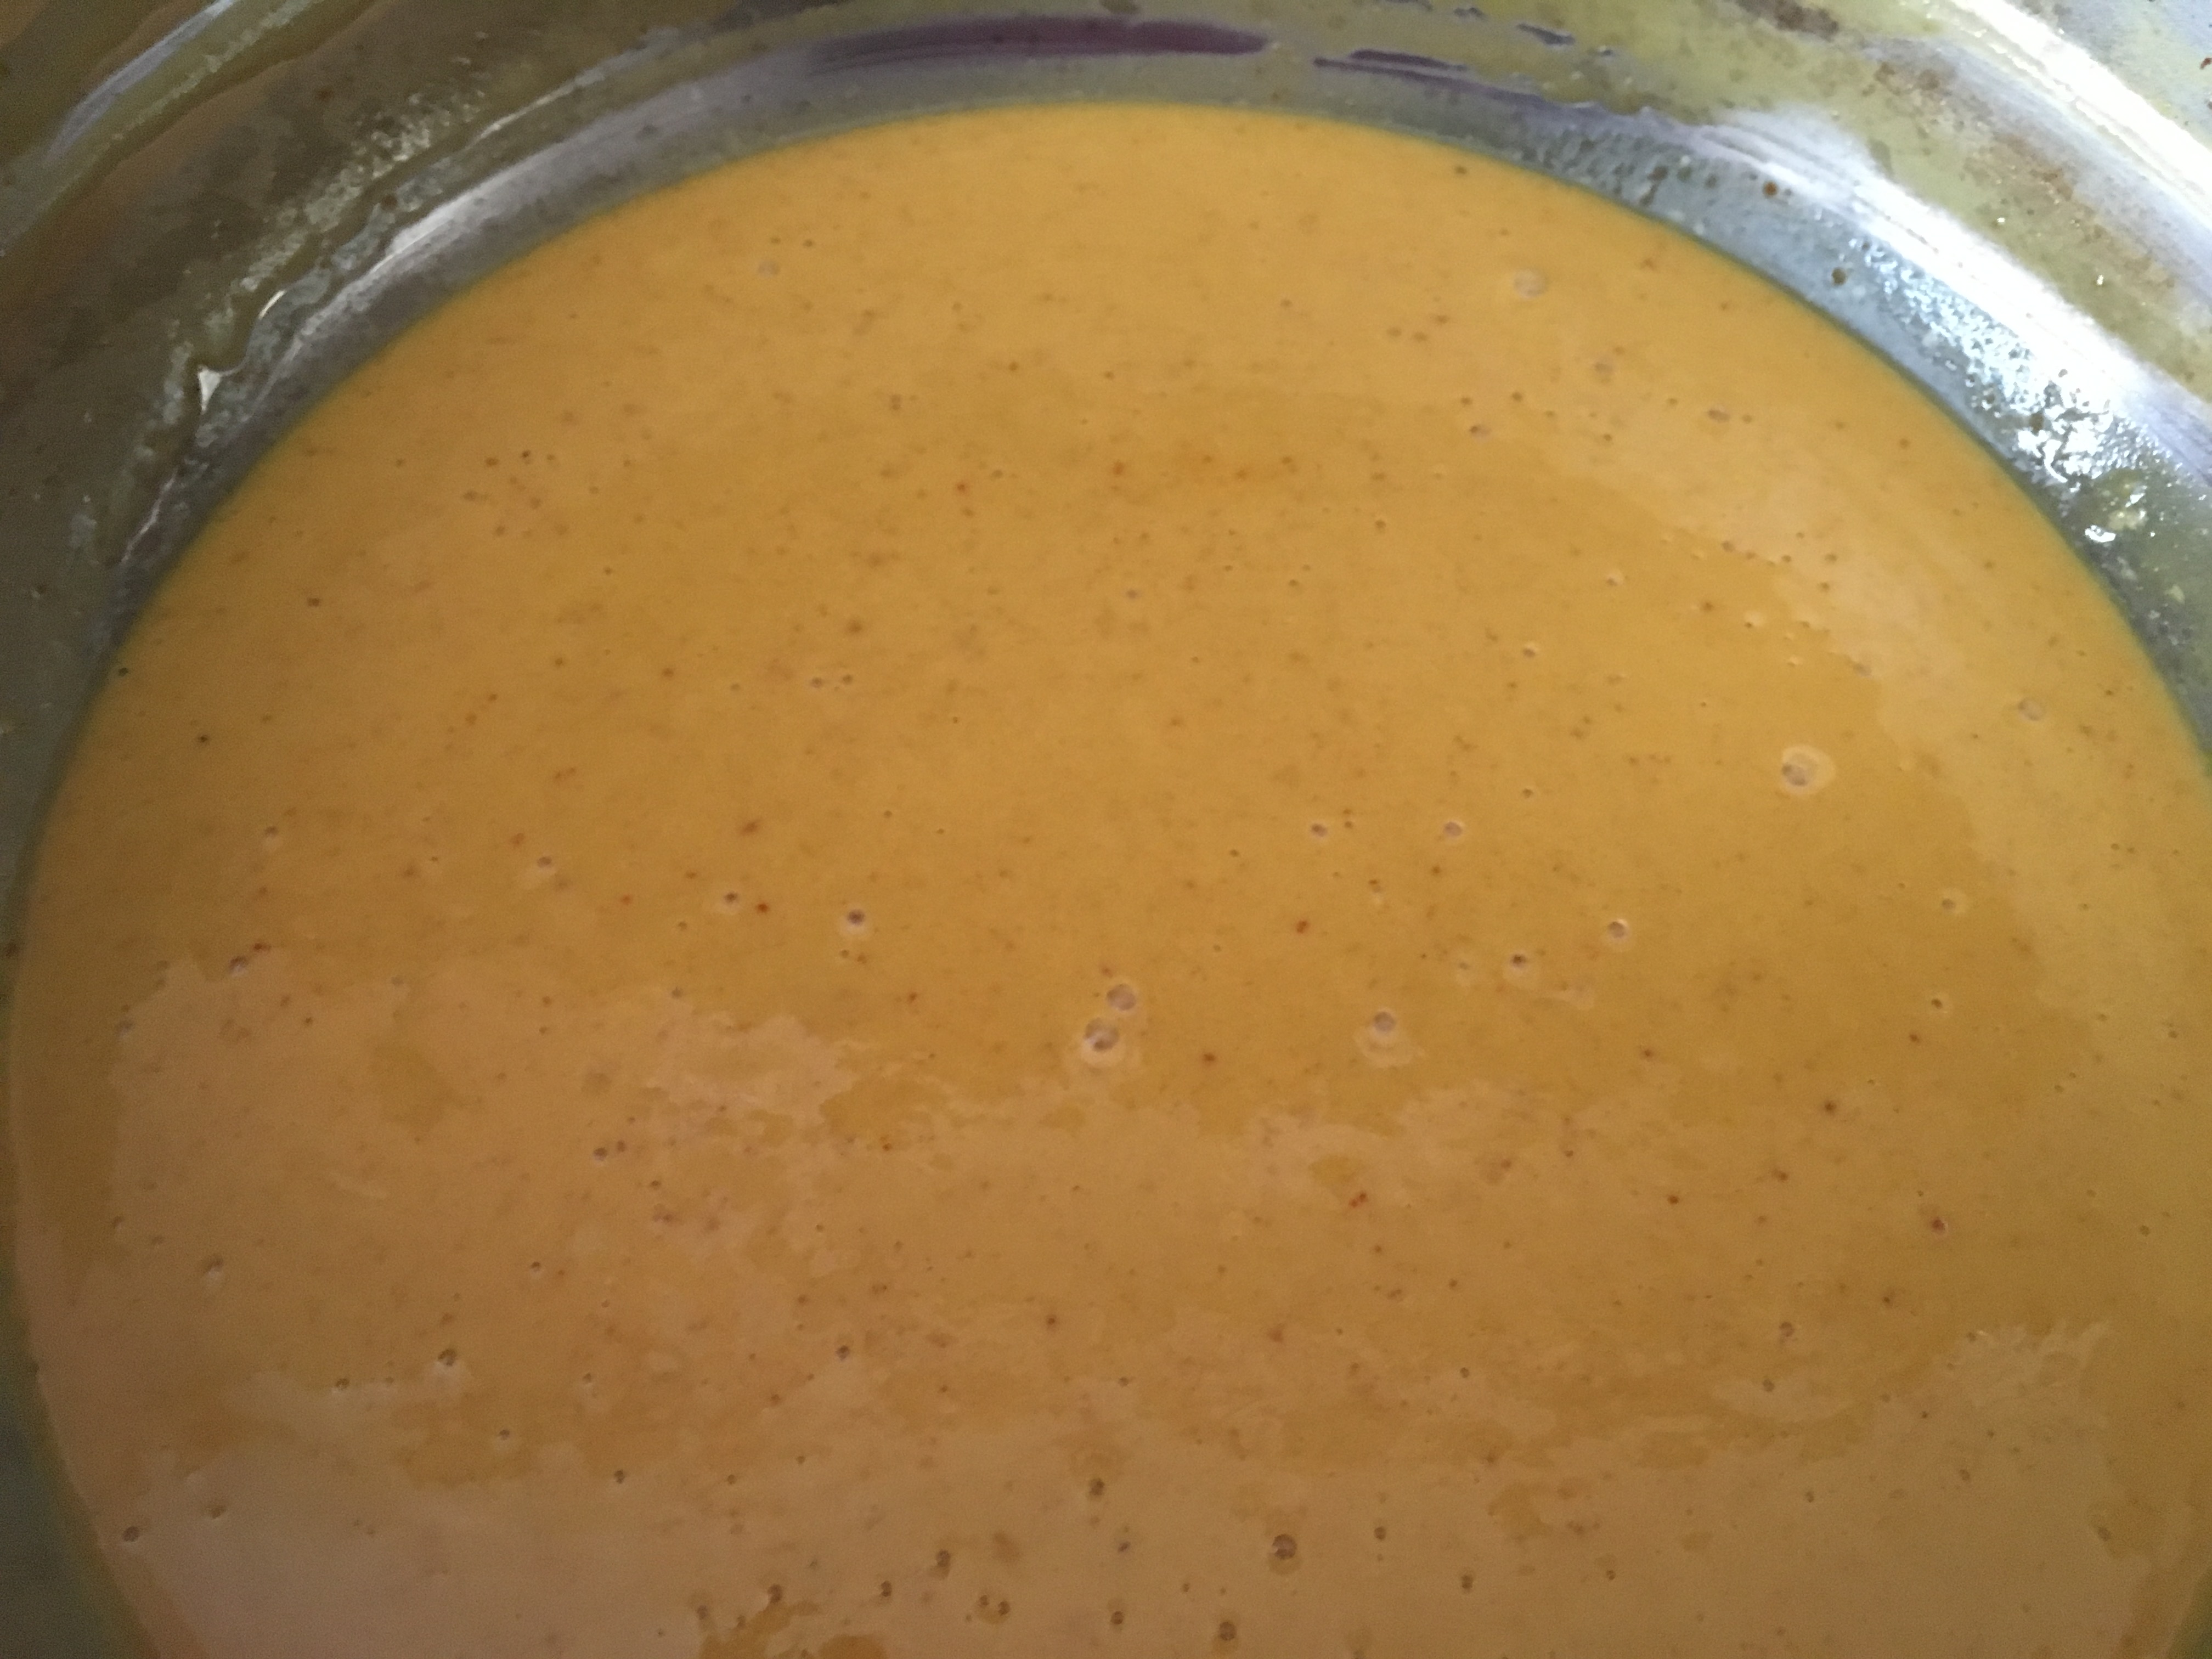
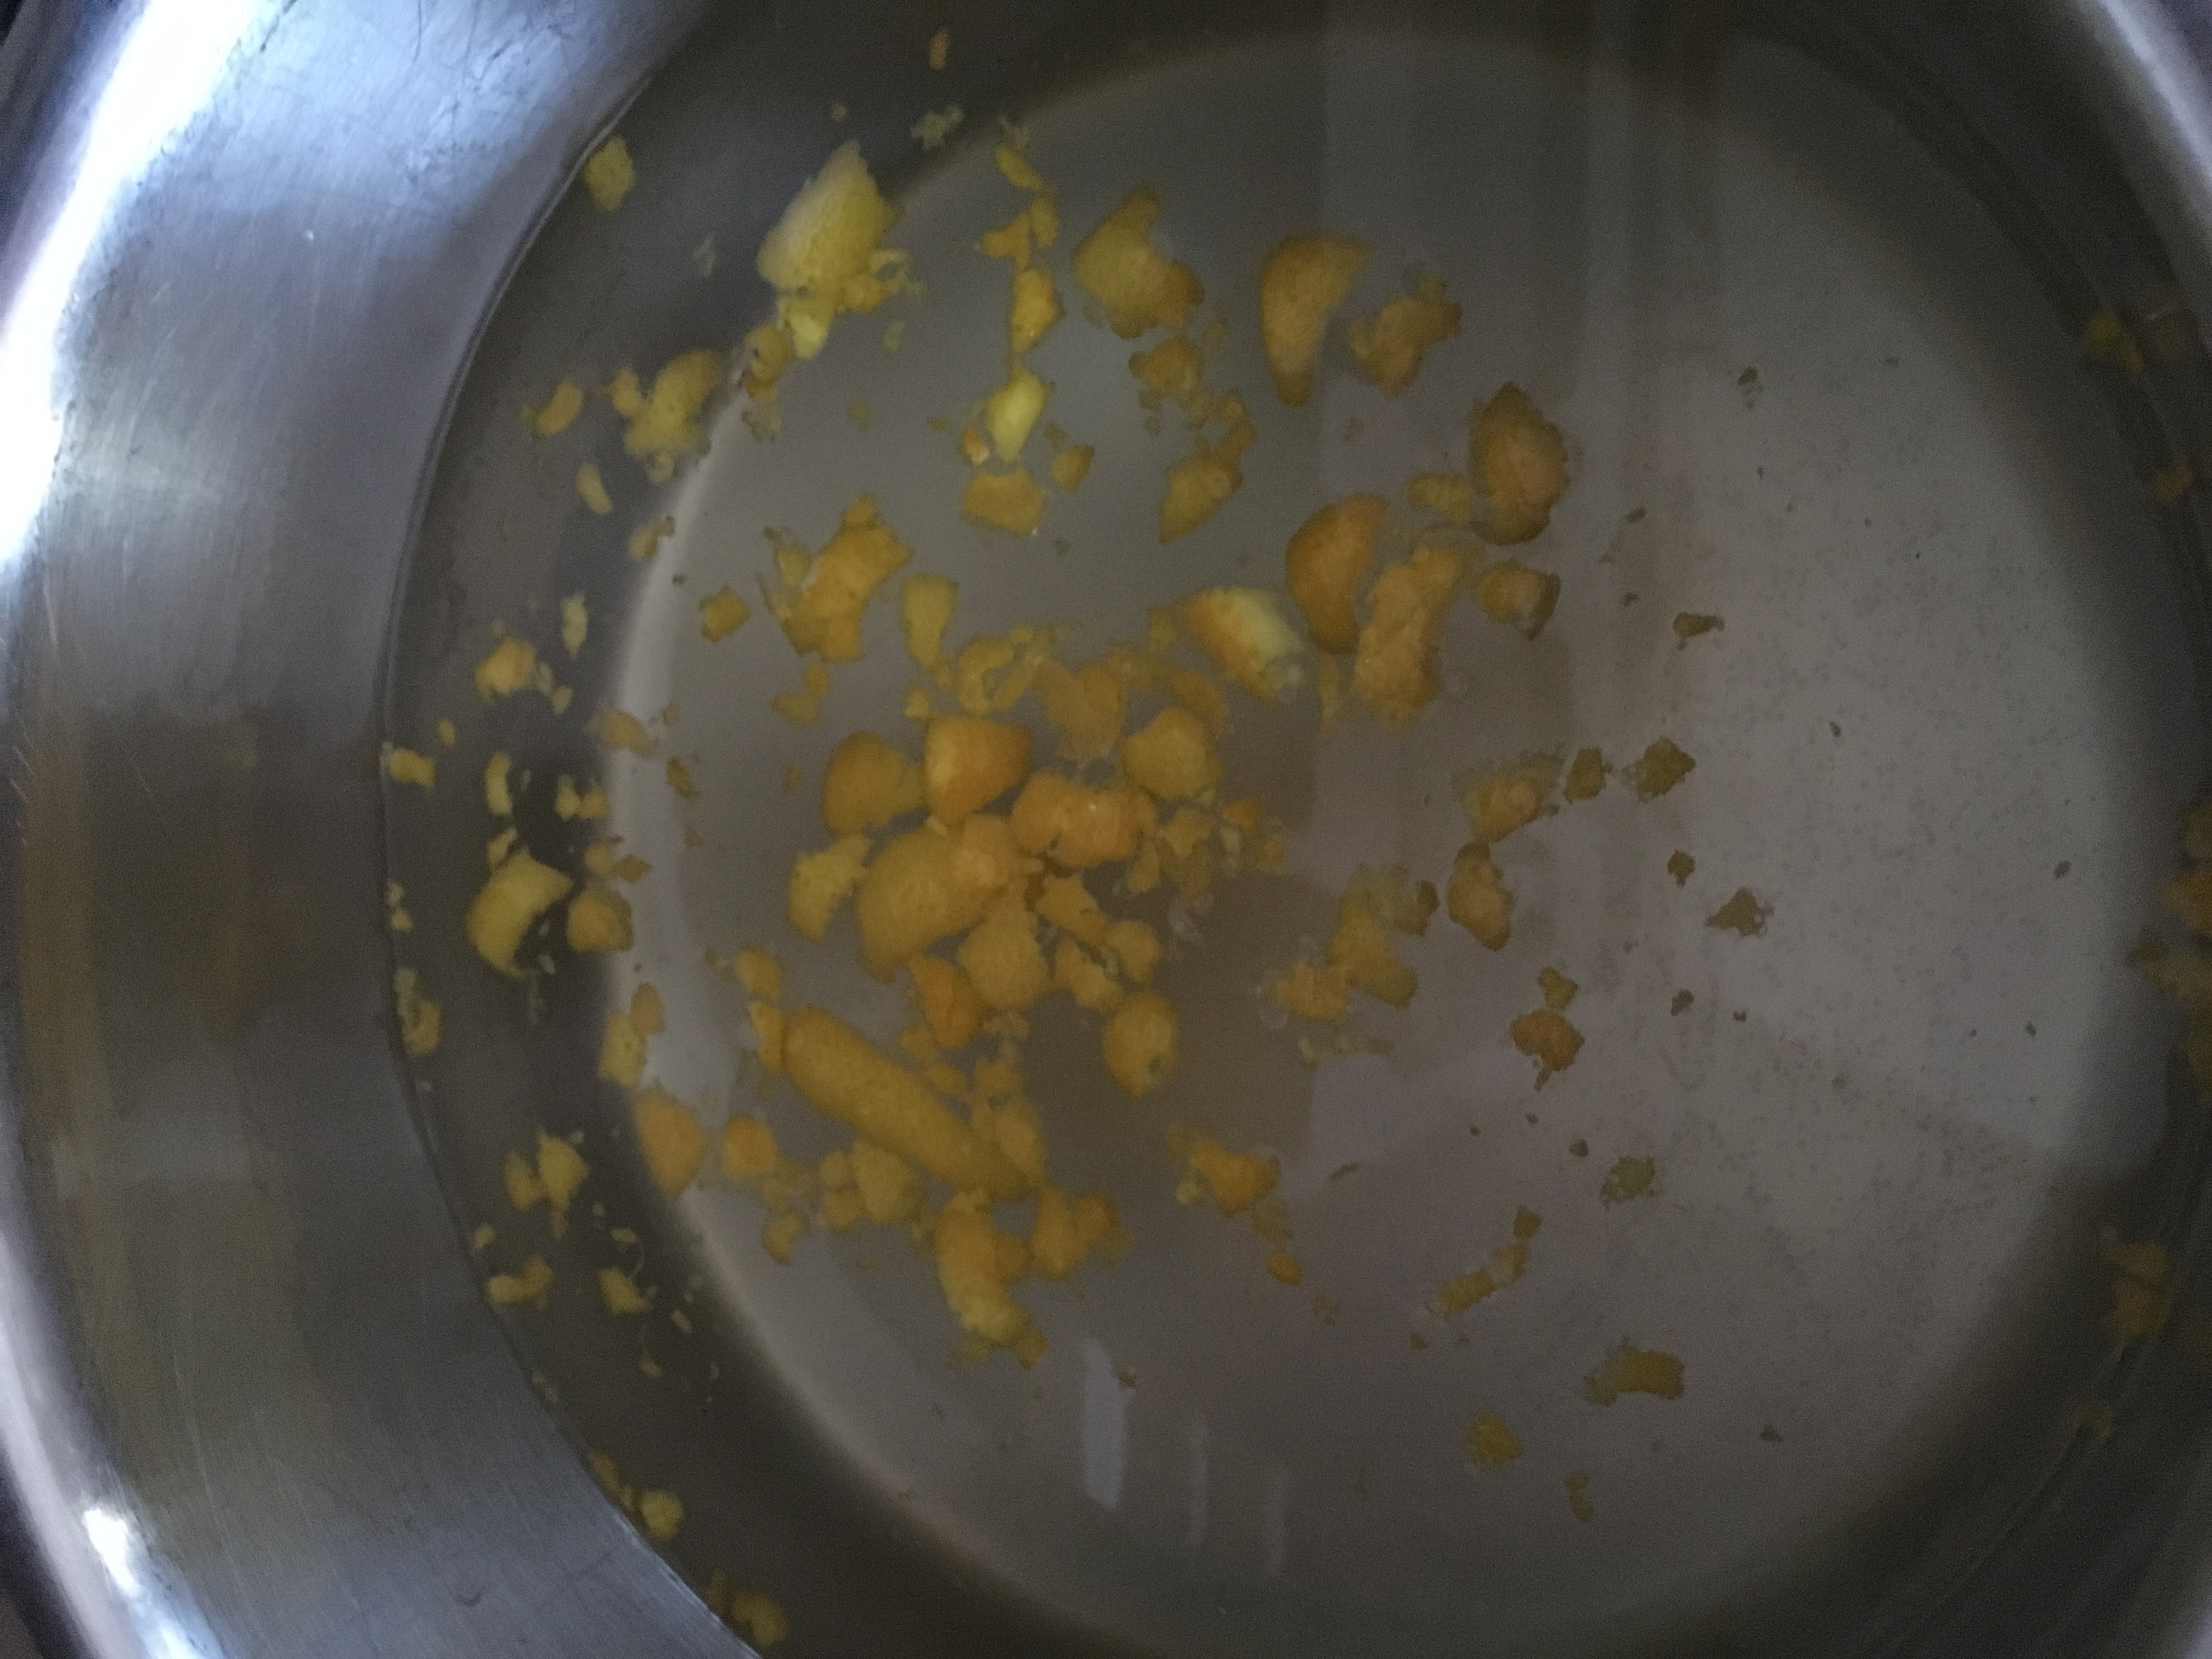
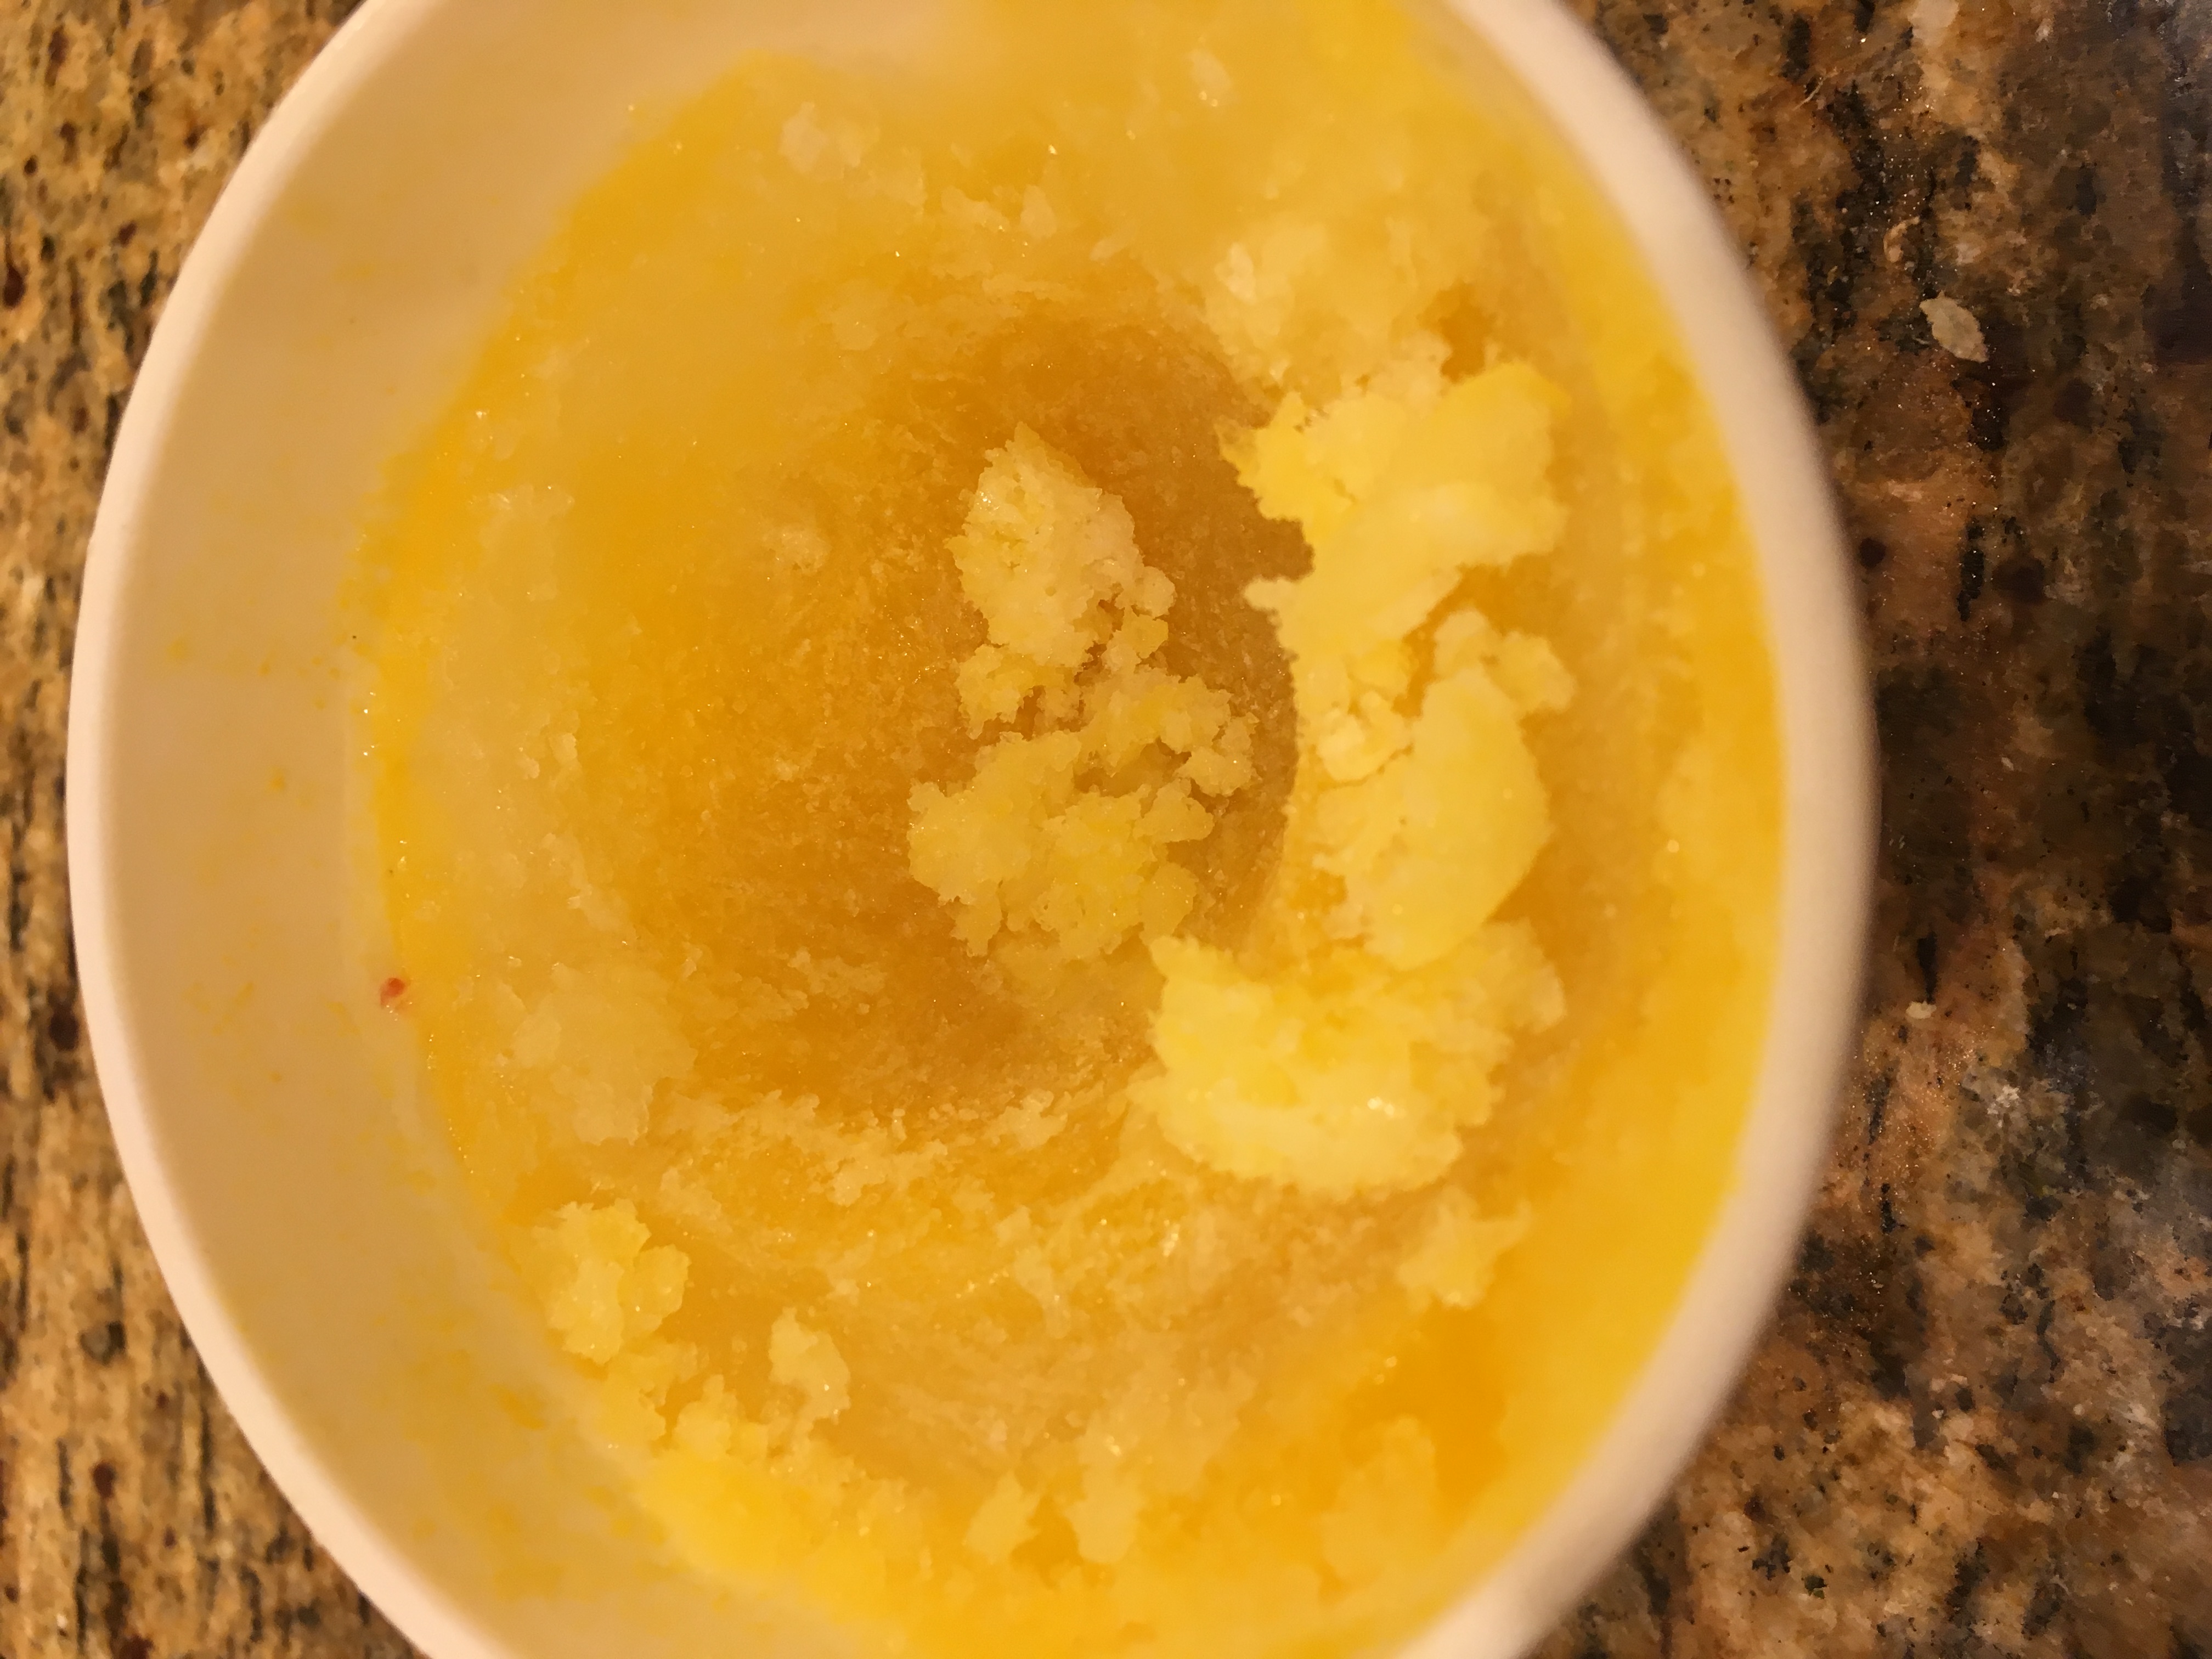
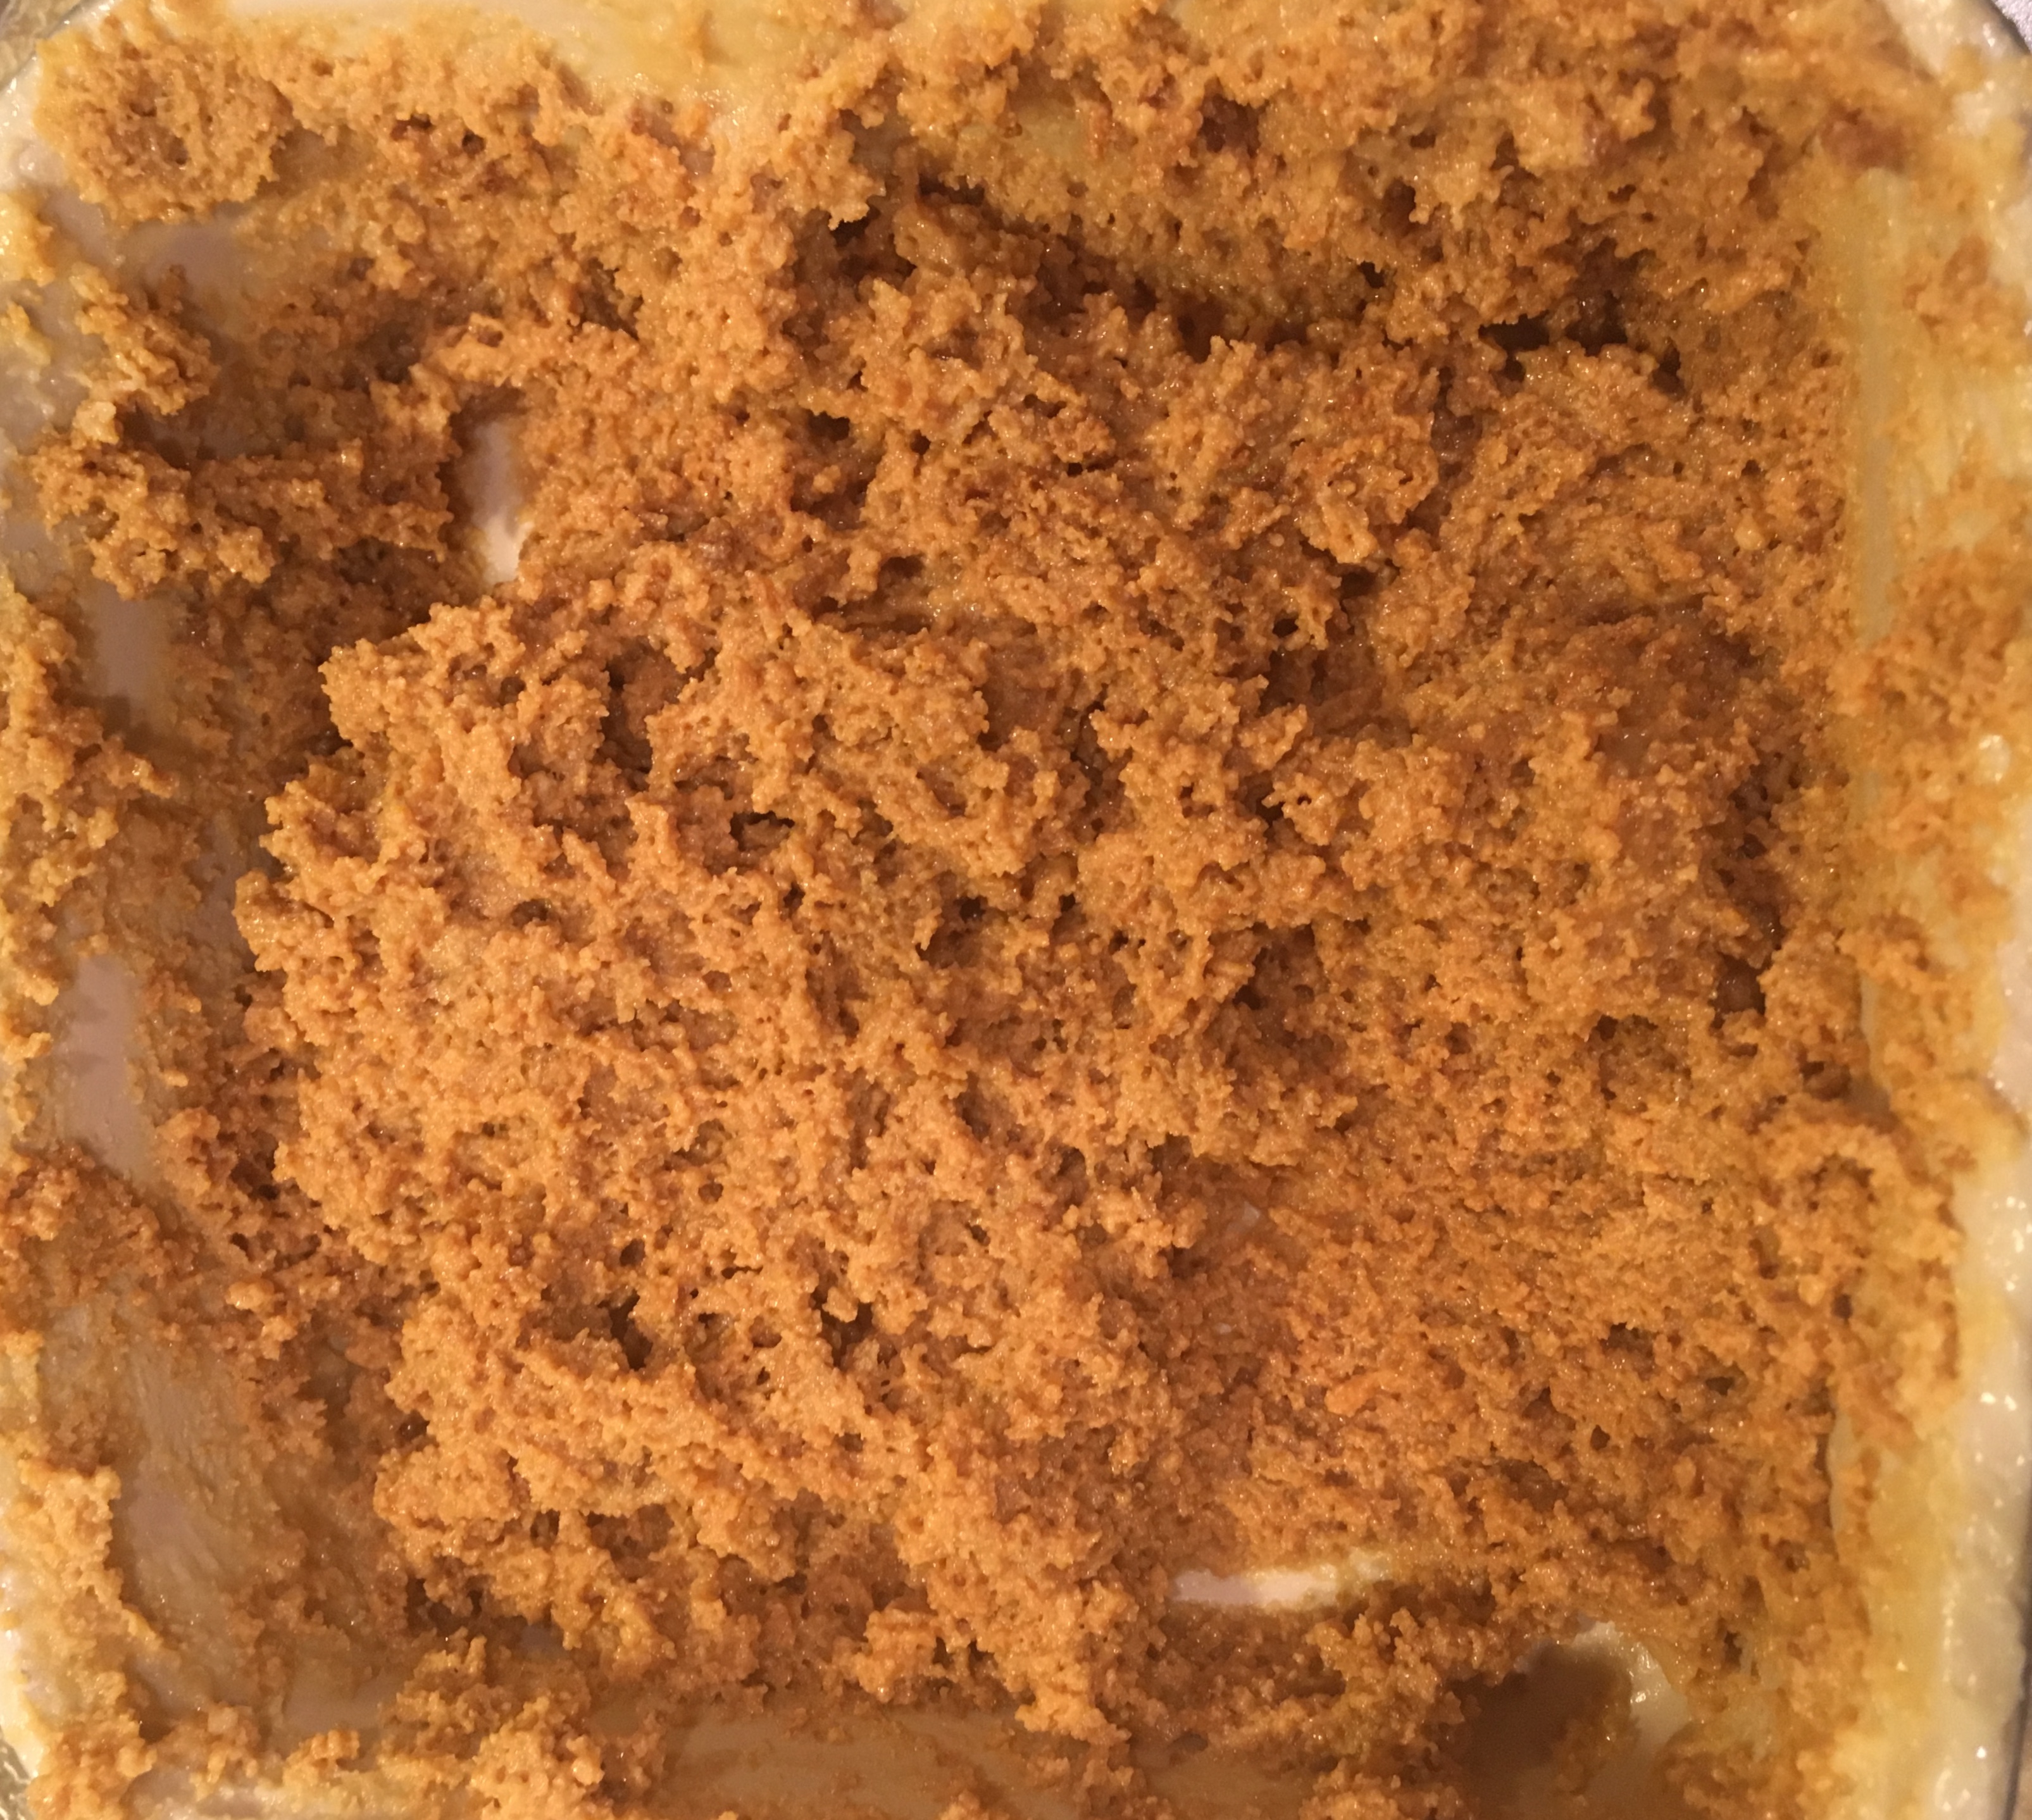
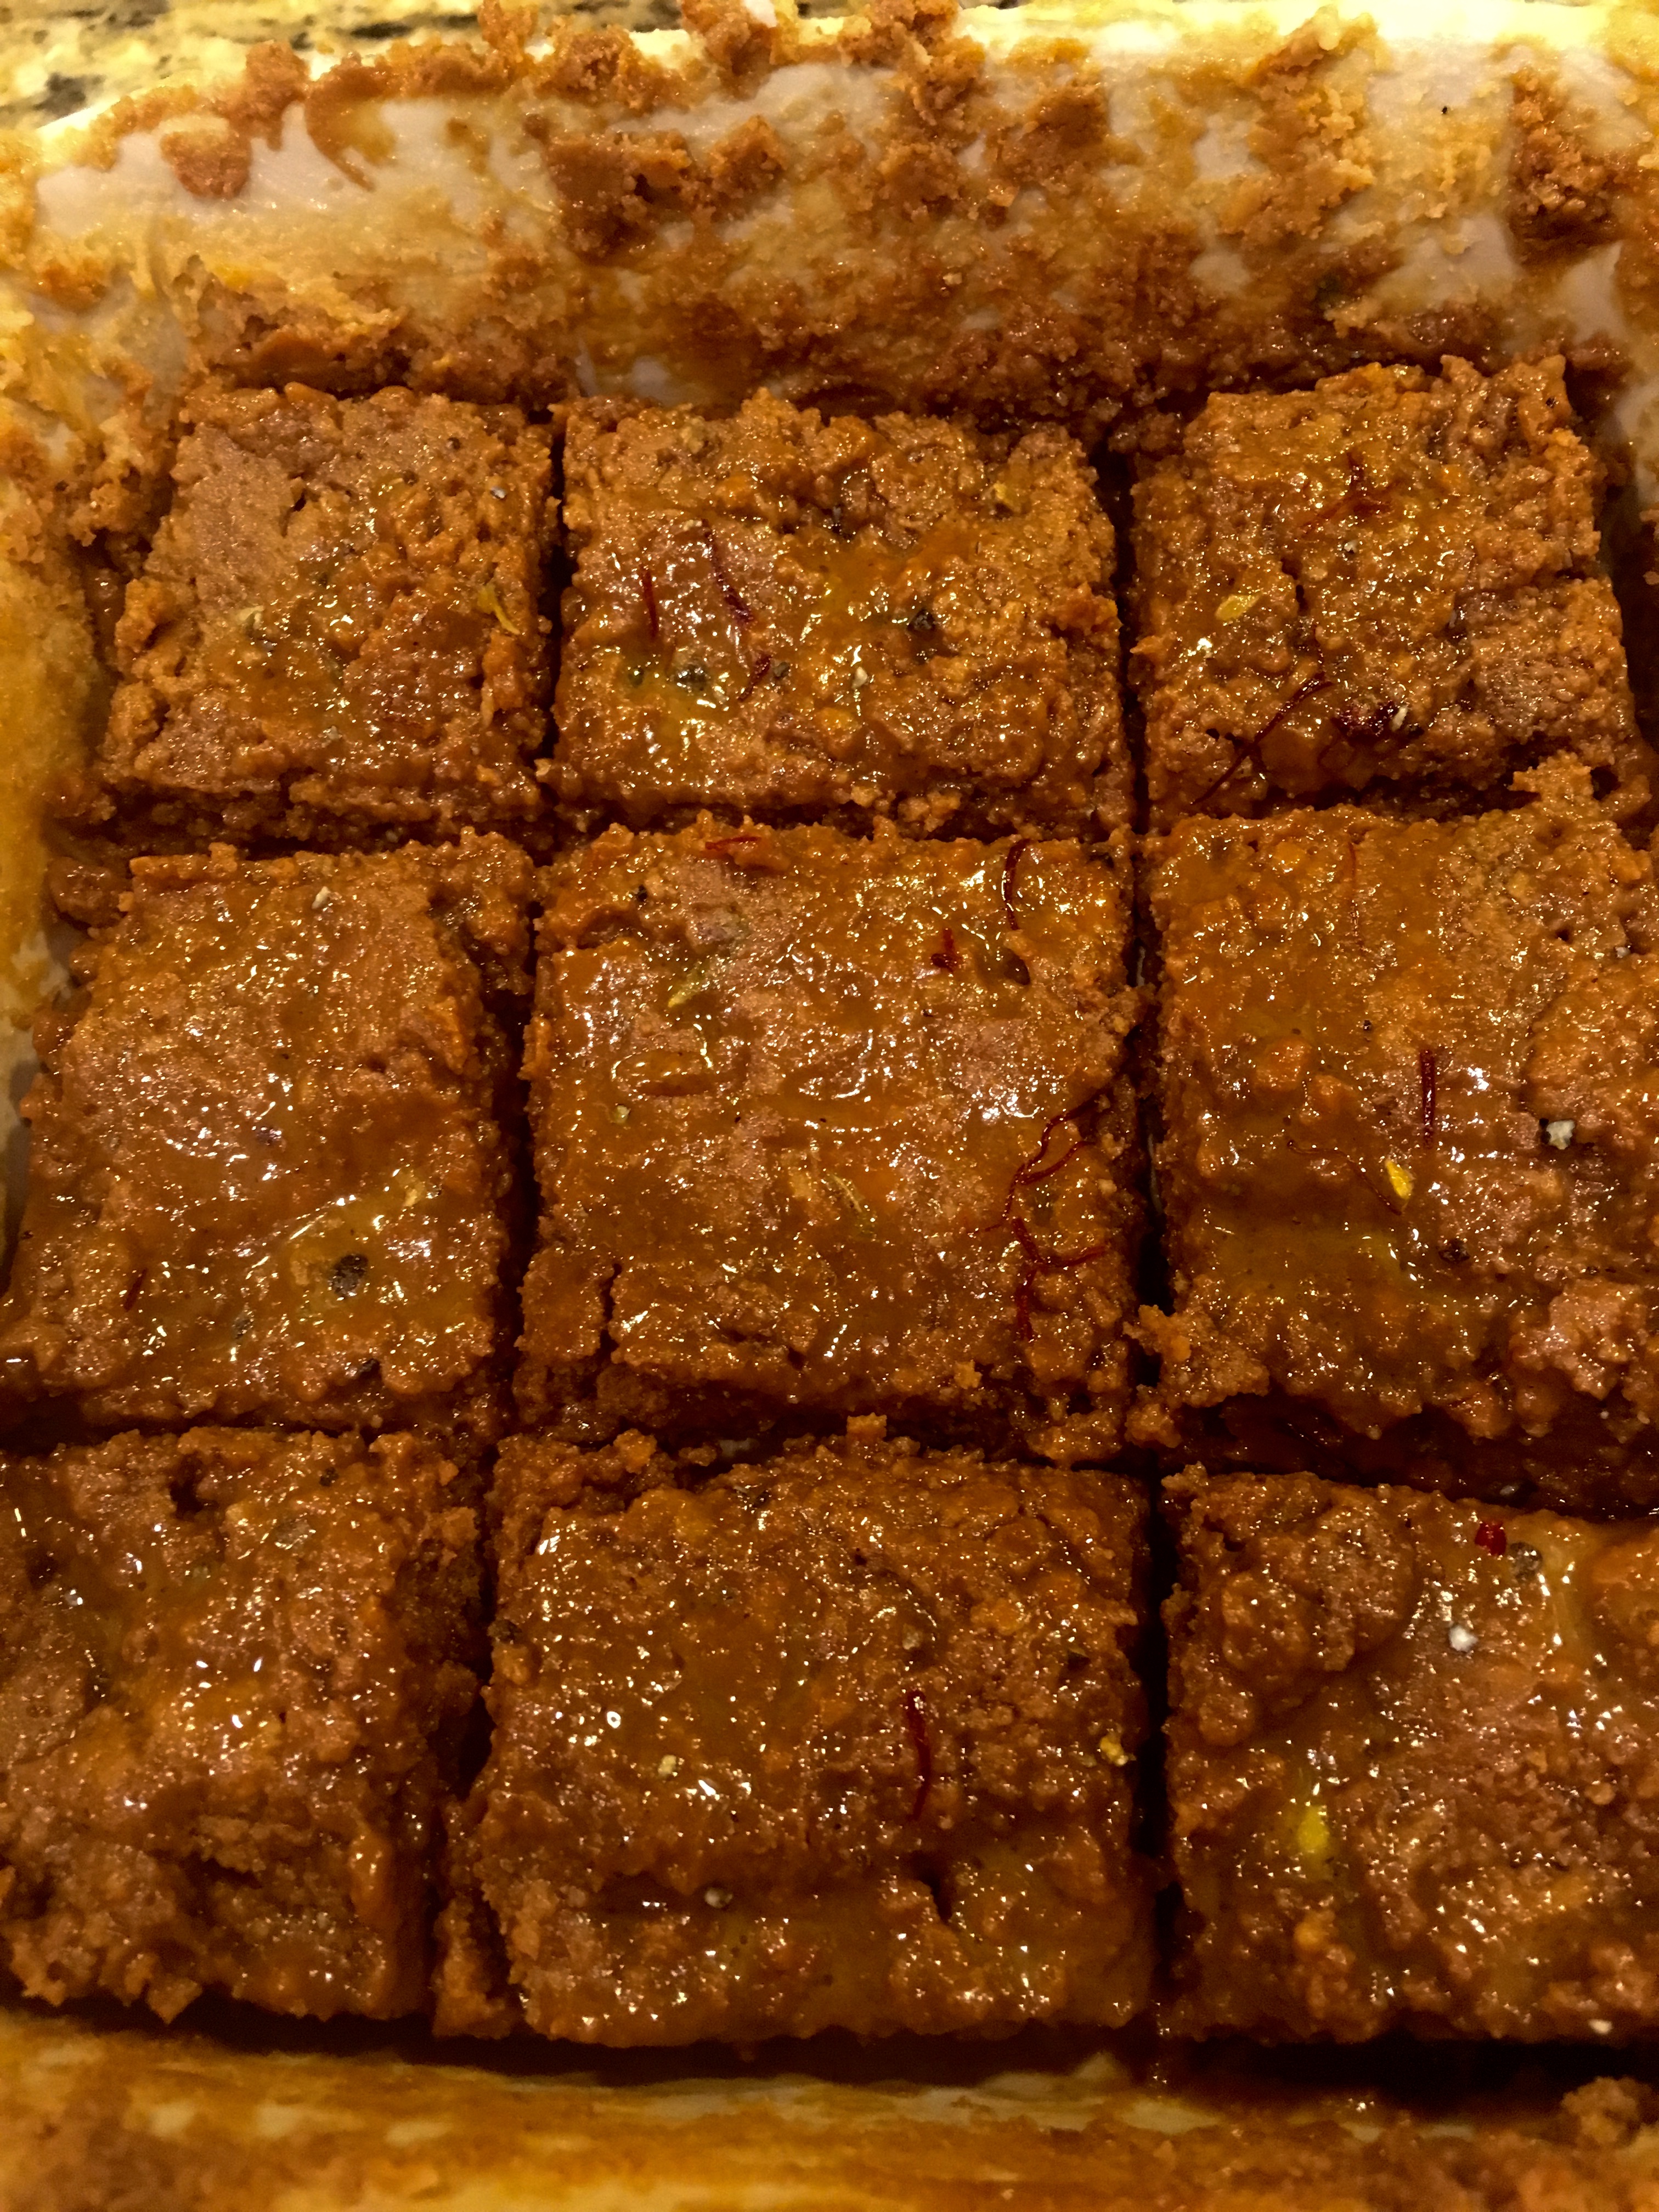
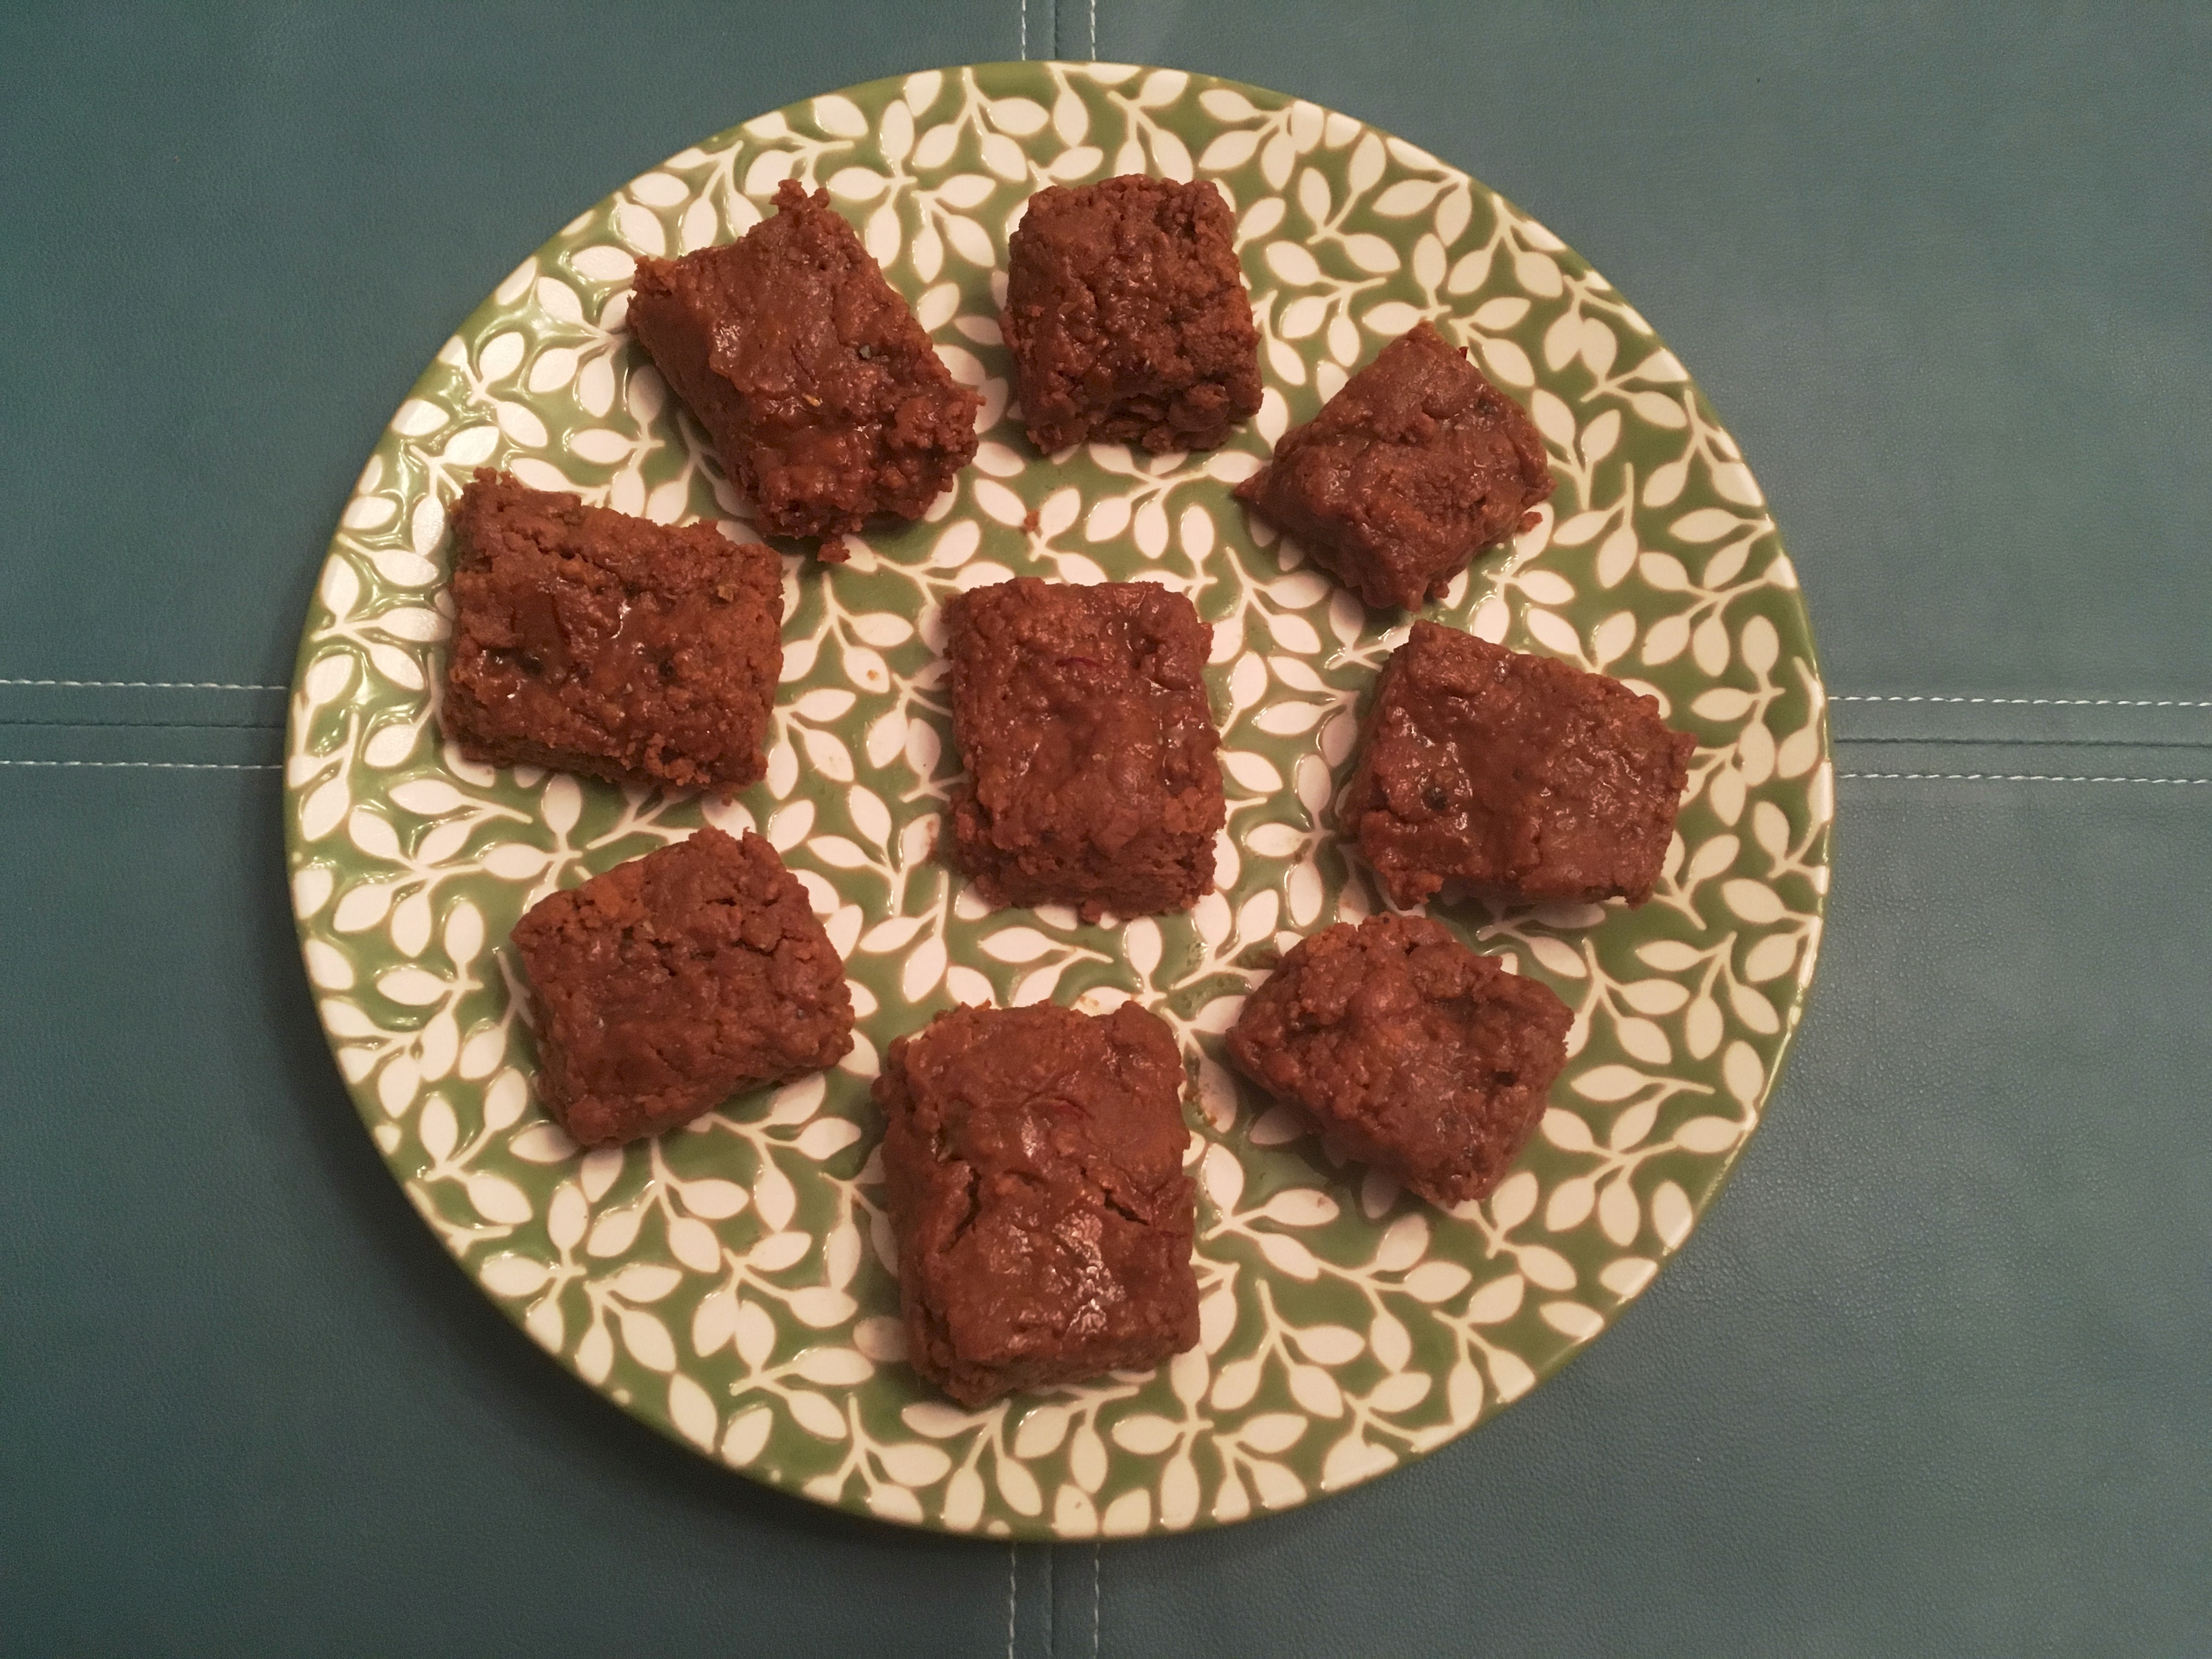
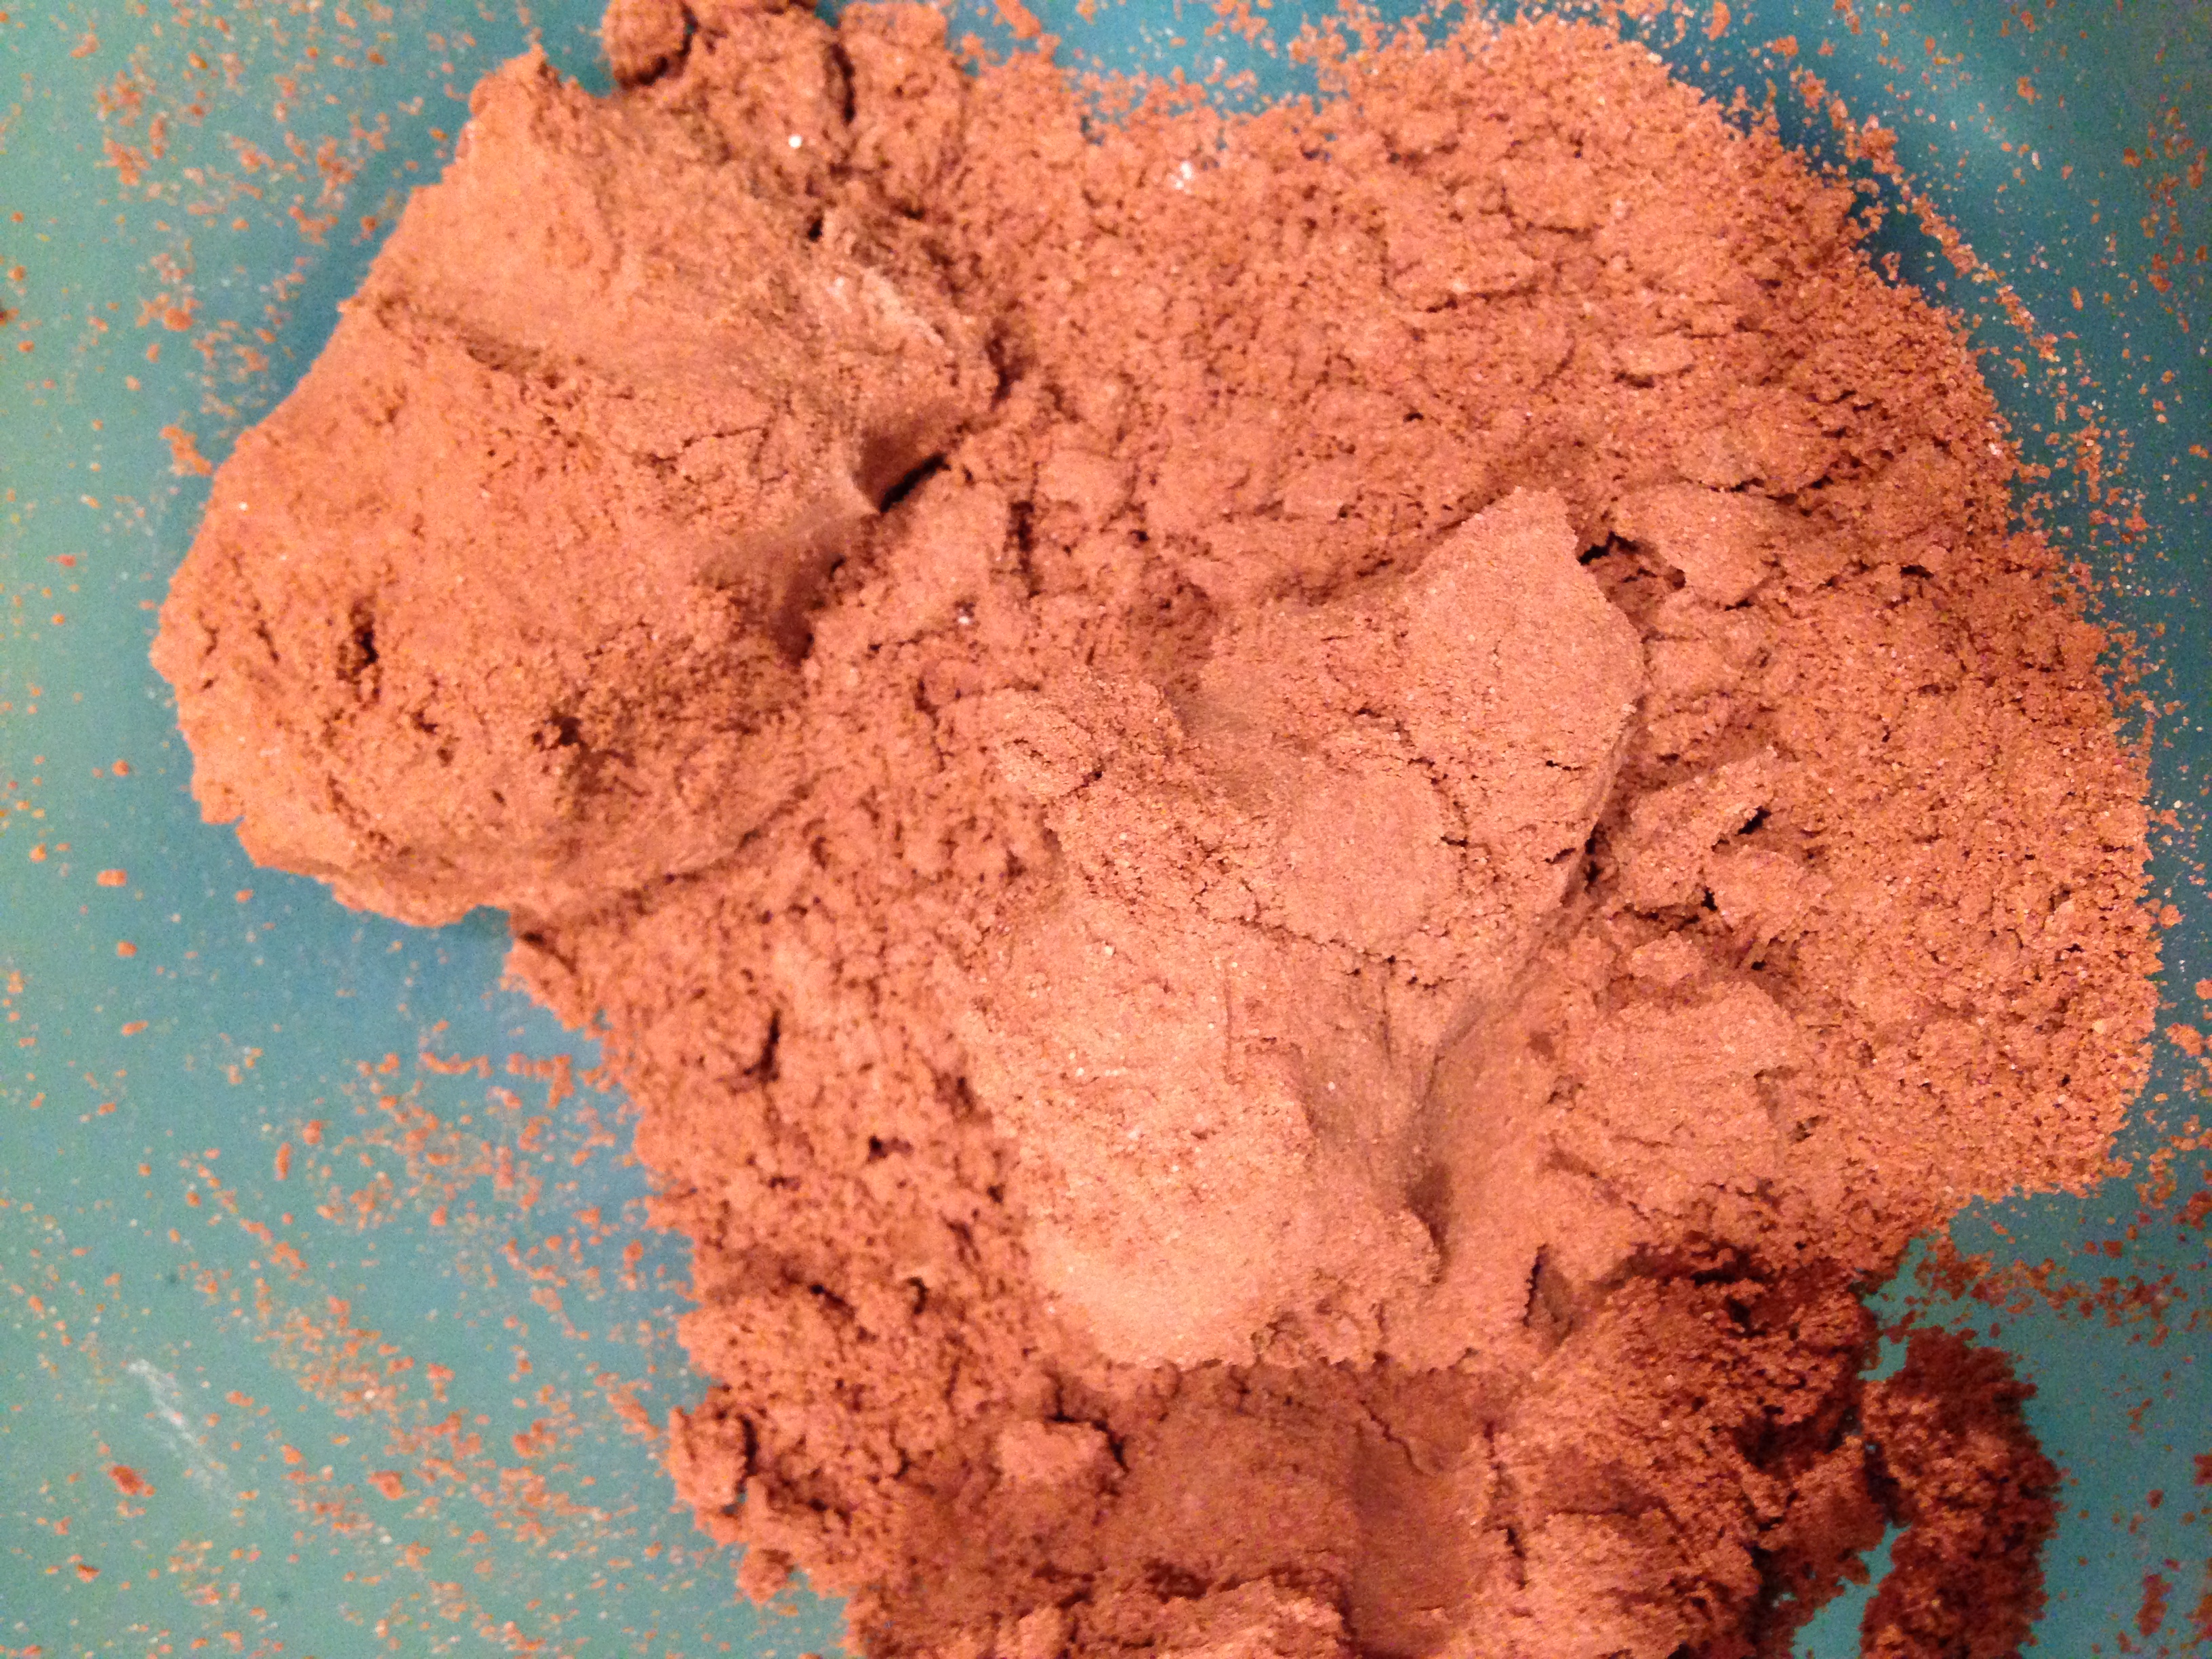
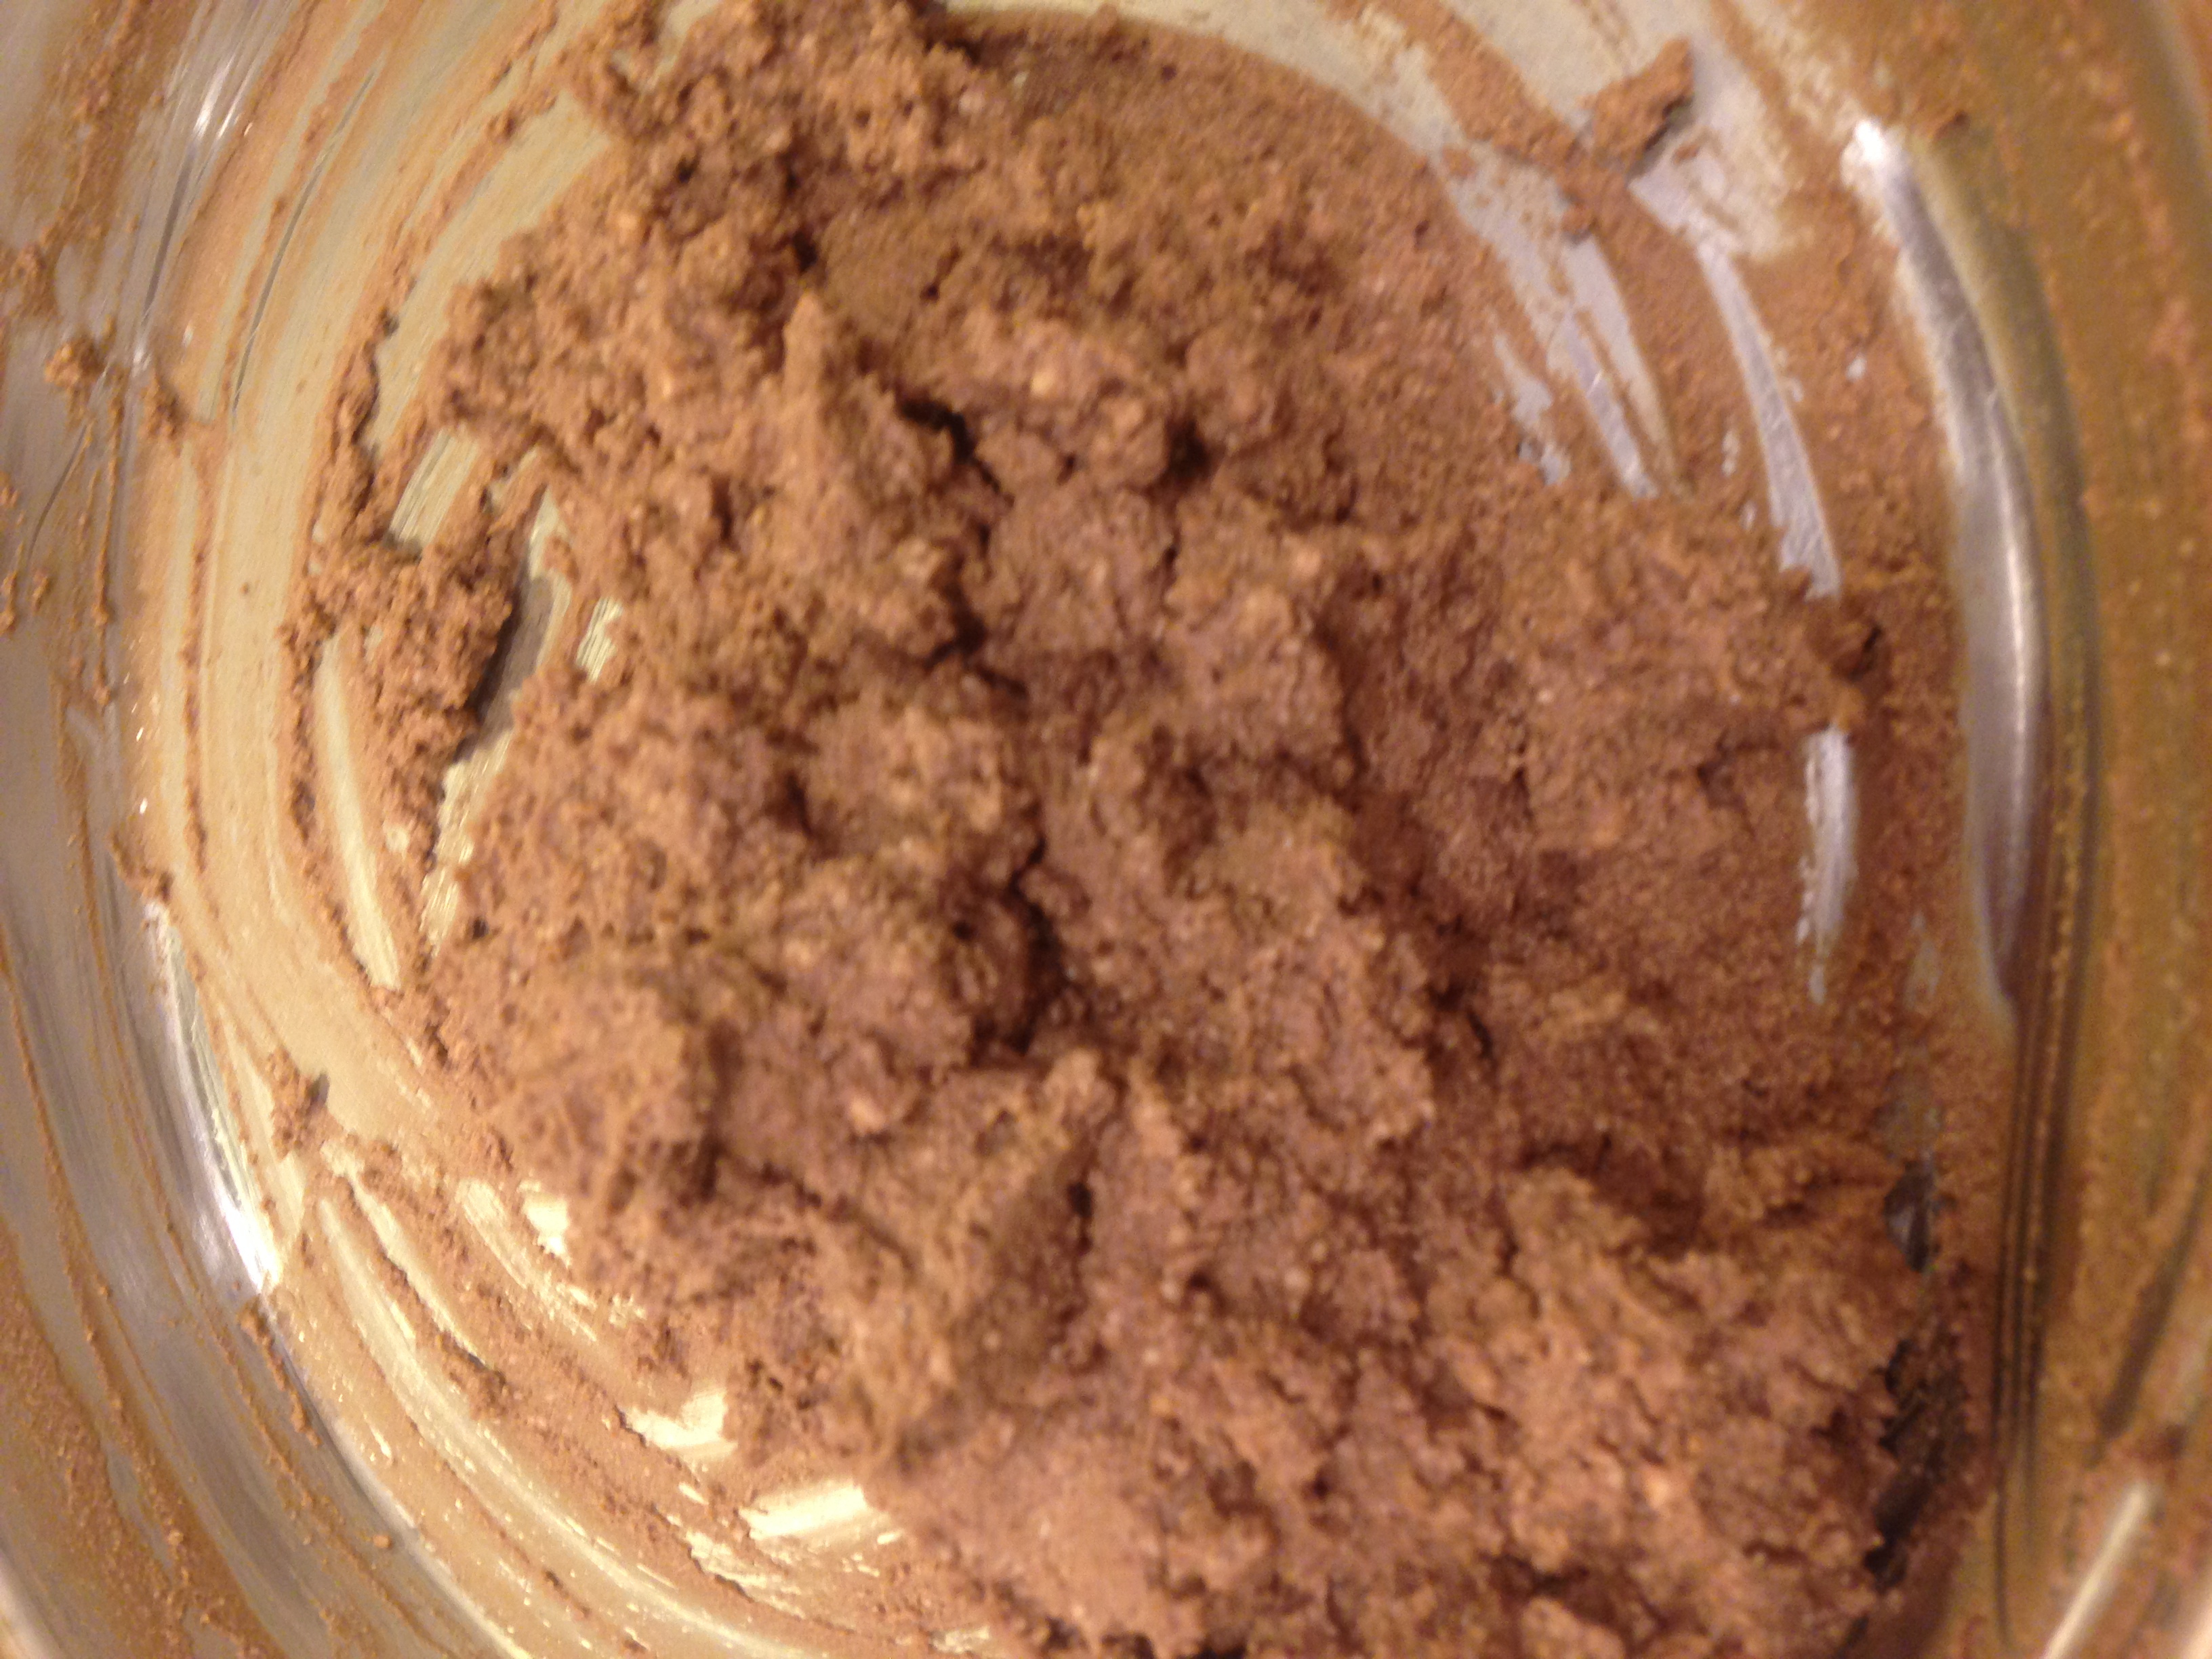
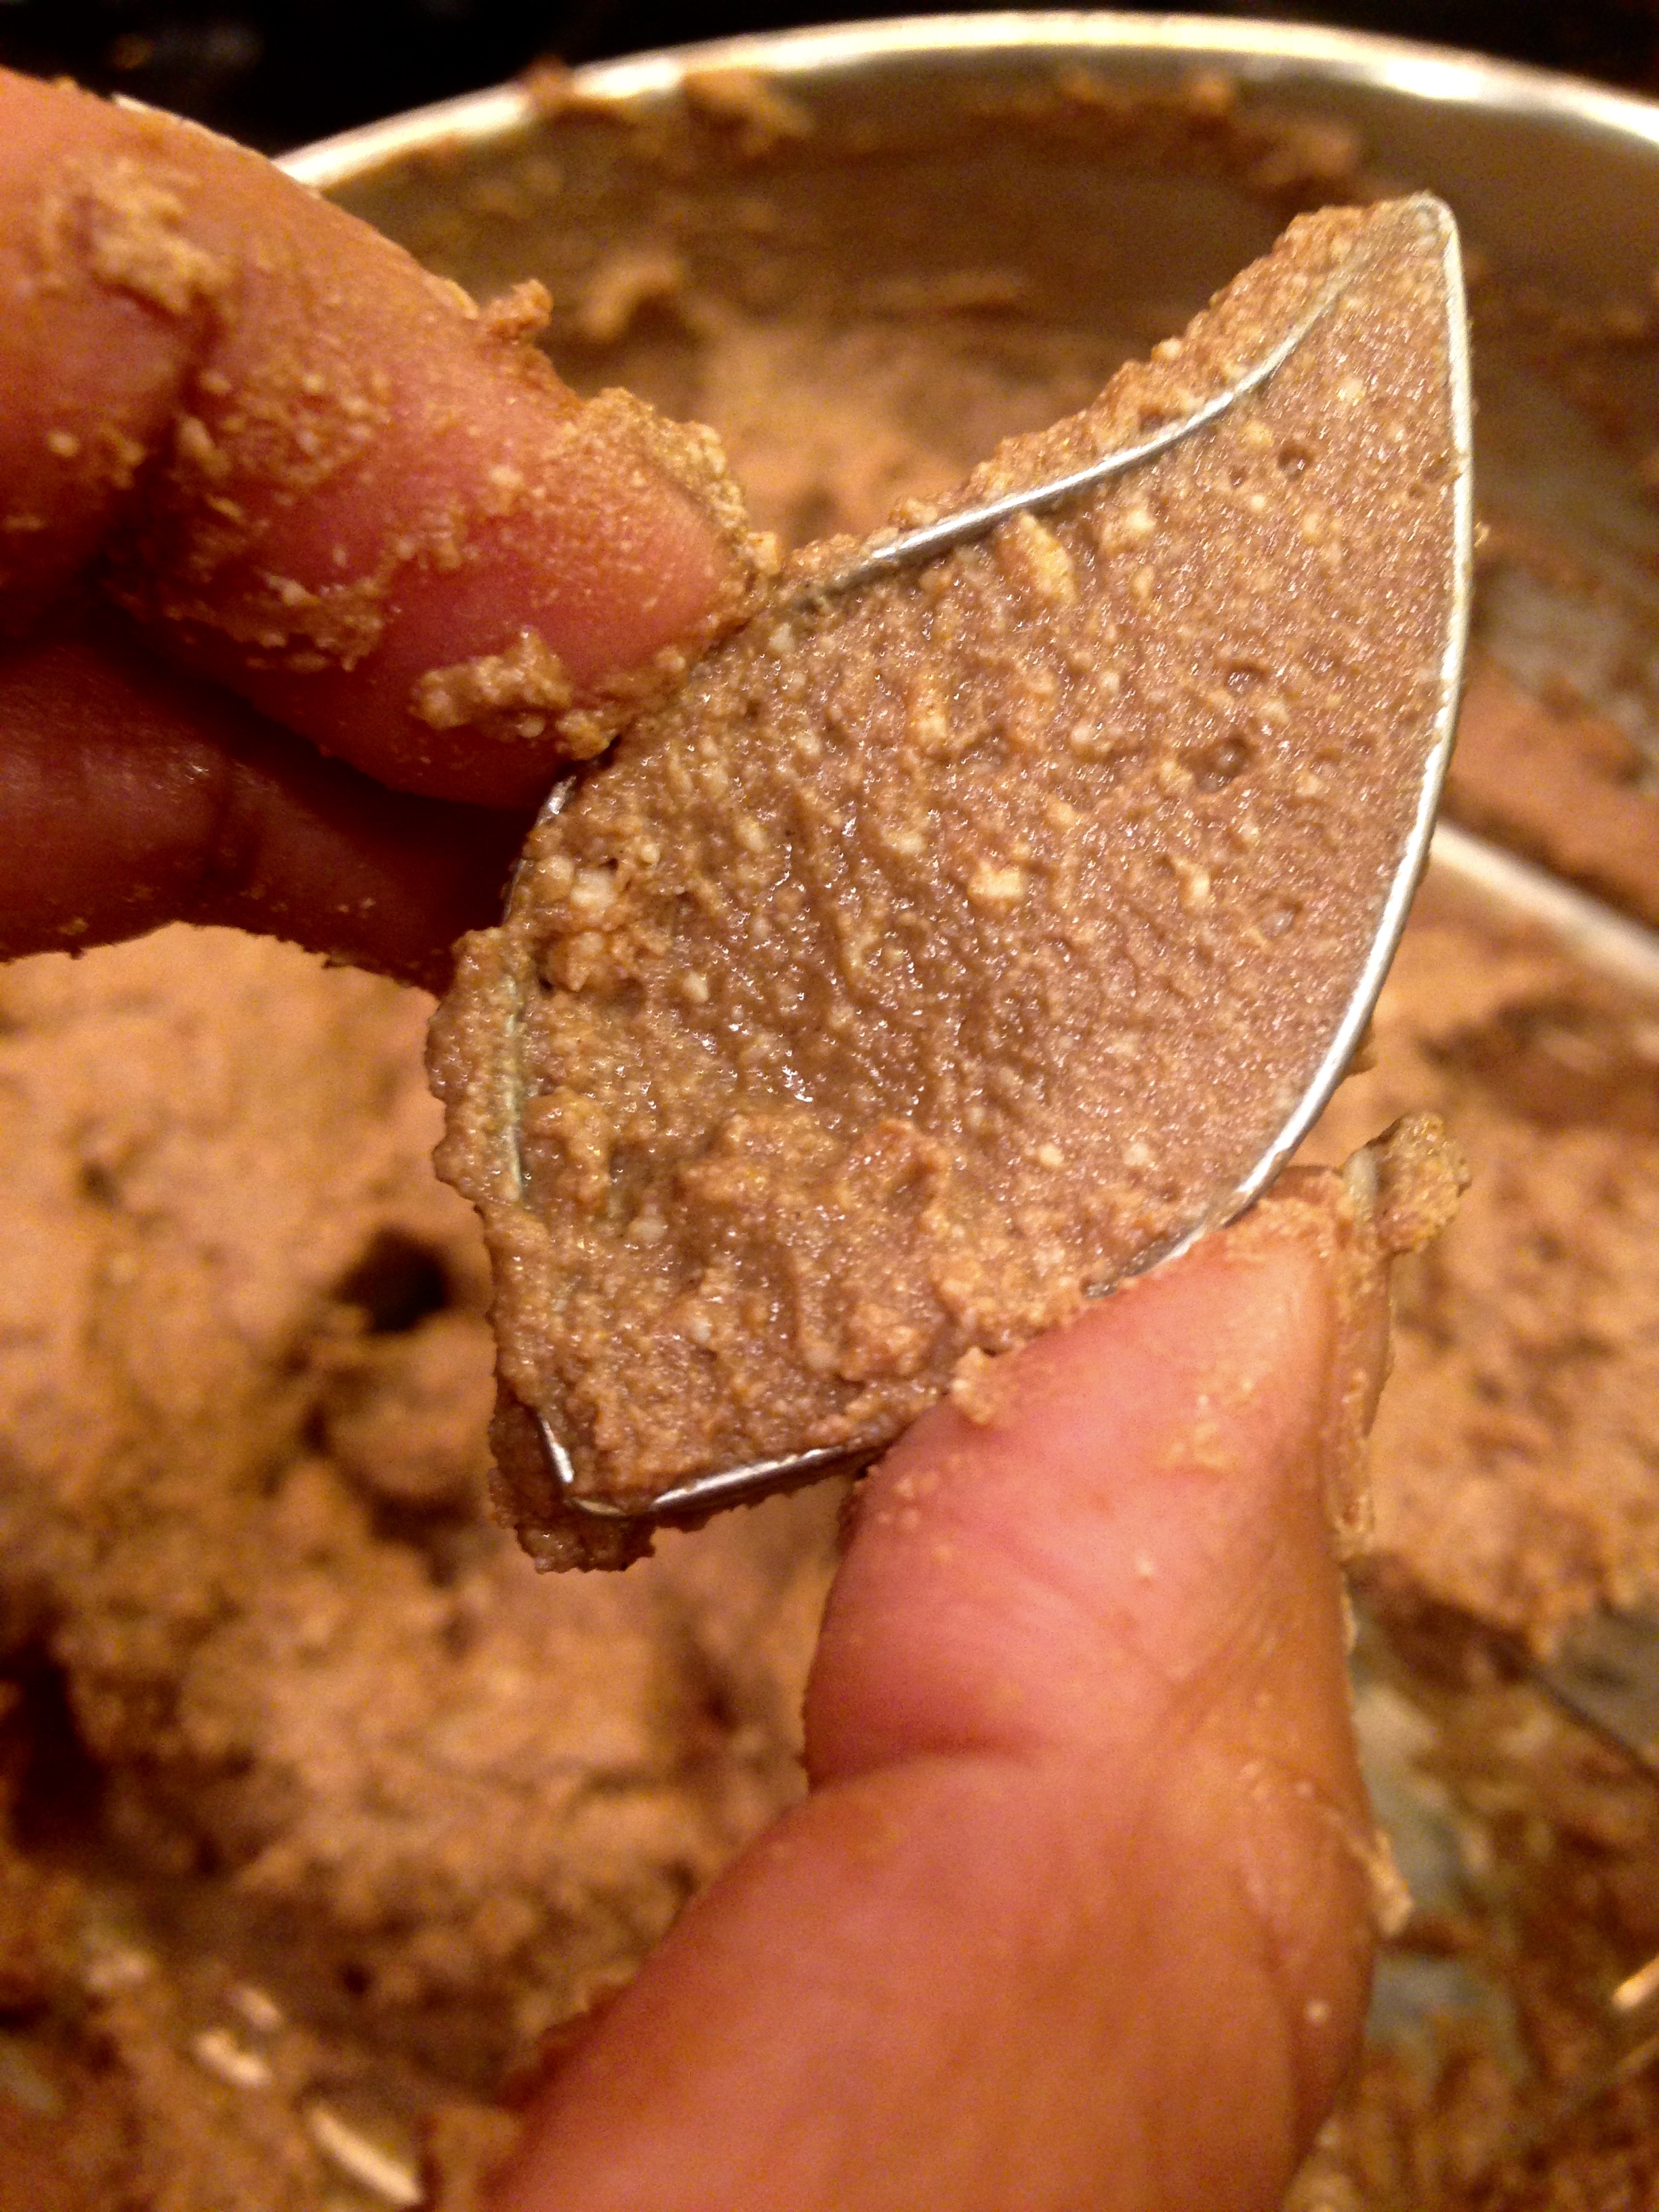
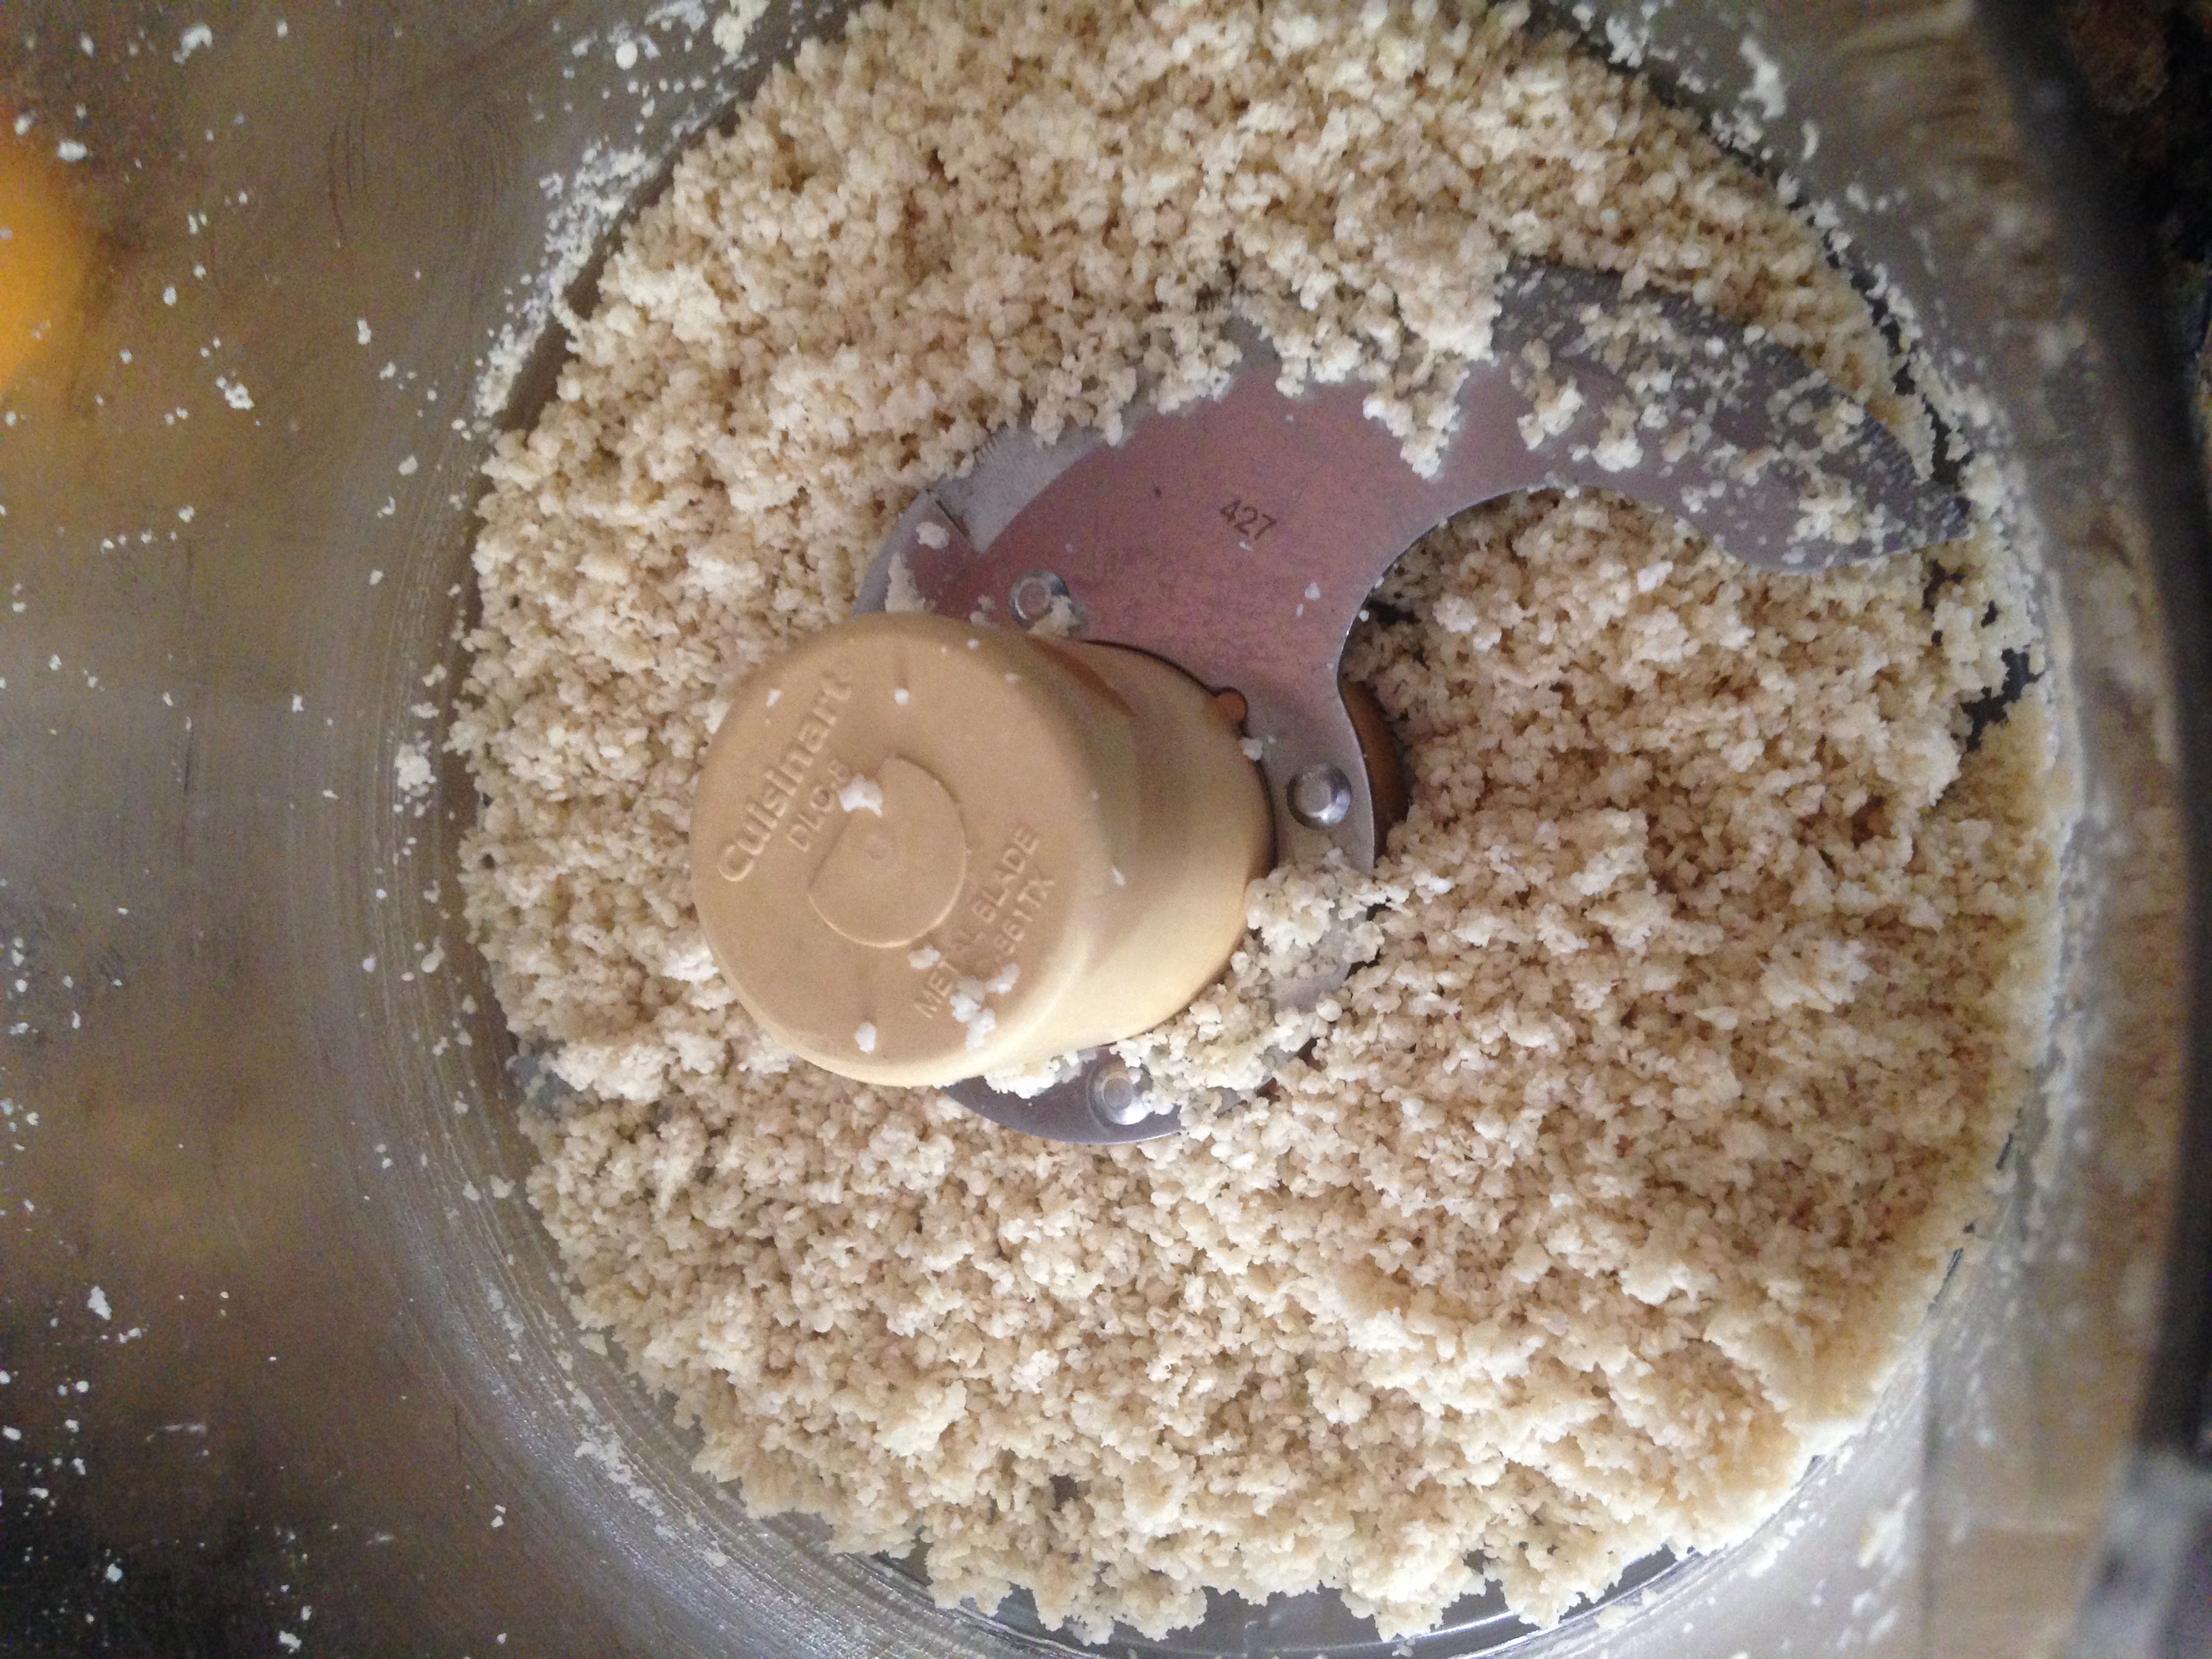
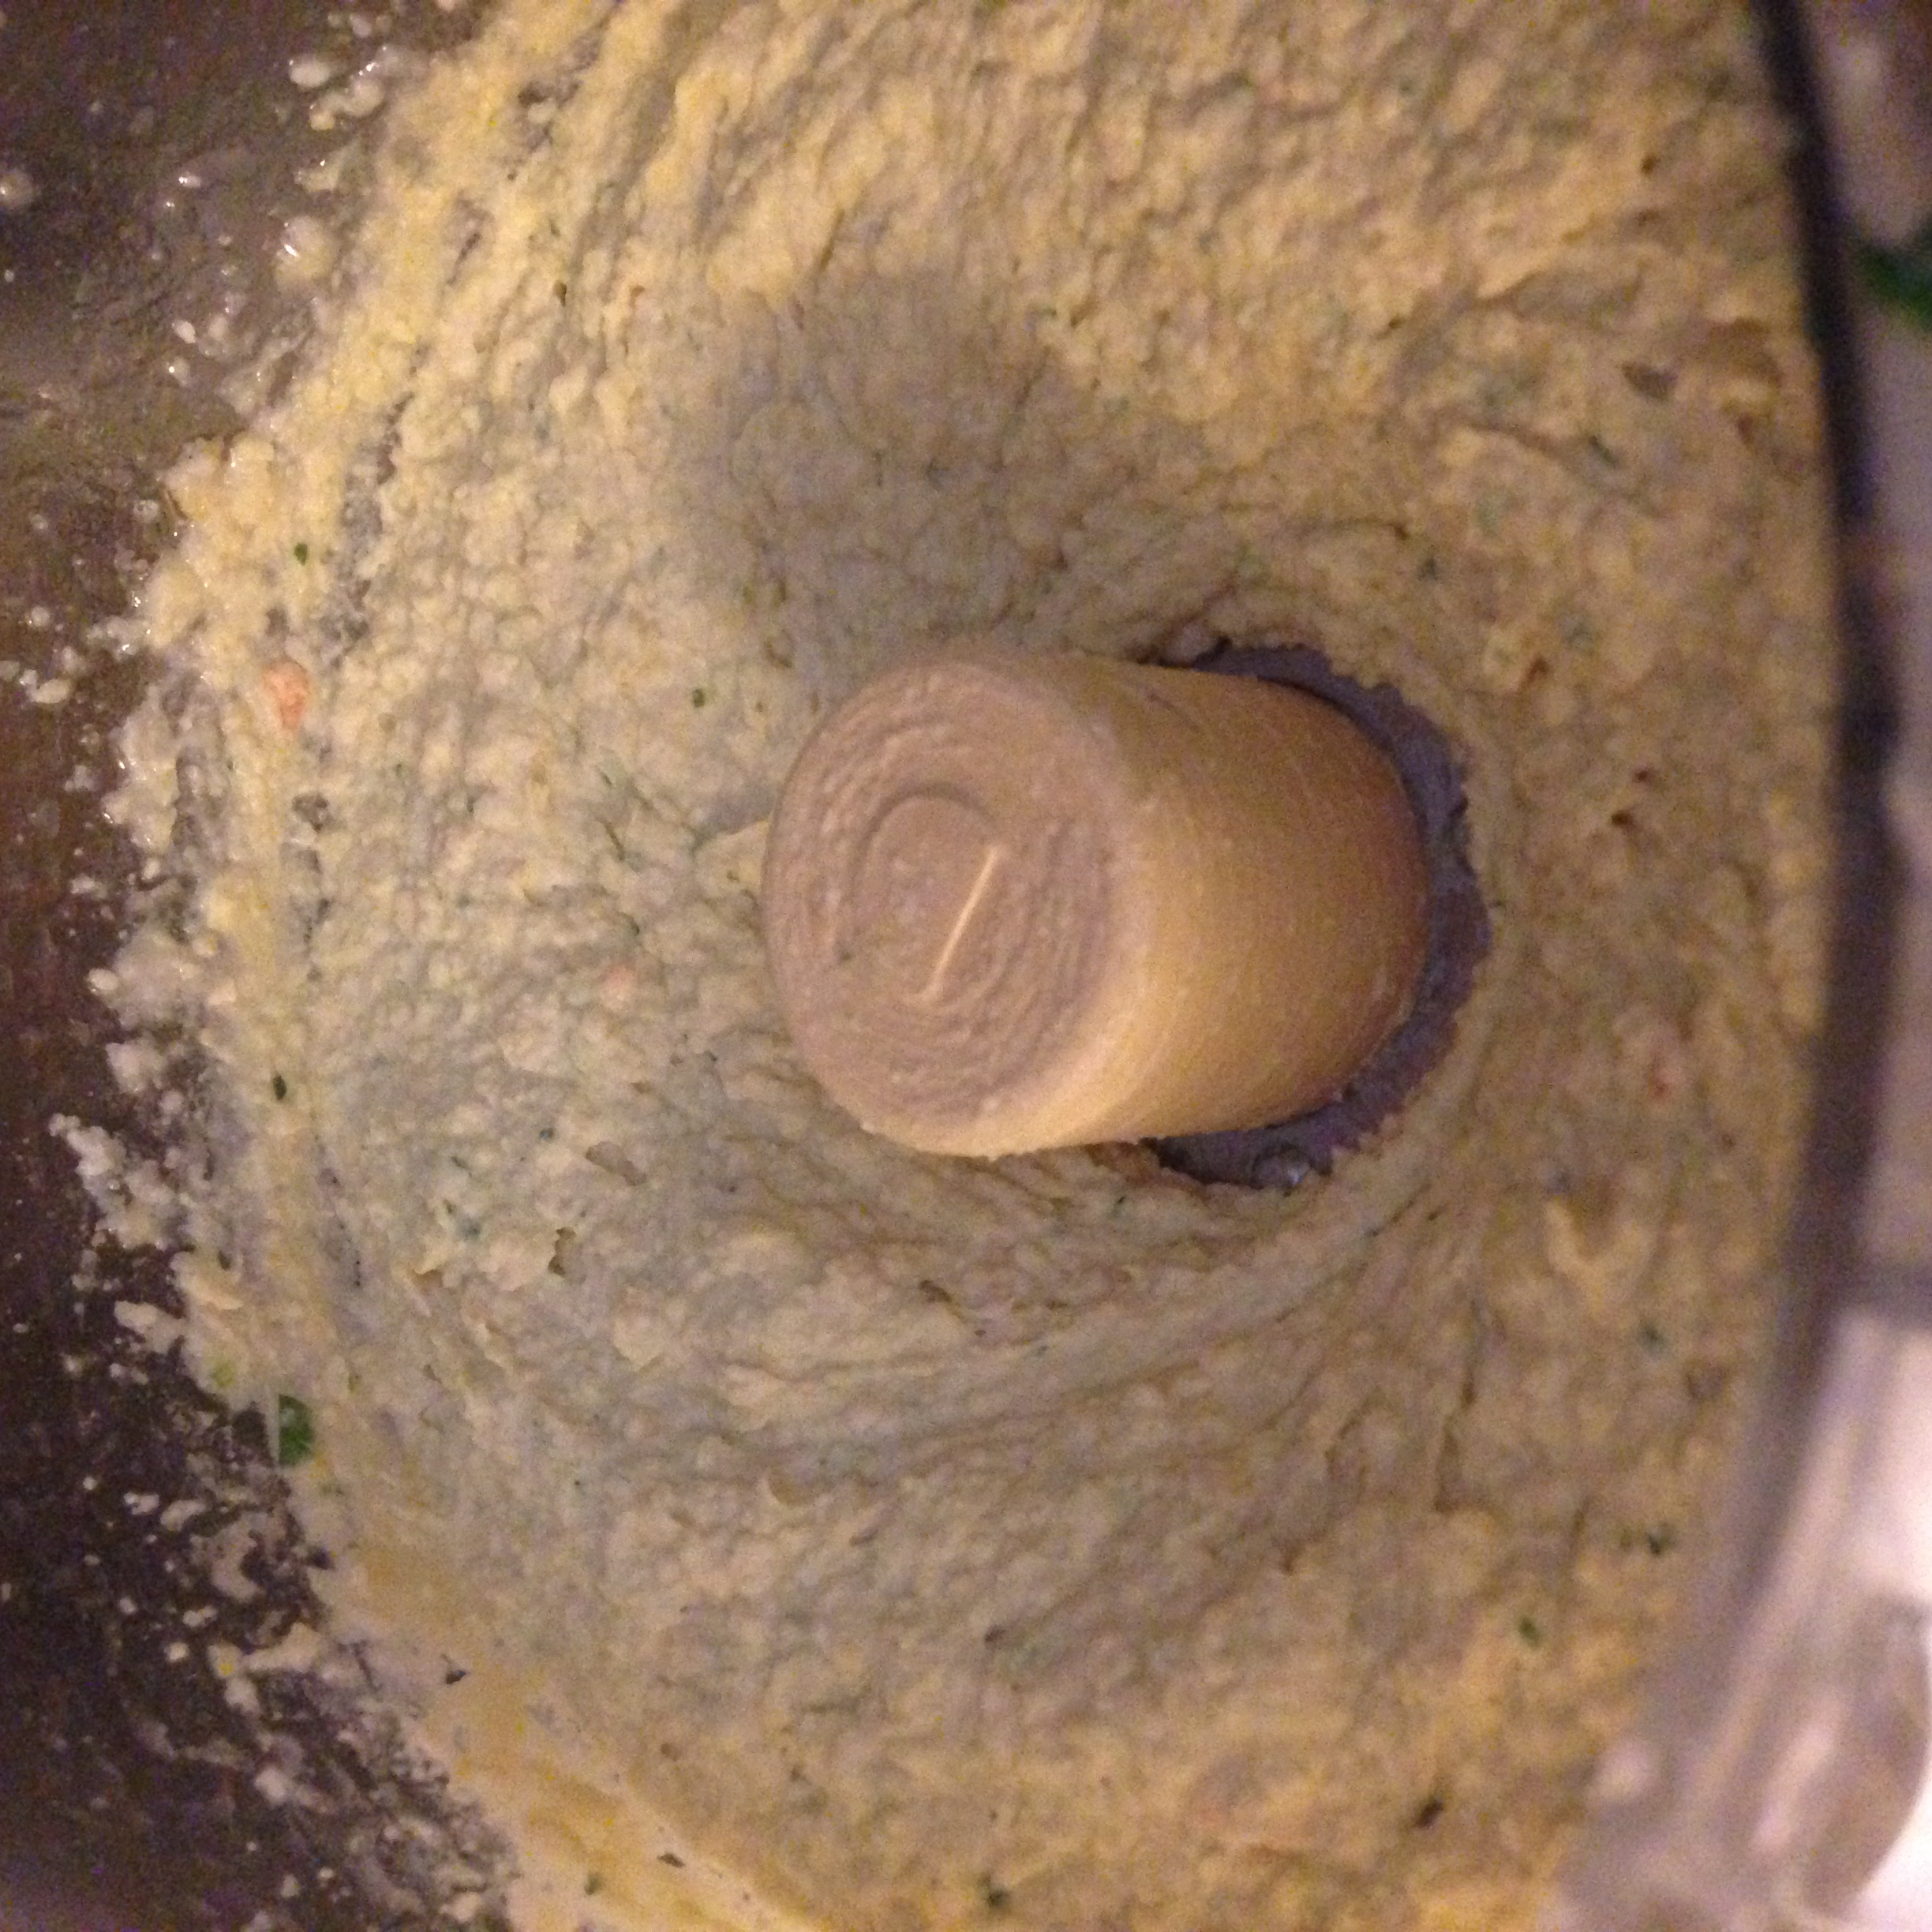
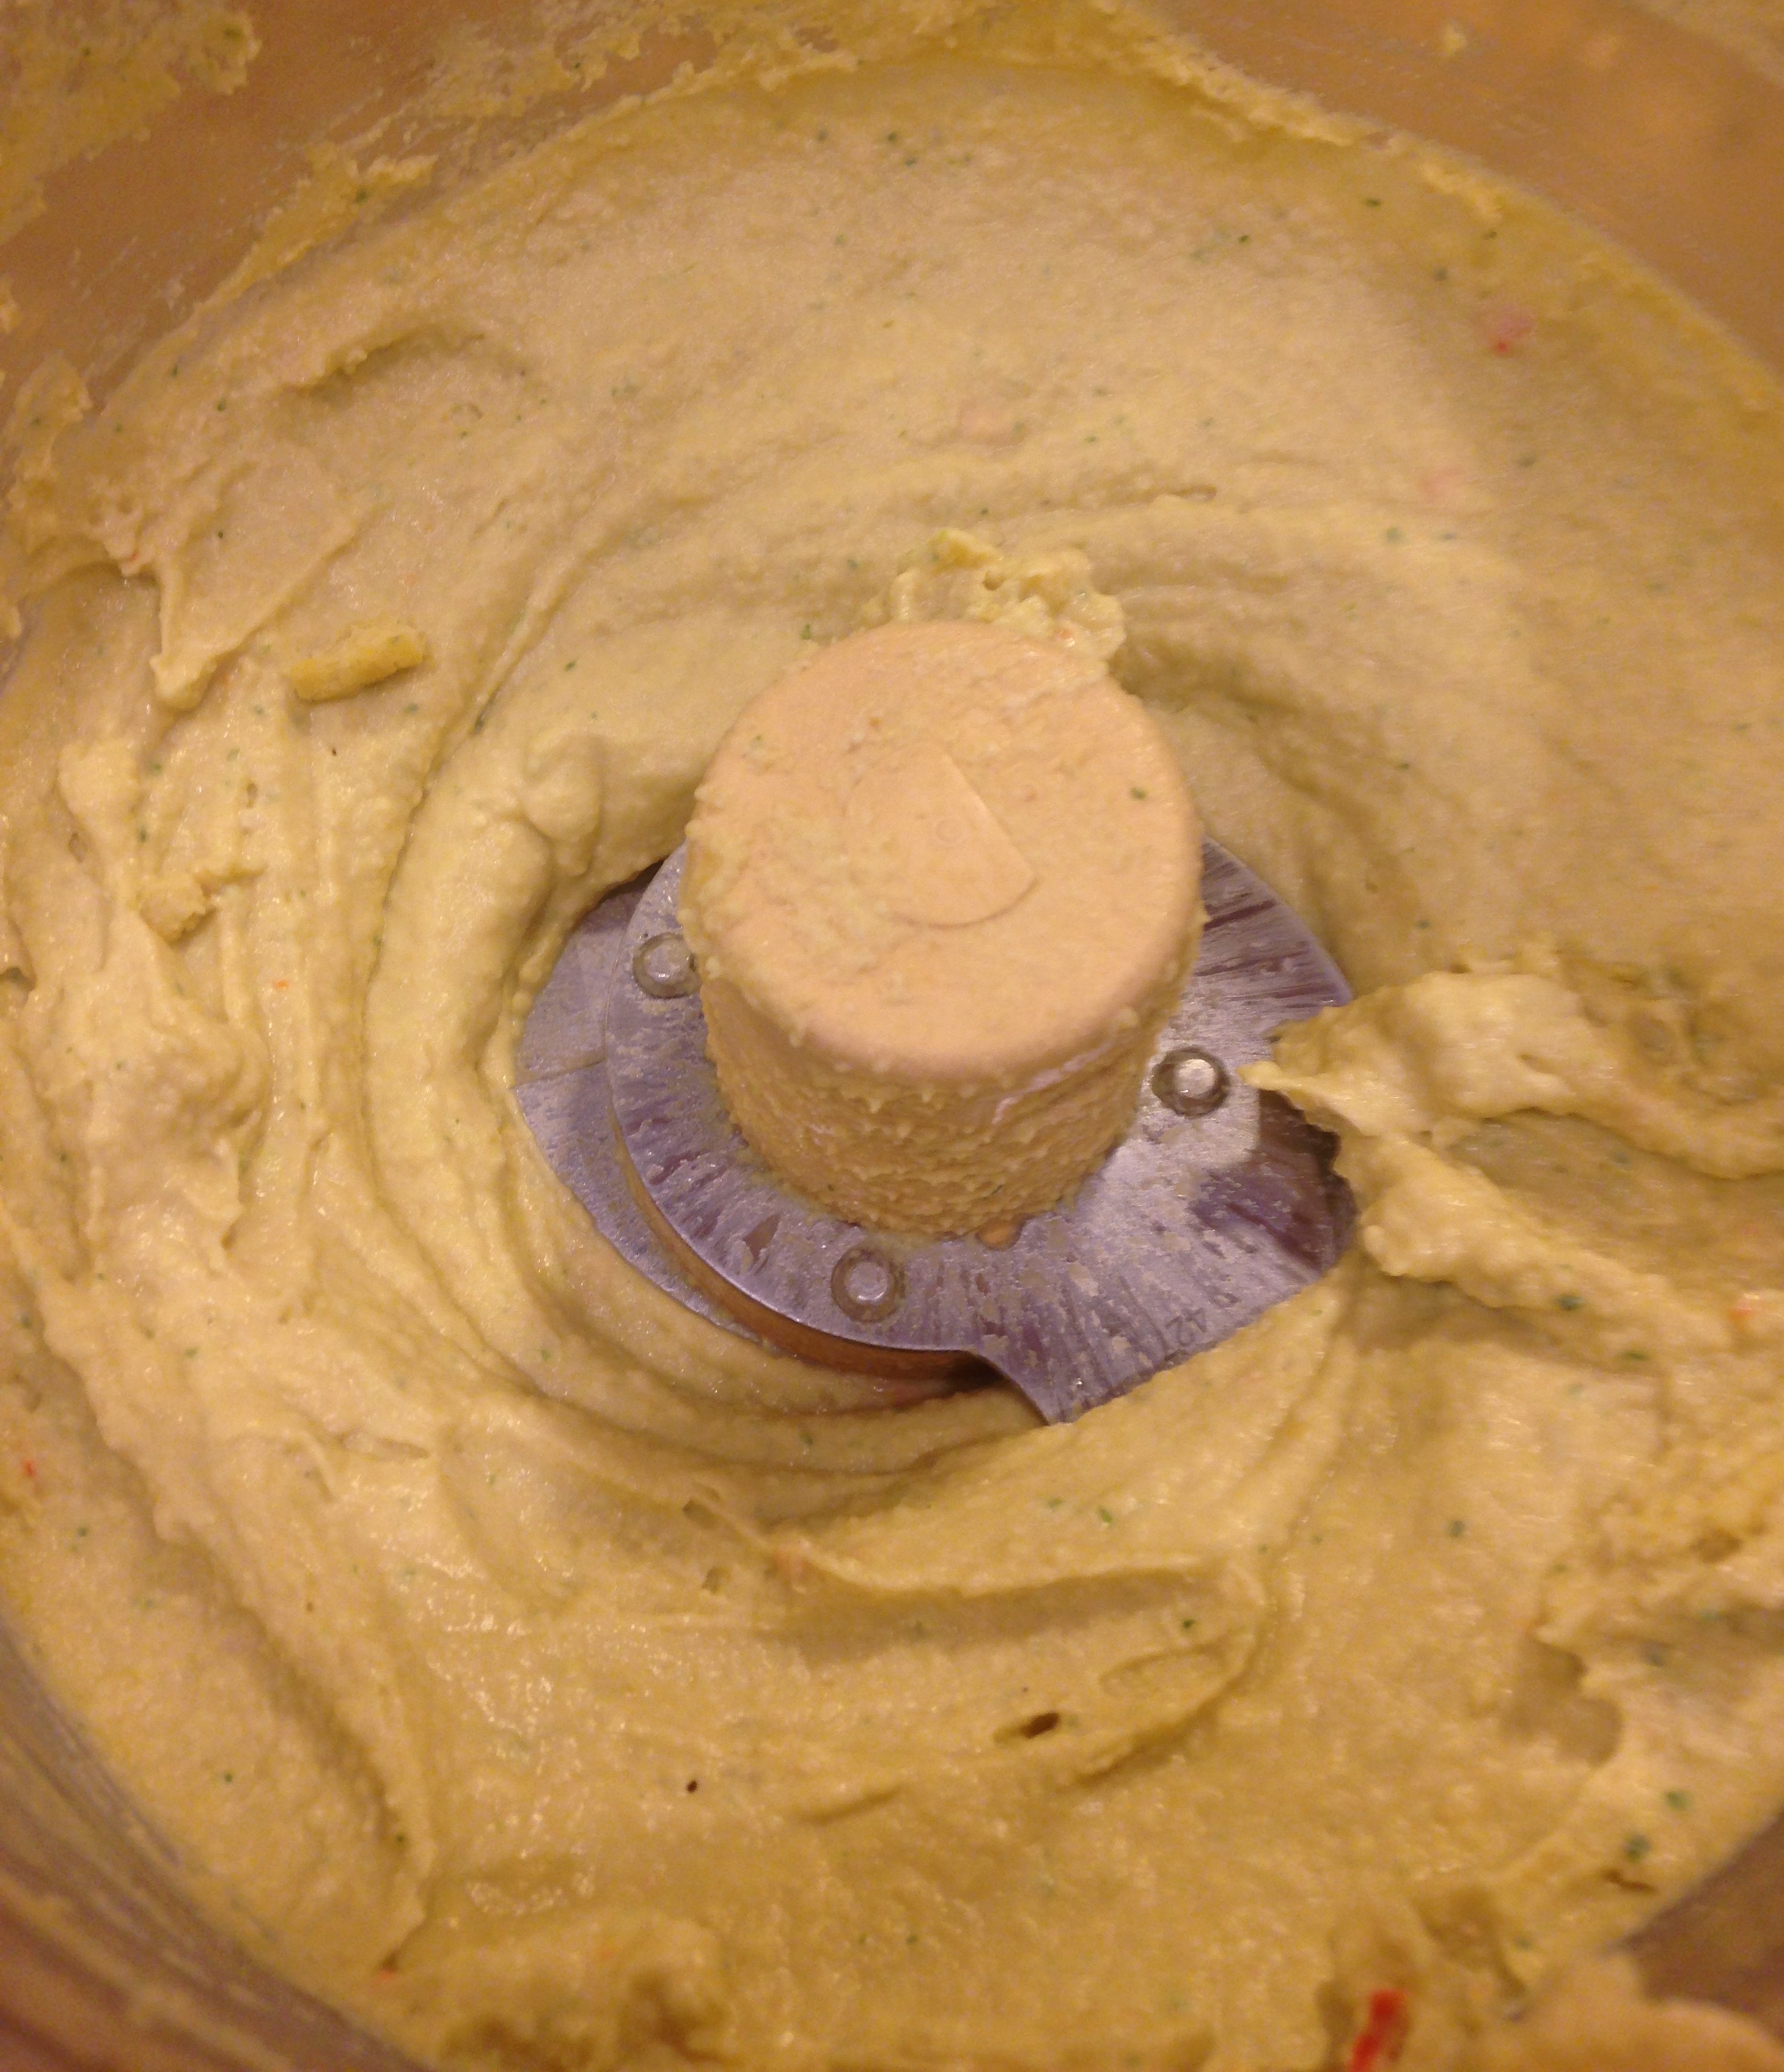
  • Crush the pieces into a food processor into fine granular crumbles.(the below  image is after mixed with ghee)
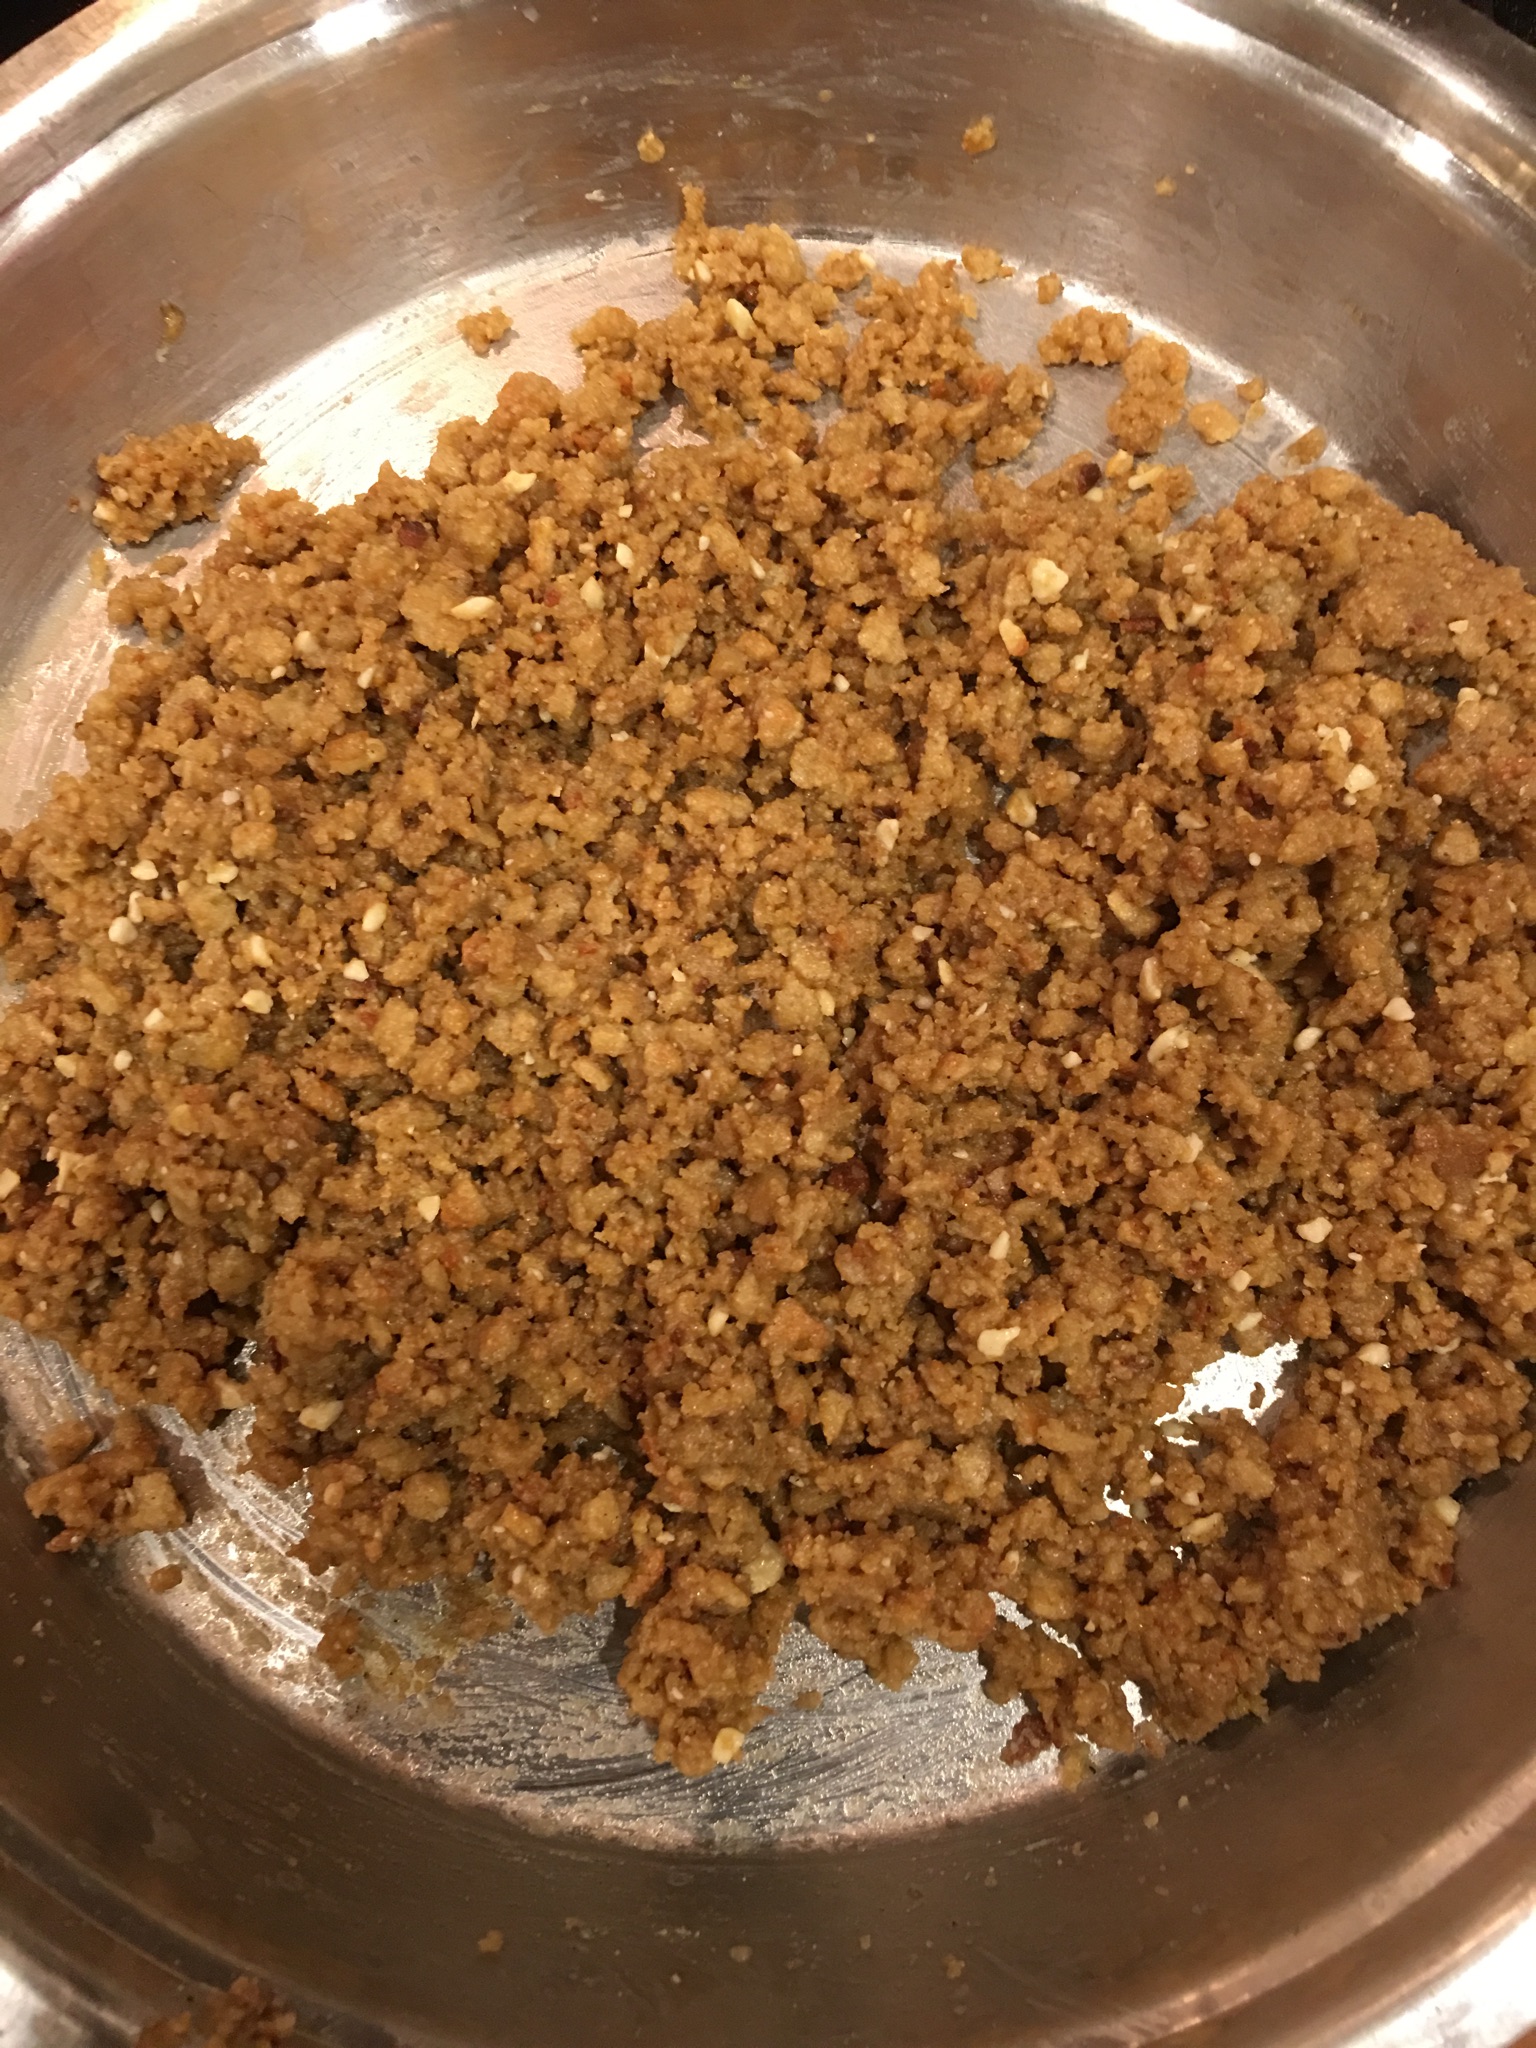
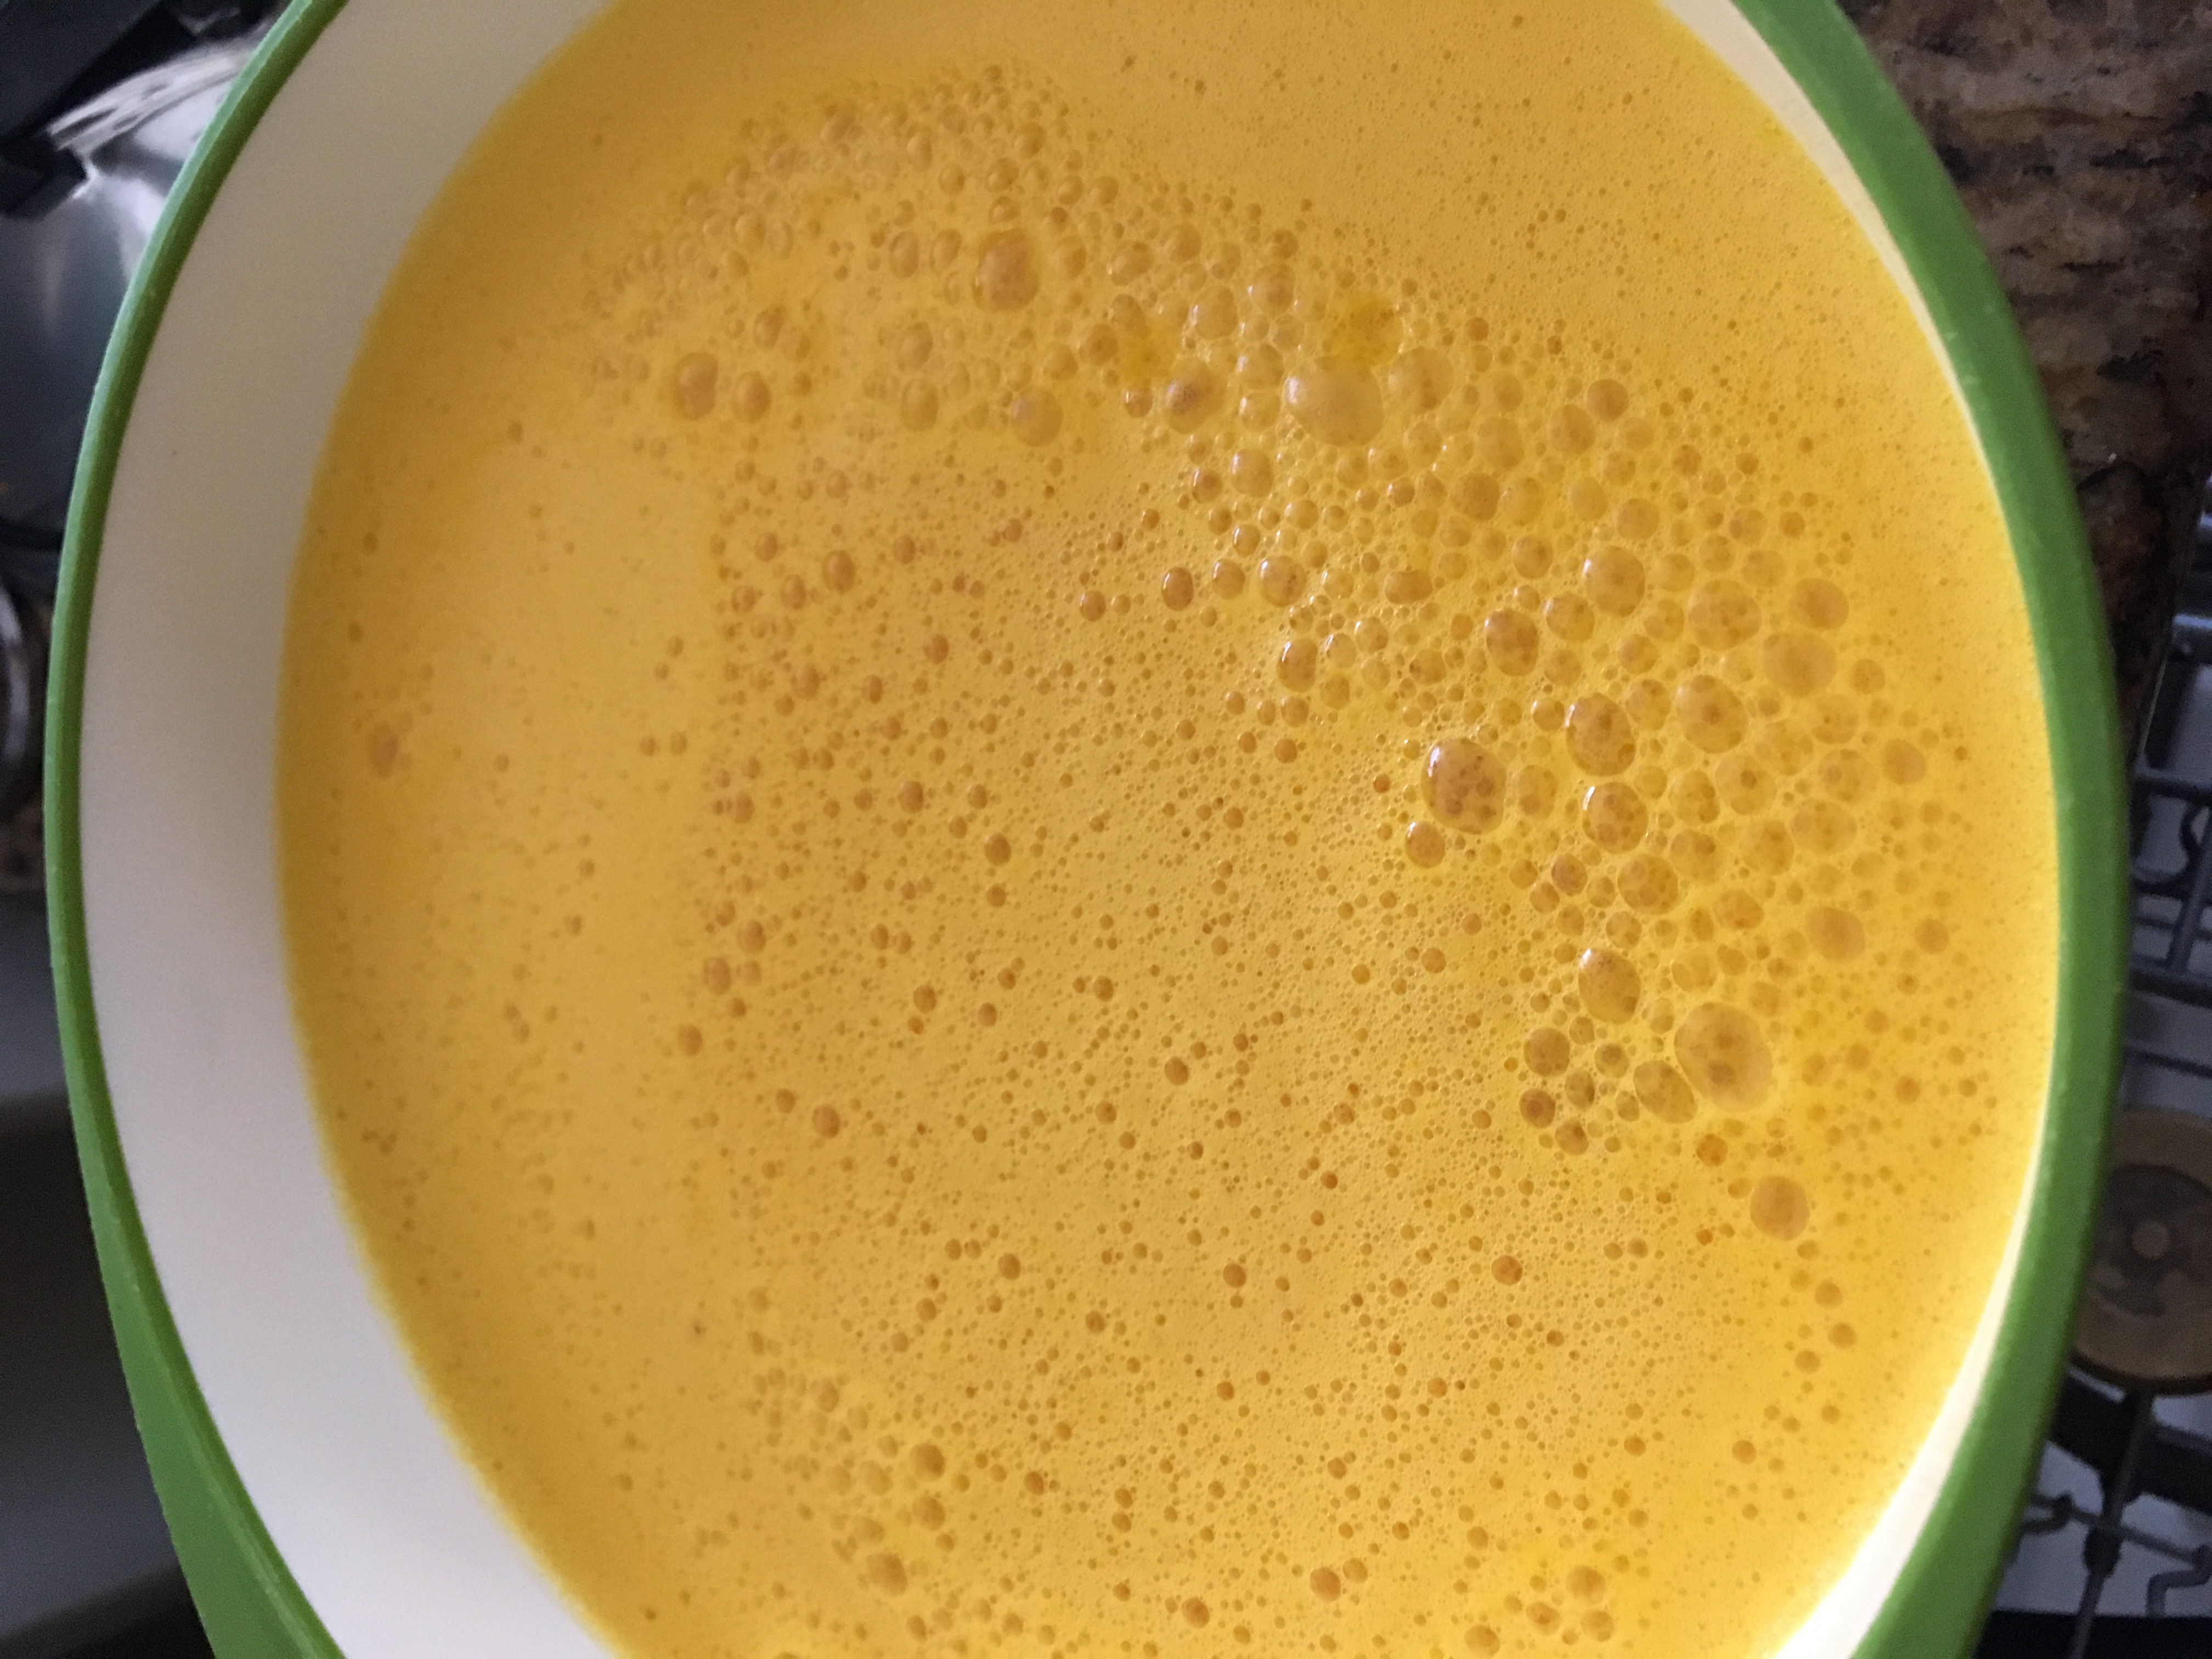
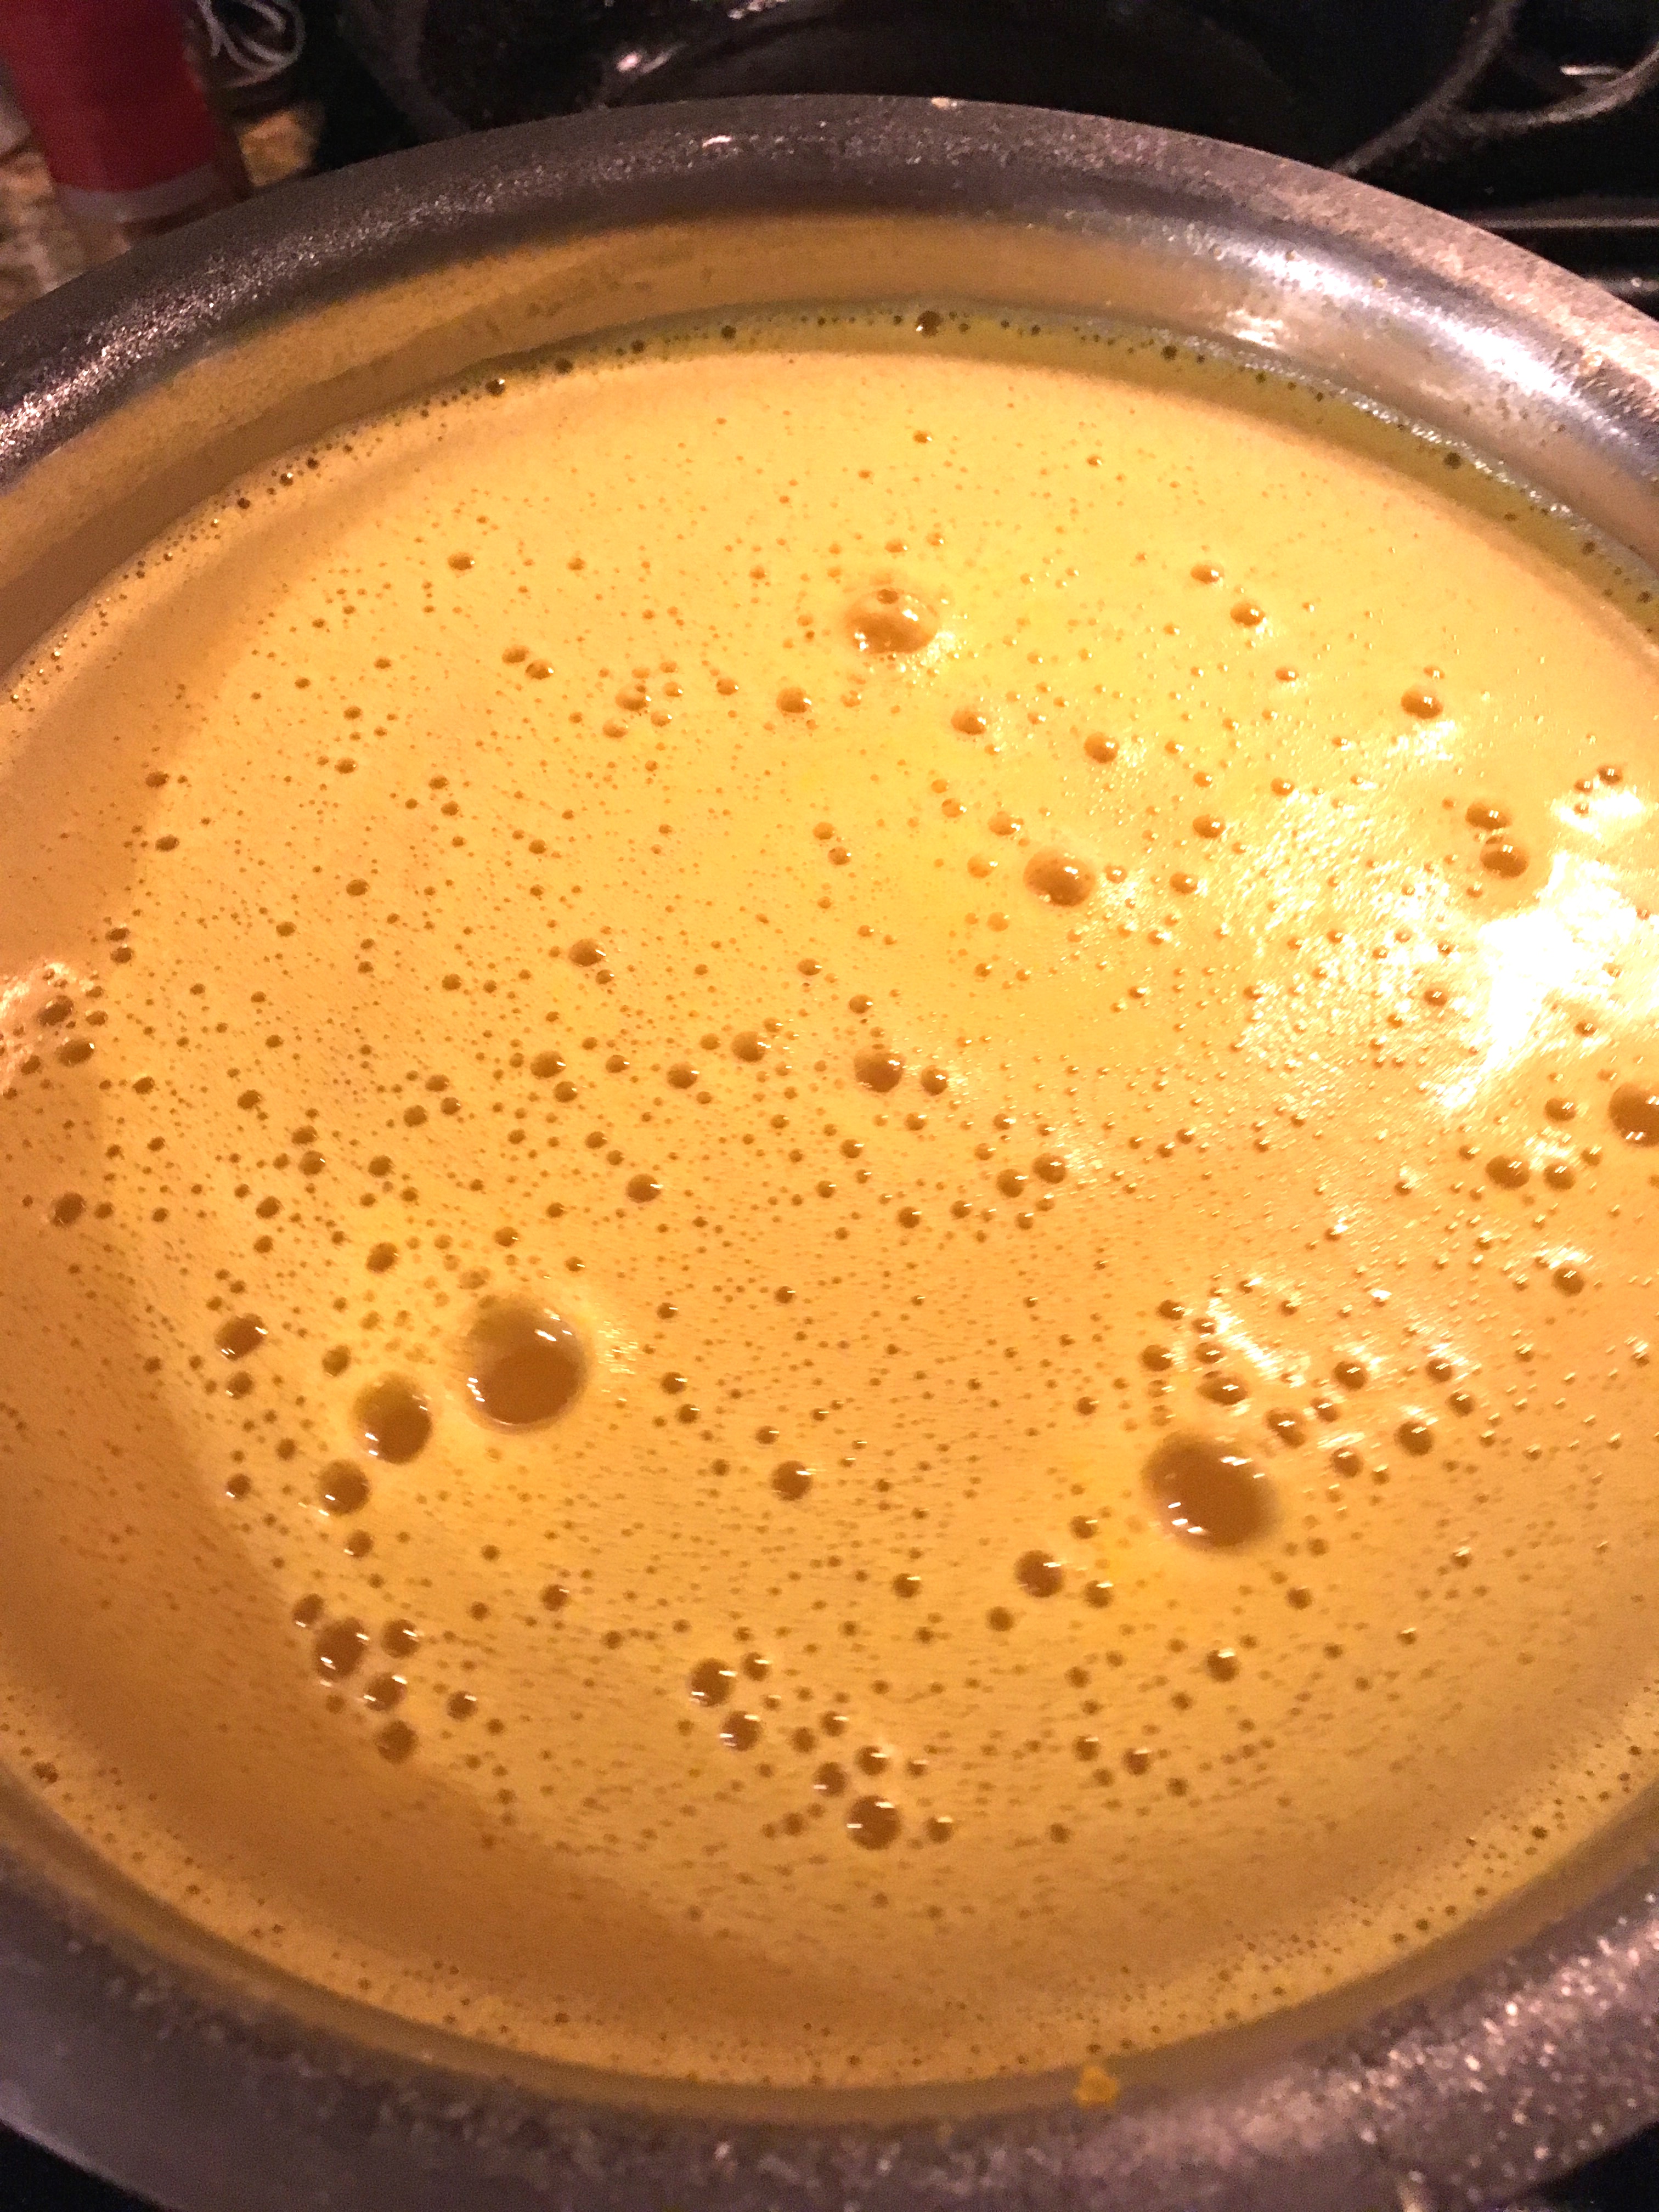
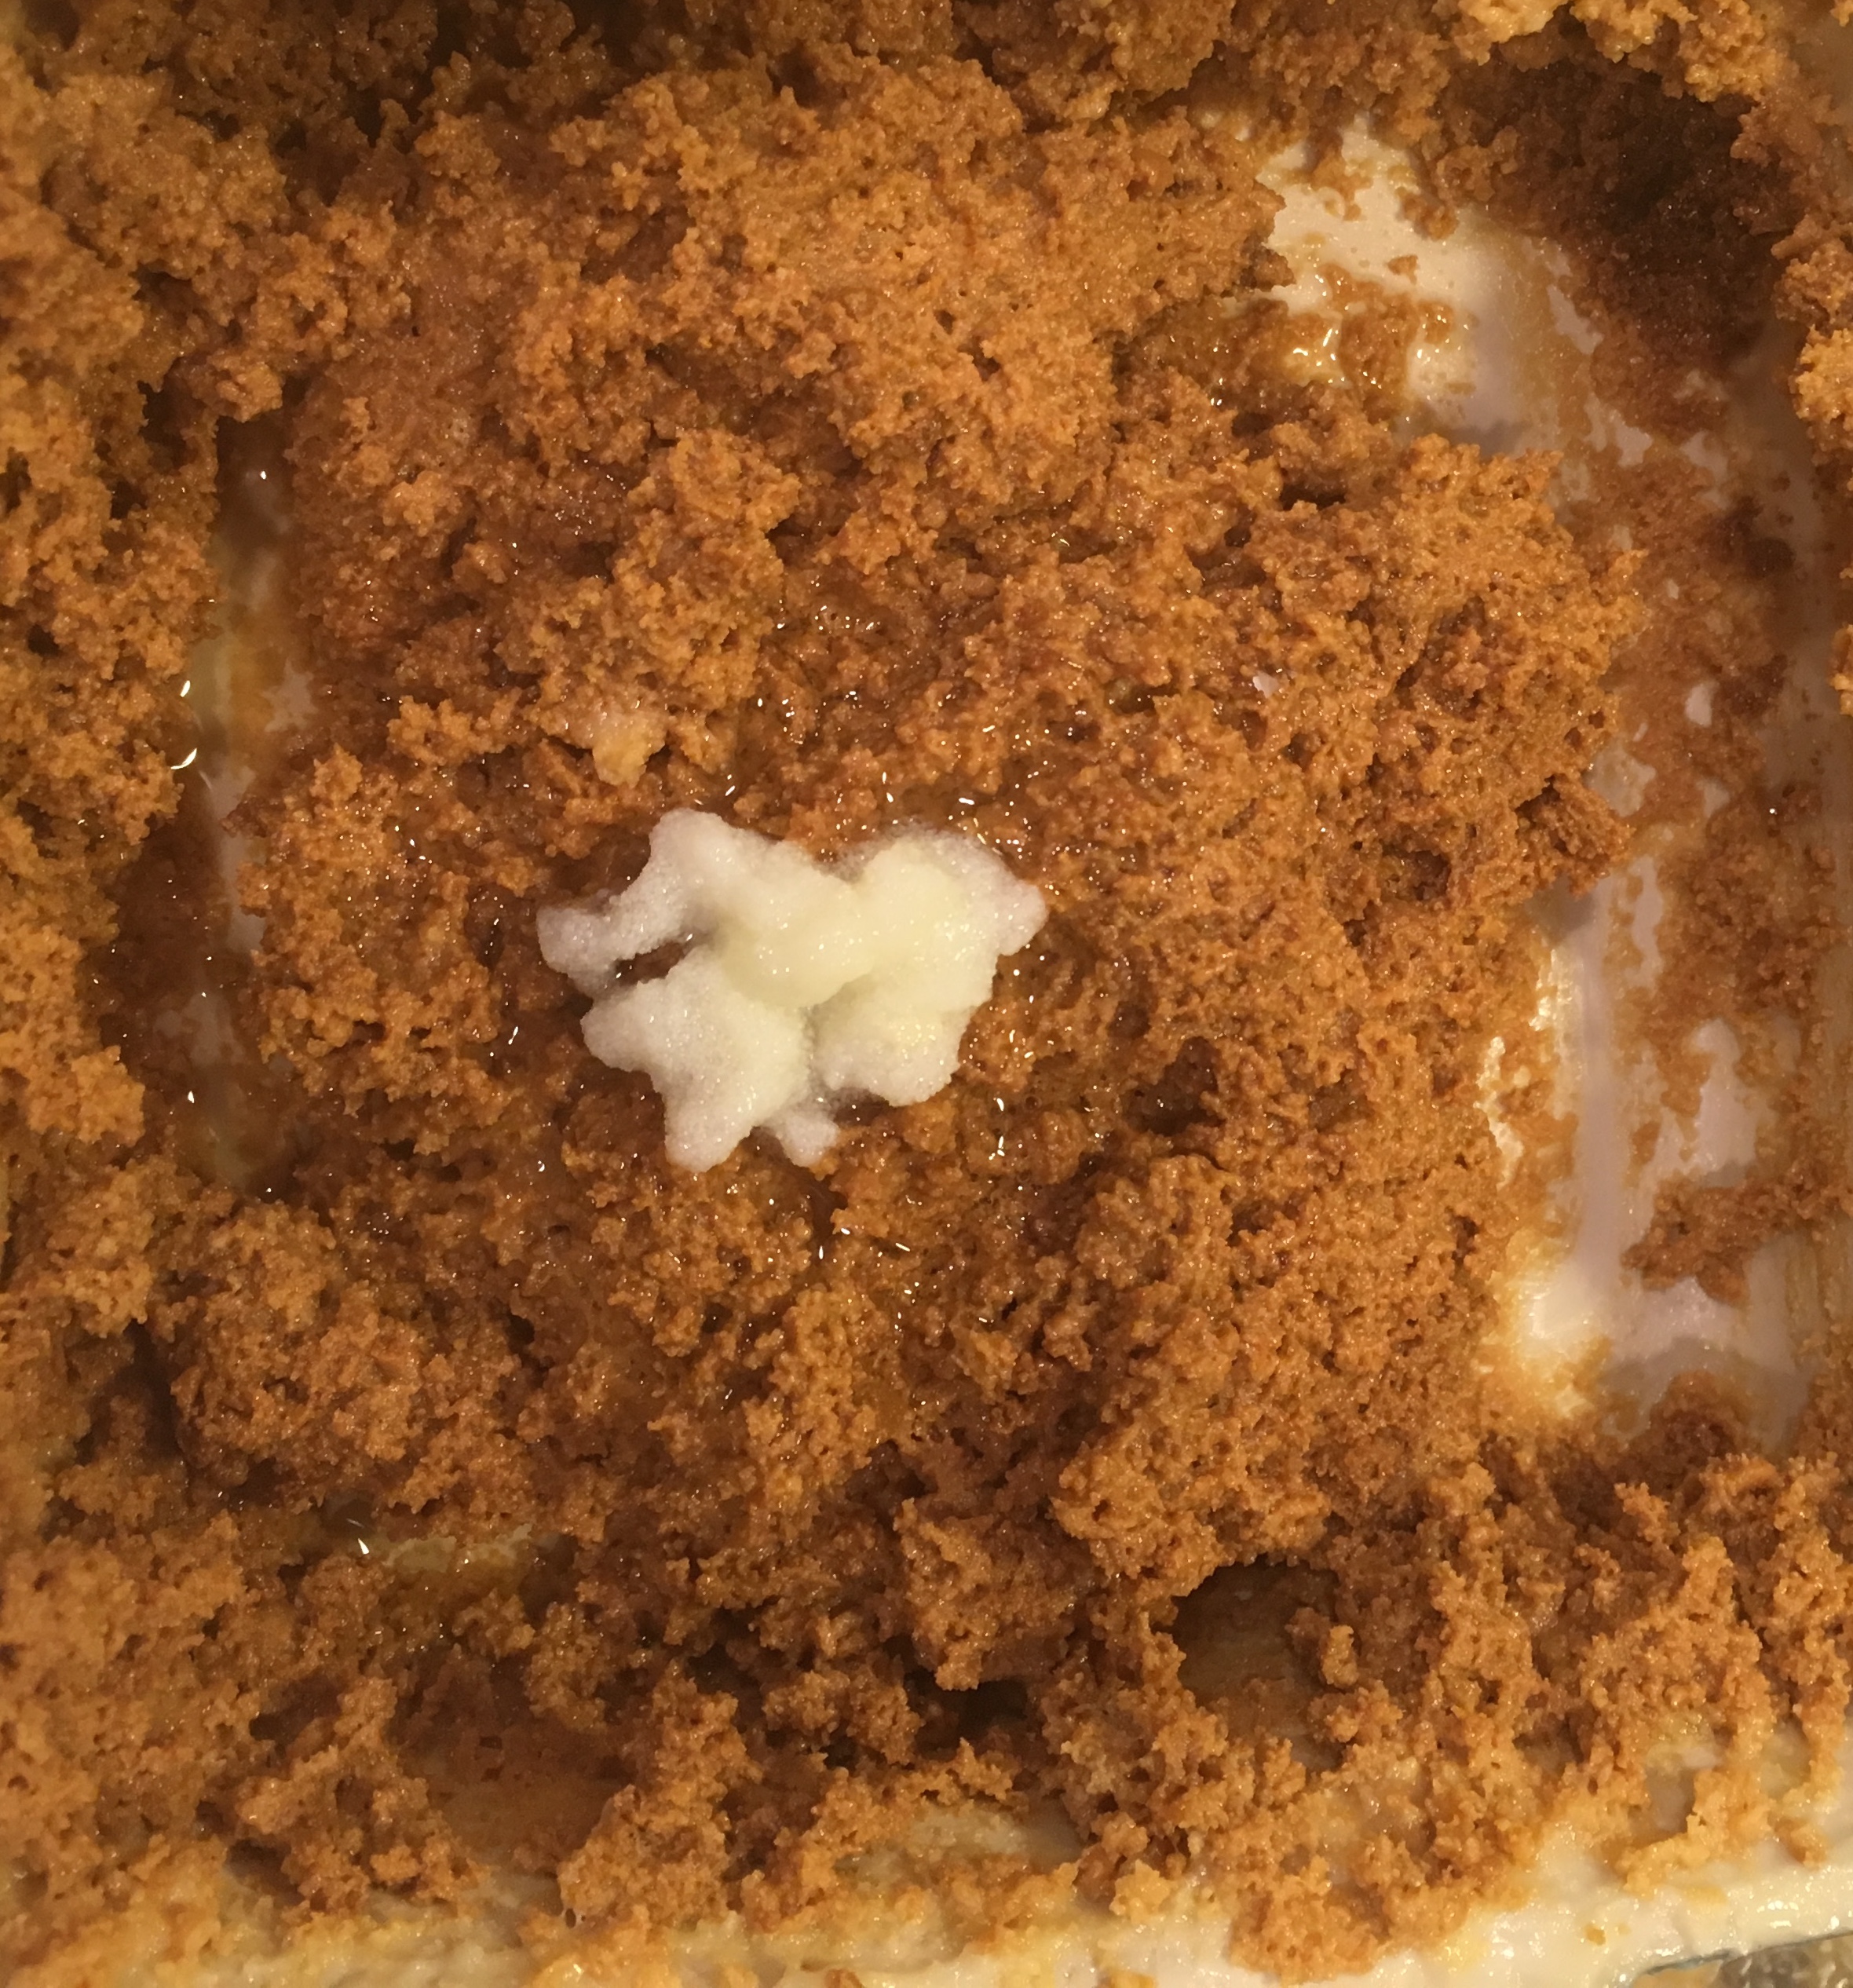
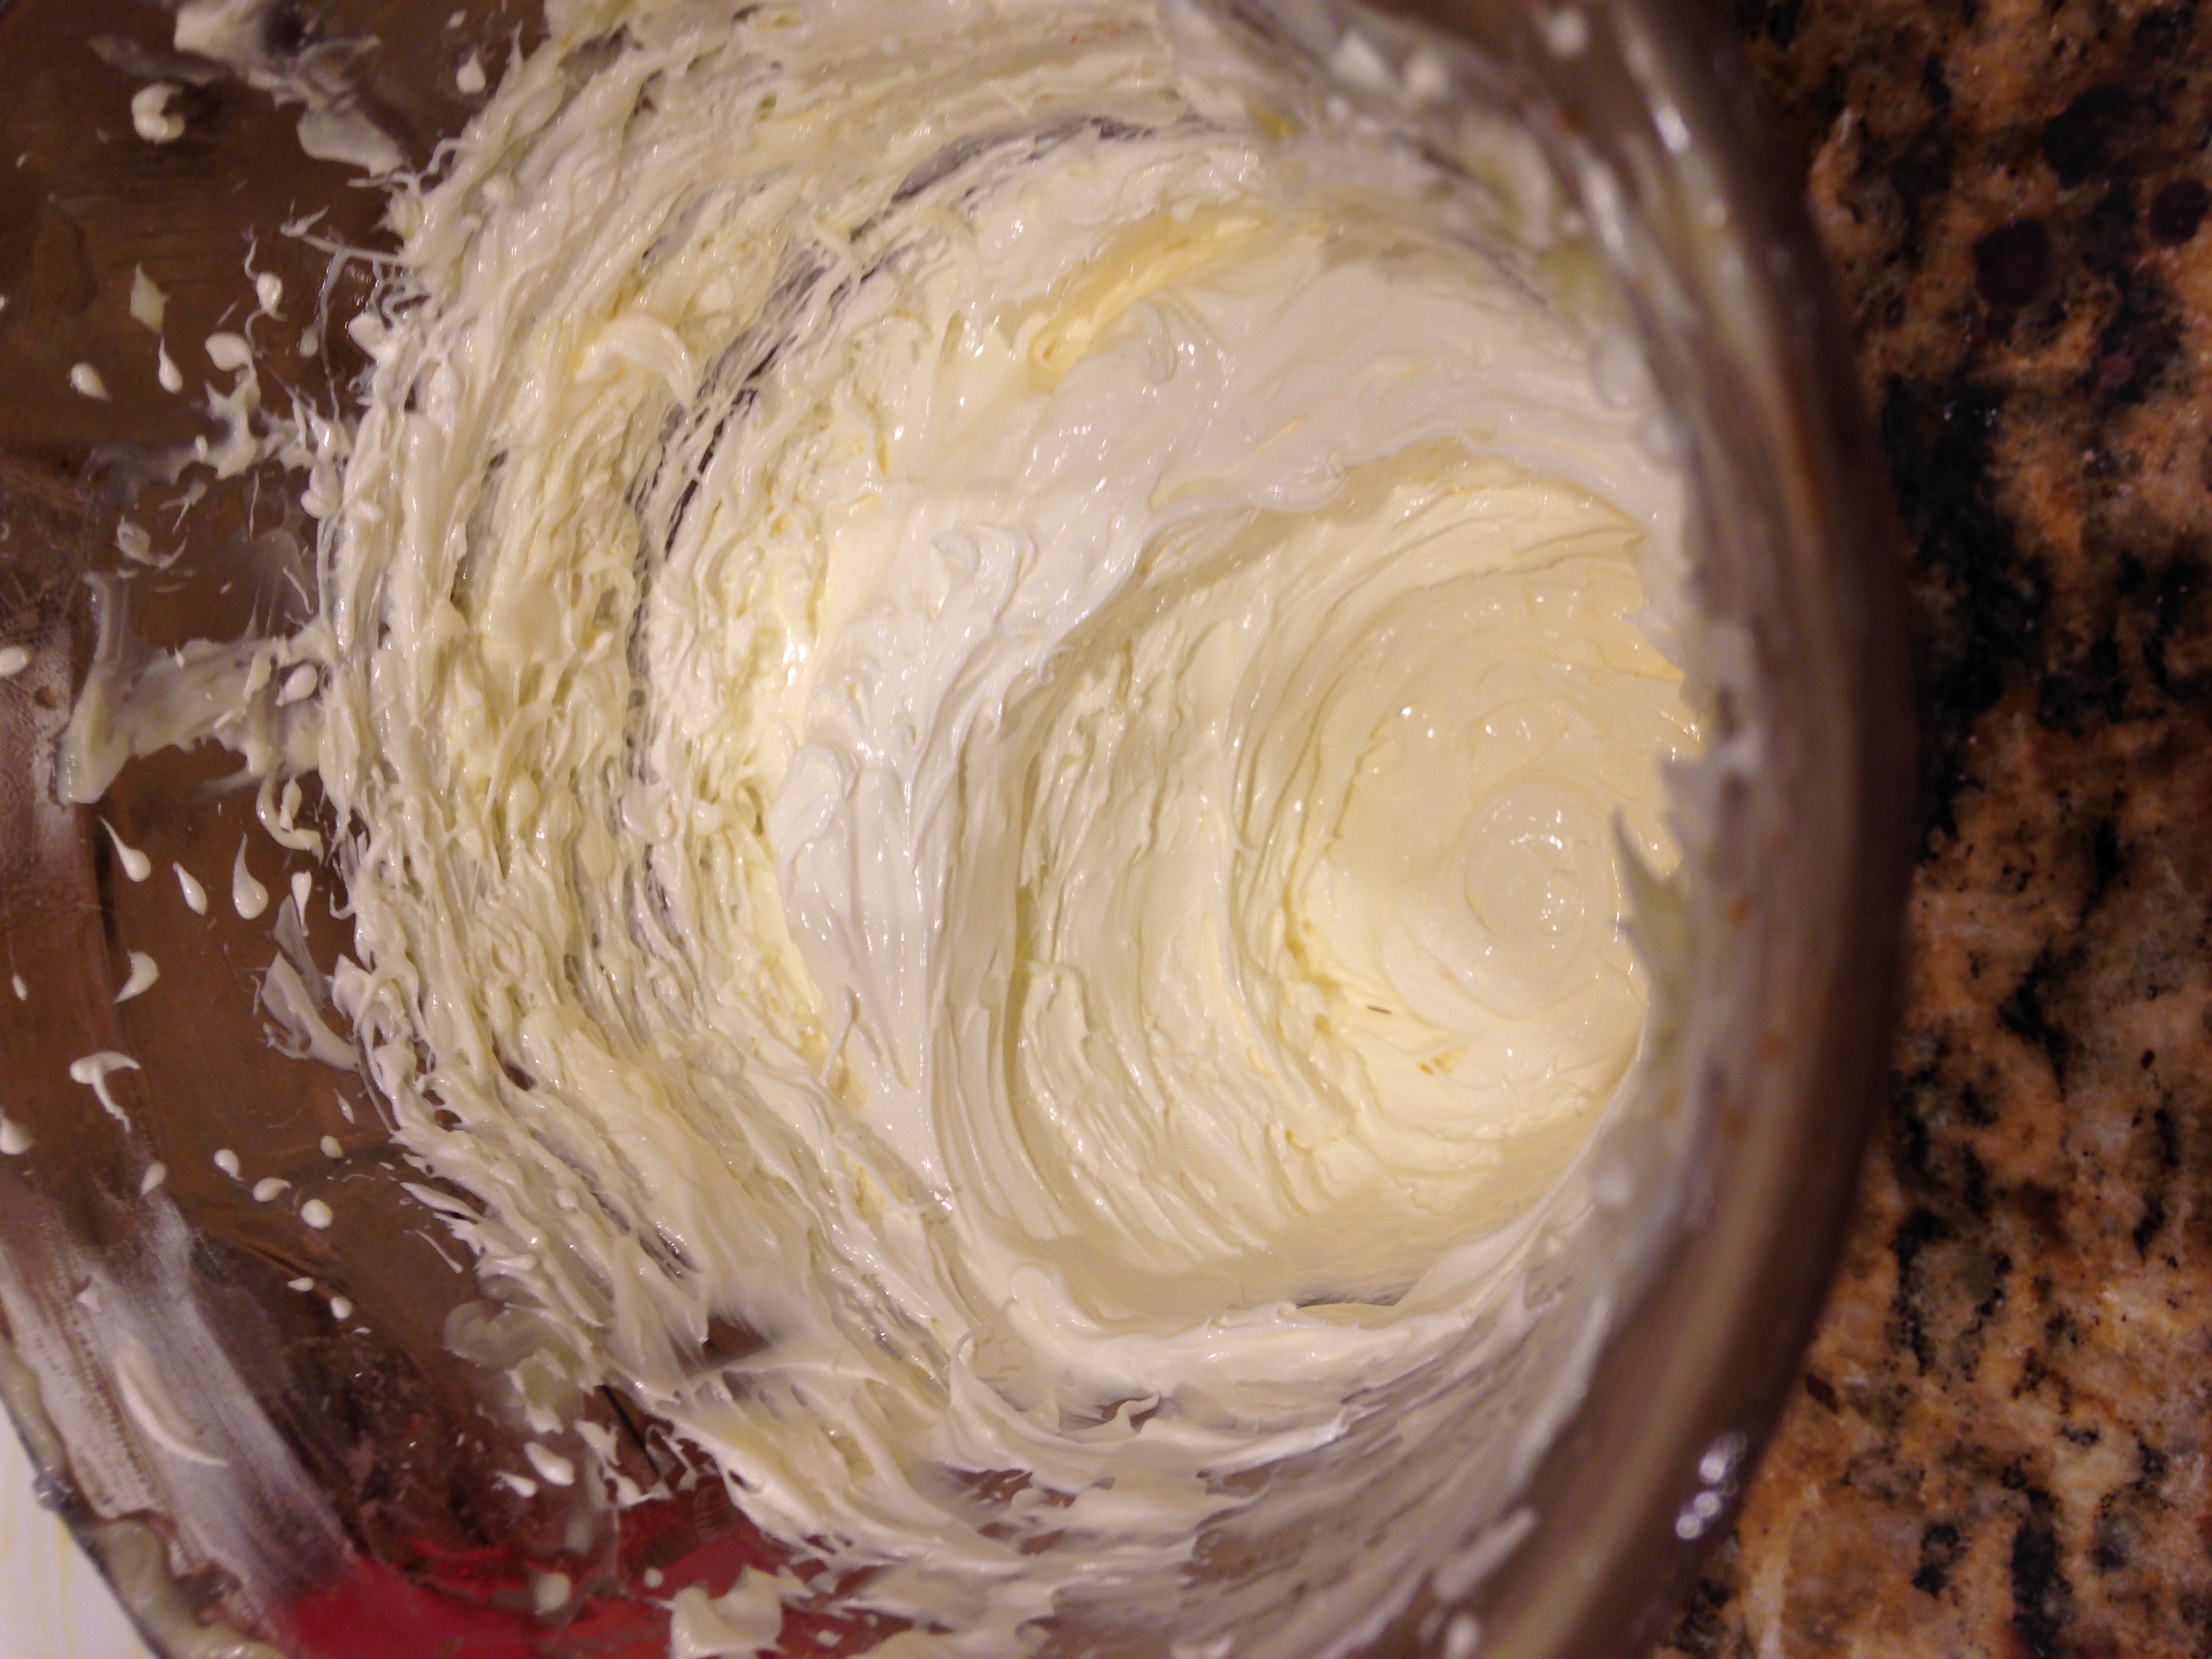
IMG_1738

  • Heat the ghee.
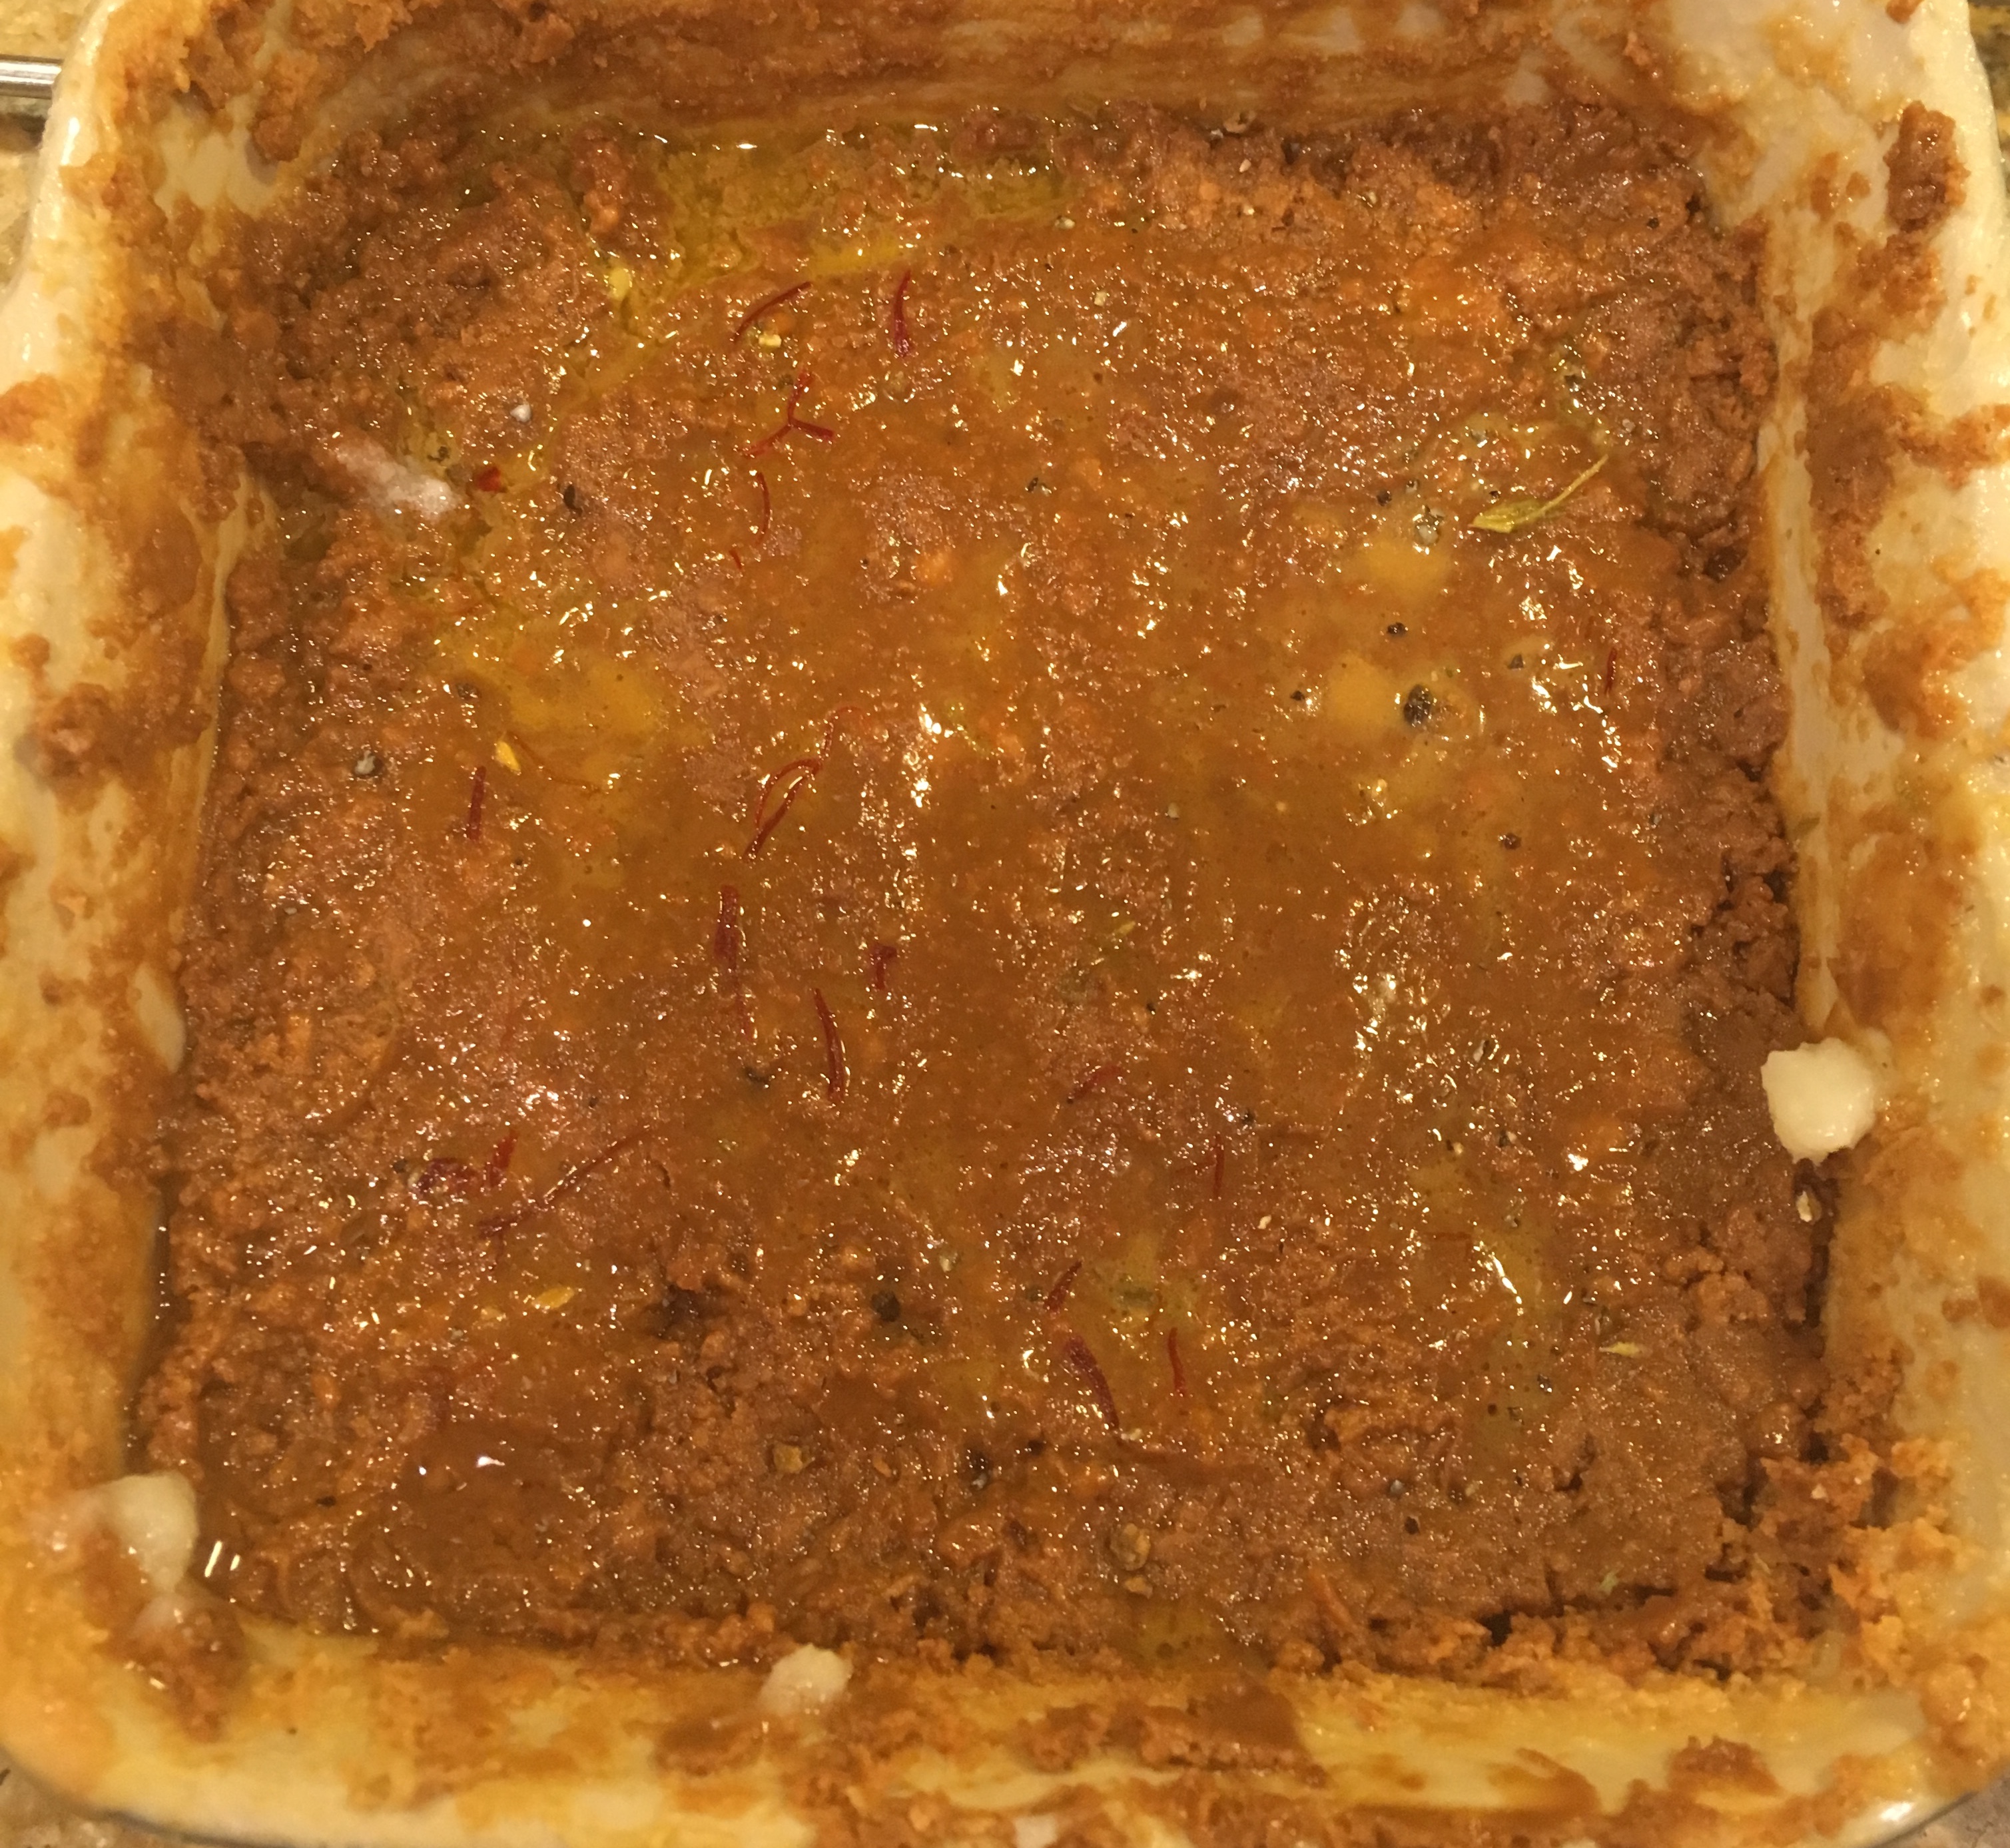
  • When the ghee melts, add jaggery, nutmeg, cardamom and stir till jaggery melts on low flame.

IMG_1718

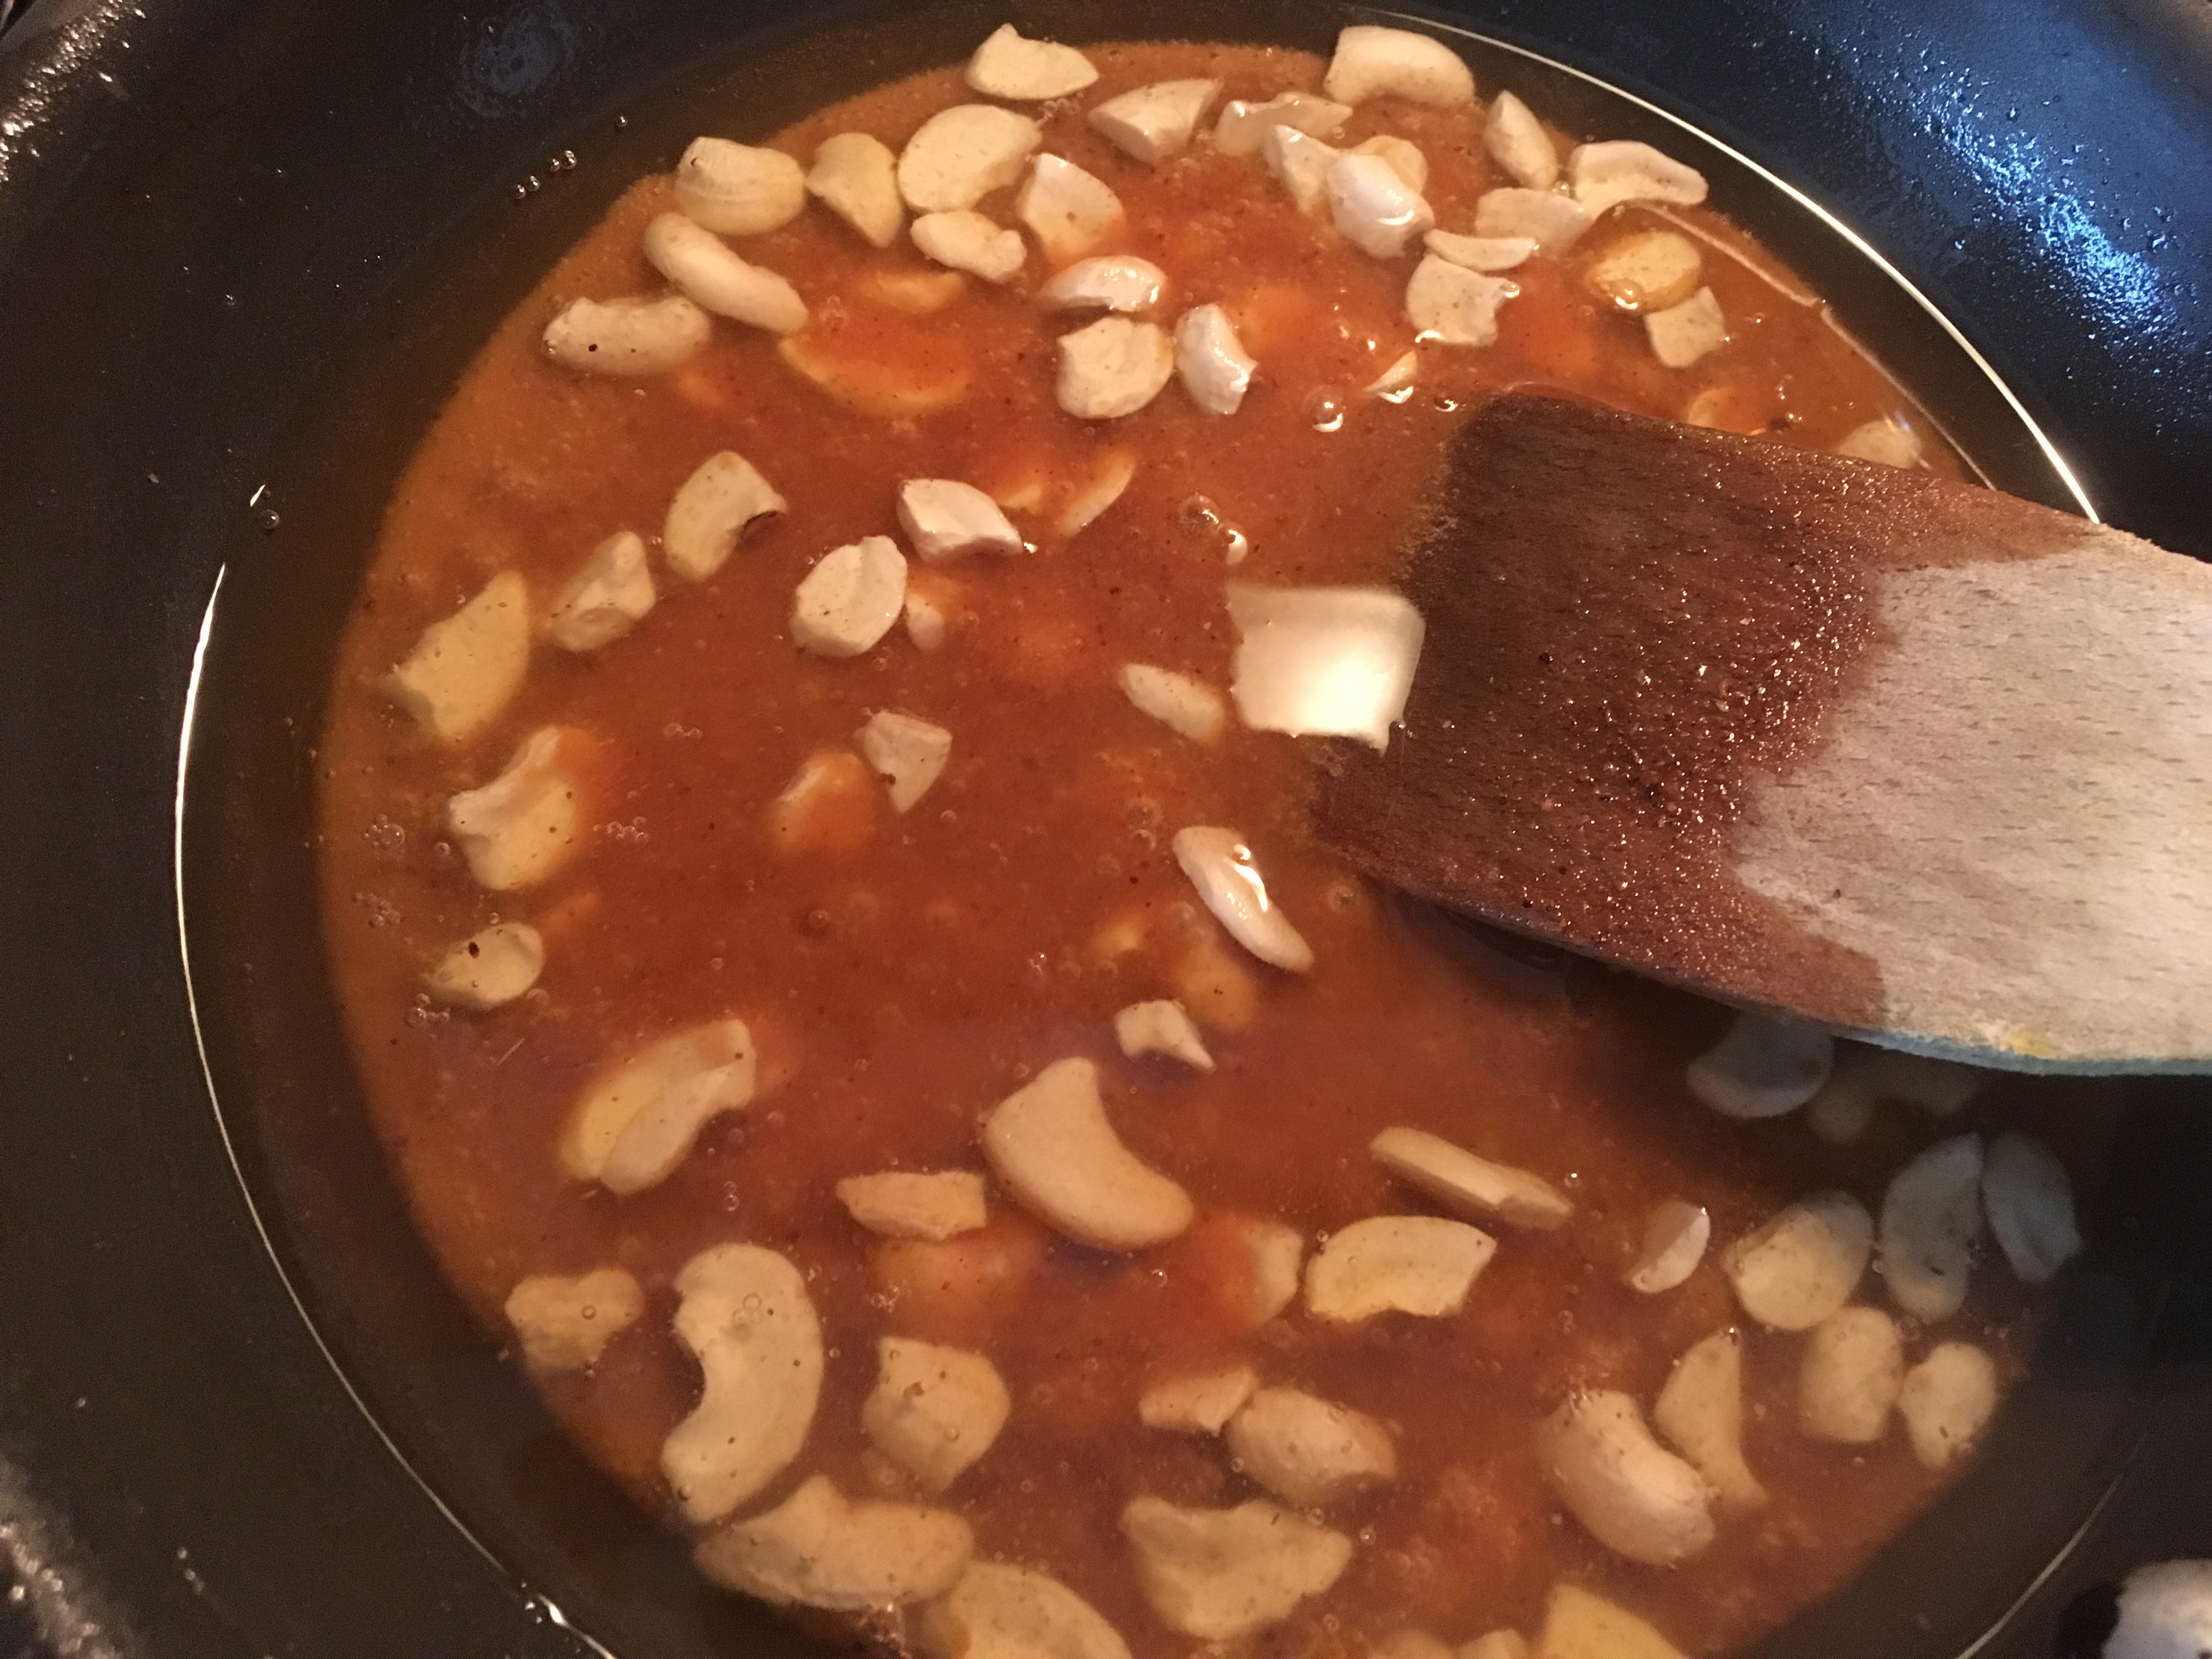
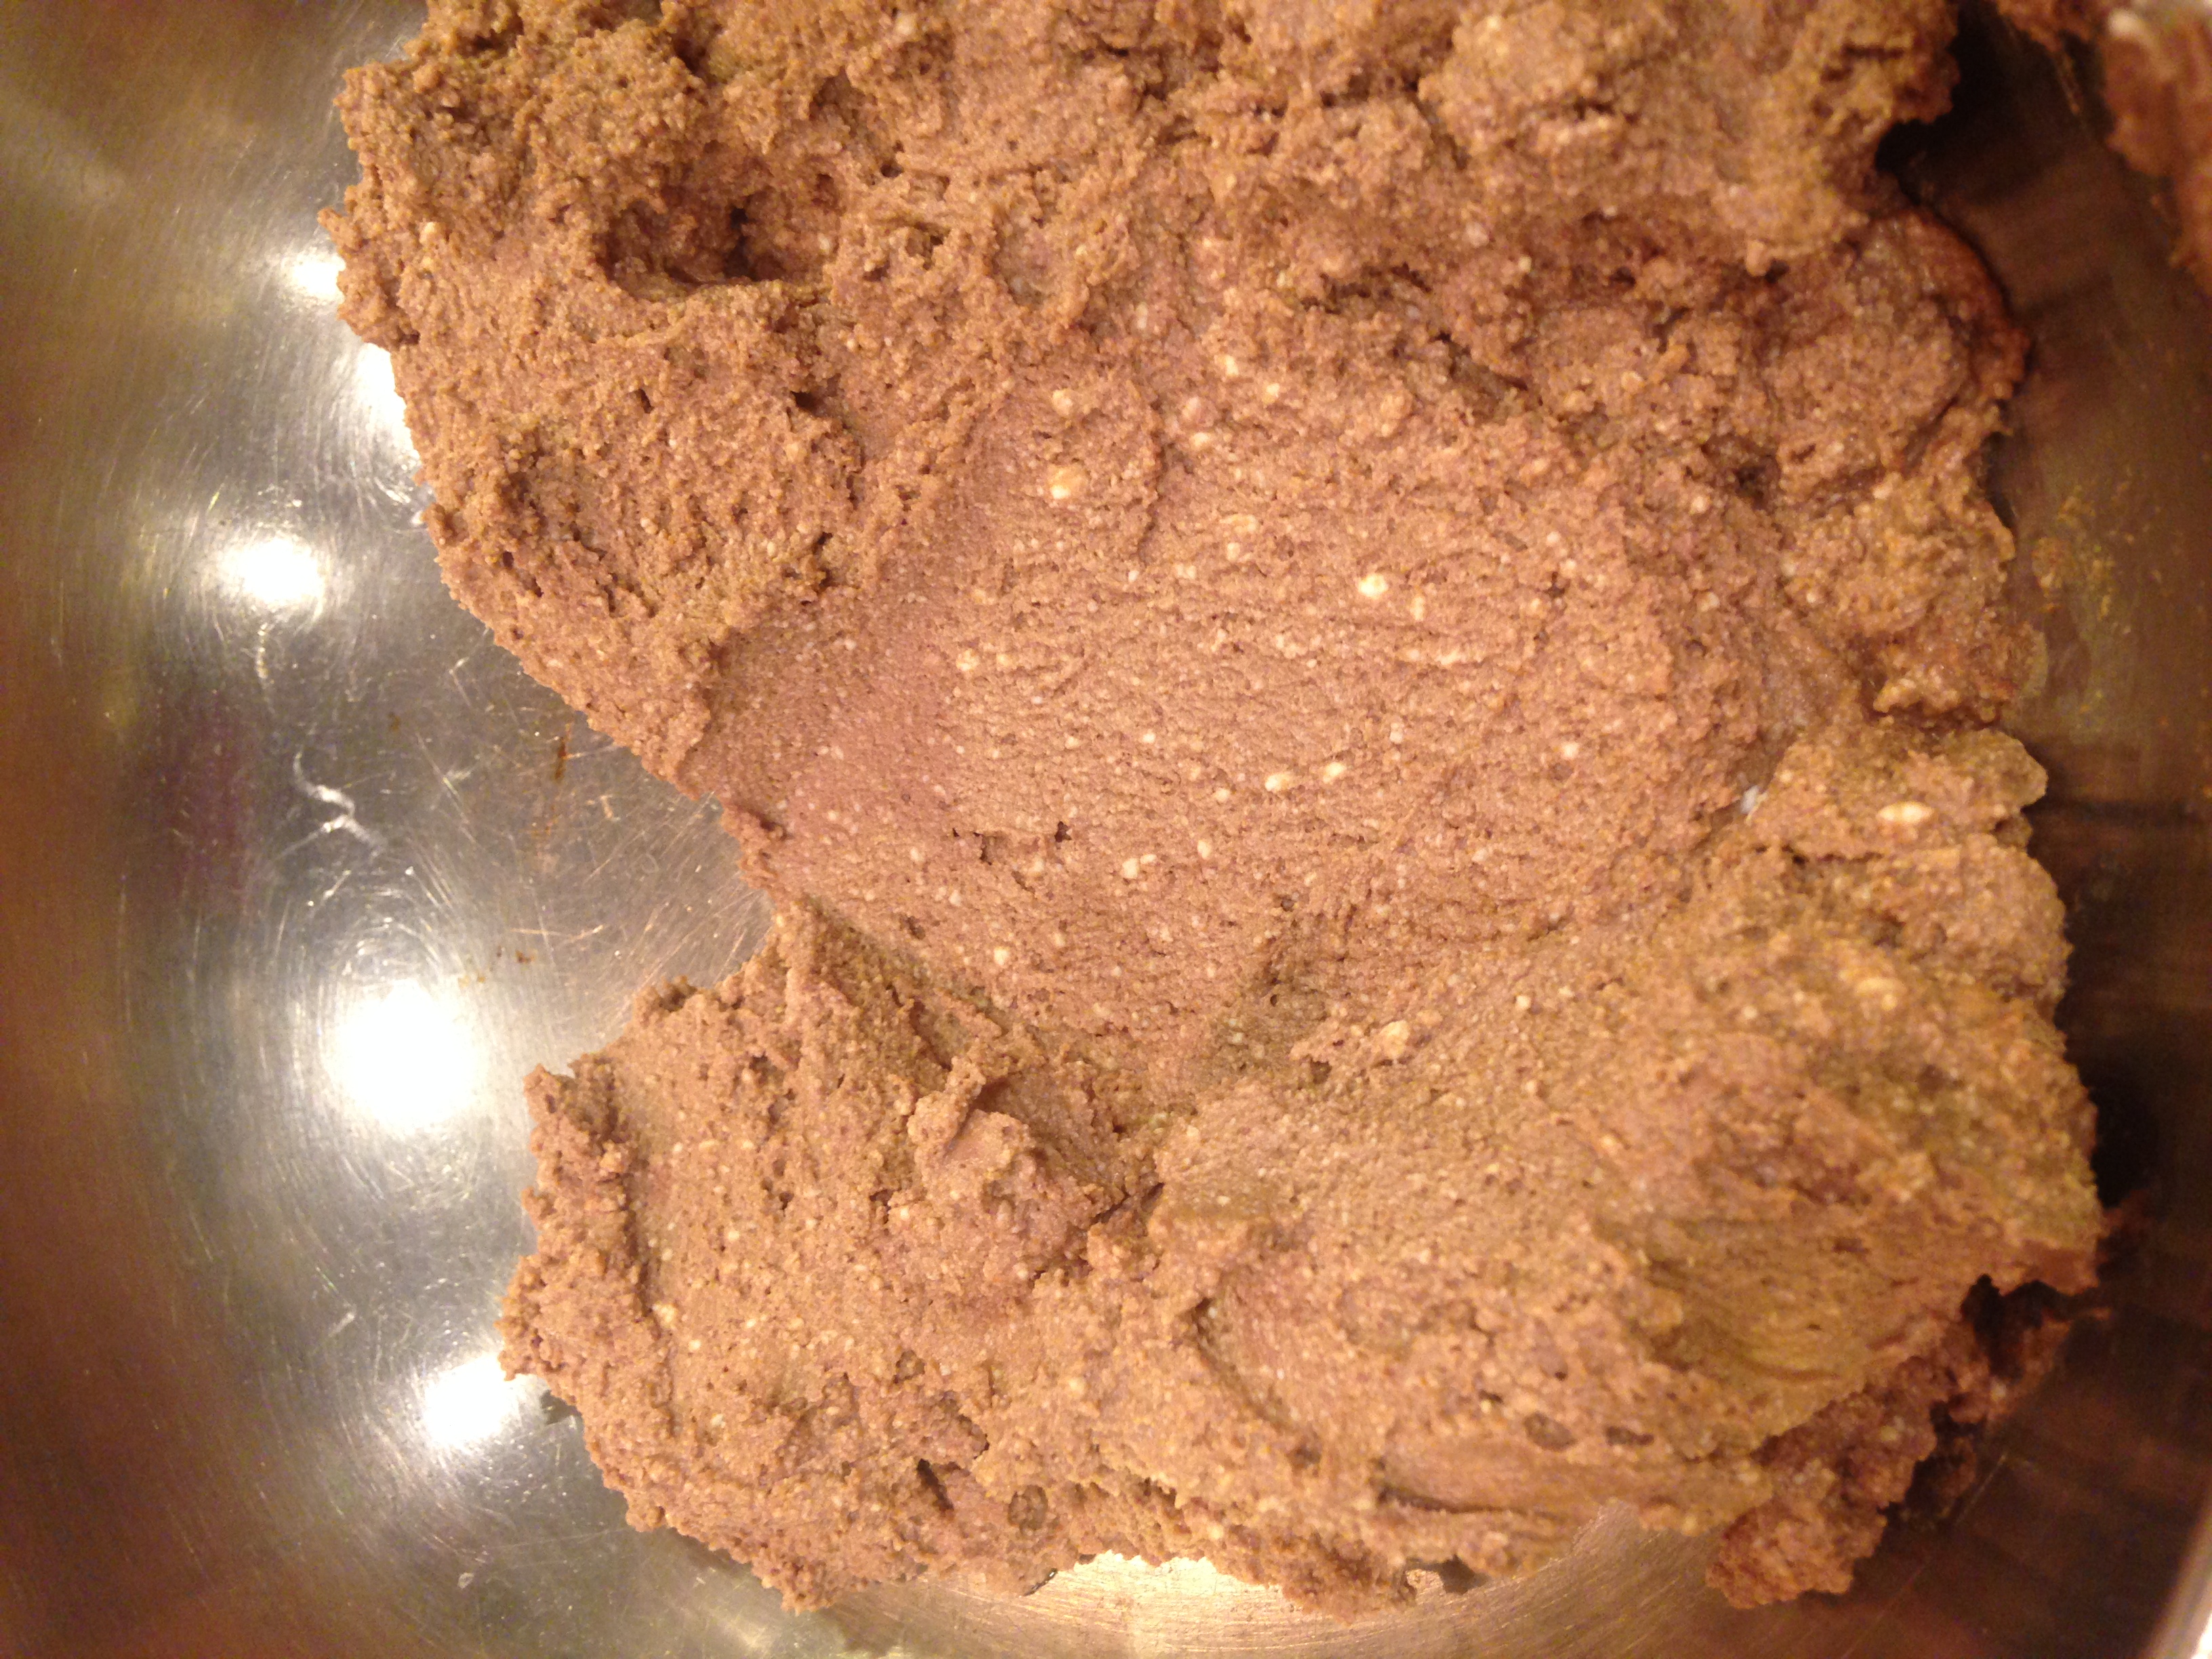
  • Pour this melted ghee into the crumbled roti pieces and let the mixture cool.
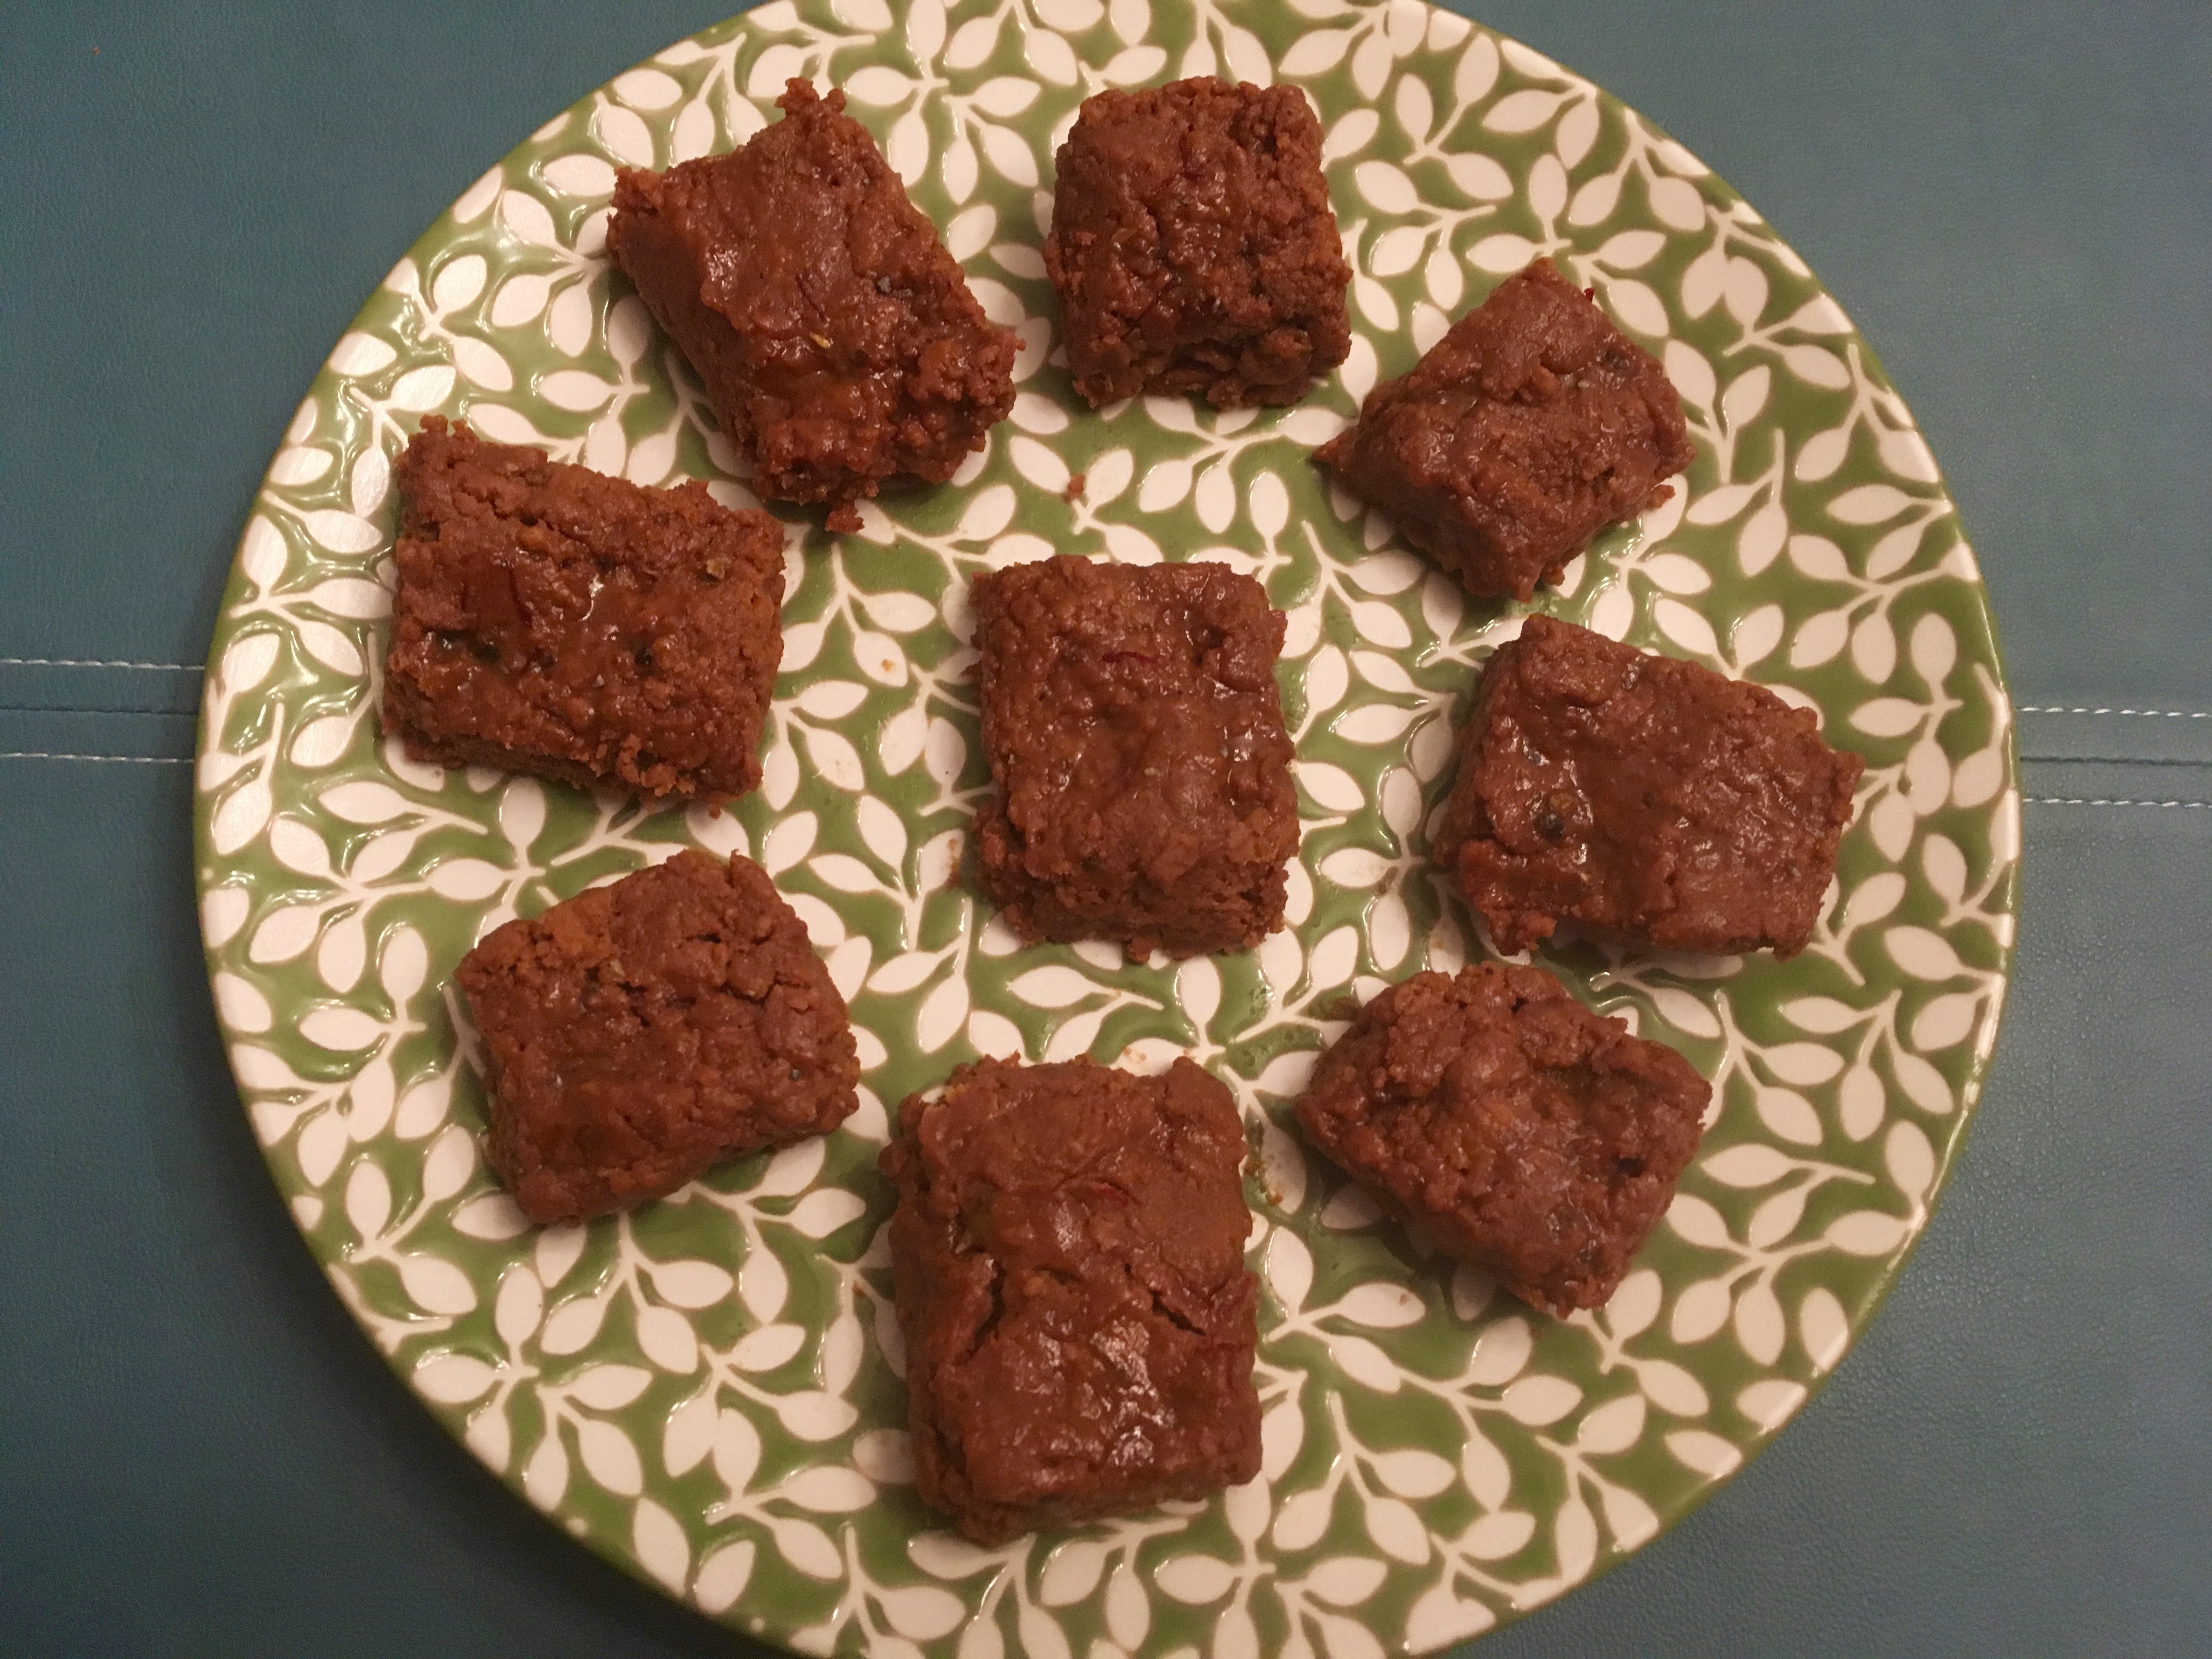
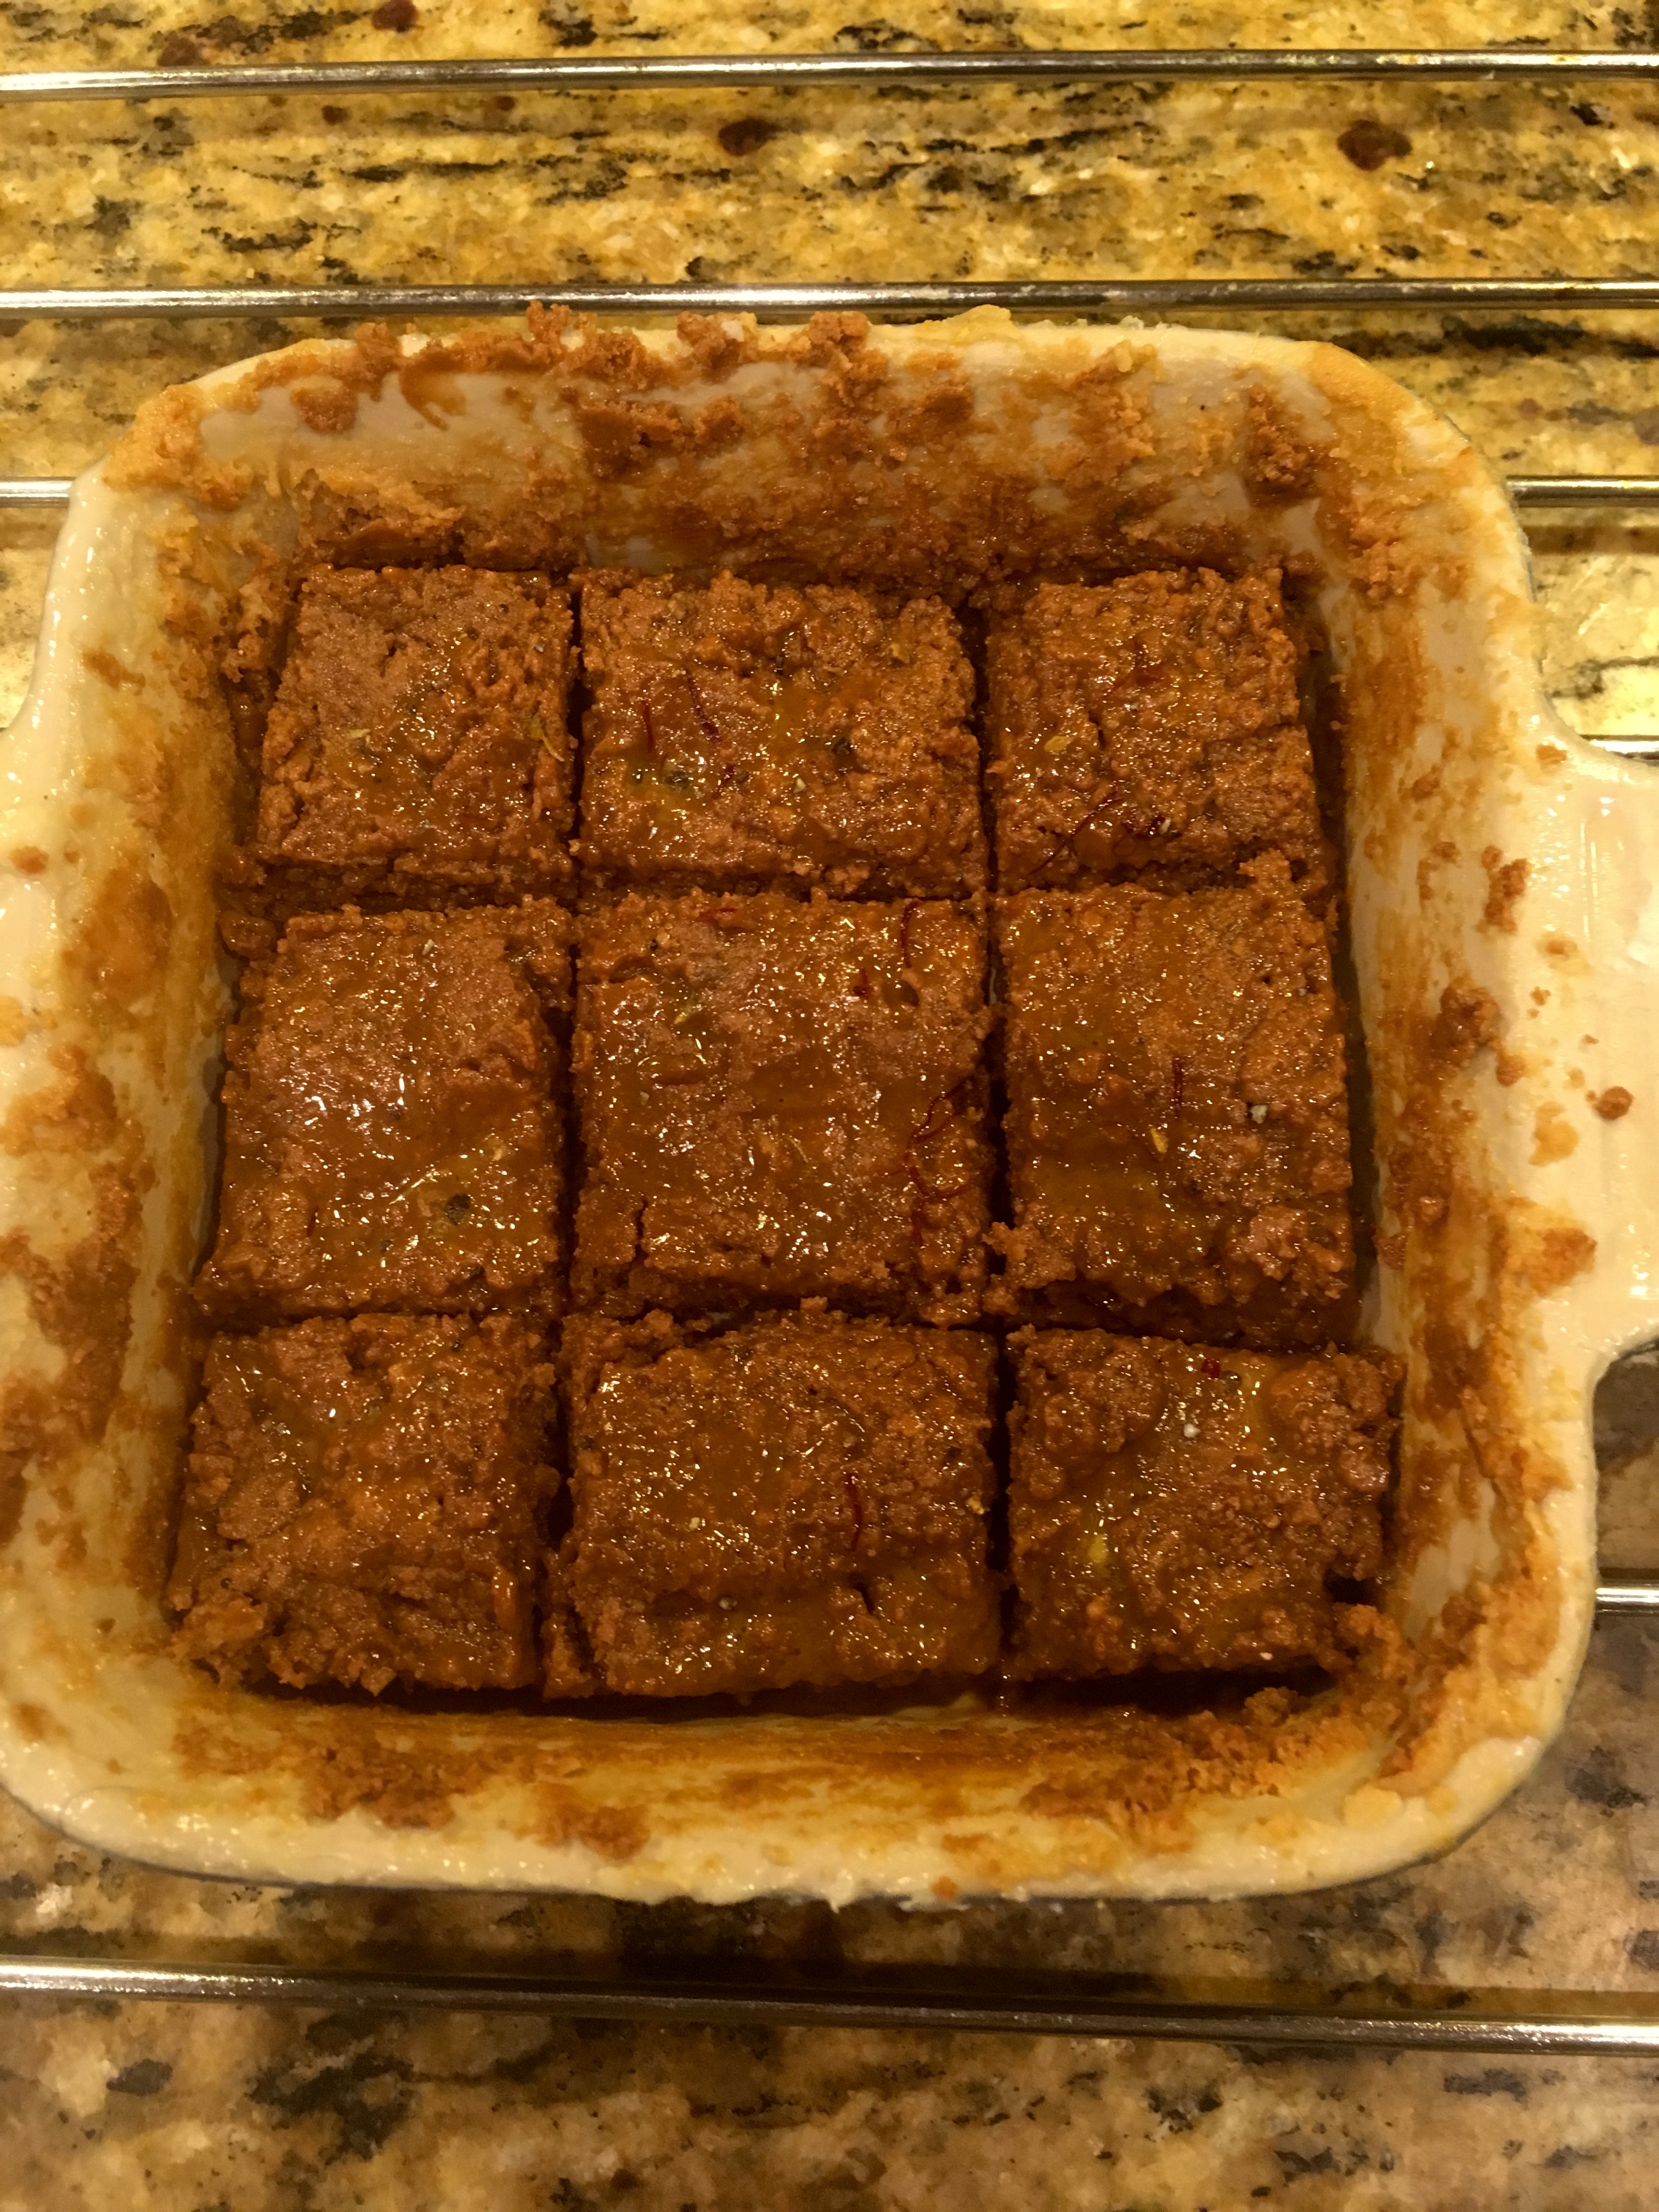
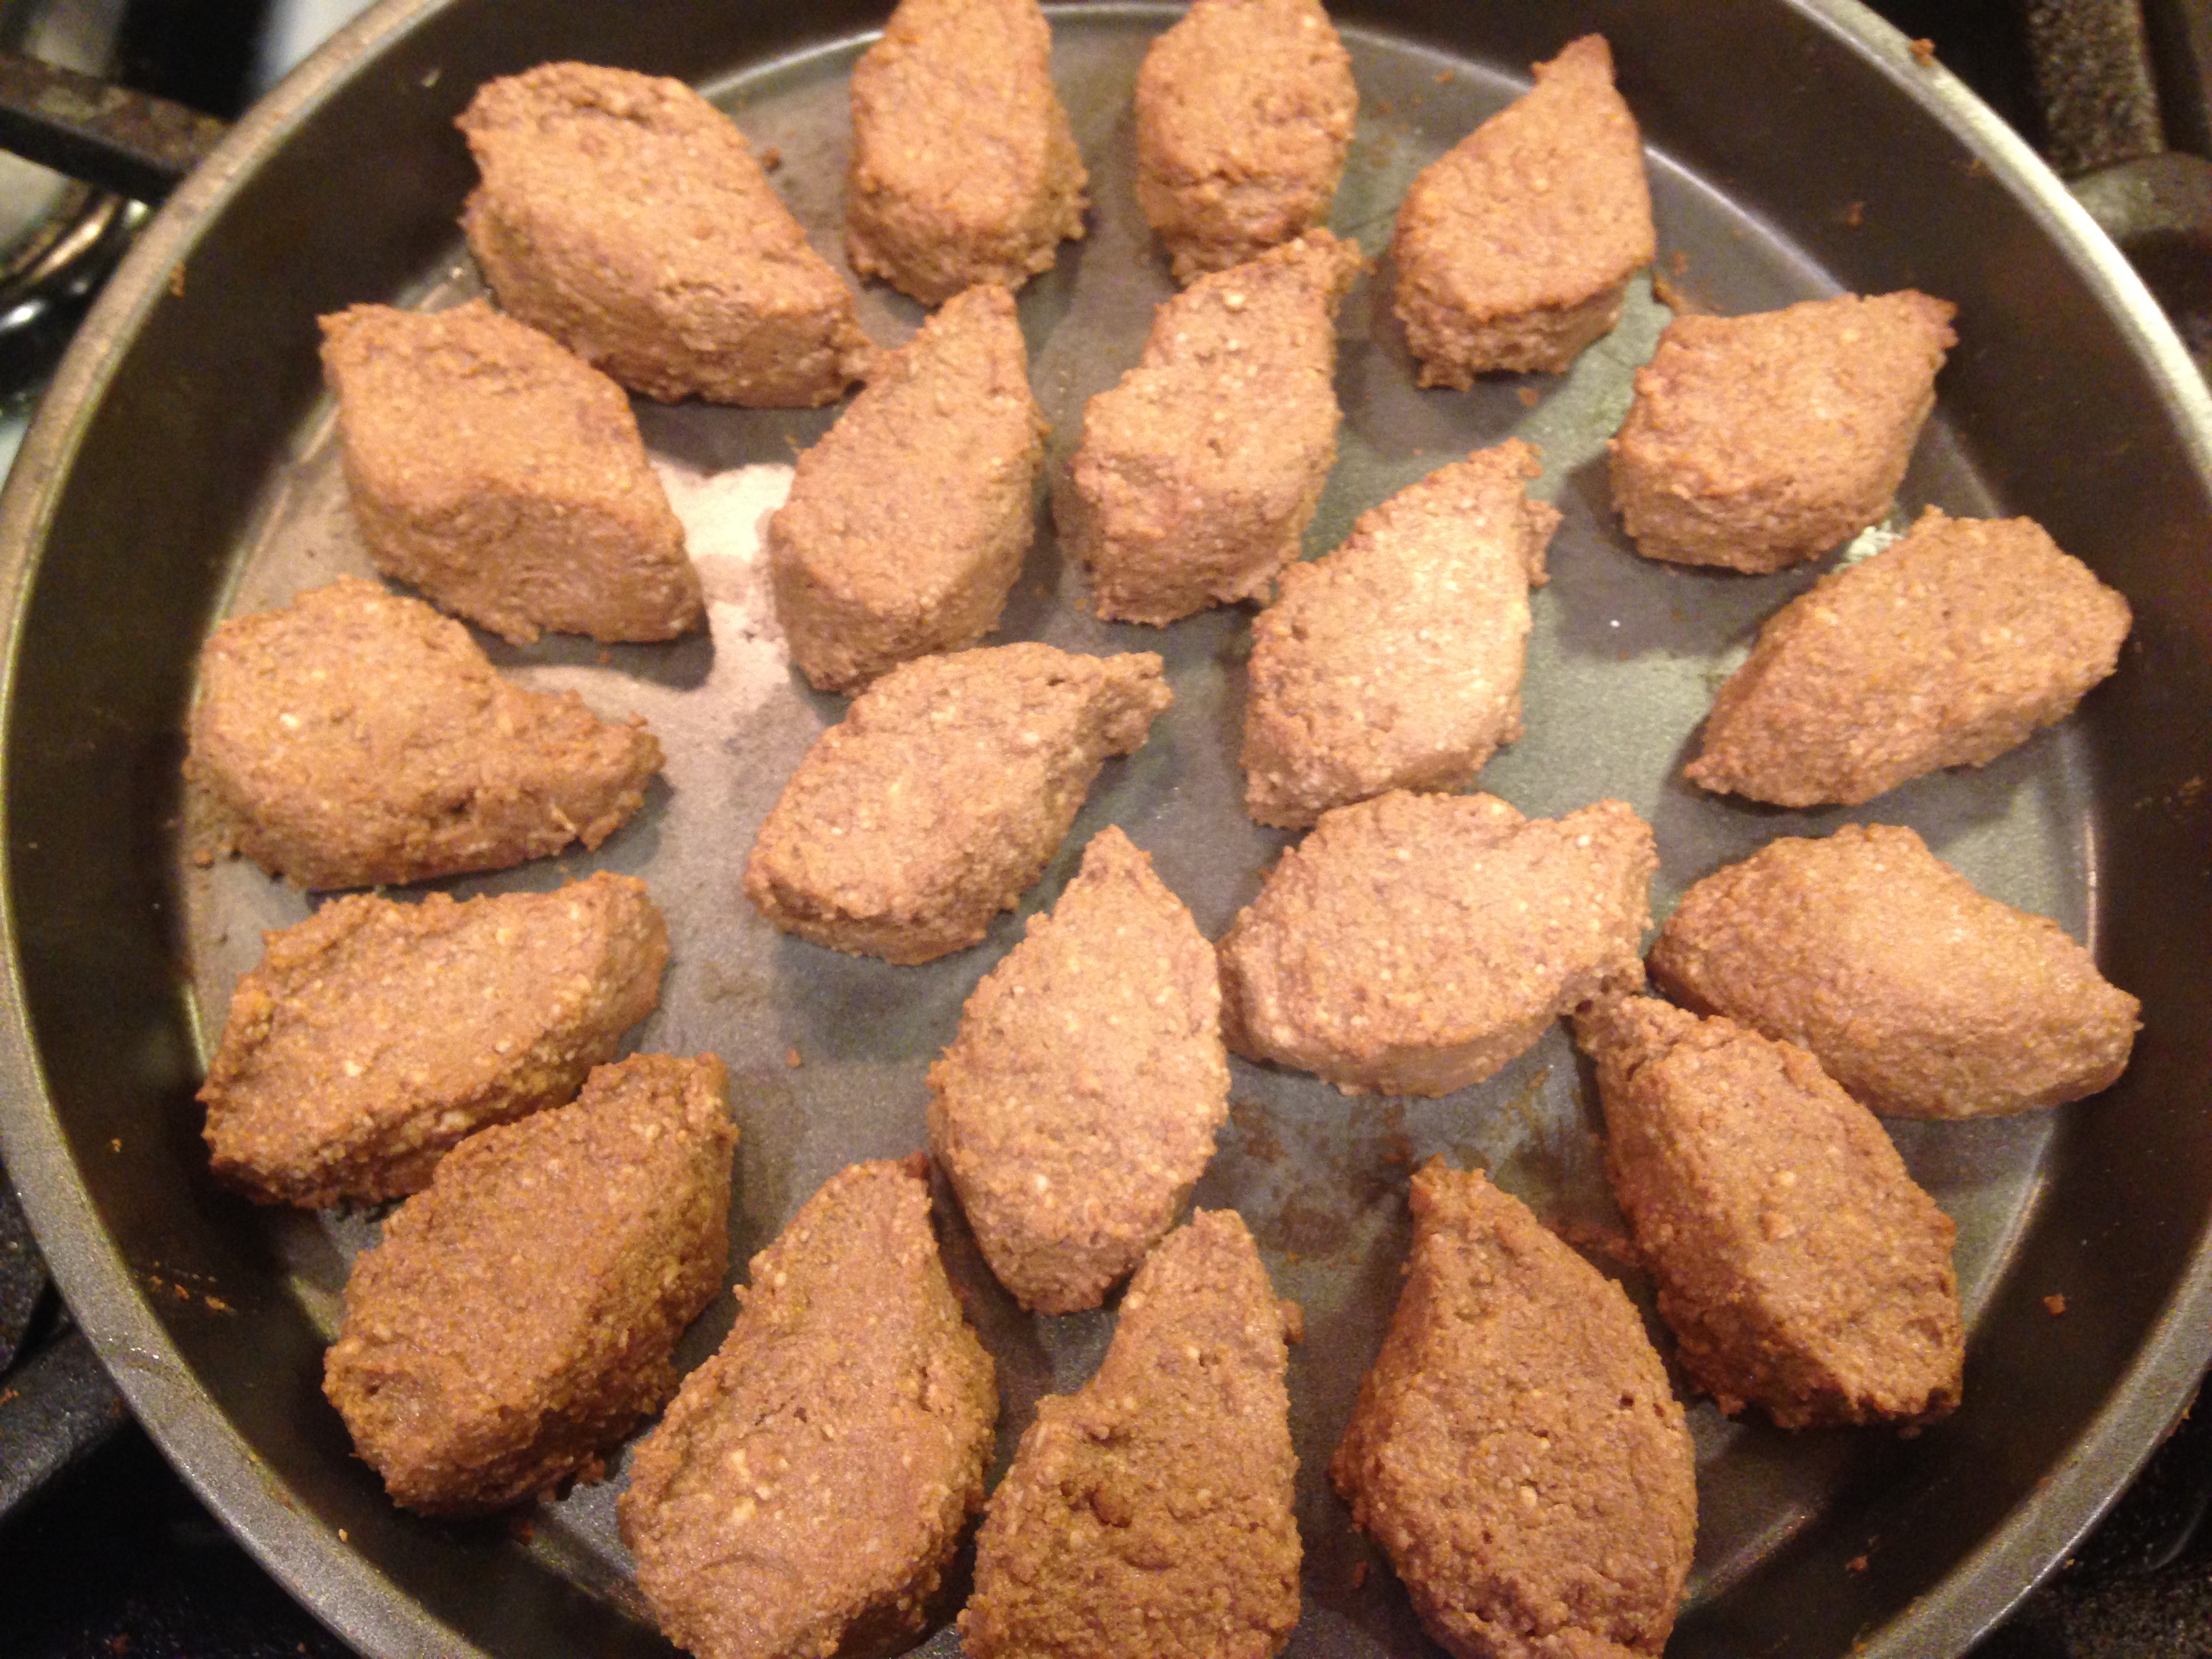
  • Once it is at bearable temperature, start making round balls.

IMG_1721

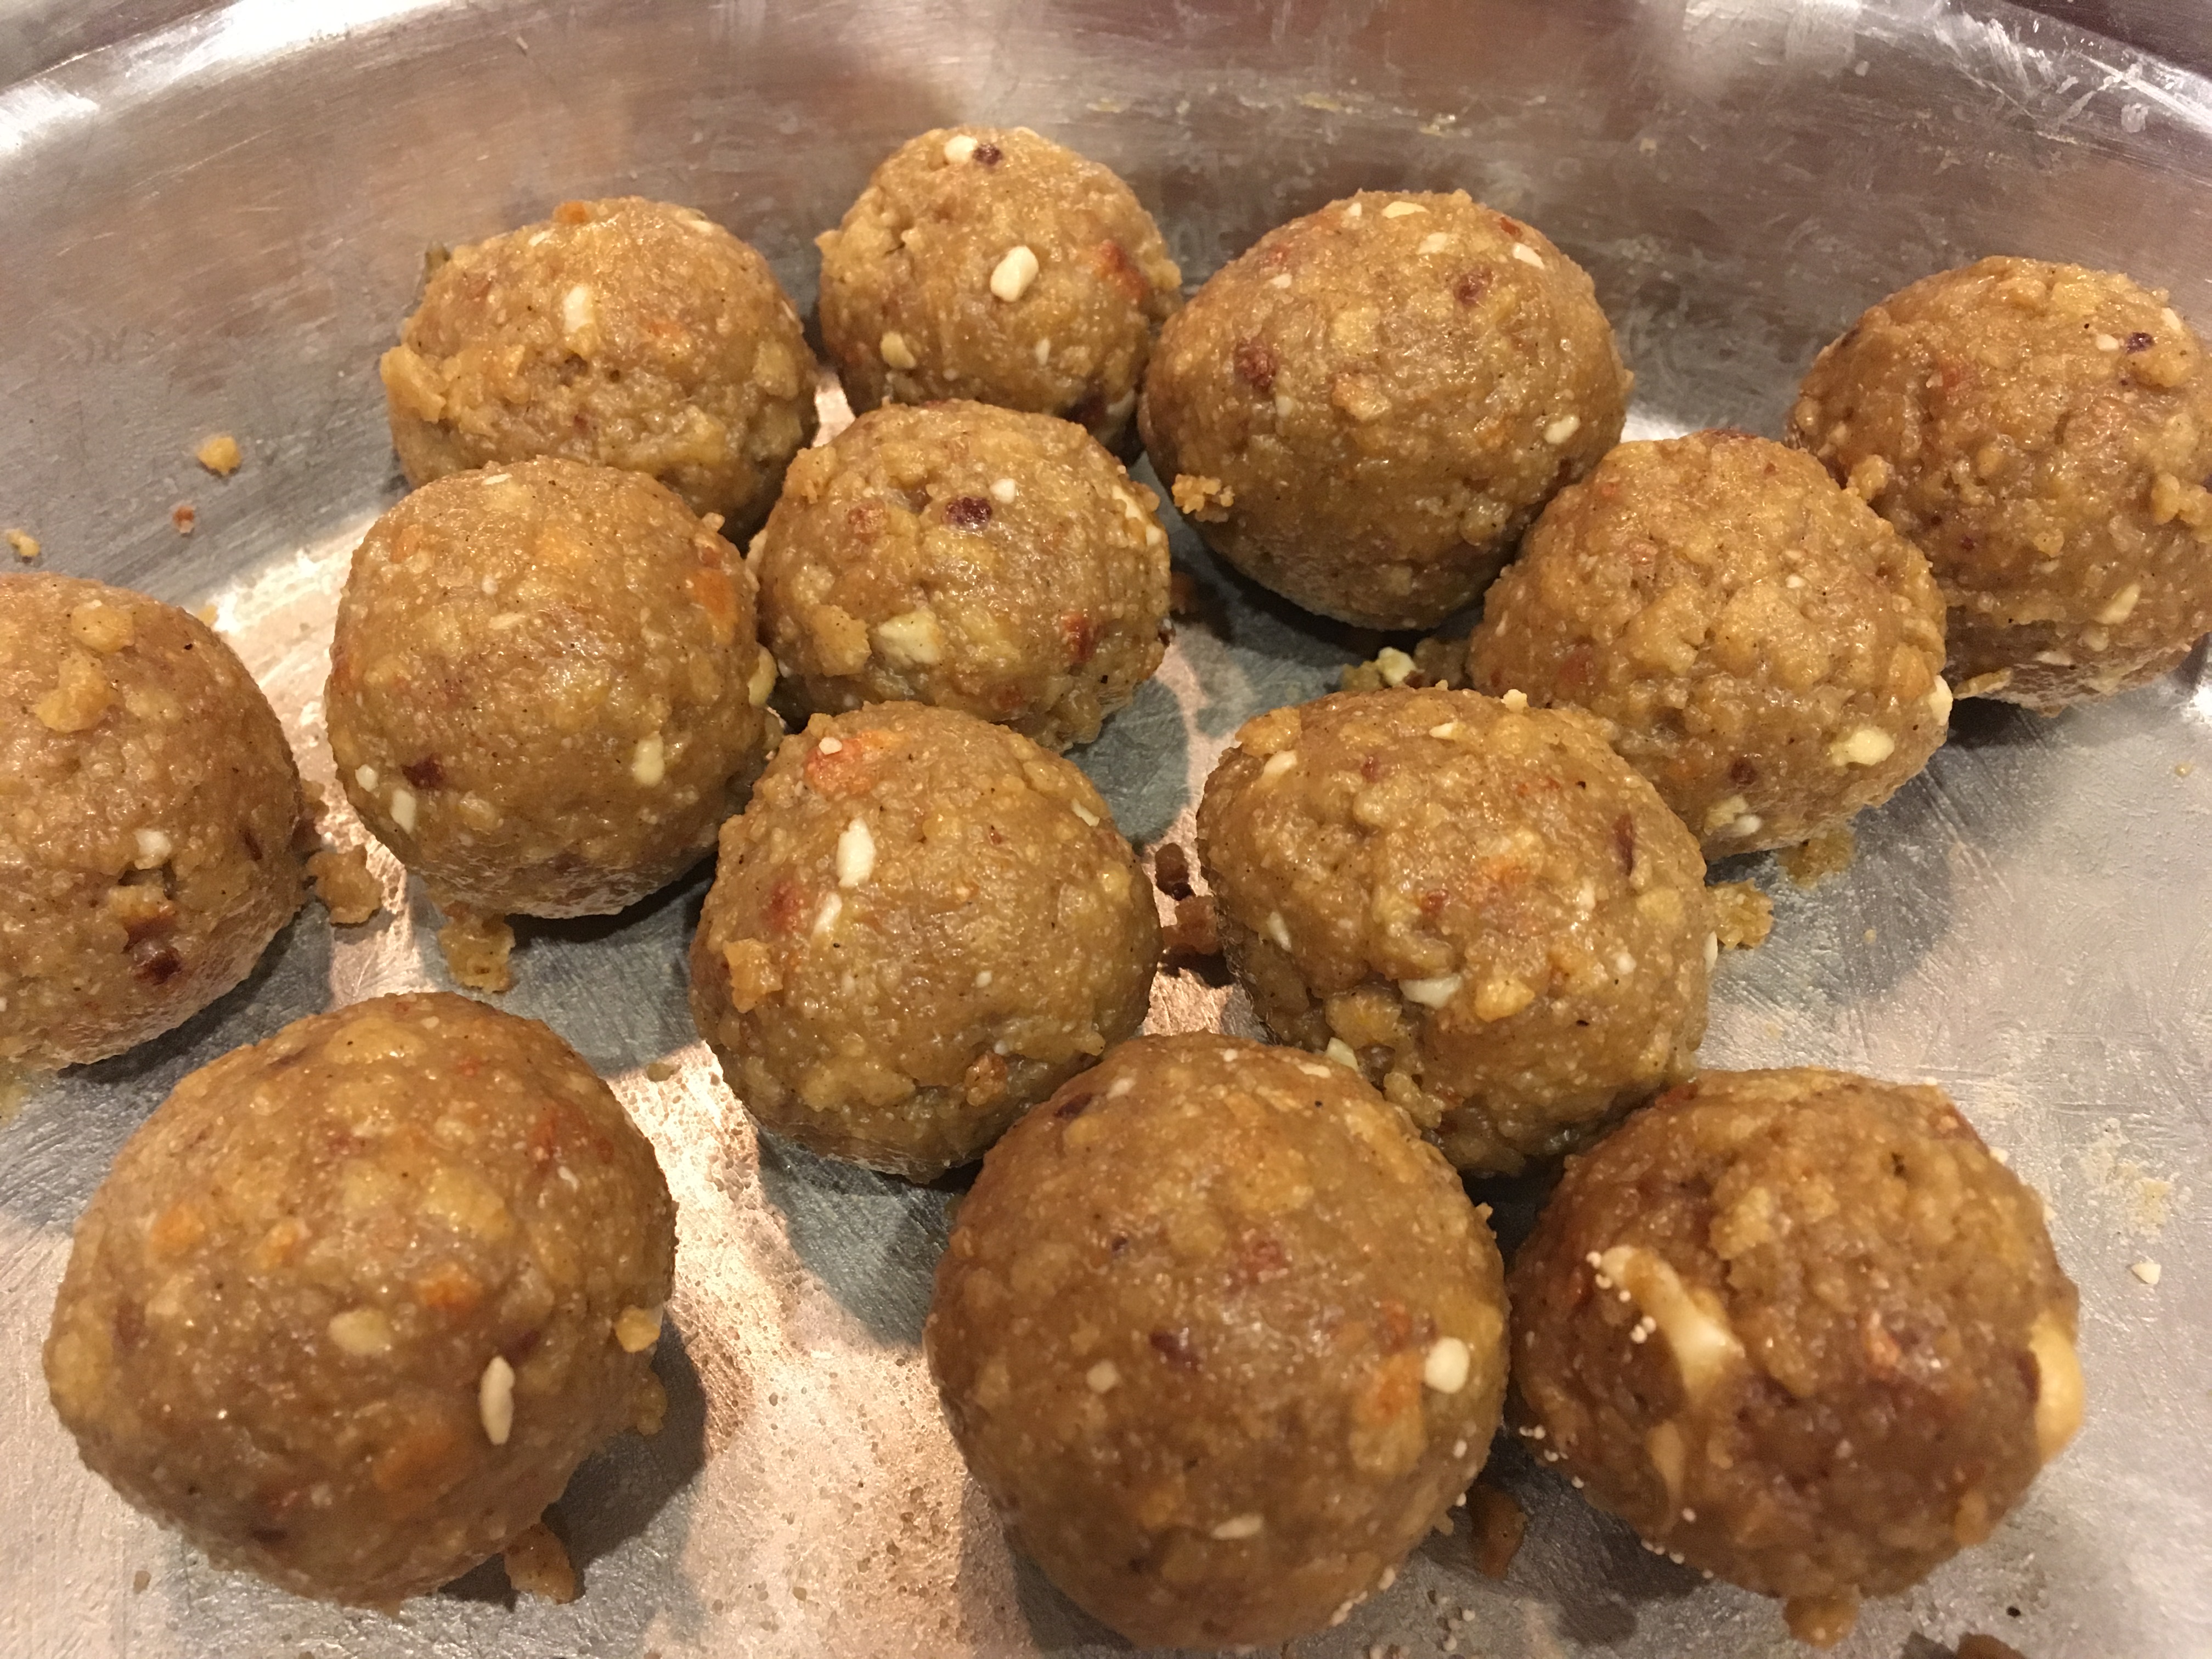
  • The first level will be rough, and you will have to go over two three times to get a smoothened finish.
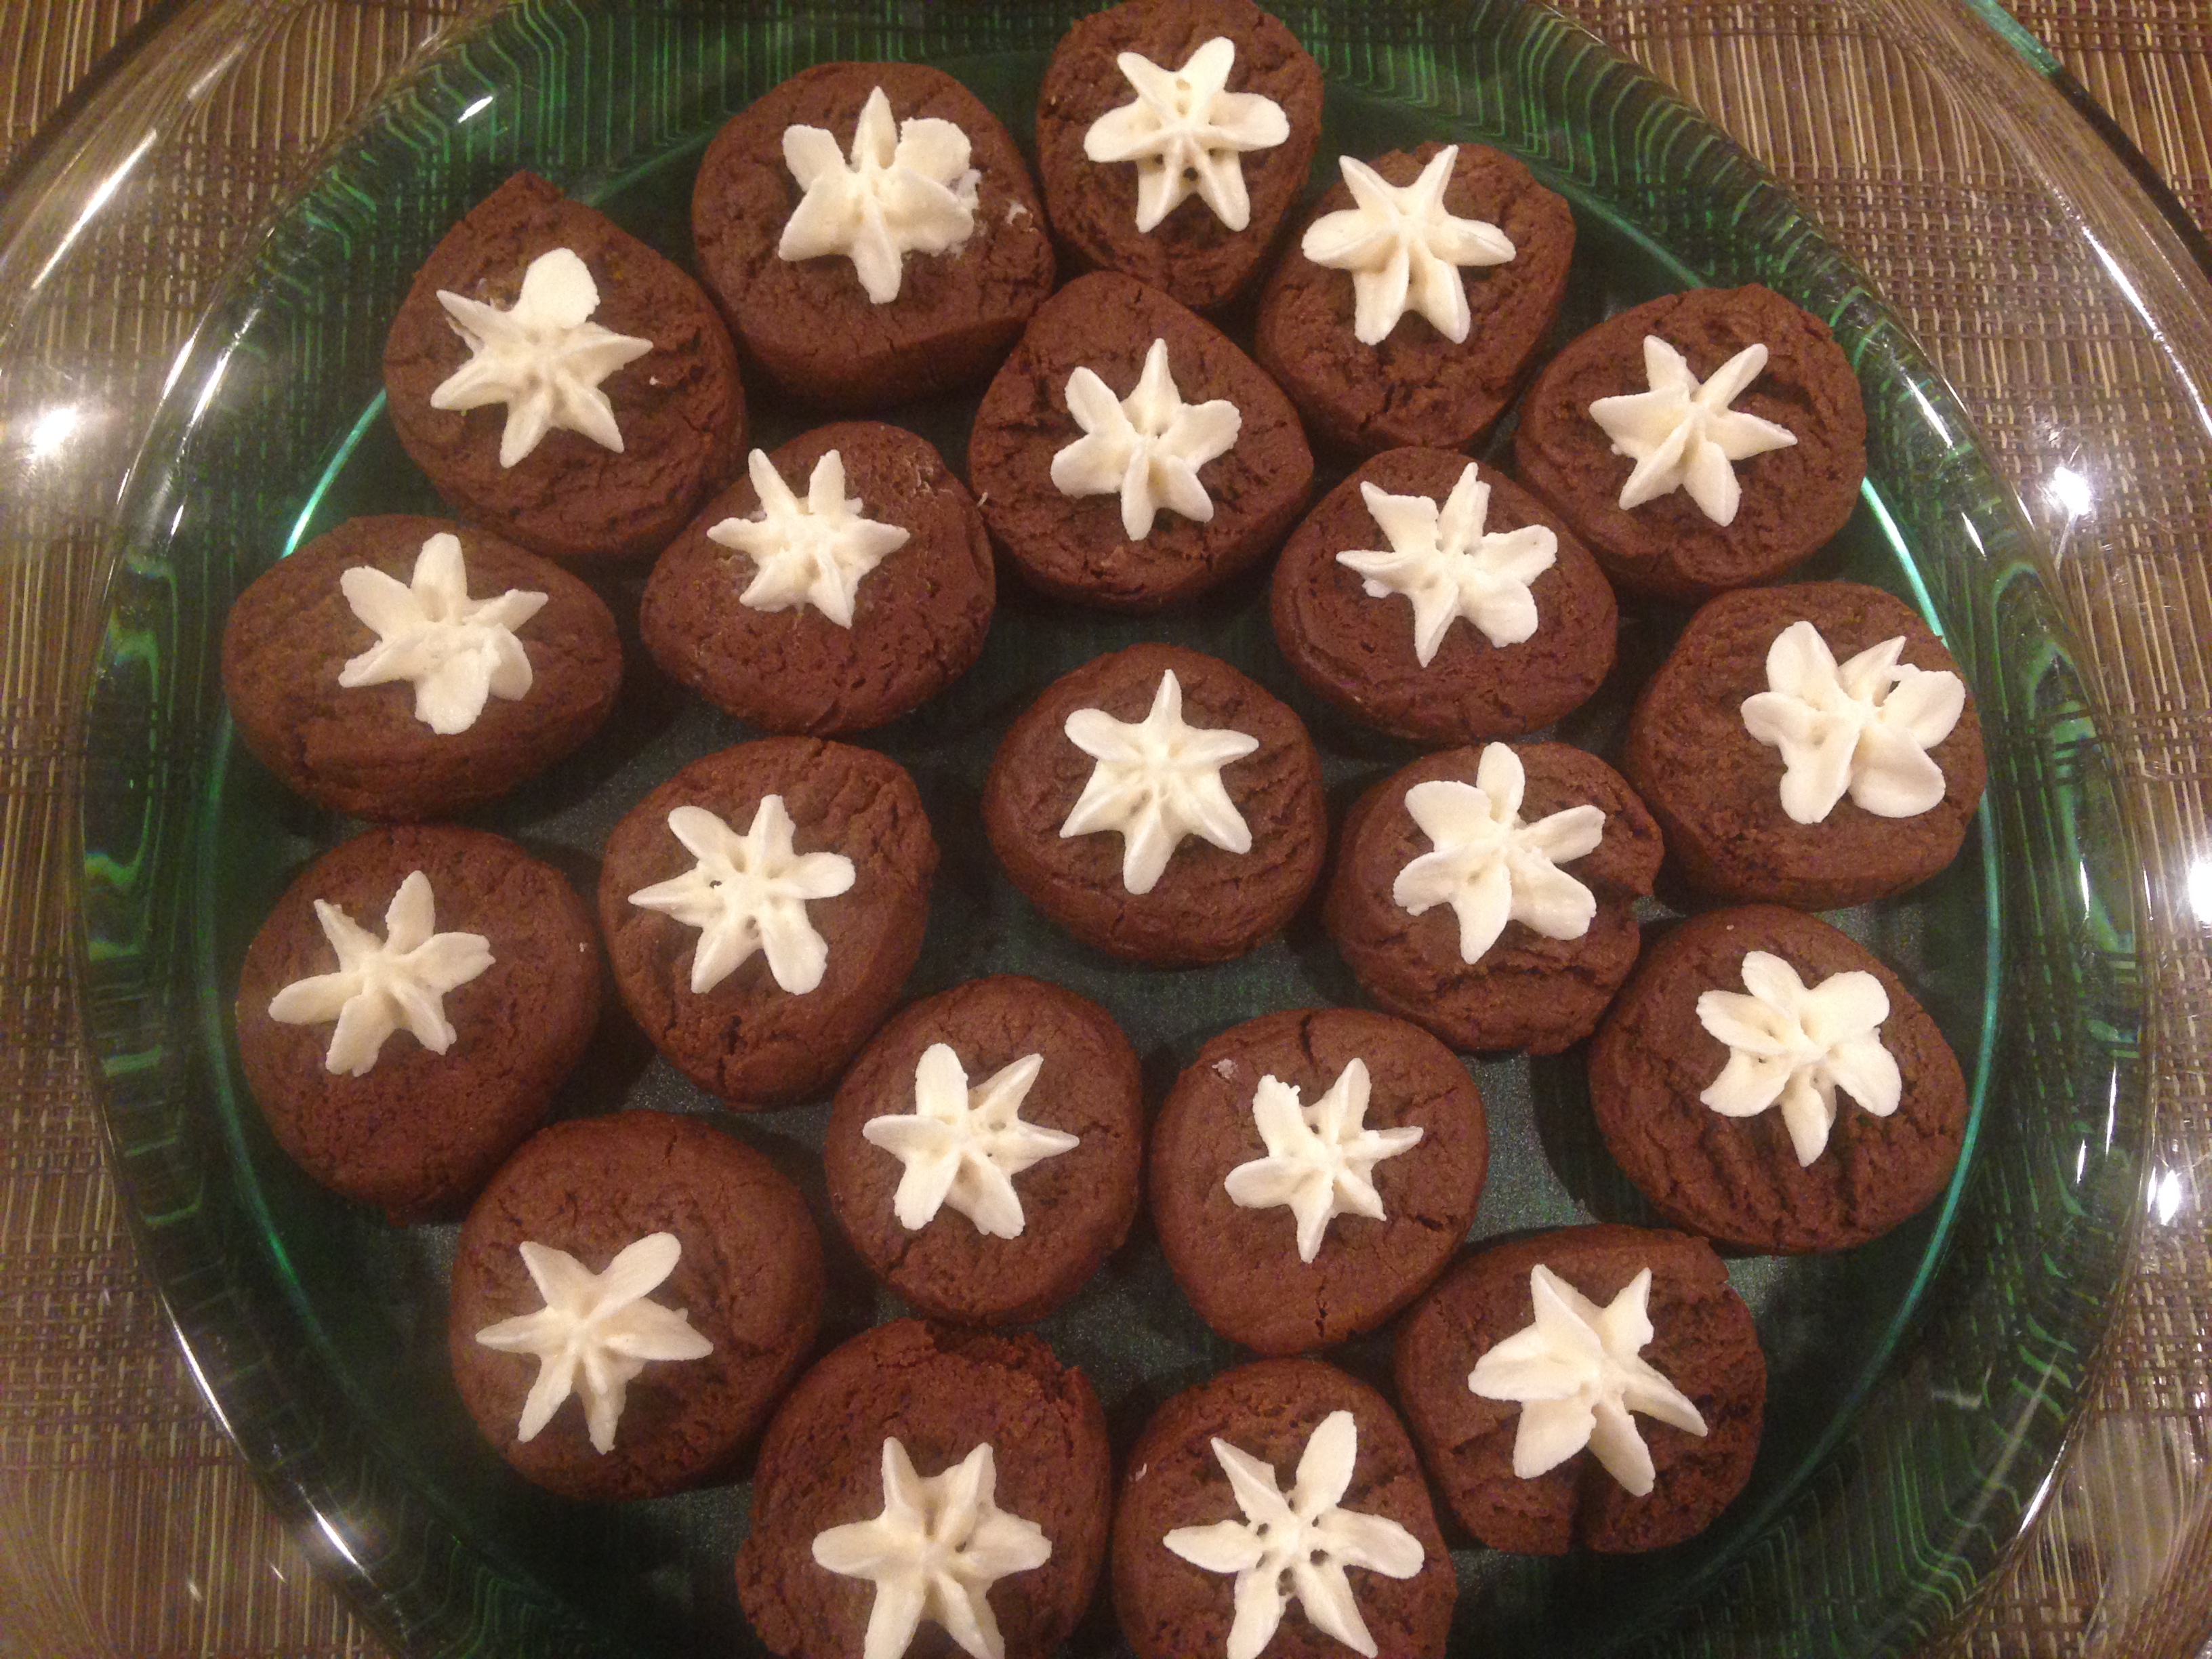
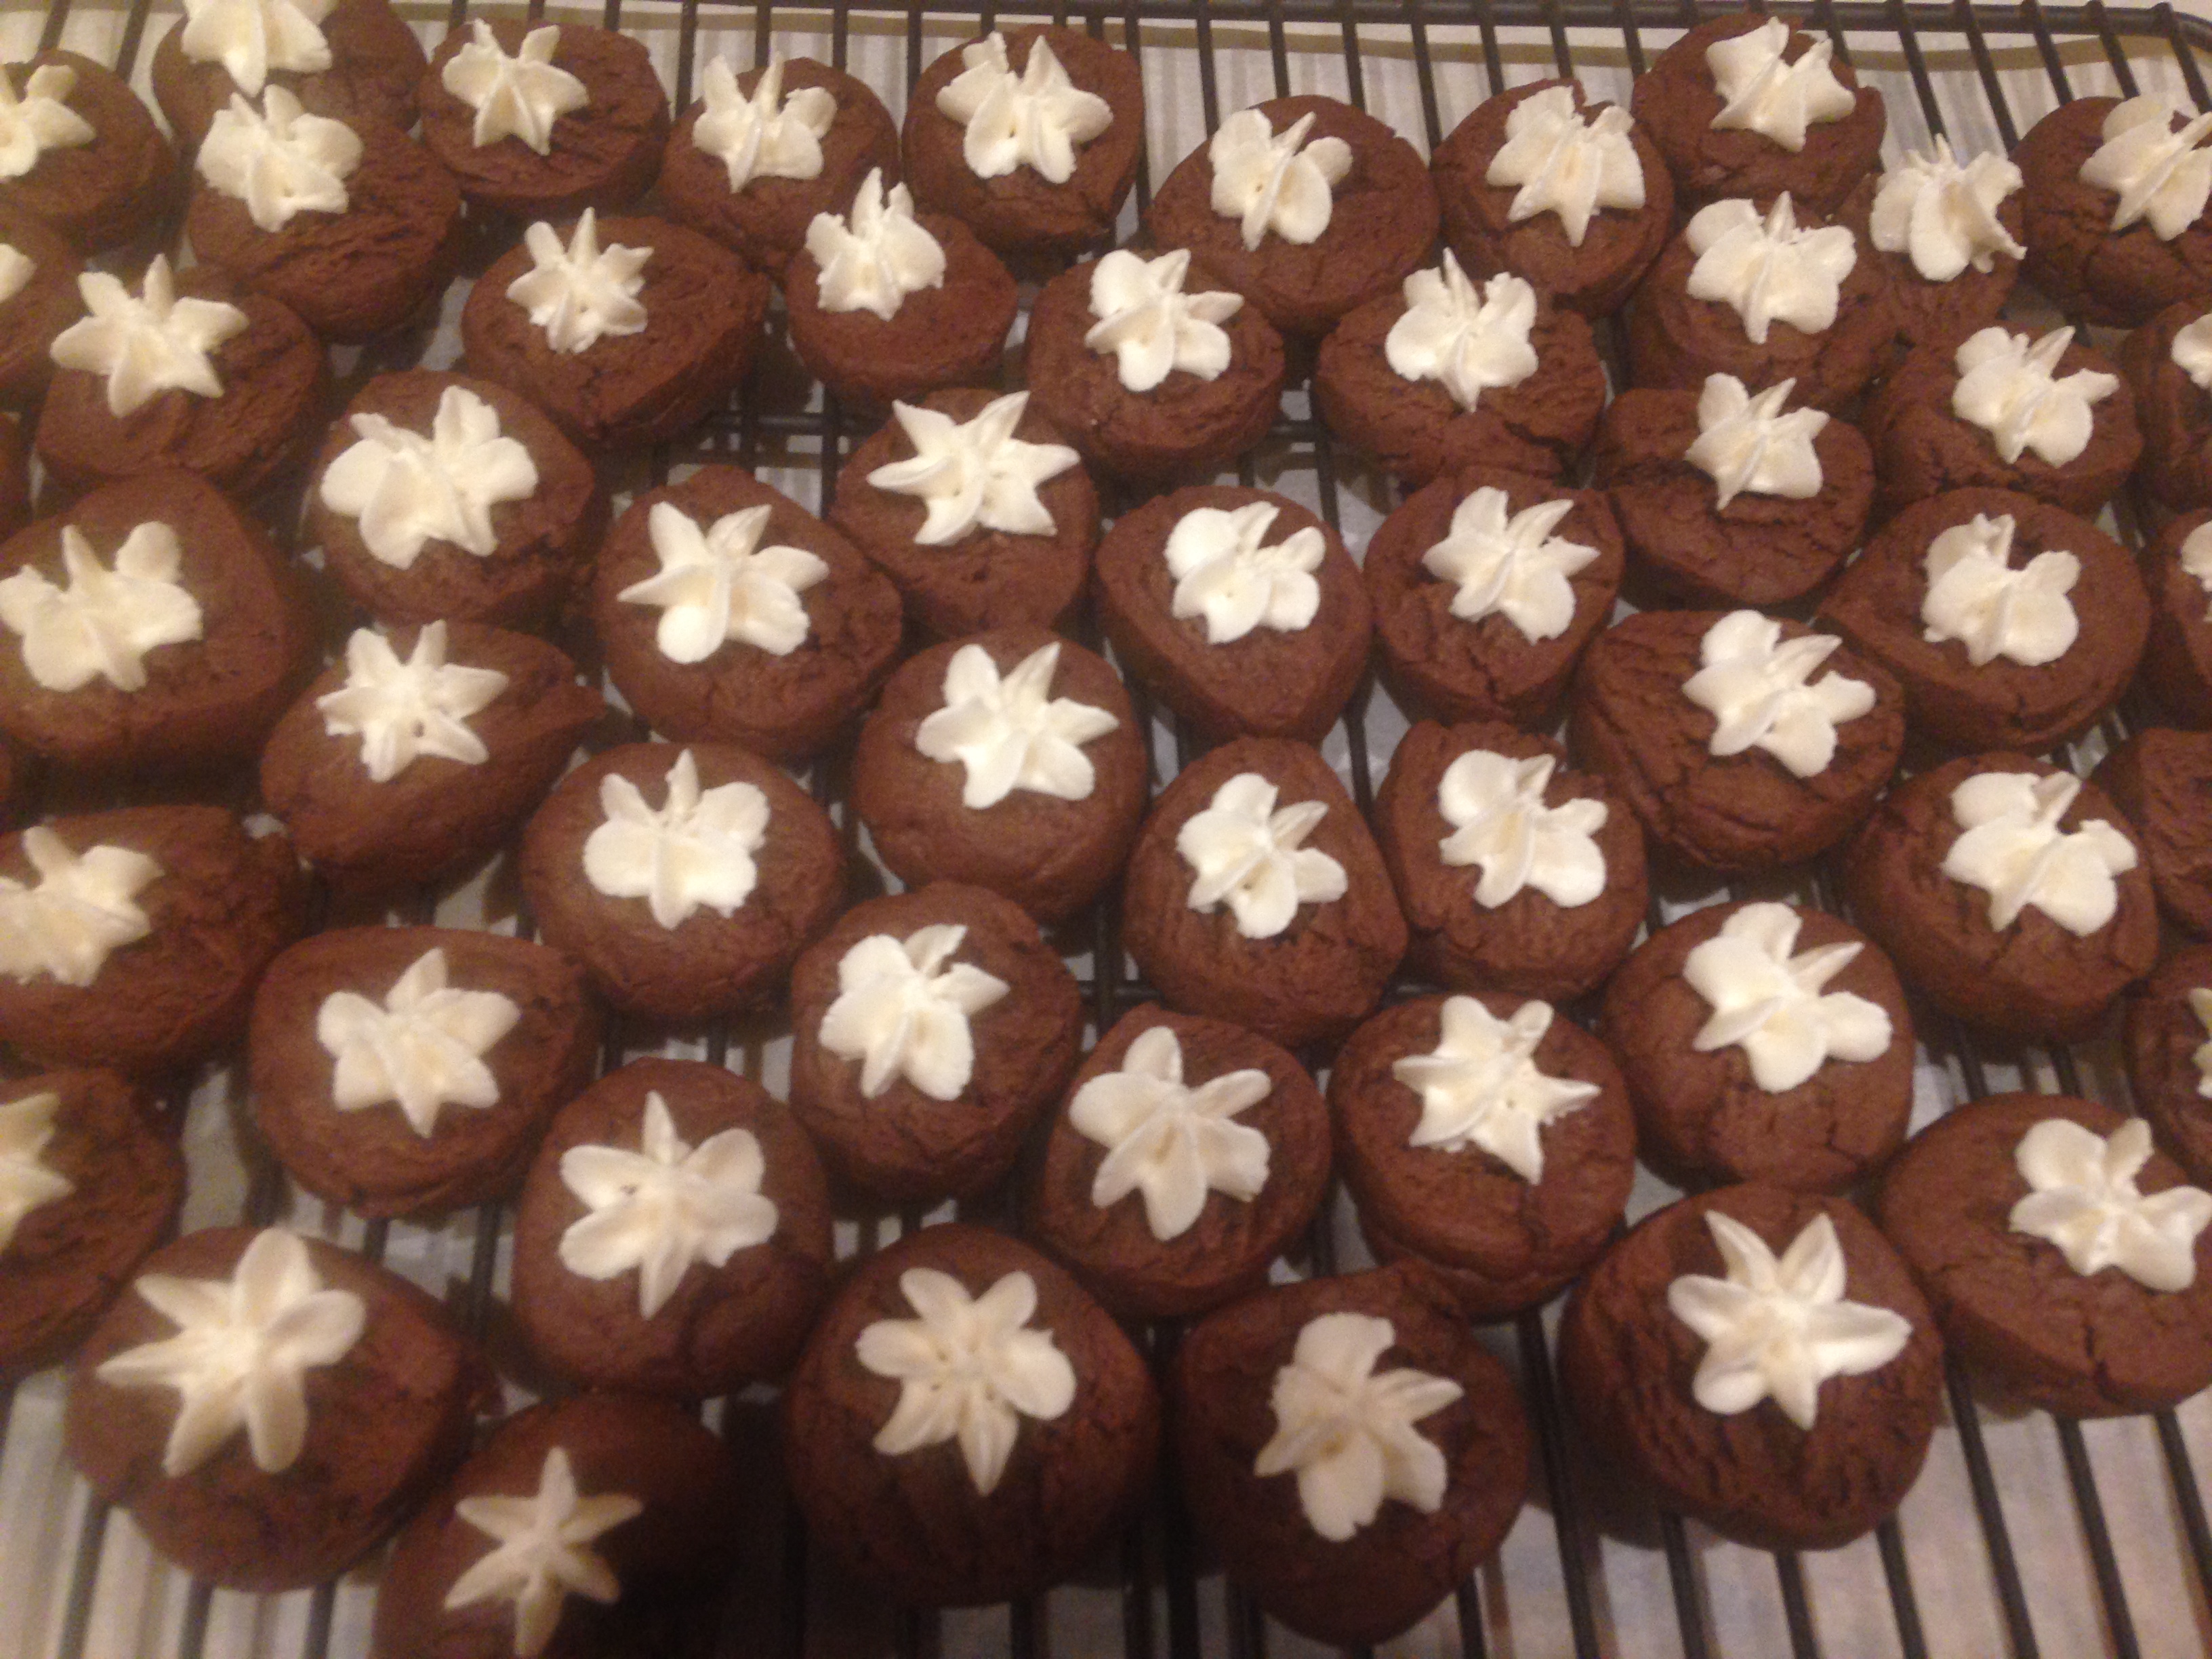
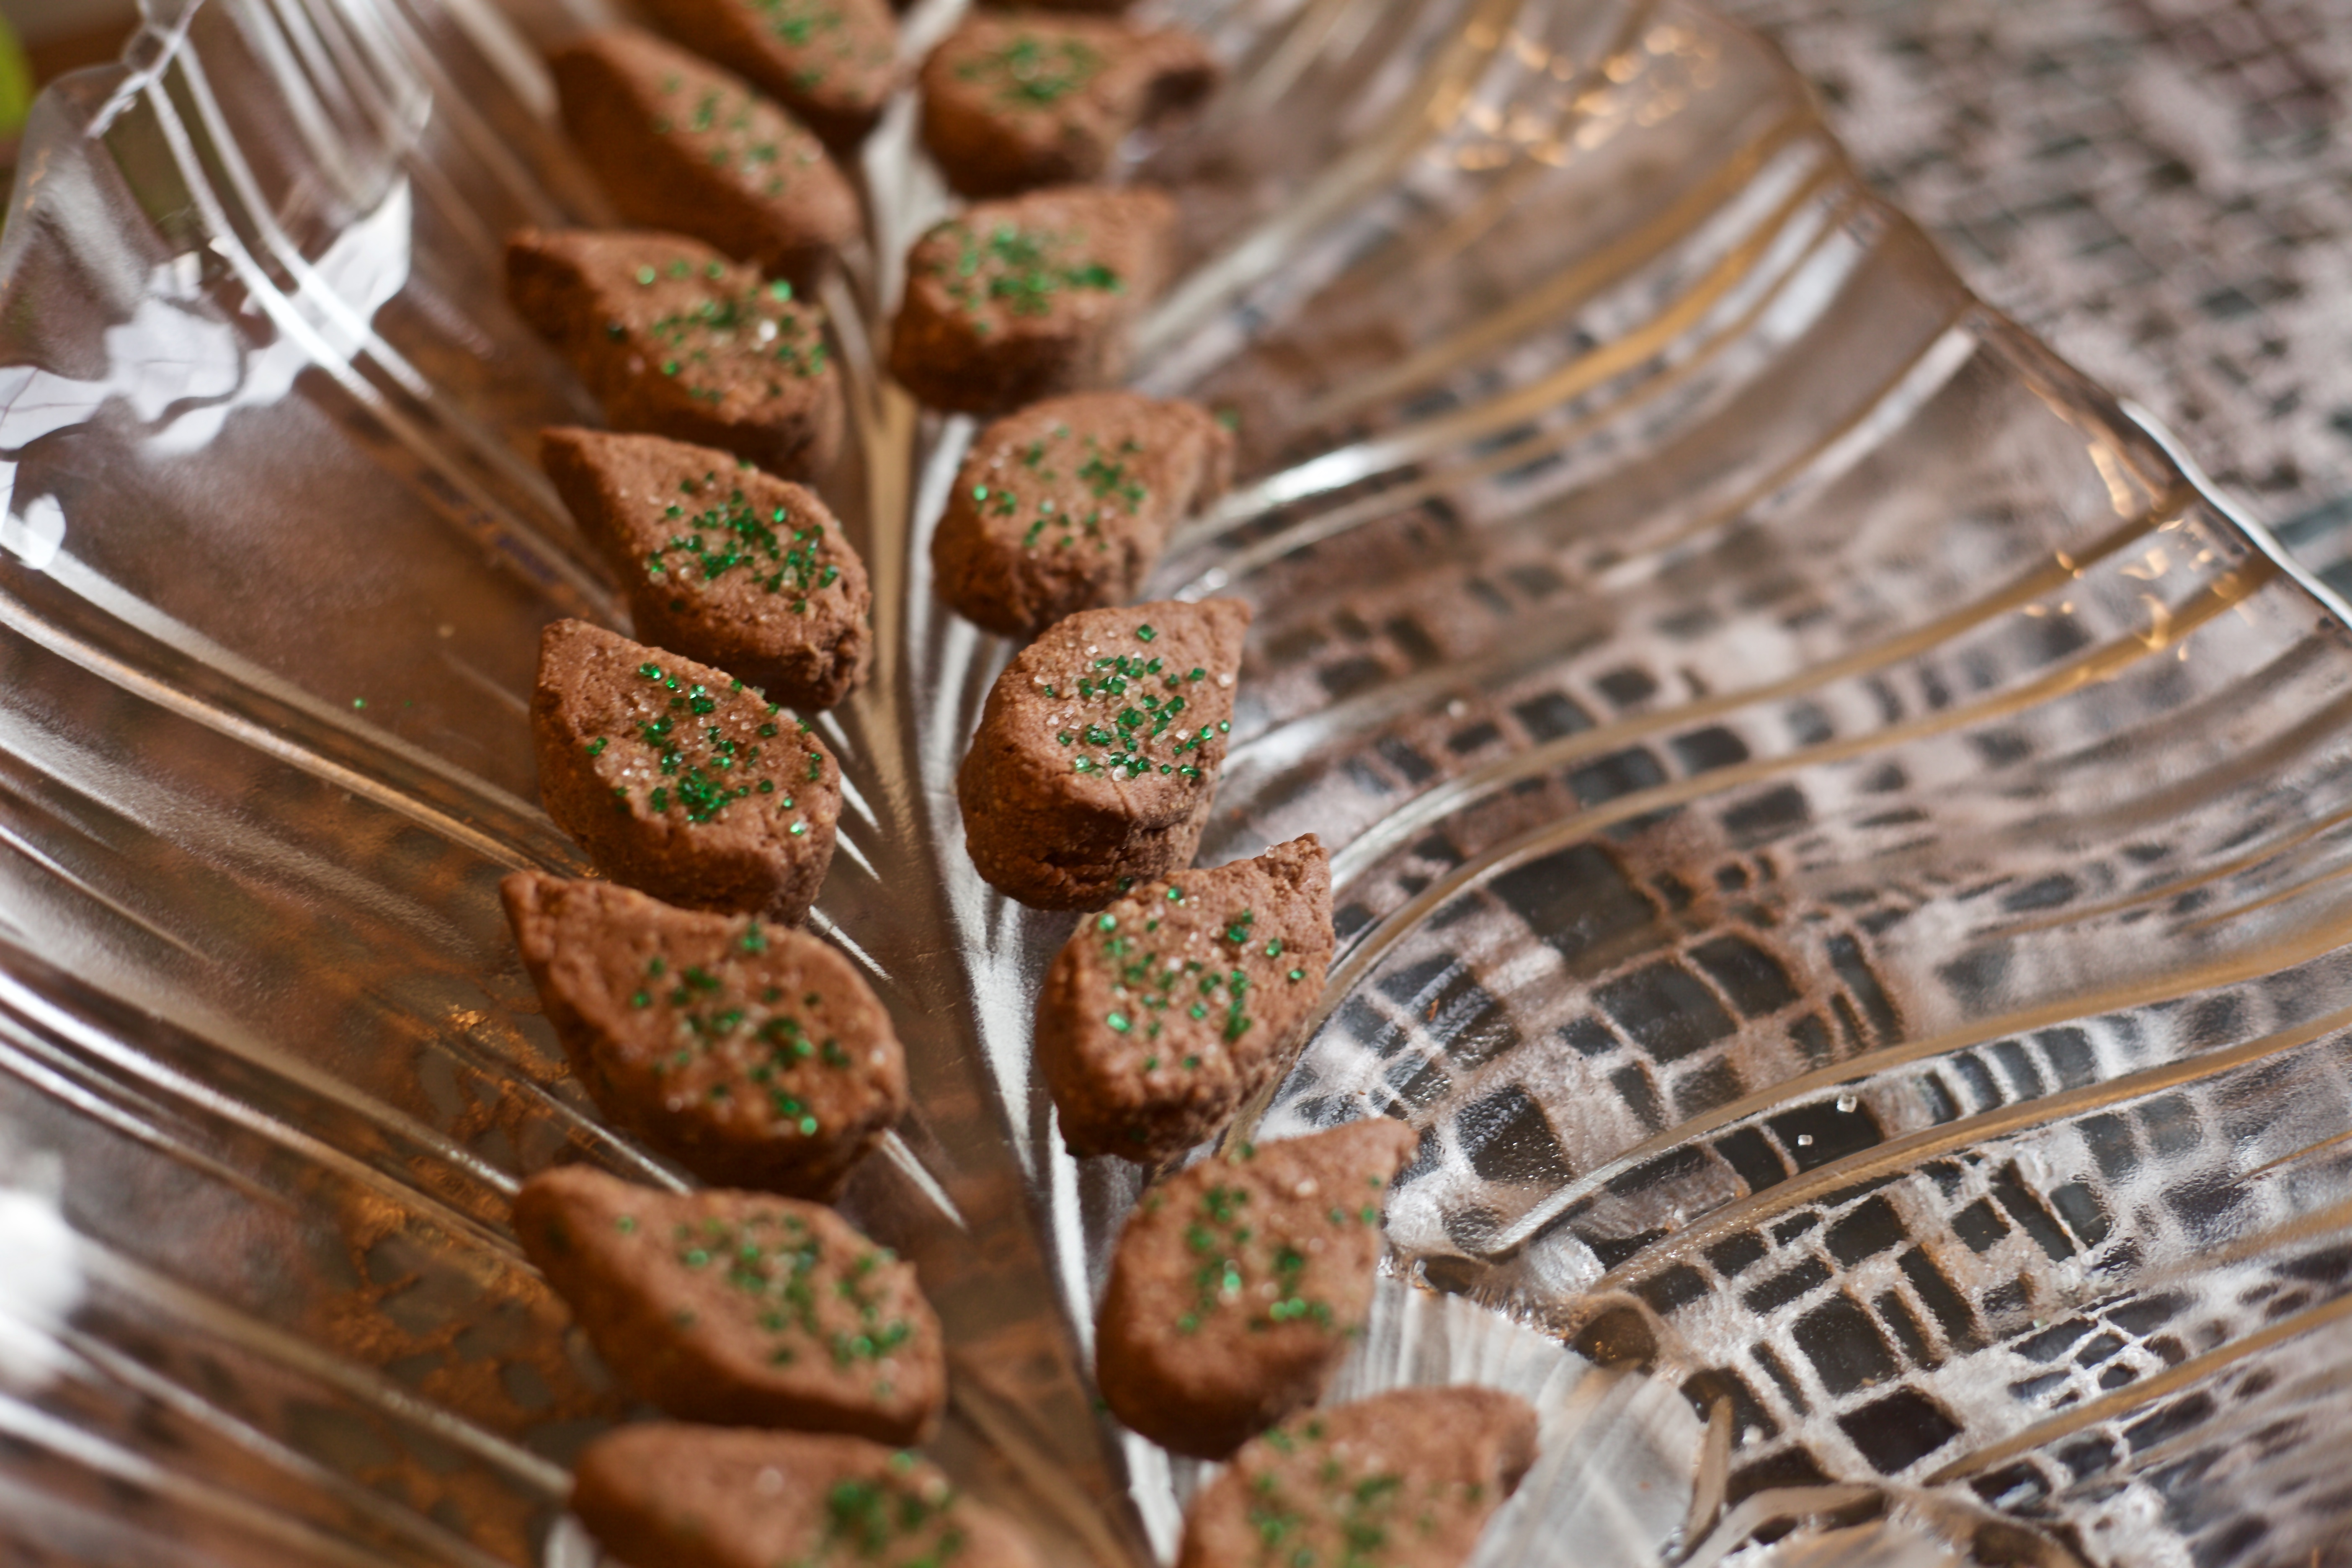
  • In a small deep bowl, or in  shallow plate, sprinkle poppy seeds and roll the ladoos in them.

IMG_1724

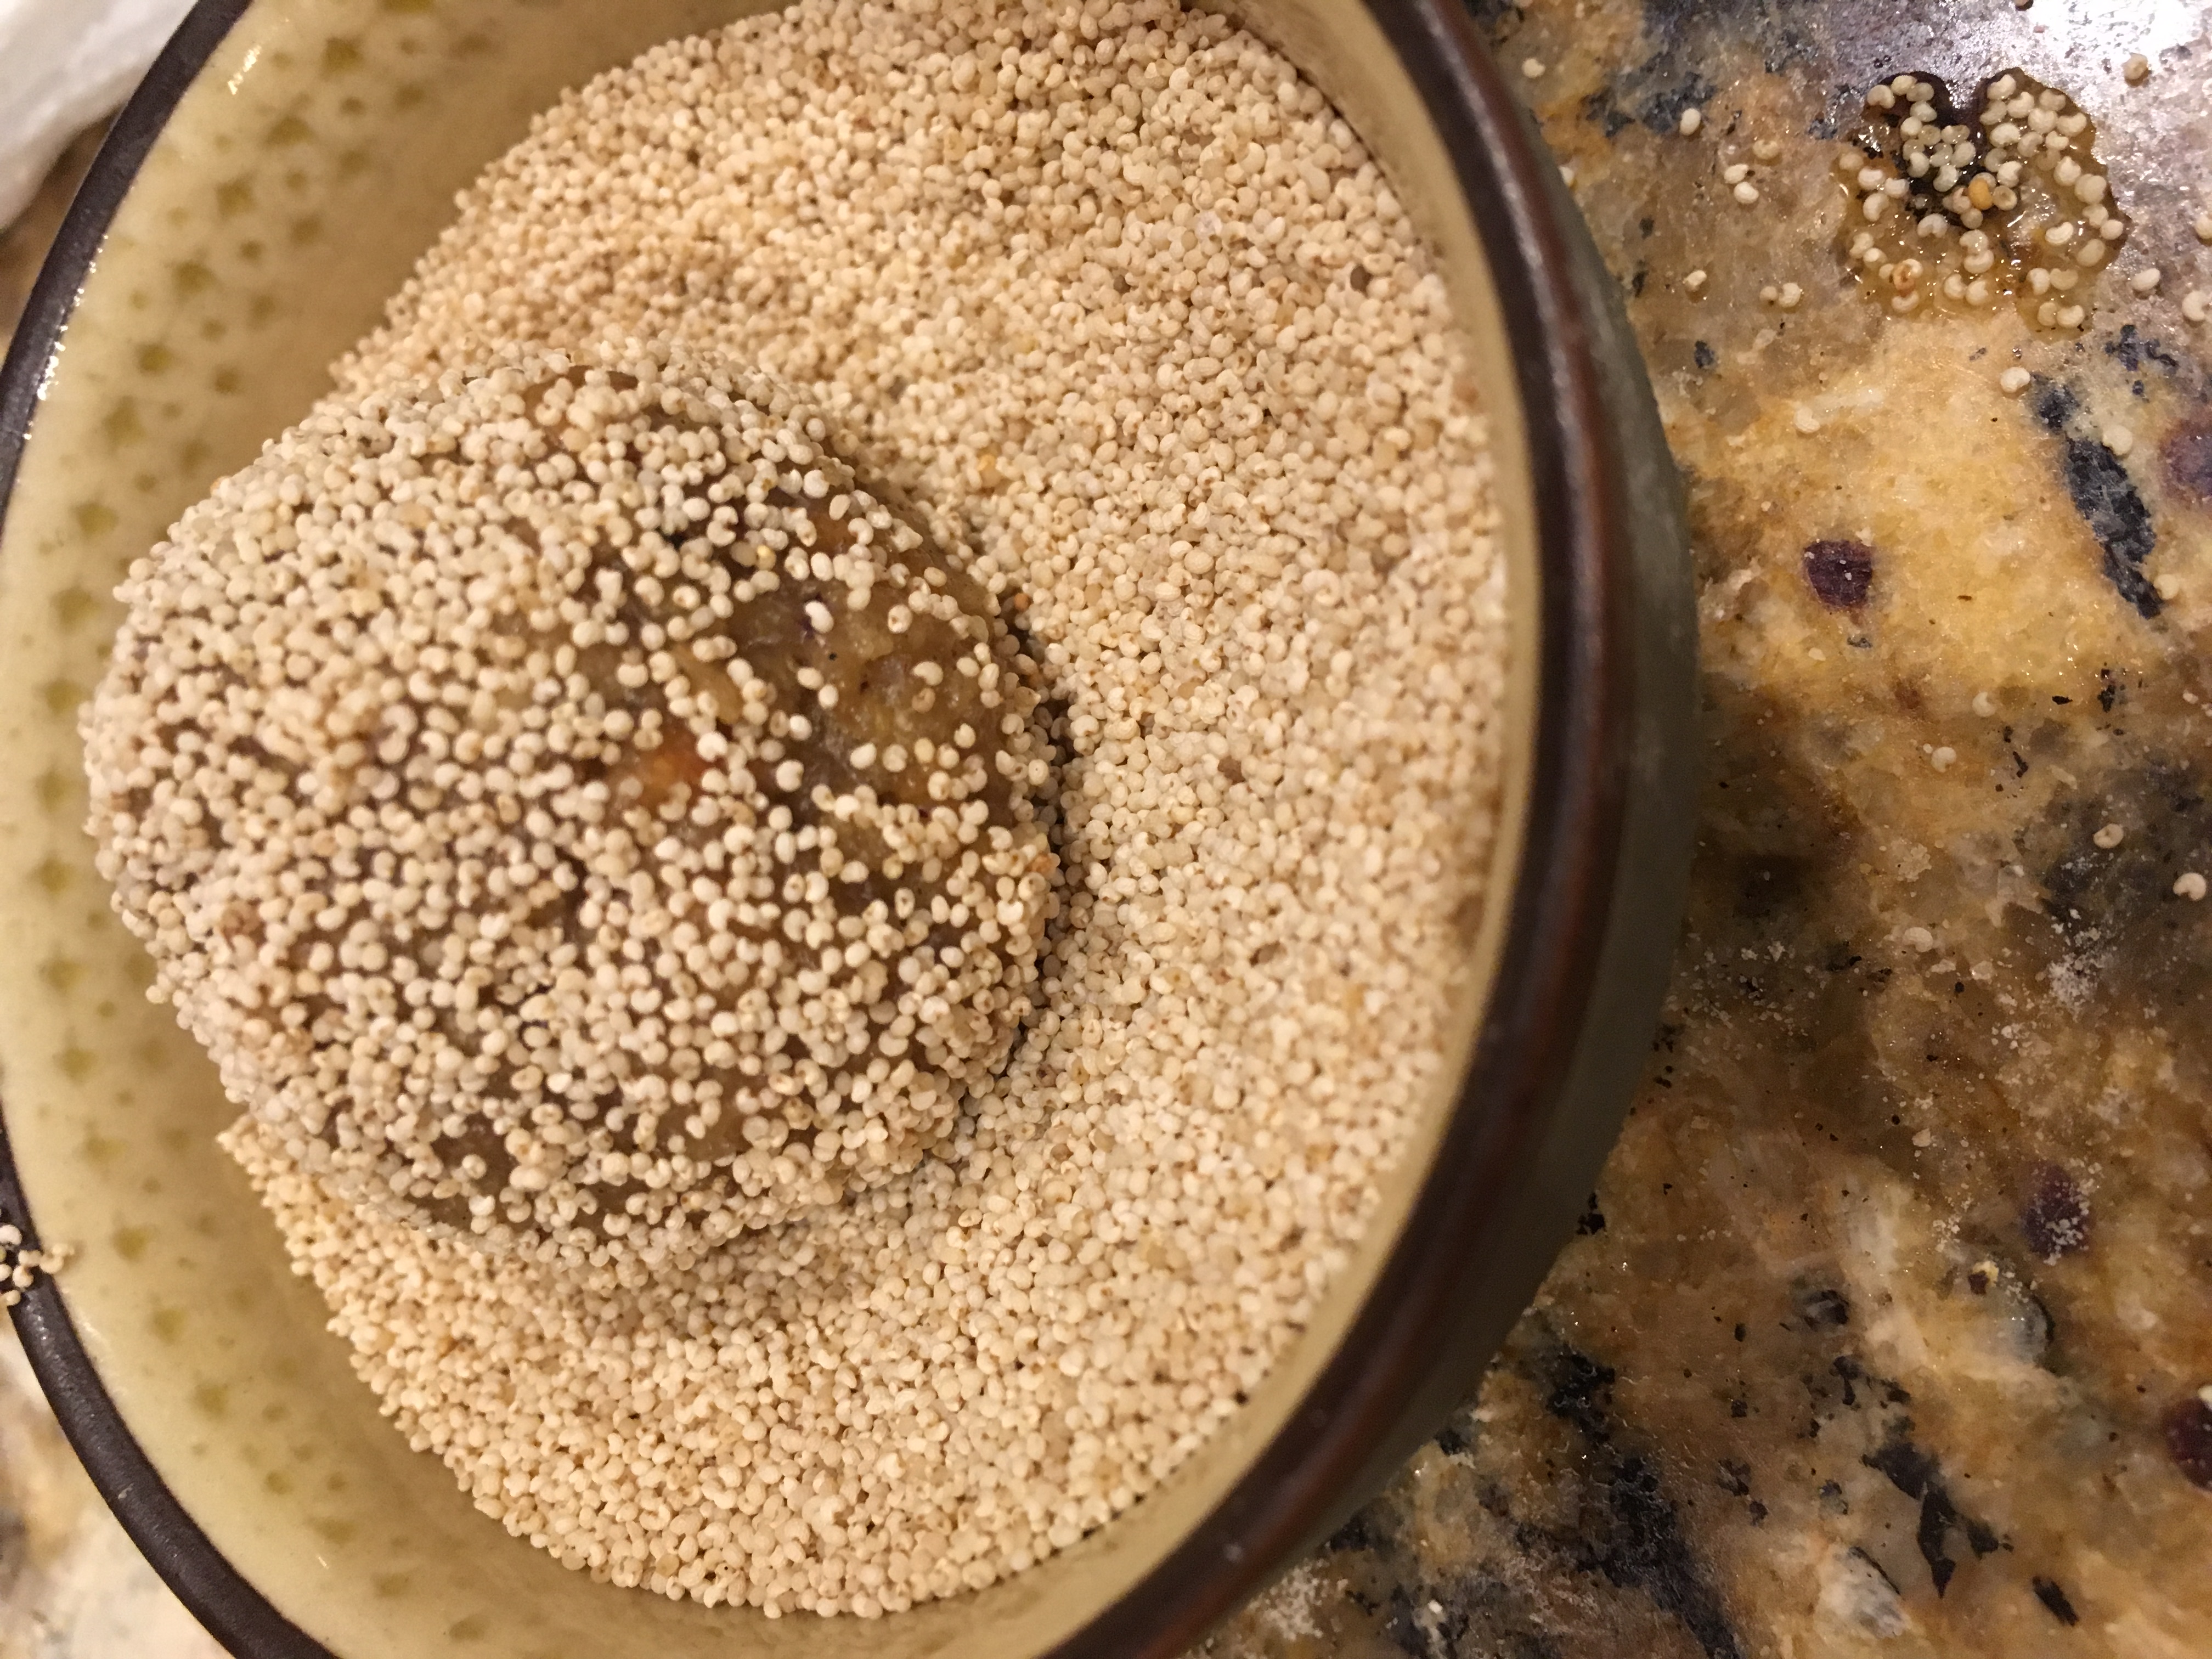
  • The amount of poppy seeds should be based on how thinly or thickly you want the ladoos to be covered with poppy seeds.
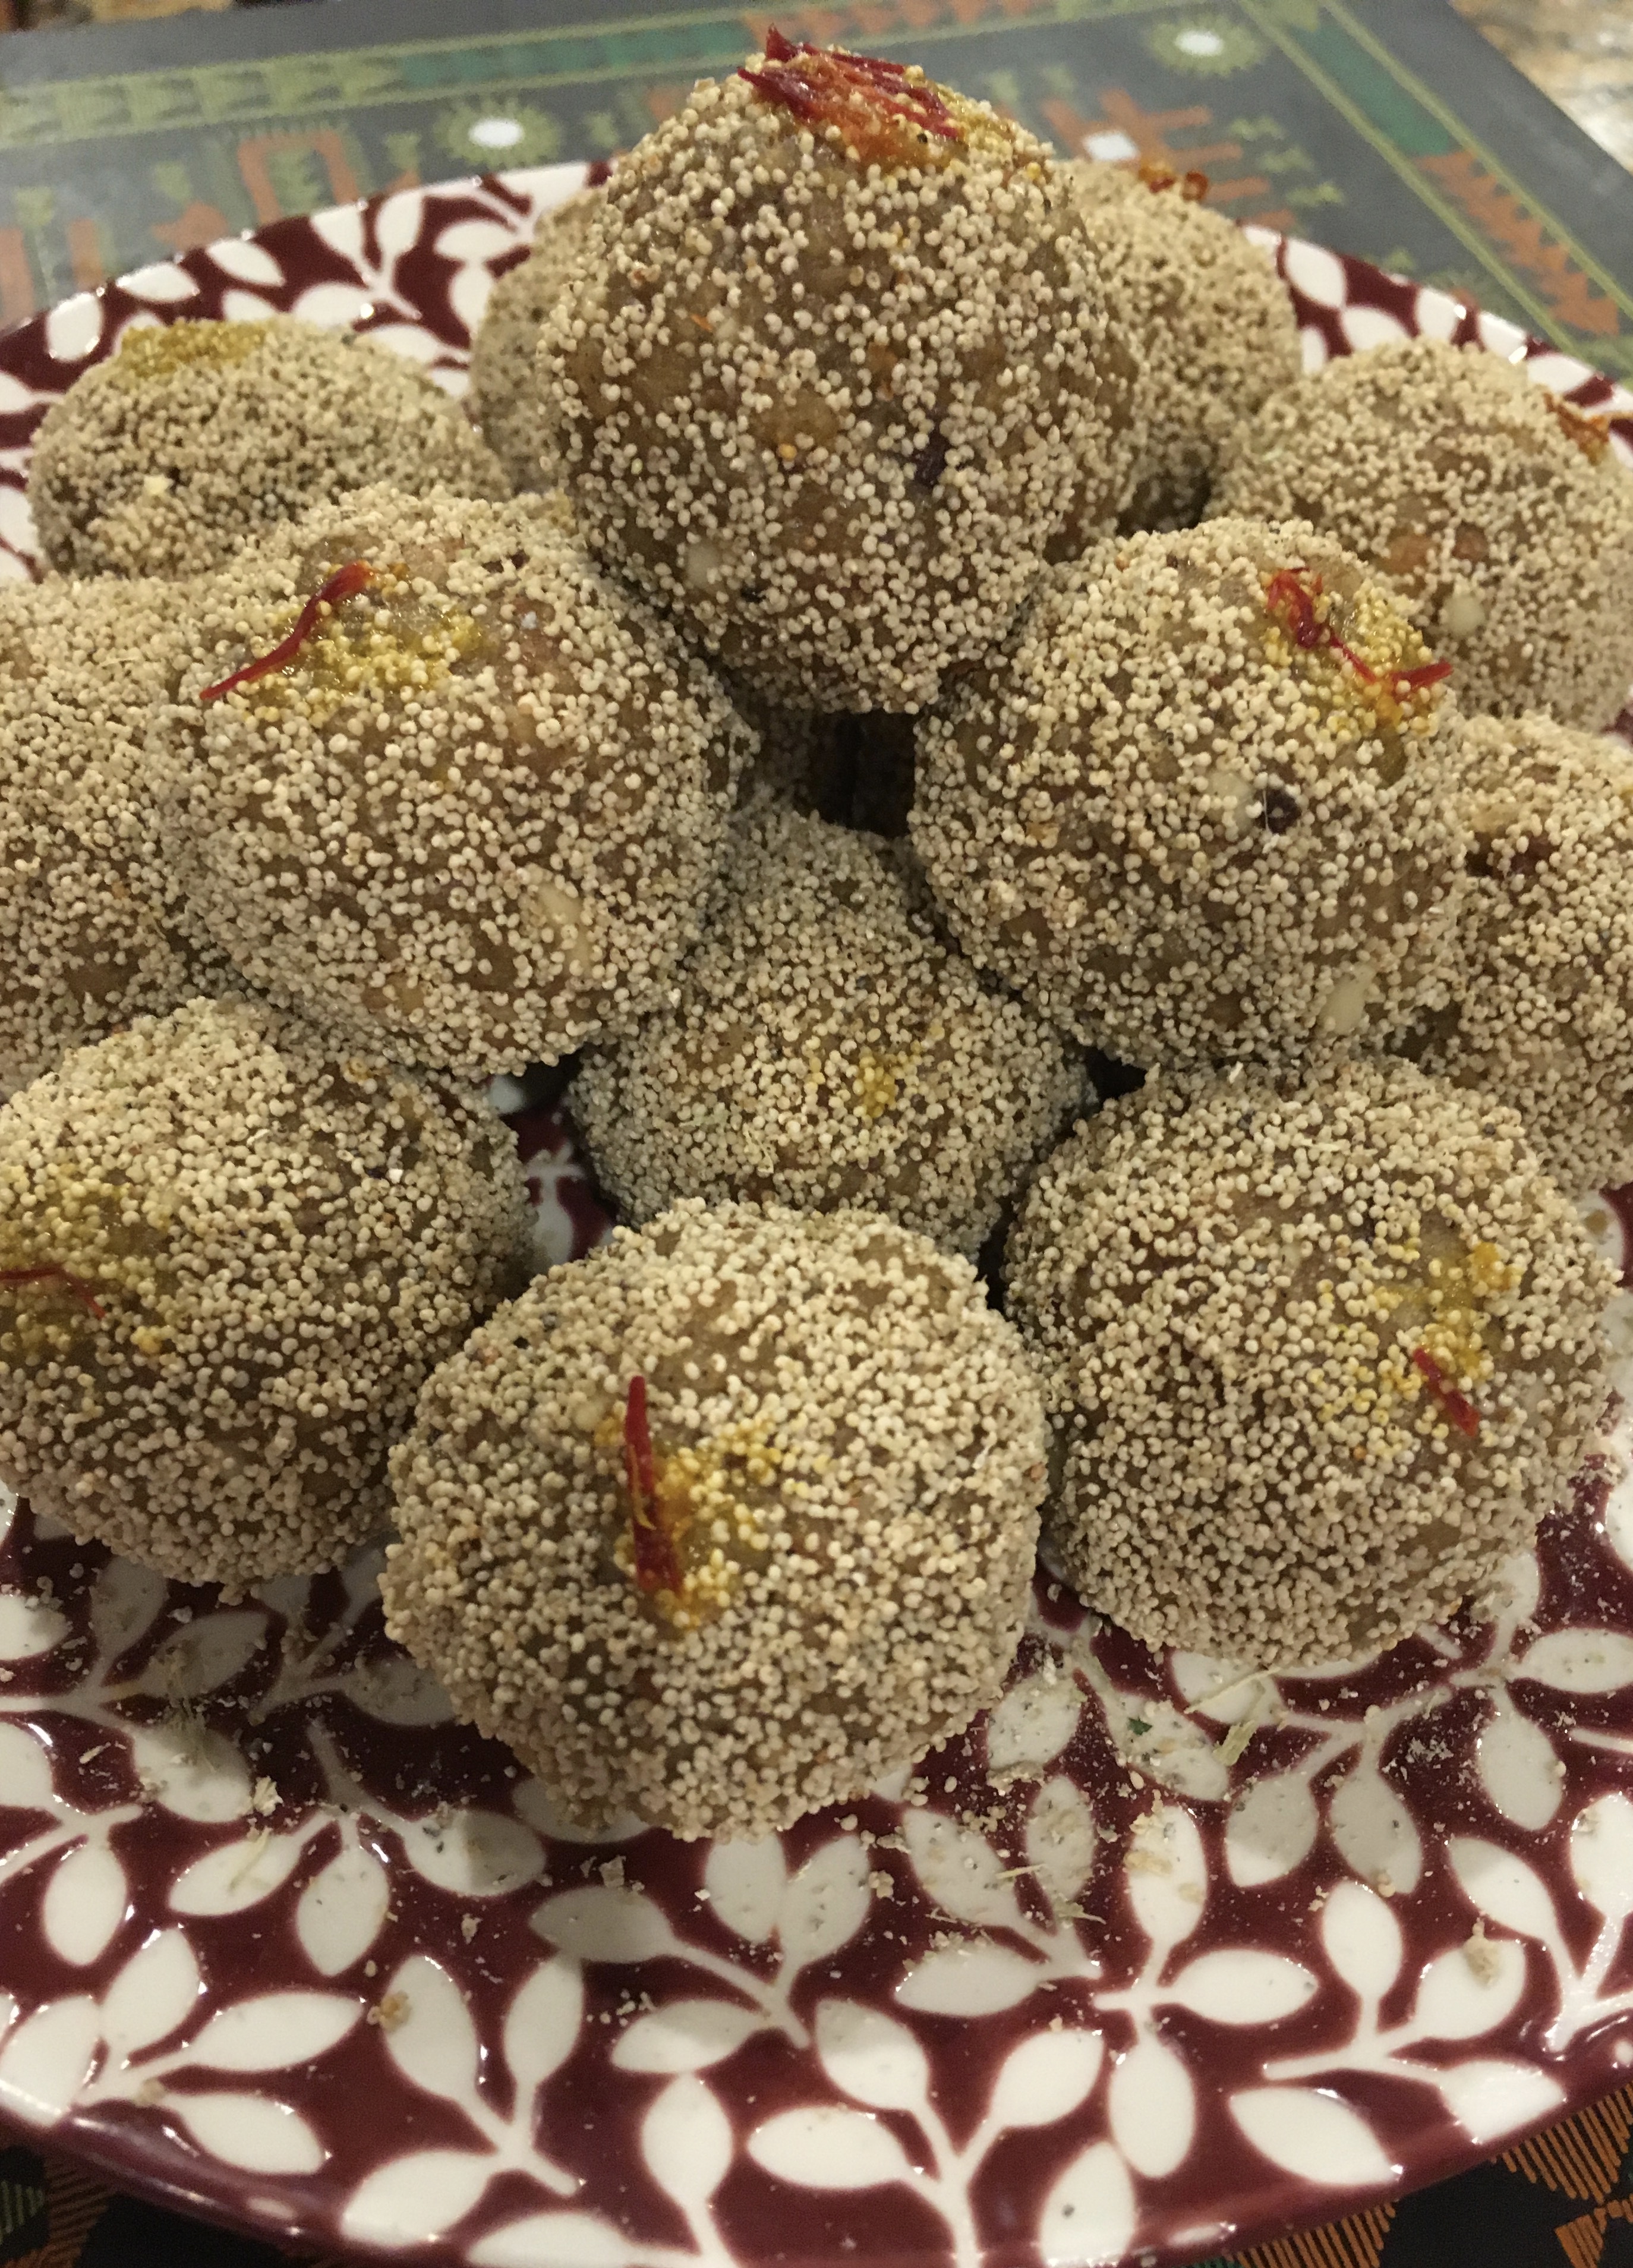
  • Heat 1 tbsp of water in microwave and add saffron strands to it. Leave if for 1-2 minutes and decorate the ladoos with saffron water.
  • Enjoy and invoke the blessings of the the lord!

Healthy Churma Ladoo Jaggery Sweetballs with Wheat and Pearl Millet

Tips

Ensure that the rotis are not too stiff after cooking , as that will leave sharp pieces and it will not not give a smooth texture. If after mixing in ghee, it still feels hard, just do another round in food processor, till it reaches the fine texture. Do taste the sweetness before making them into ladoos.

If not using semolina, you can make it like roti and crush into finer pieces, this will make it more softer.

If finding it difficult to gather into a ball, add some more ghee as required.

Instinct Factor

Combining the wheat and pearl millet was instinct based, as this is how my mother eats bajri no rotlo at home. And the need was there to consume bajri on a regular basis.

When you mix the ghee, you should be able to able to gather it firmly into a ball using your fist. It might need some pressure and 2-3 rounds of going over the ladoos to get the texture right.

If you want to kick it up, hide some pennies and dime, for little kids to get attracted to eating these churma ladoos!

Feel Factor

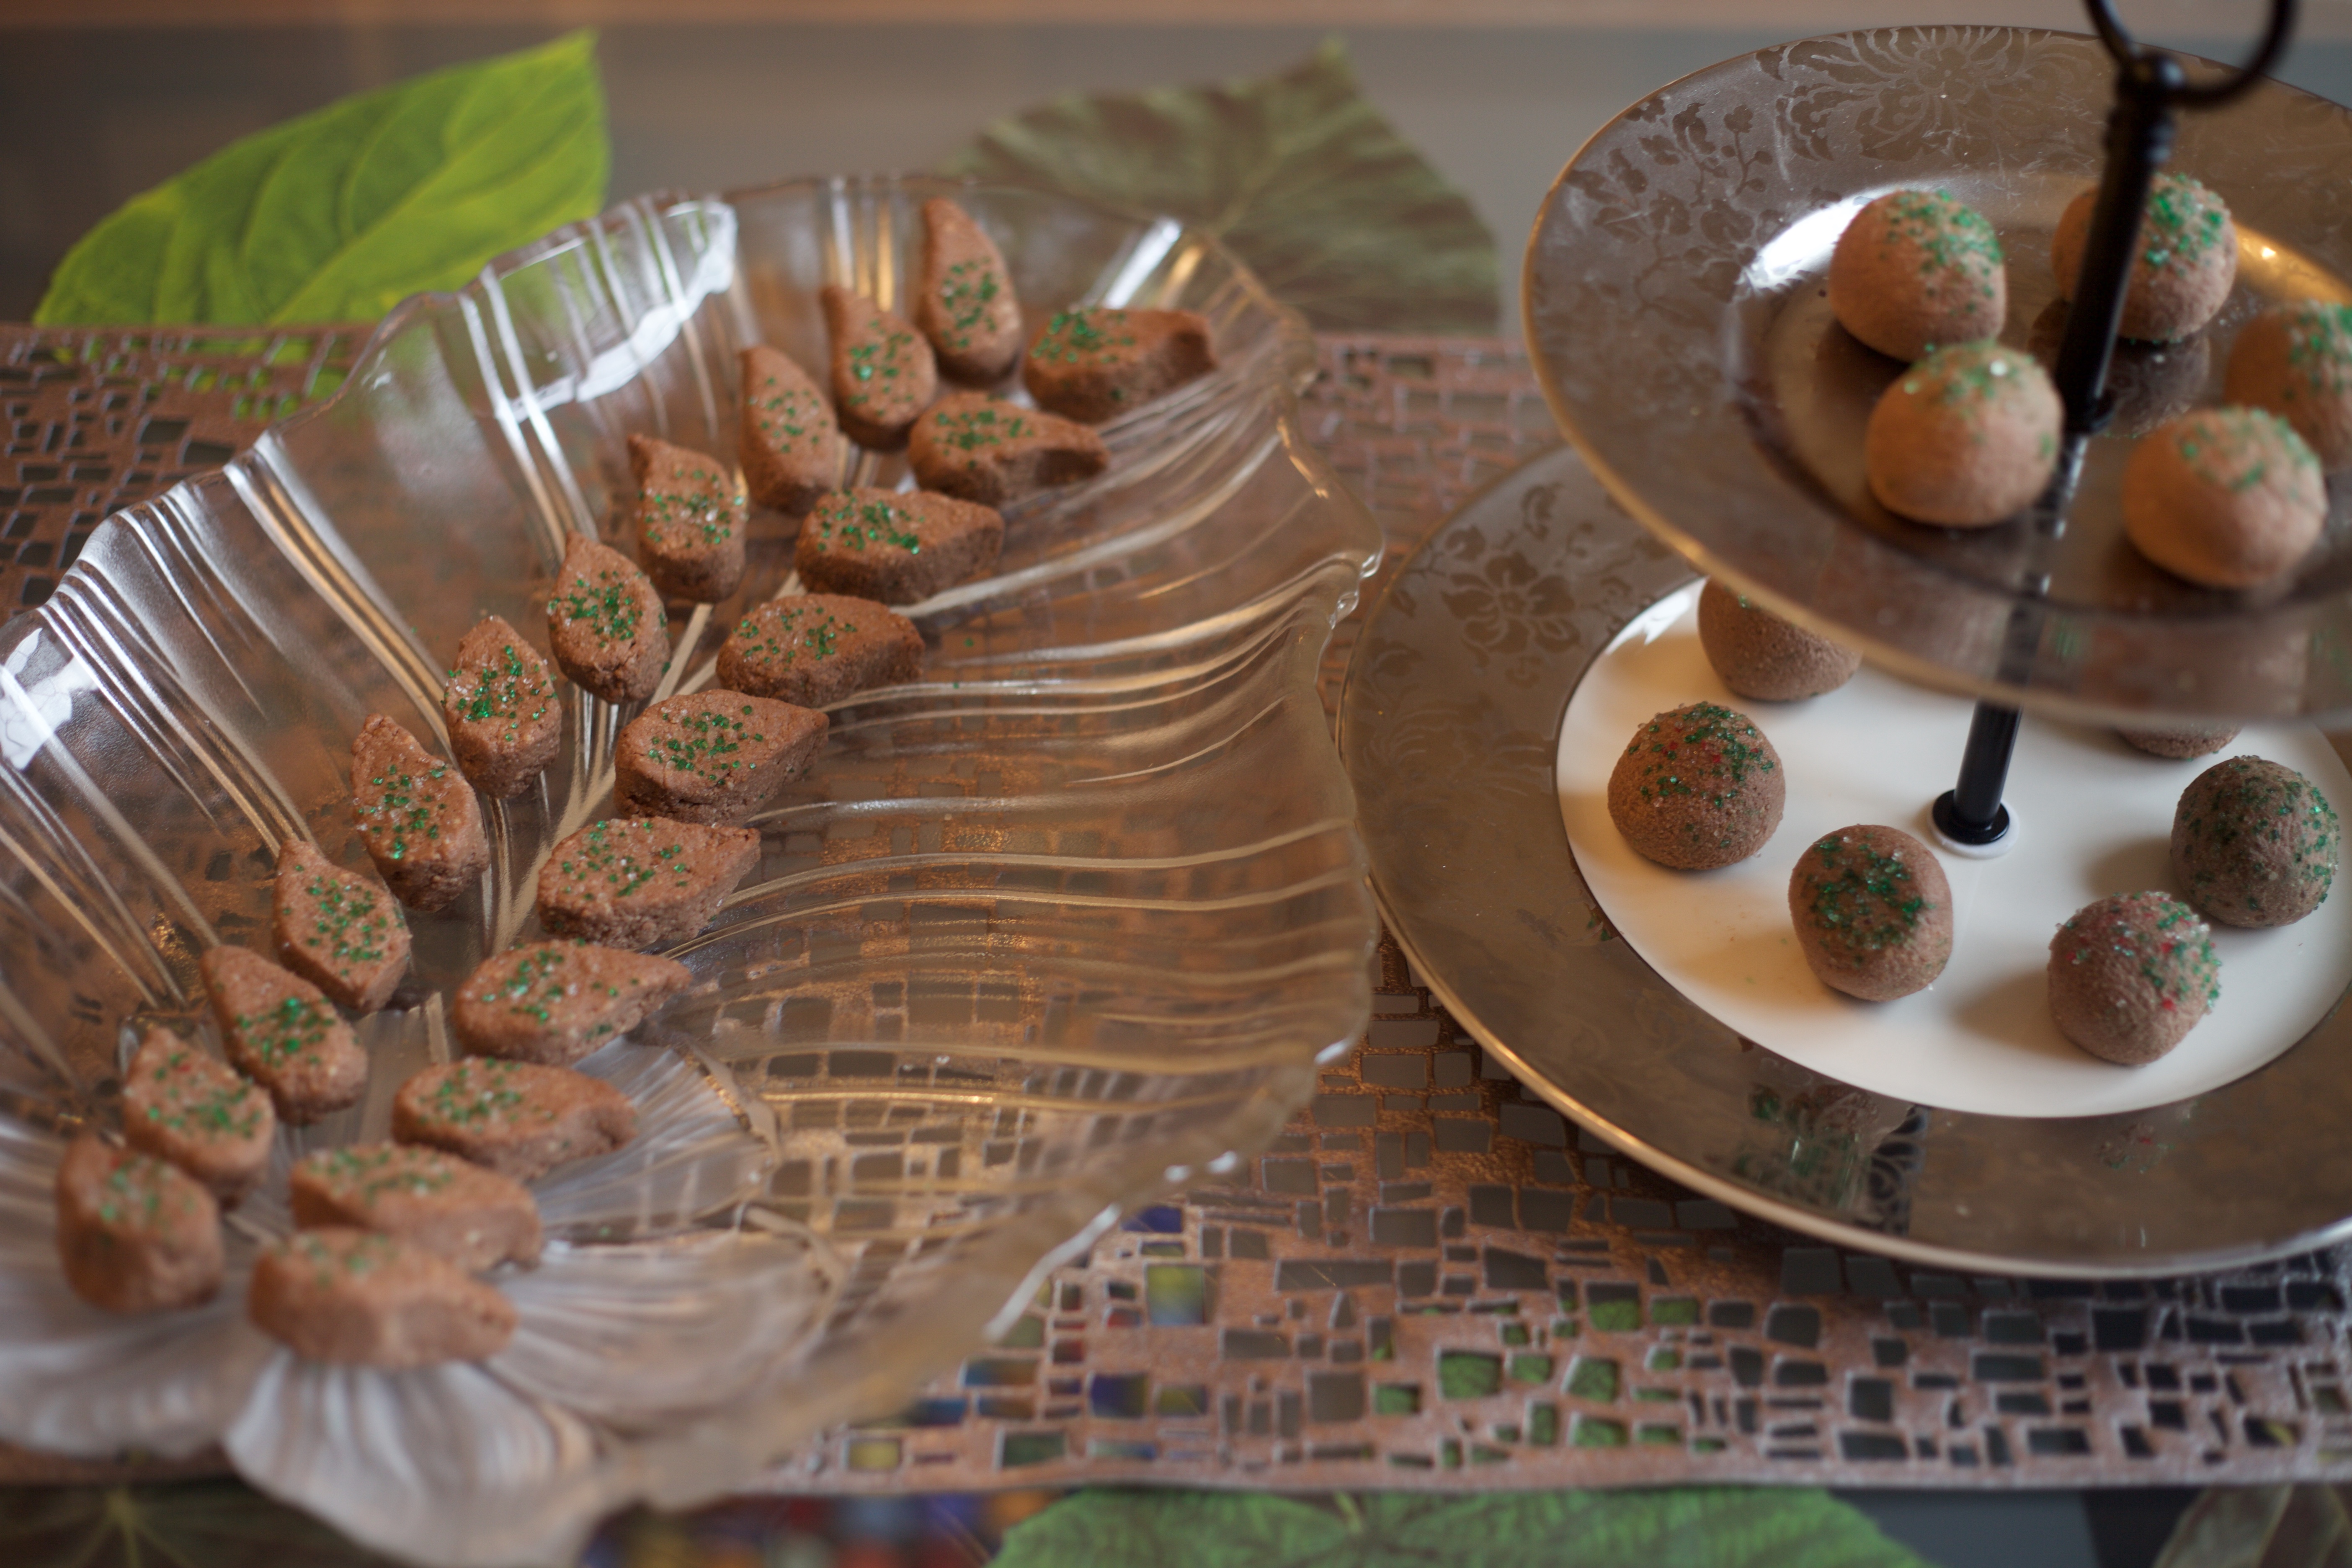
Memory of my maternal grand mother allaying my feeling of being separated from my mom, even  for a short while. through this mouth watering churma ladoos , which she used to make from leftover chapatis. And I would instantly be all calm and happy! Re living those moments with a healthier version of the same. Healthy Churma Ladoo Jaggery Sweetballs with Wheat and Pearl Millet are  attractive and I enjoy the saffron and nutmeg flavor in this mix along with jaggery.  Not to mention that I am significantly less guilty of eating this quintessential Ganesh Chaturthi dessert! A great way to intake pearl millet, jaggery, ghee , nutmeg, all appropriate things for the incoming fall and winter! For a devotee, Lord appears in all places, so it seemed to me in this pic of Healthy Churma Ladoo Jaggery Sweetballs with Wheat and Pearl Millet, Ganpati Bapa Morya!!


Healthy Churma Ladoos Jaggery Sweetballs with Wheat and Pearl Millet


[contact-form-7 404 "Not Found"]
Posted on

Avocado Banana Chaat

Avocado Banana Chaat

When things are meant to be, they just happen! Something like that happened for this Avocado Banana Chaat. I had dinner guests who are strict Jain Vegetarians, and hence had to find some summer recipes that would suit their needs, as well as my need for some chaat on the menu. I often think of the awesome Avocado Banana Chaat that I once had at Rasika, in Washington D.C. It was truly unique as it had avocado and indian spices. Rasika made an impression on me with its unique combination and superb presentation. And I always wanted to recreate this appetizer in my home. The guests  served as an inspiration to look out for the recipe on the web. A click on one of the google search for avocado banana chaat, accidentally led me to a link on the Chef at Rasika himself explaining this recipe of Avocado Banana Chaat! I felt as if I had hit a goldmine!! And I can confidently say that the appetizer hit a gold medal with my guests too!

The recipe is simple, healthy, and the tamarind sauce can be made in advance and used as needed. All you need is ripe avocados to enjoy this delicious, tangy, appetizer that is just one of the coolest way to have avocados. Almost like having an avocado bhel feel! The recipe is great for pregnant women and people on the path of improving their good cholesterol(LDL) as Avocados are good source of good fat! So along with Guacamole, keep this Avocado Banana Chaat in your menu for dinner party lists, as it is colorful, easy and super healthy and highly novel item too! The interesting flavor of the caramelized banana sprinkled with black pepper is what gives it and extra dimension to this already cool appetizer!!

No summer is complete without a chaat, so start a healthy ABC with this Avocado, Banana, Chaat🙂

Recipe makes for 15 people

Prep Time :  15 min.

Cook Time : 15 min

Avocado Banana Chaat

Ingredients

[shopeat_button]

  • 20 Avocados
  • 2 cups jaggery
  • 2 cups dates
  • 1/2 cup tamarind paste( or 2 cups dry tamarind)
  • 1 tbsp fennel seeds
  • 6 dry Red Kashmiri Chillies
  • 1600 ml water
  • 7-8  About to ripe bananas
Method
  • Put  water to boil
  • Add all the ingredients and boil for 30 min on fast flame.
  • When the water reduces to half. remove from flame


IMG_1185

  • Using a hand blender, blend all the ingredients

IMG_1193

  • Sieve the mixture  and remove the coarse parts.
  • Cool the tamarind paste.
  • IMG_1223


  • Peel the bananas and cut into half and slice each half vertically into two more pieces.
  • On a non stick or thick bottom shallow pan, put  some oil to heat.
  • Griddle the bananas for a few minutes on slow-medium flame till reddish brown.

IMG_1212

  • Remove from flame and sprinkle crushed black pepper and a pinch of salt on them
  • Skin the avocados and remove the pit and dice them into cubes.
  • Gather  the chopped avocados in a small bowl, and invert the bowl in the plate.

IMG_1214

  • Top it with tamarind paste and surround it with caramelized bananas.
  • Serve immediately.

Avocado Banana Chaat


Tips

Ensure that avocados are not extremely ripe, as then it is not possible to cut into cubes. Also if you cut the avocados in advance, pour some lemon juice on it, for it to avoid oxidation.

If well cooked, the tamarind paste will give off a nice glaze from the caramelization of the jaggery.

Instinct Factor

Just trust your heart to let you know what the body needs!

Feel Factor

To recreate what a master chef creates at his restaurant, is a wonderful feeling! And the feeling gets even more satisfying when the recipe turns out good and the guests enjoy this colorful chaat appetizer that becomes the spotlight for the evening! It is extremely colorful and healthy chaat recipe with avocados and banana, that will give you enough grounds for something to really chat about 🙂


[contact-form-7 404 "Not Found"]
Posted on

Sudanese Gibna Baida Sandwich

Sudanese Gibna Baida Sandwich

Sudanese Gibna Baida Sandwich is all about the cheese! What’s in a cheese? Everything! The earliest invention of cheese now dates to 5000 BCE, per the pottery found in Poland. Cheese making developed as soon as cows and sheep were used for farming. The pictorial description of cheese formation process is well described in tablets in Egypt  and Sumeria. Gibna Baida is how the white cheese in Sudan is known as. It is a part of the cheese categorized as salad cheese, and resembles its texture to Feta cheese, as commonly known. The difference is Greek Feta cheese is made from sheep’s milk and combination of sheep and goat sudanese Gibbna(popular name for Gibna Baida) was originally made only from cow’s milk and without any additions of rennet. To know  more about discovery of cheese, do read this Smithsonian article  on History of cheese  Like feta cheese, it is also stored in the whey or brine, but it is less salty than feta. It is more like the Indian Paneer cheese, only most crumbly and softer.

So as this is a part of the category of  salad cheese, the way to eat this in sandwich, which was shown to be my sister in law, whose family is originally from Sudan, is that you mix the salad vegetables , like cucumber and tomatoes with the cheese.  Since Gibna Baida is not so easily available over here, my sister in law decided to use feta cheese,  and she was happy with the overall taste of the sandwich.

I enjoy eating this sandwich in the hot summer days, as often on hot days, I prefer eating salad that cools your body, and this definitely has a cooling feel to it. Its a new taste to have a flavored salad with indian spices in your sandwich, but you got to try to it appreciate it!

My daughter gave two thumbs up for this, and I liked it to, specially as I used the creme fraiche ( similar to indian white butter) as the base. My sister in law used this to take it on a long journey,and everyone seemed to enjoy this. So thinking of hiking, long drives? Think of Sudanese Gibna Sandwich as an option! I have still retained the Gibna name, even though I have used Feta and Paneer, as the inspiration is from Sudan!  For my personal consumption I used crumbled paneer, as I wanted to go low on salt as well as avoid any rennet based cheese, as rennet is animal based product.

So say cheese, take lovely pictures  and enjoy the summer with this cooling salad based Sudanese Gibna Baida Sandwich for all!

Sudanese Gibna Baida Sandwich

Recipe makes 5 sandwiches

Ingredients
  • 1 1/2 cup chopped tomatoes
  • 1 1/2 cup chopped cucumbers
  • 1/3 cup chopped avocados (optional)
  •  1 1/2 cup of gibna baida cheese or feta cheese or crumbled paneer
  • 3 1/2 tbsp oil
  • 1 1/2 tsp red chilli powder
  • 1 1/2 tsp corainder powder
  • salt to taste
  • 10 bread slices with the crust removed
  • [shopeat_button]

Method

  • Mix everything in a bowl, except the bread slices. The one on the right has avocados and paneer.

IMG_1102

  • Butter the bread slices.
  • Layer the bread with the salad and cheese mix.

IMG_1111


  • And top it with another slice and cut into pieces as you desire. I have a liking for triangle, as somewhere I read recently that triangle, is the most stable shape in geometry! Display in a pinwheel form or listen to your creative voice and enjoy!

Sudanese Gibna Baida Sandwich


Tips

Mix all the ingredients, just when you are about to make sandwiches.  Add olives if you prefer, as they will go well with this combination.

Instinct Factor

You can try leaving  a block of paneer  in the whey to create the original feta/gibna baida cheese texture and taste

Feel Factor

I can survive on sandwiches, seven days a week, and am always looking to vary my sandwich of the day! This is an excellent, quick way to eat salad flavored with oil and spices, and specially tastes great with white indian butter  or creme fraiche by Vermont bakery, available at Whole Foods. THE creme fraiche is made very similar to the way Indian white butter is made. The crust removed bread tastes great with the salad and cheese and Sudanese Gibna Baida Sandwich is a great summer sandwich to enjoy!

[contact-form-7 404 "Not Found"]


Posted on

Chocolate Sorbet

Chocolate Sorbet

CHOCOLATE SORBET

Chocolate Sorbet was our celebration on the National Day of Ice cream, celebrated on third sunday of July! Now that is a fun event started by President Ronald Reagan, and what a way to enjoy the summer! Sorbets feel lighter and more cooling than ice cream, as there is more of water. Ronald Reagan was a Republican candidate, and with the Republican Convention going on, this Chocolate Sorbet is a good accompaniment while watching the RNC. This recipe was found in Stef Ferrari’s  book of ice creams. She mentions that she had issues with sorbet, and for me getting the  smooth creamy texture in sorbet was a challenge.   So I decided to try this recipe out. What interested me also was that this was one of the first non-fruit based sorbet, as popularly sorbet are made from fruit based sweetened water,

The recipe did prove to make it more denser and smoother than my earlier versions. But I had to modify the sugar/chocolate ratio, as the taste had excess chocolate. So adding extra sugar was the only way to fix it! If you are in the mood to buy an ice cream maker, you may want to check out the  new ice cream maker with two different blades from Cuisinart. There is one blade for ice cream and one for sorbets! Now I would like to try that, as a special sorbet churning blade will definitely have an impact on the texture of the sorbet. My experience with Cuisinart products has been pretty satisfying across a series of products so I am looking to buy this soon, and thanks again to this blog, I now officially qualify as a professional! For a die hard chocolate fan, this is just one more reason to celebrate and one extra reason to have another scoop of Chocolate Sorbet!

The taste is is chocolaty, texture is dense and sweetness is just right, but the best part is that it only takes five minutes in cooking time! One of the easiest ice cream/ sorbets I have experimented with. It does need overnight aging, and the usual churning time and freezing time.Looks like next week is going to be extra extra hot, and having chocolate sorbet on hand, will definitely assist in cooling the body!

Enjoy the summer with a great selection of ice creams, sorbets and granita and you may just include this chocolate sorbet in that list!

CHOCOLATE SORBET

Recipe makes about 16 oz  of sorbet ( or half of a quart)

Cooking time : 5 minutes with aging of mixture of overnight

Churning time: Approximately 20 minutes

Freezing time: 7 hours

Ingredients
  • 2 1/2 cup water
  • 3/4 cup brown sugar
  • 1/2 plus 1/3 cup cane sugar
  • 2/3 cup unsweetened cocoa powder
  • 3/4 cup chocolate morsels, shredded chocolate
  • 1 tsp vanilla essence.
Method
  • Mix 1 1/2 cup of water and both sugar and heat for 2-3 minutes, till all sugar dissolves.
  • Remove the mixture from flame, and cocoa powder , vanilla essence and dissolve the chocolate pieces, ensuring that no lump remains.
  • Leave the mixture overnight.
  • Using a hand mixer, churn the chocolate mixture for a 1-2 minutes

IMG_0991


  •  Churn the mixture in an ice cream/sorbet maker to the manufacturer’s instructions. Usually in 20 minutes, the mixture would firm up.

IMG_0995

  • Freeze the chocolate sorbet in a freezer for at least 7-8 hours before serving. It is fun to serve the chocolate sorbet in an ice cream cone too!

Chocolate Sorbet


Tips

If using sweetened cocoa powder, you may be okay with 1/2 cup of cane sugar.

Ensure that the ice cream container is well chilled before making sorbet, otherwise, sorbet will not firm up on churning.

Instinct Factor

Its always best to check the sugar and cocoa level before freezing, so that the end product is to your liking!

Feel Factor

Having a Chocolate Sorbet on a late night evening  while watching television, is a perfect kind of summer night! For a die hard chocolate fan, you cannot go wrong with this super easy recipe of making a chocolate sorbet. A non-fruit based recipe sorbet in a flavor that has a wide universal appeal makes this chocolate sorbet an easy recipe to go to!

Posted on

Fried Patra Alu Vadi Colocasia Pinwheel Fritters

Fried Patra Alu Vadi Colocasia Pinwheel Fritters

Fried Patra Alu Vadi Colocasia Pinwheel Fritters

Fried Patra Alu Vadi Colocasia Pinwheel Fritters is an Indian subcontinent delicacy, from a vegetable, that is considered as one of the oldest cultivated vegetables. Its popular name is Elephant Ears, and that is no wonder as elephants are found in abundance in Malaysia, Thailand, India and Sri Lanka. The size of the Arbi/Colocasia leaves is gigantic and justifies its popular name as Elephant ears! This plant is mainly cultivated in USA around lakes and ponds but in Indian sub continent it is widely eaten for its roots, leaves and corms. My good luck that I live next to a botanist, to whom I introduced this delicacy and he was so captivated by it, that we decided to grow it in a containter in USA, as fresh Arvi leaves are hard to find on a consistent basis! He even looked for it at the nursery for us! As I come from Jain family, my association with roots vegetables is not great, but my mother-in-law makes excellent vegetable curry from Arvi roots. So while buying Arvi root for my husband, I had a Eureka moment, and figured, why not try cultivating this root in a container pot and see if I can have fresh Arvi leaves through the year! So this eureka moment is a result of neighborly mingling and sharing one’s culture and food with others. Also always taking the opportunity to know more about different cultures and cuisines!

The common way of cooking Patra or Alu Vadi is by steaming the leaves. However my mother had an additional way of making it, by frying them. By doing this, it looses some of its extra sharpness in taste and plus the taste is crunchy, and can be served as a warm appetizers, just before the meal is served. Gujarati households have a penchant for fried stuff, so its understandable, why this dish became popular in our household! And my neighbor also liked this version better than the steamed one, and he is not of Indian origin! So this delicacy will definitely appeal to taste buds of many people, and it also has a high visual appeal with its pinwheel look.

The process involves coating the leaves with a spiced gram flour paste on the leaves, and then rolling them in group of three, or single. And then either steaming the rolls, followed by cutting into pieces and then garnish it with mustard, sesame , coconut and lime. However for fried patra, we first slice into pieces and then fry them golden brown and serve with ketchup and chat masala. The taste has some sweetness, some spice, some crunch, that creates a very attractive finger food! I can easily vouch that Fried Patra Alu Vadi Colocasia  Pinwheel Fritters are addictive if you like them, as you start eating one, and you will  soonfinish a handful and want more!  And this recipe covers both the fried as well steam option of the Patra, Alu Vadi and Cocolasia Pinwheel Fritters appetizer.

Hope I find luck in growing the leaves in my container from the Arvi root! That way a high dose of Vitamin A and Potassium is always available through these Elephant ears/ Patra leaves! These small joyful moments of discovering something new and learning something new, make my days exciting and keeps my mind eager to learn!

Make both versions, steam and fried, and decide which one you like more!

Fried Patra Alu Vadi Colocasia Pinwheel Fritters

Recipe makes 60-70 pieces of Patra  Pinwheel fritters

Cooking time 1 hour 20 minutes

Prep time: 15 min

Ingredients

  • 10 Arvi or Colocasia leaves (mix of large, medium and small sizes)

IMG_0897

  • 2 1/2 cups gram flour besan
  • 11/2 cups water
  • 1 tbsp oil
  • 1 tsp turmeric powder
  • 2 tsp chilli  powder
  • 1/4 tsp asafotida
  • 3 tsp lemon juice
  • 3 1/2 tbsp sugar
  • 1/4 tsp baking soda

IMG_0900


For frying and garnishing

  • oil for frying
  • chat masala for seasoning

Method

  • Wash the leaves thoroughly and leave them to dry.
  • Using a sharp knife, skin the thick veins on back of the leaves.
  • Mix all the ingredients into a paste and leave it set for half an hour, ensuring that there are no lumps.

IMG_0903


  • Lay the biggest leaf on face down and cover it with gram flour paste.

IMG_0904

  • Lay second leaf face down with tip on the opposite direction and cover it with paste.

IMG_0905

  • Lay the third smaller size leaf again face down, tip facing the side of first leaf and cover it with gram flour paste.

IMG_0906

  • Now from the tip side of the first leaf, starting rolling over small and tight till you reach the other hand. Every second turn of the roll, apply the gram flour paste.

IMG_0907

  • Slice the rolled leaves into half and inch thick pieces.

IMG_0909

  • Heat the oil for frying. and when warm, insert the sliced pieces to fry on low- medium flame.

IMG_0911

  • Turn over when golden brown and cook on the other side.
  • Remove to cool a bit.
  • Garnish with chat masala and serve it with ketchup.

IMG_7033


Tips

Fresh leaves taste the best. Do not buy leaves that are yellow or lifeless. as it will taste bitter.
When skinning the veins at the back, ensure that you do not cut through leaves, and the smooth edges seem as flat as the leaf.

Instinct Factor

My mother prefers to use only single leaf roll for Fried Patra Alu Vadi Colocasia Pinwheel Fritters. This makes the pinwheel fritters to a nice bite size form.

Big spinach leaves can be an alternative to Colocasia leaves, as they have a similar color, texture.

Feel Factor

A snack in a pinwheel form with attractive  gold and green colors, reminding me of a peacock feather, when laid together!. Truly enjoyable  as an accompaniment to any meal, and a novel way to cook the Patra leaves. Since they are not so easily available in USA, it is a delicacy for me that needs to be truly cherished and savored every bit for its rich unique taste. The chat masala sprinkled on top is a perfect seasoning to this yummy appetizer that is rich in vitamin A and potassium nutrients. Go healthy and eat the steamed version or feel festive and have the Fried Patra Alu Vadi Colocasia Pinwheel Fritters.


Posted on

Orange Sorbet

Orange Sorbet

Orange Sorbet, having the  color of the sun, is a perfect antidote to beat the summer heat! Its a great recipe to have in your recipe collection for this summer. Officially, the swimming pools have opened today, it being Memorial Day over here, so time to look out for  cooling recipes that are quick to make and yum to eat!

Memorial Day is also a day of  remembering veterans who have served the USA in its wars. Personally I would like to remember a neighbor of mine in NJ, who was a major inspiration for me to get serious about coming out with a cookbook or something related to cooking.  We were having conversations on how many recipes to include in the cookbook and so on and so forth,  and then we moved away from there. She recently passed away after fighting bravely against cancer. She was  one of the first ones, who I asked to critique my blog, and I was encouraged to receive a thumbs up from her for the voice in my writing! Rest in peace Elizabeth Zibman, and your opinion mattered to me a lot as you were a creative writer and a professor at Rutgers!  Your confidence in me, helped me take a step towards creating this blog.

This recipe has been adapted from myrecipes.com as it seemed easy enough for my daughter to make it for her class picnic. The kids thoroughly enjoyed it in the 85 degrees weather, though we should have planned to make it earlier, for it to have a more firmer consistency. The picture in this image was after two days of freezing the same!.

The taste feels like frozen orange-lime juice and its quite nice to have a scoop of it in the mid-afternoon to beat the heat, and replace the normal tea break with a sorbet break! Personally I relish the sorbets more, as I have a soft corner for snow cones and ice golas. So this is a cool, fresh juice based, healthy alternative to the syrup based dessert. I truly liked the size, flavor, color and cooling aspect of this  high vitamin C delicious dessert, and will be made more often in summer!

Wishing everyone a great Memorial Day and happy memories of the loved ones gone too soon!

Orange Sorbet

Recipe makes 2 servings for about 24 people

Prep time : 30 min

Cooking time : 10 min

Chilling time  : 48 hours

Ingredients

  • 15 medium-big size navel  oranges
  • 4  cups water
  • 2 1/2  cups sugar
  • 1/2 cup fresh lemon juice (about 2 medium)
  • Grated orange rind (optional)
  • Mint sprigs (optional)


Method

  • Using a vegetable peeler, lightly  remove rind from 1 orange.  Cut rind into 1 x ¼-inch-thick strips and grind it a bit in a mortar pestle. This would result into a roughly a tbsp of rind.
  • Peel the oranges and extract juices from them, roughly resulting in about 6  cups of orange juice.

IMG_0222

  • Combine  water and sugar in a small saucepan; bring to a boil. Add rind strips to pan. Reduce heat; simmer for 8-10 minutes. Strain sugar mixture through a sieve over a bowl, reserving liquid; discard solids. Cool completely.

IMG_0223

  • Add orange juice and lemon juice to sugar mixture; stir well.

IMG_0225

  • Pour mixture into the freezer can of a tabletop ice-cream freezer; freeze according to manufacturer’s instructions.
  • Spoon sorbet into a freezer-safe container; cover and freeze for about 2 days  until firm.

IMG_0229

  • Scoop the sorbet and garnish with mint sprigs, if desired and add grated rind as topping if so desired. Here,  we did not go with either of them.


Orange Sorbet

Tips

You can try this with ready orange juice in the market,  but in that case, reduce the water quantity by a cup and  and  use two cups of sugar. There might be a slight taste variation, but will prove to be a much quicker way of going about it. Also taste the sugar content before freezing.

Instinct Factor

If you see the juice underneath the top layer, freeze some more.

When you scoop the sorbet, leave it out for 5-7 minutes room temperature, so that it softens a bit for you to scoop nice rounds. Otherwise it will have a brittle crunch feel. And to get perfect rounds, scrape 3-4 times over to make one nice round scoop of sorbet! After all looks do matter when serving!!

Feel Factor

Cool. colorful, healthy, beat the heat, with this easy sorbet recipe, that even a teenager can make! So how about having some sorbet stands this summer instead of the lemonade stands, and earn some good pocket money! Colorful sprigs of mint and orange rind will give additional edge to this delicious cool recipe! Any snow cone and Ice Gola lovers, please make a note of this wonderful sorbet and enjoy the summer!

[contact-form-7 404 "Not Found"]
Posted on

Theratipal Thabdi Milk Cake from Condensed Milk

Theratipal  Thabdi Milk Cake are different names of this dessert! Theratipal as it is known in Tamil cuisine, where the word Therati means to stir constantly  and Pal, means milk. So traditionally this sweet dish was cooked by constantly stirring the milk and sugar over heat, until it caramelizes. This same dish is only different in color and shape but cooked the same way, in Gujarat too, where it is known as Thabdi. This happens to be my number 1 sweet from Rajkot, and I immensely cherish this simple milk cake flavor. People often call this as milk cake, as I discovered on researching about it on Google.

I am indebted to my Tamil friend philosopher guide and walking buddy in New Jersey, for introducing me to this recipe. The moment I had it, I was reminded of Thabdi from Rajkot and I was so very pleased for getting to know how to make it in simple easy steps. The secret was using condensed milk and heating in microwave. The recipe had been lying with me for 7-8 years, but never so light of the day till yesterday, which seemed to be a perfect timing to try this out on my own.

Yesterday being Earth day, and me being a big big fan of this planet earth, had to something more to celebrate, other than just plant some new flowers and rejoice in the blooms around me! I have always liked getting my hands dirty in the ground to  plant something that gives you joy, year after year, and also teaches some important life lessons, One such lesson I have learnt is that everything is cyclical in nature as depicted by seasons that come and go, and every part of nature gets recycled into something else, and hence my feeling is the universe also gets recycled in some form or other and probably we as souls also keep changing our forms and lives over and over again.

As a very happy earthling, this dessert made great choice for celebration, as it is brown like the earth, and sweet and fragrant like the flowers and that bloom in it.  Also this being the month of Mahavir Jayanti too, an important festival among Jains on the birth celebrations of Lord Mahavir it gave another reason to celebrate nature and environment and re-emphasize the importance of protecting and living in harmony with mother nature, which seems to be the backdrop on which Jainism values are set, in my opinion.

So  wishing a belated Happy Earth day to all with Theratipal Thabdi Milk Cake,  and hoping that many of  you may have planted some nice flowers for the birds and bees or trees for the shade  and shown appreciation in one way or the other for our planet earth- home of all and very happy to display this on leaf dish with blue earth background in true spirt of Earth Day!

Theratipal Thabdi Milk Cake Recipe

Recipe makes 9 pieces of 2*2 inches

Ingredients

  • 1 can condensed milk
  • 3 tbsp yogurt( Not sour)
  • 3 tbsp ghee (unmelted)
  • 3-4 cardamom seeds crushed finely
  • Pinch of saffron
Method
  • Use a deep microwave container if possible, as while cooking, the milk tends to overflow.
  • Grease the microwave bowl  with some ghee
  • Mix yoghurt and 1 tbsp ghee into condensed milk.

IMG_6680

  • Heat for about 3 minutes monitoring it consistently. if the milk rises too close to the brim of bowl, take it out and mix well.

IMG_6683

  • This is how it would look around 4 minutes..

IMG_6684

  • Continue heating the mixture for another 3 minute but take it out every 30 -40 seconds or so and stir thoroughly, till the mixture is brown and the grain becomes finer. and consistent enough to form it into balls. It should not become too hard, it should be pliable

IMG_6687

  • Remove from microwave and fold in the ghee, and cardamom powder.

IMG_6689

  • Set the mixture to cool in a deep dish by spreading it evenly and smoothening the top using a spatula or back of a small steel bowl. I used my microwave container only to set, as it was the perfect depth and shape.

IMG_6691

  •  Using a sharp knife or spatula makes pieces.

IMG_6693

  • Cool for about 5 minutes and store in an airtight container.

Theratipal Thabdi Milk Cake

  • Enjoy the taste of home sweet home!! This should stay fresh for about 2-3 days, but best when eaten fresh.

Theratipal Thabdi Milk Cake


Tips

If the mixture gets too stiff, add some ghee and a bit of yogurt and mix it in, to make it more pliable. Alternatively a tbsp of milk also might help to make it more soft.

The consistency will harden after some time, so keep that in mind.

For vegan options, please use appropriate condensed milk from soy or almond.

Instinct Factor

Instinct factor is totally at work to recreate this delicacy and tweak the recipe that was more suited to what was more common in Tamil cuisine.Trusting your tastebuds works the best! So feel free to do what dictates your heart! Make sure that yogurt is not too sour, and if you like it more sweeter, add some sugar.

Feel Factor

Theratipal Thabdi Milk Cake is a simple ten minute recipe using condensed milk and the end result is a filling, soulful sweet that reminds you of mother earth. The fact that some people refer this as a milk cake, gives an indication to the texture of this delicacy, however it is not as soft as how one would expect a cake is. It is slightly more gooey and with some texture too it.  If you like yogurt, milk and caramelized flavor, this might be just a new discovery for you to fall in love with and for me to continue my liking for this sweet. I did find out that I like the yogurt flavor in this sweet, and am extremely happy to share this earth looking sweet, around Earth Day which may be called as Theratipal from Tamilnadu or Thabdi from Gujarat.  Great thing is, both start with the same syllable, “Th” and both are part of the this planet earth and this sweet also will be equally enjoyed by people from different part of earth, as did my neighbors!


Posted on

Chocolate Cookie Bites

CHOCOLATE COOKIE BITES

Chocolate Cookie Bites Eggless is adapted from Southern Living, whose recipes I am finding quite interesting and quite reliable and works well as I recently have discovered. Though the final output was not the same as shown in the image provided in the magazine, it gave me a chance to create something that I was happy with, as well as the kids for whom it was made!.The interest in this recipe was out of desire to create an Oreo look, but since that did not work for me based on the original recipe, it led me to something different. Inspired by the recent cherry blooms on the neighbourhood trees(a picture of a which I am happy to share), I gave the chocolate cookies a decorative look and feel!.

IMG_6299 (1)IMG_6287


My personal favourites are the weeping pink cherry blossoms and the Yoshino White Cherry trees in DC , and watching the extreme white blooms glisten in sunlight is a sight of pure joy! If I am lucky to make it to see the peak of cherry blossoms in DC next week, that would be great, if not, I will just have to make do with my own cherry blossom inspired chocolate cookie bites that are firm and yet soft, delicious and stays fresh for a week or so if stored in an airtight container. Bring the beauty of nature within the house and have interesting conversation with your family and friends over this chocolate cookie bites!

CHOCOLATE COOKIE BITES EGGLESS

Recipe Makes about 45-50 pieces of Chocolate Cookie Bites

Time to Cook : 25 min

Time to Prep : 30-60 min

Ingredients

[shopeat_button]

  •  1 2/3 self raising unbleached flour(King Arthur brand) or
  • 3/4 cup unsweetened cocoa
  • 3/4 cup granulated sugar
  • 3/4 tsp salt
  • 1/2 tsp baking powder ( 1 tsp baking powder if using all purpose four)
  • 3/4 cup plus 1 tbsp butter softened
  • 4-5 tbsp water
  • parchment paper for lining the baking tray
Filling
  • 1/2 cup shortening at room temperature
  • 1/2 cup butter at room temperature or softened
  • 3 1/4 cups powdered sugar
  • 1 tsp vanilla extract
  • food color(optional)
Method
  • Sieve cocoa, salt, flour together.

IMG_6226

  • Beat sugar and butter for about 4-5 minutes, until extremely fluffy and white.

IMG_6227

  • Combine the flour and butter mix.
  • Using 4-5 tbsp water, bind the flour and butter mix into a soft pliable dough

IMG_6230

  • Divide the dough in 4 parts.

IMG_6232

  • Roll the dough into a long cylindrical shape about 1 1/2 inch thick approx.
  • Cover the rolls in parchment paper and chill in the refrigerator for 30 min.
  • Remove and slice the roll into about 1 inch thick cookies
  • Arrange the chocolate cookies on a parchment paper on a baking tray.
  • Pre heat the oven to 350 degrees or convection 375 degrees.
  • Lay the baking tray on mid higher level for 6 min.

IMG_6234

  • Turn the baking tray front to back and insert at the lower level in the oven and bake for 6 min.

IMG_6241

  • Remove from the oven and cool on the cooling rack for 5-7 min.

IMG_6244

Decorating with filling

  • Beat shortening and butter for 5-6 min till fluffy.

IMG_6240

  • Gradually add vanilla and sugar and 1-2 tbsp water to make icing consistency.
  • Using an icing star nozzle,  make star/flower shapes on the cookies.

Chocolate Cooke Bites

  • Store in an airtight container and enjoy a piece at a time over a week or so!!


Chocolate Cookie Bites


Tips

Using an unbleached and self raising flour does give a great texture to the chocolate cookie bites.

One can variate the color of the flowers on the top using food color, sprinkles etc

Instinct Factor

If complete round shape is preferred, then roll a ball and press it flat. Then make thumbprint into the cookies to create a space for filling or decorations.

To give oreo look , make round balls and then flatten it  a bit. Take two baked cookies and then spread the filling, on one and top it with another.

One can also pair two cookies and spread the filling in between – to create “Oreo” look and feel.

Feel Factor

White cherry flowers atop a bit sized chocolate cookie,  in sync with nature and not too high on calories! The taste is heavy on the cocoa, it is firm to hold , but soft on bite, and the icing on top gives it a nice festive look! So even if this is for a regular school bake sale, it catches everyone’s attention because of the size and the decorations on top. So worth the effort, for the taste, looks and just pure fun! The secret in baking is the flour, and the beating of the butter in my opinion, and an happy to continue to explore more on the baking front. Chocolate Cookie Bites are perfect to start a conversation over tea/coffee, or just to satisfy that nagging need to eat something sweet coz you know it is good for the soul!


[contact-form-7 404 "Not Found"]


Method

Posted on

Chocolate Sandesh Cheese Fudge

Chocolate Sandesh Cheese Fudge is a heart stealing dish from Bengal, India and it is fondly called in Bengali Language as Pranhara (heart stealer). Sandesh is the key word over here, which in Indian language means “news or message” and this dessert became a messenger of good and auspicious news, such as birth, marriage, graduation, birthdays, anniversaries etc.  So it is quite an apt item to celebrate a birthday dinner with Chocolate Sandesh Cheese Fudge. The story goes that cheese was an item that Indians adapted from Portuguese settlement in 19th century. The Indian version of this  cottage cheese is called Chhena, to which sugar or jaggery were added to create different textured cheese based sweets. Special flat moulds of stone with engraved designs as conch shells, elephants, fish, were used to imprint and design and the flavour was rose, saffron, cardamom or even fruits and nuts.

I have very fond memories of eating Sandesh stuffed with orange segments, that my mom used to make from fresh cottage cheese. I remember visually appreciating the delicate way in which orange segments were peeled off its thin skin, divided then wrapped around with a layer of sweetened chhena, and left to chill. Specially on a hot afternoon, eating this orange sandesh was an extreme delight for me!

This version of chocolate sandesh, I had at my tenant’s place who came from Calcutta, Bengal. I quite unashamedly, asked for another serving and also a quick idea of how it is made from her mother, who had just arrived from Calcutta to Mumbai. Chocolate flavour in an all time childhood favorite dessert, made me fall in love one more time with this ” healthy dessert”!

The texture of Chocolate Sandesh Cheese Fudge is like eating a cold soft fudge with a mild lingering vanilla essence flavour. It feels soft, sweet, chilled and chocolaty! I obviously did not have the stone moulds as used to make Sandesh in Bengal, so used my cookie cutters to come with an interesting leaf shape and topped it with sprinkled green crushed sugar crystal.

Folks were happy and appreciative of this leaf shaped chocolate sandesh cheese fudge! And if you do not have shape you like, the traditional round balls would be just fine! If you do not have colored sugar, a drop of saffron, some almonds, or chocolate sprinkles will also be fine, or why not just go plain chocolate!

A “message” from my leaf “sandesh” is  Spring is here!! So let’s celebrate the auspicious arrival of Spring with Leaf shaped Chocolate Sandesh Cheese Fudge!

Chocolate Sandesh Cheese Fudge

Recipe makes about 30 pieces

TIme to Cook 45 min
Time to Chill-  12-24 hours

Ingredients

  • 1 gallon full fat milk
  • 1/2 cup lemon juice
  • 1/2 tsp vanilla essence
  • 1/4 cup cocoa powder
  • 1 cup powdered sugar
  • colored sugar sprinkles
  • almonds, cashews, pistachios (optional toppings)
  • Some ghee for greasing

Method

  • Grease a deep pan with ghee and put the milk to boil on a slow flame till it completely boils over

IMG_6190

  • Add the lemon juice and stir and increase the flame.

IMG_6194

  • Continue heating the milk, till the whey and cheese separates.

IMG_6192

  • Strain the cheese and leave it to completely drain off the liquid for 15-20 minutes.

IMG_6195

  • Once it cools, knead for 3 minutes into a lump.

IMG_6197

  • Add cocoa, sugar powder and essence and knead some more.

IMG_6200


  • Heat a tbsp of ghee is a thick bottom pan.
  • On  a slow flame, add the chhena cheese with cocoa and stir for 2-3 minutes,so that excess water evaporates.

IMG_6201

  • Then using a mould or cutter, insert the chhena into the shapes and leave to chill. In this case, I filled the cookie cutter with the chocolate chhena and then pushed it down to obtain the leaf shape.

IMG_6202

  • If making round balls, make a table spoon size round balls, and garnish with sprinkles, sugar or any toppings of your choice.

IMG_6203

  • Chill for 2-3 hours, fix the shapes if needed after it sets a bit, sprinkle the toppings and chill for another 2 hours before serving. The more it is chilled, the better the feel!

Chocolate Sandesh

If chilled for 12 hours or more, remove half an hour before serving, so that it softens a bit before serving.


Choclate Sandesh Cheese Fudge


Tips

The key to soft sandesh is making sure that whey separates nicely, so keep the milk boiling on a medium high flame and ensure that there is enough lemon juice.

Cool the mixture a bit, to form round balls. If the chenna is too dry, it will become difficult to have a smooth shape.

Once the first set of chilling is done, pat over with moist finger for smoothness and fix the curves. For round balls shape, just roll them over in the palm of the hands if the texture in case the texture does not feel smooth.

Instinct Factor

Instinct is what worked over here, in using a cookie cutter mould, to create a unique shape for the sandesh! And the same with sprinkles of sugar! Followed my heart for this heart stealer! Use your instincts and go with your heart!

Plain version without chocolate, but with some saffron, cardamom flavour is the true original flavour, with some rose or vanilla essence.

Feel Factor

Happy, happy, happy to eat not one but multiple leaf shaped chocolate sandesh cheese fudge! They will stay fresh for a day or two, and the last piece is to be finished now, after finishing this entry in the blog! Cannot have enough, but need to watch the calories, so will just savour the last piece of this soft, contemporary, light feel, cheese based dessert that has the unique chocolate flavour and fudge warm feel to it! Let the spring roll in with the new flowers and new leaves and lots of new tidings for all!

Posted on

Hummus Recipe using Canned Chickpeas

Hummus

Hummus is the most popular addition to the American food landscape in the 20th century, that has also been a great part of the vegetarian and vegan cuisine. Though originally a part of Egyptian cuisine, it is now prominently known as a part of Middle Eastern, Lebanese cuisine. In Palestine  hummus is made of yogurt and butter instead of tahini and olive oil. Per Wikipedia, the oldest record in the history shows a dish of hummus made with cooked chickpeas, lemon, salt, olive oil, herbs and nuts, but no garlic and tahini. This non-garlic version is what I also prefer, as somehow garlic seems to be a recent addition to the dish, that, in my opinion takes away the original flavour. Lots of herbs such as parsley, red pepper, cumin powder, can be used to garnish the hummus.

I found an interesting link about a travelogue of a vegetarian foodie while visiting Middle East Jordan that I found quite entertaining. One can read more about it here Middle Eastern Vegetarian Options. The article talks about household recipes, which in my opinion are the backbone to any great cuisine. Hummus is used as a peace symbol in some middle eastern cartoons, where one of them stated “Make Hummus, Not War” which I thought was quite apt!

This recipe is for my brother, who fell in love with the hummus from California Pizza Kitchen, which incidentally is made from Fava Beans. And I may just try the fava bean base on the third thursday in May, which is celebrated as “Hummus Day”

Hummus is one delicious recipe that is very easy to make under 15 minutes, using canned chickpeas, and so should be your go to recipe for those in-between meal moments of hunger !! Am looking forward to seeing an Israeli movie Hummus released in 2015, that was intended to set a Guinness Book of World Record for biggest quantity of Hummus made by a group of people. The featured image on the top shows garnishes of olive oil and red chilli flakes in the picture on the left, and dried mint leaves and roasted cumin powder and olive oil  in the picture on the right. For vegetarian and vegan eaters, this is a very easy, fancy and highly nutritious recipe that should become part of your everyday menu as it gives a great protein booster. It tastes great whether it is cold or slightly warm. Its varied uses can be as accompaniment to pita, falafel, or as spreads in sandwiches or as dips with salads and veggies. Many many ways to eat this Hummus!!

Hummus Recipe

Recipe makes  for 10-12 people

Prep Time 12 min

Ingredients
  • 2 cans of  540 ml of garbanzo/chickpeas beans, or four cups of soaked and semi cooked chickpeas
  • 1/2 cup white sesame seeds or 1/4 cup tahini paste
  • 6 tbsp lemon juice

IMG_6166

  • 6 tbsp olive oil ( extra virgin olive oil preferable)
  • red chilli powder /red chilli flakes or roasted cumin powder
  • 3/4 cup-1 cup water based on the consistency needed
  • 3 finely chopped thai hot red chillies(optional)
  • 2 tbsp chopped coriander/cilantro leaves(optional)
  • a pinch of baking soda to be added while cooking soaked chickpeas
  • salt to taste

Garnishing Choices

  • Roasted cumin powder,crushed dried mint leaves
  • Olive oil , red pepper flakes
  • Parsley leaves
  • Cilantro leaves
  • All the garnishing choices can be used alone or in combination,

Method

  • Drain the chickpeas off its liquid
  • Grind the sesame seeds into fine powder in an electric blender.

IMG_6167

  • Add red chillies, chickpeas, cilantro,  lemon juice, olive oil and salt,

IMG_6170

  • Churn for 4-5 min on high speed.

IMG_6171

  • Add water and blend for another 4-5 minutes, till the paste is extremely smooth.

IMG_6180

Garnishing

  •  Make a hole in the center and pour some olive oil on top and sprinkle some red chilli flakes
  • Alternatively garnish it with some olive oil and dried mint leaves and roasted cumin powder.

Enjoy with some warm pita or pita chips ! The image below shows the toppings of olive oil and red chilli flakes.

Hummus Recipe usiing canned chickpeas

Tips

Using extra virgin oil gives it a rich taste. I have used both the thai red hot chillies and cilantro in this recipe as well as cans of organic garbanzo beans.

Ensure that soaked chickpeas are soft to bite, alternatively, cook them to 1-2 whistles. The texture of the soaked chickpeas should be whole but soft to bite.

Other flavours of hummus include plain, roasted red pepper, cilantro and hot peppers.

Instinct Factor

Continue blending till the paste is extremely smooth.

With correct amount of lemon, water and olive oil, the hummus will have a slight shine on the top.

Feel Factor

Now Middle Eastern cuisine can be cooked way more often than earlier, as there is the extra satisfaction that the hummus was made at home. The homemade hummus is free from all preserving chemicals added to store products to increase the shelf life, plus its cheaper and equally tastier too. We enjoyed this spicy hummus and could taste the lemon and olive oil, both, while relishing the falafel meal at home. The smooth and thick texture  was just right, and one can get addictive to this highly nutritious snack dip!

[contact-form-7 404 "Not Found"]