Posted on

Dabka Kadhi Bengal Gram Dumplings in Yogurt Soup

A long break between two blog posts- reason being extremely busy with renovation and guests,  but ultimately happy to have my kitchen back all done up! The choice of  item for today’s blogpost stems from the firm  belief that your diet and discipline can lead you  to living  a very long life. On a personal note, my grandmother recently just passed away, one month short of completing 102 years. She served as an exemplary role model of how to live with a purpose in life, almost surviving half a century as a widow and witnessing   deaths of two of her children during her lifetime. Extremely sharp, fluent in conversations and totally mentally agile even at the senior age of 100, has to have its roots on what one eats, and the discipline one follows in life. She was a staunch Jain follower, never tasted any roots,  ate everyday before sunset, resorted to religion to help her sail through the ups and downs of life and never ever gave up on her faith. Medicines were also avoided  as far as possible. as they are often based from some animal products. Mental strength comes from your unfettering devotion in the faith you follow, which gives you a kind of blanket that shields you from unnecessary stress that gets created when facing unwanted situations. As a salute to my grandmother for all the values I learnt from her, I present another Jain Cuisine item for this blogpost. People familiar with Rajasthani cuisine will relish this item, as it is quite similar to the famous Gatte ki Sabji or even Pithod which is of softer texture than Dabka Kadhi. Dabka is the  Bengal Gram Dumpling and Kadhi is the Yogurt Soup. This is quicker than Gatte kie Sabji and can be easily enjoyed as Indian dumpling soup for someone in the mood of trying something new! Dabka Kadhi-Bengal Gram Dumplings in yogurt soup is  a popular meal item when you want to observe the religious days of Aatham , Chaudas and  you are focussing on protein rich foods.

Recipe makes for 2-3 people

Cooking time : 20 min Prep time : 5 min

Ingredients

For the Kadhi Yogurt Gravy

  • 1 1/4 cup full fat yogurt
  • 3 3/4 cup water
  • 2 tbsp bengal gram flour
  • 2 tbsp water
  • 1 1/2 tbsp oil
  • 1/16 tsp  asofoetida
  • 1/2 tsp red chilli powder
  • salt to taste

For the  Dabka Bengal Gram Dumplings

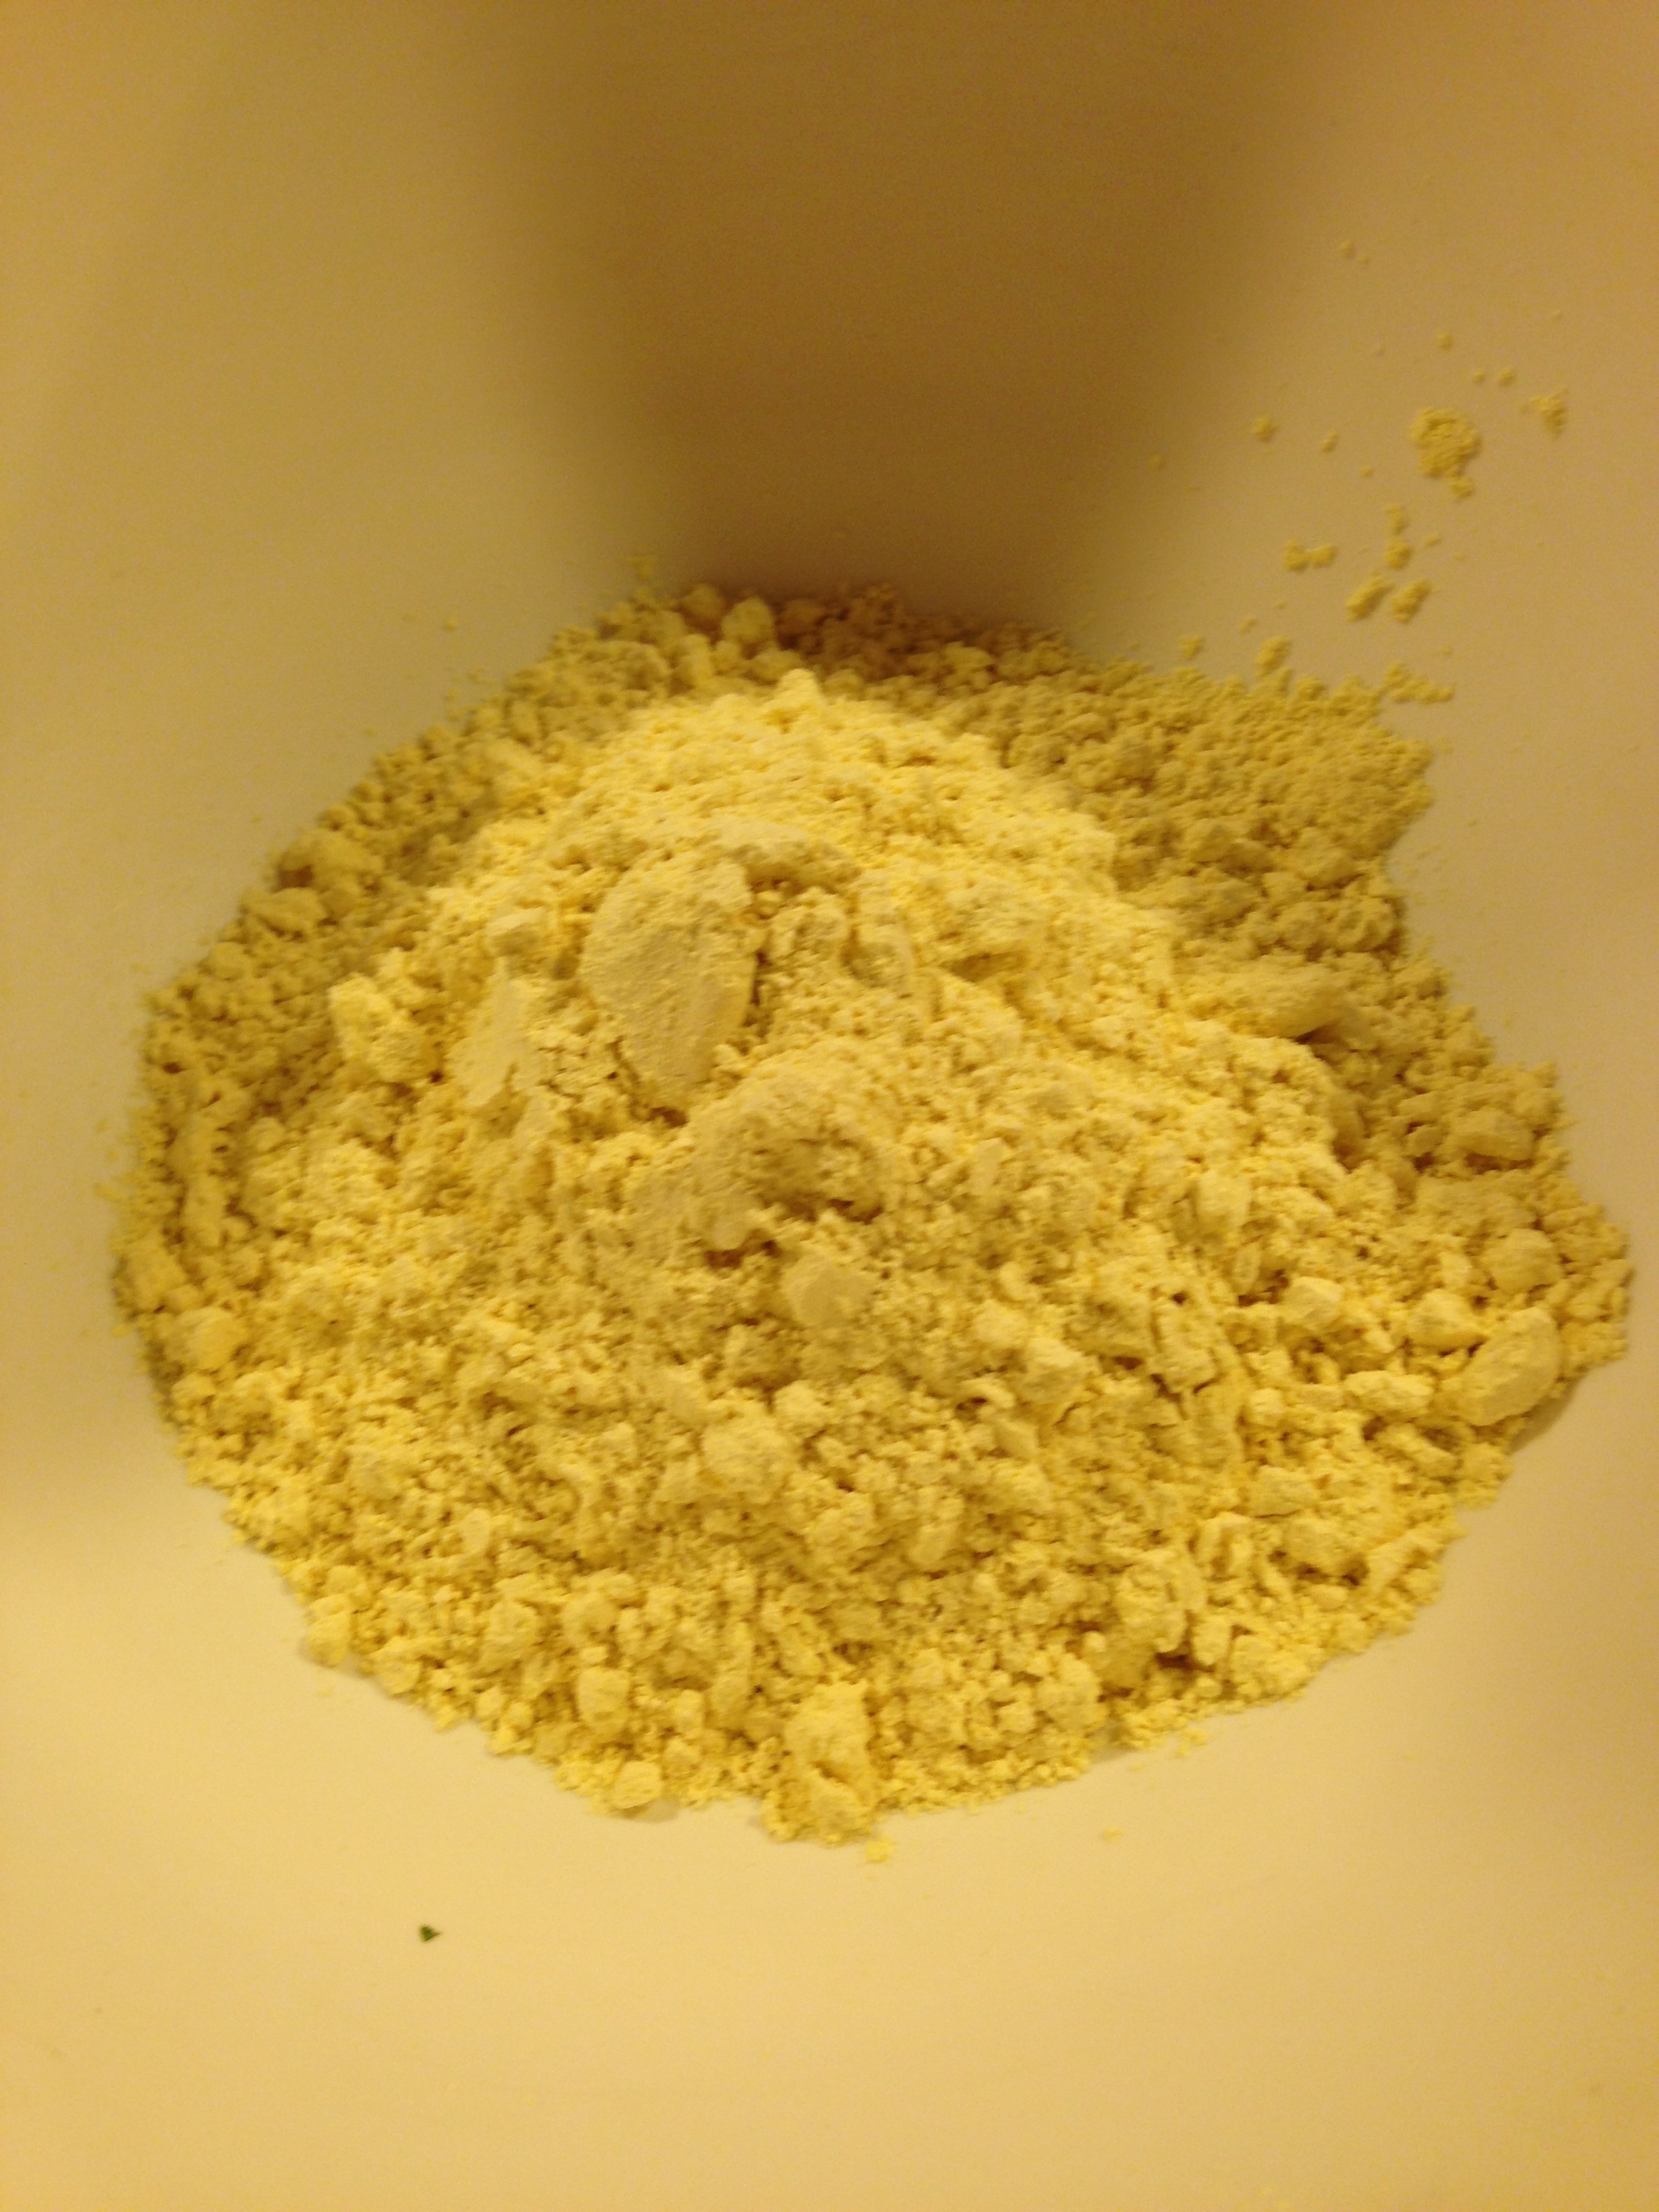
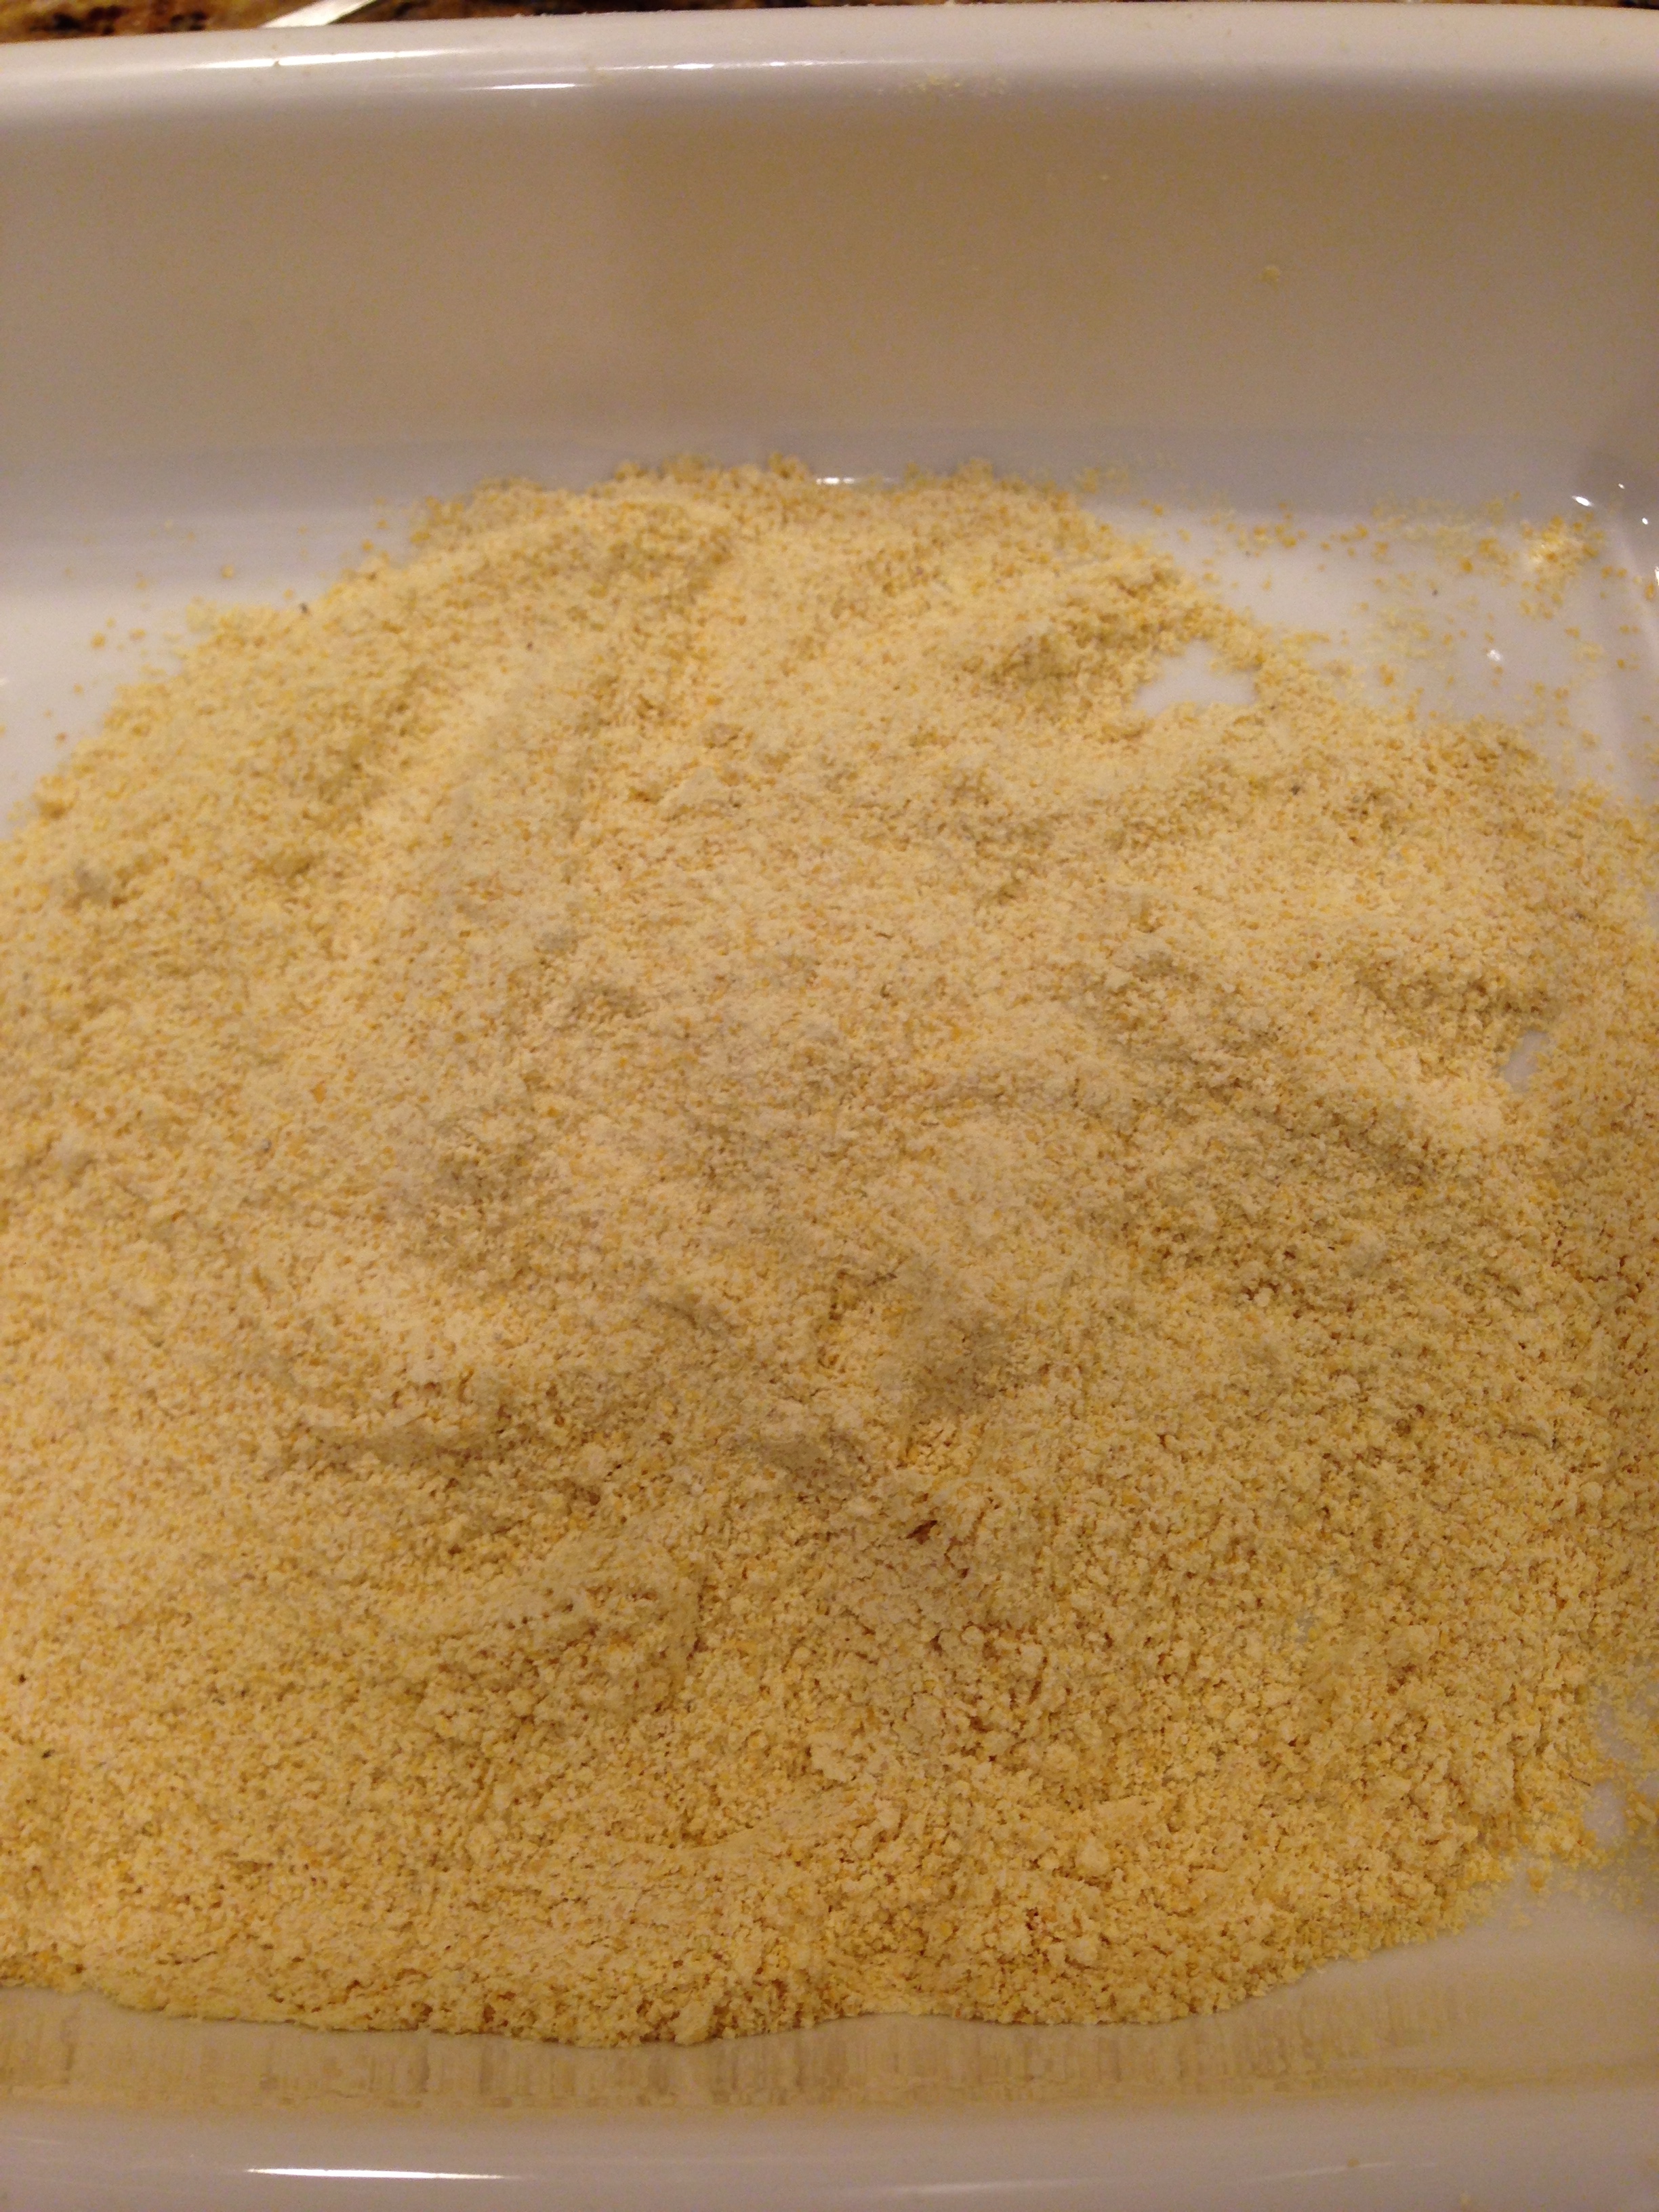
  • 6 tbsp bengal gram flour
  • 1 tsp oil
  • 4 1/2 tbsp water
  • pinch of asofoetida
  • salt to taste
  • 1/2 tsp red chilli powder

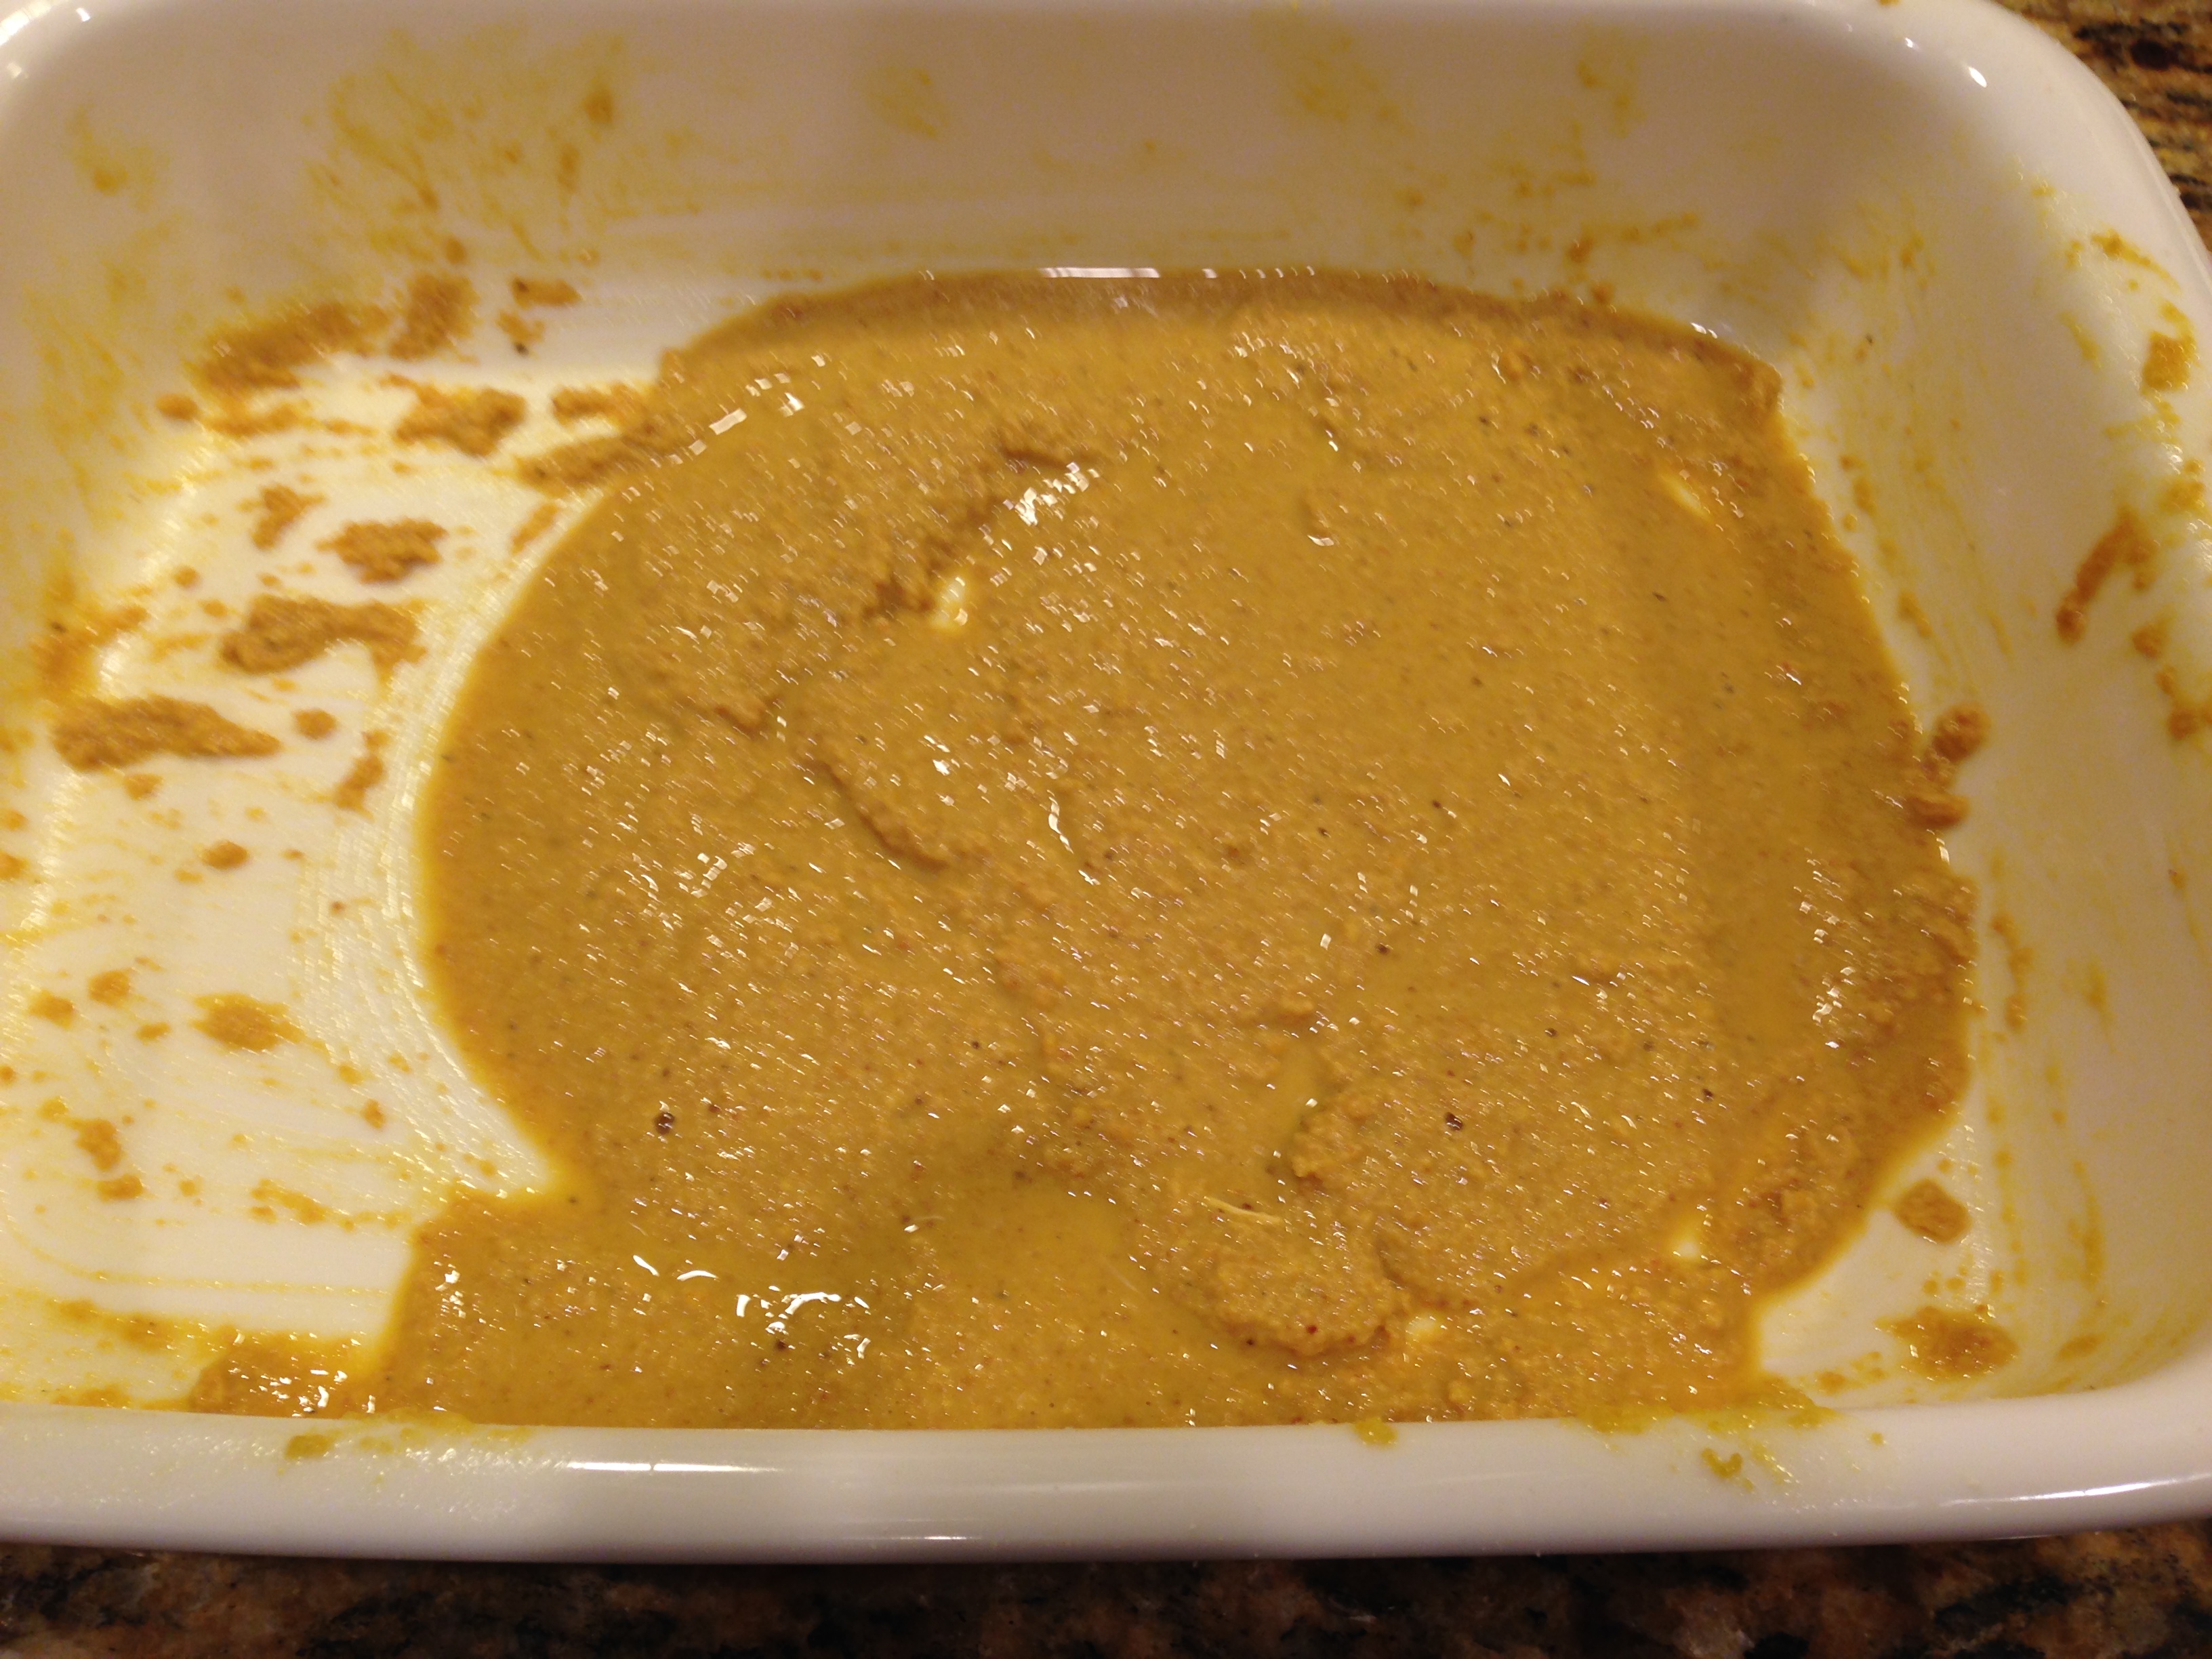
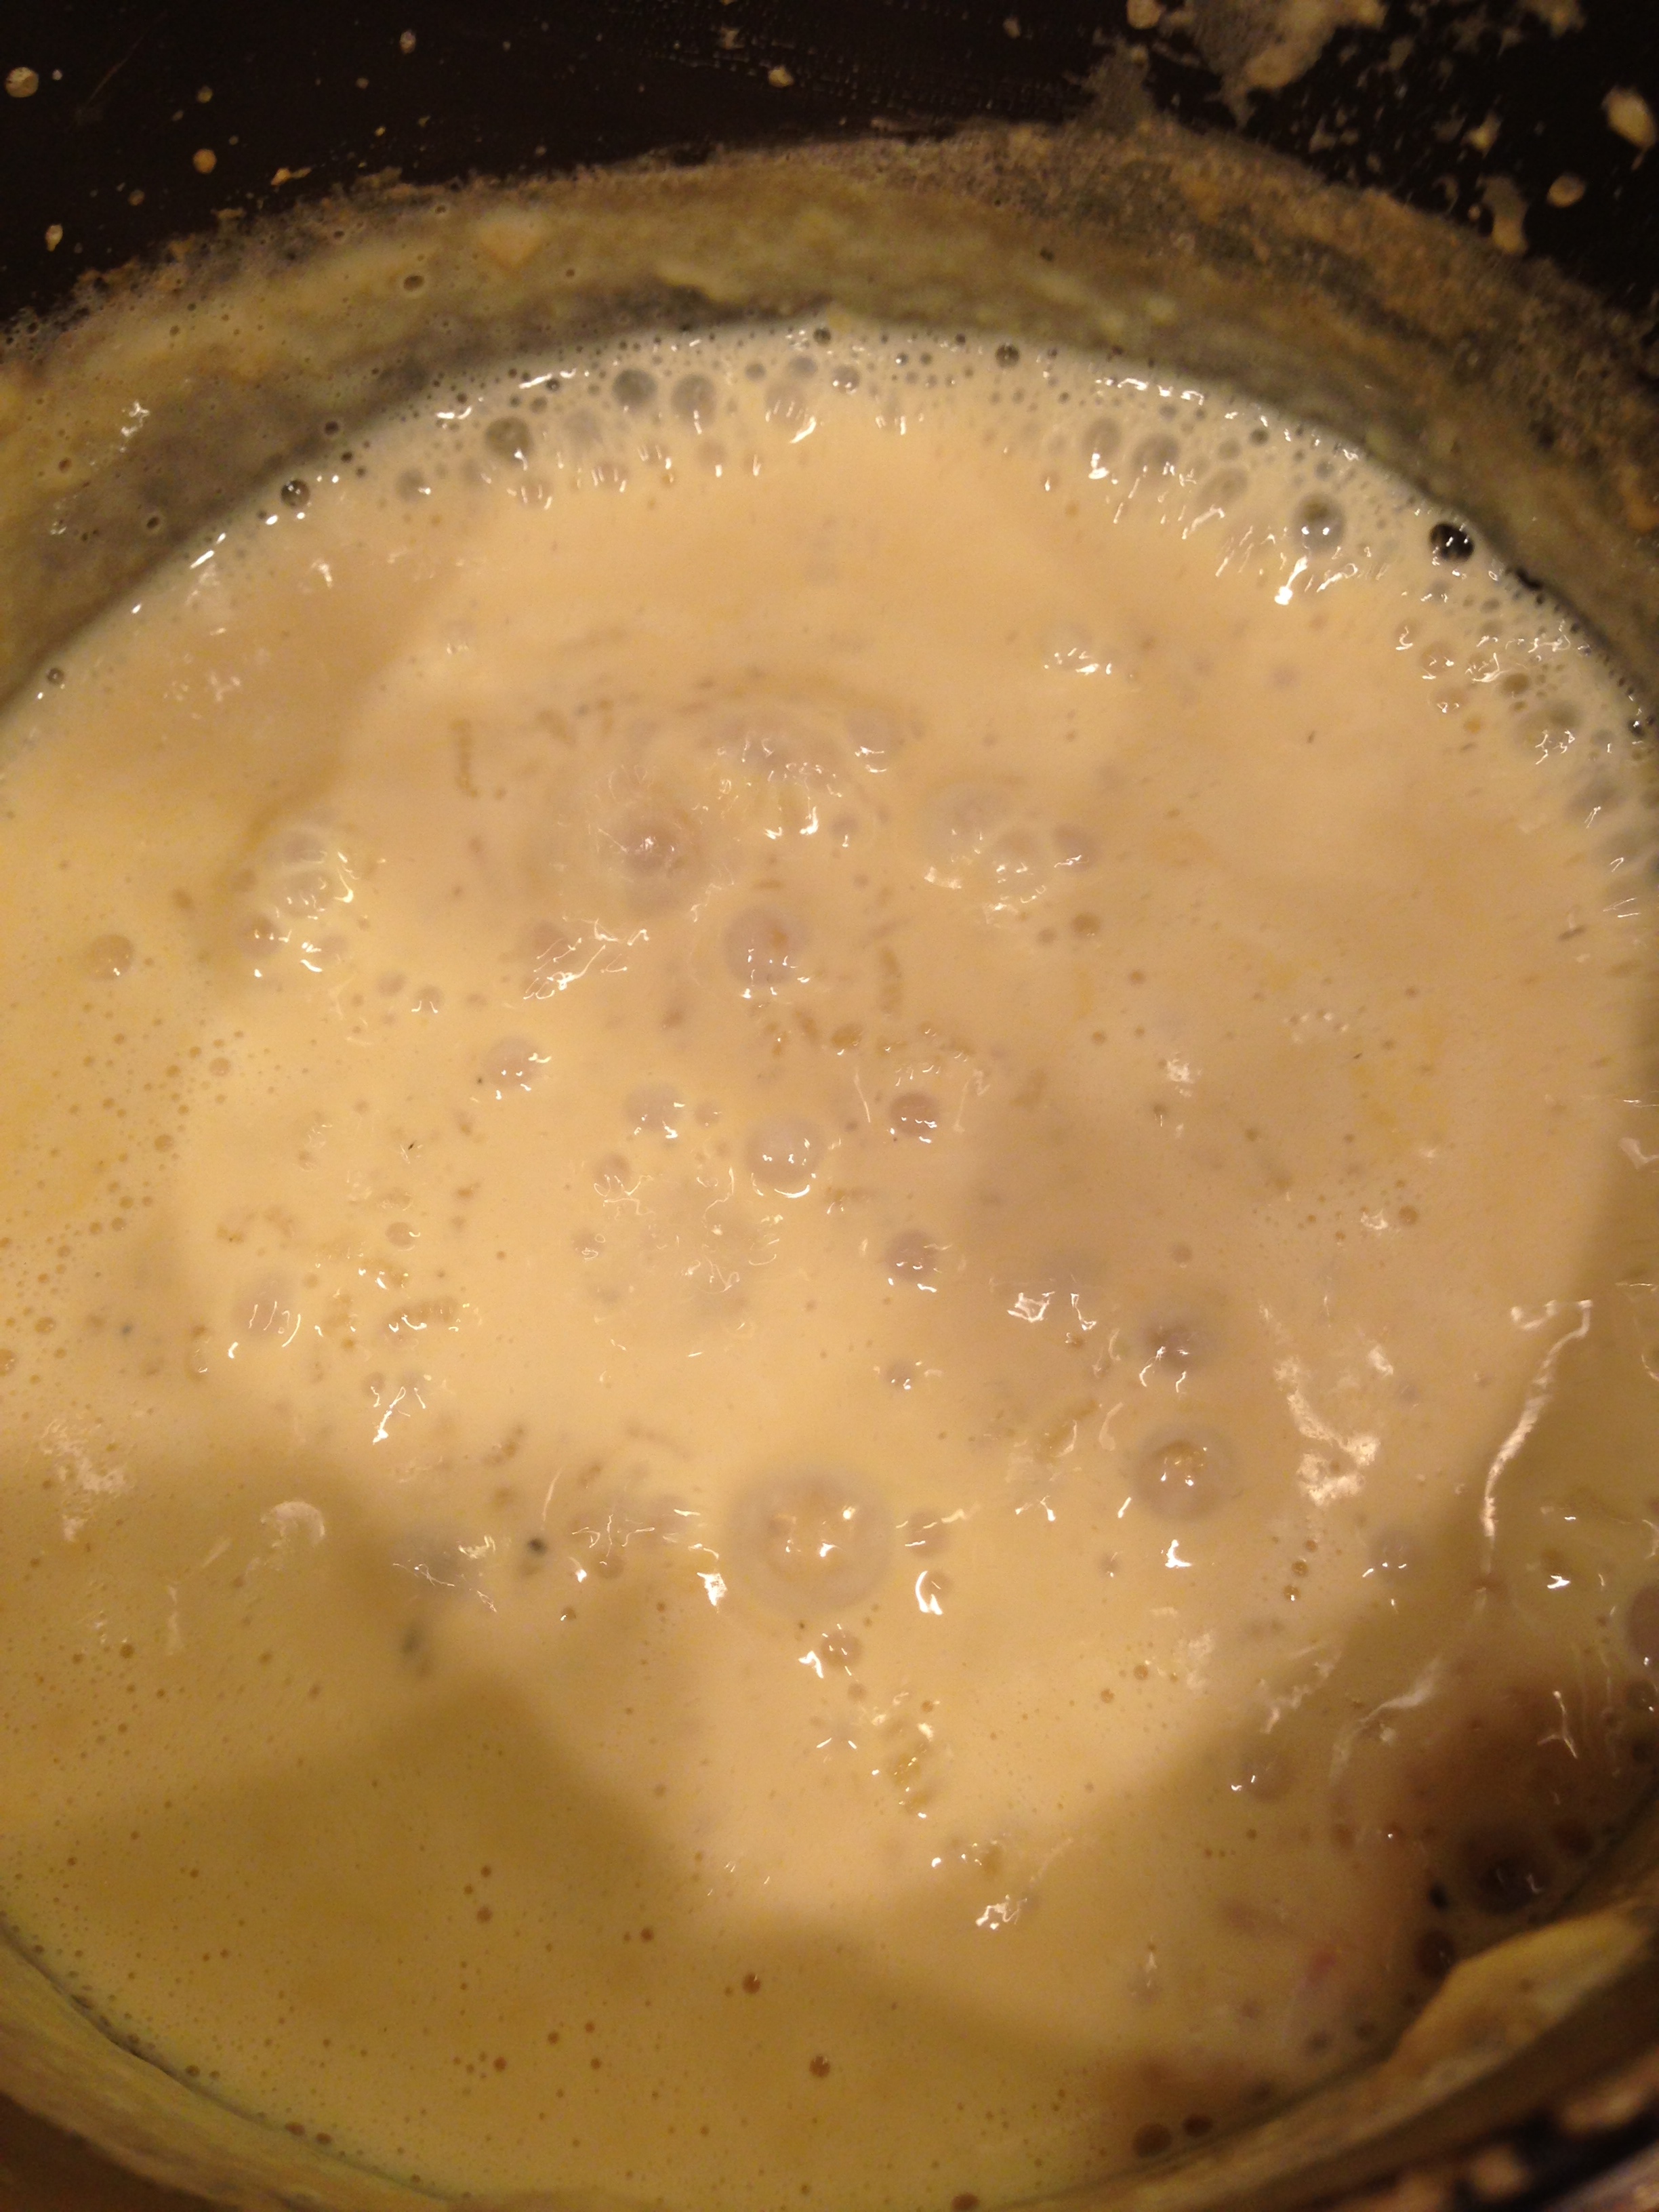
Method For the Yogurt Gravy

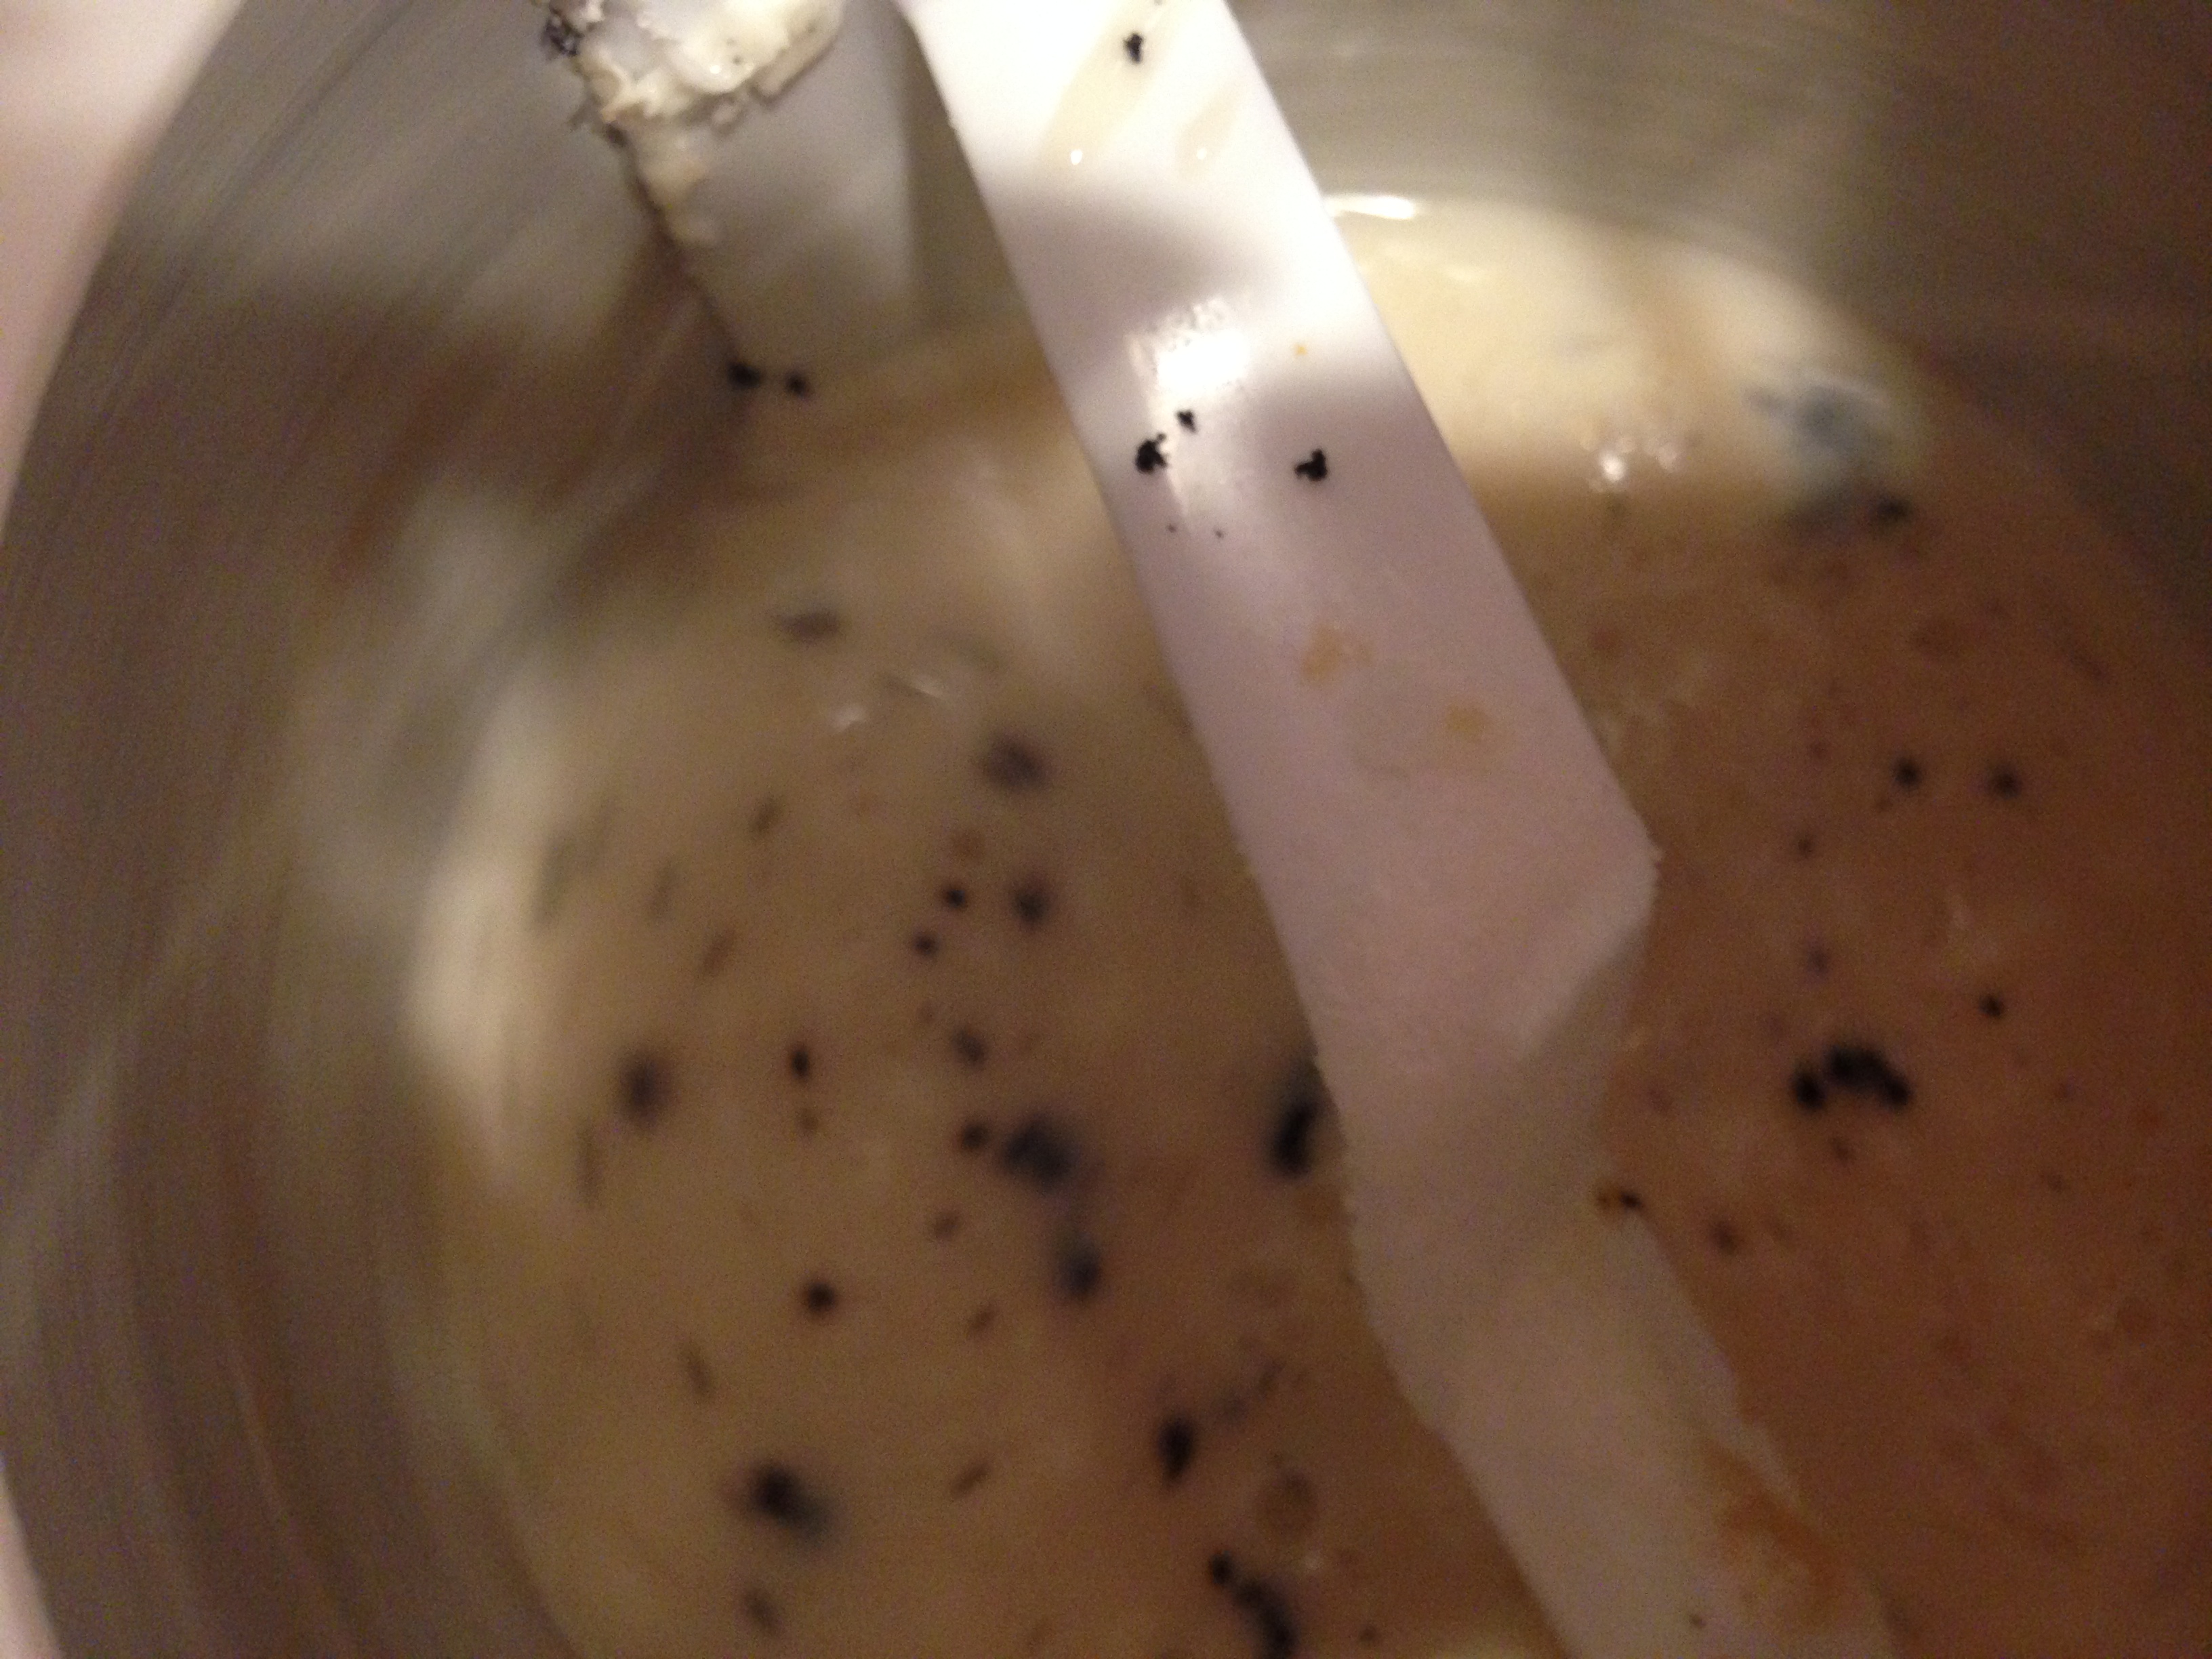
  • Beat/mix the yogurt and water in a deep pan, making sure there are no lumps.
  • Mix bengal gram flour and two tbsp water in a separate bowl.
  • Heat the oil in a deep pan on a medium flame
  • Add asofoetida
  • Add the dissolved yogurt and water to it.
  • Stir on low flame for 3 min.
  • Add the bengal gram paste to the warm yogurt/water.
  • Add salt to taste.
  • Simmer on low- medium flame for 10 min.

For the Dumplings

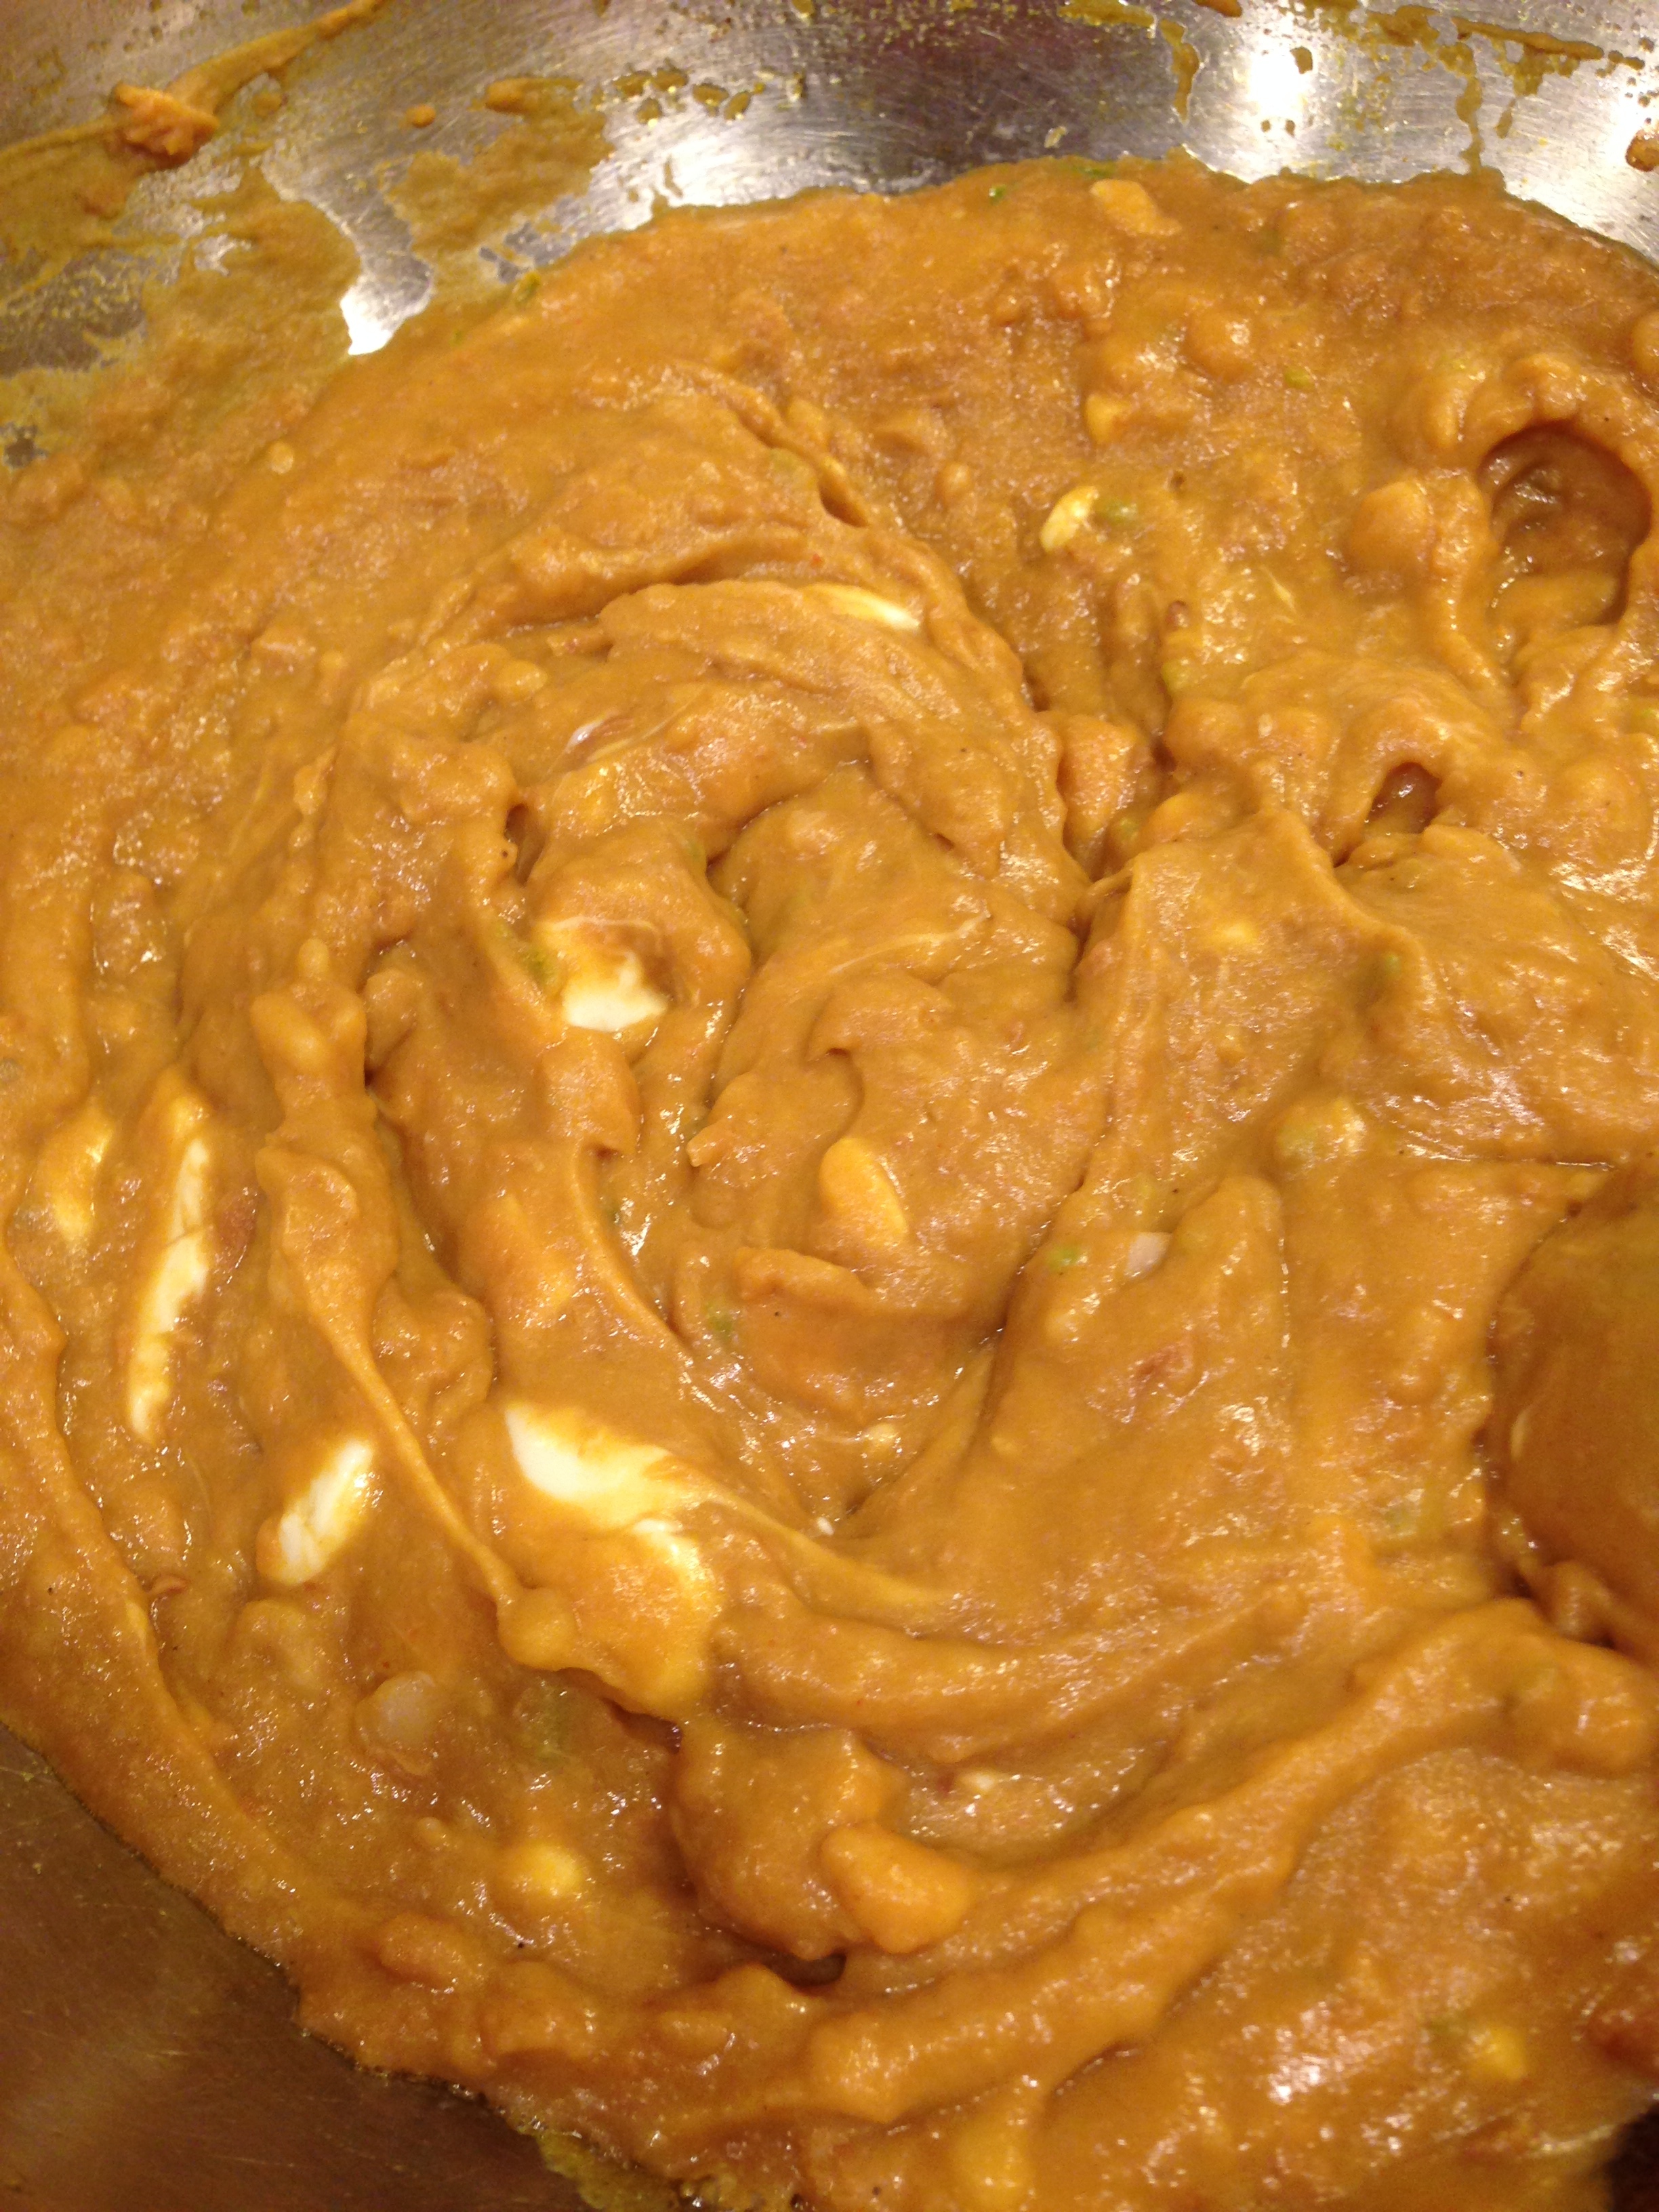
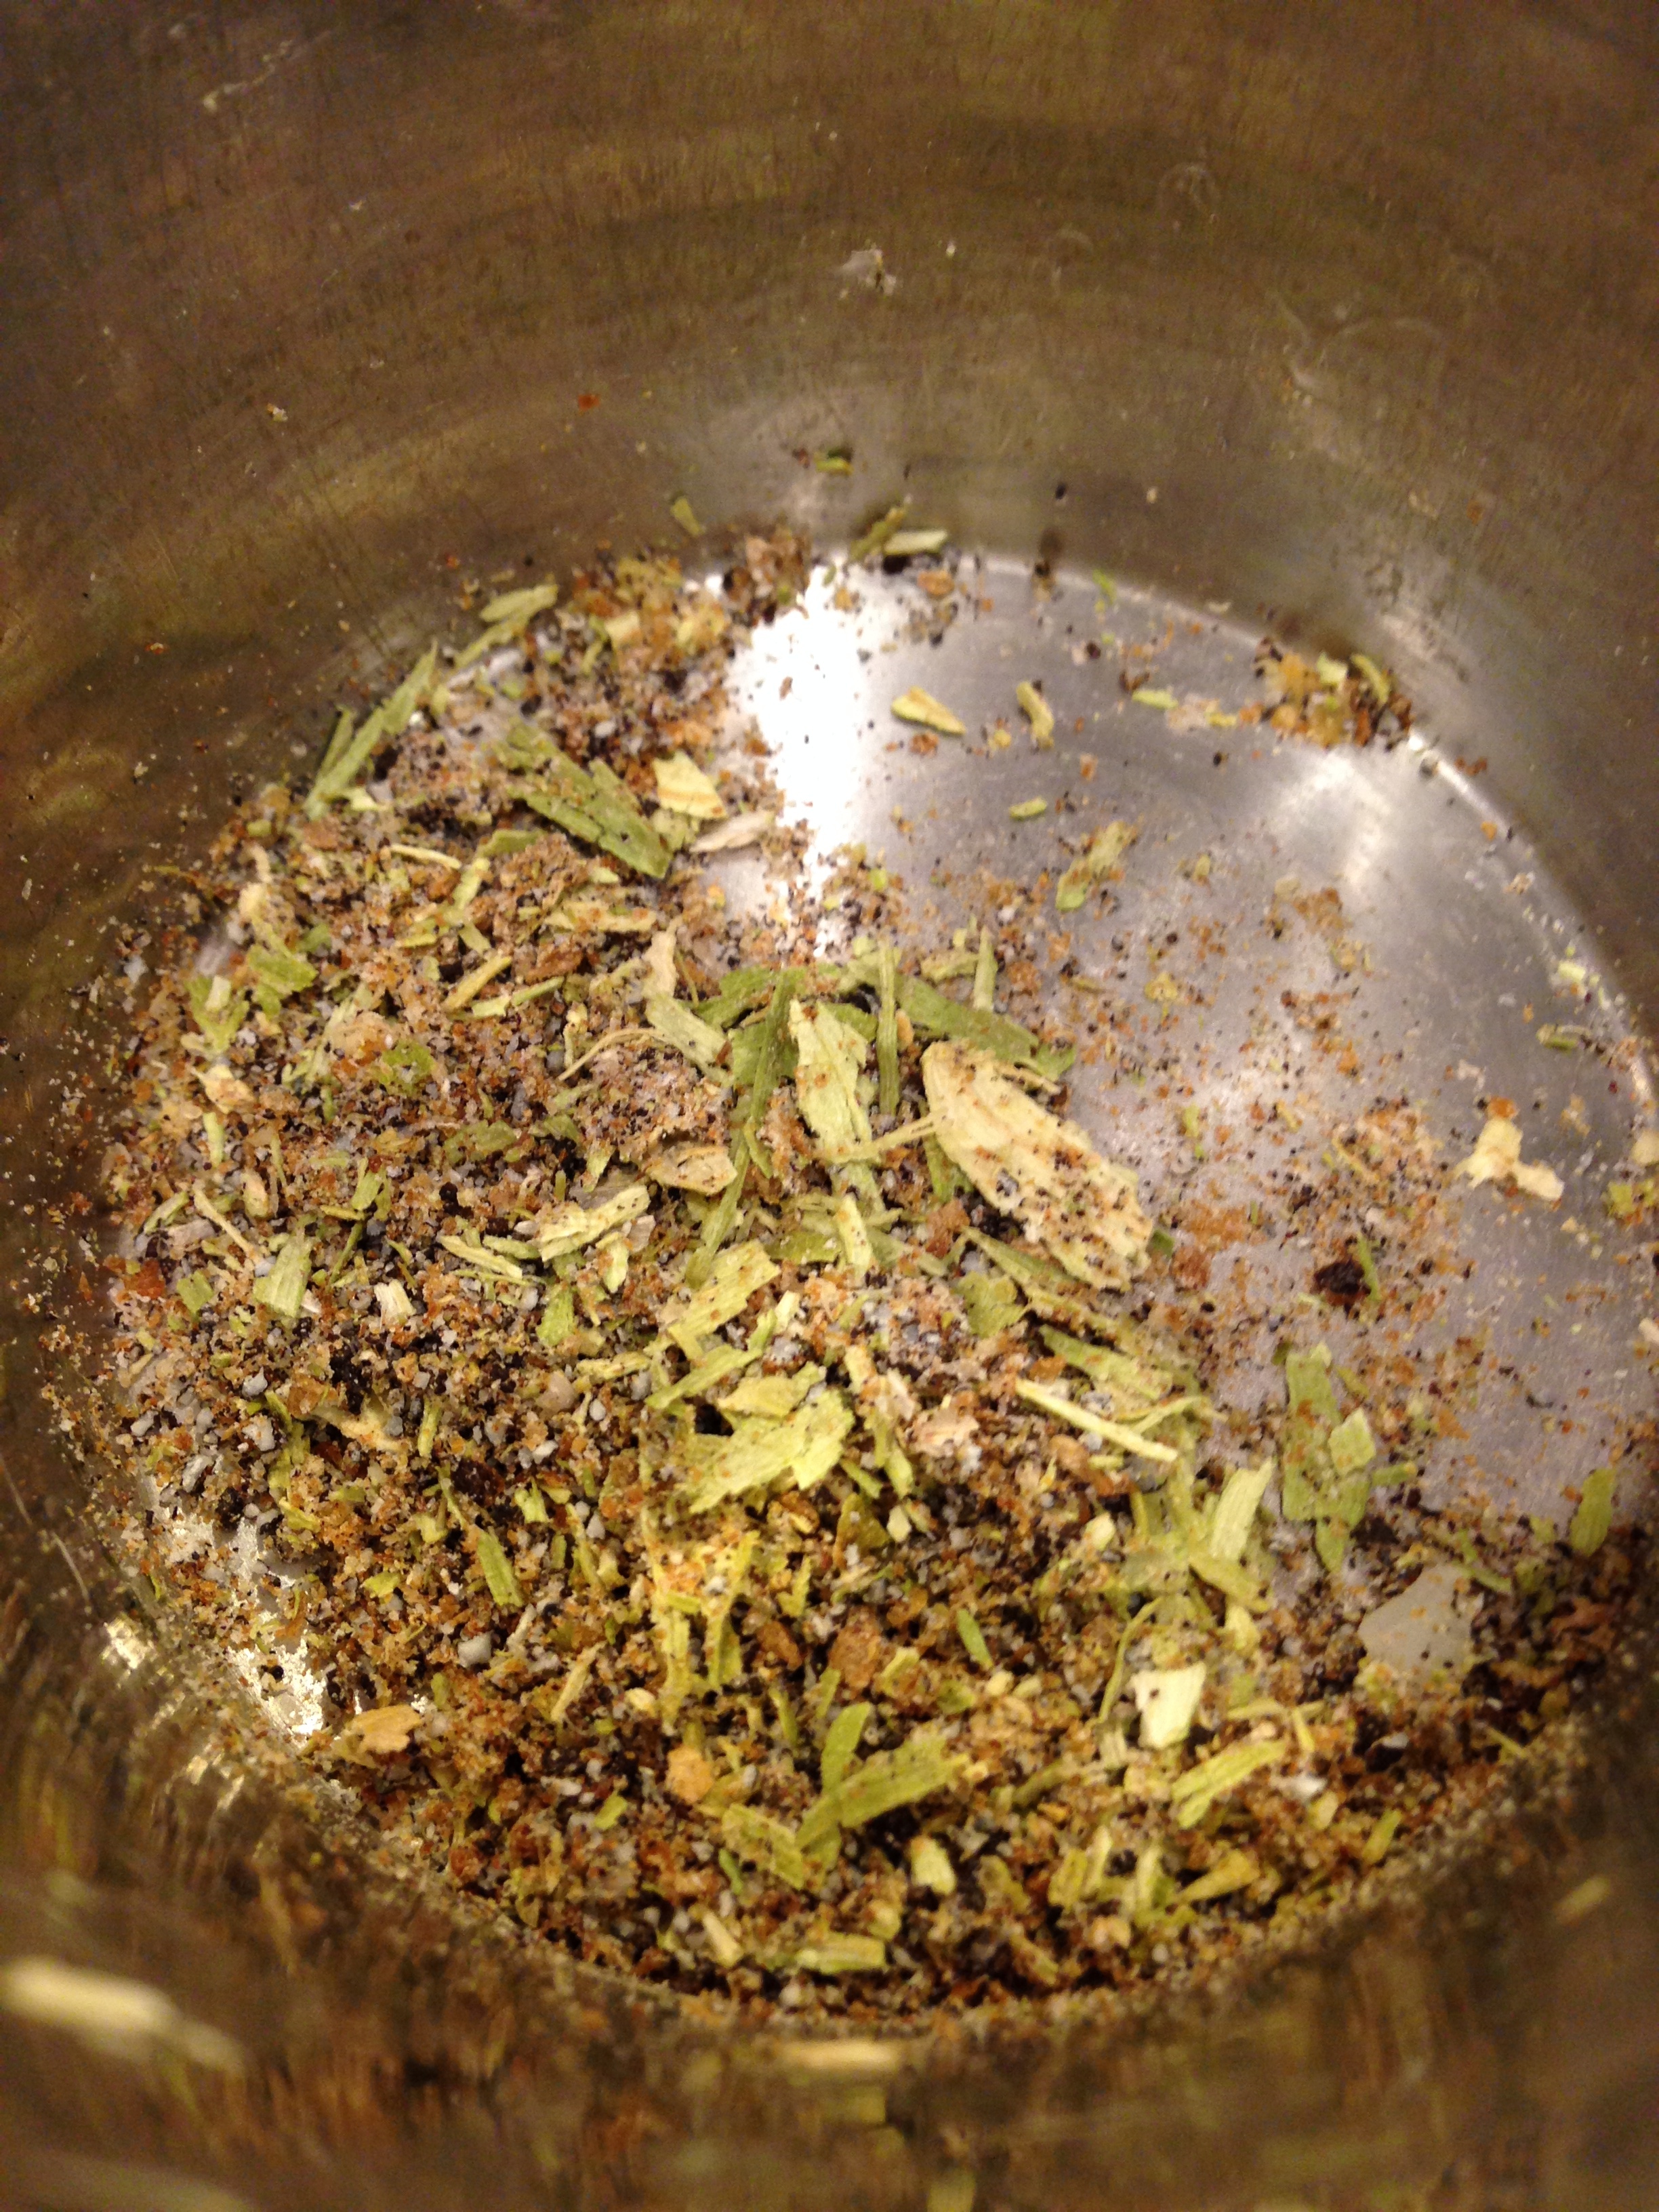
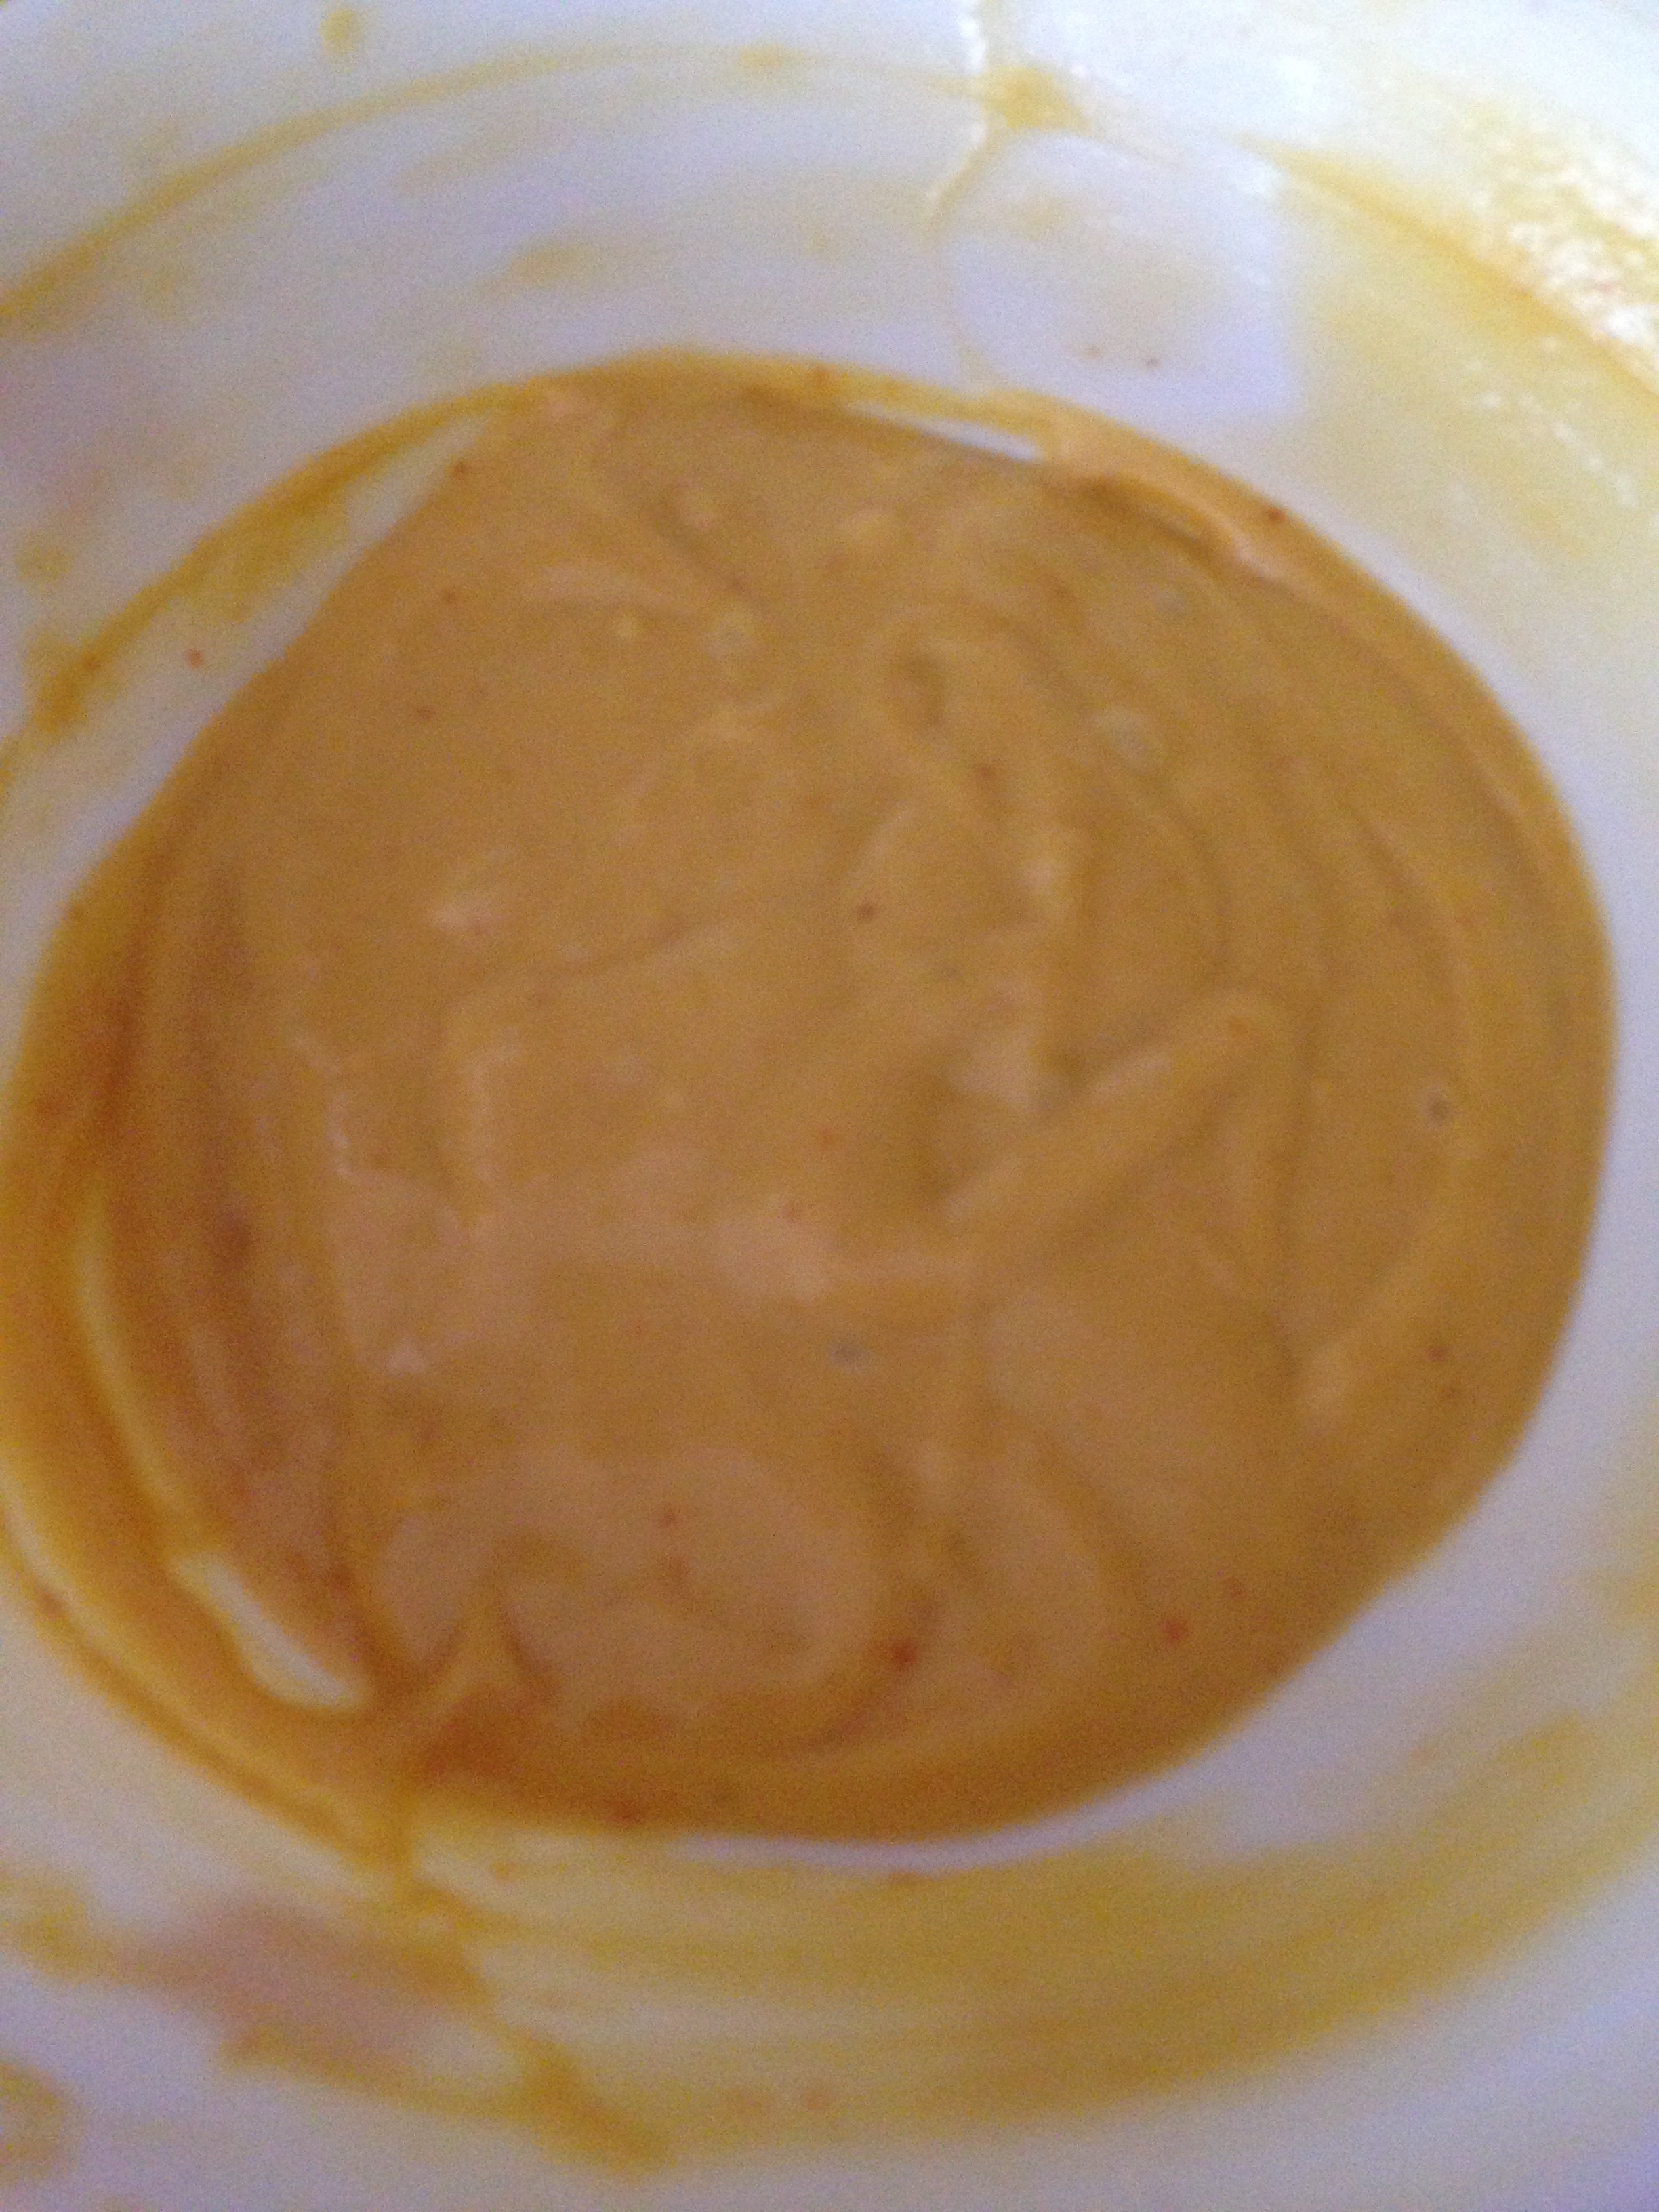
  • Mix bengal gram flour,oil, water, salt , chilli powder, asofoetida and turmeric powder in a bowl.
  • Stir well.
  • The paste should be firm but easy to lump when being dropped from a spoon.
  • IMG_0014

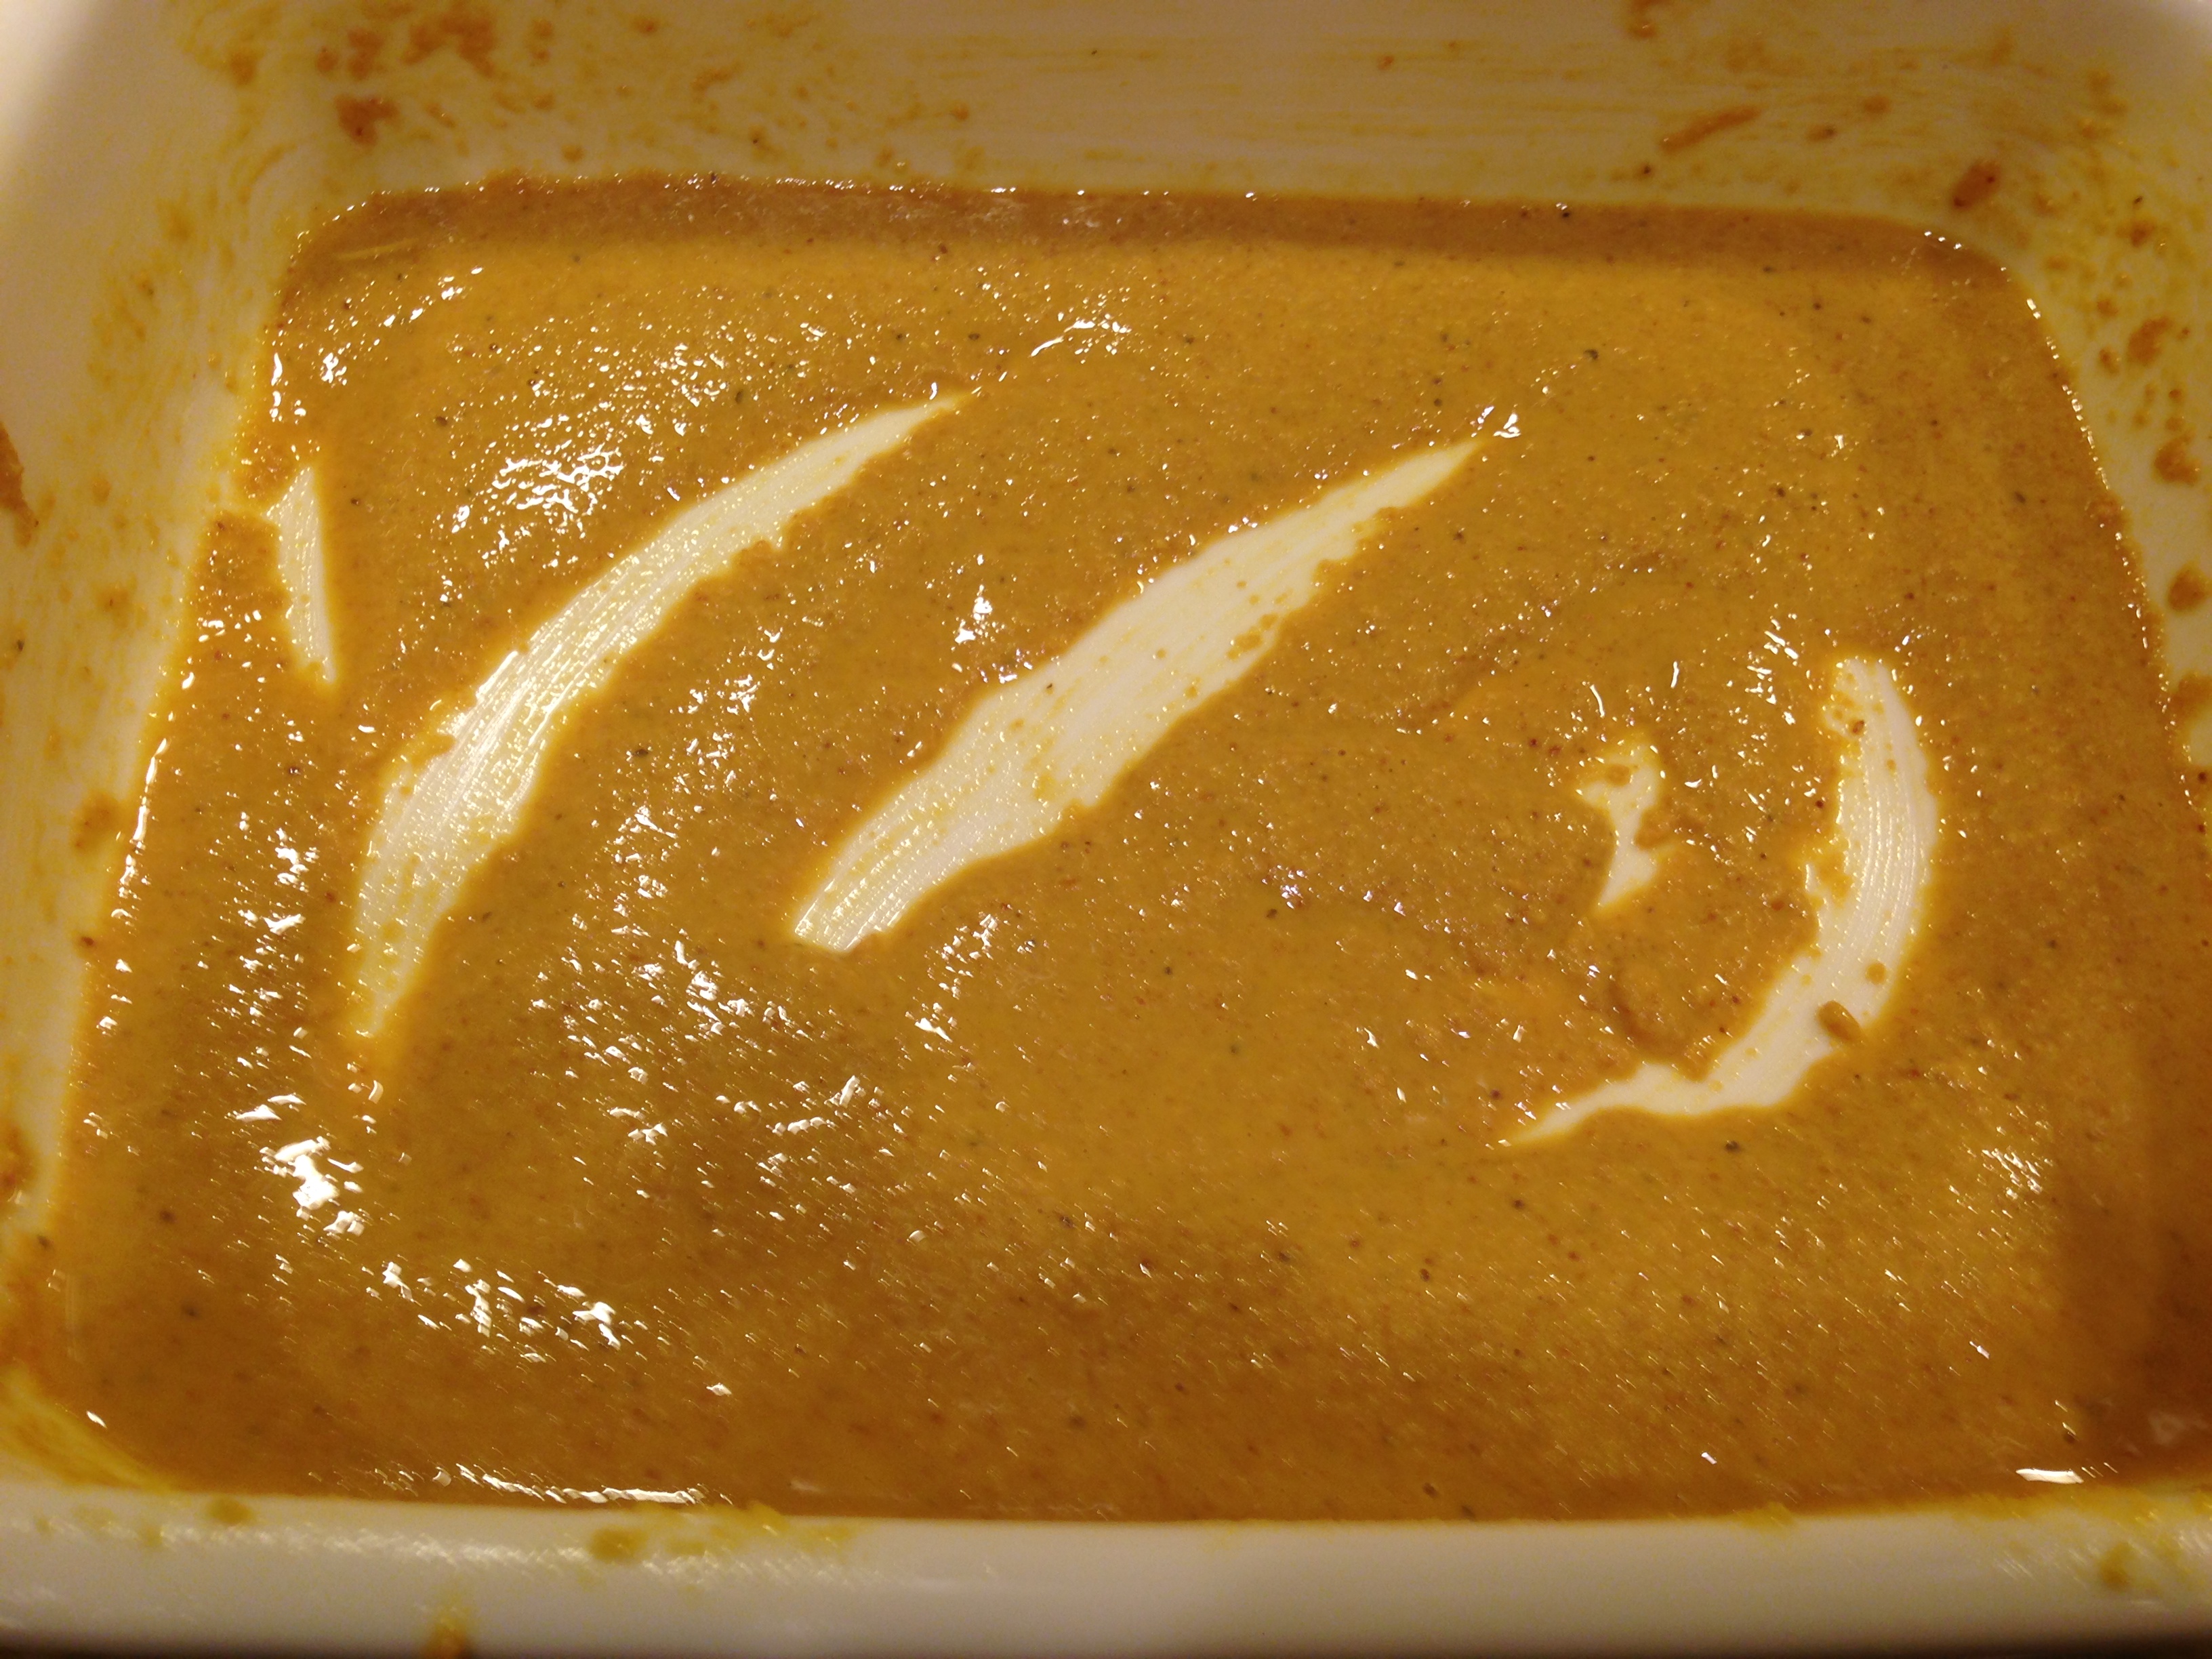
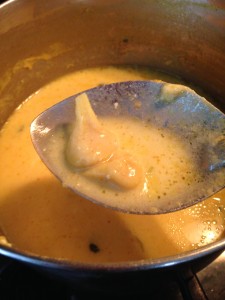
Cooking the dumplings

  • When the yogurt curry starts boils over, simmer on a medium flame.
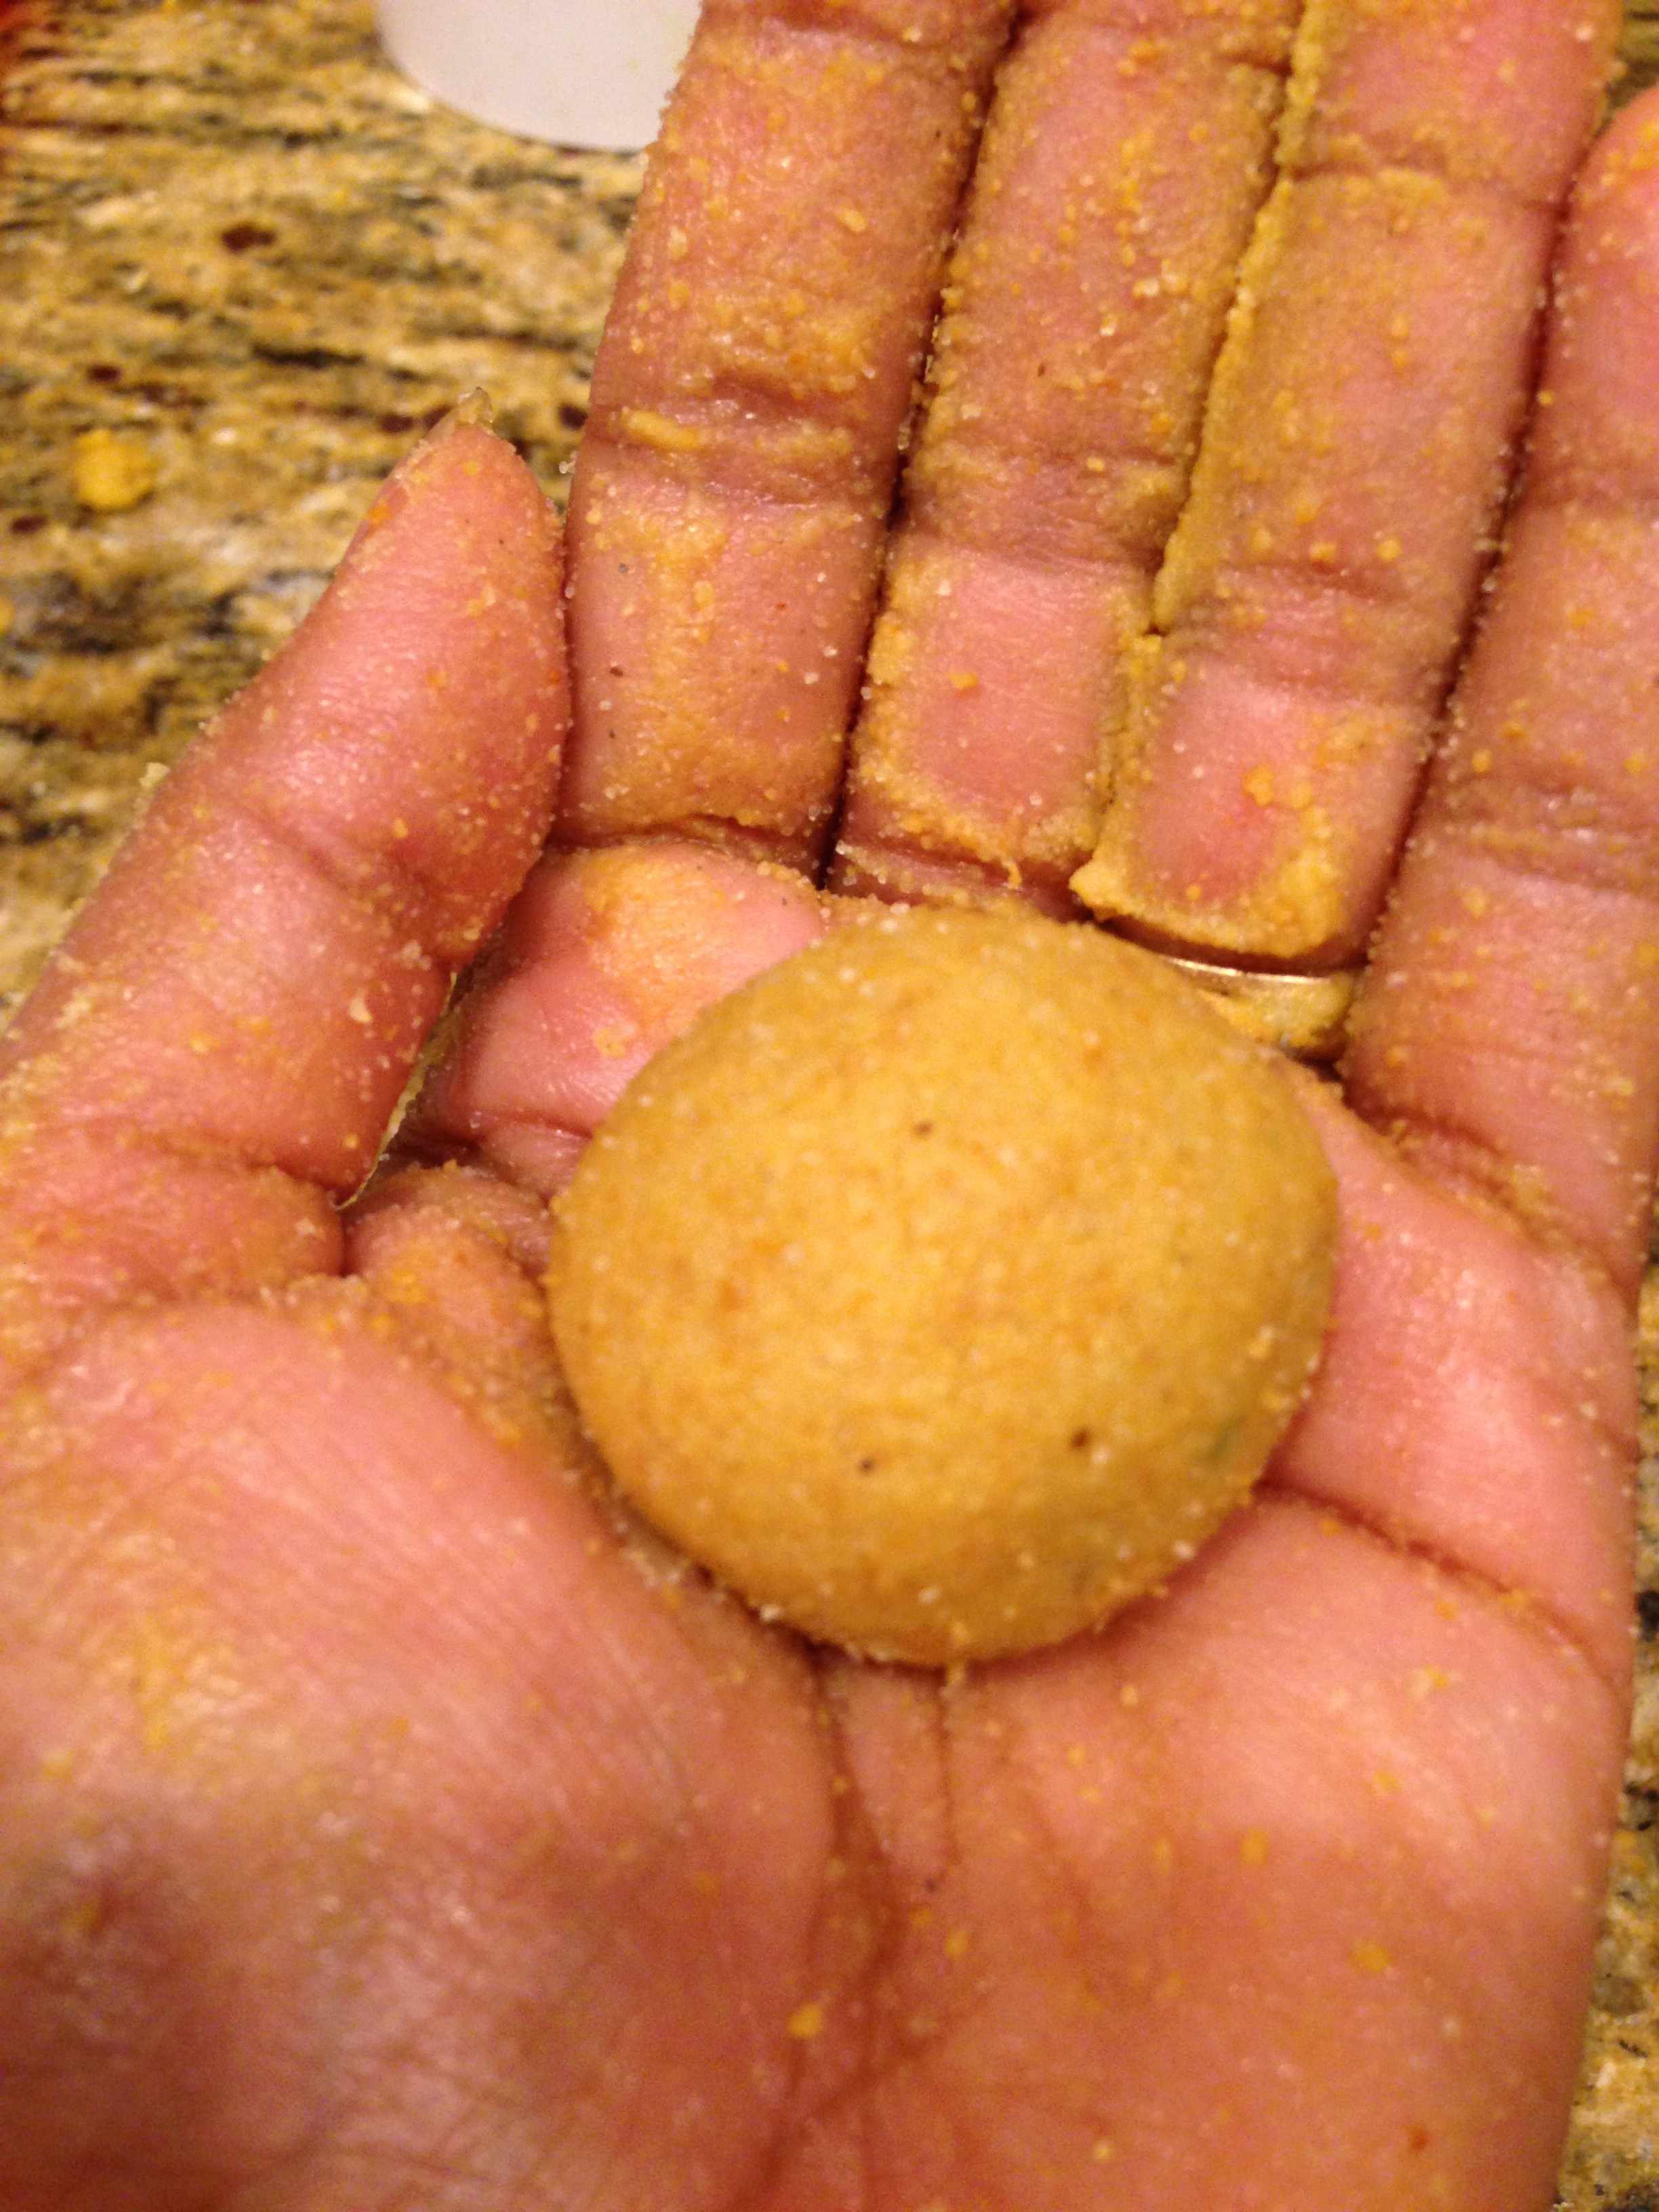
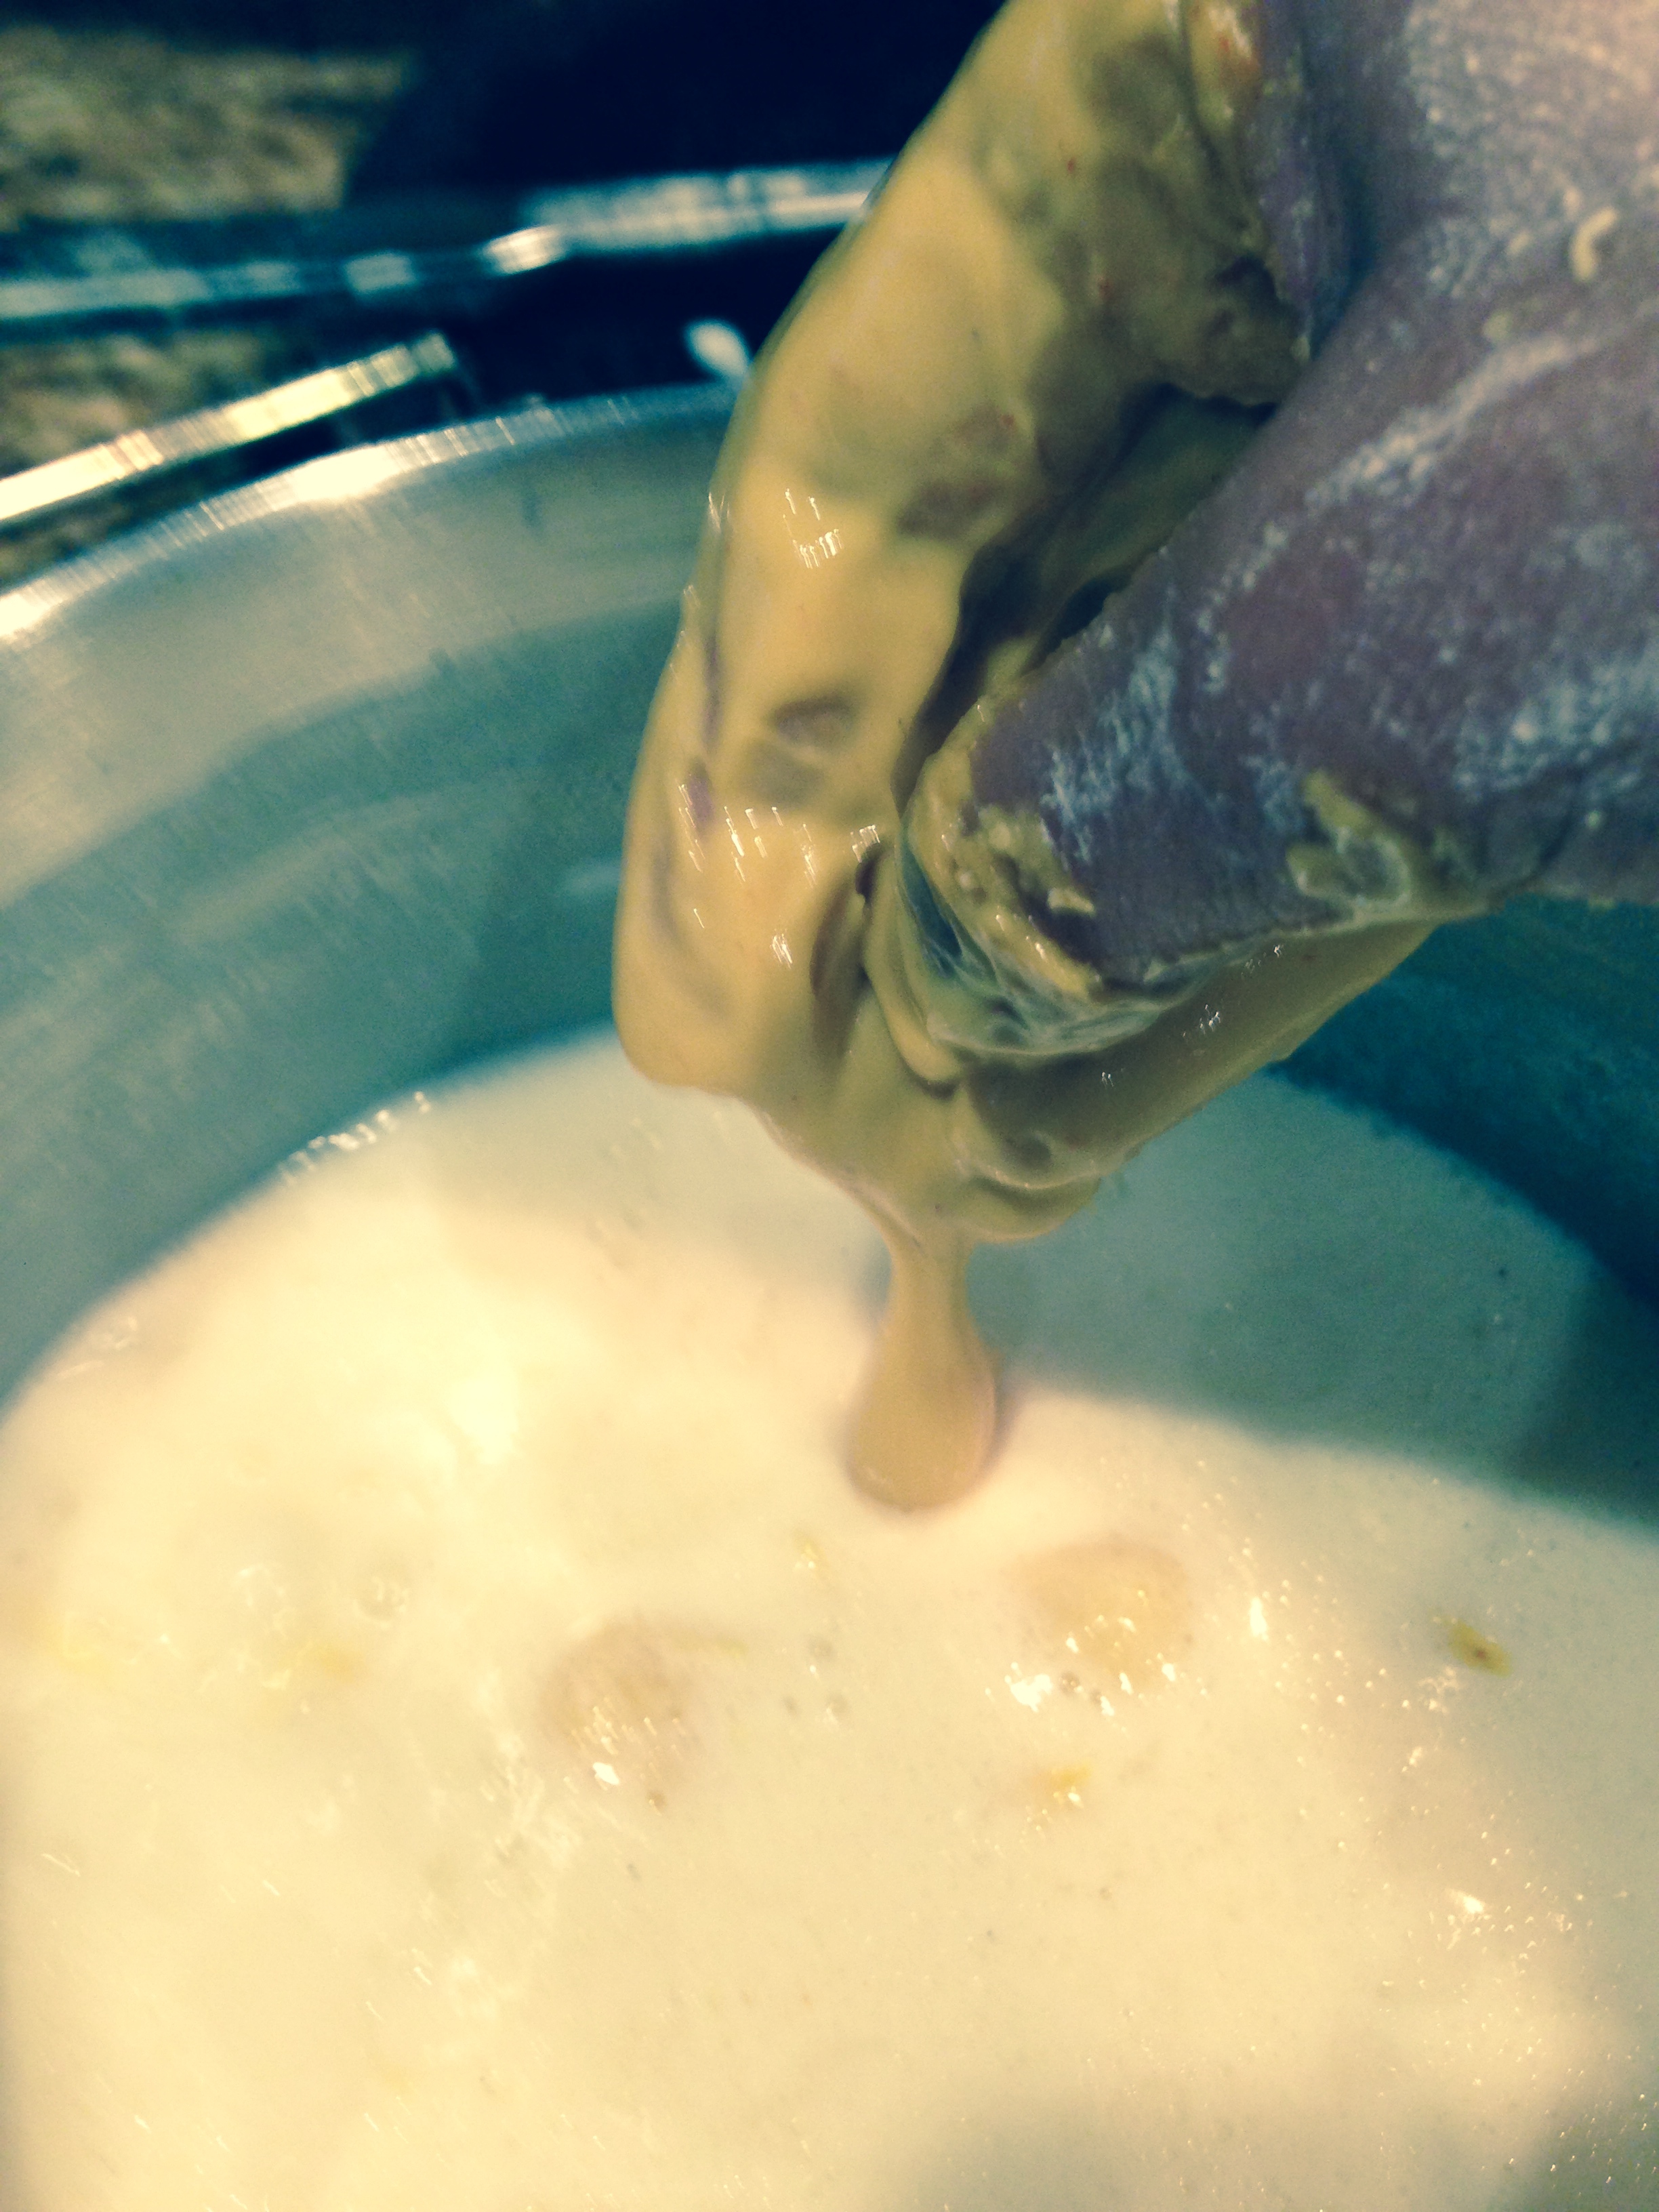
  • Using your four fingers and thumb, scoop some bengal gram paste in your hand.
  • Release a small amount via your thumb, so that a pearl drop is formed while being released into the curry.
  • IMG_0025IMG_2696
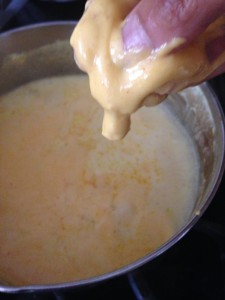
  • Wherever you see the kadhi or curry  boiling, drop these pearl shaped dumplings into the curry.
  • Continue doing this, till all bengal gram paste for dumplings is over.
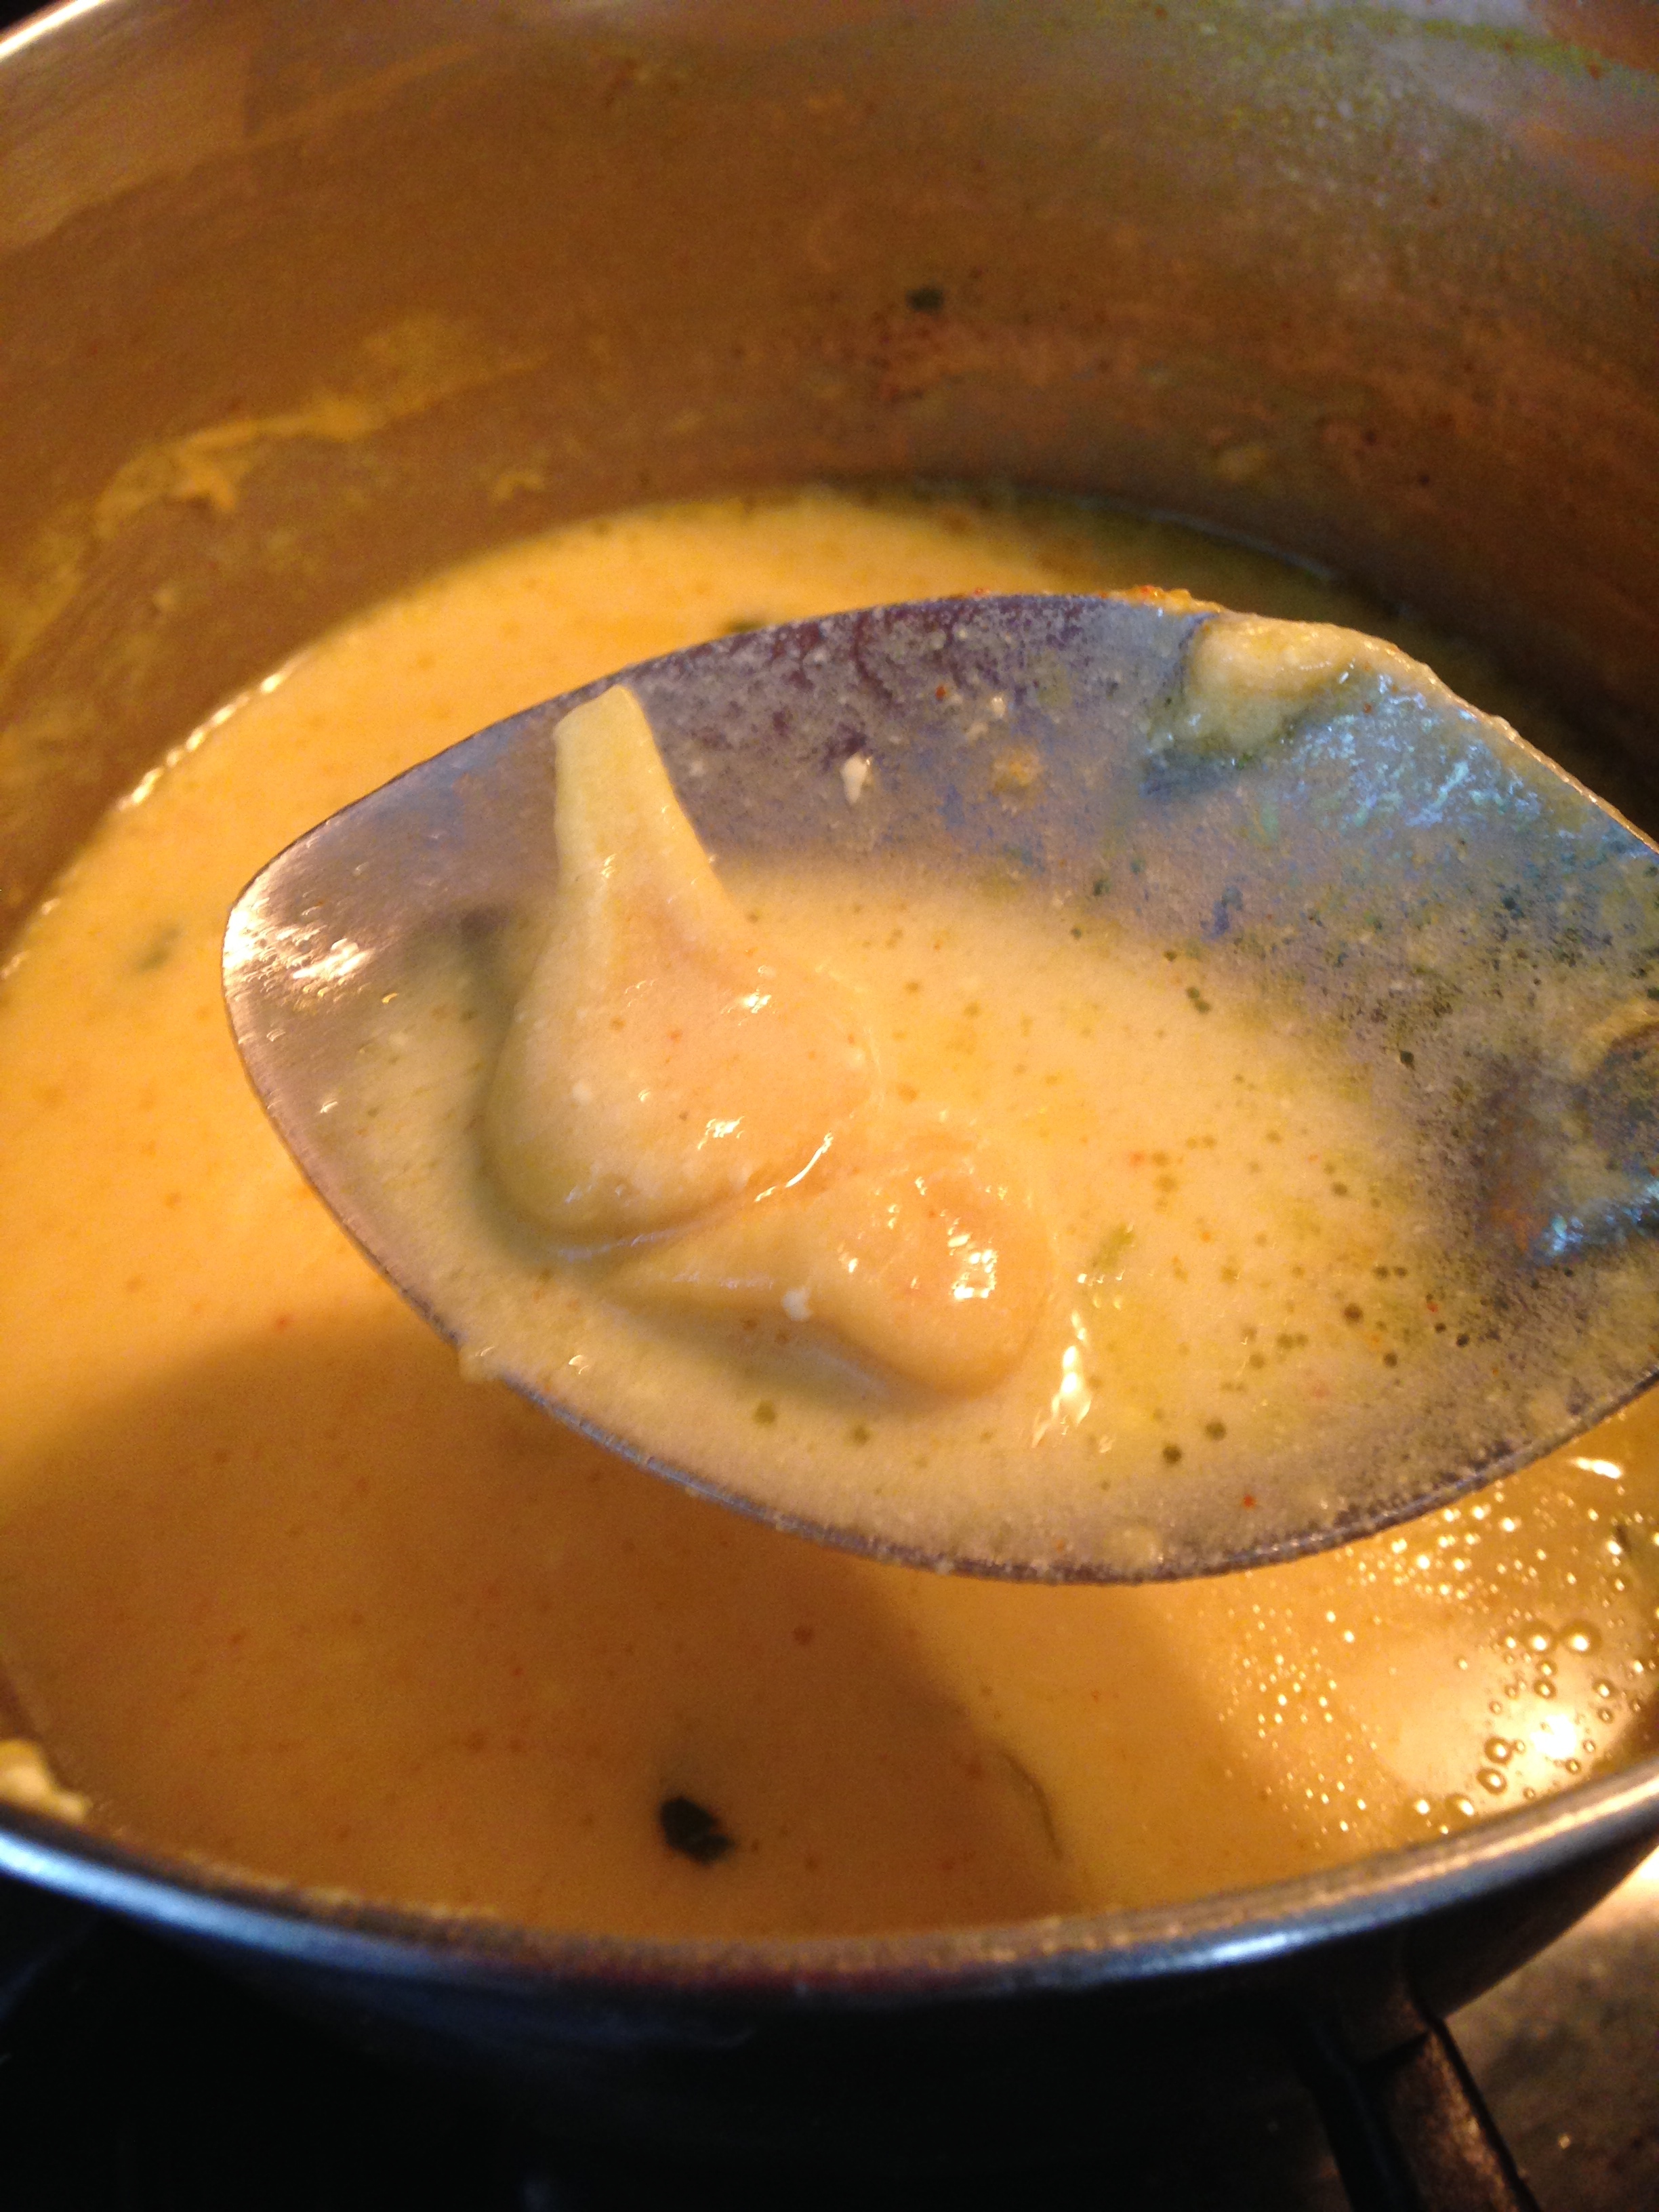
  • Add 1/2 tsp red chilli powder
  • Simmer for about half an hour on low- medium flame, till the curry is reduced to almost half its original quantity.
  • IMG_0030
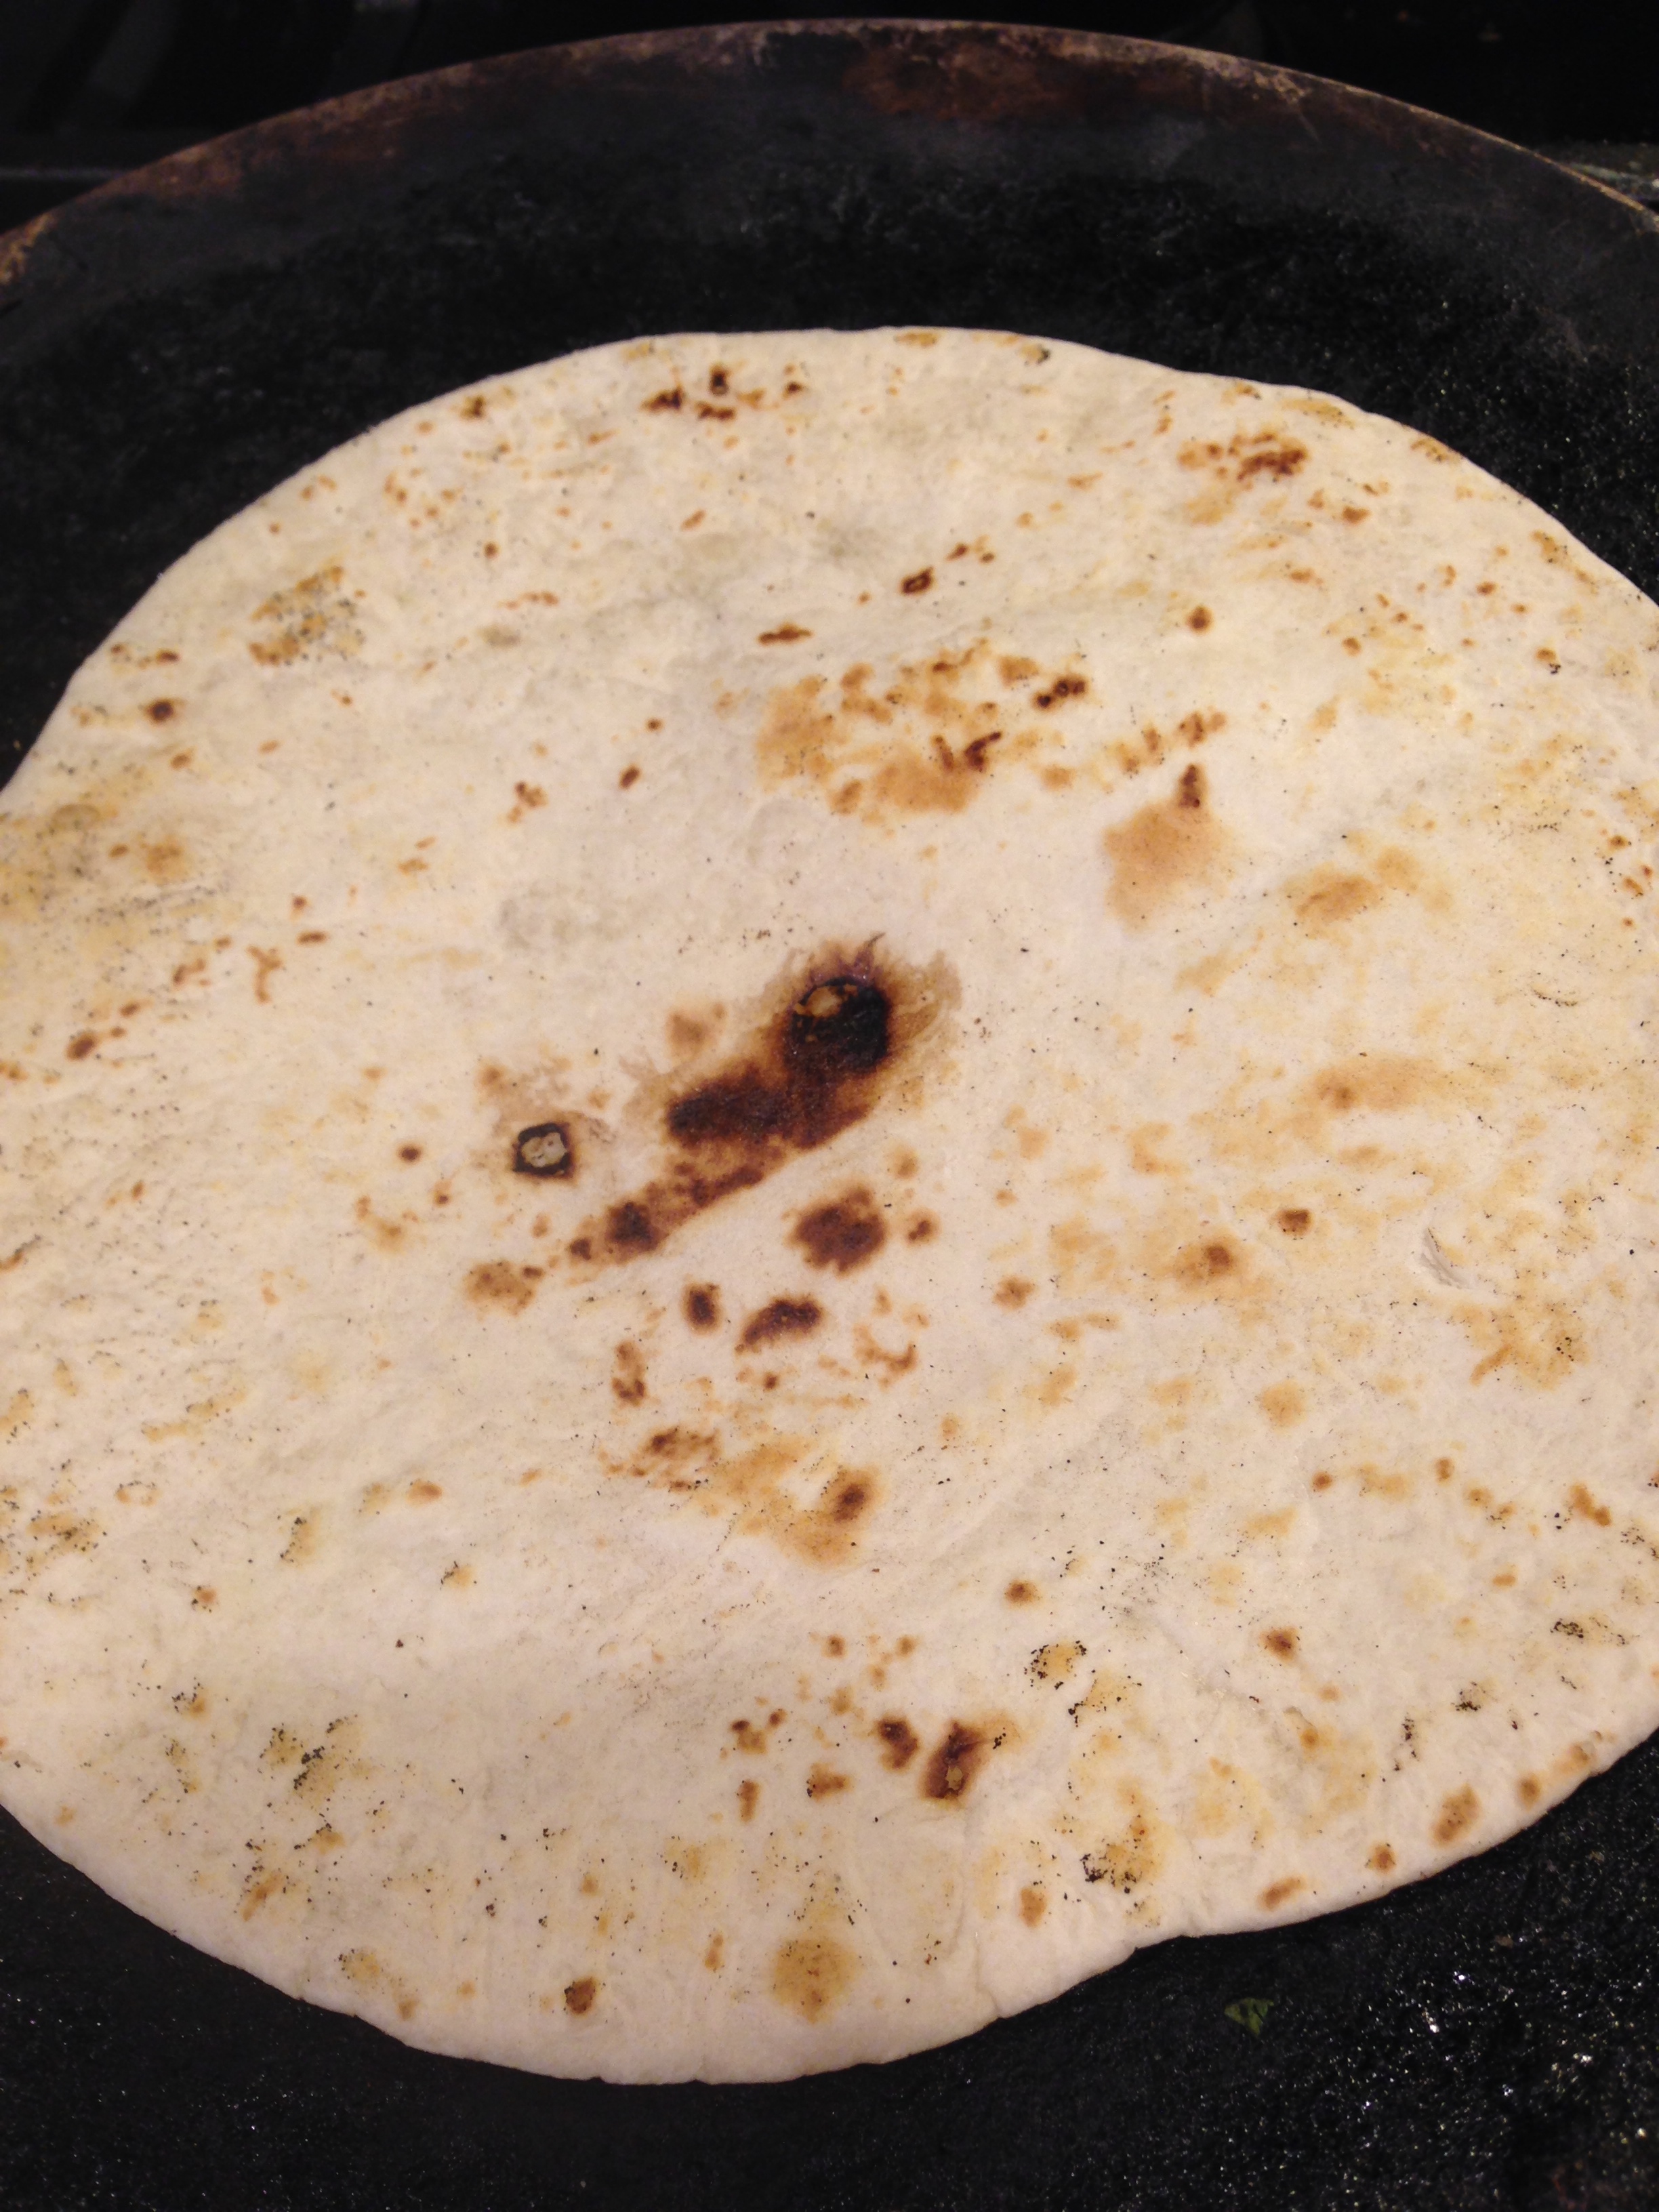
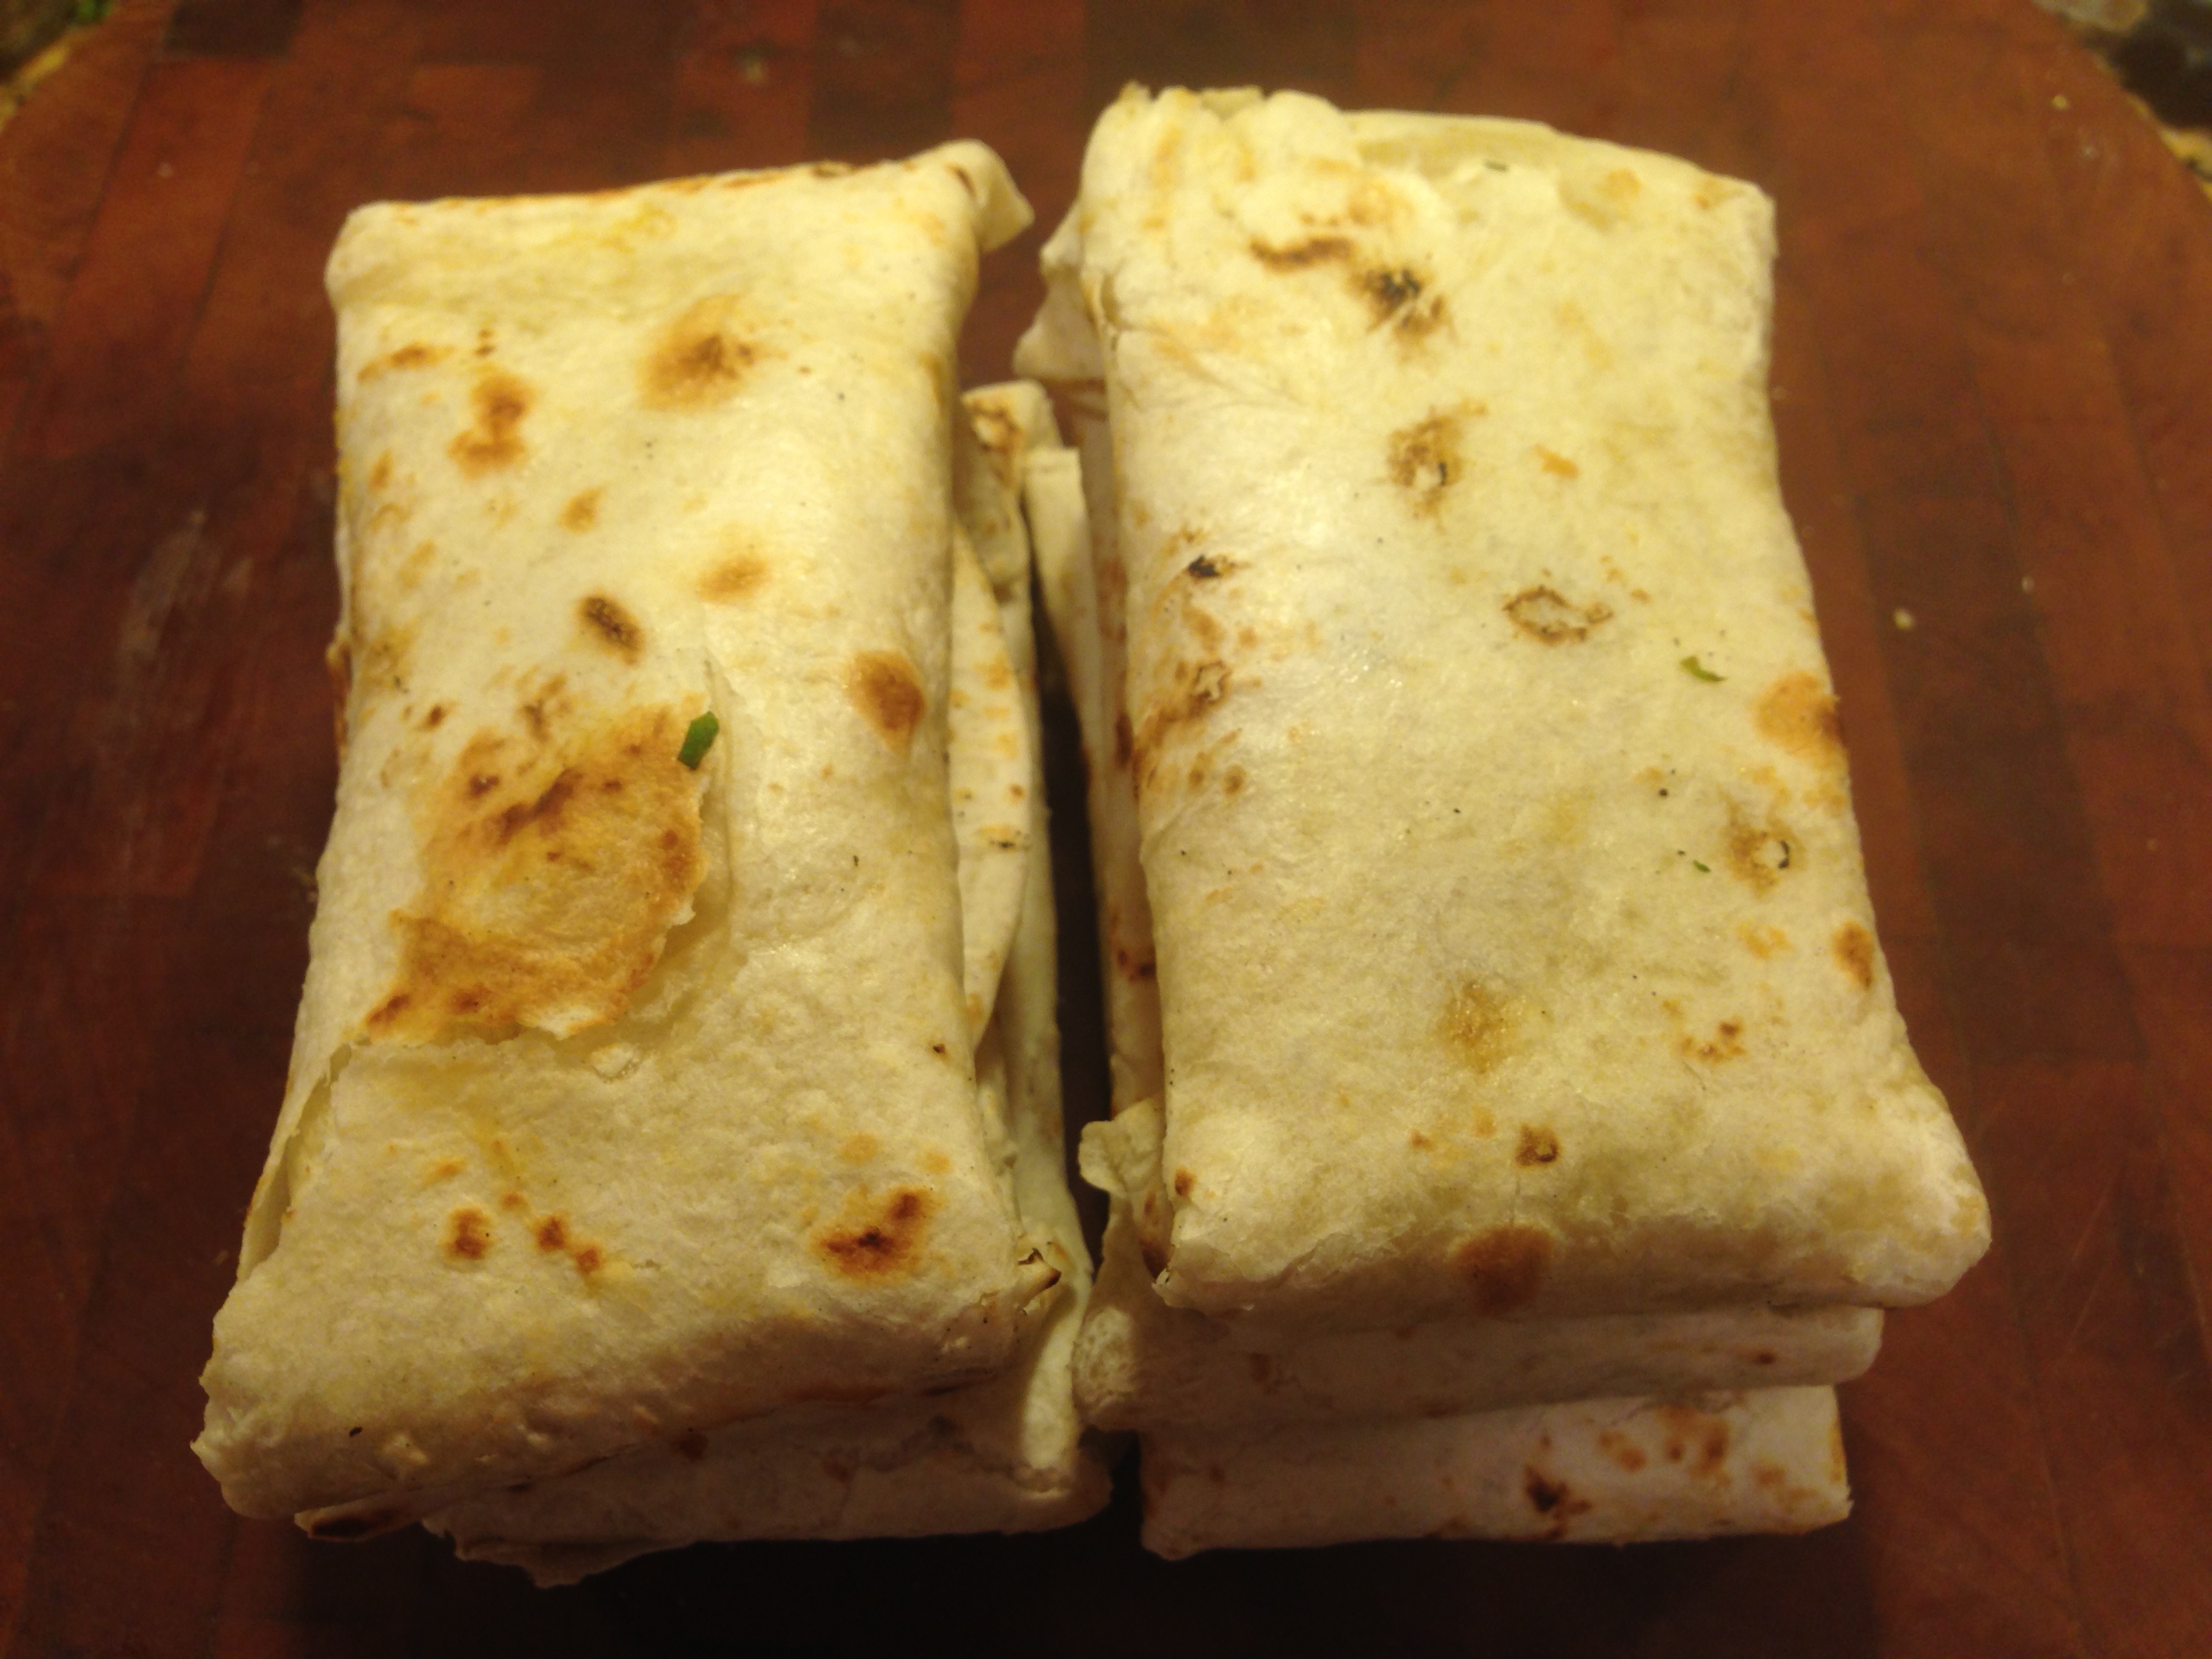
  • Serve hot with paratha or roti.

IMG_2710

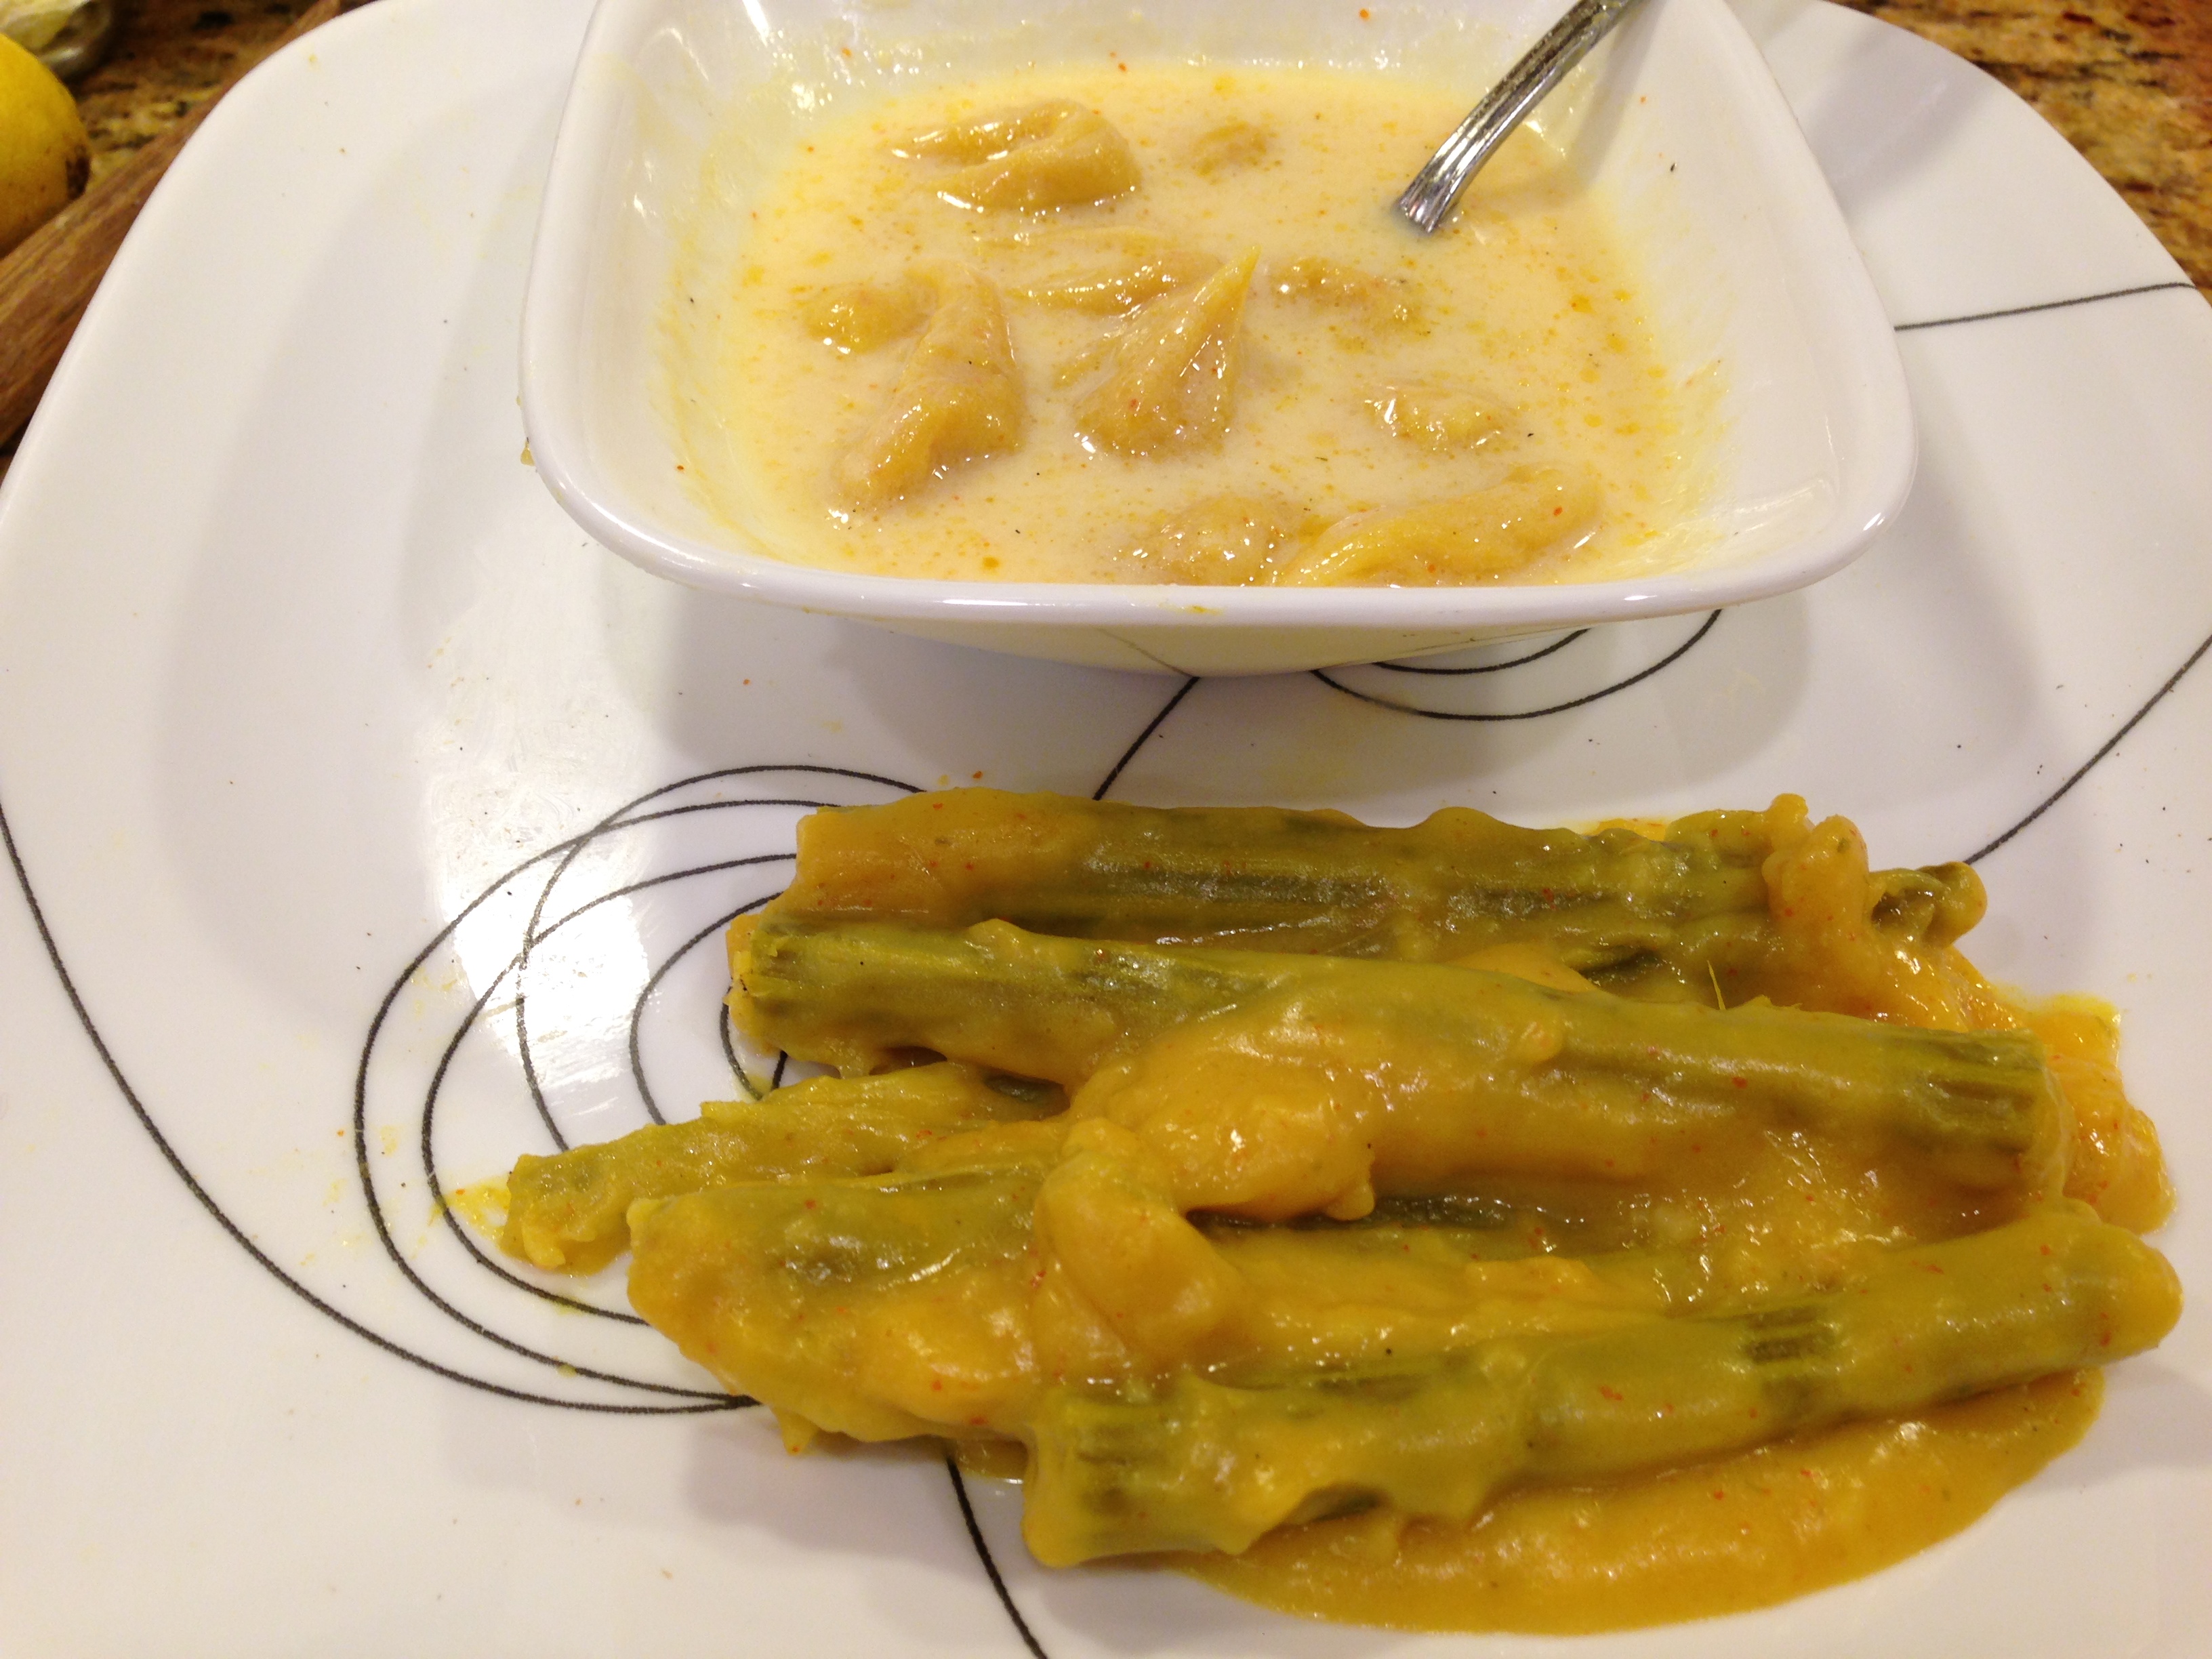
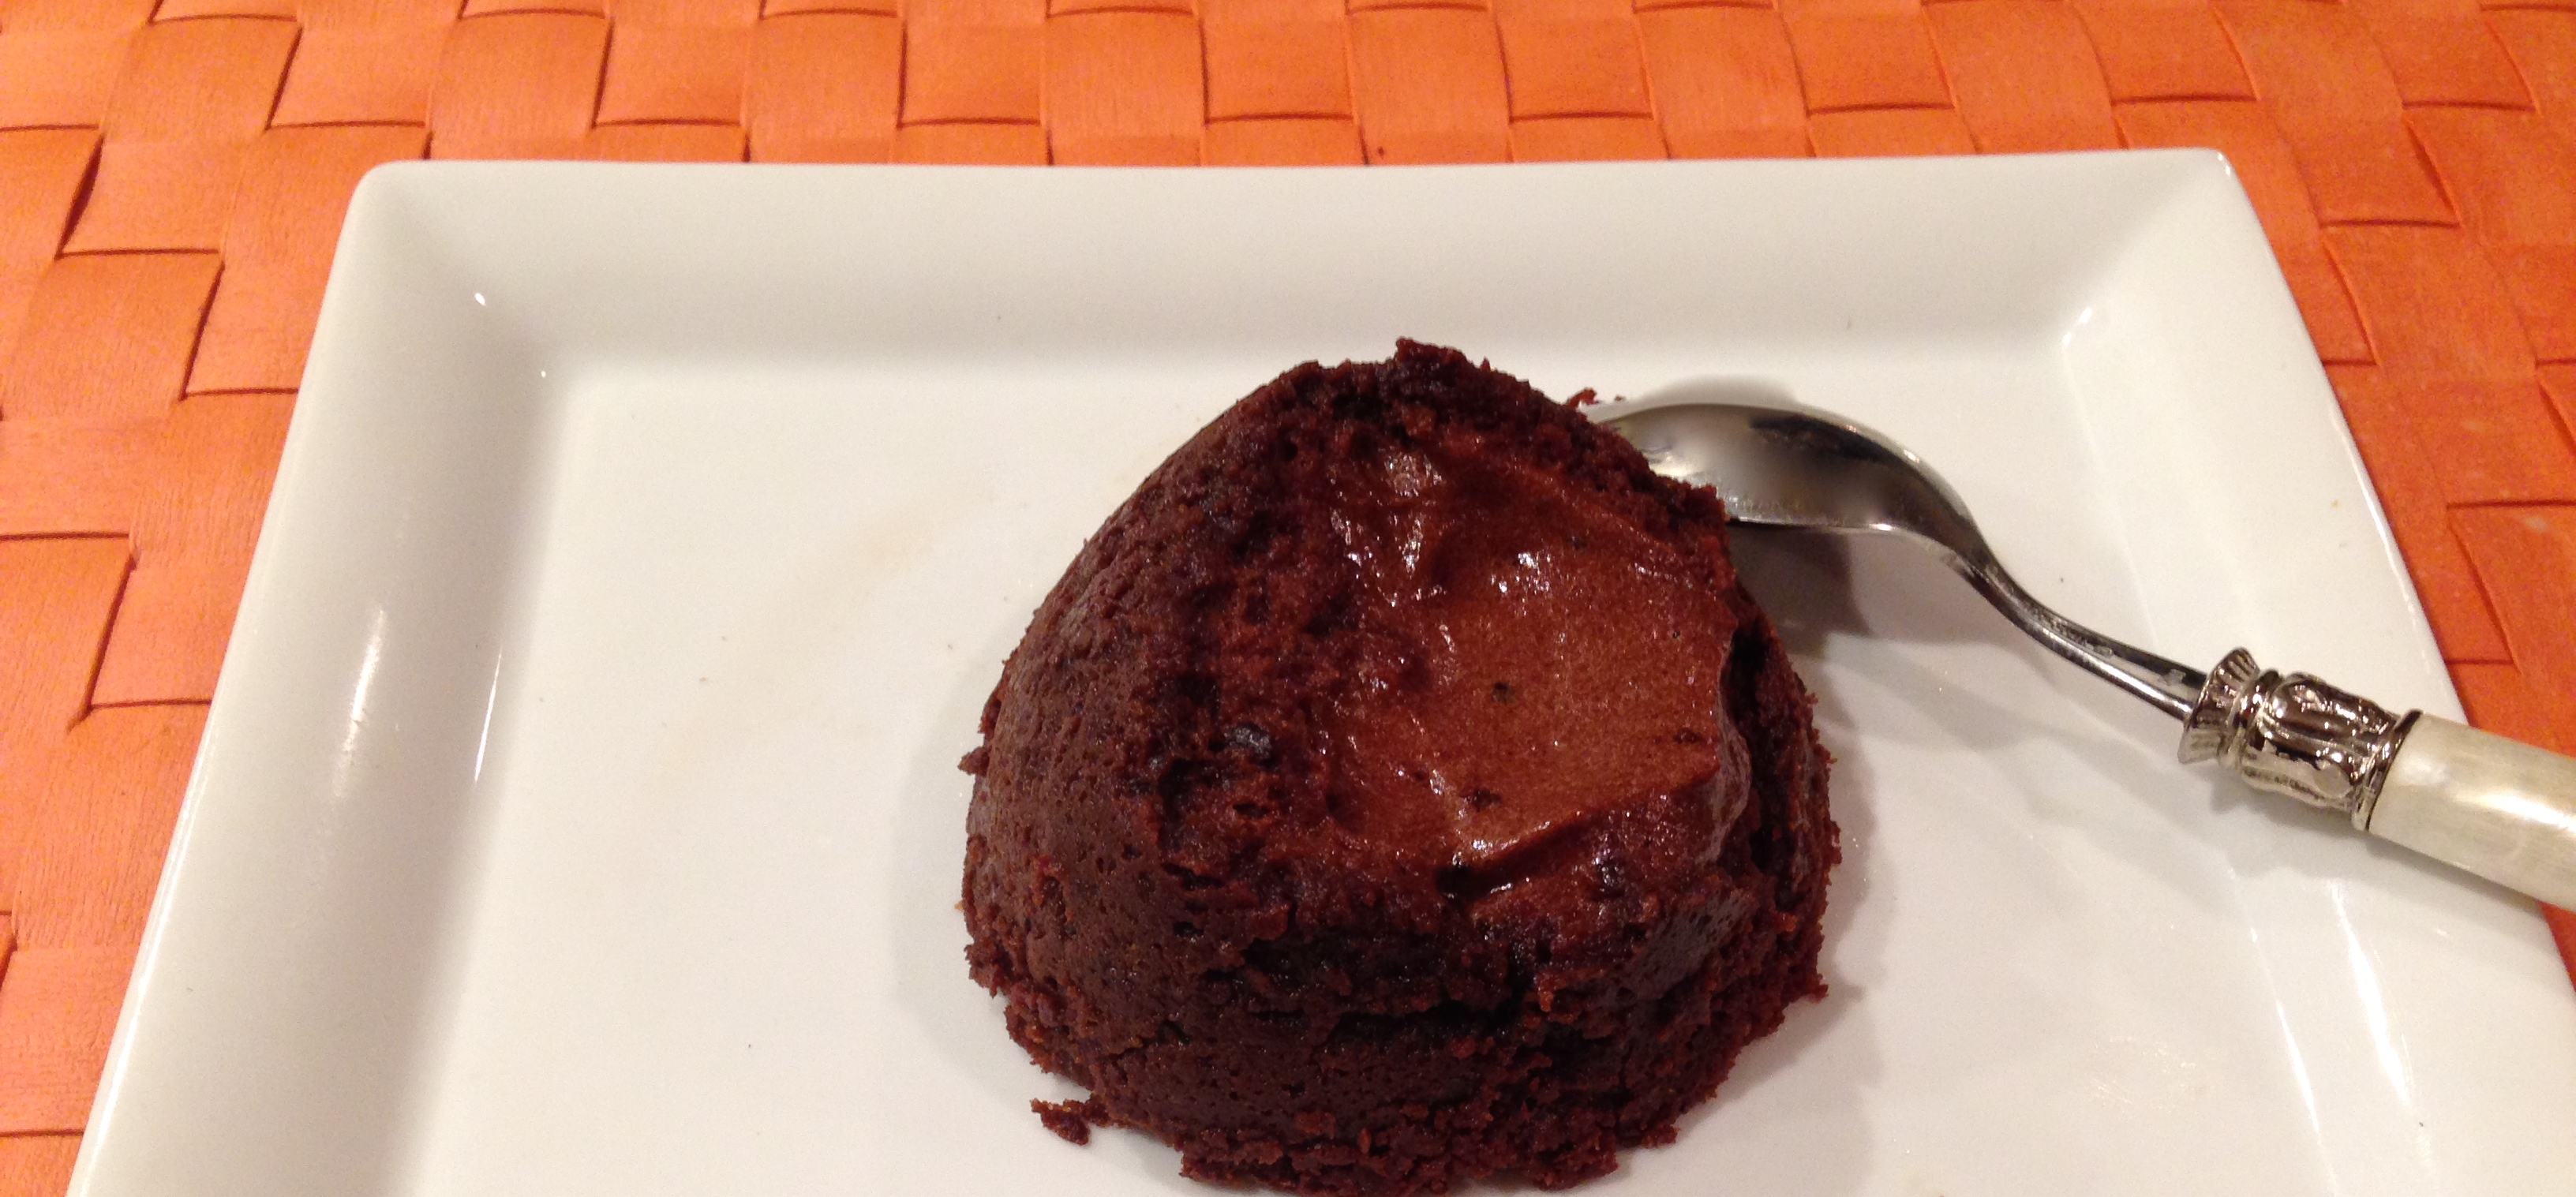
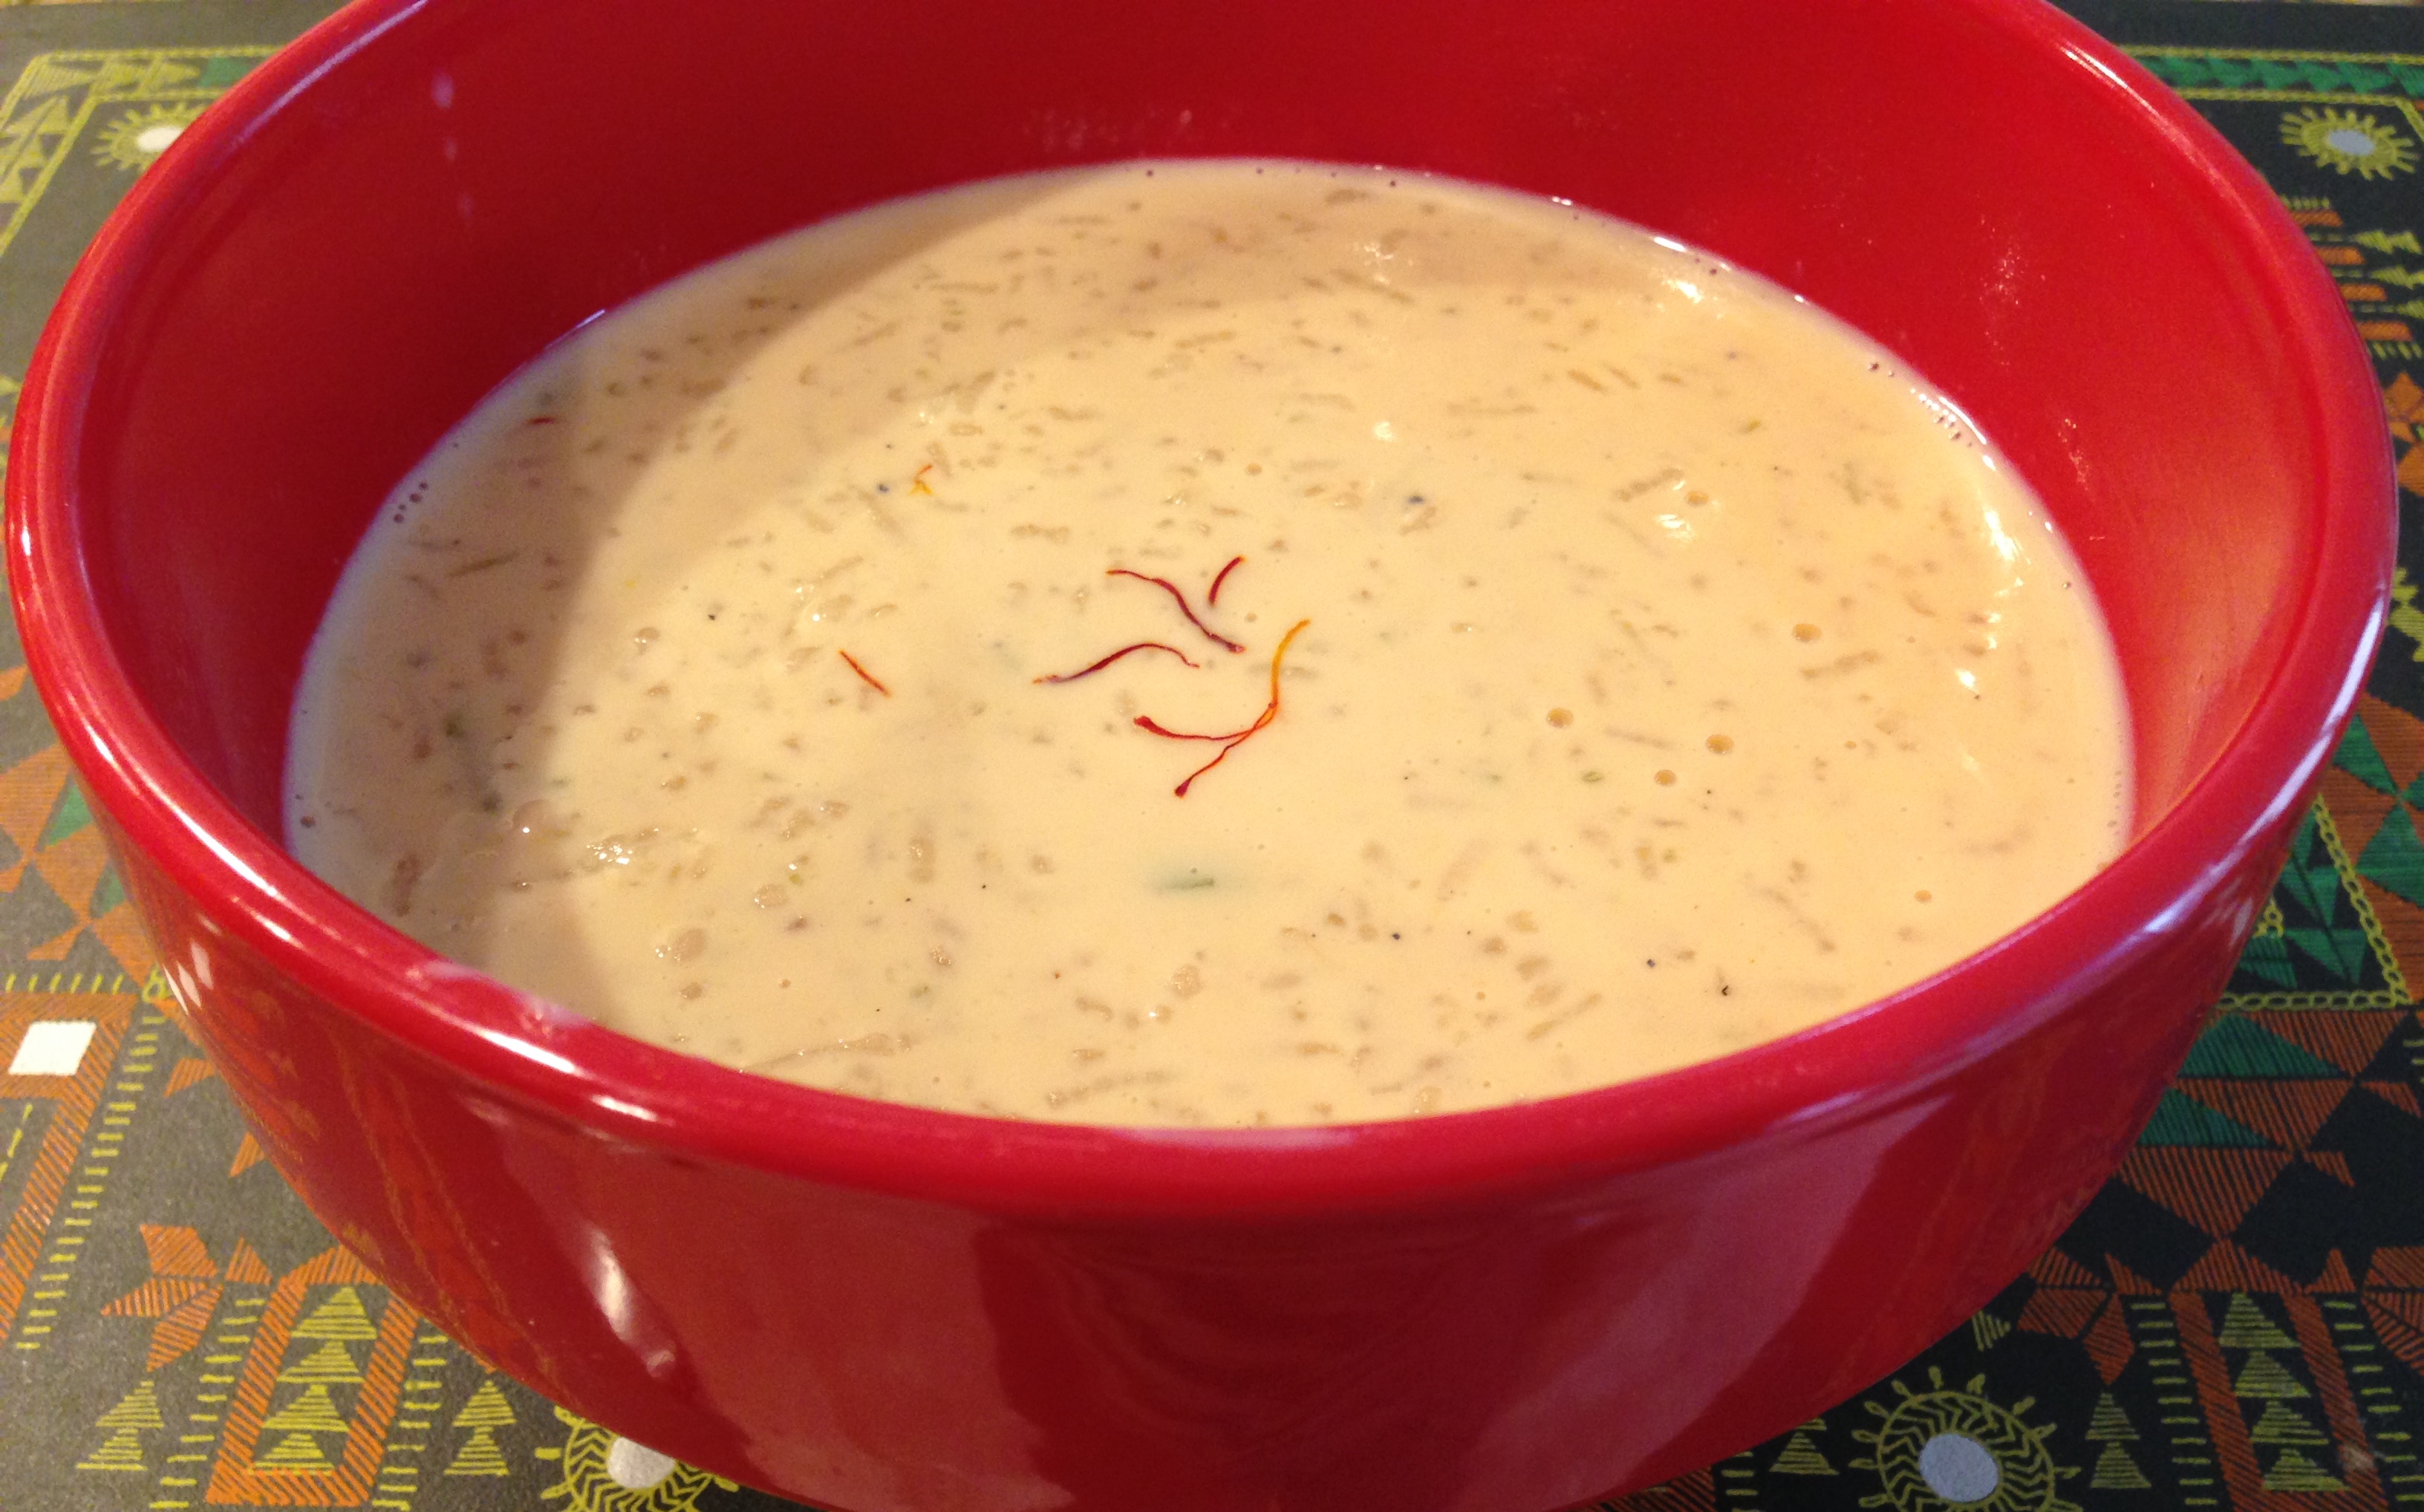
 Dabka Kadhi shown in the bowl in the image

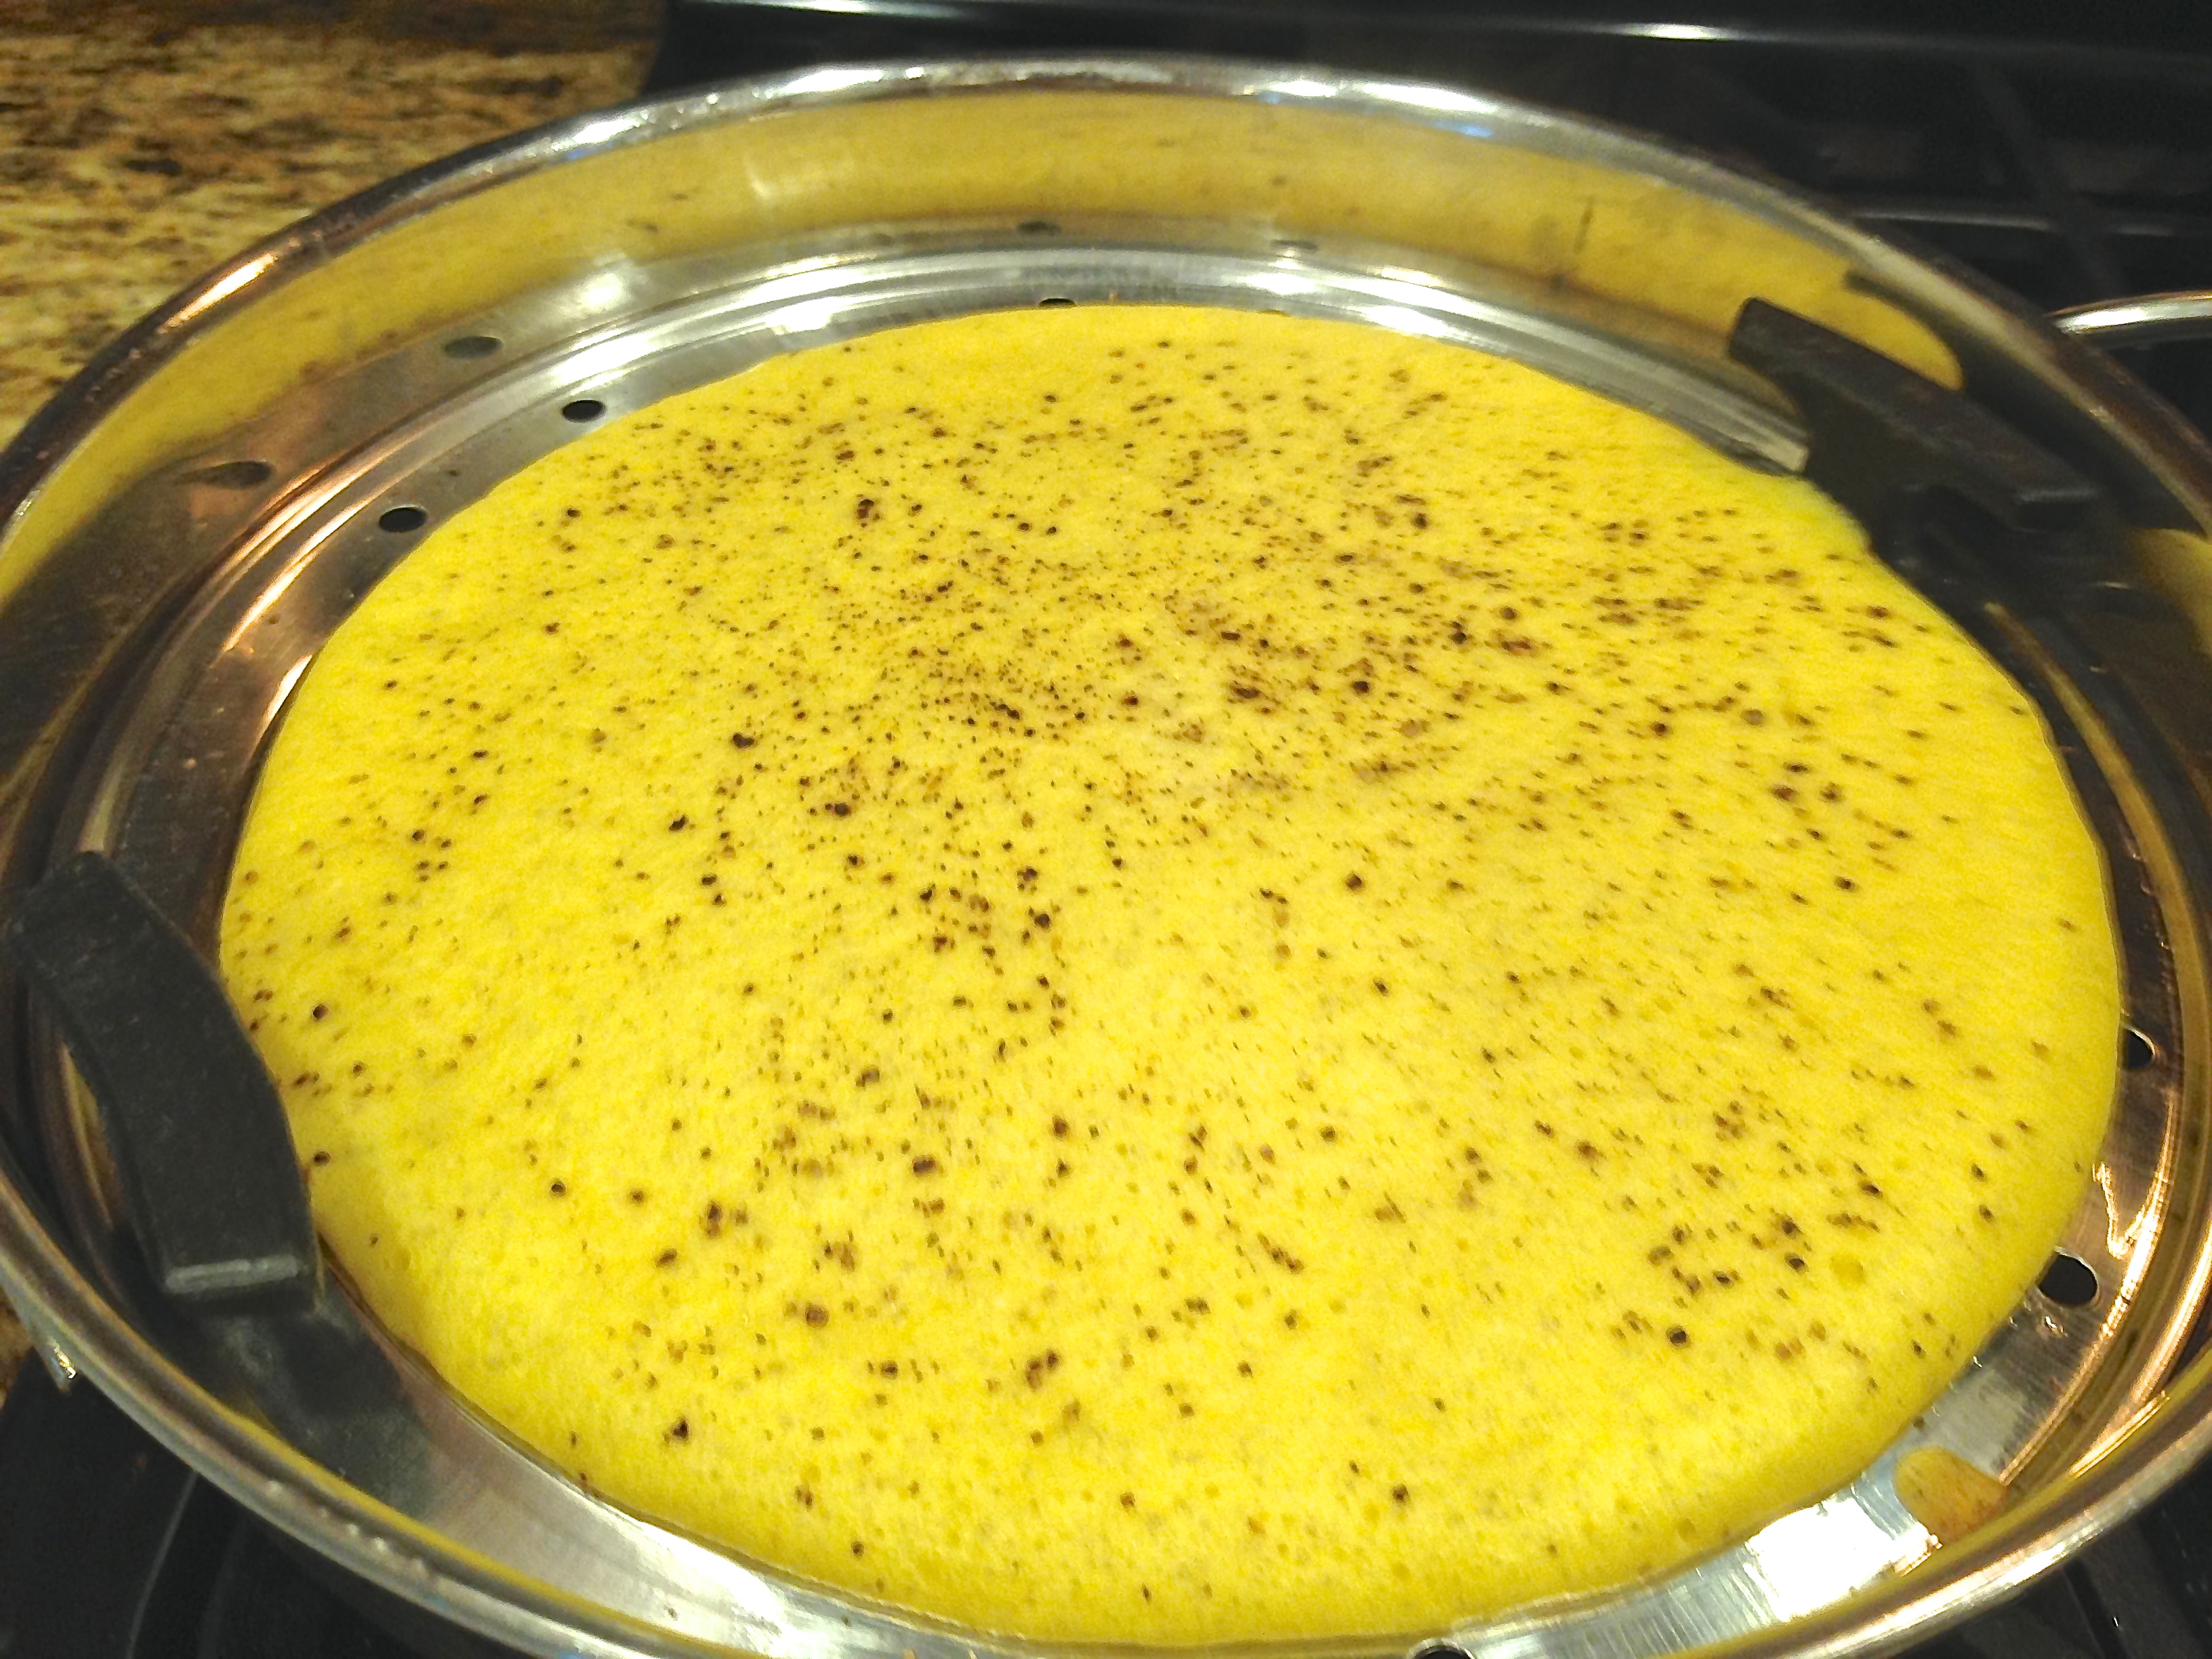
The second item is Drumsticks in bengal gram flour gravy or better known as Sargavanu Shaak

TIps: Yogurt should not be too sour, or else it will spoil the taste. The dumpling paste should not feel to firm to release , or tension when releasing from your fingers. If that is the case, add a few drops of water to make it softer. Its best to add water in little measurements when making this paste. Instinct Factor If the shape is not the perfect pearl, that is fine, as that will come with practice, and even I am in the process of improving. If the paste is too thin, you will not have a firm shape but it will become flat. Also too thin a paste, will have long thin lines on the top of the dumpling. You will know when and how much to release it with practice. More like the art of making bhajjis or fritters, so trust your instinct on shape and quantity of paste, as well as consistency of paste. Feel Factor Dabka Kadhi Bengal Gram Dumplings in Yogurt Soup looks and tastes  like another version of  famous Rajasthani Gatte ki Sabji! Both use bengal gram flour and are made in yogurt curry. This is more healthy, as it uses less amount of oil and is less time consuming. The curry over here is slightly thicker, and is also simpler to make as it uses less amount of spices. The taste of a nice steamed dabka bengal gram dumpling that is chunky enough to bite, in a mildly spiced yogurt curry,  gives a nice warm fuzzy feeling! Its almost like a Yougurt soup with Bengal Gram Dumplings that are perfect for a chilly evening! This goes well with a Paratha or Roti.  Lentils when combined with Yogurt is ideal for making proteins for the body, and this is one delicious and quick recipe for this. [contact-form-7 404 "Not Found"]   [shopeat_button]

Posted on

Double churned vanilla bean eggless ice cream

Double churned ice cream , a phrase one would safely assume as something that has been churned twice! But the ice cream manufacturers have a totally different twist to the meaning of :double churn”. Interesting enough, I did not know of this  till I did some research on what does double churn mean in the ice cream language. And I was disappointed to  know that double churn, slow churn are all part of the light ice cream series that refers s to a process called low-temperature extrusion, which significantly reduces the size of the fat globules and ice crystals in ice cream. For more information refer http://www.nytimes.com/2006/07/26/dining/26cream.html?pagewanted=all&_r=0

Readers maybe interested in the above New York Times article on what makes the ice cream creamy! Per this article, through the use of yeast fermentation and in some cases through the use of a protein from arctic ocean’s eel like ocean spout, extra creaminess is achieved. And  I would have never guessed such an ingredient in a commercial ice cream.

So for those, who would like to avoid such possible inclusions, I am very delighted to share this homemade vanilla bean double churned (and here churn means churned twice- plain and simple!) that can be easily made in an hour and ready to relish with 5-6 hours of cooling.

While making this, I almost had the same excitement as  a science student in the laboratory, only my lab was the kitchen lab, as I was about to discover the how and why and what of a Vanilla Bean. I was curious to know how a vanilla bean looks like and I was excited to go shop for one. I could not wait to see how it tastes as a bean and also when used in an ice-cream. I was totally not expecting a black color of the bean, as the vanilla flavour is traditionally white!  So in my traditional “vanilla white” ice-cream the vanilla bean is visible through the black spots in the vanila ice cream. To me the delight of making and eating this ice cream was doubled coz it was truly successful and delicious science experiment, that brought so much sweetness to everyone who enjoyed it.

The texture of the ice cream, because of double churn was creamy and white with black flakes, akin to  a white moon with some dark spots! The vanilla bean flavour was clearly distinguishable, even though the vanilla essence was used too.

This summer enjoy in the comfort of your home, along with the comforting thought that you avoided  protein from animals  and eggs found in commercially sold ice creams. This ice cream will have extra sweetness as it is made at home, using fresh vanilla bean and you many also  enjoy the journey of shopping and using vanilla beans that will leave a lasting impression, even if you did not have a curiosity of where does vanilla essence originate from? This Double churned vanilla bean eggless ice cream is a sure way to beat the heat this summer!


Recipe makes 1 quart ice cram

Ice cream churn time 45 min

Prep time : 5 min

Chilling time : 7-8 hours.

Ingredients

  • 1 cup whole milk
  • 2 1/4 cups heavy cream
  • 2 tsp vanilla essence
  • 1 1/2 vanilla bean,  sliced vertical and  tiny black beans scraped with a knife.

  • IMG_3775
  • 3/4  cup plus 1 tbsp sugar( moderated to  your taste of sweetness)
Method
  • Chill the ice cream container as needed
  • Pour the milk, and switch on the ice cream maker.
  • Add 3/4 cup sugar, heavy cream, essence and scraped vanilla beans
  • IMG_3780
  • Churn for 20 min.
  • Remove the mix  from ice cream container, and add the whole vanilla bean that has been scraped off.
  • Add extra sugar to enhance sweetness if needed
  • After 5-7 min, re churn the ice cream for another 20 min.
  • Remove the whole vanilla bean added to the ice cream, before freezing.
  • Remove from the ice cream maker into freezer safe containers and chill for 7-8 hours.
  • IMG_3868
  • Serve in a cone, cup, top this double churned vanilla bean ice cream with toppings of your choice.


Tips:

If you need creamier flavour, using whole milk and heavy whipping cream will be better.

Level of sugar needed will vary with the light or heavy milk you are using.

Instinct Factor

Vanilla bean is like any other pod having beans- so slice it and scrape  the tiny black vanilla beans into the  mix.

Feel Factor

Truly delicious because of the extra flavour released by the vanilla beans and the double churn leading to a creamier texture of the ice cream. The ice cream was creamy but felt light and cooling, a perfect summer evening dessert for the family. The black beans against a “vanilla white ice cream” , was  creating a lot of interest for all who ate and enjoyed this home made Double churned vanilla bean eggless ice cream.


[shopeat_button]

Posted on

Khaman Dhokla Gram Lentil Steamed Cake

People in India and  around the world  are filled with curiosity about Mr. Narendra Modi, India’s Prime Minister elect, on account of the sweeping victory claimed by him and his political party. So even I decided to join the club and do some more research about him, to know more about him as a person. Food being my passion, any information related to that sparked my interest. I came across this NDTV weblink on the top 5 favourite food of Mr. Narendra Modi at http://cooks.ndtv.com/article/show/narendra-modi-s-top-5-favourite-foods-525352. Needless to say they are all from Gujarati cuisine- Khili Khichadi, Khandvi, Dhiokla, Mango Chhundo( Chutney) and  Badam Pista Shrikand.

The state of Gujarat has something in its soil , for it is  the state from where stalwarts like  Mahatma Gandhi,  Sardar Vallabhbhai Patel, JInnah, and now Narendra Modi to have risen to  political ranks of the country. Besides these, Gujarat has also been the state from where business man  Dhirubhai Ambani and the Patriarch JRD Tata have originated. And the foodie in me, will want to also say , that, there must be also something in what you eat that makes you rise to top!!

Taking a cue from Mr.Modi’s five favorite foods, I am glad to share the recipe of instant khaman dhokla gram lentil  steamed cake using Instant Mix. I have found  this to be very easy, consistent and tastes delicious. This is often a breakfast item in our home , and is easily cooked in 15-20 min. There are many different brands of instant packs available, of which this is definitely very reliable and  we have been using this for almost past ten years or so.

The khaman dhokla gram lentil steamed cake is soft, spongy, with a nice spicy garnish in the top. This is known for its sponginess hence, the comparison to a cake! And the good part of this is, if it does not turn out well, just crumble it and make it a Khaman mix with garnishes! So it is very forgiving dish for a new person trying it out. This is so popular that Gits has come with two varieties Khaman and Nylon Khaman. I prefer the Khaman Dhokla Mix.

The garnish on the Khaman Dhokla Gram Lentil Steamed cake could be red chilli powder, black pepper or even powdered roasted cumin seeds.  Recipe of Khandvi , another delicacy enjoyed by Mr. Modi,  can be found on this  blog at http://cookingbyinstinct.com/khandvi-bengal-gram-rolls/

I am sure we will be seeing a lot of Khaman Dhokla Gram Lentil Steamed cake and Tea at Prime Ministerial State breakfast and that is something  international dignitaries will get a good share of!!  Seeing its well acceptance and appreciation   by m  international friends and my daughter’s classmates, Khaman Dhoklas are going to be very much in demand now!

Recipe makes 20 pieces

Cooking time 15 min

Prep time 5 min

Cooling time 10 min

Ingredients
  • 1 pack Instant Khaman Dhokla mix ( Gits Brand)
  • 2 tbsp oil
  • 1 cup plus 60 ml of water

For Garnish

  • 2 tbsp oil
  • 2 tbsp chopped coriander
  • 1/2 tsp mustard seeds
  • 1/2 tsp cumin seeds
  • 5-6 curry leaves
  • 2-3 tbsp grated fresh coconut ( optional)  I use the frozen grated coconut
  • Special equipment needed- Dhokla cooker with deep plates. Alternatively you can make your own dhokla cooker, with a broad deep pan and a deep dish, with a lid to cover.
Method
  • Put about a liter of water to boil in  the dhokla cooker.
  • Grease the dhokla plate with some oil.
  • In a prep bowl, empty the contents of the instant mix
  • IMG_3873
  • In a separate bowl, mix water and oil,
  • Mix in the water oil mix into the Instant mix, so that no lumps are left, and stirring constantly while mixing in the water/oil.
  • Once the water is emptied, hold the prep bowl with one hand, and vigorously stir the mix with your hand for about 20 sec.
  • IMG_3875
  • The mix will rise a bit. As soon as  it rises, empty the mix into the greased dhokla dish.
  • Sprinkle red chilli powder or black pepper or roasted cumin powder if you desire. You can also leave it plain.
  • Insert the dish into the dhokla cooker, cover the lid and steam on fast flame for 15 min.
  • Switch off the flame after 15 min and let it cool for further 10 min.
  • IMG_1923
  • While its cooling prepare the garnish.
  • Put 2 tbsp oil to heat.
  • Add mustard seeds to it.
  • Once mustard seeds crackle, add chopped chillies.
  • After 5 seconds, add cumin seeds
  • Add curry leaves.
  • Once cumin seeds become light brown, take off from flame.
  • Spread this garnish over the cooked Khaman Dhokla Lentil Steamed Cake.
  • Make diamond pieces by making dividing the dhoklas into four parts.
  • Then turn the dish a bit  and make further 4-5 lines.
  • IMG_3879
  • Garnish with fresh coconut and coriander.
  • Serve warm with Green chutney or ketchup or just enjoy plain.
  • IMG_1824

Tips

The trick to softness , lies in the vigorous stirring of the mix.

IMG_3884

If it does not turn out well, crumble the cooked dhokla and mix in the oil garnish as well corainder and coconut. Add an extra layer of sev ( thin gram noodles )  and serve.

Instinct Factor

Check if the dhokla is cooked by inserting a fort/knife to see that it is not  liquidy in the middle.

Feel Factor

Soft and yummy, spicy and colorful, healthy and nutritious , and soon to be a popular on an international level! A very healthy breakfast, appetizer that can be enjoyed with ketchup or green chutney.

[contact-form-7 404 "Not Found"]


[shopeat_button]

Posted on

Besan Ladoo Gramflour Sweetballs

Besan ladoo a dessert delicacy that is enjoyed very highly in many homes, especially in the families in Rajasthan. The home environment is in the mood of celebration with the election results in India favouring the candidate of our choice. The prime ministerial candidate coming from my homestate and belonging to a political party to which my family aligns with, so double reason to celebrate. Sweets and desserts make joyous occasions, more joyful, and also chase away the gloomy moments. So presenting Besan Ladoos for all  those watching the Indian election  and are celebrating or  otherwise.

The texture of the besan ladoo is soft yet you can taste the granular feel of the coarse bengal gram flour, which is nicely  roasted and mixed with clarified butter(ghee), sugar and cardamom powder.  The use of microwave in roasting the besan or bengal gram flour, removes one of the central hurdles in making this at home. As otherwise, a lot of effort and time in required to roast this over the flame that needs, extreme vigilance and efforts. So if you want to try making it , I would strongly recommend  you give this microwave based recipe a shot first. It does require you to attend to it by frequent stirring, but the end result and the ease of it is worth the effort.

When rolling the ladoos sweet balls, I travelled back to the experience of making sand castles !! When you take the besan mixture in your hand and make a ball out it, the texture/feel is similar to the sand creations.

Besan Ladoo Gramflour Sweetballs can  be made well in advance and used for a longer time period over a 10-15 days. This dessert is mainly consumed during winter, as Gram Besan flour provides heat to the body in the winter climate, along with the extra calories through the sugar in it!. If you want to go hiking,long trips, this can be a handy calorie snack on hand!!

And the celebration is in full swing as at every 100 seat winning, 1 ladoo sweetball is being consumed as the winning party looks like clearly sweeping the elections!

Recipe makes 10-12 Besan Ladoos Gram Flour Sweetballs

Cooking time 30 min

Cooling time : 60 min

Ingredients
  • 1 cup  Besan Ladoo Flour (Coarse GramFlour)
  • 3/4 cup sugar
  • 1/3 cup ghee(unmelted) clarified butter
  • 1/2 tsp cardamom powder
Method
  • Take a broad thick bottom microwave cookware and set the microwave to the highest setting.
  • In the microwave container, mix the Besan Gram Flour and Ghee with hand. Mix the ghee well into the flour.
  • IMG_3797
  • Put this mix to cook for 3 min.
  • Remove from microwave and stir for 15 seconds.
  • Put again to cook for 2 min.
  • Repeat cooking for another 2 min and stir.
  • Cook further for another 1 min and stir.
  • Cook for further 1 min and stir
  • IMG_3806
  • Cook for another  1 min and stir,
  • Cook for another 5 minutes, removing every 30 seconds and stirring it.
  • IMG_3820
  • Total roasting time of besan gram flour is 15 minutes.
  • Remove from microwave and let the mixture cool for about an hour.
  • Mix in sugar and cardamom powder into the cooled roasted besan gramflour.
  • Take about 2 tbsp mixture into your palm and press it to compact it into balls.
  • IMG_3824
  • Give the balls a finished shape by rolling them between two palms,
  • IMG_3825
  • Enjoy these textured sweetball as a dessert, snack or when in need of instant energy .  Flash has made the ladoos lighter than actual color  in the picture below,
  • IMG_3828

Tips

Sugar to be reduced at least to half for readers in India, as the sugar is more sweeter in India than USA.

You can speed up the cooking by letting it cook for longer period in microwave, but make sure that the besan gramflour does not burn out.

For the change in color, see the variation in shade from plain coarse flour to the final roasted flour.

Instinct Factor

The aroma of roasted gram flour will fill your kitchen to indicate its done. The color of besan gramflour is very close to yellow ochre( in case you are into painting). Beyond 8-9 min you need to be extra careful, as gram flour can burn in a few extra seconds.

Feel Factor

According to my husband, the biggest fan of besan ladoo gramflour sweetballs,  the grainy texture of the roasted besan gram flour where you can savour each grain, yet bite into a soft ball, is something that can be devoured in multiples. I like the look of a ball, feel of the grainy texture and loaded with sugar and cardamom. Well roasted besan ladoo  were mainly a grandma’s way of capturing the heart of the grandkids and we continue to see this in many places.

[contact-form-7 404 "Not Found"]
[shopeat_button]

Posted on

Fresh Strawberry Ice cream

Summer is almost here and so is also the season for ice creams. And “I scream” loud for homemade eggless fresh ice cream!!  Strawberries this time of the year are juicy, red, sweet and irresistible and so was the first flavour of this season. My journey to ice cream making started about 6 years ago when I started experimenting and created new flavours and version including cinnamon strawberry, fresh rose petal ice cream,  blueberries with  coconut to name a few. Hopefully I will revisit all of them this season and am able to share all the delicious recipes with all!

This year’s ice cream season started with fresh strawberry ice cream. If you have invested in an electric ice cream maker, then you can easily have a new flavour every second day!! I have found the electric ice cream maker very easy to use and dependable. Alternatively, I would suggest experimenting by using a hand blender and mixing it in a container, surrounded by ice. And then freeze it for at least 14-15 hours before serving it. This approach in my view should work, but easiest is if you can find a good electric ice cream maker.

Fresh strawberries, with some chunky pieces to bite on and some pureed with a dash of lemon,  some, cream , milk, sugar and slight hint of vanilla essence are the ingredients for it. “WOW” is  simply the word for this utterly delicious combination that looks tempting and tastes light and refreshing!

We often wonder how is ice cream made at home ?  In my view in a jiffy with just a little bit planning needed in chilling the container ahead!  A dessert that you can make way ahead of time  and enjoy for many many days! Just mix and let the ice cream maker do all the effort! And when you serve this in a sugar cone you sure are going to receive many brownie points from one and all!!

Recipe makes 1 quart cup of frozen ice cream

Cooking Time: 50  min

Chilling Time : 12 hours

Pre Chill Time – 24 hours

Ingredients
  • 1 1/2 cup  strawberries chopped into medium size pieces
  • 3/4 cup granulated sugar
  • 1 tbsp sugar for strawberreis
  • 1/2 tsp lemon
  • 2 cups heavy cream
  • 1 cup milk
  • 1 tsp vanilla essence

Method

  • Mix the strawberries and lemon and crush it with a spoon or blender so that there is some puree and some pieces .
  • IMG_3683
  • Set the container in the ice cream maker and start the machine.
  • Once it starts revolving, put milk, sugar , essence, crushed strawberries,
  • Then add heavy cream ,
  • Let the ice cream maker churn for 4o min,
  • At the end of the 40 min, the ice cream bowl would be almost scrape free clean and the mixture would be all mixed into one huge scoop.
  • IMG_3687
  • Empty this into freezer safe container and chill to set for about 12 hours minimum.
  • Serve chilled topped with some chocolate syrup and slices of fresh strawberries, or just plain strawberry ice cream is delicious.
  • IMG_3713


Tips

Toppings can be some chocolate syrup, sprinkles, some fresh slices of strawberries 

Instinct Factor

If the color is not pink enough, you  need to add a little bit more of strawberry puree, and this can be mixed in while it is being made.

Feel Factor

Light and refreshing , fresh and delicious, colorful and chilled,  with some fresh strawberry pieces in it, you are sure to have more than one helping of this!! Once in a cone, once in a cup and once in a waffle bowl!!

photo 2 (1)

[contact-form-7 404 "Not Found"]

 
[shopeat_button]

Posted on

Seeraa Warm Jaggery Pudding

Time for Dessert on account of two reasons! Reason 1- When you have not posted for almost a month because of an extremely busy schedule,  and  you have secured likes  during that period, you certainly need to celebrate and feel grateful for the encouragement you have got from the recent people who have liked  CookingbyInstinct! Reason 2- Feeling low on energy.

A pudding out of Jaggery, Flour and Clarified butter is an ancient Indian tonic for instant energy, iron enrichment and strengthening of immunity. Seera is more well known as an easy often made dessert at home, specially in the states of Gujarat and Rajasthan, whose cuisines I am more familiar with. It is often also known as Halwa, Atta ka Halwa too.

Folklores are built around this dessert, many mentioning it as the dessert you often ate over a vacation at your grandmas’ house and returned to your parents place gaining those extra pounds that also enabled you to build your immunity. The sudden urge to cook and write on this, came as I was just physically exhausted, in need of comfort food that was quick and gave me energy. I decided to resort to my mother’s handy dessert that she often makes in such situation and instant energy is something that I was in strongly need of. In fact this was a whole lunch meal by itself for two days, and I can totally rely on it to get me up on my feet, beating the exhaustion and spring allergy season during this time of the year. If only the spring weather was without the pollen allergies, but wishful thinking it shall remain..

This was cooked in two different shades over two days to ensure the color of the pudding matched the way it is eaten in  the states of Gujarat and Rajasthan respectively! What I immensely like about it, other than the taste of it, is that after cooking, it fills your home with the aroma of flour roasted in clarified butter, mixed with the fragrance of cardamom, spreading the warmth in the entire home!

Ready in under ten minutes, this dessert is smooth and soft and the taste is sweet flavoured with cardamom, and because it is eaten hot/warm it is a comforting meal, specially when you are not feeling too well. This is often a prescribed home remedy post any dental surgery/extractions too. Often cooked during winter weather to give extra immunity to the body to fight the chill and also relish the warm pudding on a cold winter day!

Recipe Serving for 1-2 person

Cooking Time 10 min

Ingredients
  • 1/4 cup jaggery
  • 1/4 ghee (clarified butter) unmelted
  • 1/4 cup whole wheat flour
  • 4-5 Whole cardamoms finely crushed along with skin
  • 1 cup water
Method
  • In a broad heavy bottom pan, put the clarified ghee to melt on a medium flame.
  • On another burner, put water and jaggery to boil on a medium high flame.
    IMG_3607
  • When the ghee melts, reduce the flame to slow and stir in the flour, and keep stirring for 3-4 minutes.
  • When the color becomes either caramel colored remove flame and the burner.
  • IMG_3627
    Seera color as eaten in Gujarat
  • If you prefer a dark color of the pudding you can cook the flour for a minute more.
  • IMG_3608
    Jodhpur- Rajasthani preference of color of Seera
  • When the jaggery is completely melted and the the water has evaporated to about half a cup, remove from flame ( In about 4-5 min approx)
  • Use a tea strainer and strain the boiling water into the roasted flour and mix well.
  • The flour will instantly absorb most water.
  • On a slow flame, cook the pudding for about 4 min till you see ghee separating out on the edges
  • IMG_3631
  • Mix the crushed cardamom into the pudding.
  • IMG_3629

Serve warm

IMG_3611
Seera/Halwa from Jodhpur- Rajasthan


IMG_3633
Seera from Gujarat


Tips

When roasting the flour keep the flame to the minimum and ensure that the flour does not burn, as that will give a bitter taste to the pudding.

When pouring water into the flour again reduce the flame to minimum as hot water drops may splash outside the pan.

A combination meal on this would be Seera/Halwa with Puri (Bread) and Aloo Sabji( Potato Vegetable)

Instinct Factor

Look out for the fragrance arising out of the cooked flour, to ascertain if the flour is roasted well enough!

Feel Factor

Extremely easy, healthy, very quick and comforting seera jaggery pudding ,  that also happens to be an Indian Grandma’s medicine to all that is ailing!! Seera for the Body and Seera Jaggery Pudding for the upliftment of Spirits!.  Seera is  a Caramel Color Dessert that is a very unique warm sweet soft  dessert that is enjoyed and is comforting to a baby and definitely even a grandma in India!

Posted on

Cabbage Tapioca Puffed Rice Mix

Cabbage Tapioca Puffed Rice mIx , in my native language of Gujarati, is knowns as Kobich no Chevdo”. Chevdo is more a snacky item akin to a trail mix, or a broken puffed flakes/rice bar with nuts in it. So this is more like an Indian version of the nuts trail mix, with added cabbage and tapioca pearls, but served warm. This is a quick brunch, heavy breakfast menu item. It has the crunchiness of roasted peanuts, cashews and bengal gram dal and it also the softness of tapioca pearls and rice flakes. Chevdo in Gujarat is a handy snack, made out of rice flakes, corn flakes and mixed with nuts. Typically the flakes are fried and mixed with nuts. In my opinion, this is a more healthy version of a Chevdo and nutritious too, with the added cabbage in it. The green of the cabbage and spice of green chilies gives it a nice zing to this unusual mix. Another way to look at it is , it will have a bit of flavour to appeal all kinds of tastebuds, salty, sweet, spicy,sour, soft, crunchy and overall still very colorful. Almost feels like you are having a hot bhel, with so many ingredients mixed together, and gives the similarity to bhel.

Recipe makes servings for 3 people
Ingredients
  • 1 1/2 cups Sabudana  Tapioca Pearls
  • 3/4 cups rice flakes
  • 5 cups cabbage thinly sliced
  • 1/3 cup chopped coriander
  • 1/4 cup peanuts
  • 1/8 cup yellow skinned  bengal gram dal (Daaliya ni daal)
  • 1/8 cup cashews
  • 6 green chillies medium chopped
  • 8 curry leaves
  • 2 tbsp sugar
  • 1/2 lemon’s juice
  • 1/2 tsp mustard seeds
  • 1/2 cup fresh/dried coconut
  • 1/3 cup oil
  • salt to taste
Method
  • Wash the Tapioca pearls gently, three times in water, and then soak it  in  water for 2 hours and cover.
  • Wash the rice flakes , gently, thrice in plenty of water and soak it for twenty minutes.
  • IMG_3182
  • In a broad pan, heat the oil.
  • Add mustard seeds,  green chillies,  peanuts, cashews, split yellow bengal gram lentils, and curry leaves.
  • Saute on medium flame, till peanuts, cashews are golden brown.
  • IMG_3184
  • Add shredded cabbage and mix well.
  • Saute cabbage for 8-10 min till almost cooked.
  • IMG_3186
  • Add salt,sugar, soaked tapioca pearls, sabudana and rice flakes.
  • Mix well and cook for 7-8 min until tapioca pearls have become soft.
  • Add lemon juice, garnish with coriander, dried/fresh coconut and serve.
  • IMG_3192


Tips

Sabudana or Tapioca Pearls can be soaked overnight, which makes this an easy recipe for a morning breakfast.

Add turmeric to this if you would like to make even a closer resemblance to Chevda

Instinct Factor

Soak the Tapioca Pearls in very little water, if soaking over night.

Feel Factor

A hot version of a bhel with a different mix of ingredients! Colorful, crunchy, soft and spicy and something new for an everyday menu

[contact-form-7 404 "Not Found"]


[shopeat_button]

Posted on

Eggless Chocolate Lava Cake

Birthdays call for cakes and a very easy cake to make, that has all the “oomph” factor, is the molten lava chocolate cake!! Some where on the web it was mentioned that as true in many cases, this one, also was a creation out of an accident! Some intern chef removed the chocolate cakes way too early from the oven, almost half way through and since the quantity was for a huge party, the head chef just decided on the spot to name this as the LAVA Cake , since the inside was still soft and VOILA there it was, a one time accident, now one of the most visually appealing, chocolate lover’s dream come true- Molten Chocolate Lava Cake.

Only befitting, that I decided to make this for my daughter’s 15th birthday as she is a chocolate lover and old enough to enjoy the molten hot lava cake!. She enjoyed it with a scoop of vanilla ice cream on the top and the second serving was just slurping the hot lava, along with the soft texture of the cake, creating a warm feeling of love all around!

What I also like, is that each one gets their own individual volcano of chocolate, and the best way to enjoy a cake, is when it is just out of the oven. No icing needed, no frosting needed, just hot cake aroma can fill your senses with delight!

This is also known as warm chocolate pudding cake as it is somewhere between a pudding and cake.  ≈

Enjoy this sweet  volcano and its eruption and personally I  was  equally mesmerized by the hot lava flowing out of the Hawaii Volcano!! When I inverted, I had not put the butter paper inside, and hence the top of the cake got stuck, but proved to be just perfect for the Volcano look and eruption!! So another accident turned beneficial. and reinforces my belief on trusting one’s instinct while baking this Eggless Chocolate Lava Cake!!

Recipe makes 2 chocolate lave cakes

Cooking Time 15 min

Preparation Time 15 min

Ingredients
  • 1/4 cup unbleached all purpose or cake flour
  • 1/2 tsp vanilla essence
  • 1/2 stick unsalted butter room temperature
  • 1/2 cup castor sugar
  • 1/8 cup low fat yogurt
  • 1 tbsp water
  • 1/2 bar of dark chocolate 72% cocoa( full bar is 3.5 oz)
  • 1/2 bar of  small godiva dark chocolate truffle bar(optional)
Method
  • Break the dark chocolate bar in big pieces.
  • Microwave half of the pieces on high for 45 seconds. Stir the chocolate
  • Add the remaining half  pieces , microwave for 30 seconds. Stir.
  • IMG_3126
  • Microwave for another 30 pieces.
  • Add the dark chocolate truffle bar pieces and microwave for another 30 sec.
  • Soften the butter and  add vanilla essence. Whisk the butter and essence with an electric whisk for 2-3 min.
  • IMG_3124
  • Add the castor sugar and mix well manually, till it forms a paste.
  • Whisk again with an electric whisk for 2-3 min.
  • Put the oven to pre-heat for 450 degrees for convection baking.
  • Add the all purpose or cake flour and mix manually.
  • Add melted chocolate and stir well.
  • Add yogurt and beat well for a 2 min.
  • Add water and beat for a min.
  • IMG_3143
  • Grease the ramekin moulds generously with butter.
  • Put a butter paper round inside the mould.
  • Pour the batter equally among the two moulds upto 3/4 of the mould height.
  • Tap the moulds to remove the air bubbles.
  • IMG_3144
  • On a baking pan, or cookie sheet, put the chocolate lava mix to bake.
  • Bake for 13 min.
  • Remove from the oven.
  • Cool for a min.
  • Gently release edges of the cake, with a butter knife.
  • IMG_3146
  • Take a plate and place it inverted on the top of the baked chocolate lava cake.
  • Flip the plate so the mould now rests on the top.
  • Gently tap the sides and release the cake.
  • You can top this with vanilla ice cream, powdered sugar or eat it just plain hot chocolate lava!

IMG_3134

Tips

To cut a round shape butter paper, put the ramekin mould on top of the butter paper, pencil the outline and cut it 1 mm smaller than the pencil circle.

Make sure that the chocolate does not burn in a microwave. Alternatively, you can melt the chocolate on a double boiler.Or heat a pan of water, put a vessel on top of it and gently stir the chocolate on top of it on a medium flame.

The cake is done, when the sides are baked and the center is a almost baked.

Serve instantly, as otherwise the molten lava will cool down and start solifiying.

Instinct Factor

Releasing the cake, via inversion, needs some tact and ability to handle hot containers. So having a good pair of hot gloves that are flexible helps over here.

Feel Factor

Eggless Chocolate Lava cake gives you a warm feeling of love, dark chocolate, melted in some parts, mixed with the soft chocolate on the outside, is simply Divine and can be made and consumed in under half an hour.  Top with cool ice-cream for that contrasting flavour, and for extra sweetness, dust some more castor sugar and spread your love!

Posted on

Mexican Chimichanga with an Indian Touch

Mexican Chimichanga- it is the name that caught my fancy and I wanted to try this! I instantly appreciated the similarity of a crunchy Indian Samosa with the Chimichanga crust. Of course the filling was different, but it looked so colorful and crunchy,  that was simply hard to resist. If you are red kidney bean fan and crunchy samosa fan, this will definitely become your one of the favorites soon.  The veggies on top add to texture and color and give a good contrast to the mashed kidney beans. You can either top it with guacamole or avocado. My avocado was not that ripe to make guacamole so diced it and tasted fine. I truly cherish this deep fried tortilla dish with my friends and family as somehow Chimichanga has happy ring to its name!

I am reminded of a friend who would take the refried beans and tortillas from USA to India and make Mexican Chimichanga  for her family  in India, as they use to enjoy this highly! This should prove the popularity of Mexican Chimichanga amongst Indians for sure!

Receipe makes 6 pieces of  Chimichanga

Cooking time: 15 min

Prep time : 15 min

Ingredients
  • 1 can plus 1/3 cup Vegeterain Refried  Beans
  • 3 tbsp oil
  • 6 hot green chillies finely choppped
  • 2 tbsp coriander finely chopped
  • 2 slices of cheese
  • 1/4 tsp turmeric powder
  • 1/8 tsp asofoetida
  • salt to taste
  • 1 pack corn tortilla (6 pieces)
  • oil to fry

For garnish

  • 2 cups lettuce thinly sliced
  • 1 cups tomato diced medium
  • 1/2 cup diced yellow red peppers
  • 1/2 cup diced avocado
  • Medium spiced tomato salsa
  • Guacomole
  • Sour Cream
Method
  • In a deep pan put the oil to heat.
  • Add asofoetida,  turmeric, chillies and stir for 20 seconds.
  • IMG_2873
  • Add red beans, salt and stir for 2-3 min
  • Add cheese slices and melt it  into the mix.
  • IMG_2875
  • Add coriander and remove from flame.
  • Heat a flat griddle
  • Put a corn tortilla to heat for 10-15 seconds on medium flame.
  • IMG_2878
  • Flip it over and heat the other side for 10-15 seconds and remove from flame.
  • Divide the red beans mix into 6 parts.
  • Layer 1/6th of the mix horizontally in the middle of the cooked tortilla
  • Fold over to the middle from the top and bottom.
  • IMG_2879
  • Fold over from both sides and flip it over.
  • Do this for all tortillas and red beans mix.
  • IMG_2881
  • Heat oil in a frying pan.
  • On a medium high flame, fry the refried bean stuffed tortilla( chimichanga) to golden brown
  • IMG_2886
  • Garnish  the chimichanga with some lettuce, tomatoes, peppers, avocado, guacamole,  sour cream, and salsa and serve hot.

IMG_2891


Tips

Just needs some technique in folding and frying,- fry with folded ends to the bottom of the frypan, as this will cook first and enclose the stuffing.

Instinct Factor

Heat the tortilla on a medium high flame, and do not have brown burnt spots as it will crack. when you fold and fry the tortilla

Feel Factor

I want it NOW, as my family members would say!! And you can have it too, as it is so quick to make!

[contact-form-7 404 "Not Found"]

 
[shopeat_button]

Posted on

Kheer Rice Pudding

Kheer, the traditional rice pudding is thoroughly enjoyed not only all over India, South East Asia, but closer to home, in New York City too. NYC boasts an upscale rice pudding Restaurant, known as Rice To Riches. When I first heard about a western version of traditional Indian Kheer, my  interests perked up and I put it on my  list of restaurants to be visited.The many flavours introduced in Rice to Riches encompass Cinnamon, Chocolate, and Valentine to name a few. It shows the popularity of rice pudding across nations and culture as it is a widely accepted and adapted rice dessert. Here is a link to their FB page https://www.facebook.com/pages/Rice-to-Riches/115786161777086

Here, I present the traditional way of Indian Rice Pudding, or Kheer. There is something comforting when you mix rice, sugar, and milk, and garnish it with cardamom, saffron, and nuts of your choice. The texture could be creamy and thick or a bit liquidy. It depends on what  you are eating it with.  The way Rice and Riches sells it, it is a creamy texture, which is perfect to eat it solo. If you are eating this as a part of meal with Puri/Roti you want it a little liquidy. Traditionally this dish can be consumed warm, cold or chilled. I prefer the cold/chilled version.  As a custom in Gujarat, people often make this on the full moon night in the autumn season ( Sharad) in October-November, the coolest nights.  People will cook kheer, put in the terrace to chill by the moonlight, sing songs, play dandiya and enjoy this Kheer with friends and family.

This is a simpler, easier and less time consuming recipe. As a result, this recipe is  kid friendly. Shortly, a group of kids are going to assist their parents and use this recipe to cook kheer and serve in a community kitchen project that they are part of. The recipe has been modified, based on Mrs. Dalal’s version. In my opinion, this probably could be one of the oldest Indian Desserts, whose reference is found in many mythological and religious texts, as also its two main ingredients , rice  milk and sugar are farm related  items. However the recipe detailed below does make use of  sweetened  condensed milk.

Recipe Makes 3 cups and serves 3 /4 people

Cooking time 15 min

Preparation 10 min

Ingredients
  • 3 cups of  whole milk
  • 1 cup cooked rice (preferably pressure cooked) or 1/3 cup raw rice cooked with two times water
  • 1/2 tsp cardamom powder
  • 3 tbsp sugar
  • 1/3 cup  sweetened condensed milk( Nestle Carnation Brand)
  • saffron strands 4-5
  • 1 tbsp water
Method
  • How to cook rice: Wash  and rinse 1/2 cup of uncooked rice  three times in plenty of water, draining water every time. . Soak the rice for half an hour in 1 1/2  cups of water. Cook the rice in pressure cooker to four whistles on a medium flame. Alternatively, put rice in a rice cooker and cook.  Cool and remove one cup of cooked rice for kheer.
  • In a deep pan( non-stick preferable), mix milk condensed sweetened milk,  and cooked rice and put it to boil on a medium high flame.. Once it boils over, reduce it to medium. add sugar and cook for a total of 15 min.. Remember to stir the kheer every 2-3 min.
  • IMG_2867
  • Remove from flame, add cardamom powder.
  • IMG_2861
  • Heat 1 tbsp water in microwave. Add saffron, 6-7 strands to the water, mix it and add it to the kheer pudding.
  • IMG_2863
  • You can serve this warm, or cool or chilled.

IMG_2865

 Tips

If you like the kheer, extremely thick and creamy like a pudding, use 2 1/2 cups of milk.

You can garnish it with some shelled pistachio, raisins also for a nut fruit flavor

Instinct Factor

While cooking rice, the softer the better! Overcooking rice helps over here in creating a creamy texture.

If you like a pudding texture which is thick and creamy,  reduce the milk to 2 cups.

As the kheer rice pudding cools down, it becomes thicker in texture, as rice absorbs milk. So what you see when you remove from flame to what to you see when it is chilled, the texture would have changed  a bit.

Sugar content needs to be adjusted based on the sweetness of the condensed milk, as non Nestle brand will have a different sweetness level to it.

Feel Factor

Comforting dessert for young and old,  made of rice and milk that is extremely easy to make, can be garnished with toppings of your choice of nuts, to innovative toppings of chocolate, and cinnamon to name a few! Slurping this rice pudding is simply pure JOY for some! It is pretty heavy to digest, and heavy on calories, so be prepared to take a nap after consuming a bowl of this!!


[contact-form-7 404 "Not Found"]
[shopeat_button]