Chocolate Sorbet was our celebration on the National Day of Ice cream, celebrated on third sunday of July! Now that is a fun event started by President Ronald Reagan, and what a way to enjoy the summer! Sorbets feel lighter and more cooling than ice cream, as there is more of water. Ronald Reagan was a Republican candidate, and with the Republican Convention going on, this Chocolate Sorbet is a good accompaniment while watching the RNC. This recipe was found in Stef Ferrari’s book of ice creams. She mentions that she had issues with sorbet, and for me getting the smooth creamy texture in sorbet was a challenge. So I decided to try this recipe out. What interested me also was that this was one of the first non-fruit based sorbet, as popularly sorbet are made from fruit based sweetened water,
The recipe did prove to make it more denser and smoother than my earlier versions. But I had to modify the sugar/chocolate ratio, as the taste had excess chocolate. So adding extra sugar was the only way to fix it! If you are in the mood to buy an ice cream maker, you may want to check out the new ice cream maker with two different blades from Cuisinart. There is one blade for ice cream and one for sorbets! Now I would like to try that, as a special sorbet churning blade will definitely have an impact on the texture of the sorbet. My experience with Cuisinart products has been pretty satisfying across a series of products so I am looking to buy this soon, and thanks again to this blog, I now officially qualify as a professional! For a die hard chocolate fan, this is just one more reason to celebrate and one extra reason to have another scoop of Chocolate Sorbet!
The taste is is chocolaty, texture is dense and sweetness is just right, but the best part is that it only takes five minutes in cooking time! One of the easiest ice cream/ sorbets I have experimented with. It does need overnight aging, and the usual churning time and freezing time.Looks like next week is going to be extra extra hot, and having chocolate sorbet on hand, will definitely assist in cooling the body!
Enjoy the summer with a great selection of ice creams, sorbets and granita and you may just include this chocolate sorbet in that list!
CHOCOLATE SORBET
Recipe makes about 16 oz of sorbet ( or half of a quart)
Cooking time : 5 minutes with aging of mixture of overnight
Churning time: Approximately 20 minutes
Freezing time: 7 hours
Ingredients
2 1/2 cup water
3/4 cup brown sugar
1/2 plus 1/3 cup cane sugar
2/3 cup unsweetened cocoa powder
3/4 cup chocolate morsels, shredded chocolate
1 tsp vanilla essence.
Method
Mix 1 1/2 cup of water and both sugar and heat for 2-3 minutes, till all sugar dissolves.
Remove the mixture from flame, and cocoa powder , vanilla essence and dissolve the chocolate pieces, ensuring that no lump remains.
Leave the mixture overnight.
Using a hand mixer, churn the chocolate mixture for a 1-2 minutes
Churn the mixture in an ice cream/sorbet maker to the manufacturer’s instructions. Usually in 20 minutes, the mixture would firm up.
Freeze the chocolate sorbet in a freezer for at least 7-8 hours before serving. It is fun to serve the chocolate sorbet in an ice cream cone too!
Tips
If using sweetened cocoa powder, you may be okay with 1/2 cup of cane sugar.
Ensure that the ice cream container is well chilled before making sorbet, otherwise, sorbet will not firm up on churning.
Instinct Factor
Its always best to check the sugar and cocoa level before freezing, so that the end product is to your liking!
Feel Factor
Having a Chocolate Sorbet on a late night evening while watching television, is a perfect kind of summer night! For a die hard chocolate fan, you cannot go wrong with this super easy recipe of making a chocolate sorbet. A non-fruit based recipe sorbet in a flavor that has a wide universal appeal makes this chocolate sorbet an easy recipe to go to!
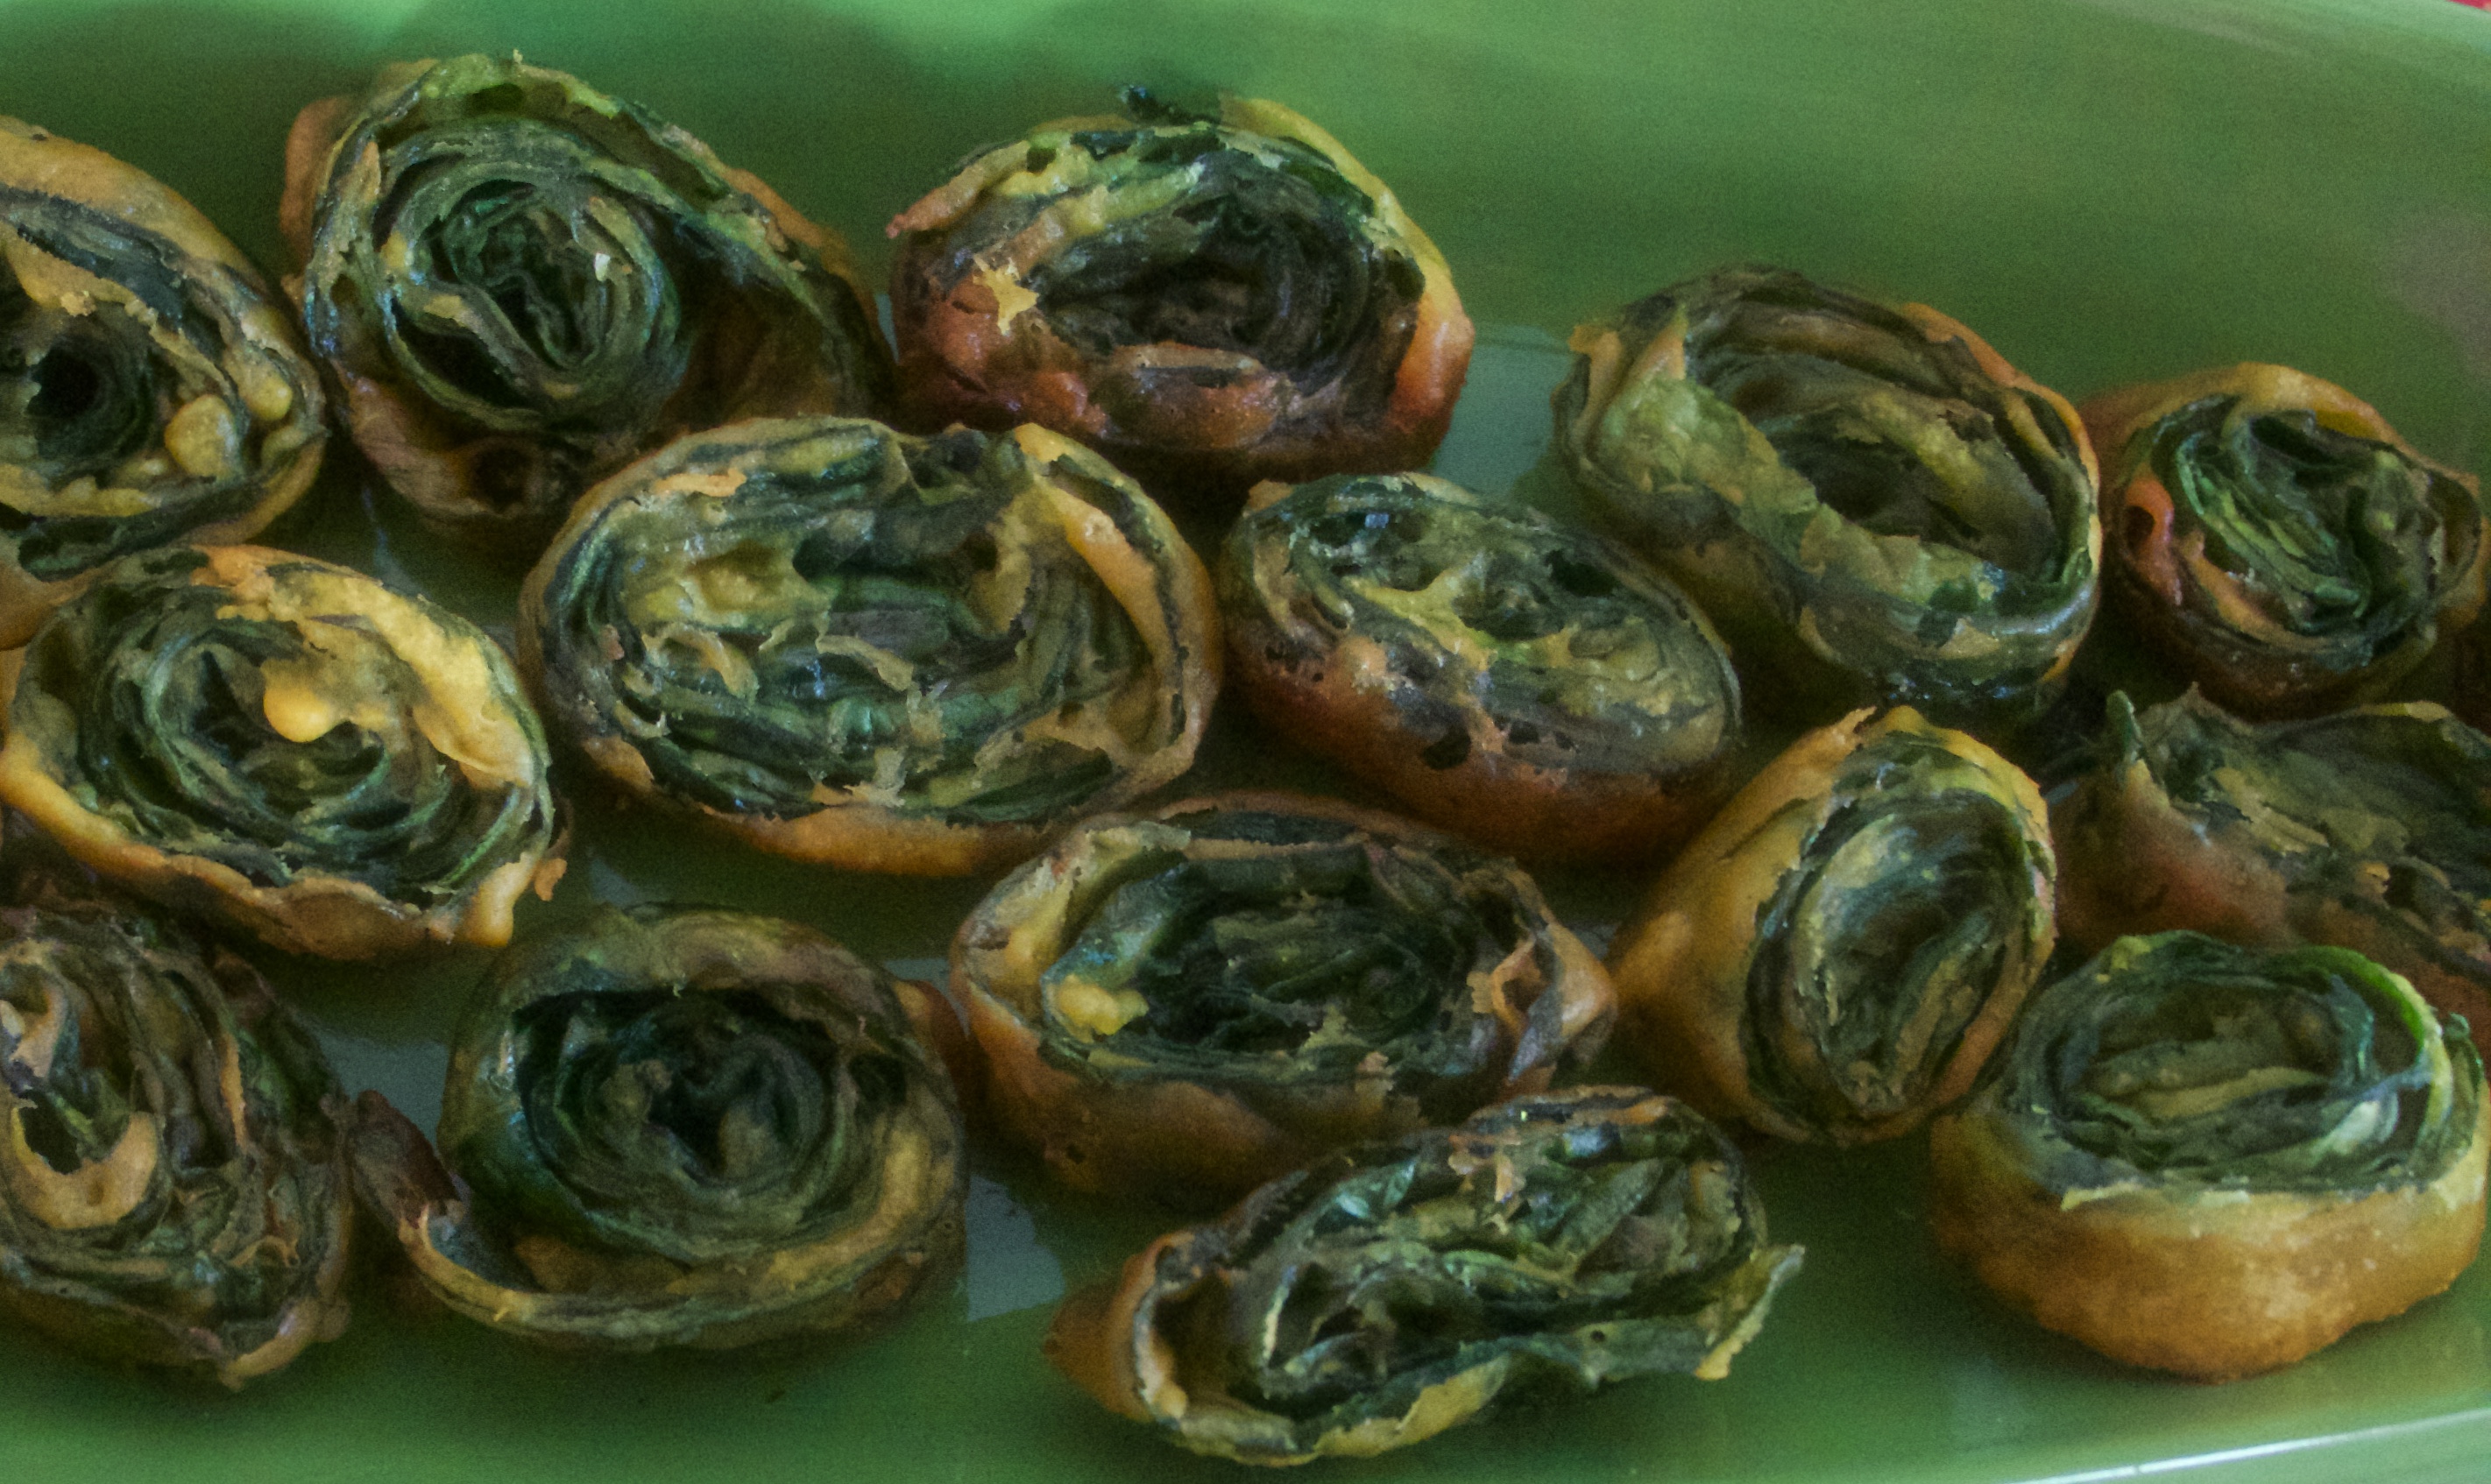
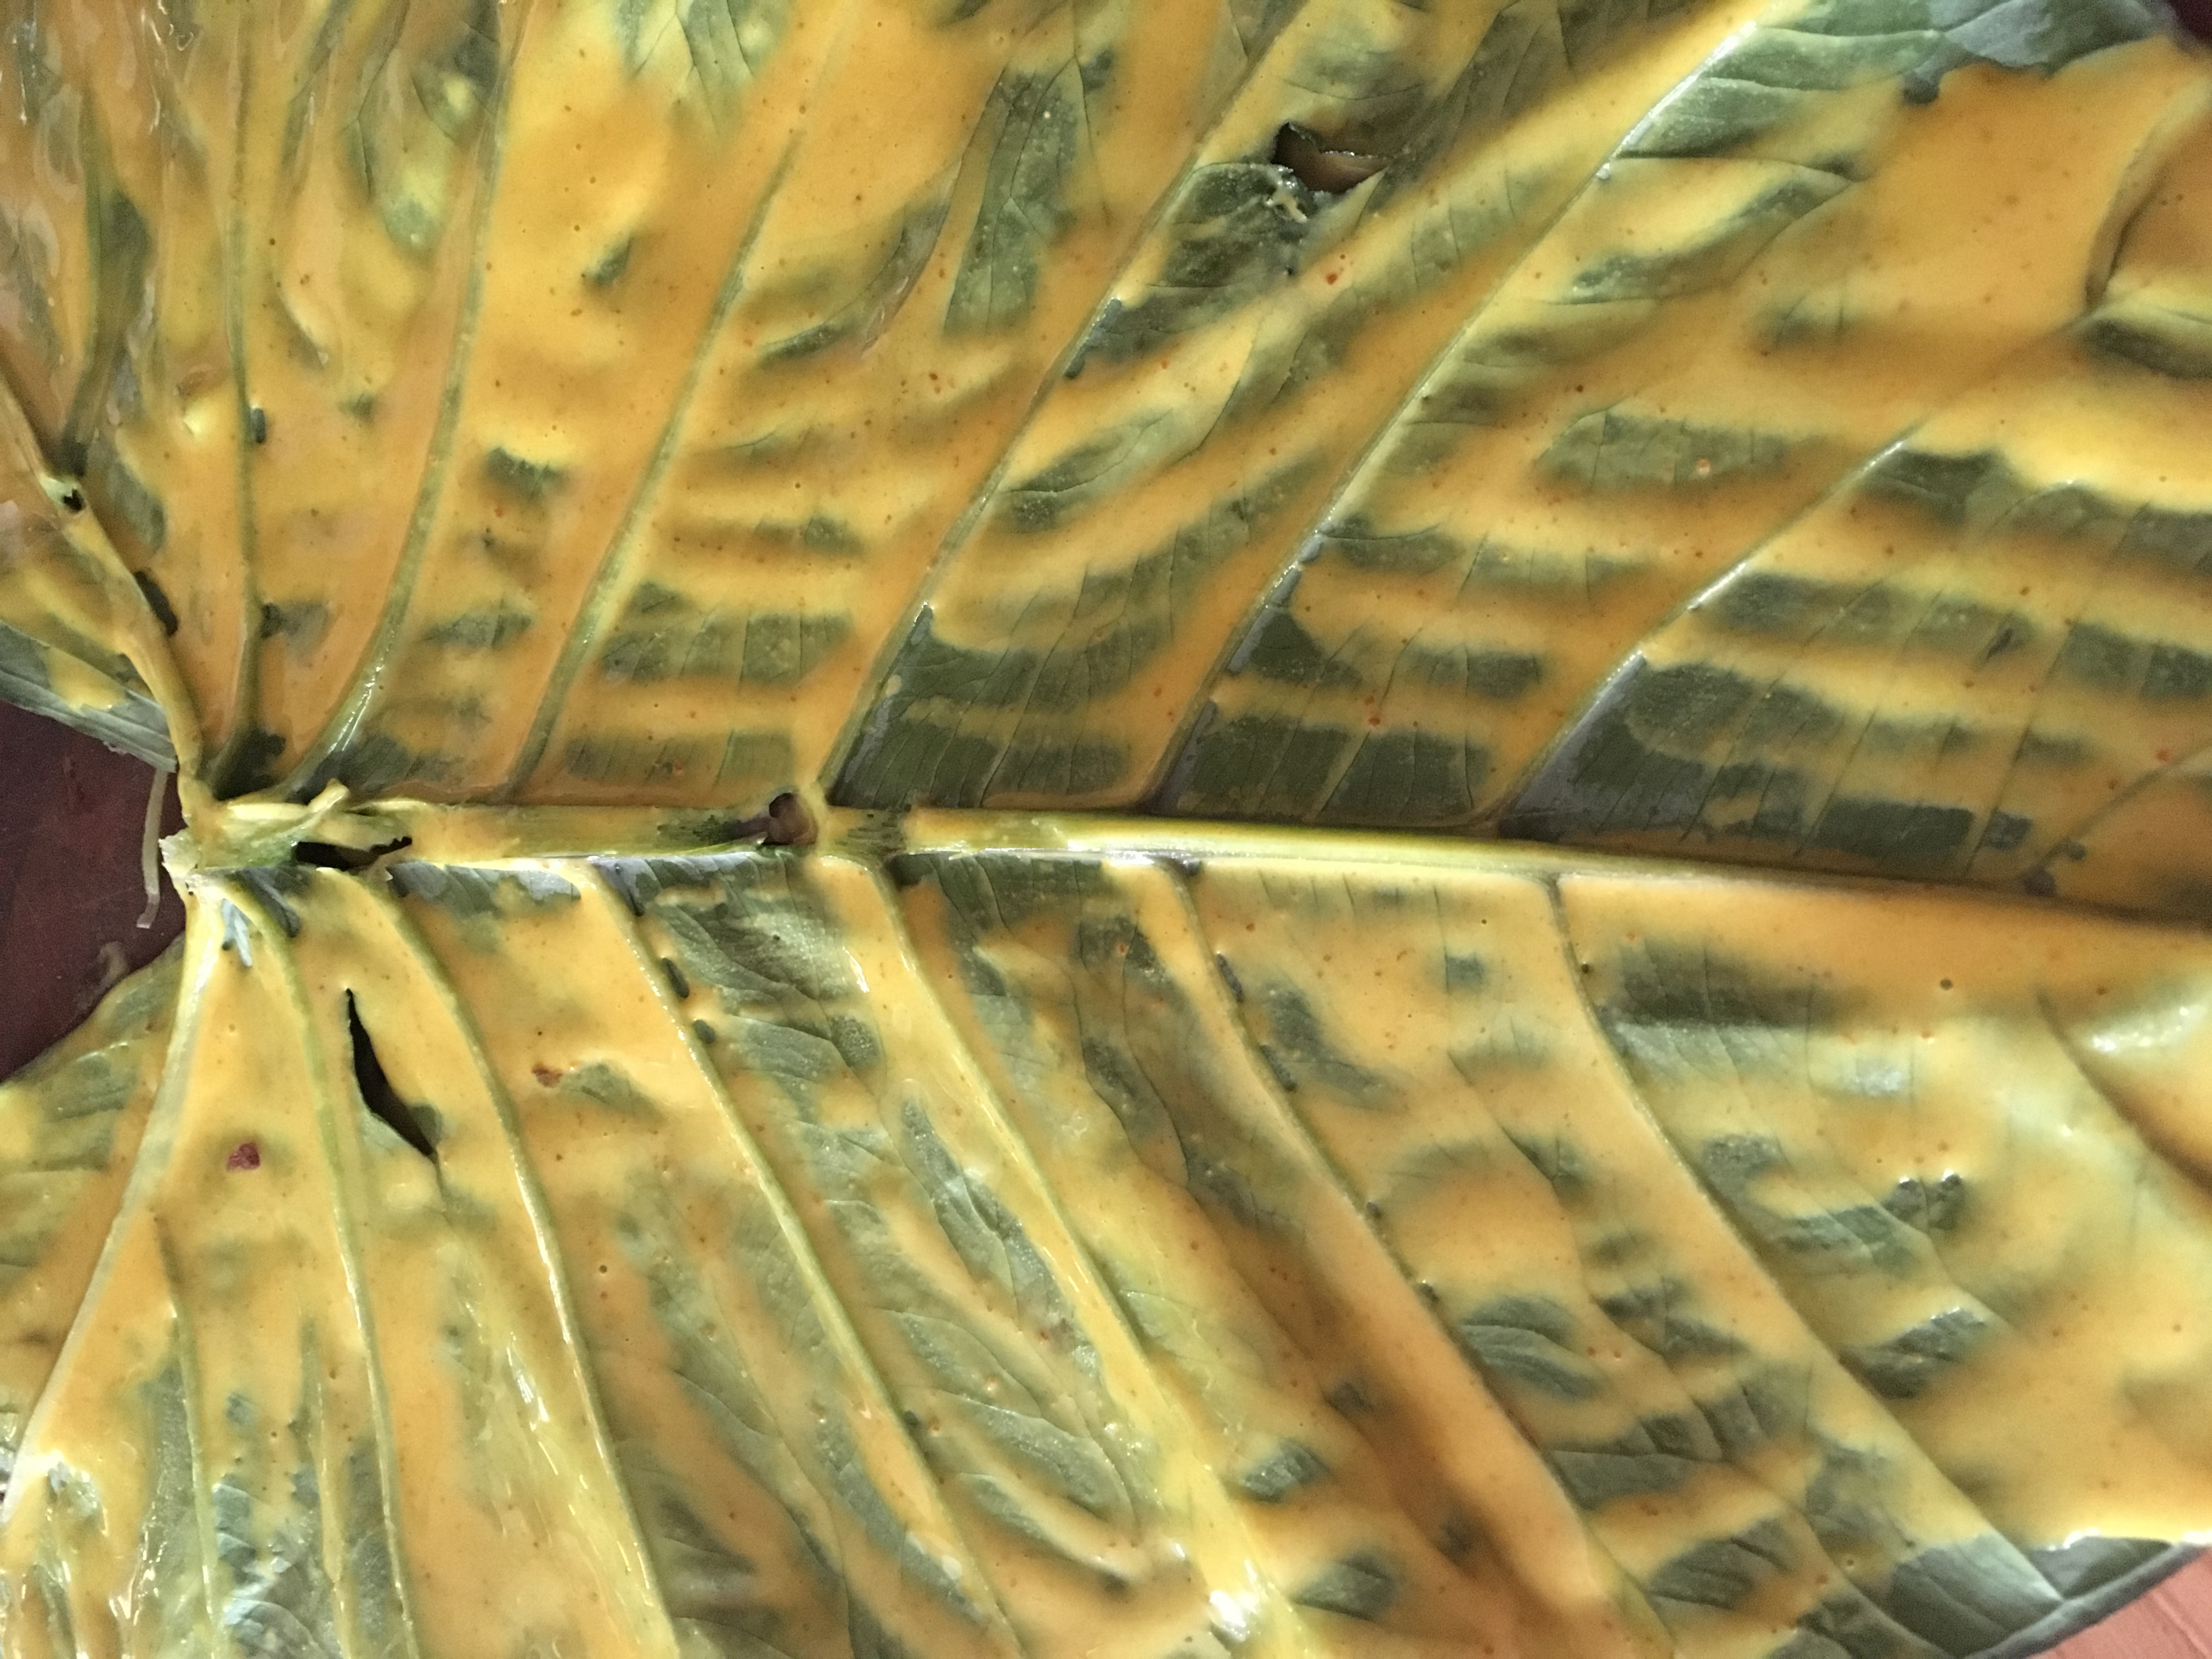
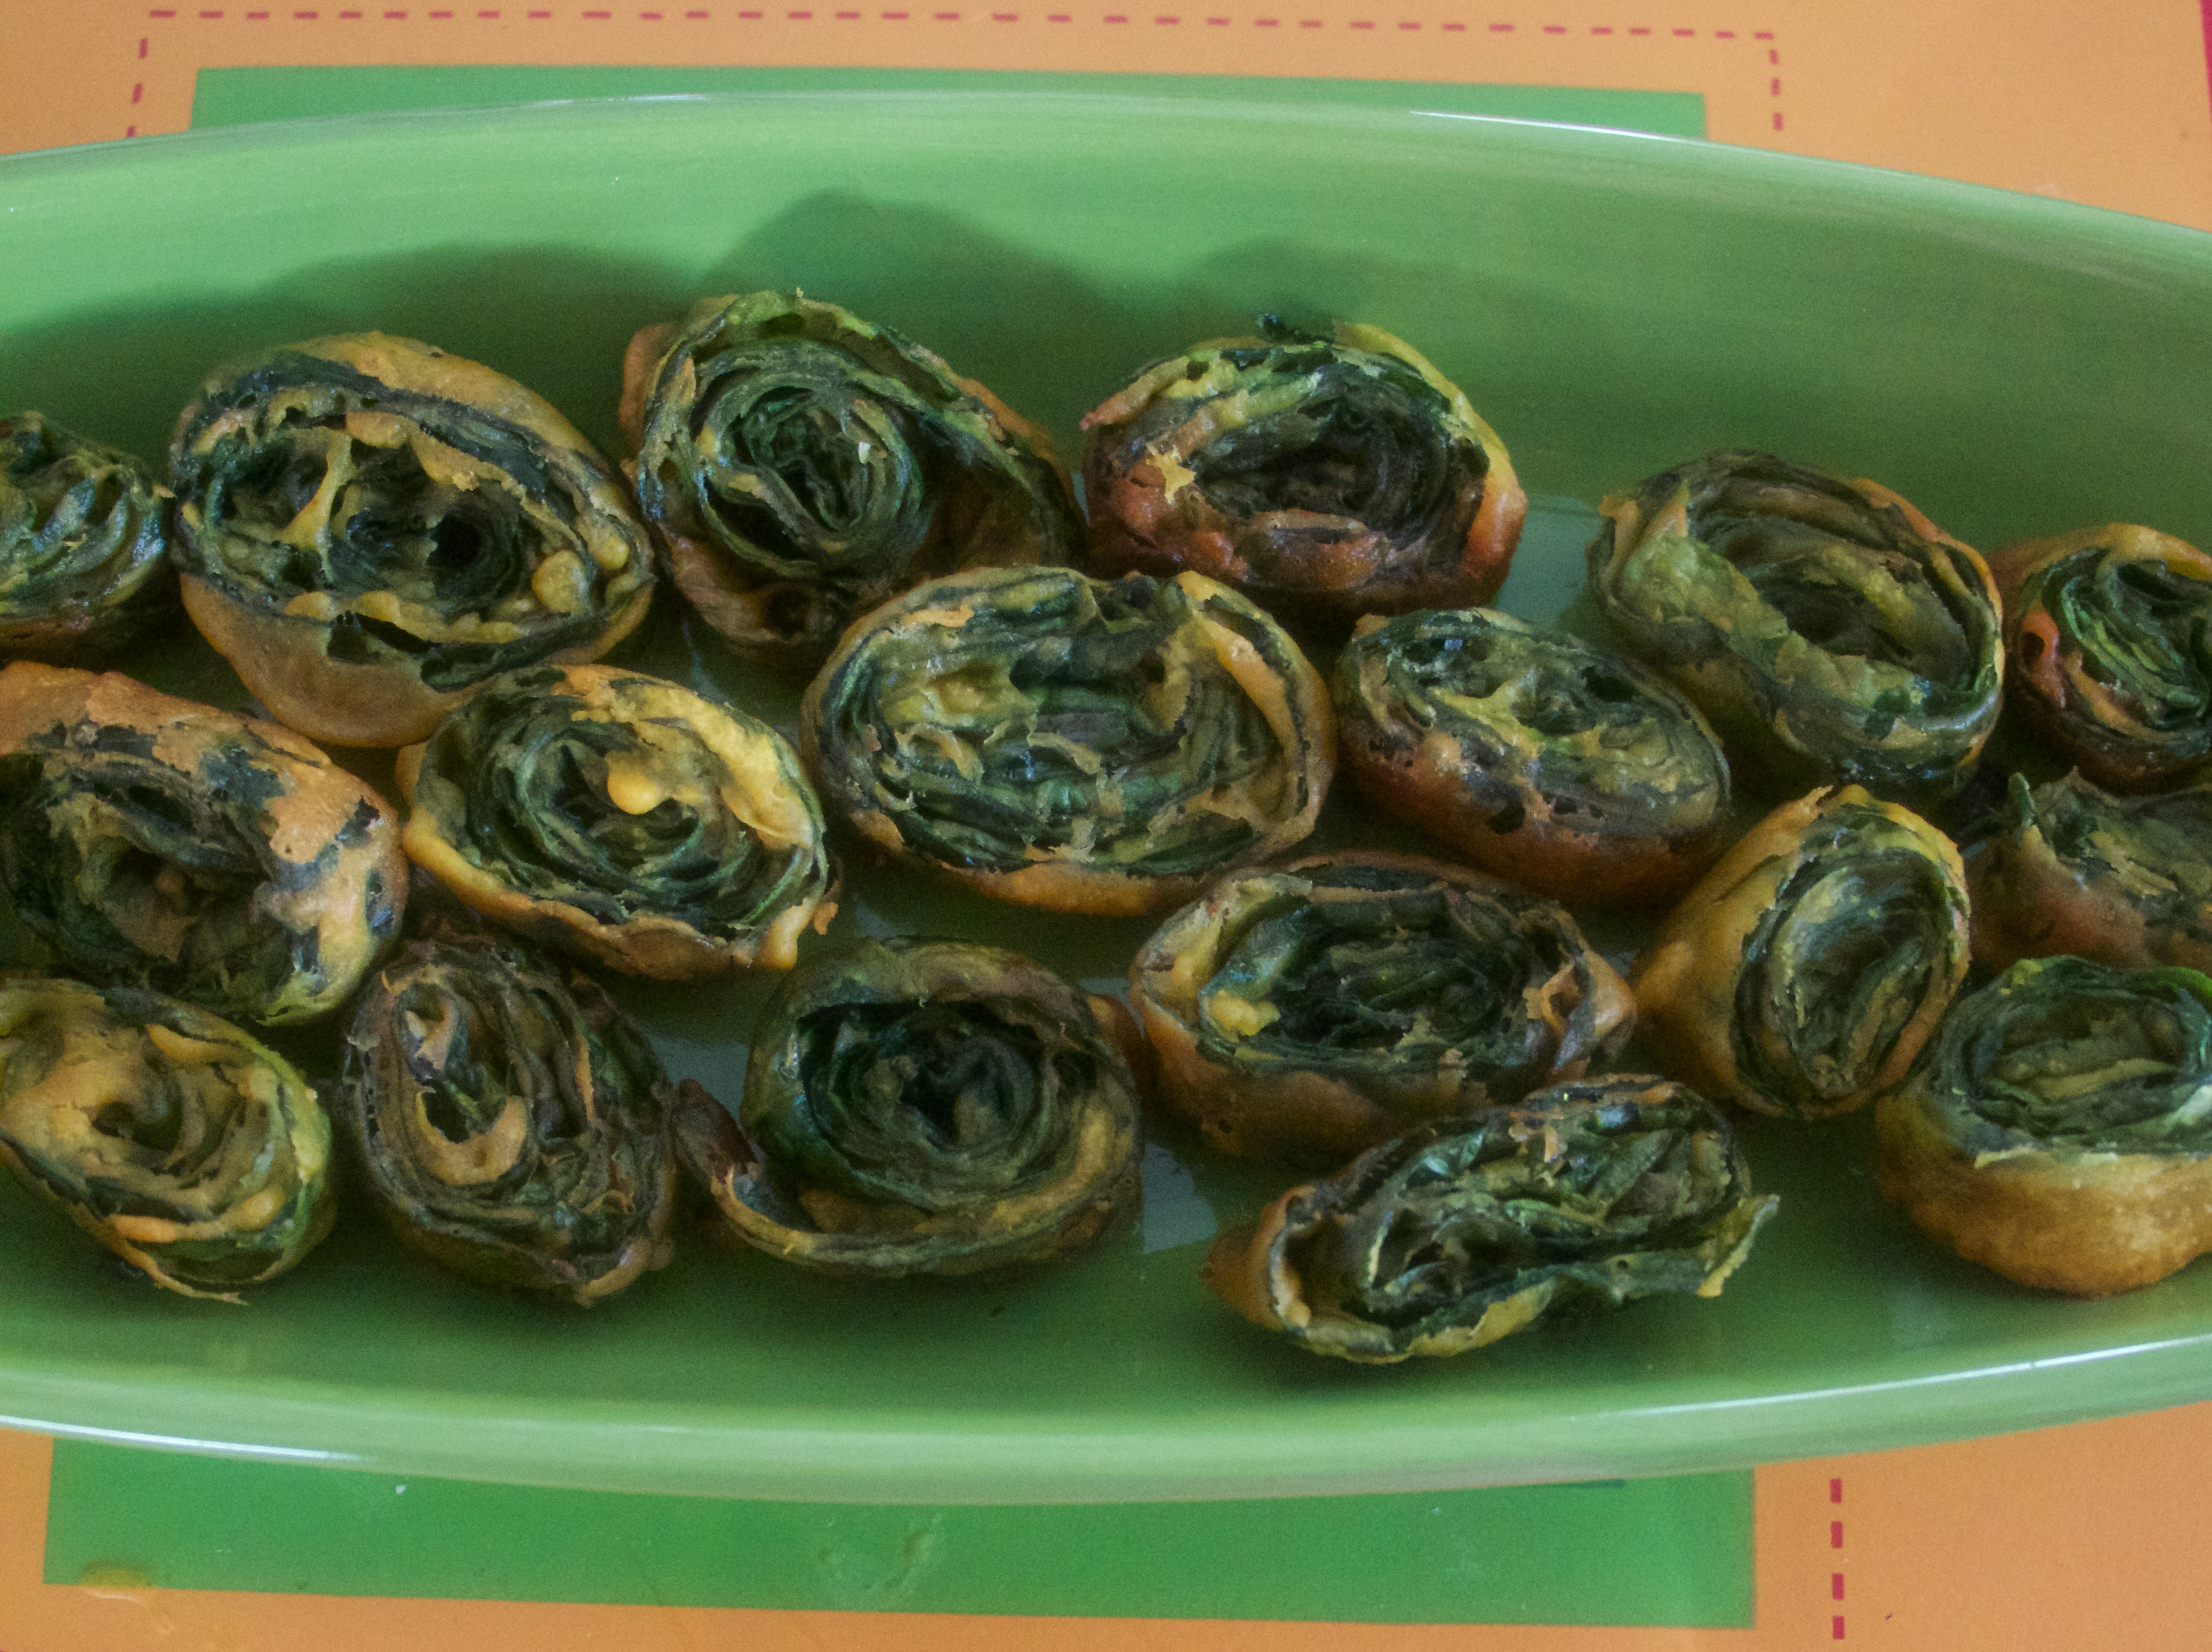
Fried Patra Alu Vadi Colocasia Pinwheel Fritters is an Indian subcontinent delicacy, from a vegetable, that is considered as one of the oldest cultivated vegetables. Its popular name is Elephant Ears, and that is no wonder as elephants are found in abundance in Malaysia, Thailand, India and Sri Lanka. The size of the Arbi/Colocasia leaves is gigantic and justifies its popular name as Elephant ears! This plant is mainly cultivated in USA around lakes and ponds but in Indian sub continent it is widely eaten for its roots, leaves and corms. My good luck that I live next to a botanist, to whom I introduced this delicacy and he was so captivated by it, that we decided to grow it in a containter in USA, as fresh Arvi leaves are hard to find on a consistent basis! He even looked for it at the nursery for us! As I come from Jain family, my association with roots vegetables is not great, but my mother-in-law makes excellent vegetable curry from Arvi roots. So while buying Arvi root for my husband, I had a Eureka moment, and figured, why not try cultivating this root in a container pot and see if I can have fresh Arvi leaves through the year! So this eureka moment is a result of neighborly mingling and sharing one’s culture and food with others. Also always taking the opportunity to know more about different cultures and cuisines!
The common way of cooking Patra or Alu Vadi is by steaming the leaves. However my mother had an additional way of making it, by frying them. By doing this, it looses some of its extra sharpness in taste and plus the taste is crunchy, and can be served as a warm appetizers, just before the meal is served. Gujarati households have a penchant for fried stuff, so its understandable, why this dish became popular in our household! And my neighbor also liked this version better than the steamed one, and he is not of Indian origin! So this delicacy will definitely appeal to taste buds of many people, and it also has a high visual appeal with its pinwheel look.
The process involves coating the leaves with a spiced gram flour paste on the leaves, and then rolling them in group of three, or single. And then either steaming the rolls, followed by cutting into pieces and then garnish it with mustard, sesame , coconut and lime. However for fried patra, we first slice into pieces and then fry them golden brown and serve with ketchup and chat masala. The taste has some sweetness, some spice, some crunch, that creates a very attractive finger food! I can easily vouch that Fried Patra Alu Vadi Colocasia Pinwheel Fritters are addictive if you like them, as you start eating one, and you will soonfinish a handful and want more! And this recipe covers both the fried as well steam option of the Patra, Alu Vadi and Cocolasia Pinwheel Fritters appetizer.
Hope I find luck in growing the leaves in my container from the Arvi root! That way a high dose of Vitamin A and Potassium is always available through these Elephant ears/ Patra leaves! These small joyful moments of discovering something new and learning something new, make my days exciting and keeps my mind eager to learn!
Make both versions, steam and fried, and decide which one you like more!
Fried Patra Alu Vadi Colocasia Pinwheel Fritters
Recipe makes 60-70 pieces of Patra Pinwheel fritters
Cooking time 1 hour 20 minutes
Prep time: 15 min
Ingredients
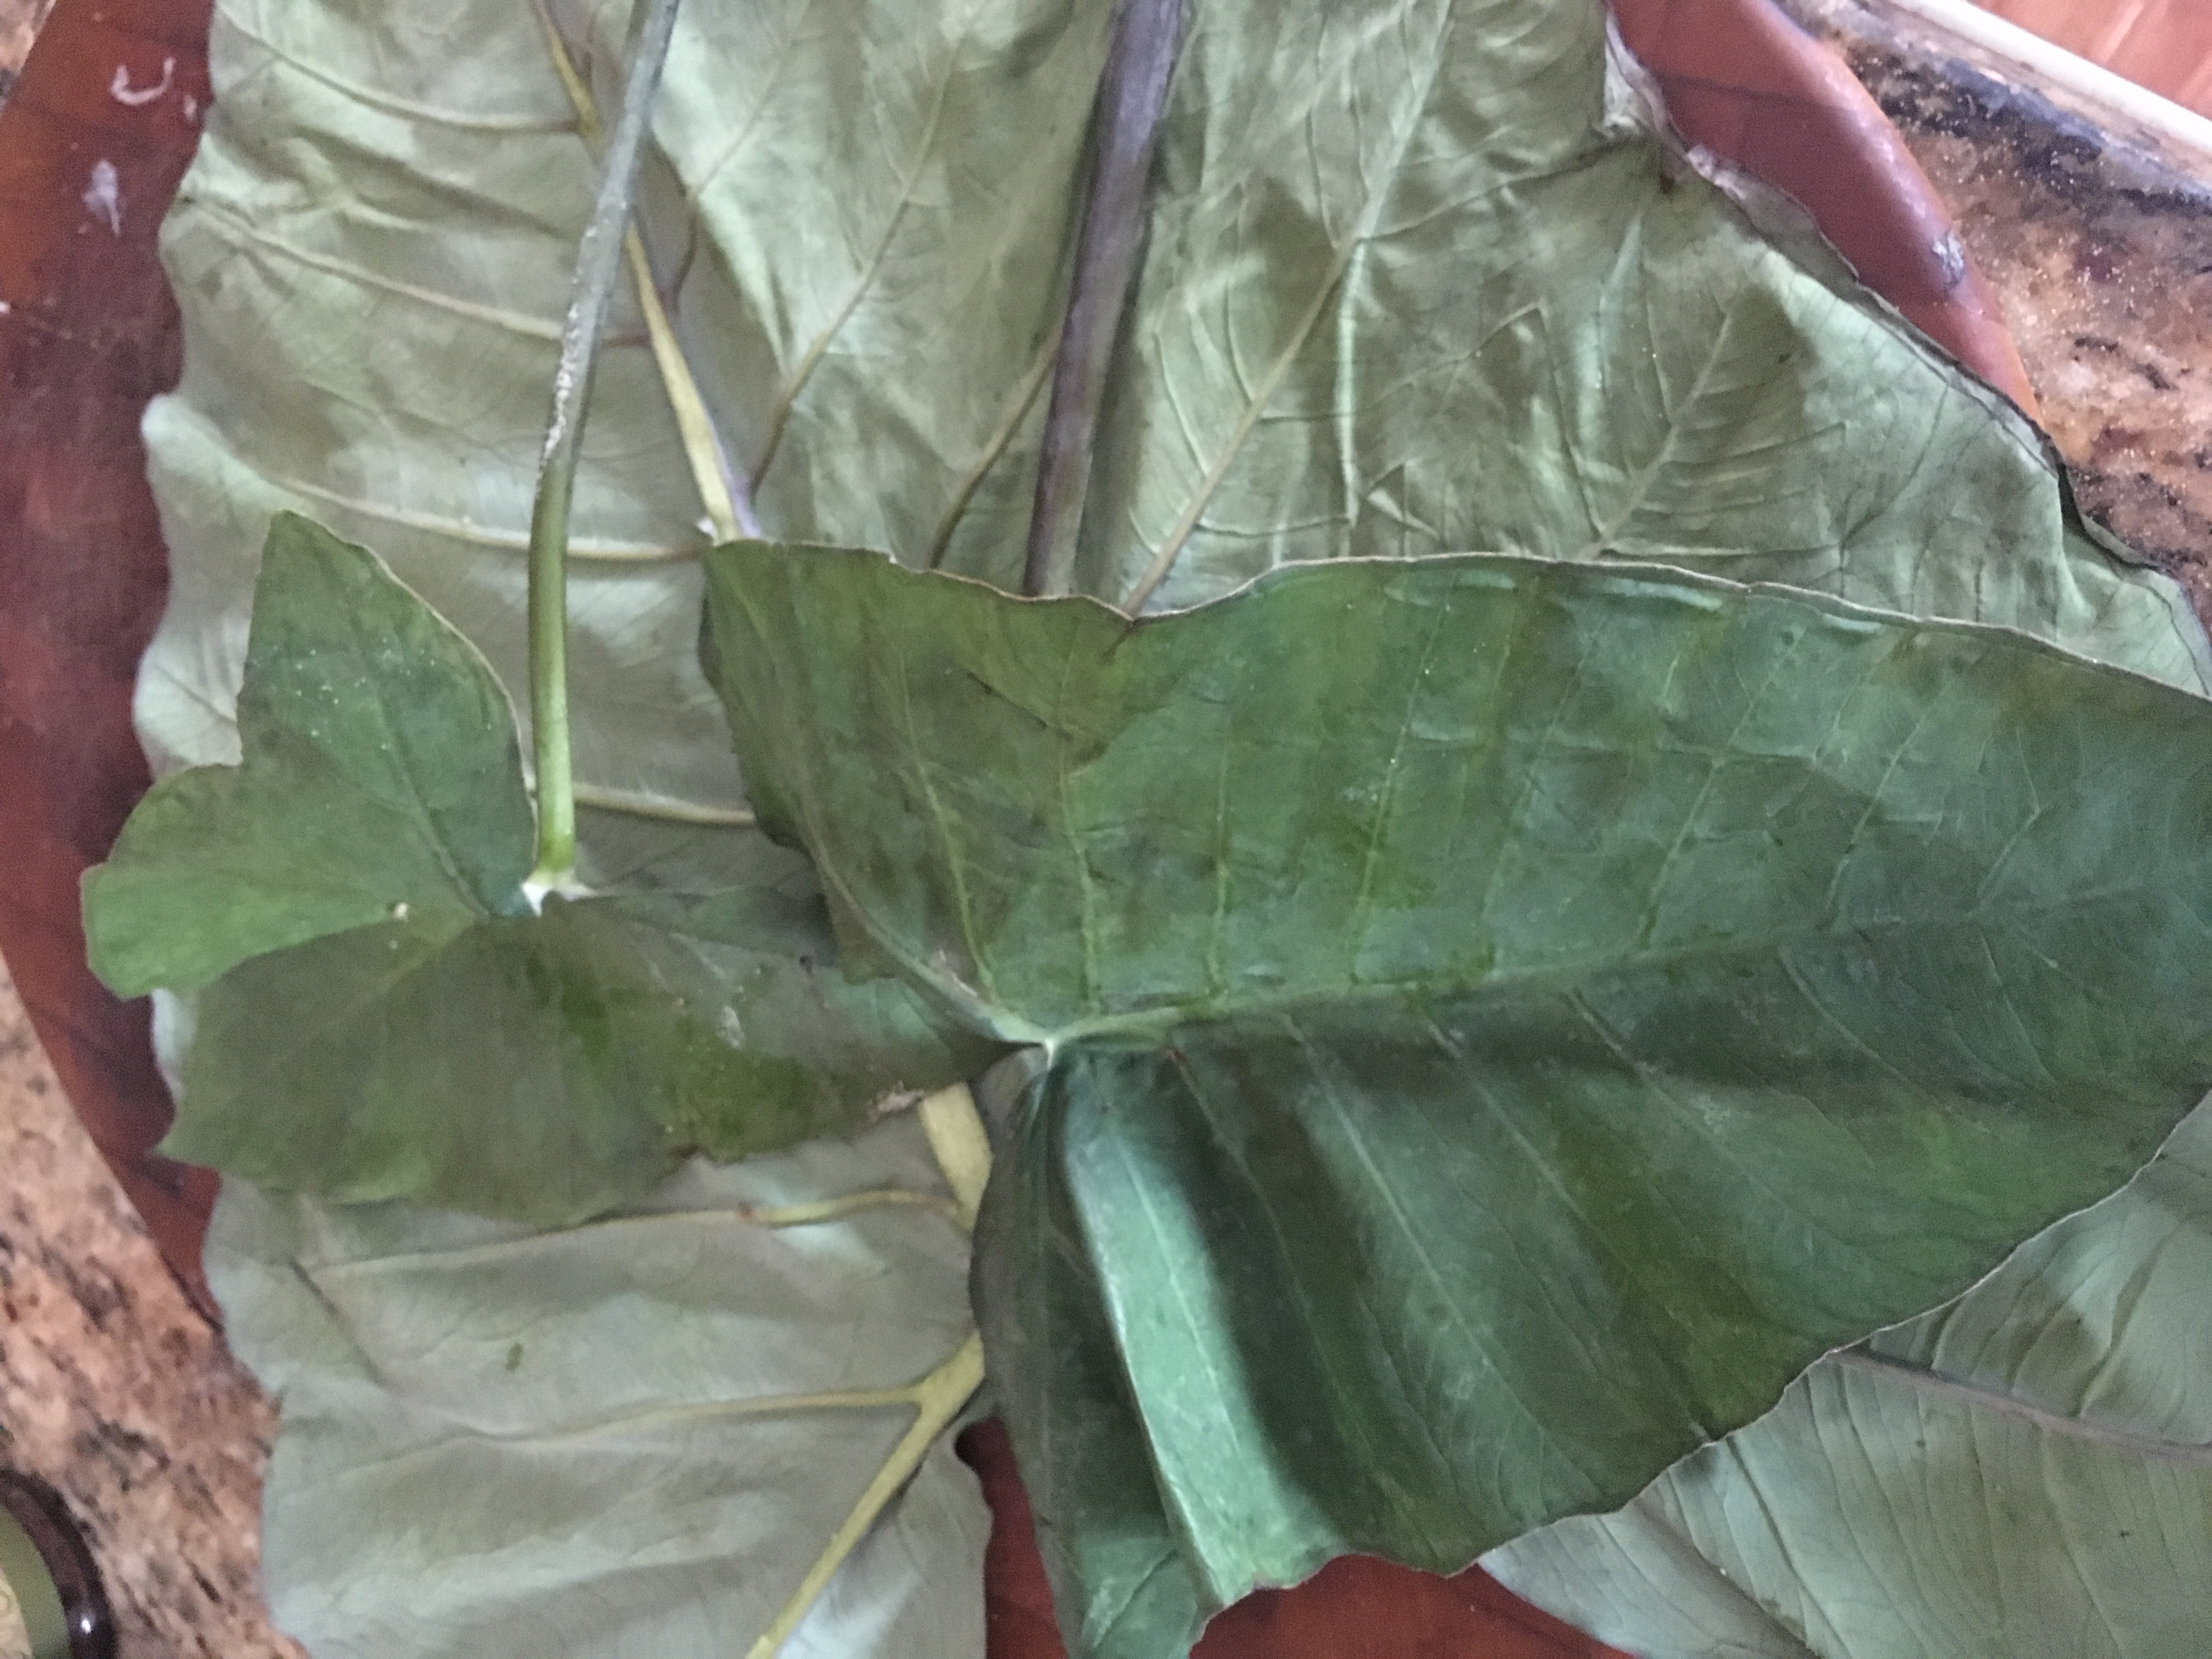
10 Arvi or Colocasia leaves (mix of large, medium and small sizes)
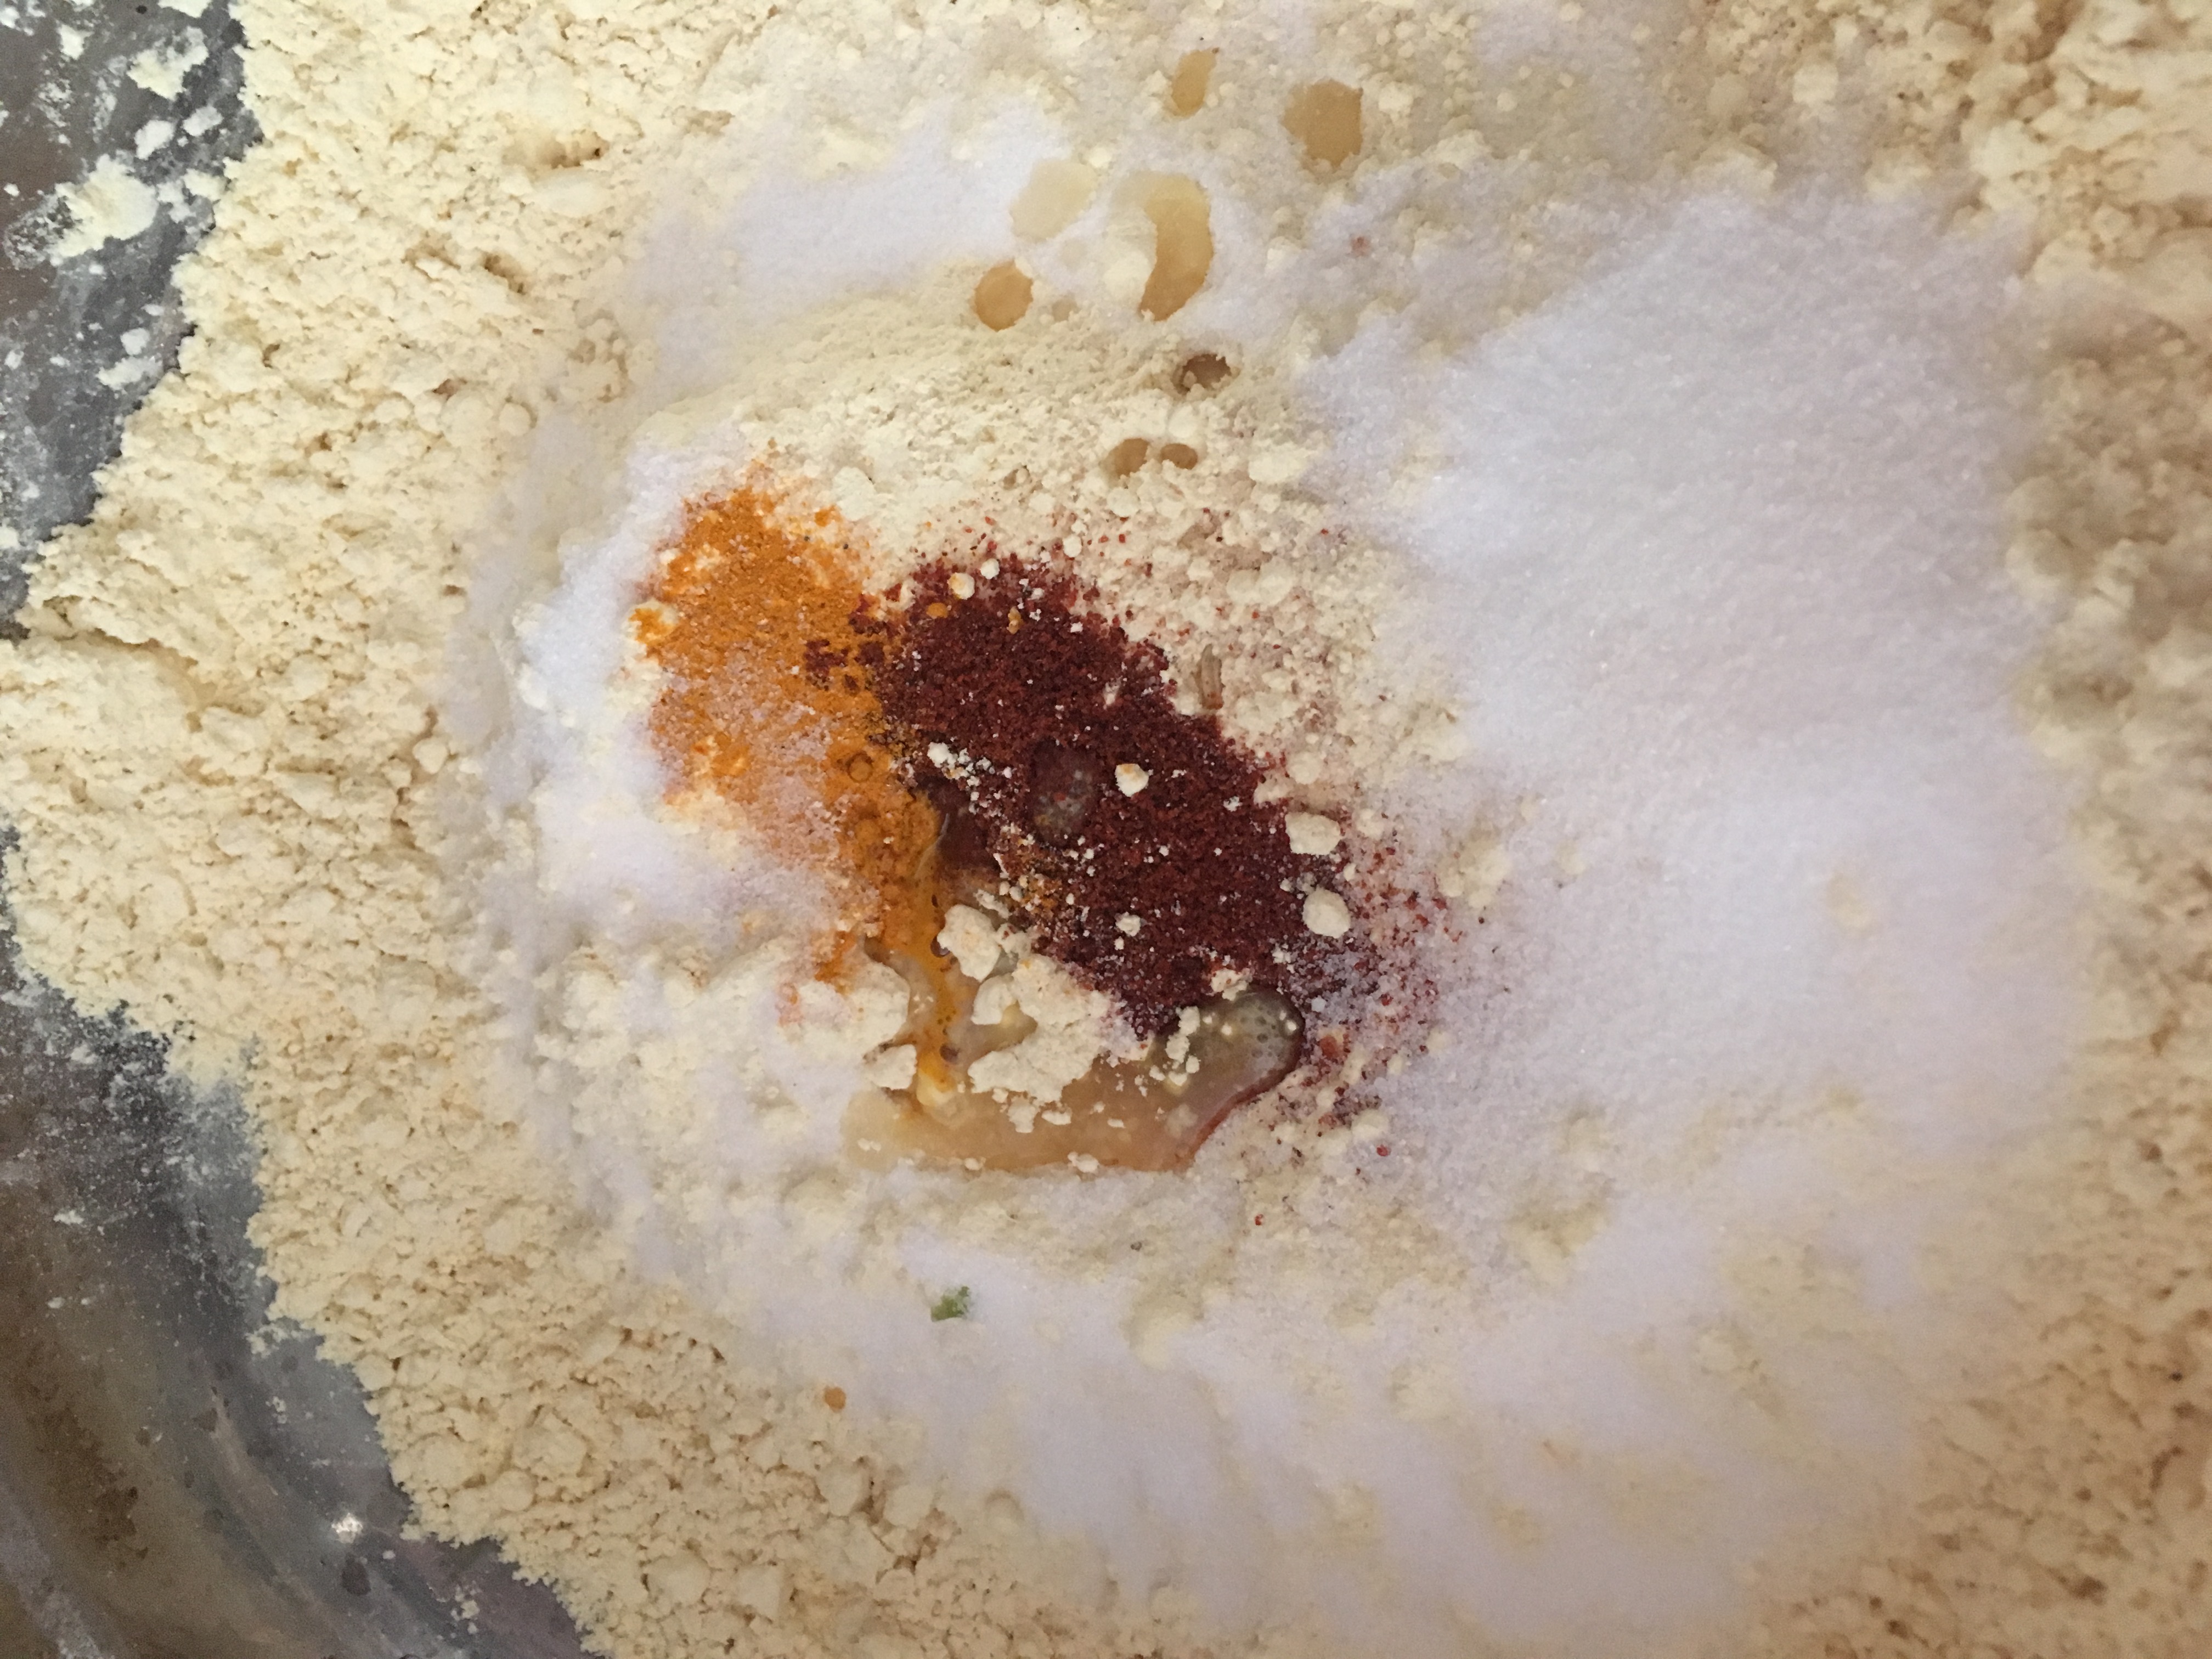
2 1/2 cups gram flour besan
11/2 cups water
1 tbsp oil
1 tsp turmeric powder
2 tsp chilli powder
1/4 tsp asafotida
3 tsp lemon juice
3 1/2 tbsp sugar
1/4 tsp baking soda
For frying and garnishing
oil for frying
chat masala for seasoning
Method
Wash the leaves thoroughly and leave them to dry.
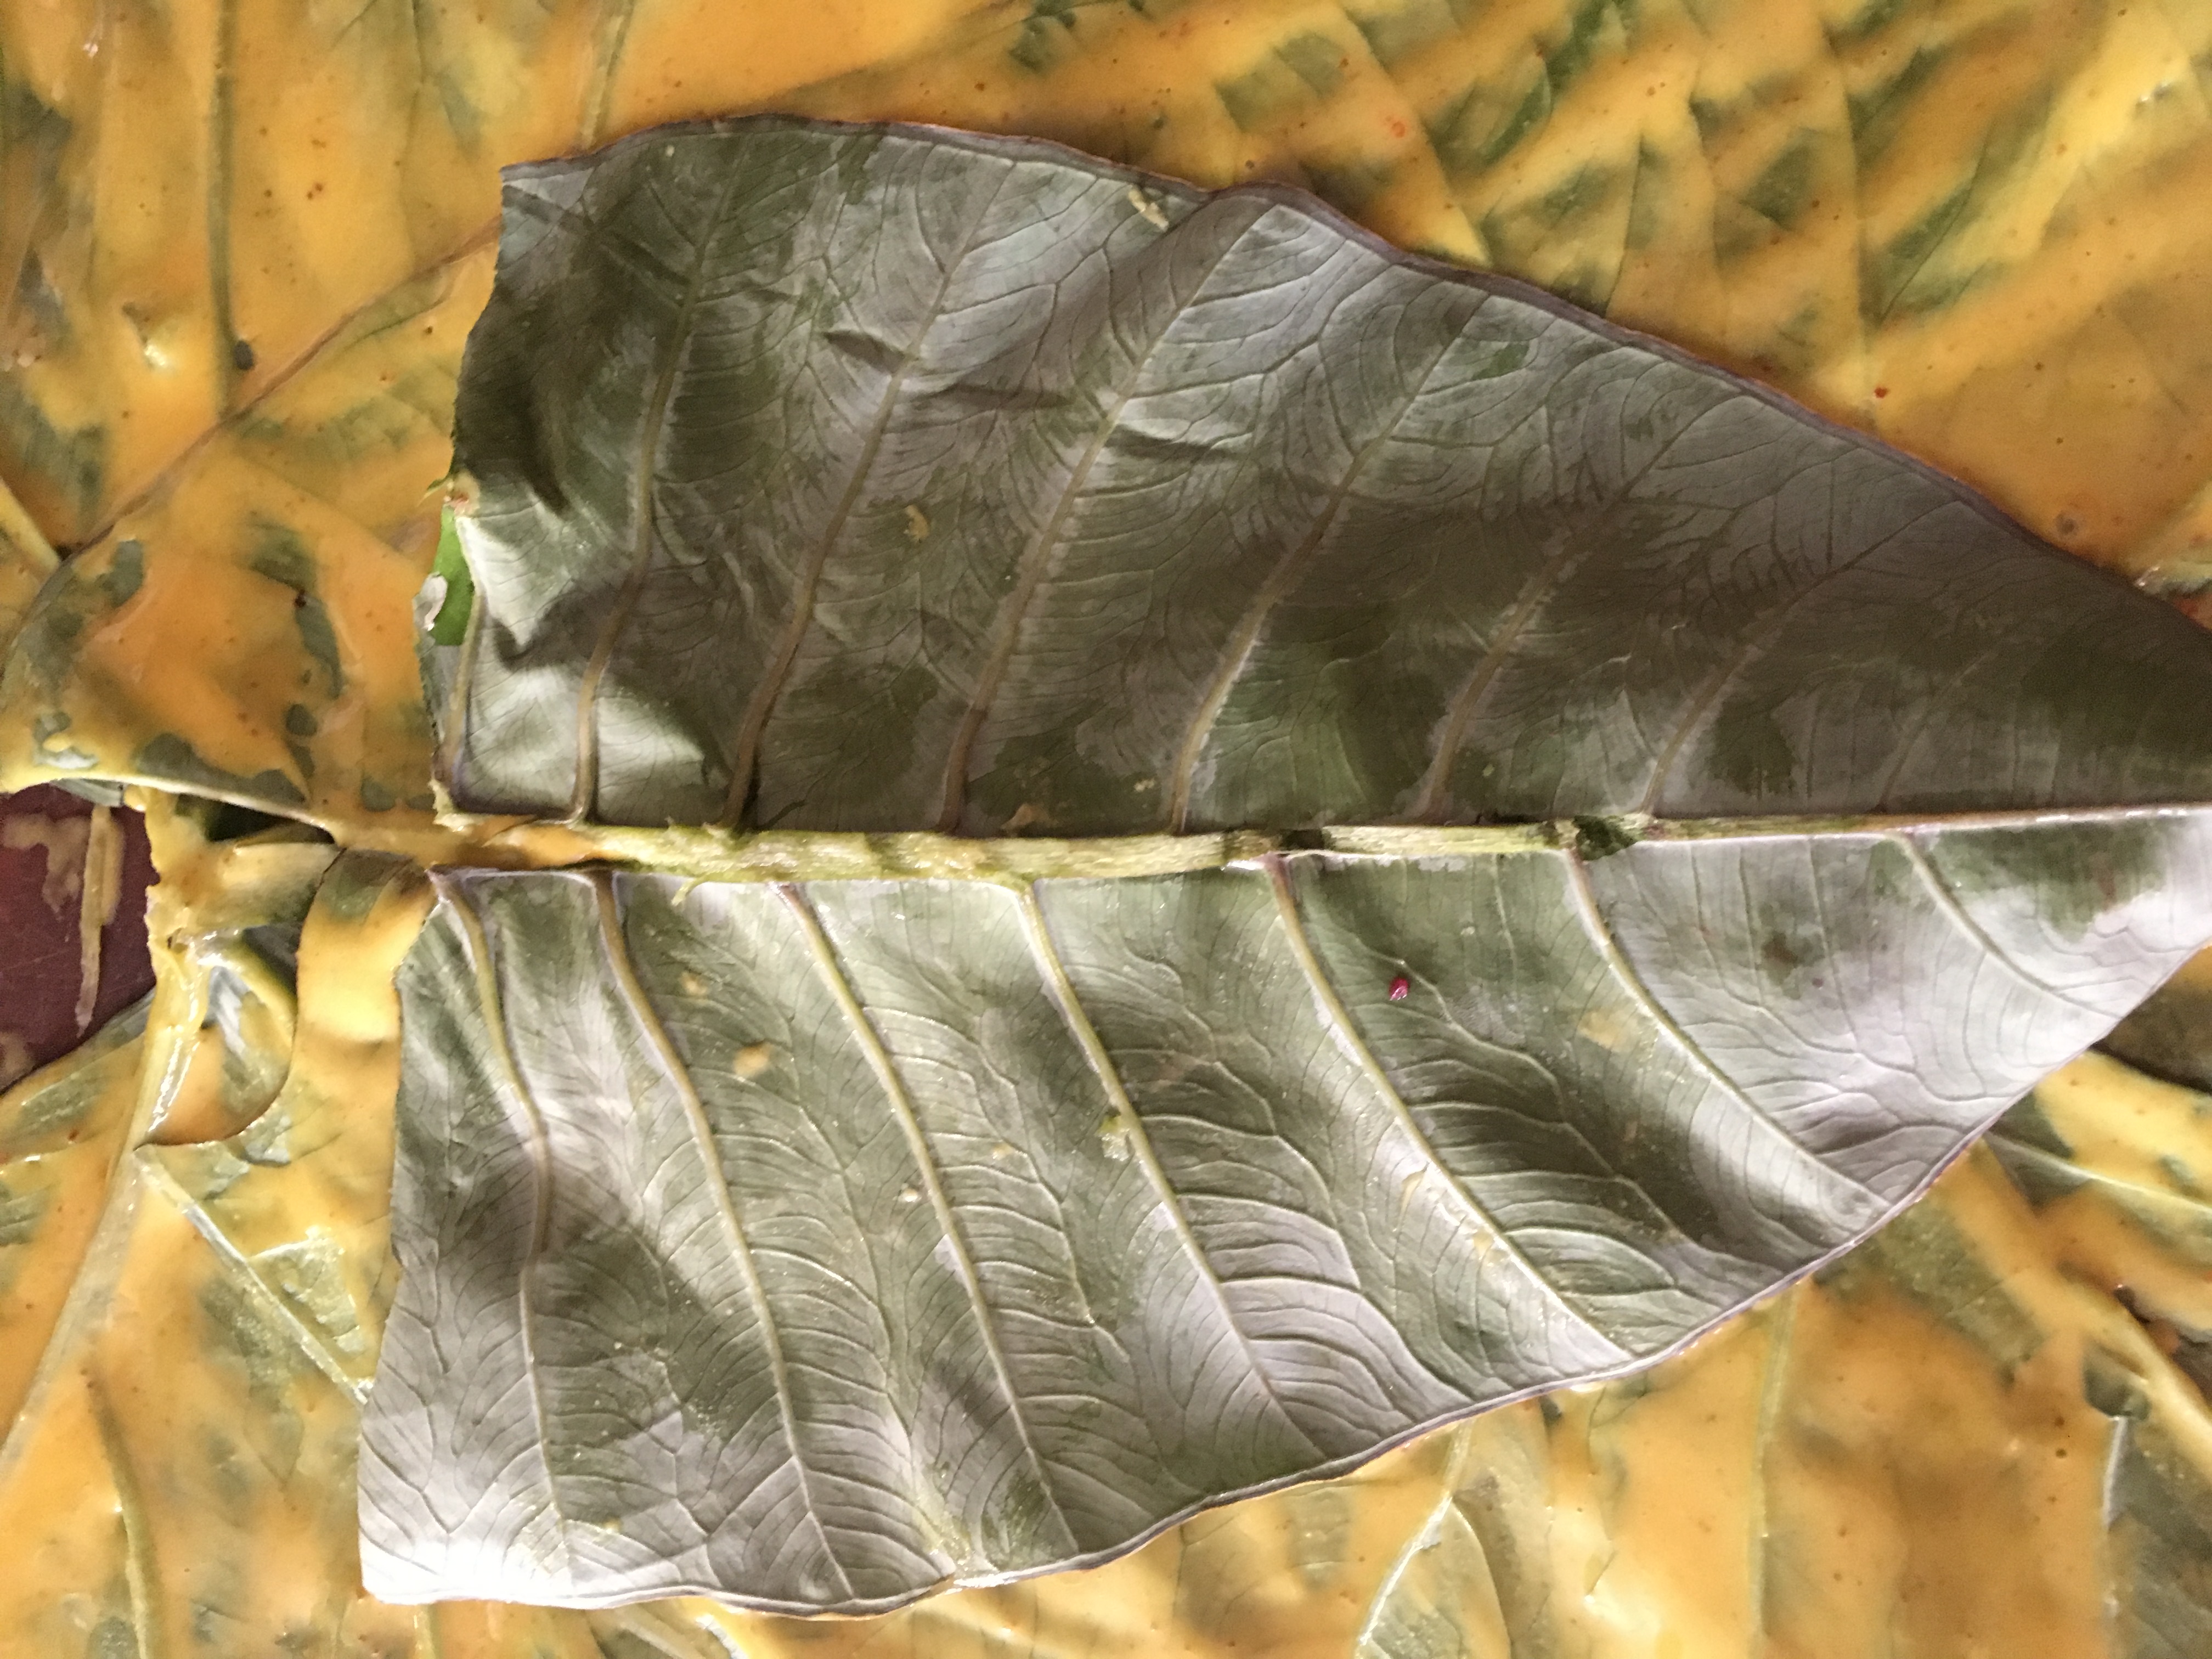
Using a sharp knife, skin the thick veins on back of the leaves.
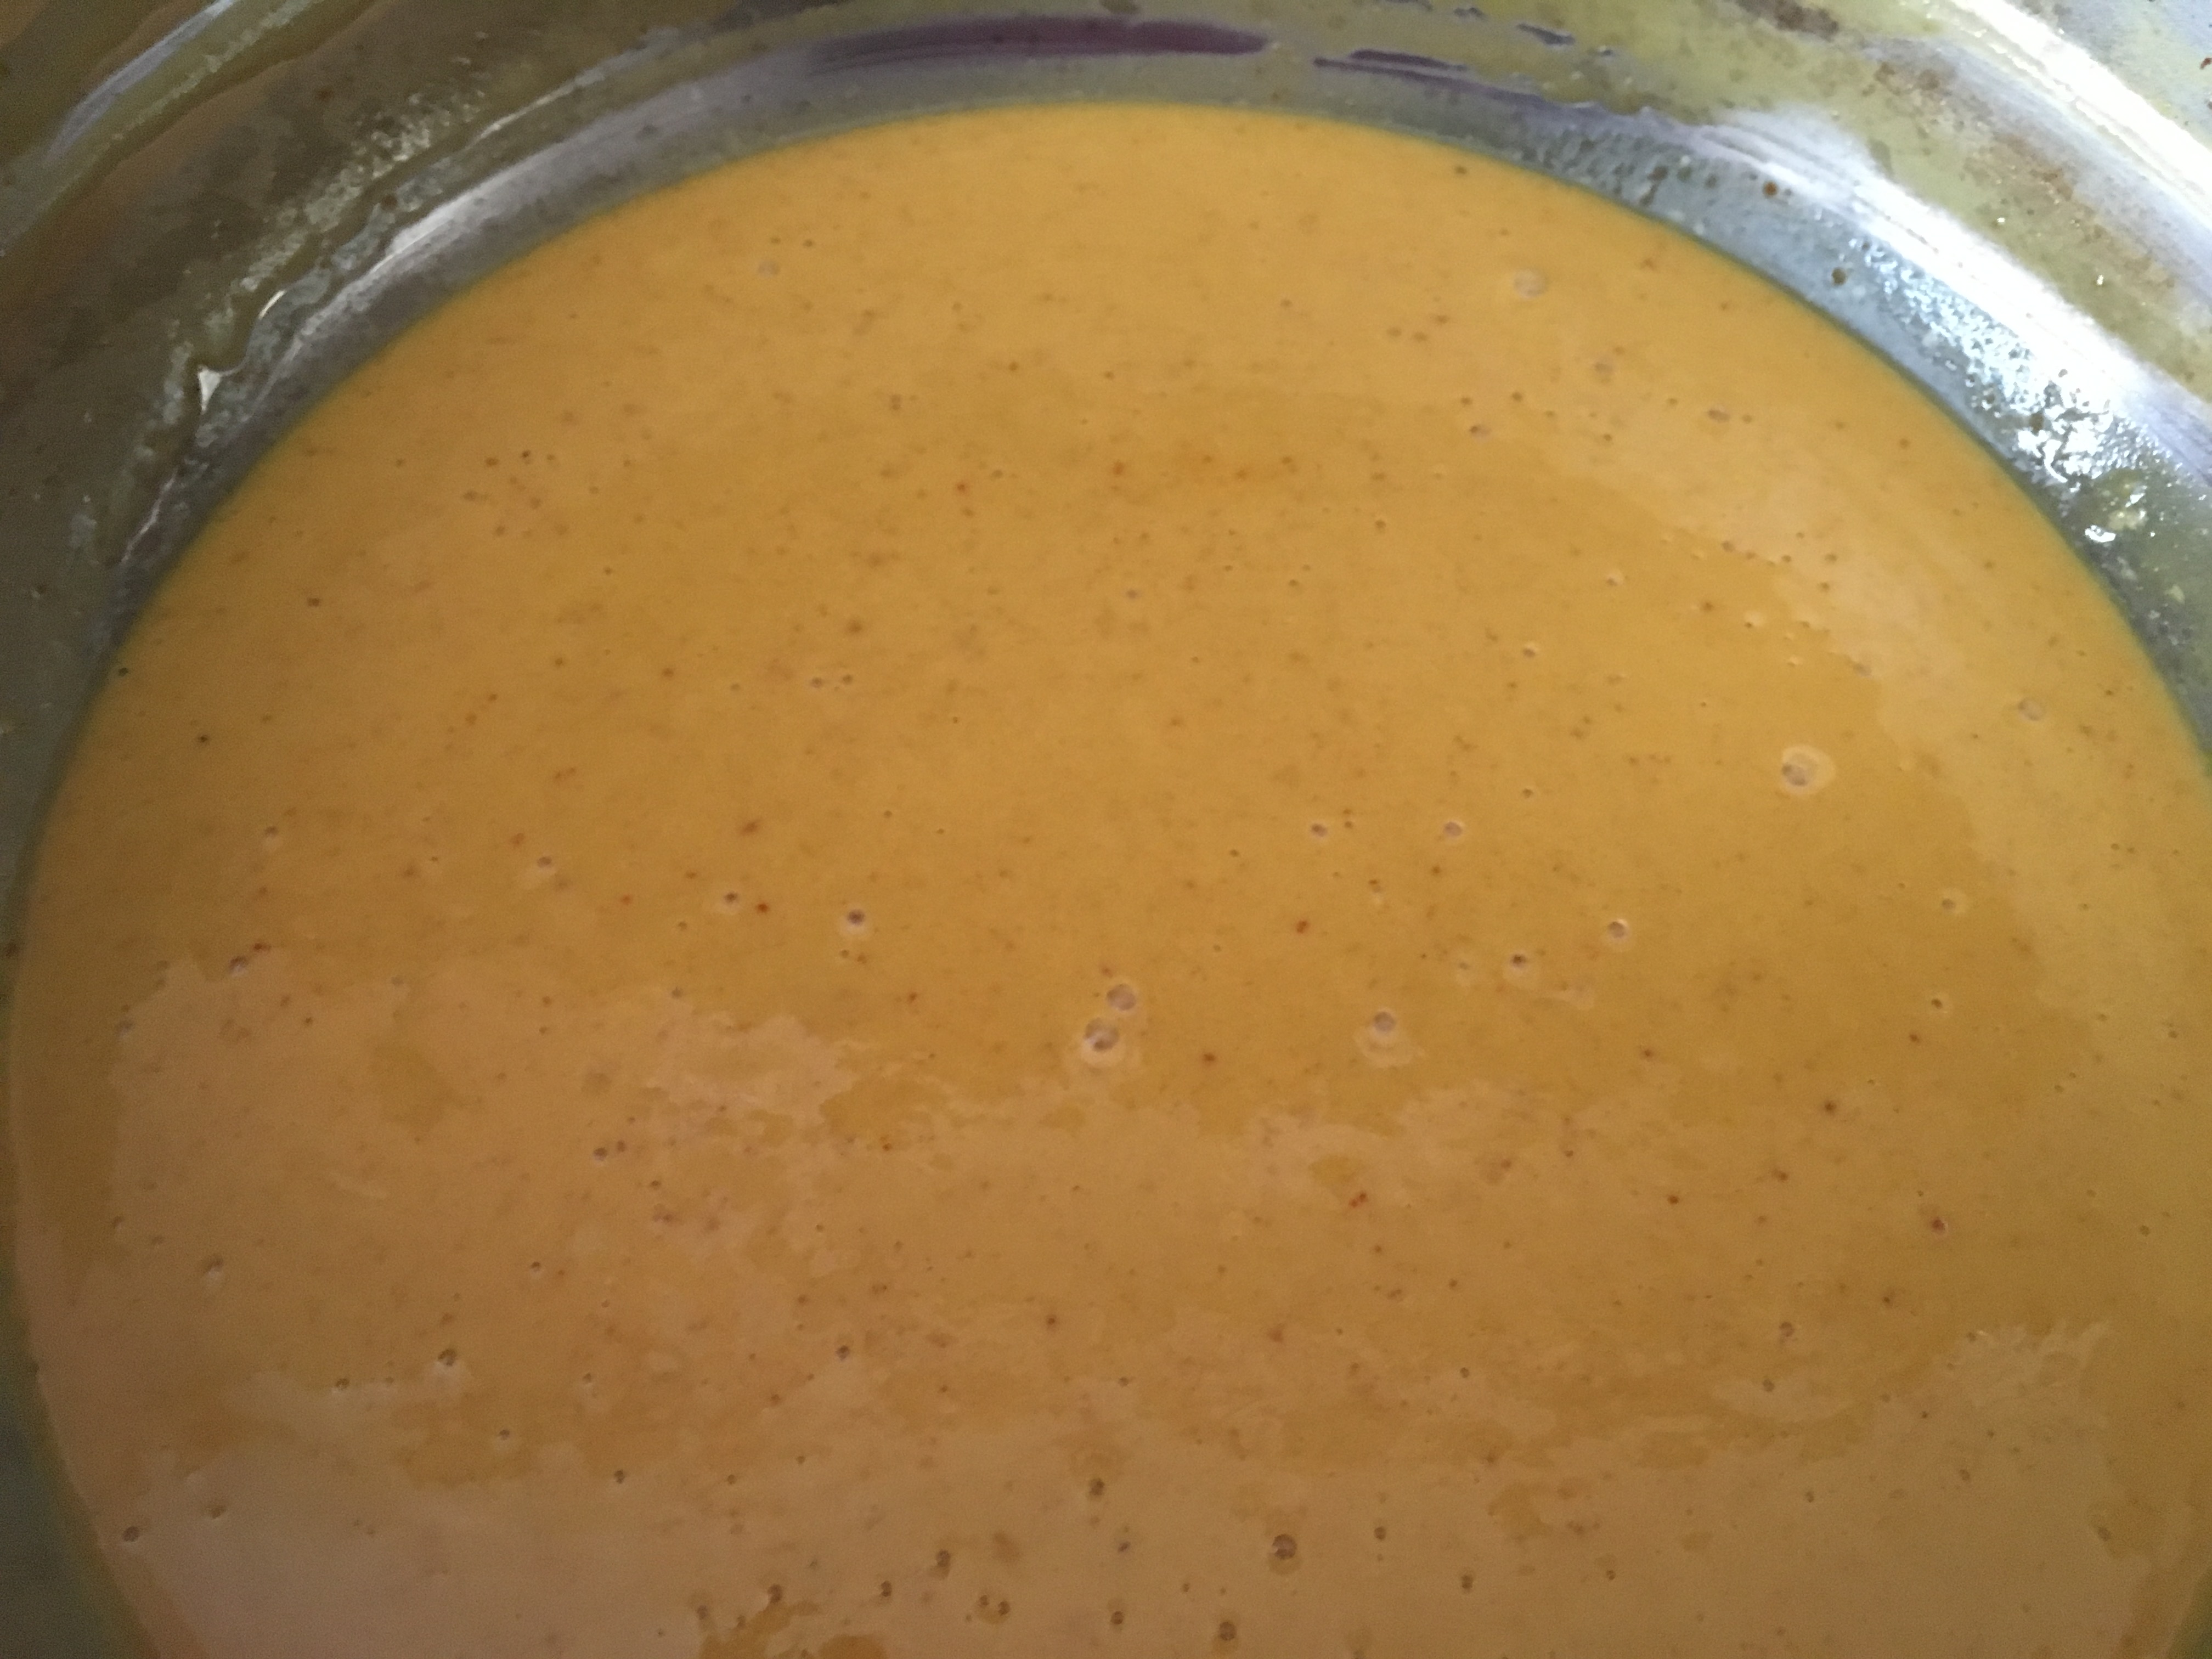
Mix all the ingredients into a paste and leave it set for half an hour, ensuring that there are no lumps.
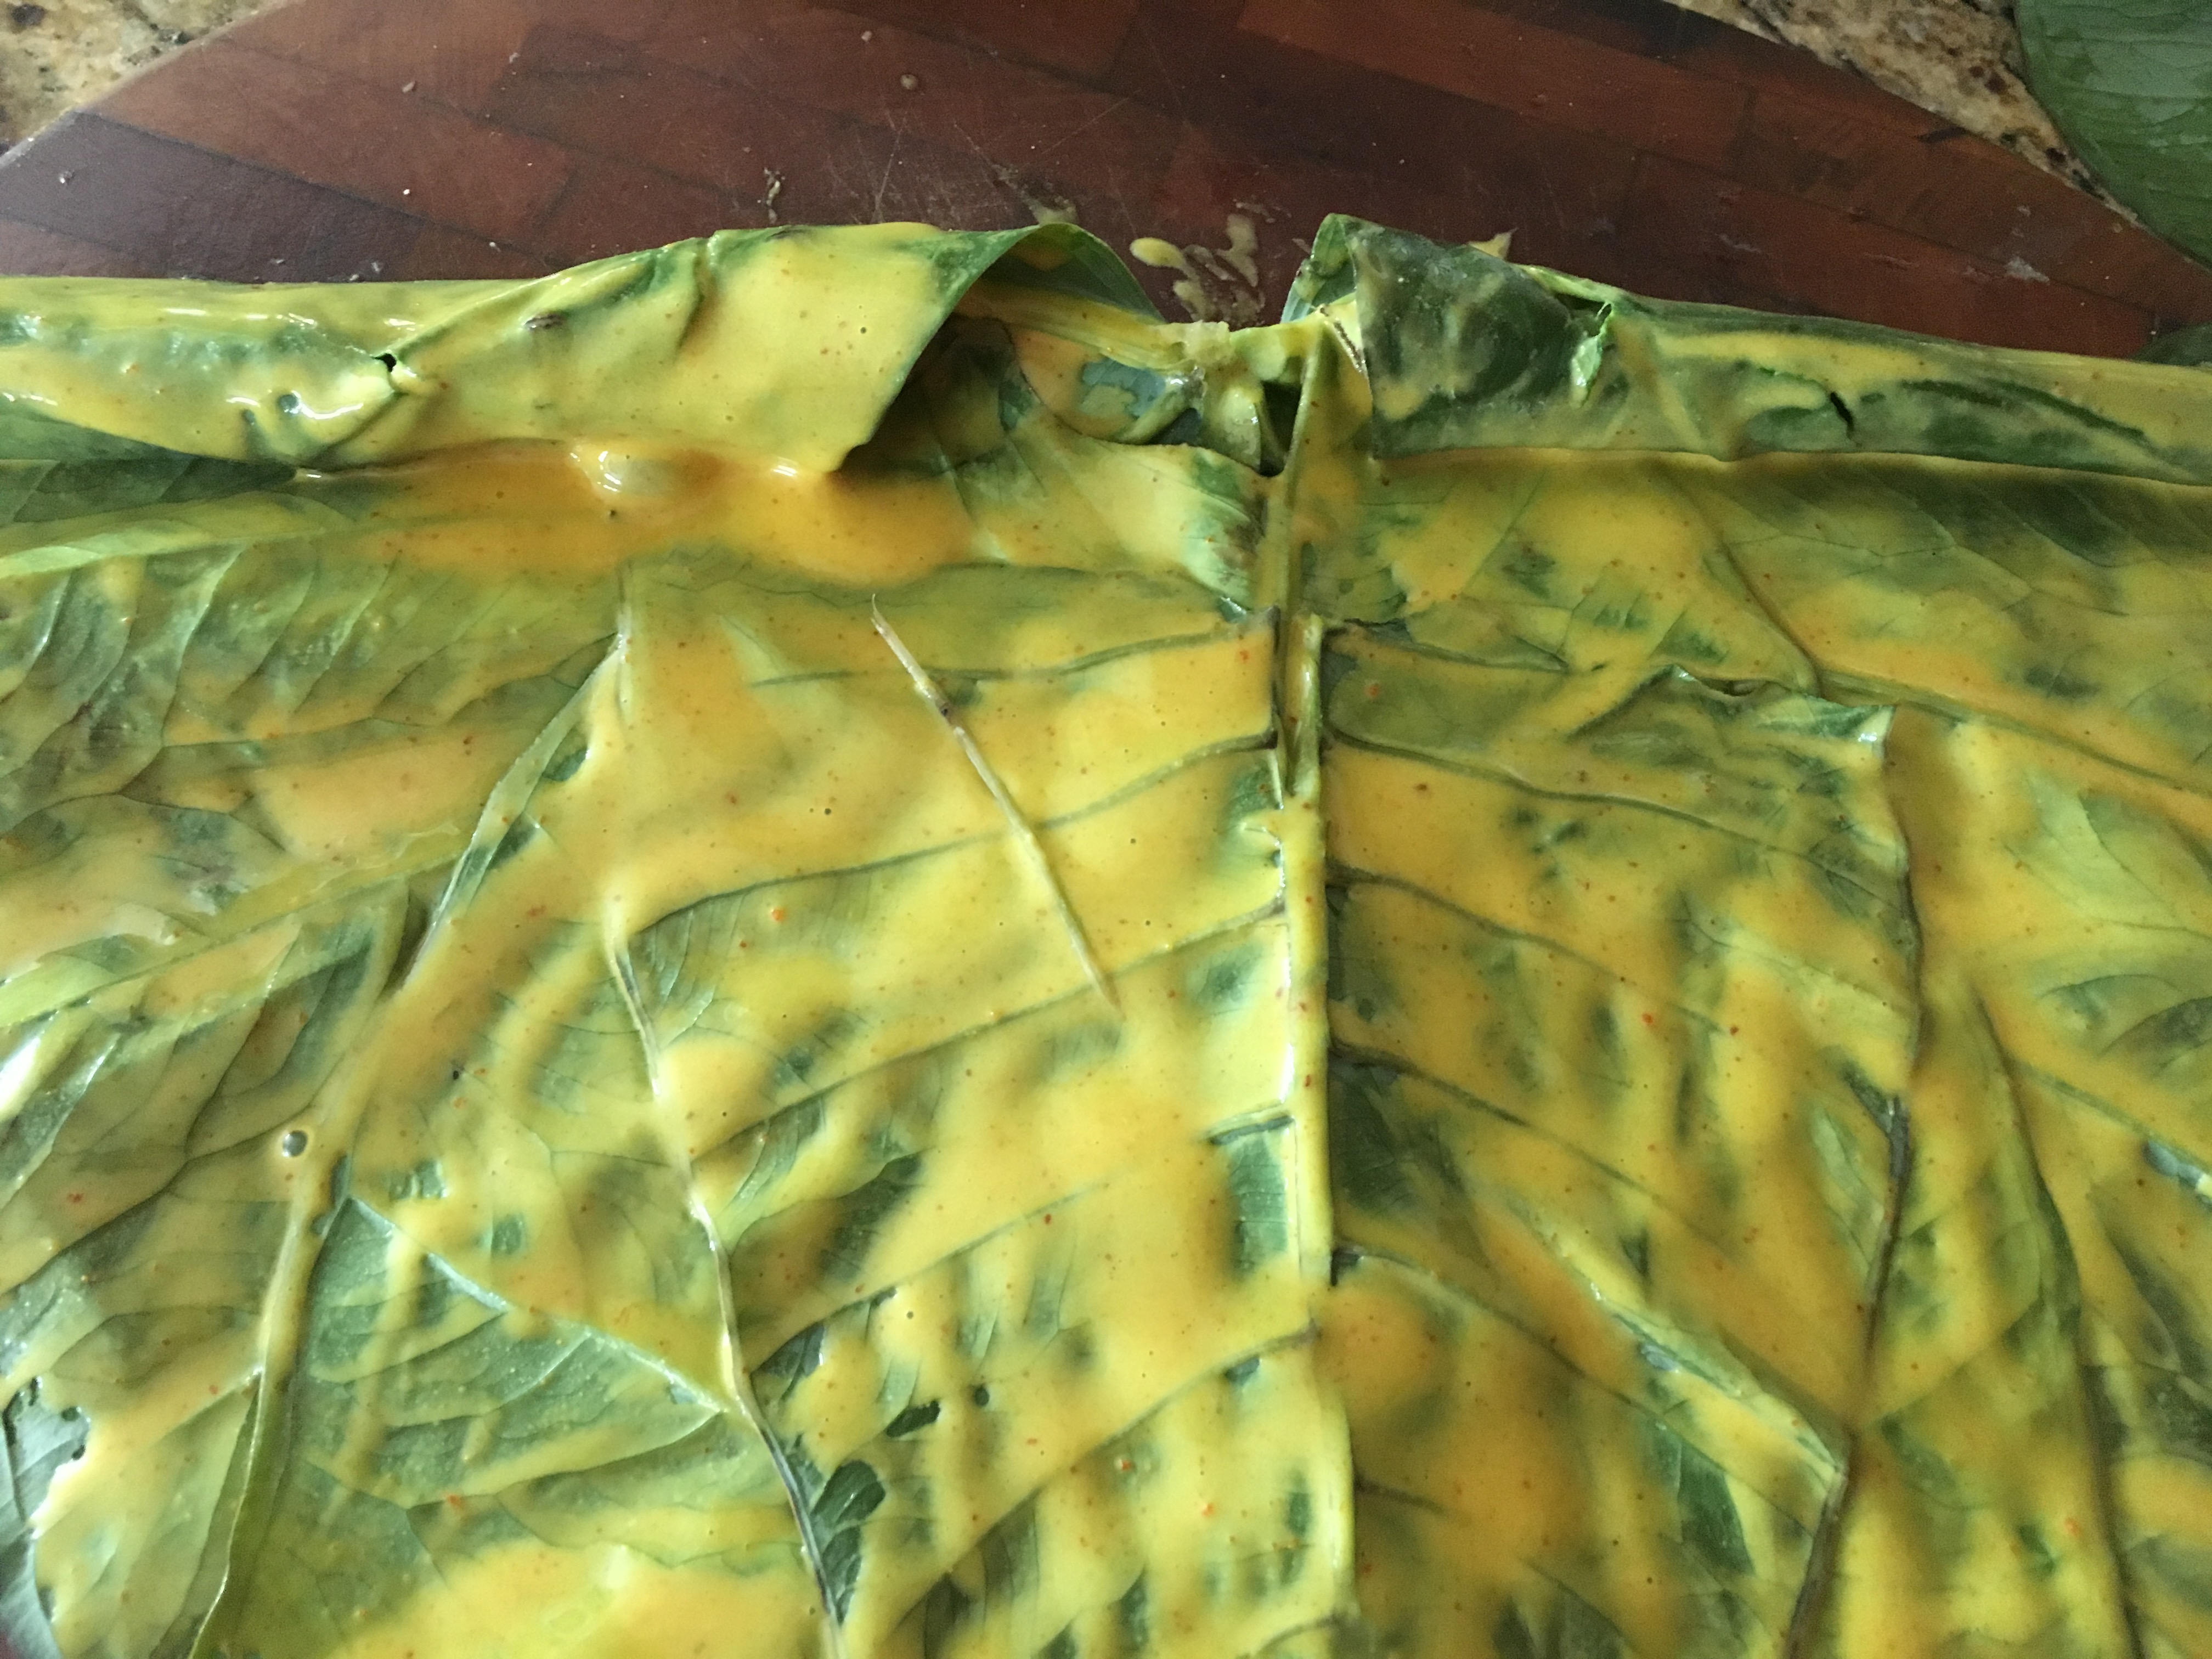
Lay the biggest leaf on face down and cover it with gram flour paste.
Lay second leaf face down with tip on the opposite direction and cover it with paste.
Lay the third smaller size leaf again face down, tip facing the side of first leaf and cover it with gram flour paste.
Now from the tip side of the first leaf, starting rolling over small and tight till you reach the other hand. Every second turn of the roll, apply the gram flour paste.
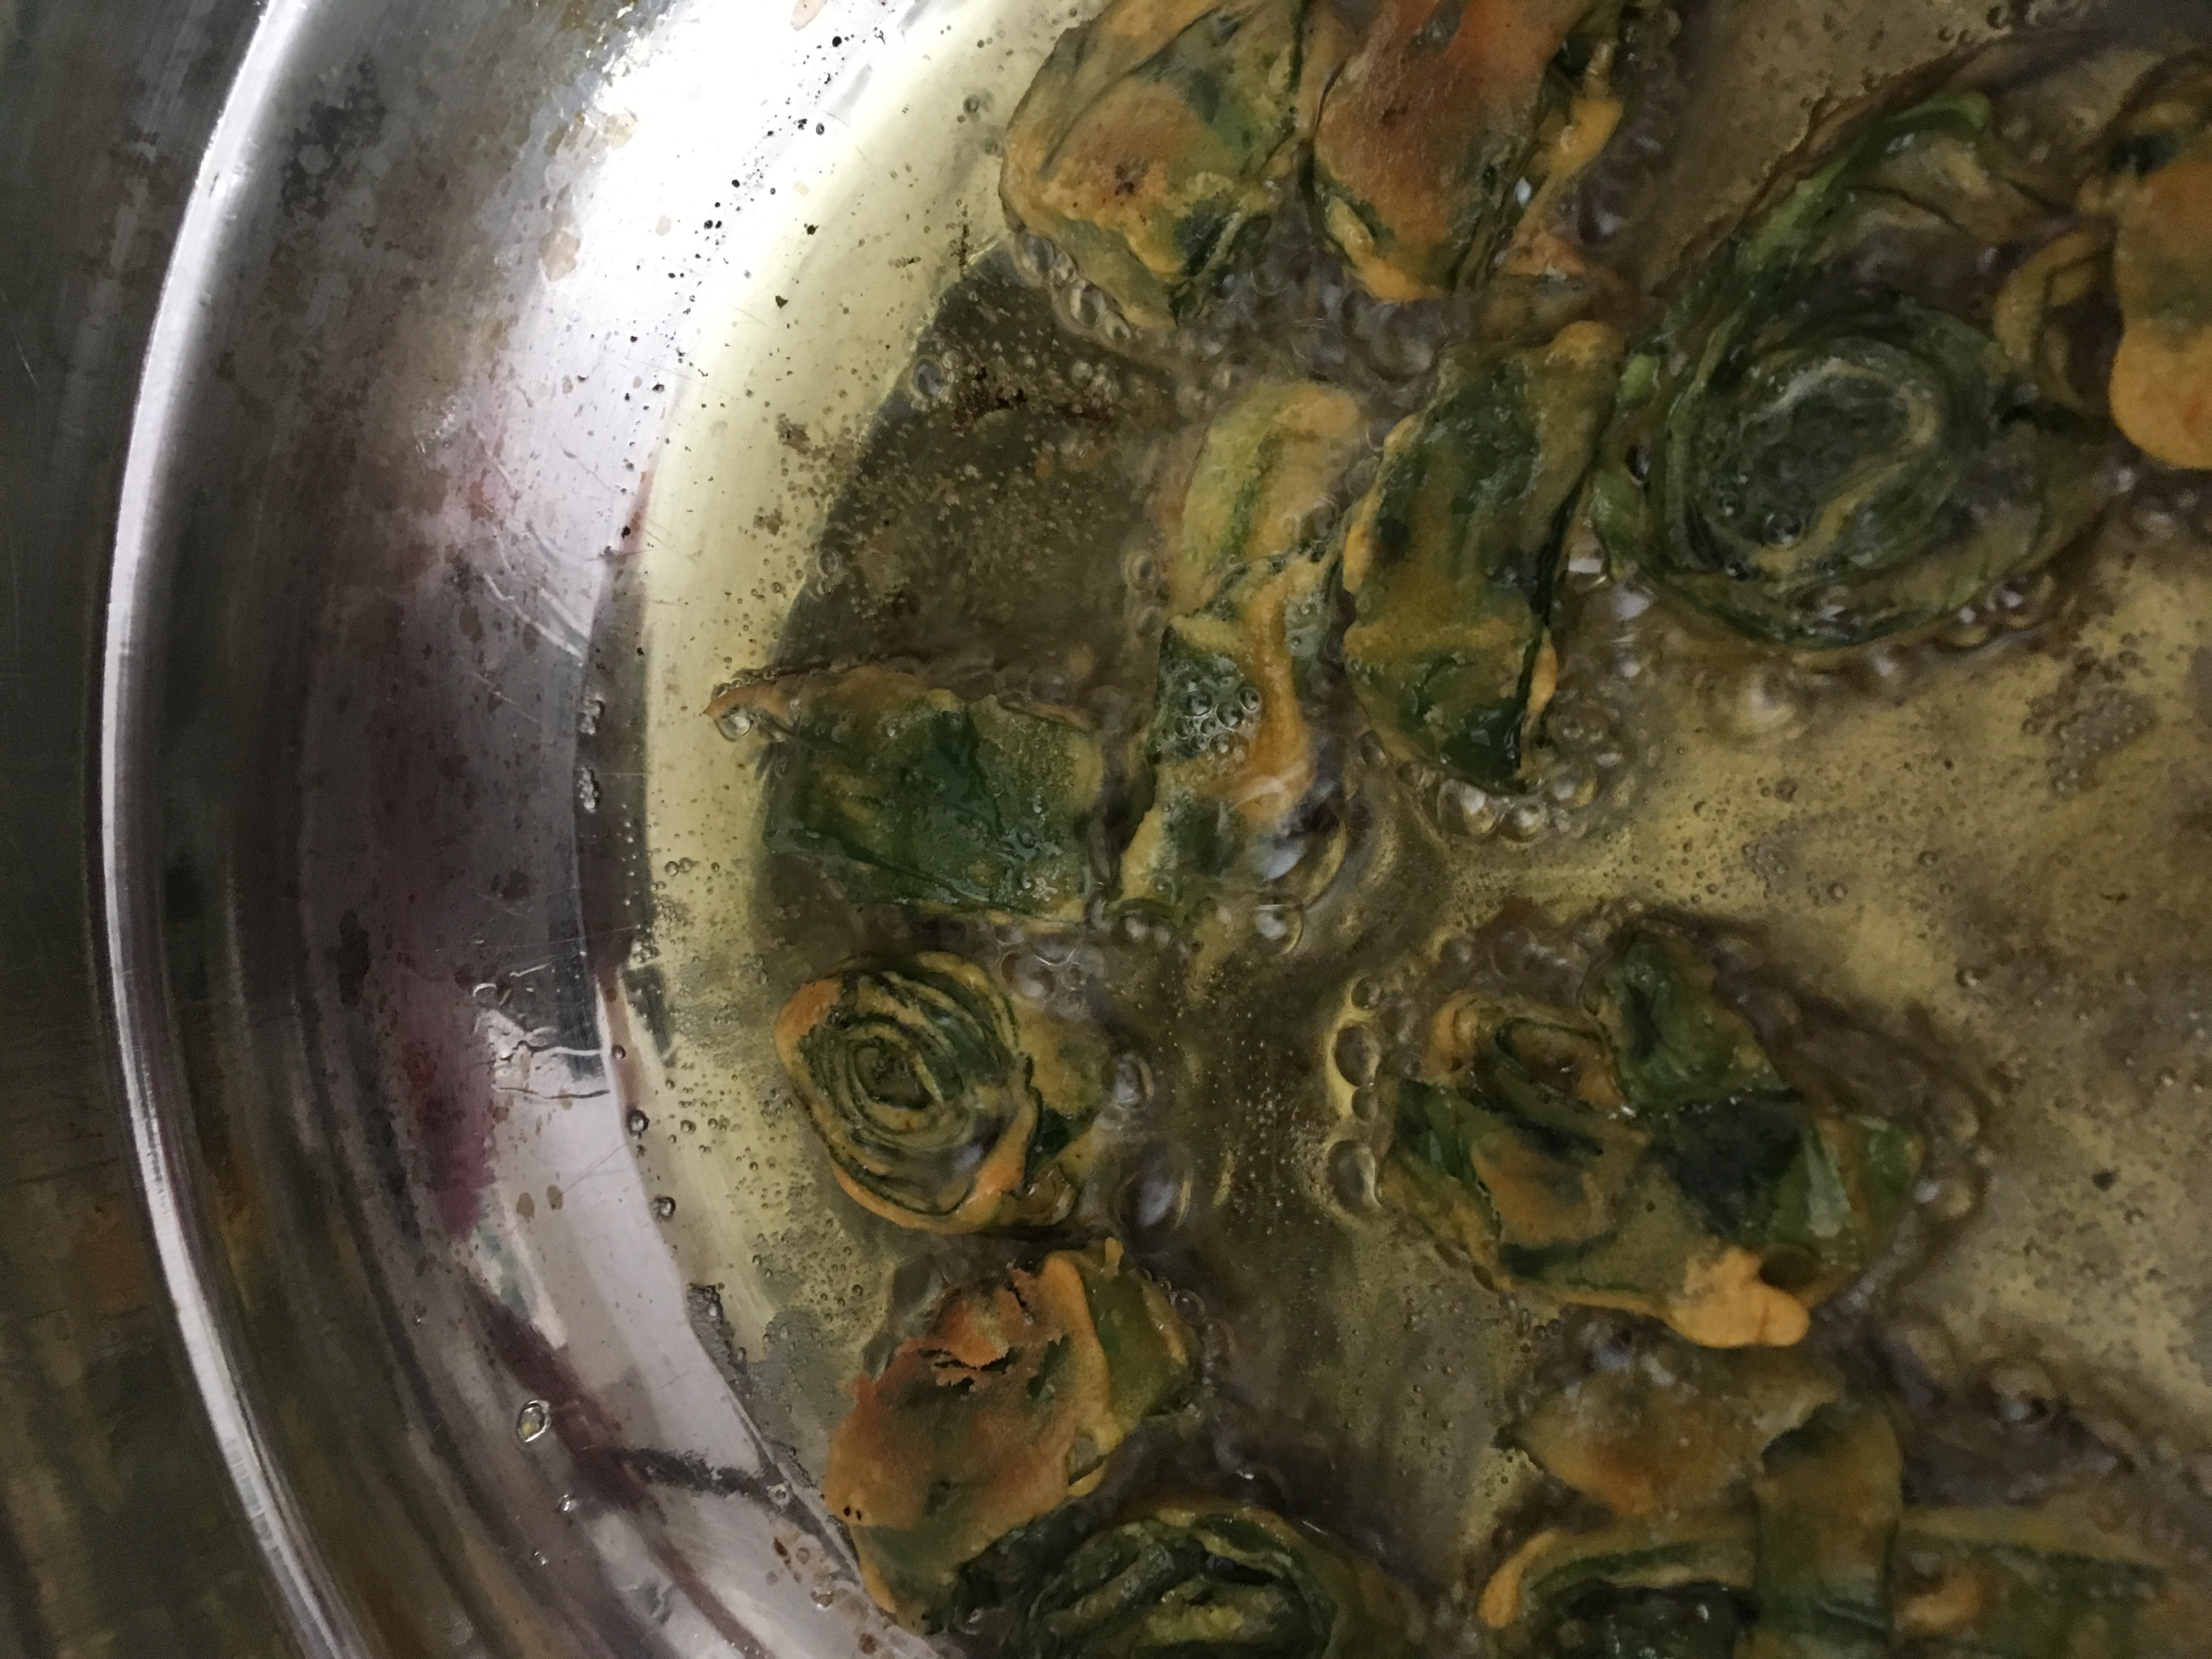
Slice the rolled leaves into half and inch thick pieces.
Heat the oil for frying. and when warm, insert the sliced pieces to fry on low- medium flame.
Turn over when golden brown and cook on the other side.
Remove to cool a bit.
Garnish with chat masala and serve it with ketchup.
Tips
Fresh leaves taste the best. Do not buy leaves that are yellow or lifeless. as it will taste bitter.
When skinning the veins at the back, ensure that you do not cut through leaves, and the smooth edges seem as flat as the leaf.
Instinct Factor
My mother prefers to use only single leaf roll for Fried Patra Alu Vadi Colocasia Pinwheel Fritters. This makes the pinwheel fritters to a nice bite size form.
Big spinach leaves can be an alternative to Colocasia leaves, as they have a similar color, texture.
Feel Factor
A snack in a pinwheel form with attractive gold and green colors, reminding me of a peacock feather, when laid together!. Truly enjoyable as an accompaniment to any meal, and a novel way to cook the Patra leaves. Since they are not so easily available in USA, it is a delicacy for me that needs to be truly cherished and savored every bit for its rich unique taste. The chat masala sprinkled on top is a perfect seasoning to this yummy appetizer that is rich in vitamin A and potassium nutrients. Go healthy and eat the steamed version or feel festive and have the Fried Patra Alu Vadi Colocasia Pinwheel Fritters.
A loaf of home made eggless white bread can warm so many mornings and so many hearts! One such loaf was waiting for us, when we came back from an overseas vacation, thanks to a wonderful neighbor of mine, along with some fresh flowers and magazines to read! What a warm welcome from our neighbors for us when we arrived home! I have experimented with bread in the past, have had some success, but of late had become lazy in making bread. But an opportunity arose for me, to give the same warm feeling to the neighbors of mine, as they took a vacation. So there came that unloved bread machine from the way back of a cupboard, as I set out to make bread after almost a year and a half!
I decided to use the recipe that my neighbor used, from the Oster Bread Maker book, which is slightly different than what I have in Cuisinart Convection Bread Maker. This recipe for eggless white bread is more closer to the breads from India, as it has milk, and butter and sugar and we have been spoilt by the many warm fragrant loaves that we have had, courtesy the friendly neighbor!!.\
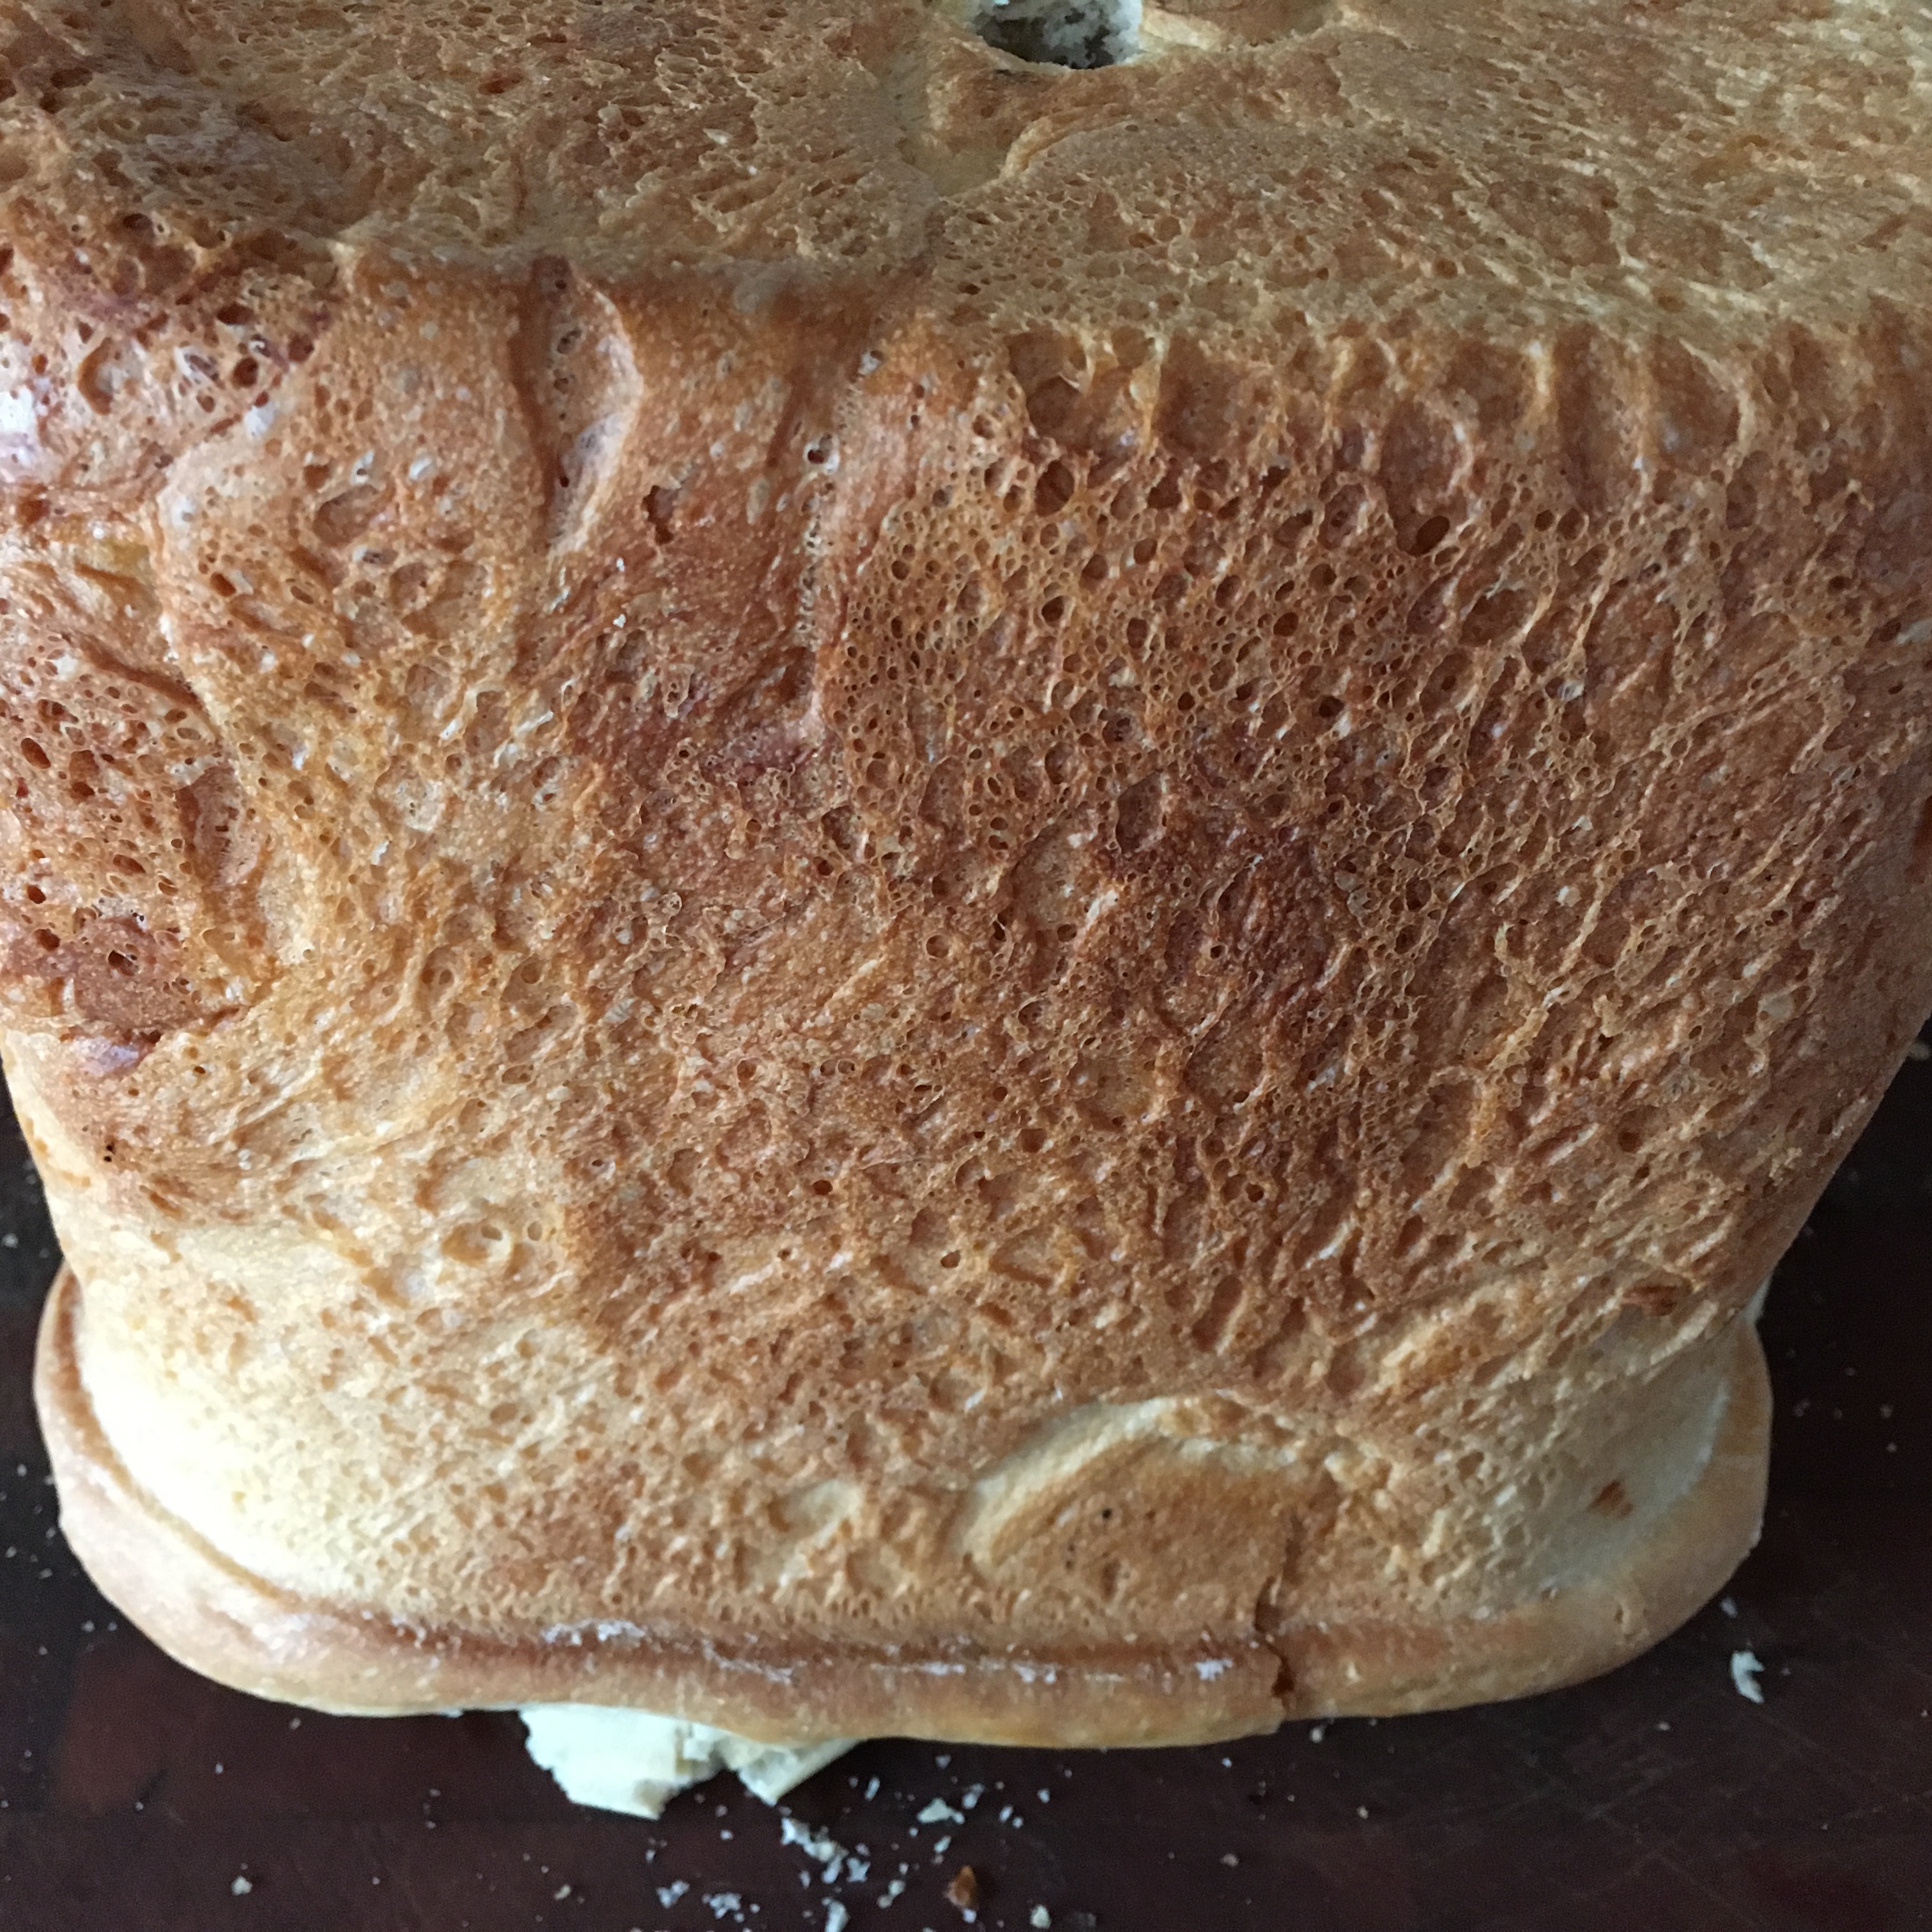
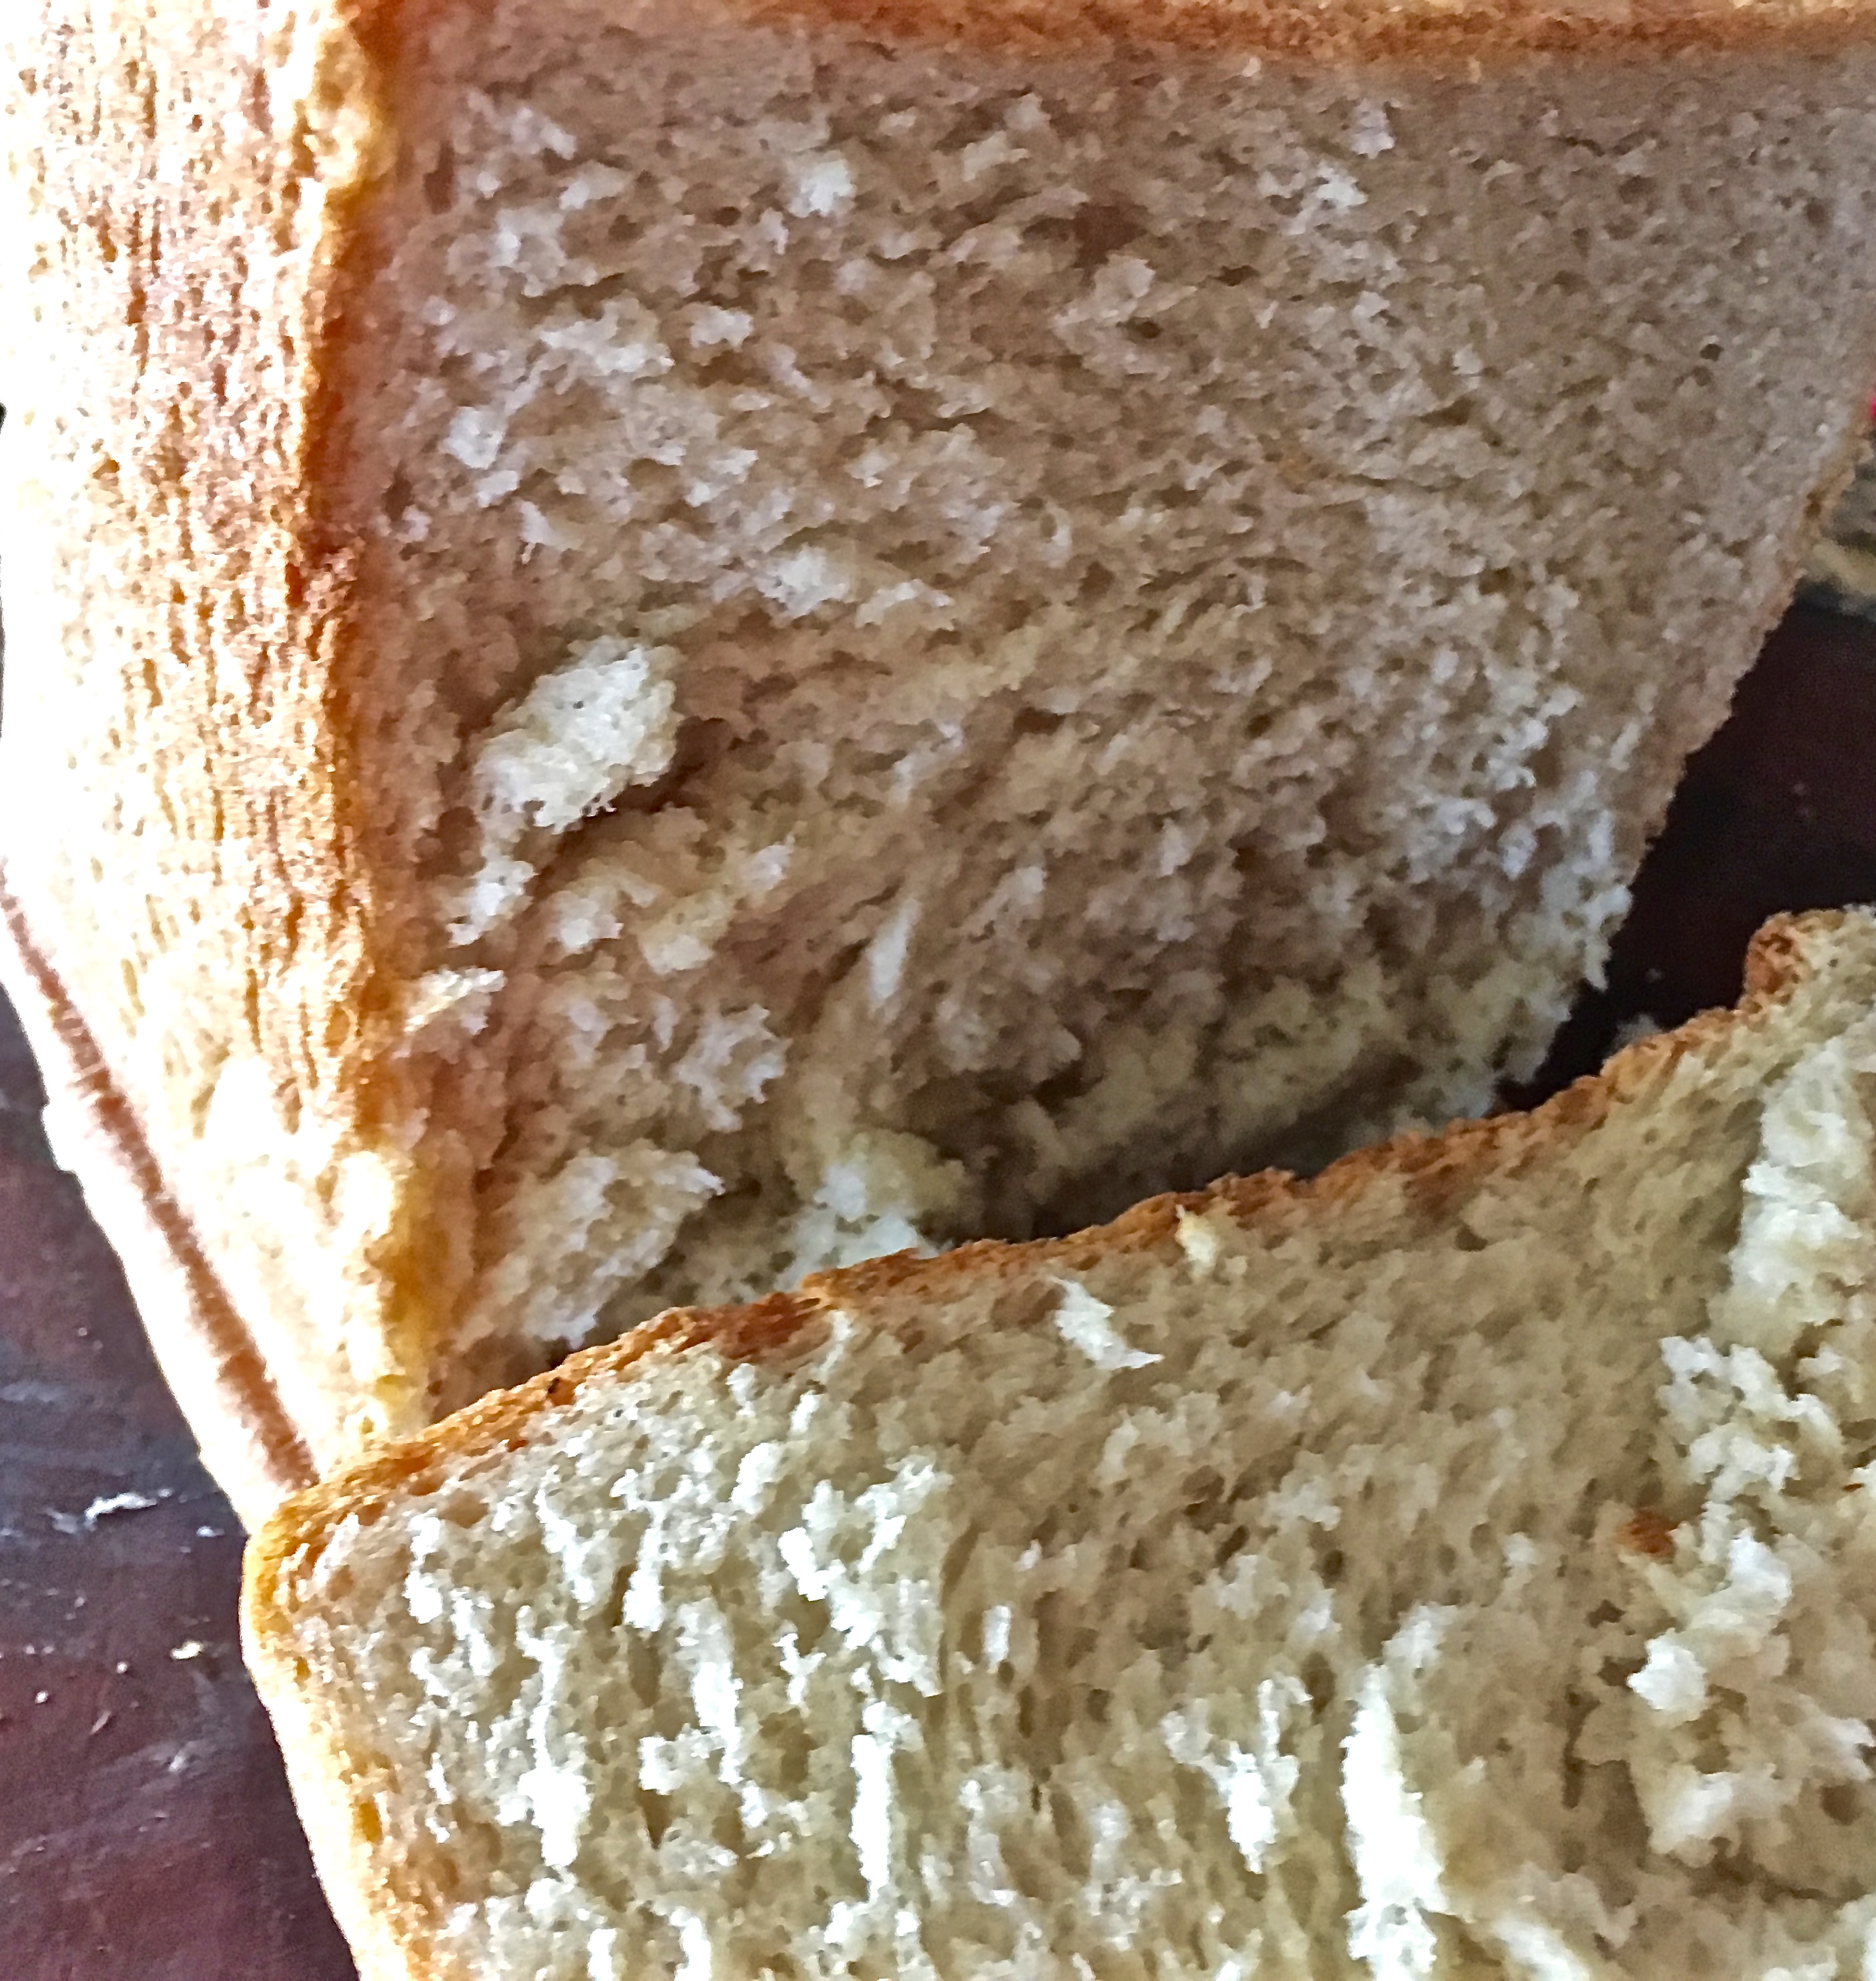
If I were to compare both the breads, the crust of my bread was more well cooked than the other one, and this was the lightest crust mode in my machine. So I guess the difference is due to the temperature setting in each machine. But as fas the spongy taste and texture, it was the best! The whole house was fragrant with the aroma of warm bread baking, and it was a pure delight to see the rising of the bread touch to the top of the oven!
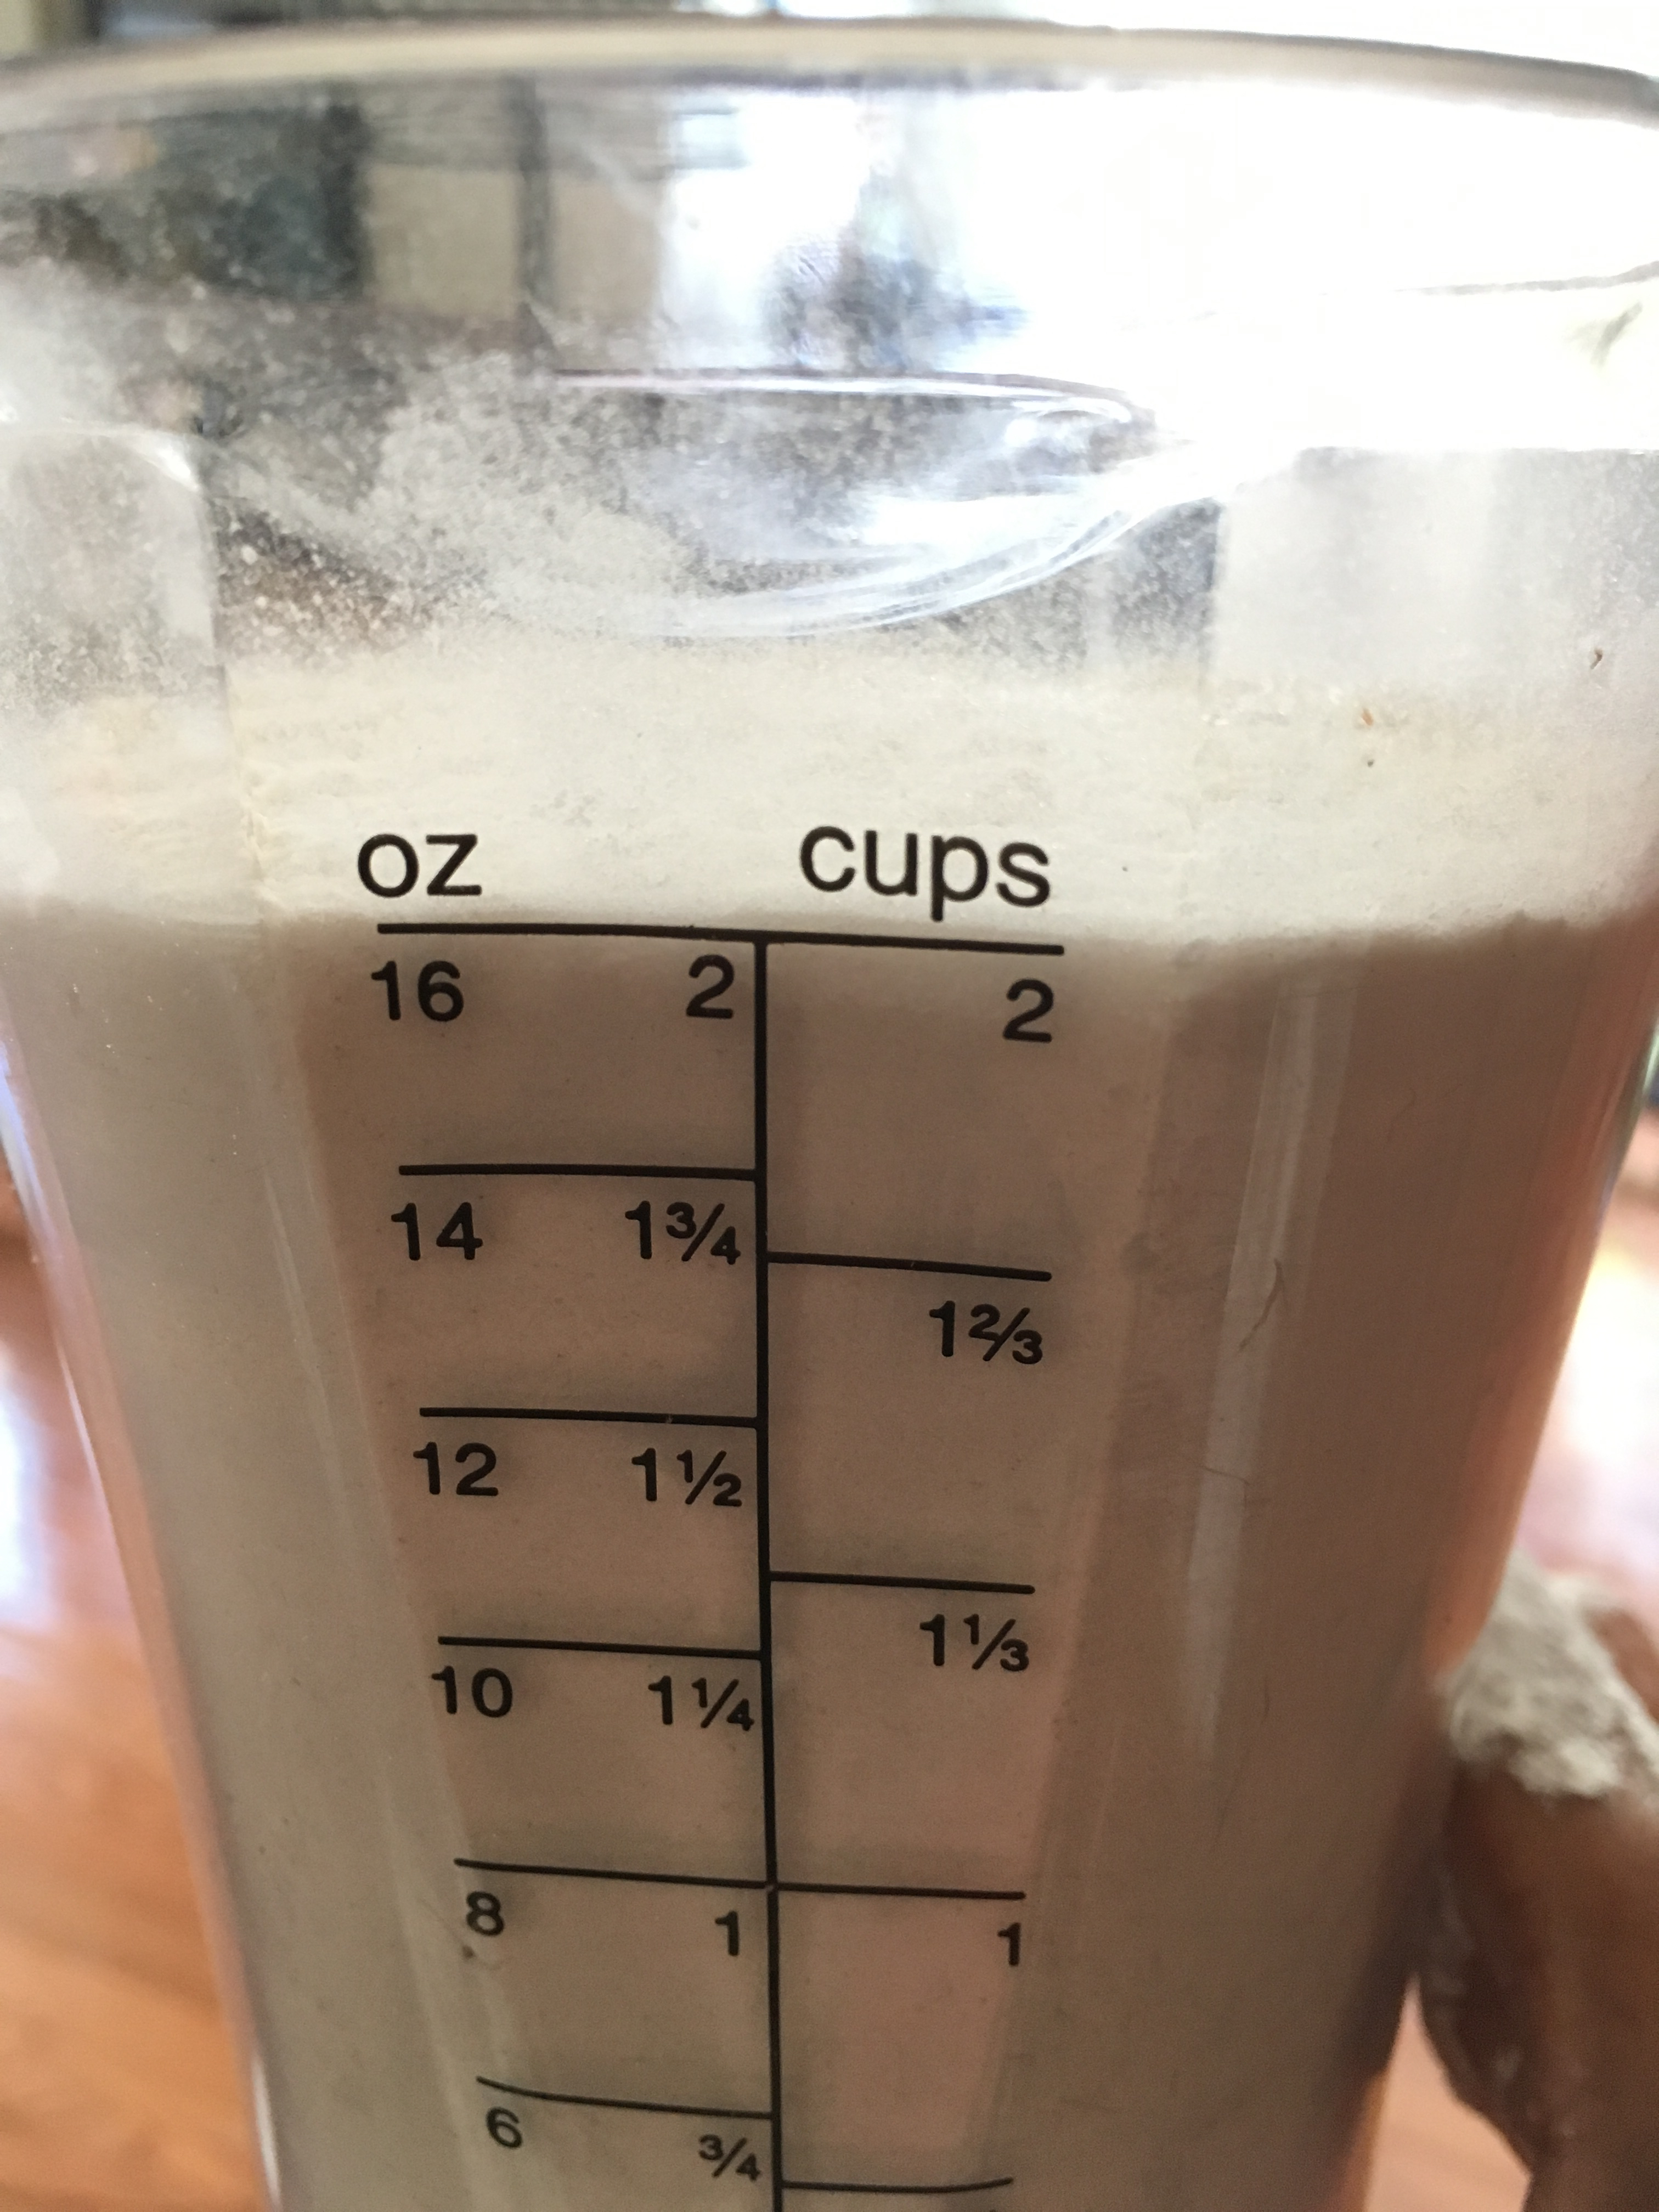
A few tips to getting good bread, is using lukewarm water, and not letting yeast connect with water! And using fresh ingredients helps in keeping the loaf light and spongy! Making bread is more scientific than most other items, so ensure that you use proper liquid measuring cup to get the measurements perfect. Once you get disciplined about this, you will explore all different types of topping and mix-ins, such as cilantro and green chillies, sesame and red pepper, and go creative exploring just one more way to enjoy a warm loaf of bread. You will be thankful that you invested in the bread maker, even though it uses, that much needed cupboard space!
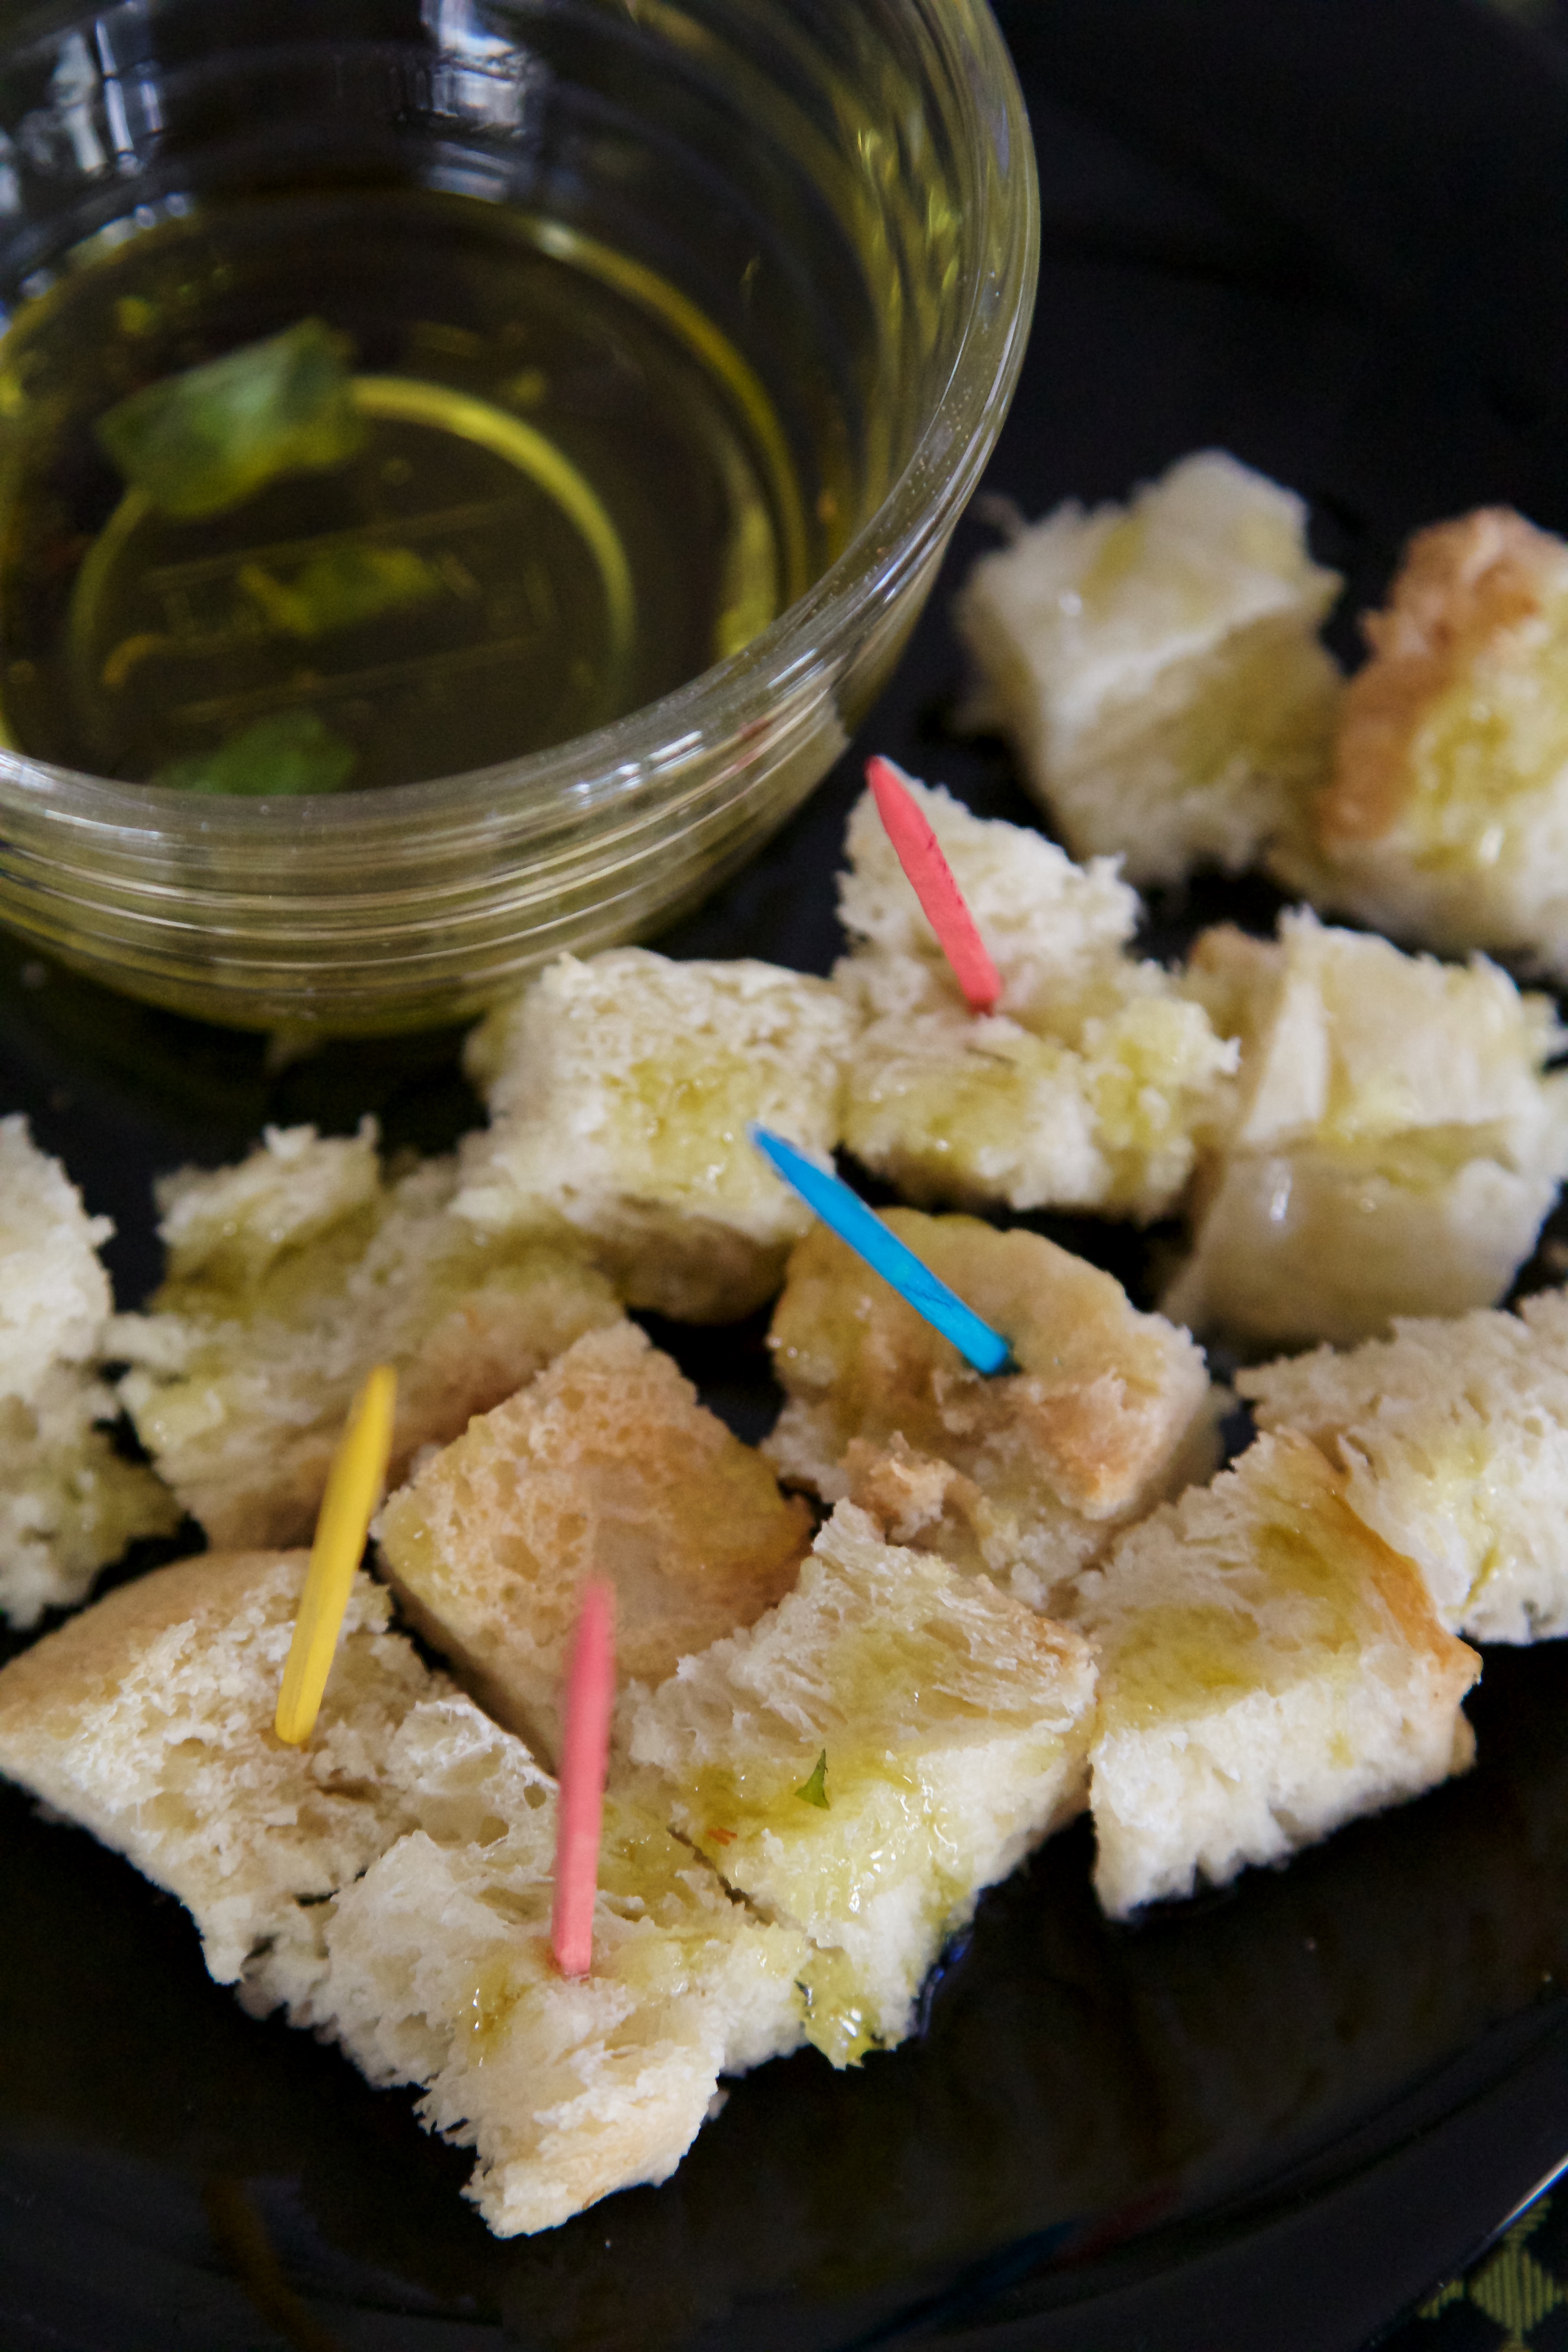
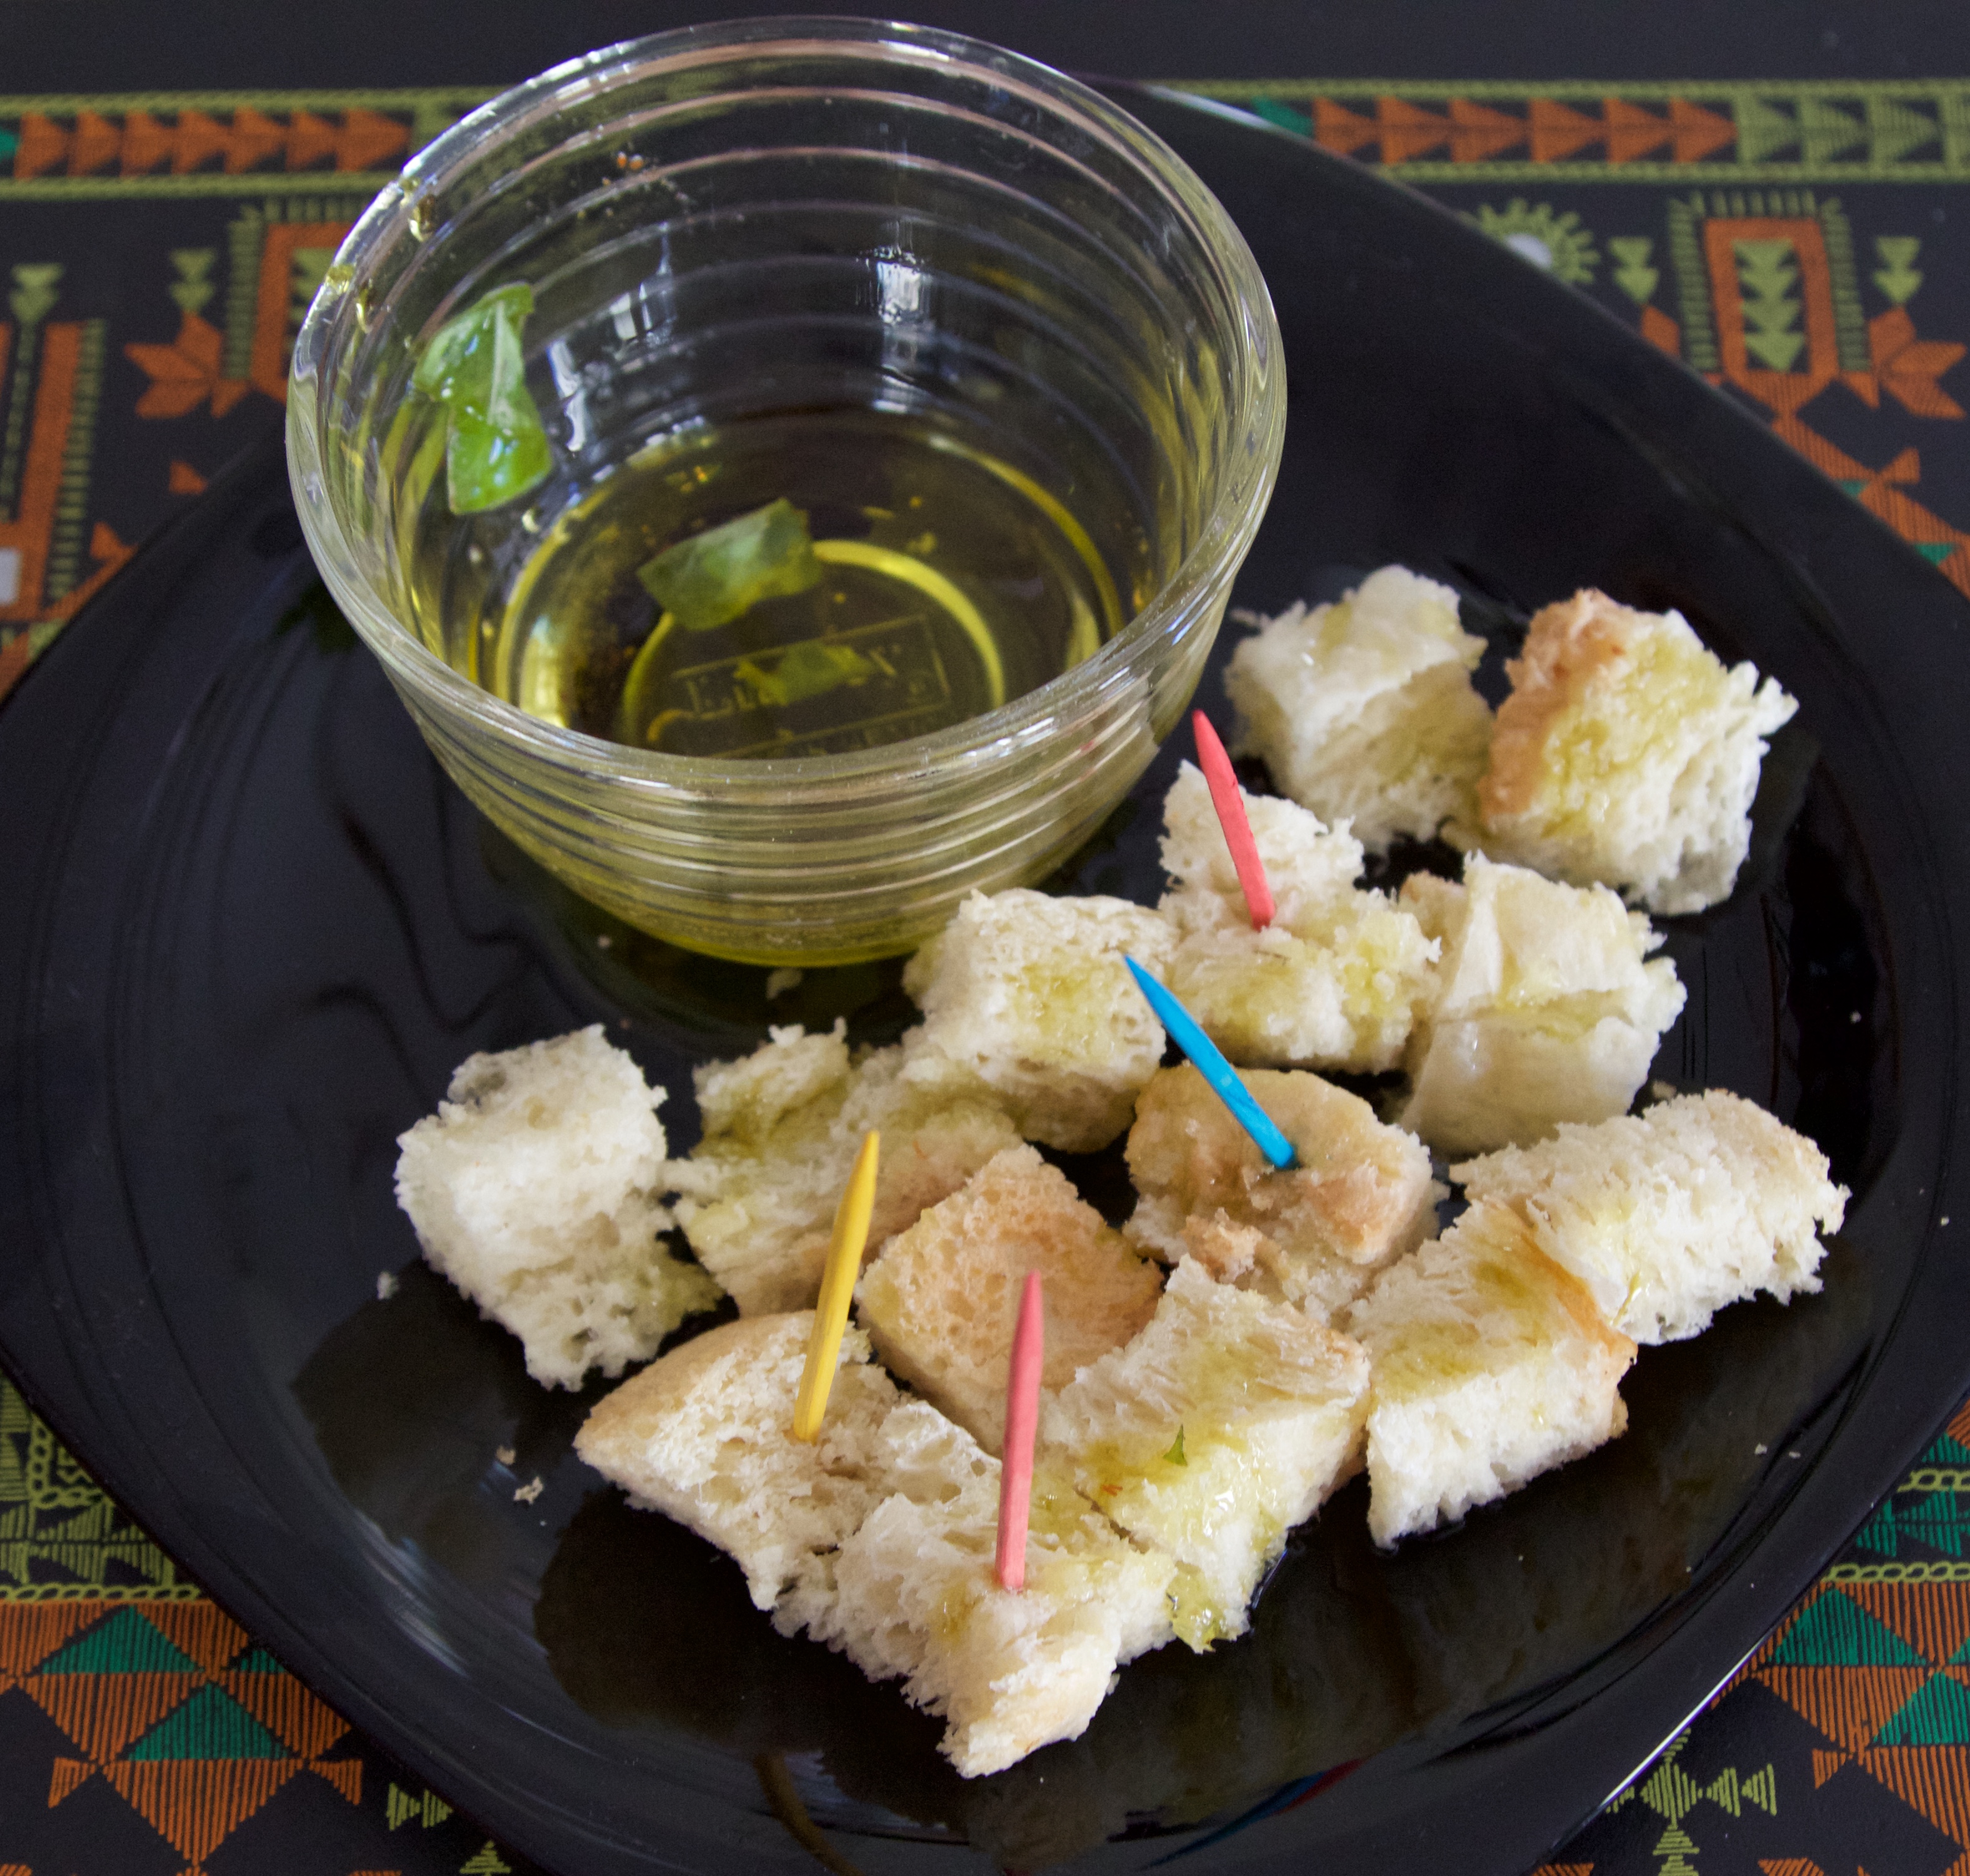
So break bread, as they say, with the people you care and have loads of interesting conversations over with jellies, spreads and oils of your choice. Eating small bits and pieces of warm eggless white bread with olive oil, flavored with basil and red pepper, is just equivalent to having a five star restaurant experience right in your own kitchen! And what is more, use the thick slices to make Panini too!
Eggless White Bread
Recipe makes 2 lb loaf
Cooking time 3:03 minutes
Ingredients
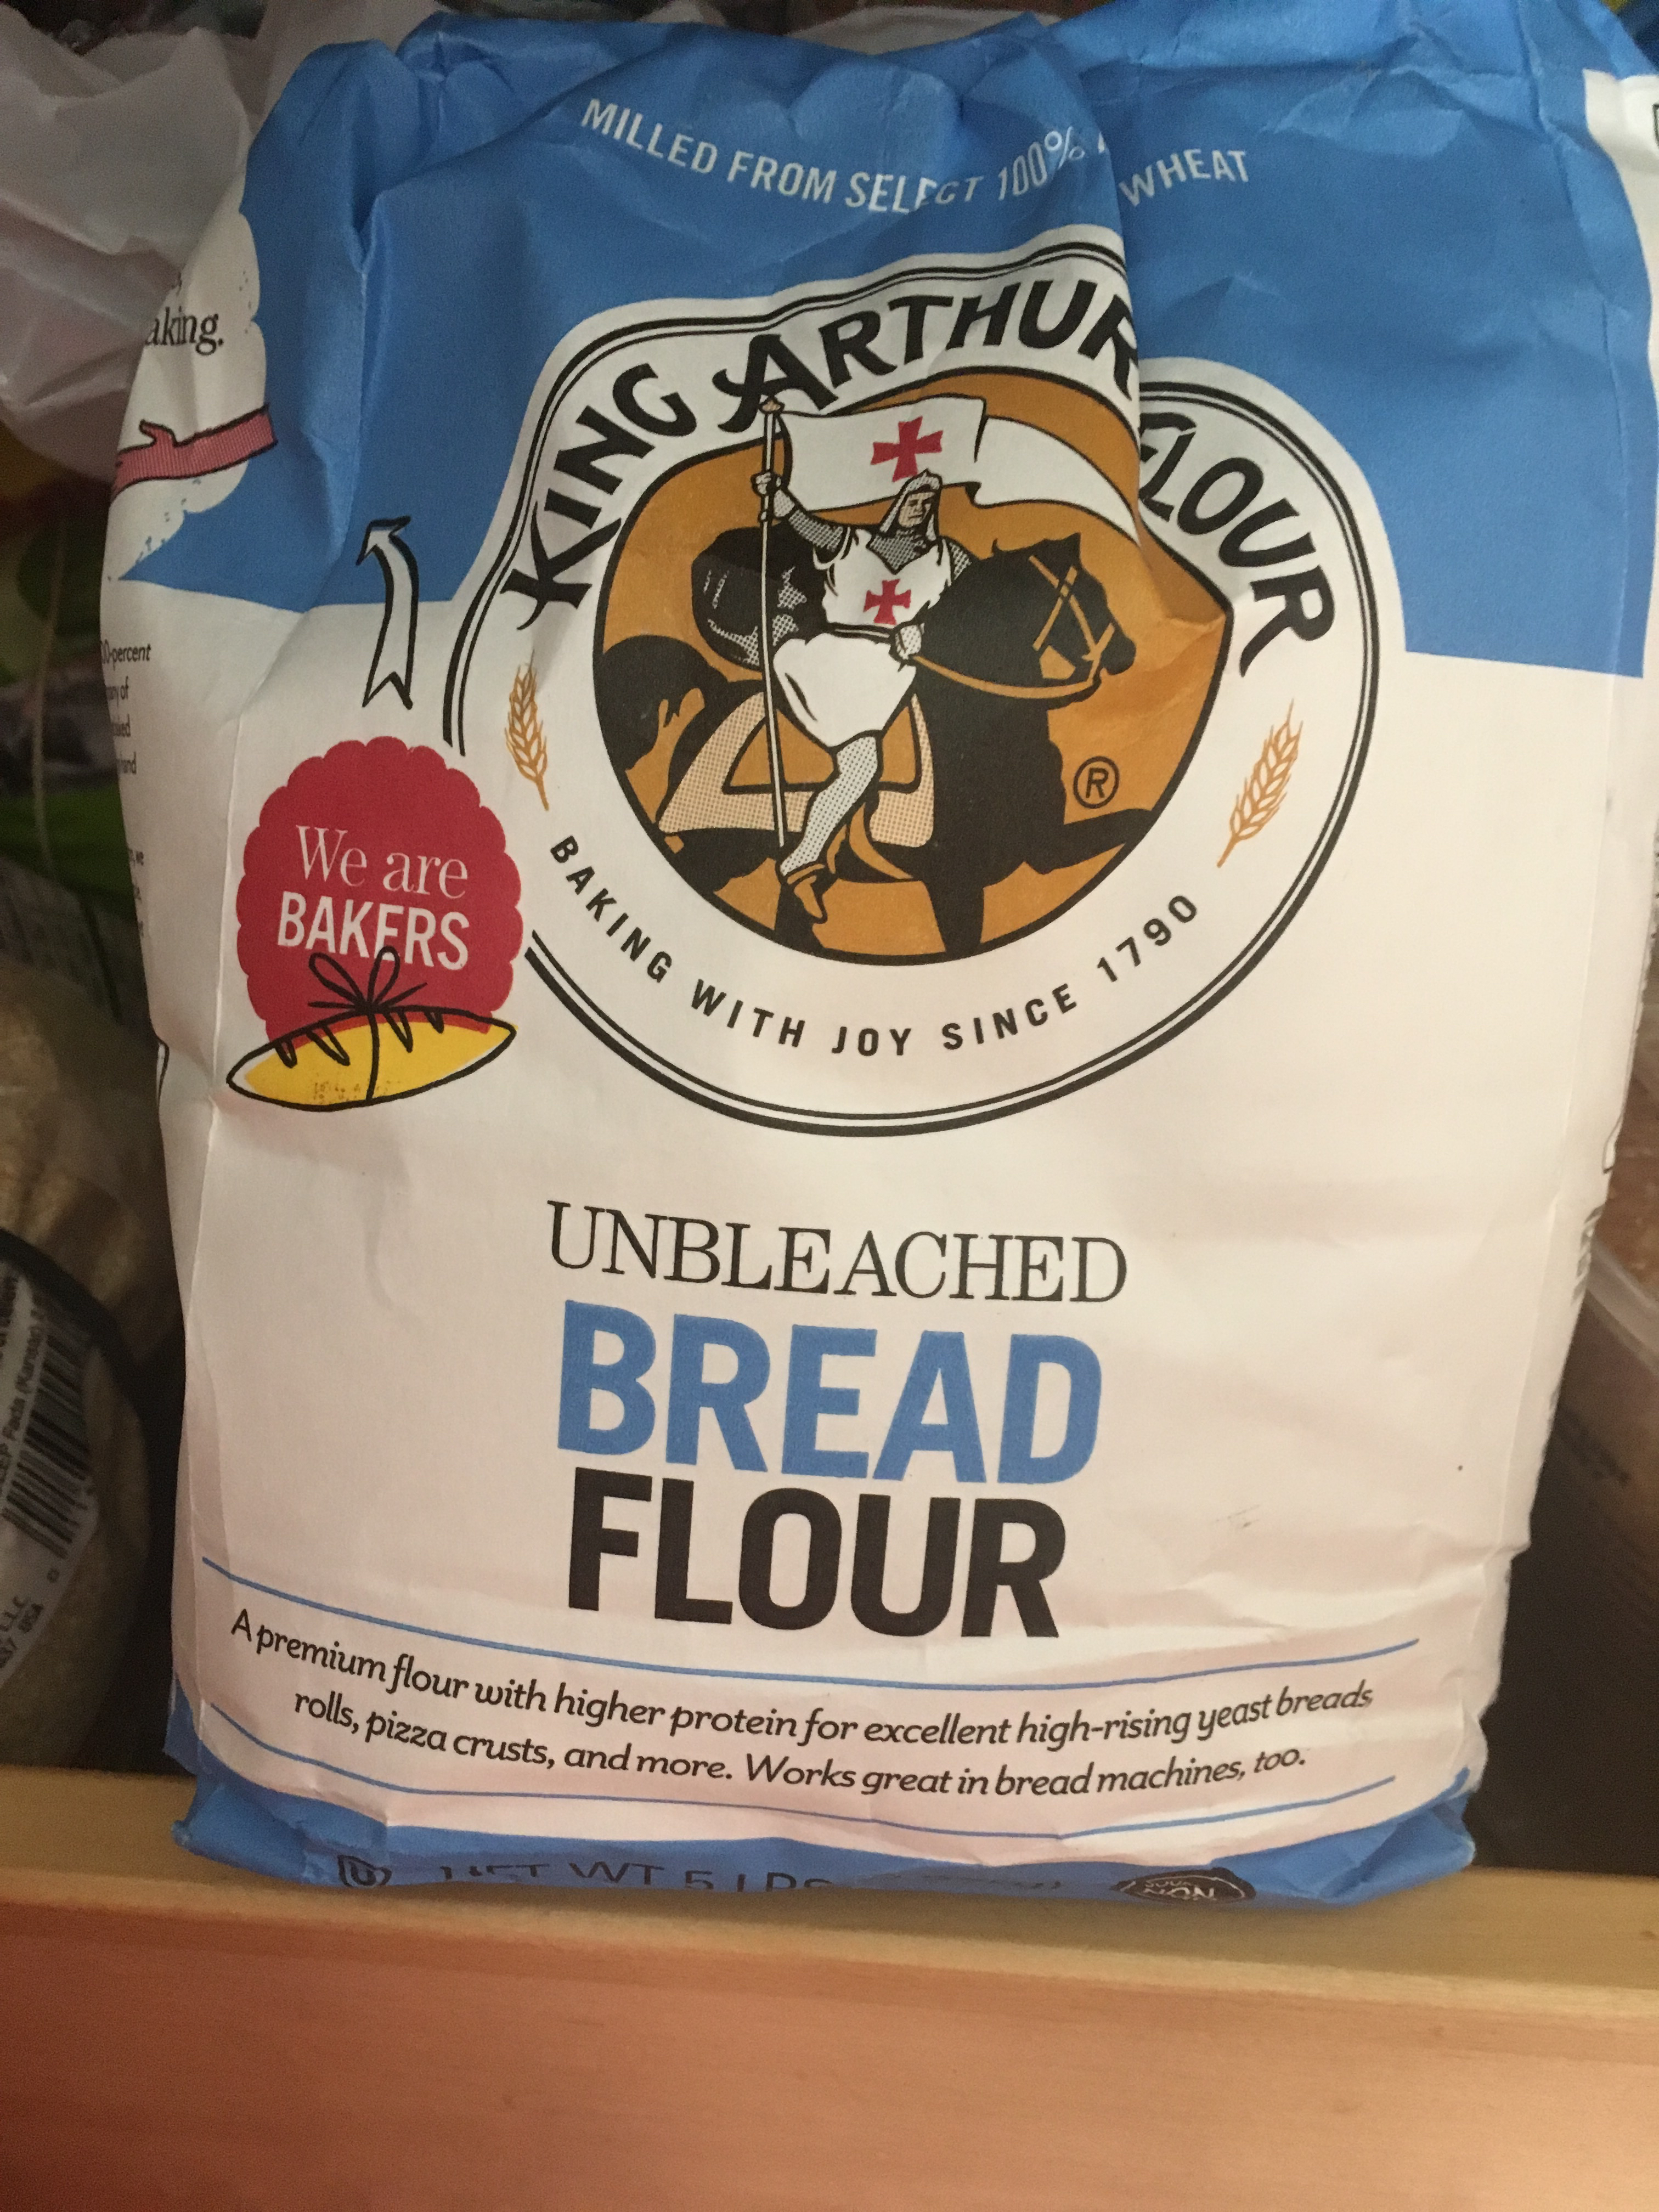
4 cups unbleached bread flour
1 3/8 cup lukewarm water- 1 1/4 cup water plus 2 tbsp water
2 tbsp butter at room temperature
1 tbsp sugar
1 1/4 tsp salt
1 packet Fleischmann’s active dry yeast
2 tbsp whole milk
Method
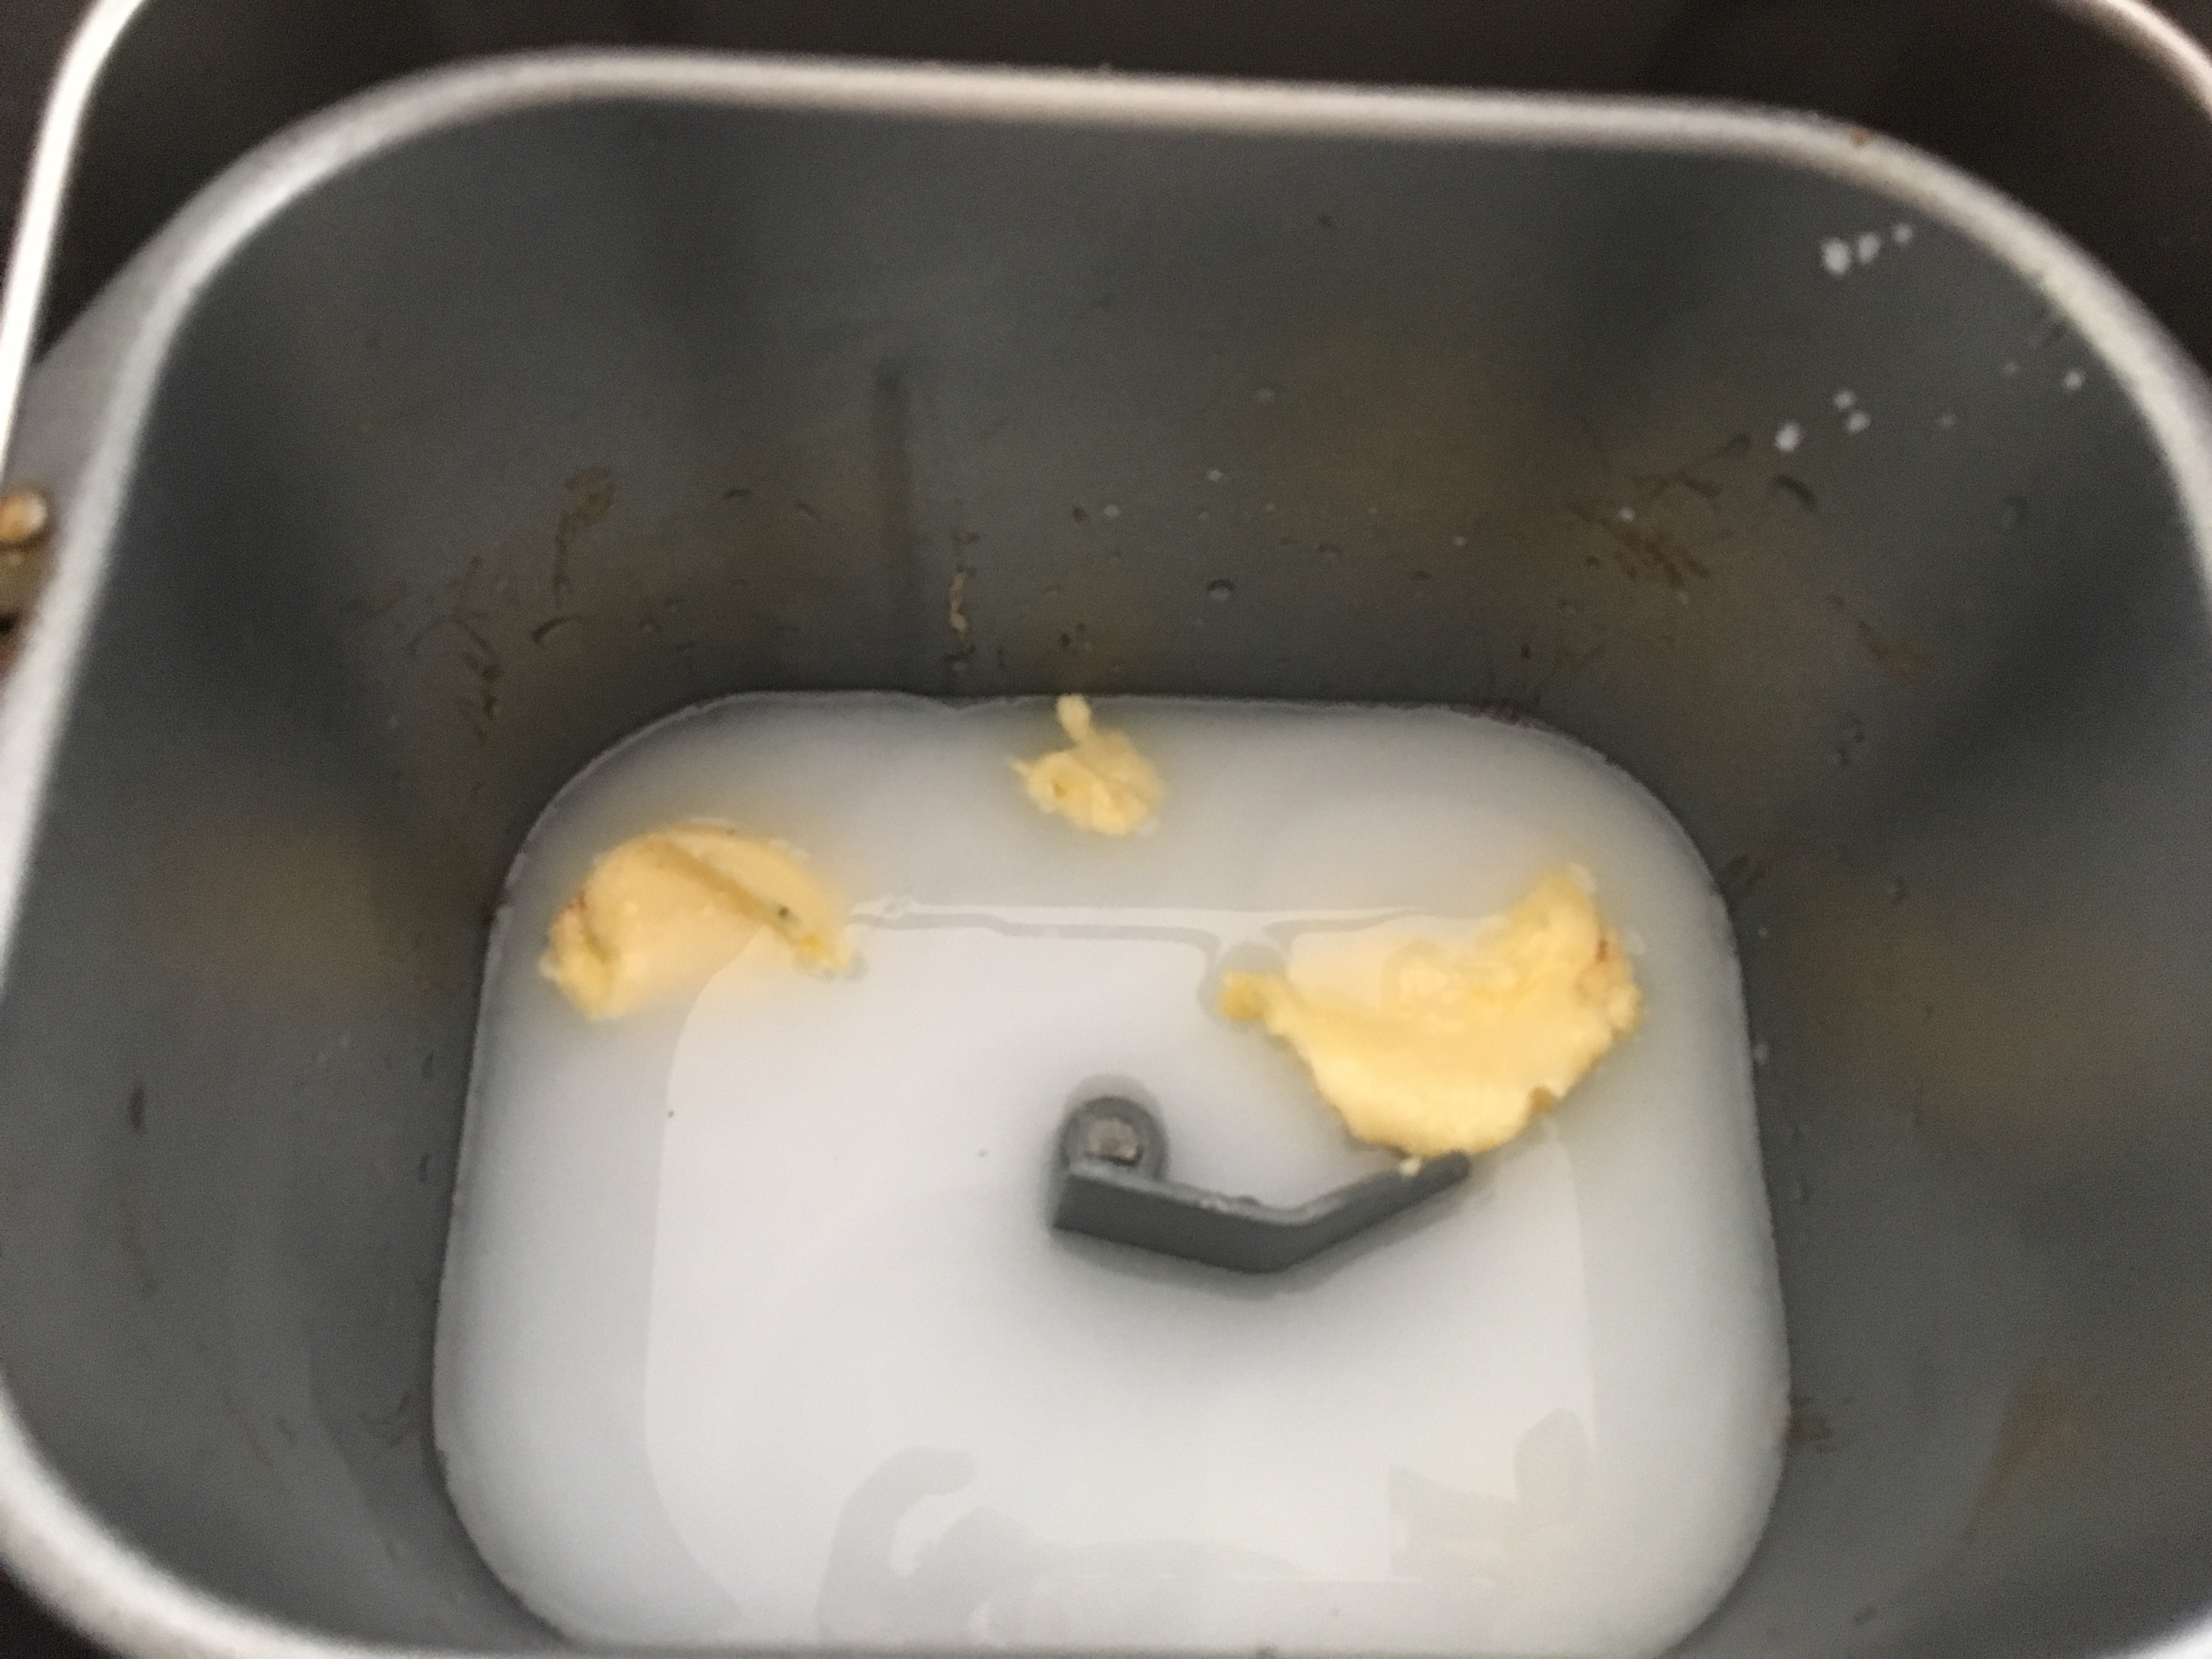
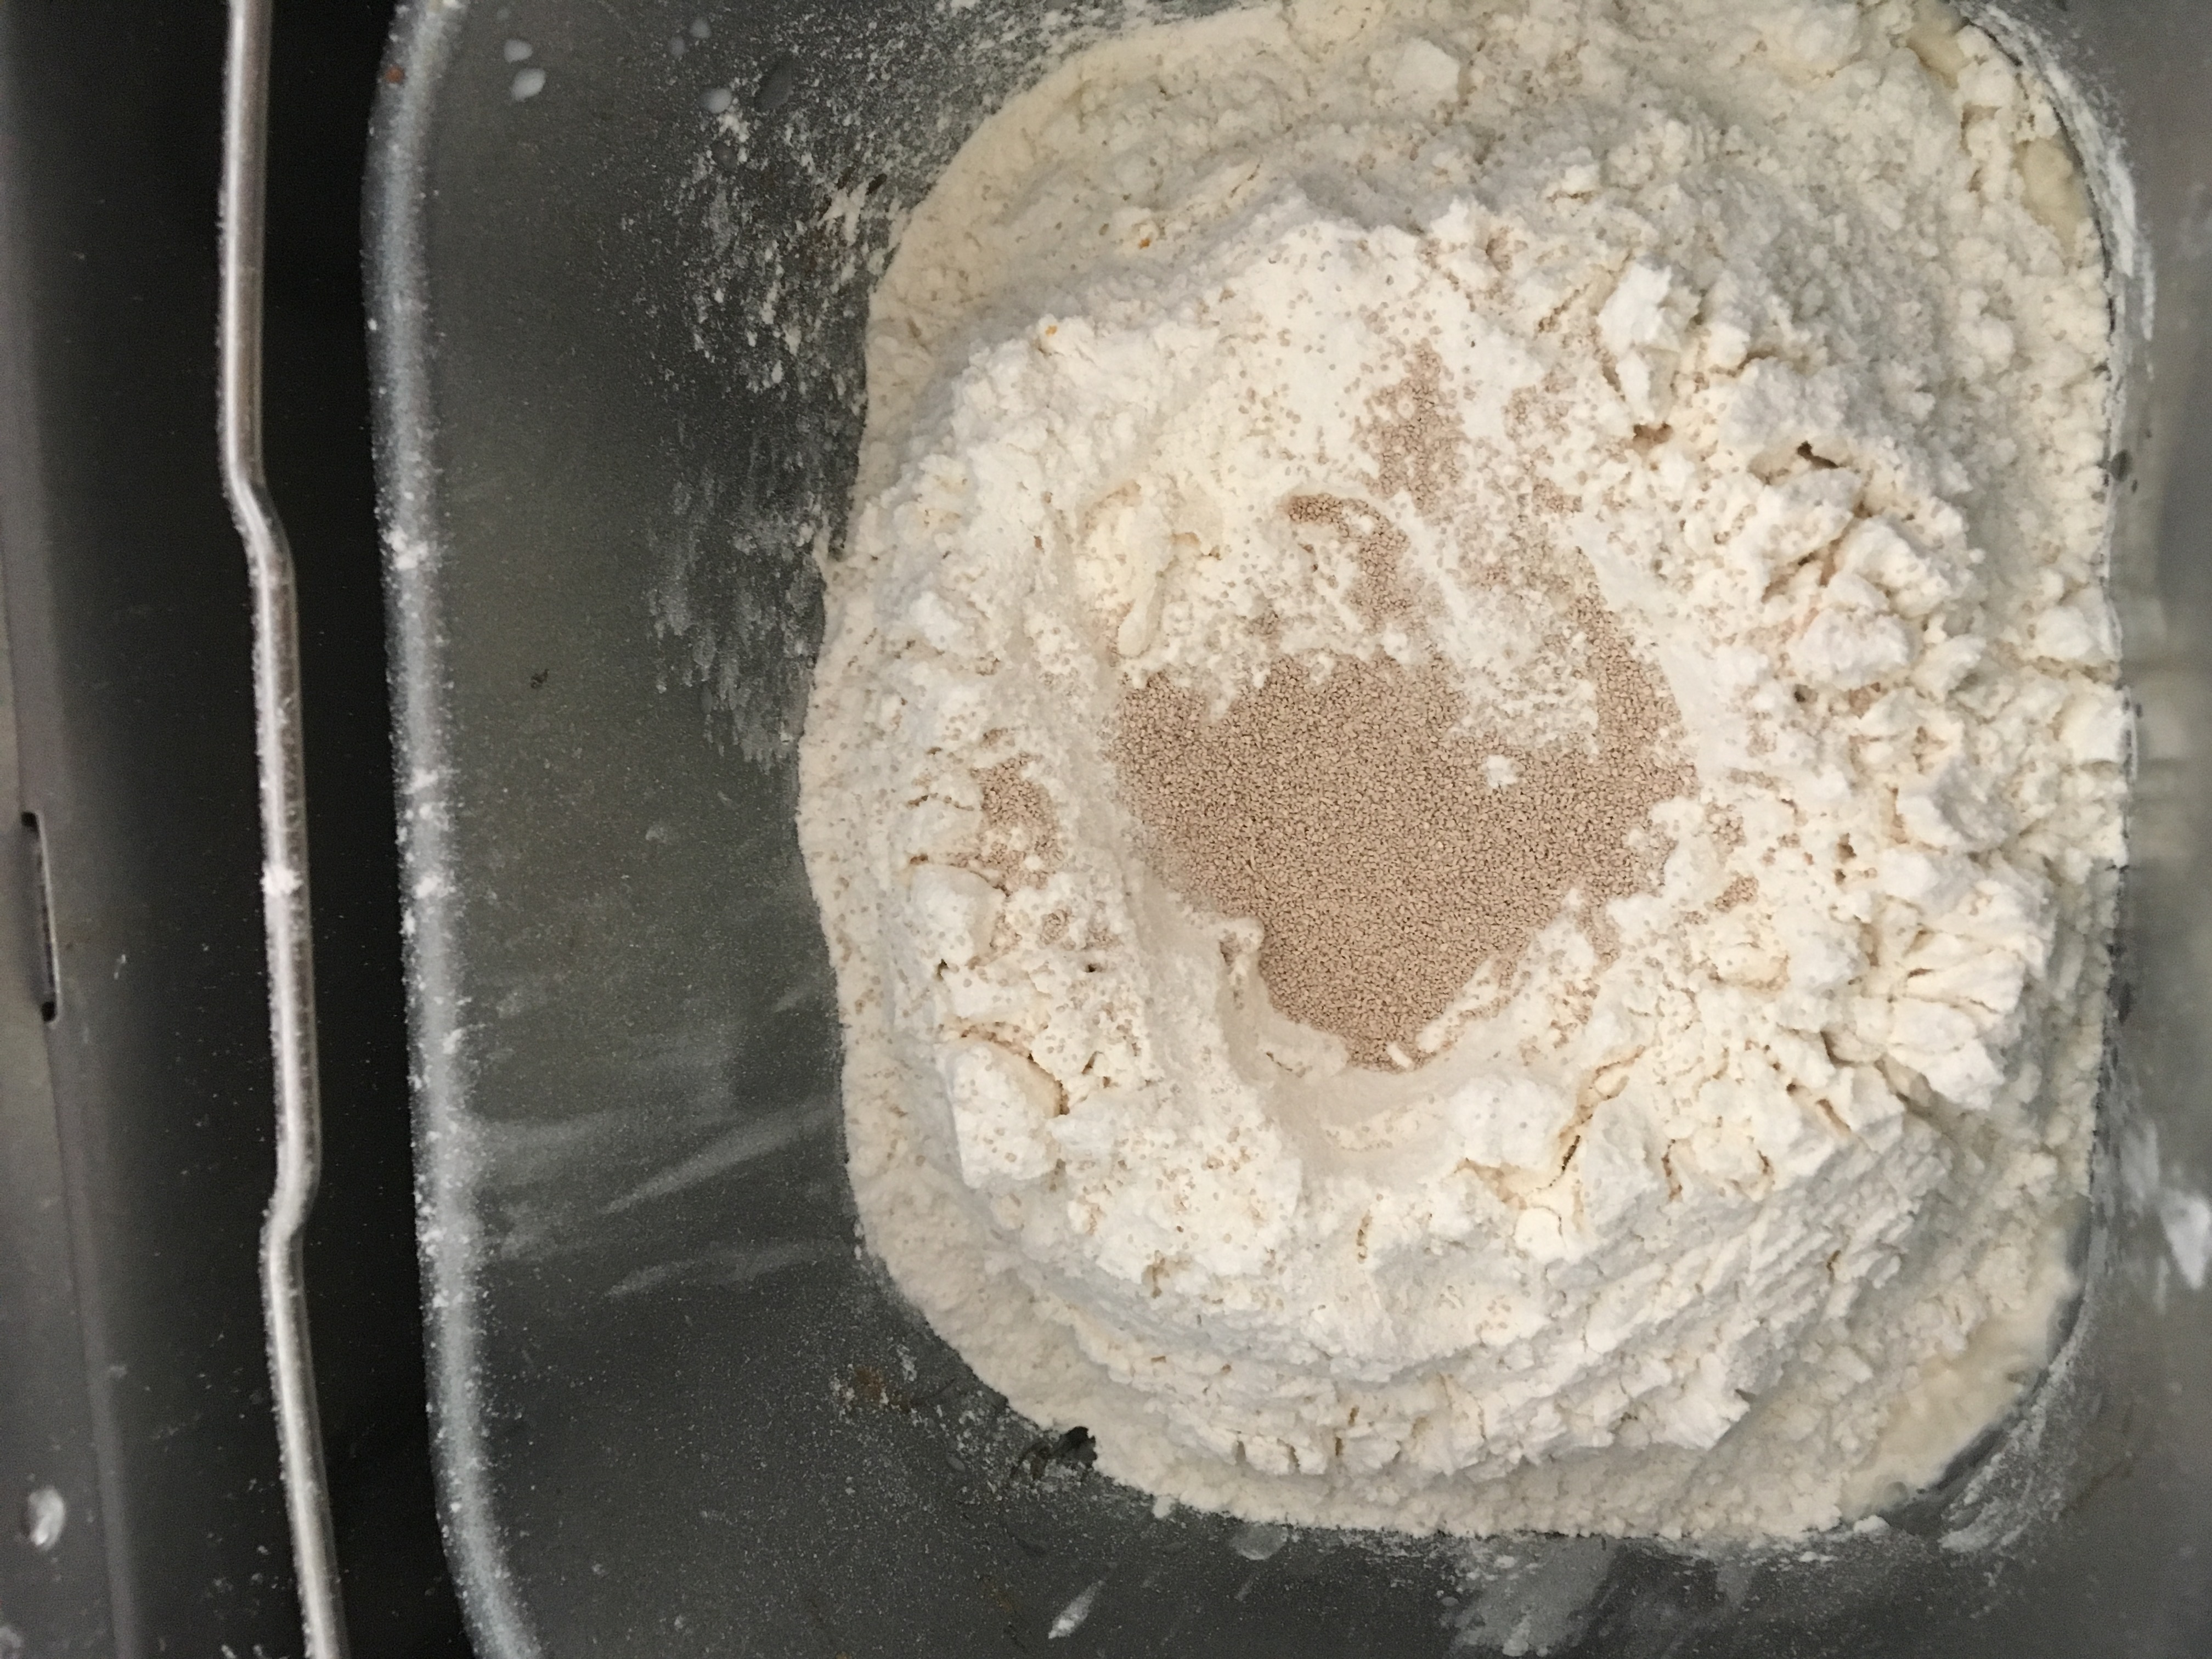
In a bread maker, pour in water, salt, sugar, butter and whole milk in that order.
Add flour on top.
Make a small dent in the middle, without the hole touching the water.
Pour the yeast in the hole, ensuring it does not touch water.
Select the crust type and loaf size and start to bake in the bread maker.
About 25 minutes pre-heat and mix in cycle.
About 45 minutes is the knead cycle
About 60 minutes is the rise cycle
After the rise cycle, remove the kneading blade.
About 90 minutes for bake cycle
Remove from the bread maker to cool
Cut slices and pieces per choice
Enjoy with your condiments, jellies, or olive oil and plain warm bread and butter.
Tips
Use fresh ingredients, watch how you handle yeast and be sure of your measurements!
Instinct Factor
How about trying all recipes in the bread book! But the next step is to see how to substitute yeast with a great alternative! So experiment with baking soda, and I am going to post one with alternative to yeast soon!
Feel Factor
Happy to be baking bread again at home, and plan to continue the momentum! Warm Eggless White Bread is just a pleasure to eat, the texture is soft and crust is light but brown in color and its great to see the bread holes in a bread you made at home! A home made organic bread is way tastier and cheaper than a bread from outside, and the brownie point is the warm fragrant smell in the morning as you come down for your morning tea! With delayed start option, one can always set the time to bake in the night and it is just ready for you, making your morning a very sunny morning every day, specially for people like my father!!
Orange Sorbet, having the color of the sun, is a perfect antidote to beat the summer heat! Its a great recipe to have in your recipe collection for this summer. Officially, the swimming pools have opened today, it being Memorial Day over here, so time to look out for cooling recipes that are quick to make and yum to eat!
Memorial Day is also a day of remembering veterans who have served the USA in its wars. Personally I would like to remember a neighbor of mine in NJ, who was a major inspiration for me to get serious about coming out with a cookbook or something related to cooking. We were having conversations on how many recipes to include in the cookbook and so on and so forth, and then we moved away from there. She recently passed away after fighting bravely against cancer. She was one of the first ones, who I asked to critique my blog, and I was encouraged to receive a thumbs up from her for the voice in my writing! Rest in peace Elizabeth Zibman, and your opinion mattered to me a lot as you were a creative writer and a professor at Rutgers! Your confidence in me, helped me take a step towards creating this blog.
This recipe has been adapted from myrecipes.com as it seemed easy enough for my daughter to make it for her class picnic. The kids thoroughly enjoyed it in the 85 degrees weather, though we should have planned to make it earlier, for it to have a more firmer consistency. The picture in this image was after two days of freezing the same!.
The taste feels like frozen orange-lime juice and its quite nice to have a scoop of it in the mid-afternoon to beat the heat, and replace the normal tea break with a sorbet break! Personally I relish the sorbets more, as I have a soft corner for snow cones and ice golas. So this is a cool, fresh juice based, healthy alternative to the syrup based dessert. I truly liked the size, flavor, color and cooling aspect of this high vitamin C delicious dessert, and will be made more often in summer!
Wishing everyone a great Memorial Day and happy memories of the loved ones gone too soon!
Orange Sorbet
Recipe makes 2 servings for about 24 people
Prep time : 30 min
Cooking time : 10 min
Chilling time : 48 hours
Ingredients
15 medium-big size navel oranges
4 cups water
2 1/2 cups sugar
1/2 cup fresh lemon juice (about 2 medium)
Grated orange rind (optional)
Mint sprigs (optional)
Method
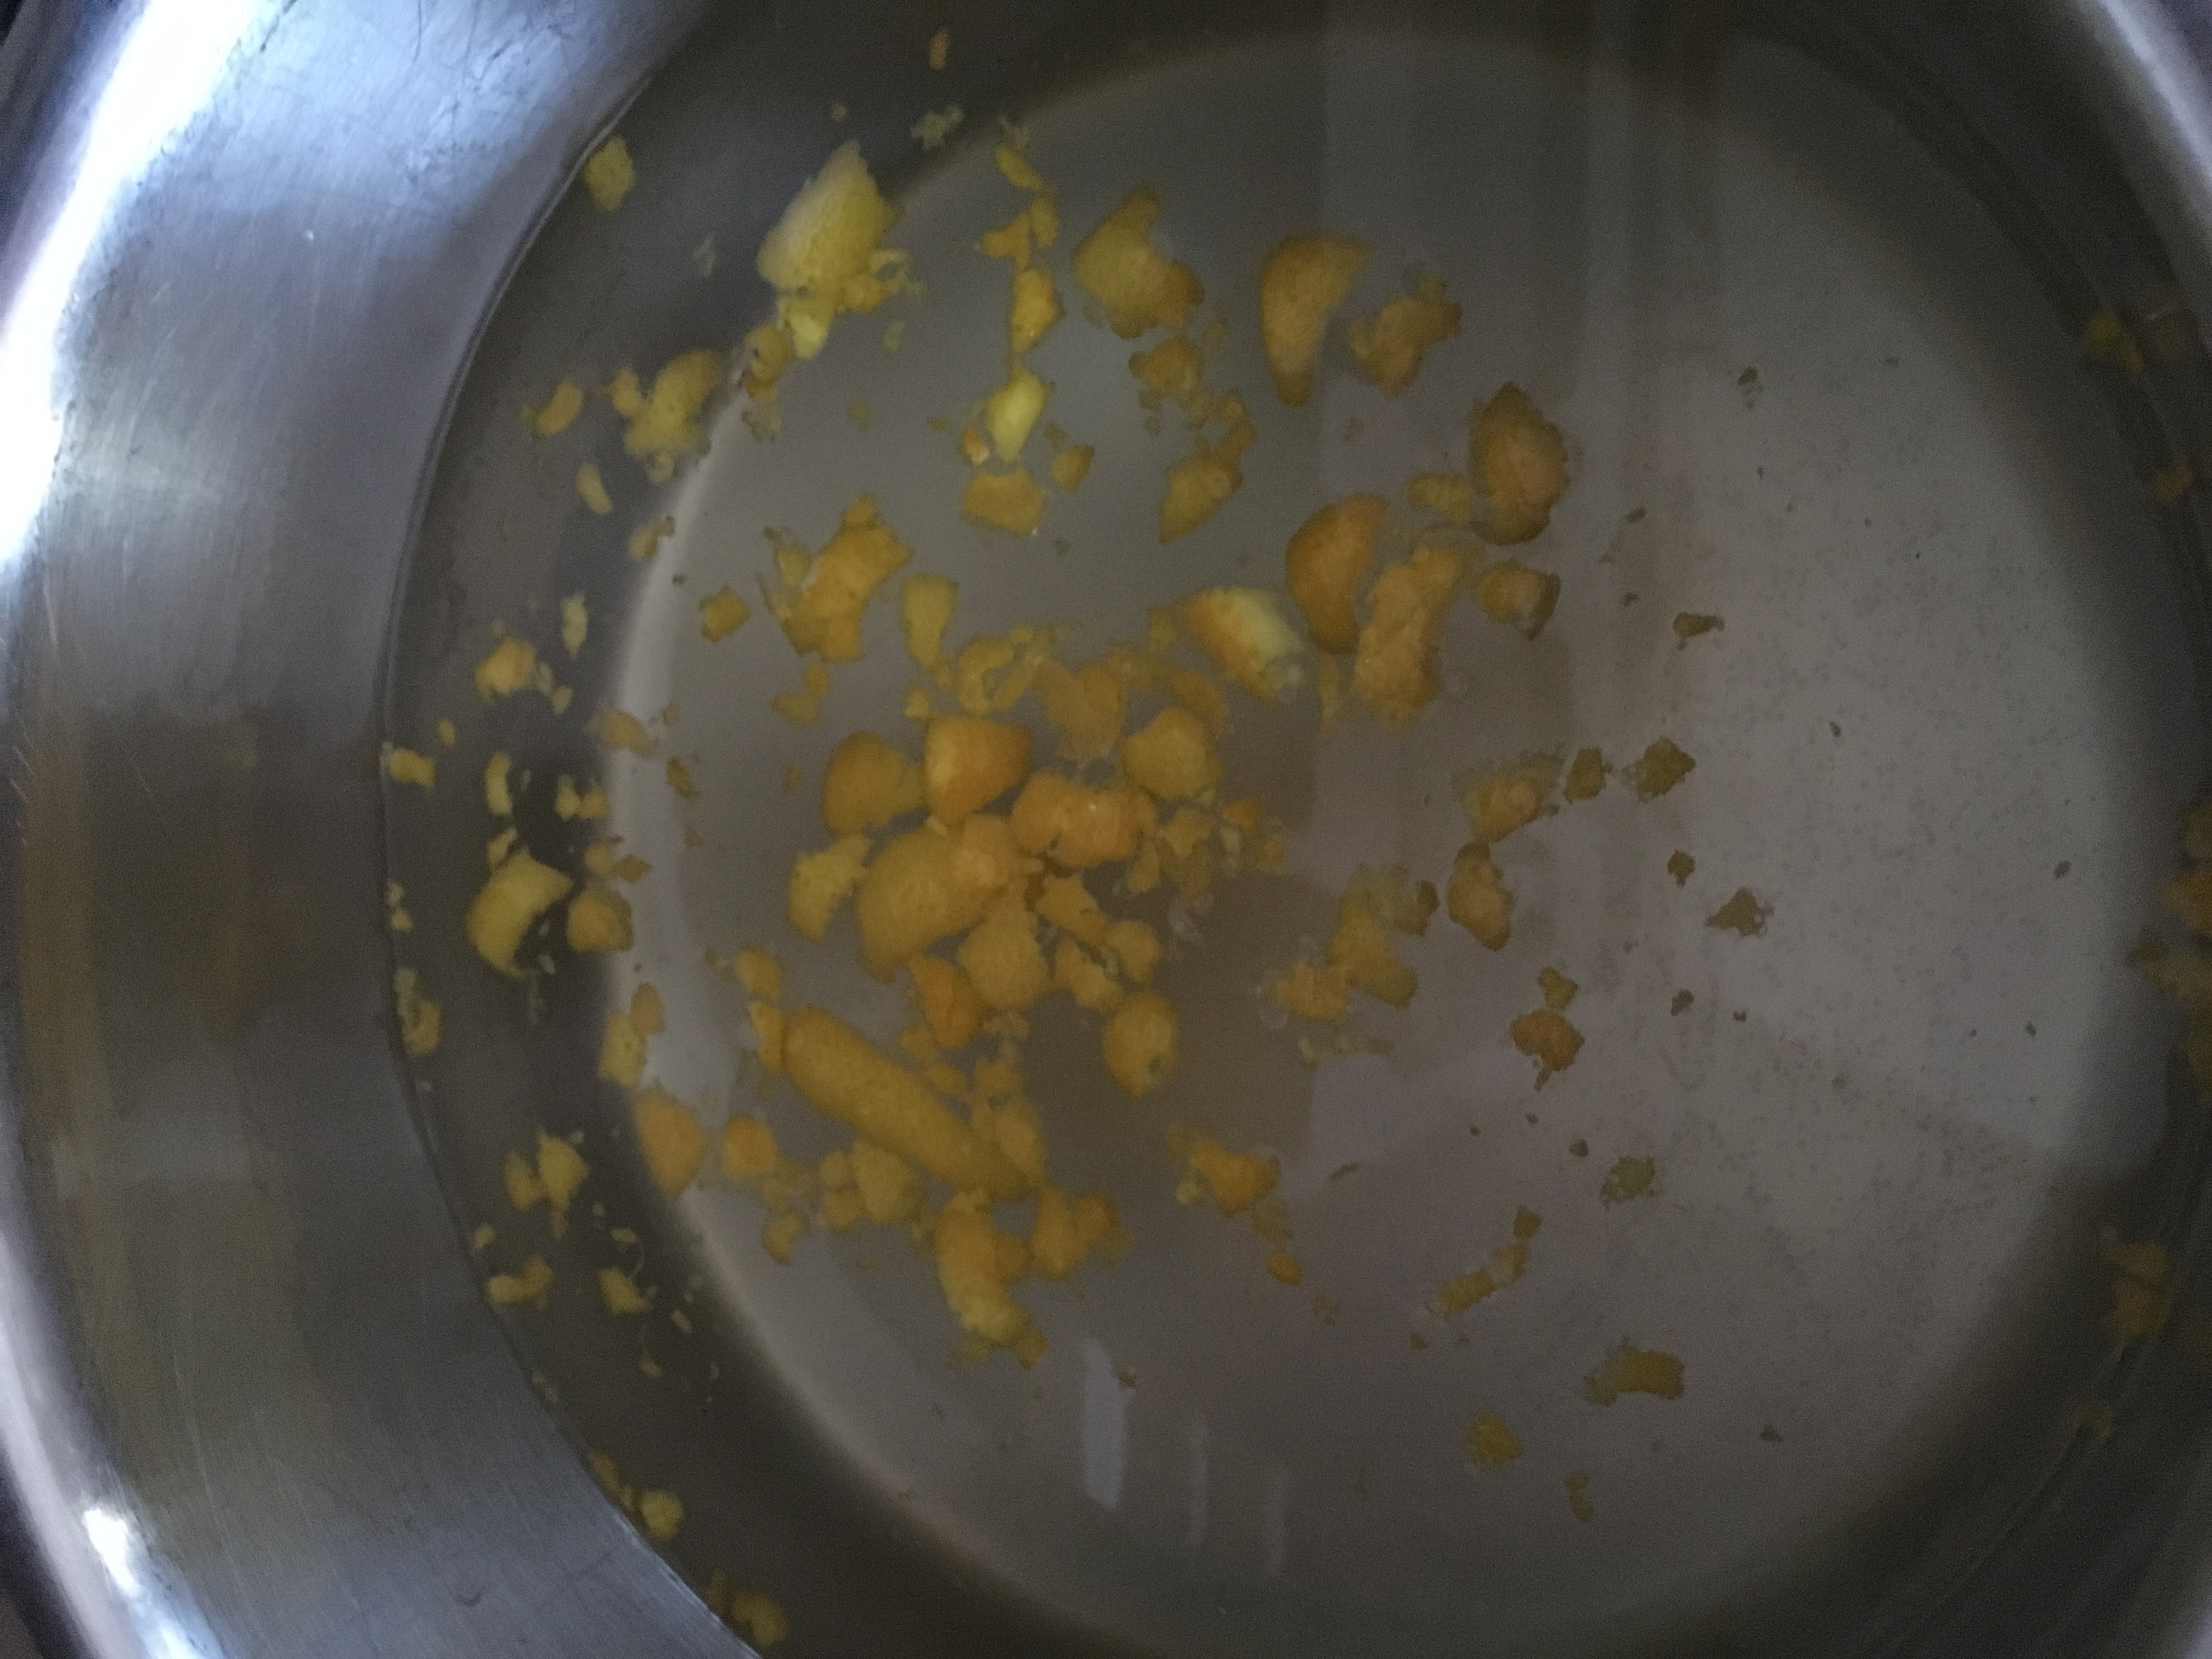
Using a vegetable peeler, lightly remove rind from 1 orange. Cut rind into 1 x ¼-inch-thick strips and grind it a bit in a mortar pestle. This would result into a roughly a tbsp of rind.
Peel the oranges and extract juices from them, roughly resulting in about 6 cups of orange juice.
Combine water and sugar in a small saucepan; bring to a boil. Add rind strips to pan. Reduce heat; simmer for 8-10 minutes. Strain sugar mixture through a sieve over a bowl, reserving liquid; discard solids. Cool completely.
Add orange juice and lemon juice to sugar mixture; stir well.
Pour mixture into the freezer can of a tabletop ice-cream freezer; freeze according to manufacturer’s instructions.
Spoon sorbet into a freezer-safe container; cover and freeze for about 2 days until firm.
Scoop the sorbet and garnish with mint sprigs, if desired and add grated rind as topping if so desired. Here, we did not go with either of them.
Tips
You can try this with ready orange juice in the market, but in that case, reduce the water quantity by a cup and and use two cups of sugar. There might be a slight taste variation, but will prove to be a much quicker way of going about it. Also taste the sugar content before freezing.
Instinct Factor
If you see the juice underneath the top layer, freeze some more.
When you scoop the sorbet, leave it out for 5-7 minutes room temperature, so that it softens a bit for you to scoop nice rounds. Otherwise it will have a brittle crunch feel. And to get perfect rounds, scrape 3-4 times over to make one nice round scoop of sorbet! After all looks do matter when serving!!
Feel Factor
Cool. colorful, healthy, beat the heat, with this easy sorbet recipe, that even a teenager can make! So how about having some sorbet stands this summer instead of the lemonade stands, and earn some good pocket money! Colorful sprigs of mint and orange rind will give additional edge to this delicious cool recipe! Any snow cone and Ice Gola lovers, please make a note of this wonderful sorbet and enjoy the summer!
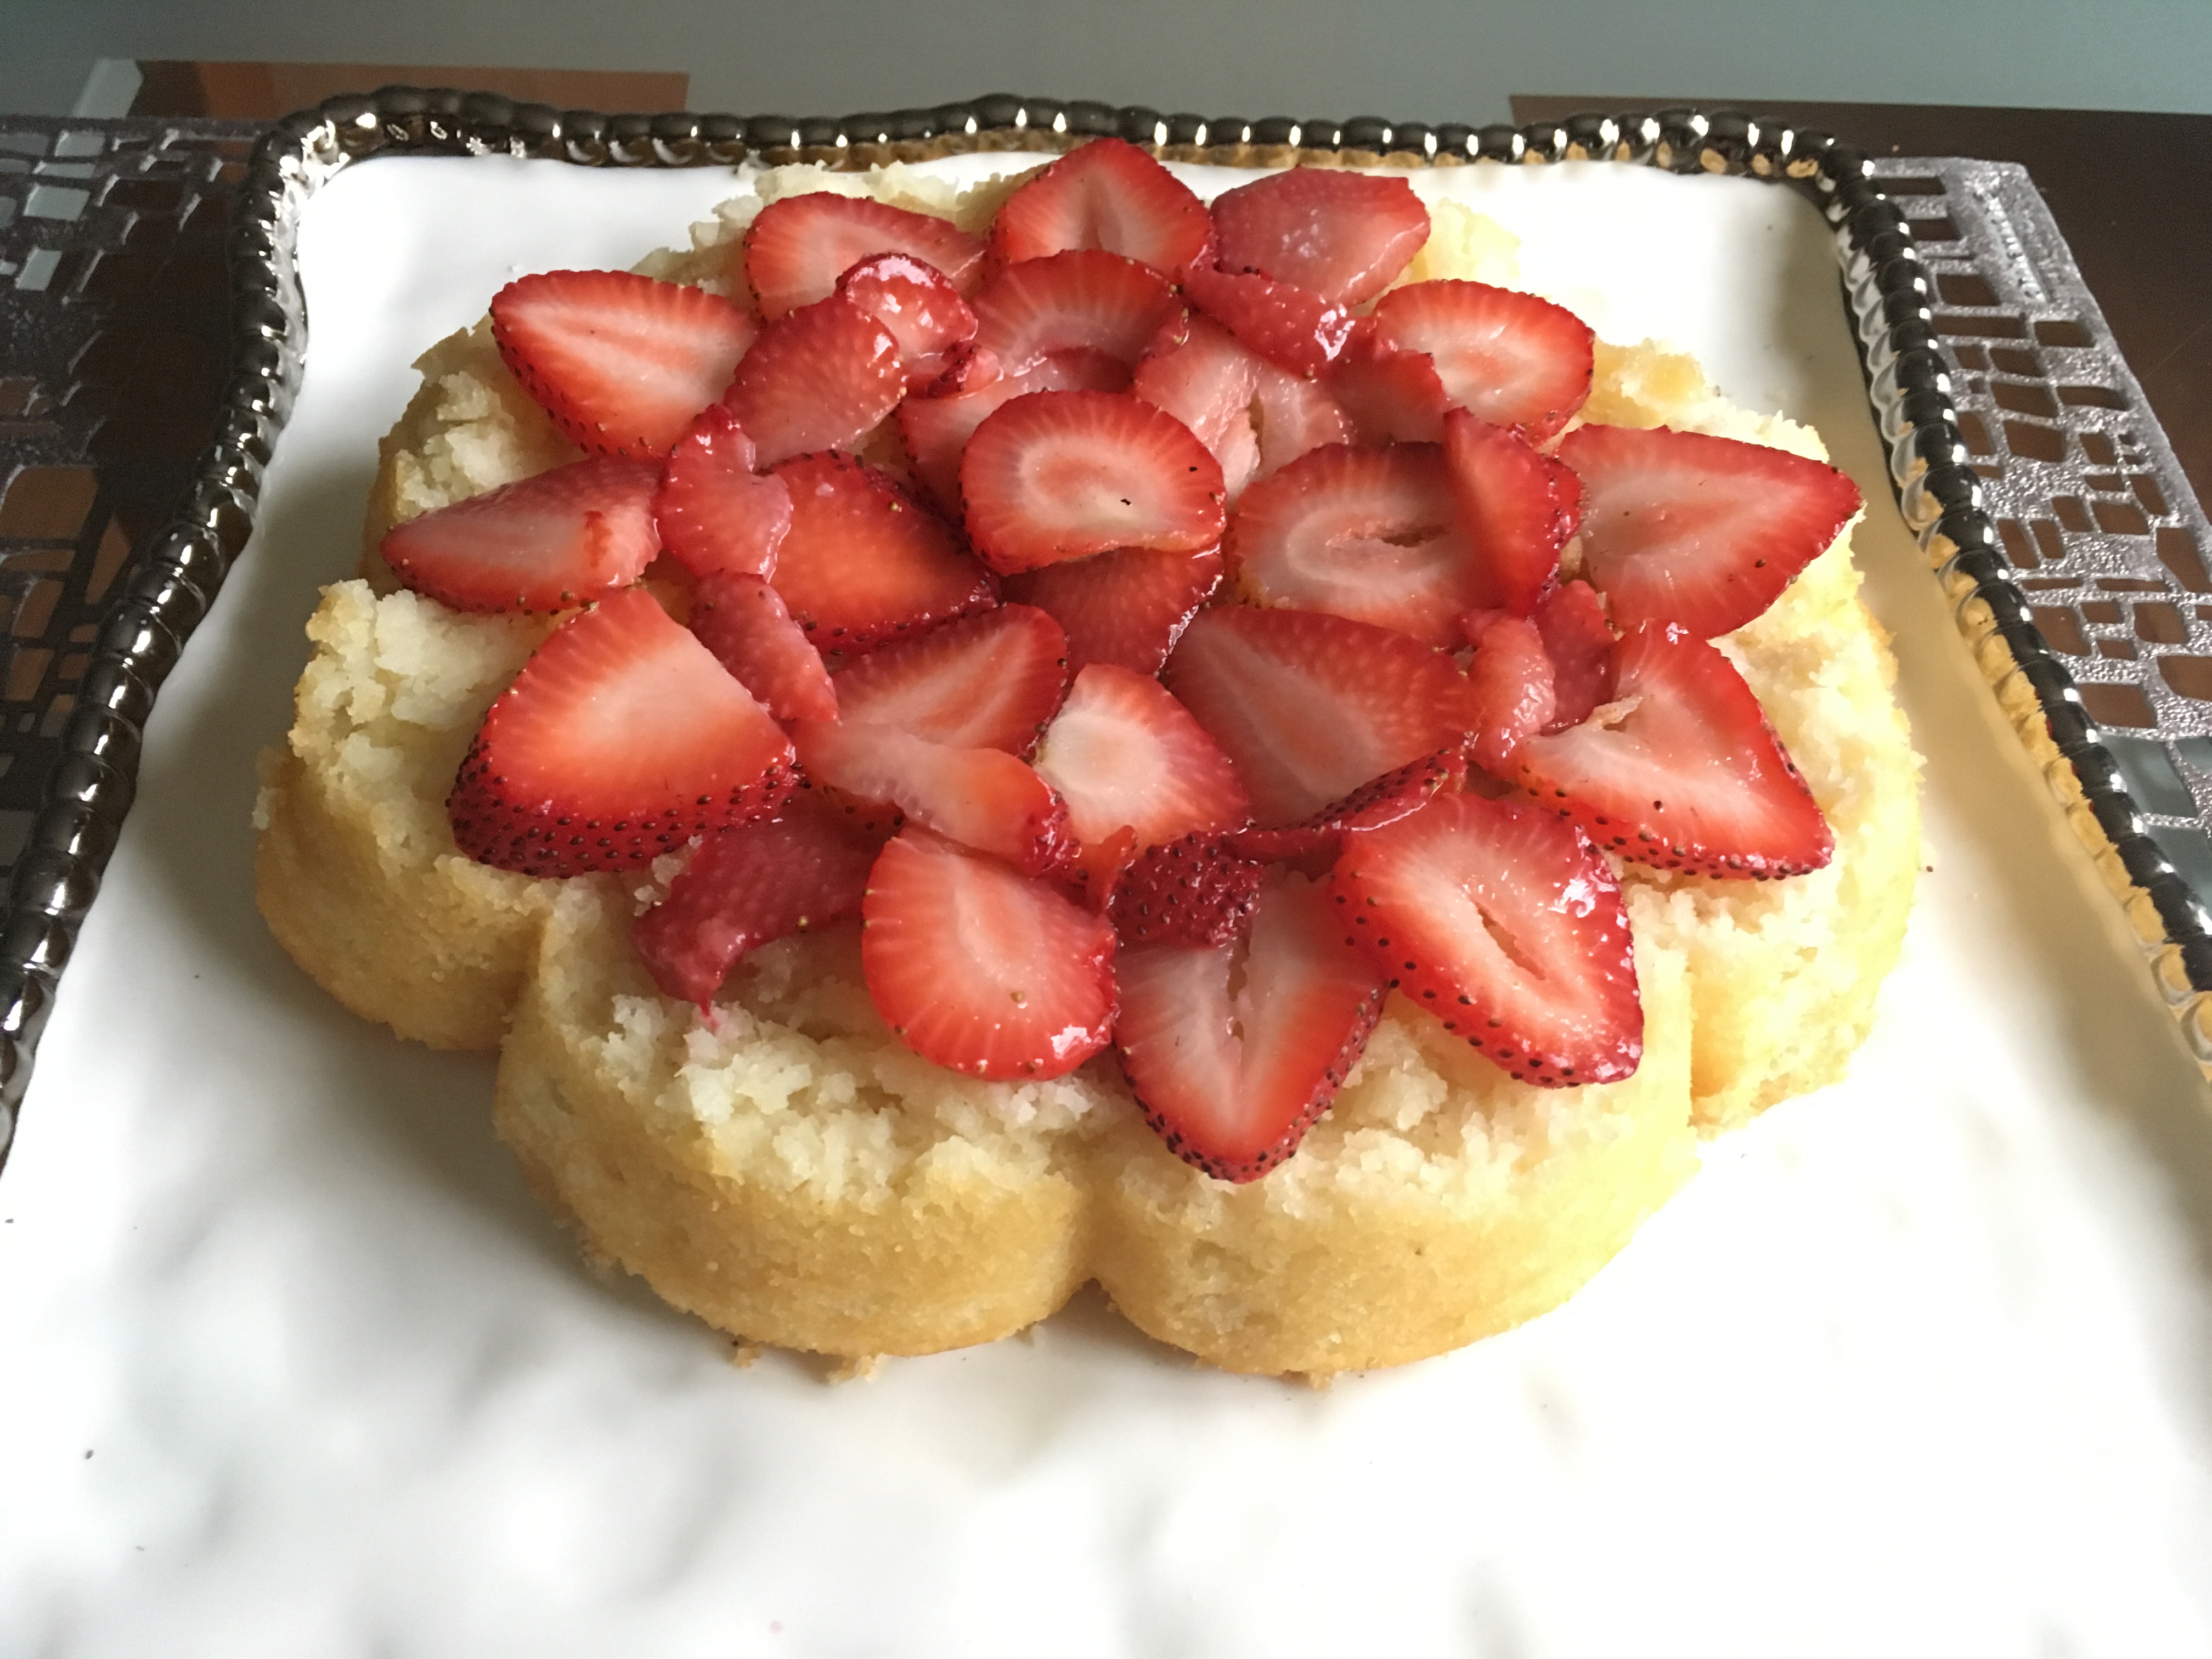
Mother’s day provided a great opportunity to try gluten free recipe of Almond Coconut Eggless Cake with Strawberries, that has delicious almond and coconut flour as its base and topped with the fresh strawberries. Something that I had almost a year back, was now being re created in my kitchen, with the recipe of my master chef neighbor who takes special extra care to make eggless recipes for me, since he knows that I prefer not to consume egg based products. Love thy neighbor in true sense over here!!
The almons in this recipe reminded me of another great diamond shaped dessert, Almond Katli from India. it. Coconut flour gives it a nice dense texture, and the look of red strawberries over a beige/cream cake base is quite attractive. This being a fruit topped cake, it is much simpler and quicker to make.
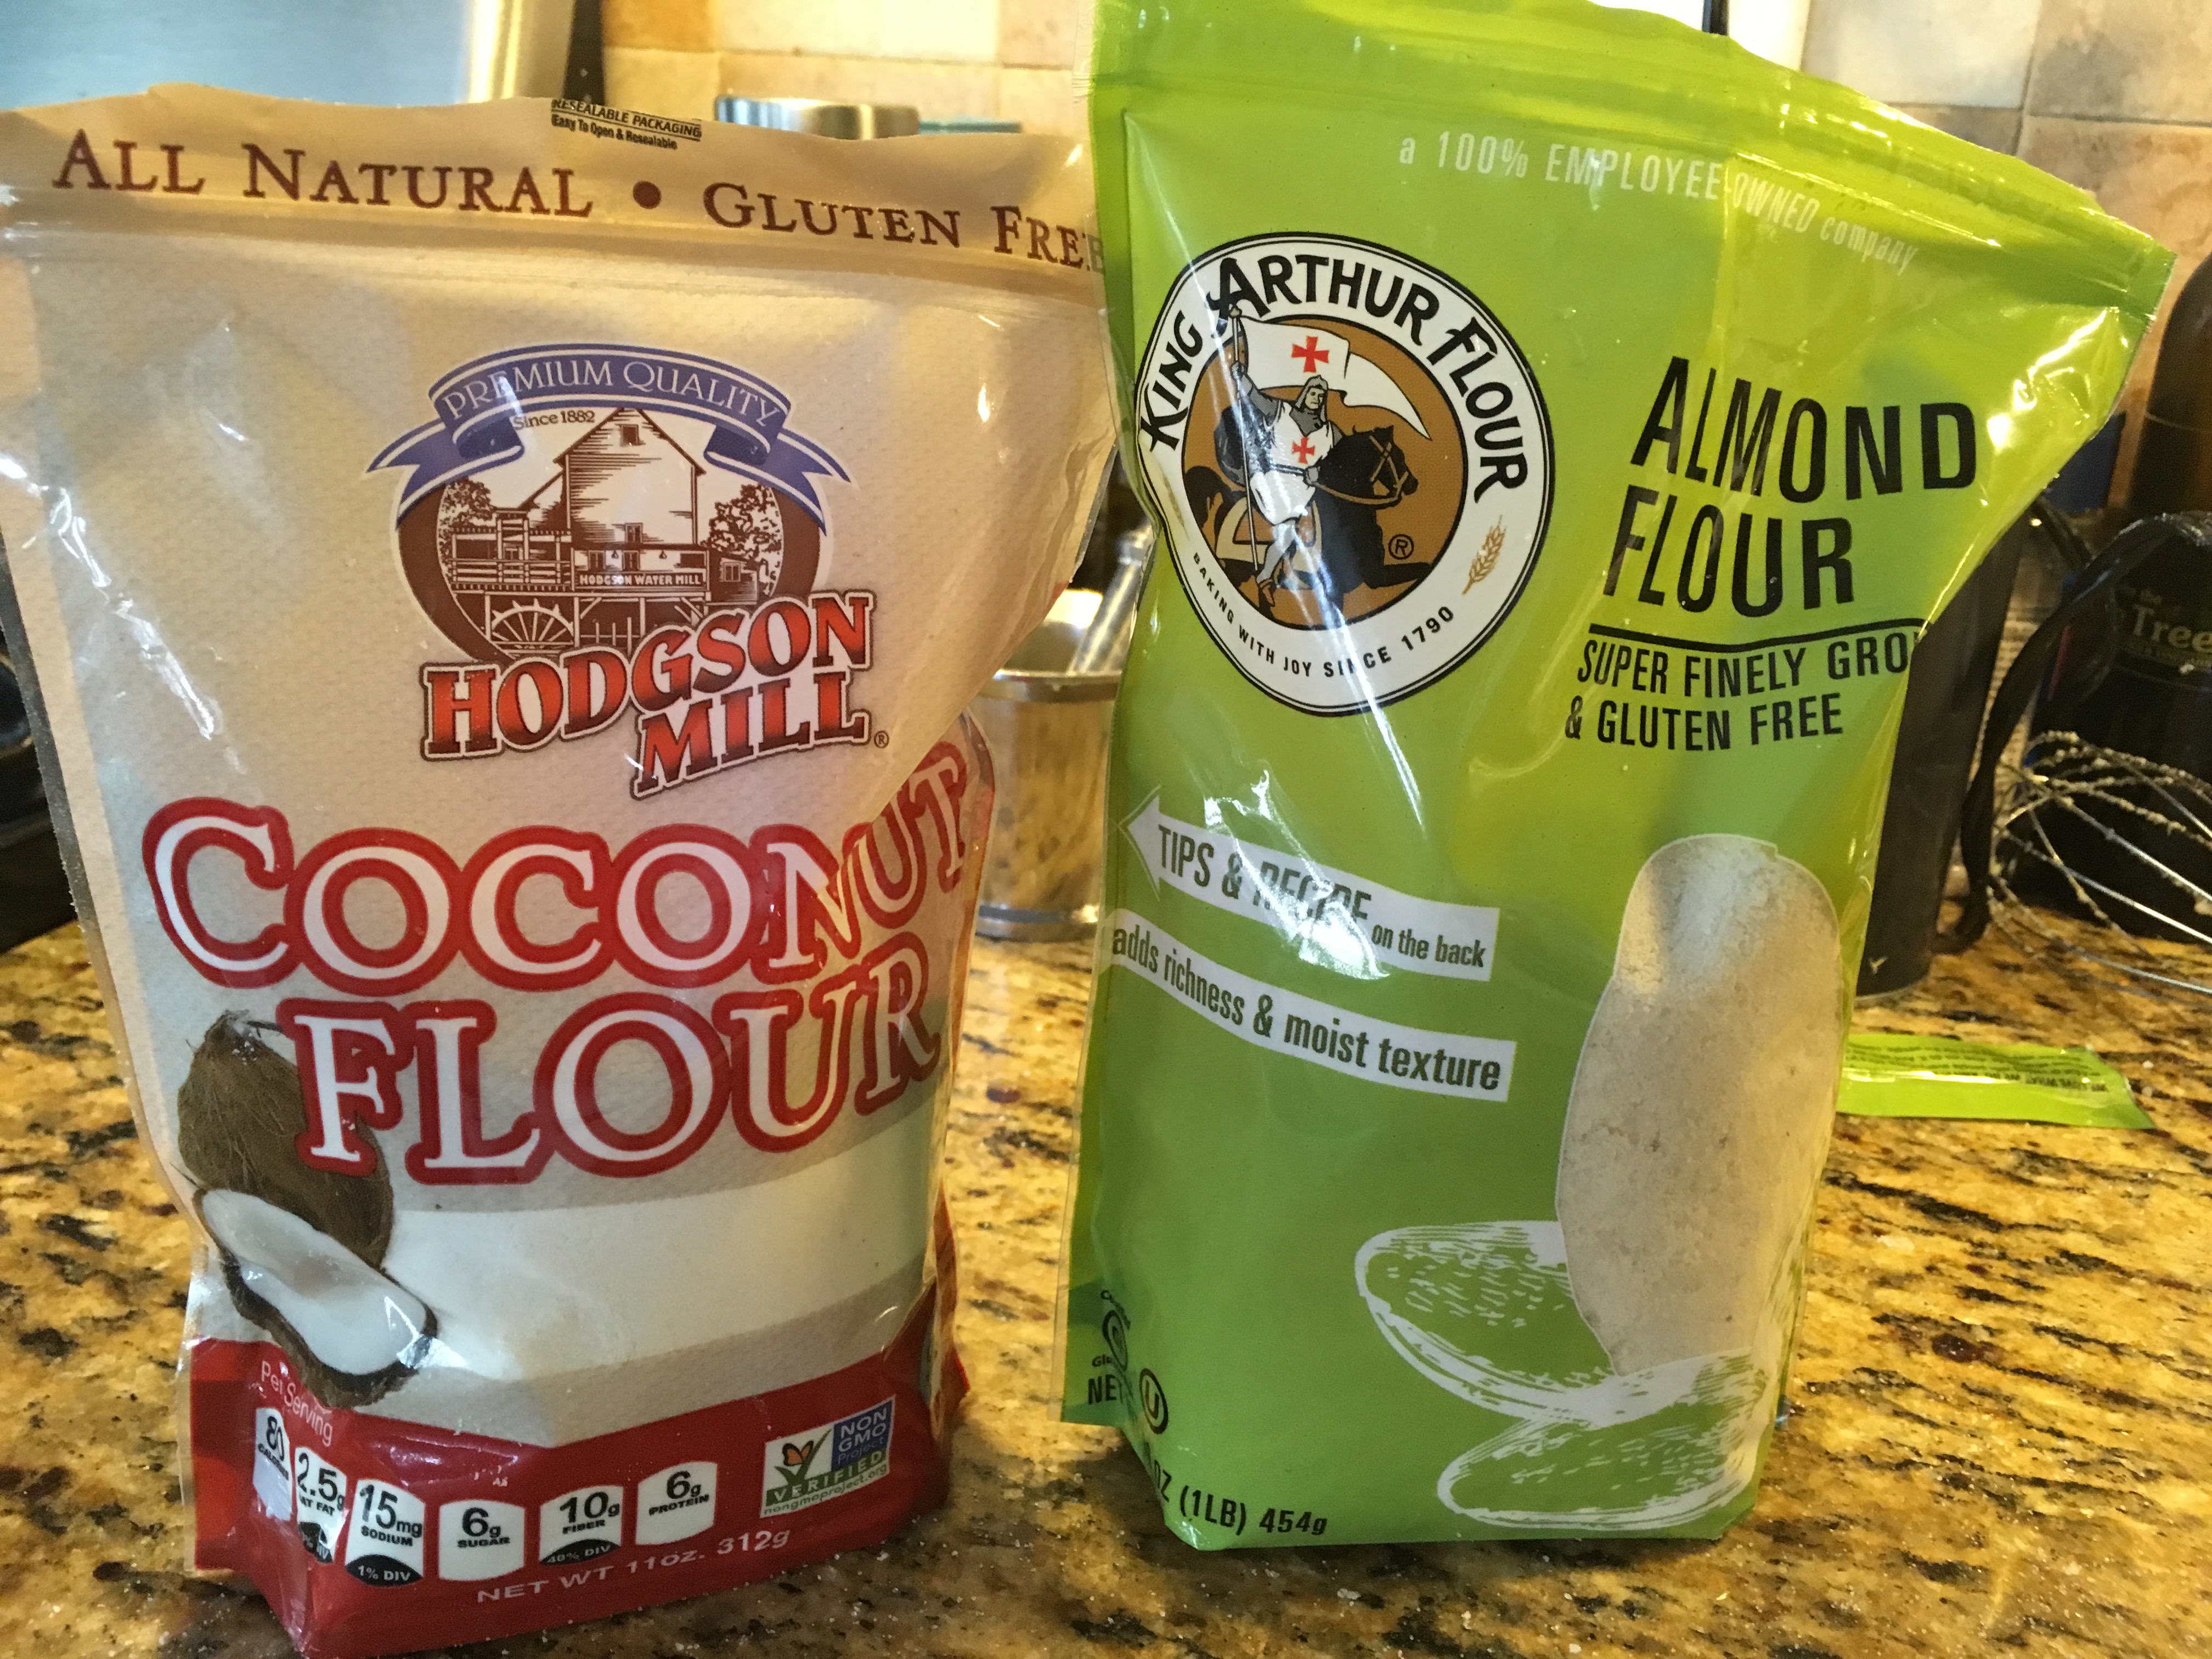
The cake base even though its flourless, does not loose any of its taste or texture. It bakes well and holds shape and coconut gives it a unique sweetness and flavor to cake. And the almond flour and coconut flours are readily available at grocery stores.
On this mother’s day, I was pleasantly reminded of how my mother started baking eggless cakes in a handvo oven, using sand as a base, to give it a slow and even cooking flavor.These cakes by her are the ones that I enjoy most, and are just delicious fresh from the oven. I hope that she will be happy to see that the tradition of exploring more on baking and cooking has continued. So here is the perfect recipe, for me to celebrate the Mother’s day, and for all, a great recipe for special occasion with friends and family!
Almond Coconut Eggless Cake with Strawberries
Recipe makes 9*13 inch cake serves 6-8 people
Ingredients
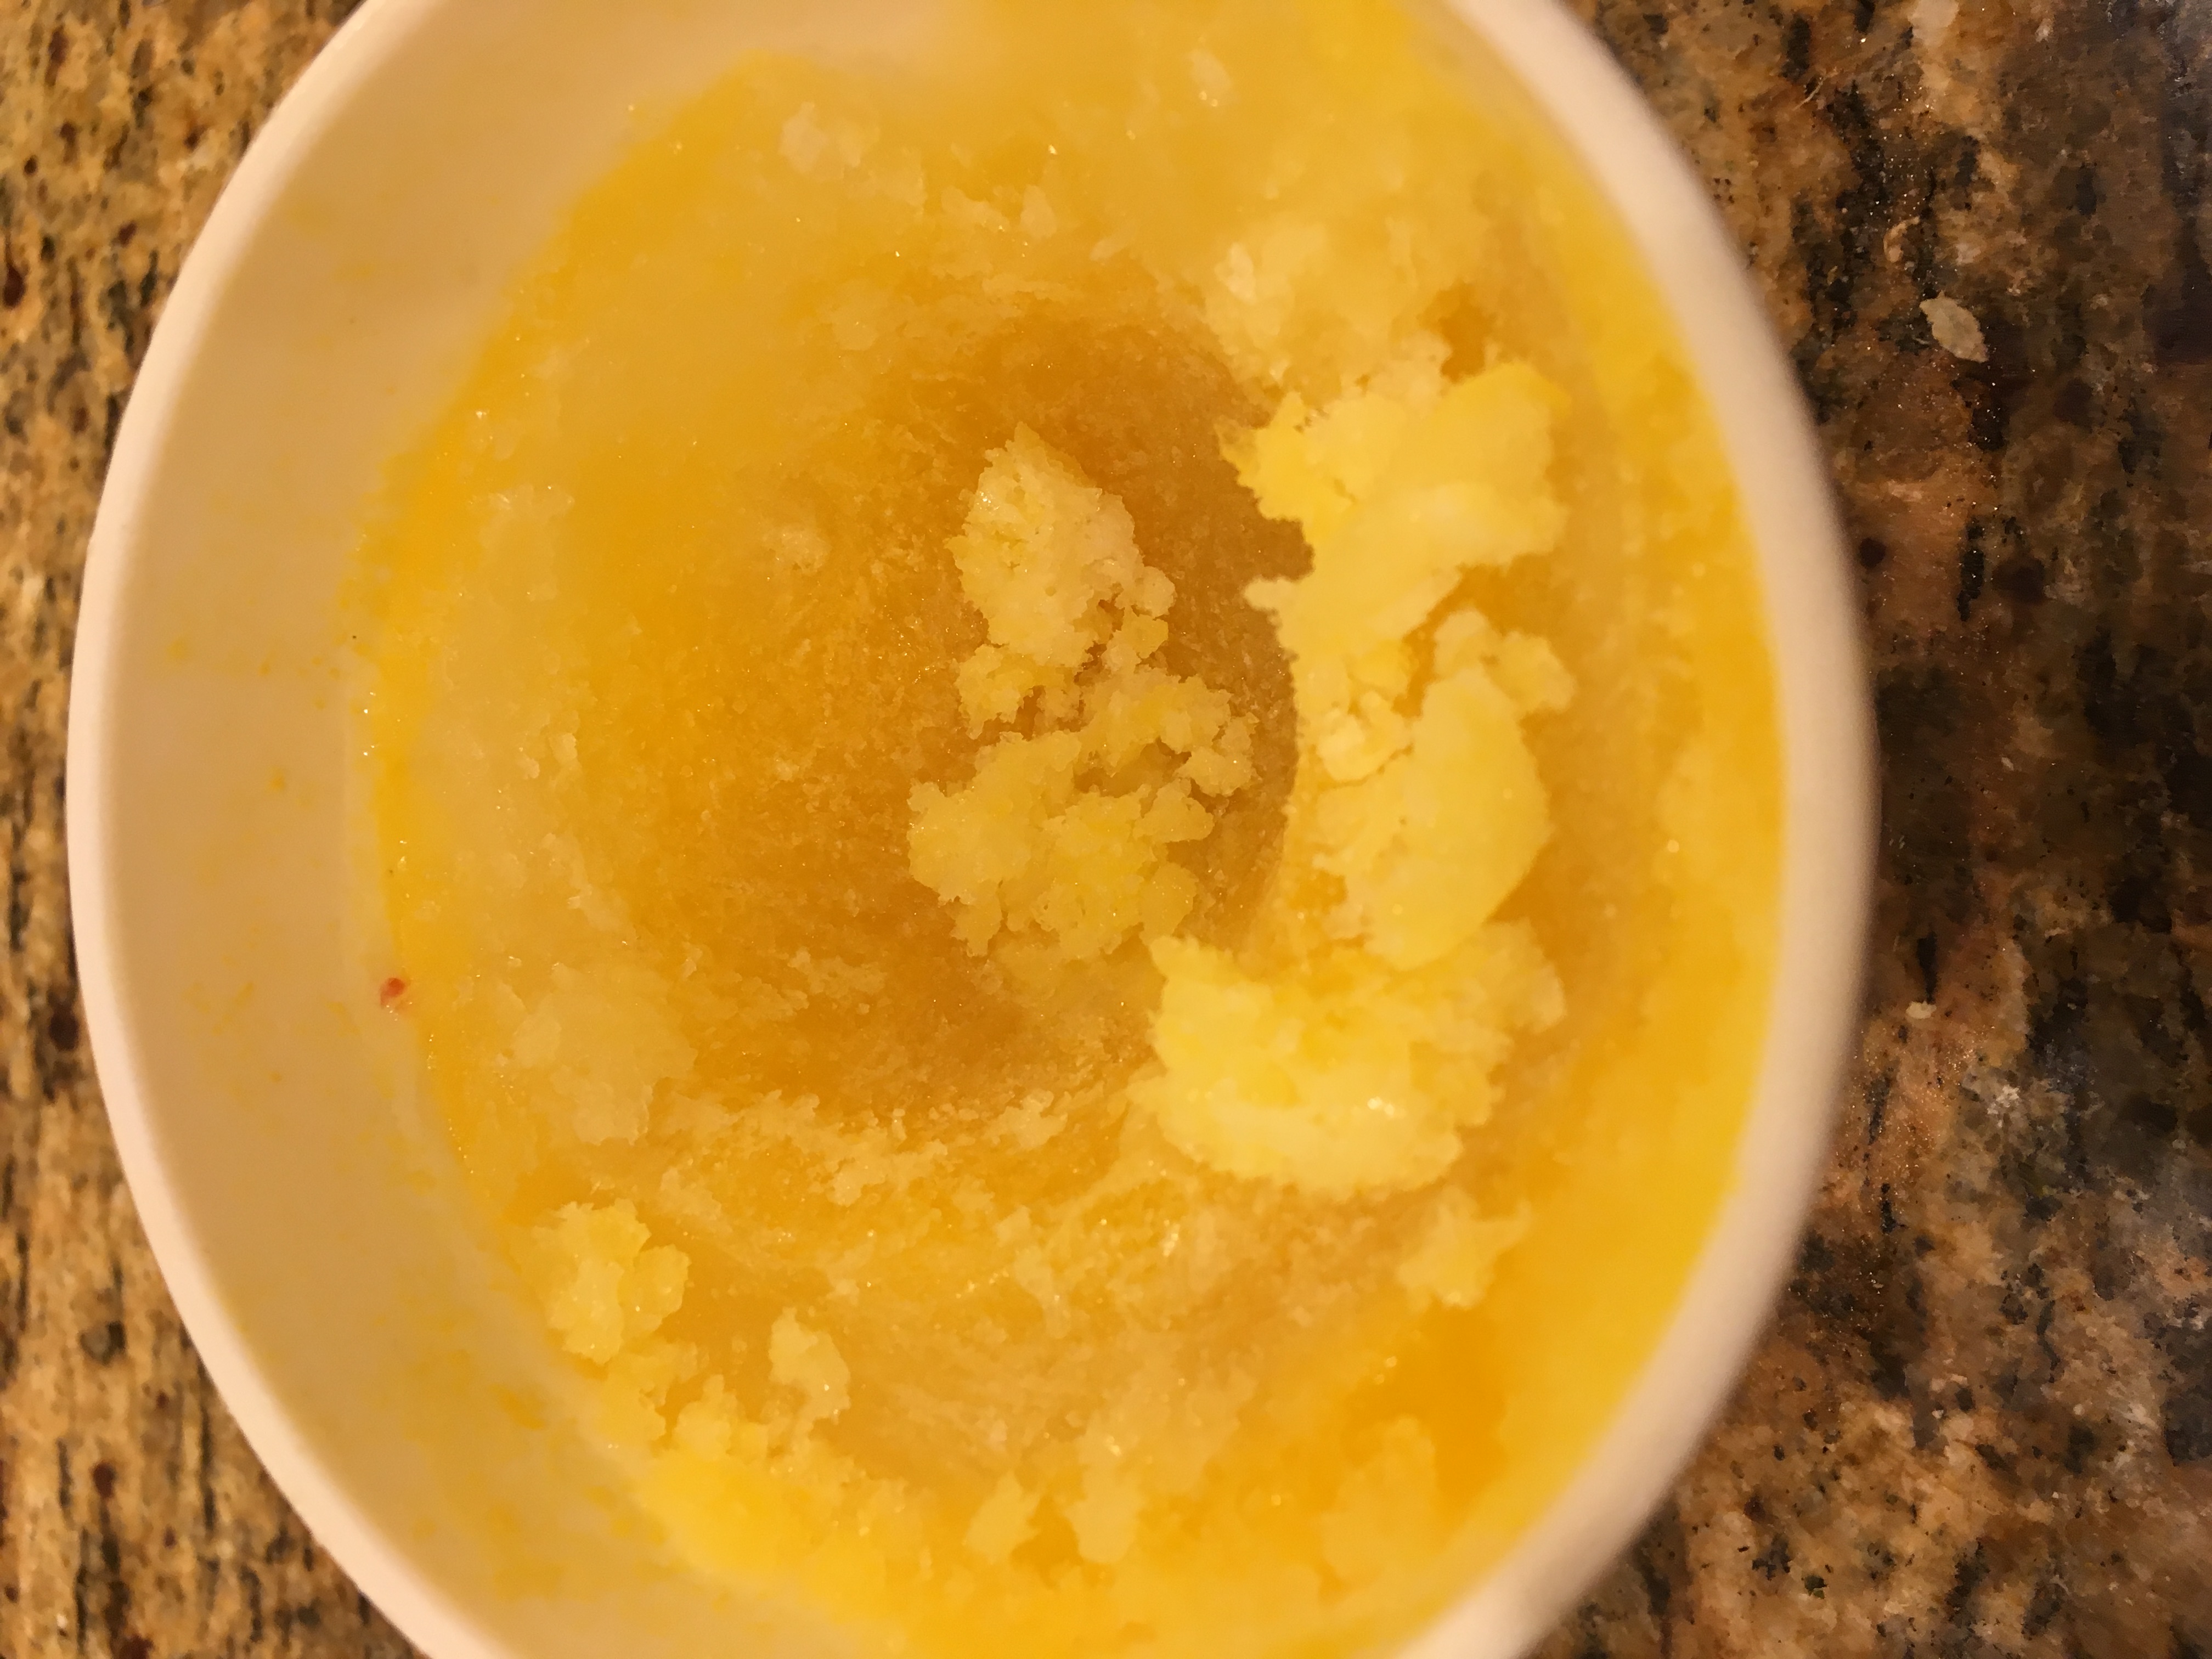
3/4 cup butter
1 cup sugar
1 3/4 cup whole milk (for vegan use almond milk or soy milk)
1 tsp vanilla essence
1/2 cup almond flour
1/2 cup coconut flour
1/4 tsp salt
2 tsp baking powder
8 medium sized strawberries, thinly sliced for garnishing
Method
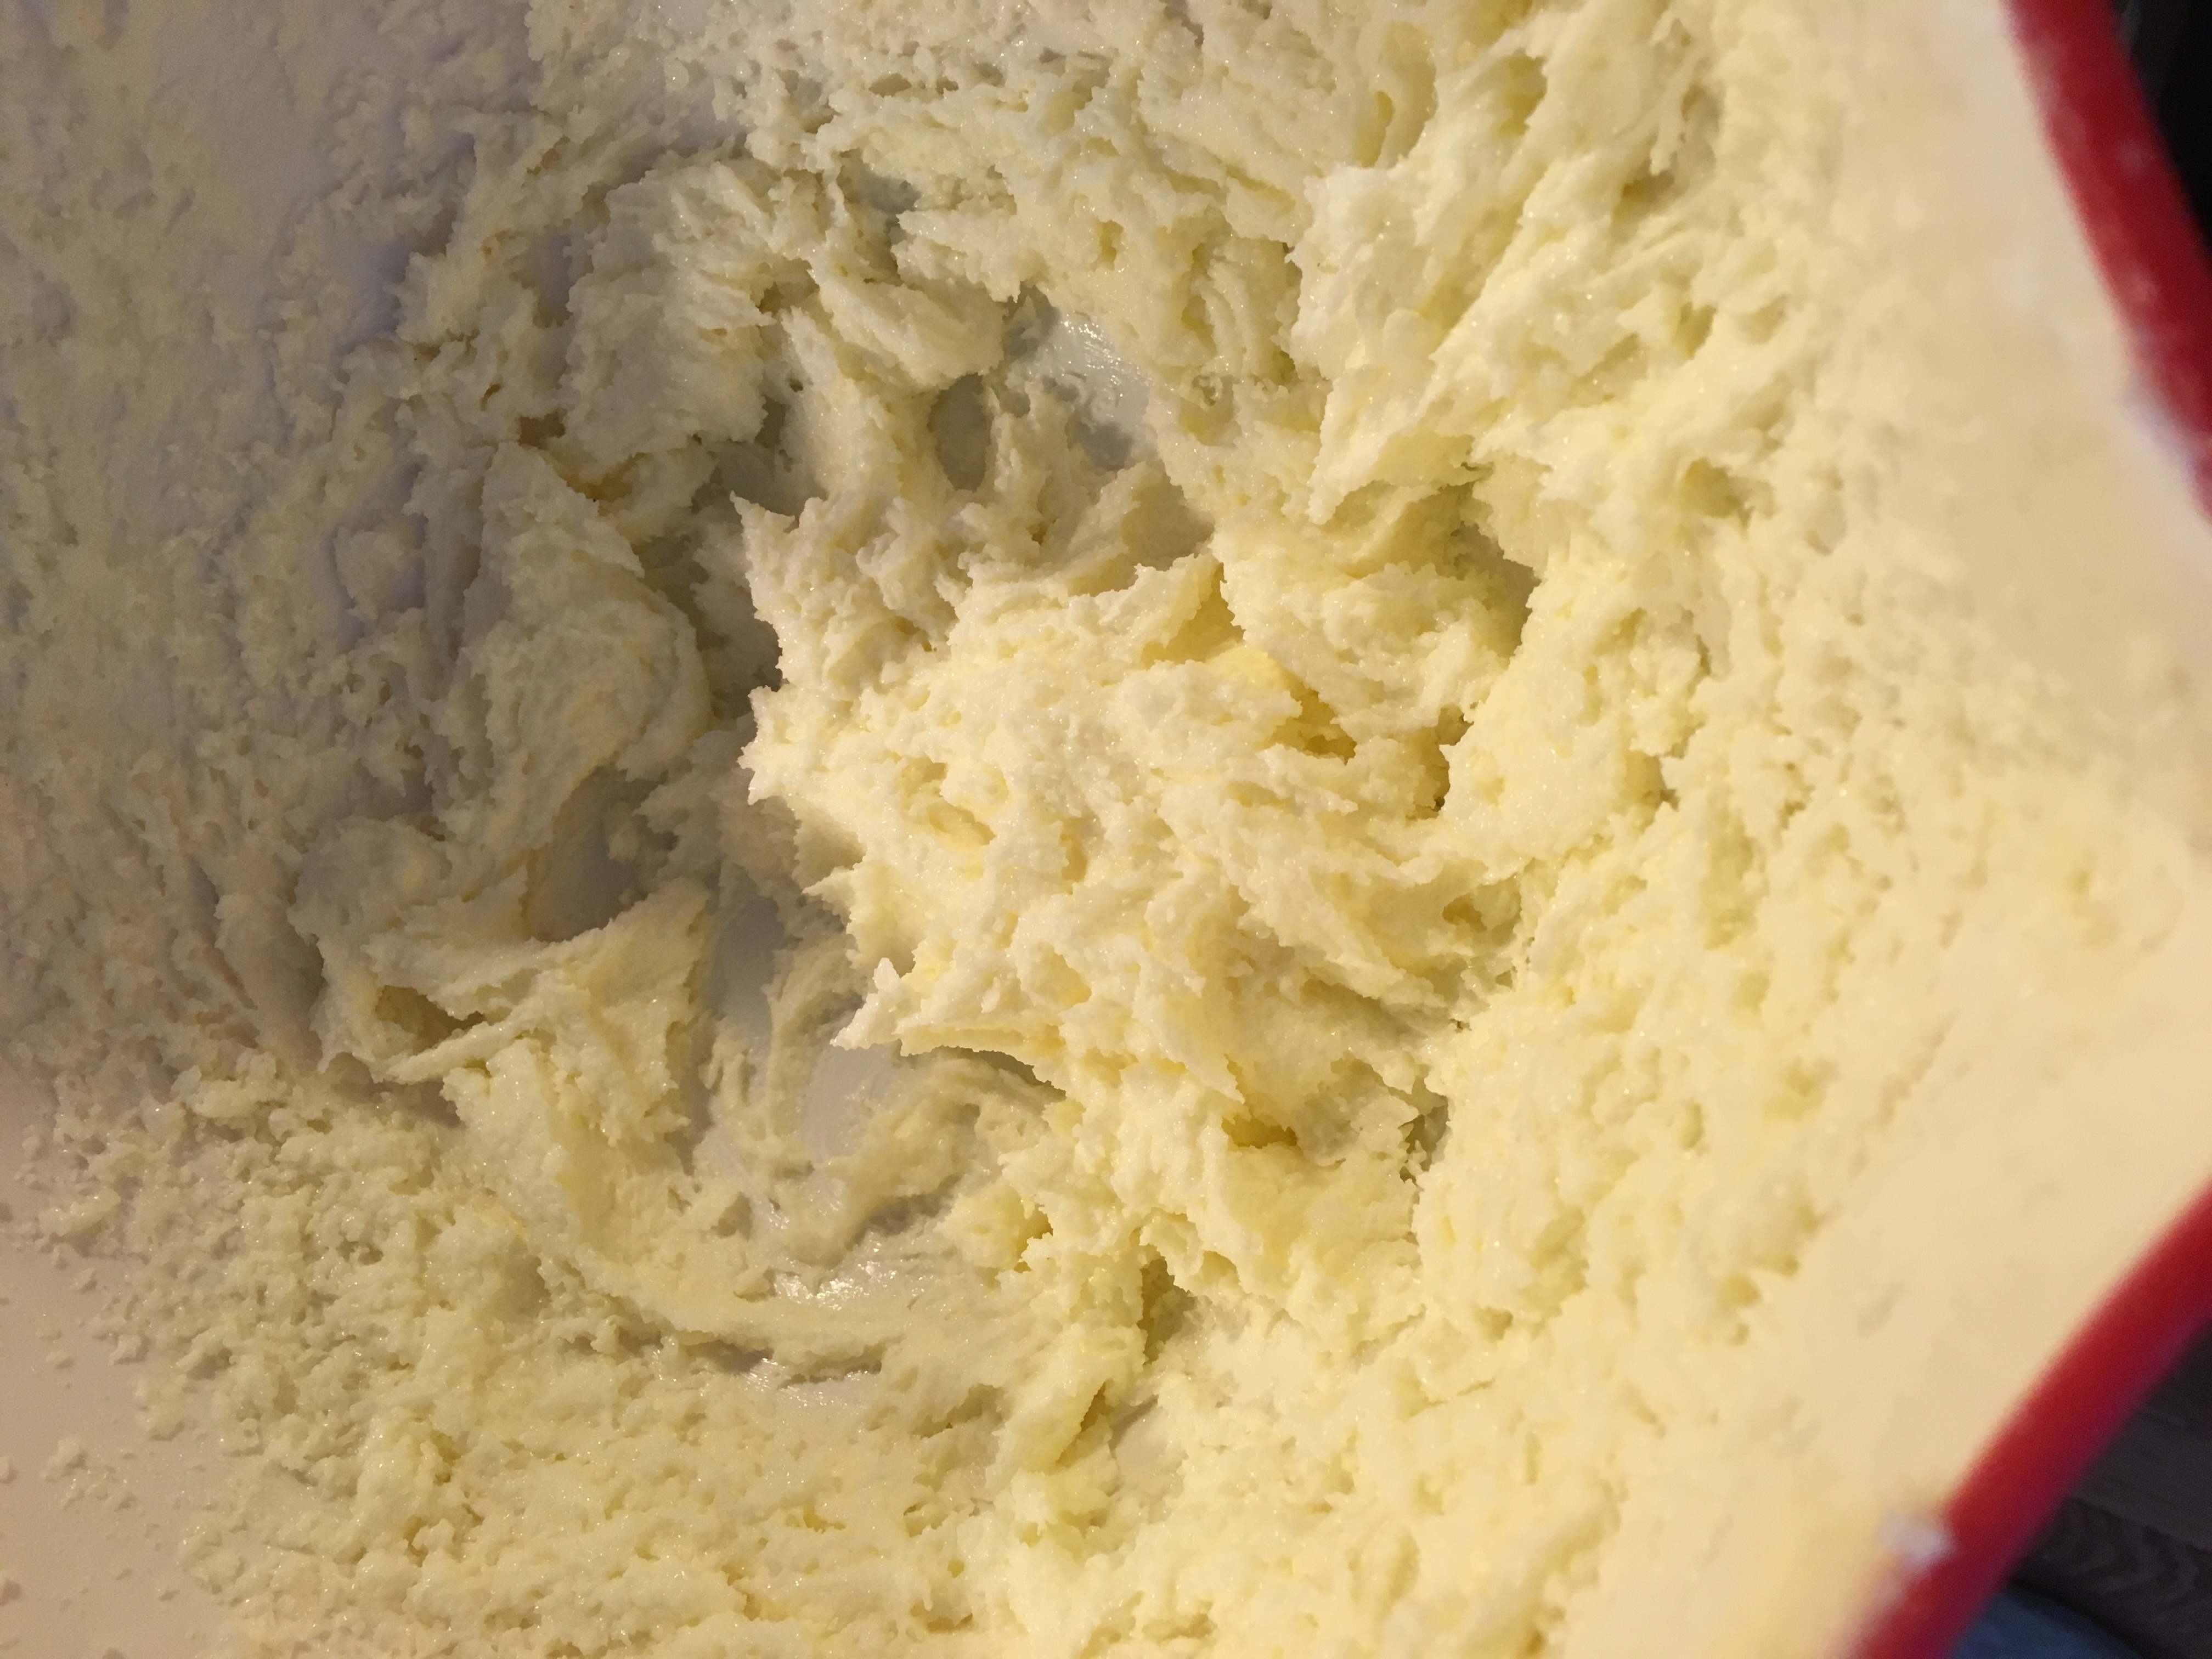
Beat butter and sugar until extremely smooth for about 5 minutes on high. The color of the butter should become 3 shades lighter then the original butter color.
Add milk and vanilla essence an beat some more
Combine flours,salt and baking powder and mix it into the beaten sugar milk
Beat everything for another 5-7 minutes, till well blended.
Grease a cake tin 9″ *13″ with butter and some flour.
Pour the mixture into the cake pan.
Pre heat oven to 350 degrees F
Bake for 40 minutes.
Top it with whipped cream and/or fresh fruit of your choice.
Almond Coconut Eggless Cake
Enjoy a piece as fast as you can!!
Tips
While deciding if the cake is ready or not, look out if the cake has released from the sides. Once that happens, the cake is well baked.
Give enough time to cool before flipping it over from the containers, as mine broke on the top while releasing it from the container.
Beat enough for the flours to blend well .
Instinct Factor
Lot of people believe making a cake requires a lot of precision, but in my view it is quite a forgiving dish, as all errors can be more or less made good, either with syrup , or garnishes or layers and sandwiches. And so I used the strawberries on the top to make the top all pretty and professional. Trusting the instincts and my mother’s experience of so many years!!
For more moistness and softness, add another 1/2 cup of milk.
Feel Factor
A cake for myself and for my mother on mother’s day! A lovely celebration with this extremely delicious flavor of coconut and almond as well as strawberries. The combination goes well and the cake tastes great even after a couple of days in the refrigerator, but the chances of it lasting that long are slim:) A great mother’s legacy celebrated with this unique almond coconut eggless cake, which is very likely to become a summer feature in our household to enjoy the varied fruit toppings over this summer!
Theratipal Thabdi Milk Cake are different names of this dessert! Theratipal as it is known in Tamil cuisine, where the word Therati means to stir constantly and Pal, means milk. So traditionally this sweet dish was cooked by constantly stirring the milk and sugar over heat, until it caramelizes. This same dish is only different in color and shape but cooked the same way, in Gujarat too, where it is known as Thabdi. This happens to be my number 1 sweet from Rajkot, and I immensely cherish this simple milk cake flavor. People often call this as milk cake, as I discovered on researching about it on Google.
I am indebted to my Tamil friend philosopher guide and walking buddy in New Jersey, for introducing me to this recipe. The moment I had it, I was reminded of Thabdi from Rajkot and I was so very pleased for getting to know how to make it in simple easy steps. The secret was using condensed milk and heating in microwave. The recipe had been lying with me for 7-8 years, but never so light of the day till yesterday, which seemed to be a perfect timing to try this out on my own.
Yesterday being Earth day, and me being a big big fan of this planet earth, had to something more to celebrate, other than just plant some new flowers and rejoice in the blooms around me! I have always liked getting my hands dirty in the ground to plant something that gives you joy, year after year, and also teaches some important life lessons, One such lesson I have learnt is that everything is cyclical in nature as depicted by seasons that come and go, and every part of nature gets recycled into something else, and hence my feeling is the universe also gets recycled in some form or other and probably we as souls also keep changing our forms and lives over and over again.
As a very happy earthling, this dessert made great choice for celebration, as it is brown like the earth, and sweet and fragrant like the flowers and that bloom in it. Also this being the month of Mahavir Jayanti too, an important festival among Jains on the birth celebrations of Lord Mahavir it gave another reason to celebrate nature and environment and re-emphasize the importance of protecting and living in harmony with mother nature, which seems to be the backdrop on which Jainism values are set, in my opinion.
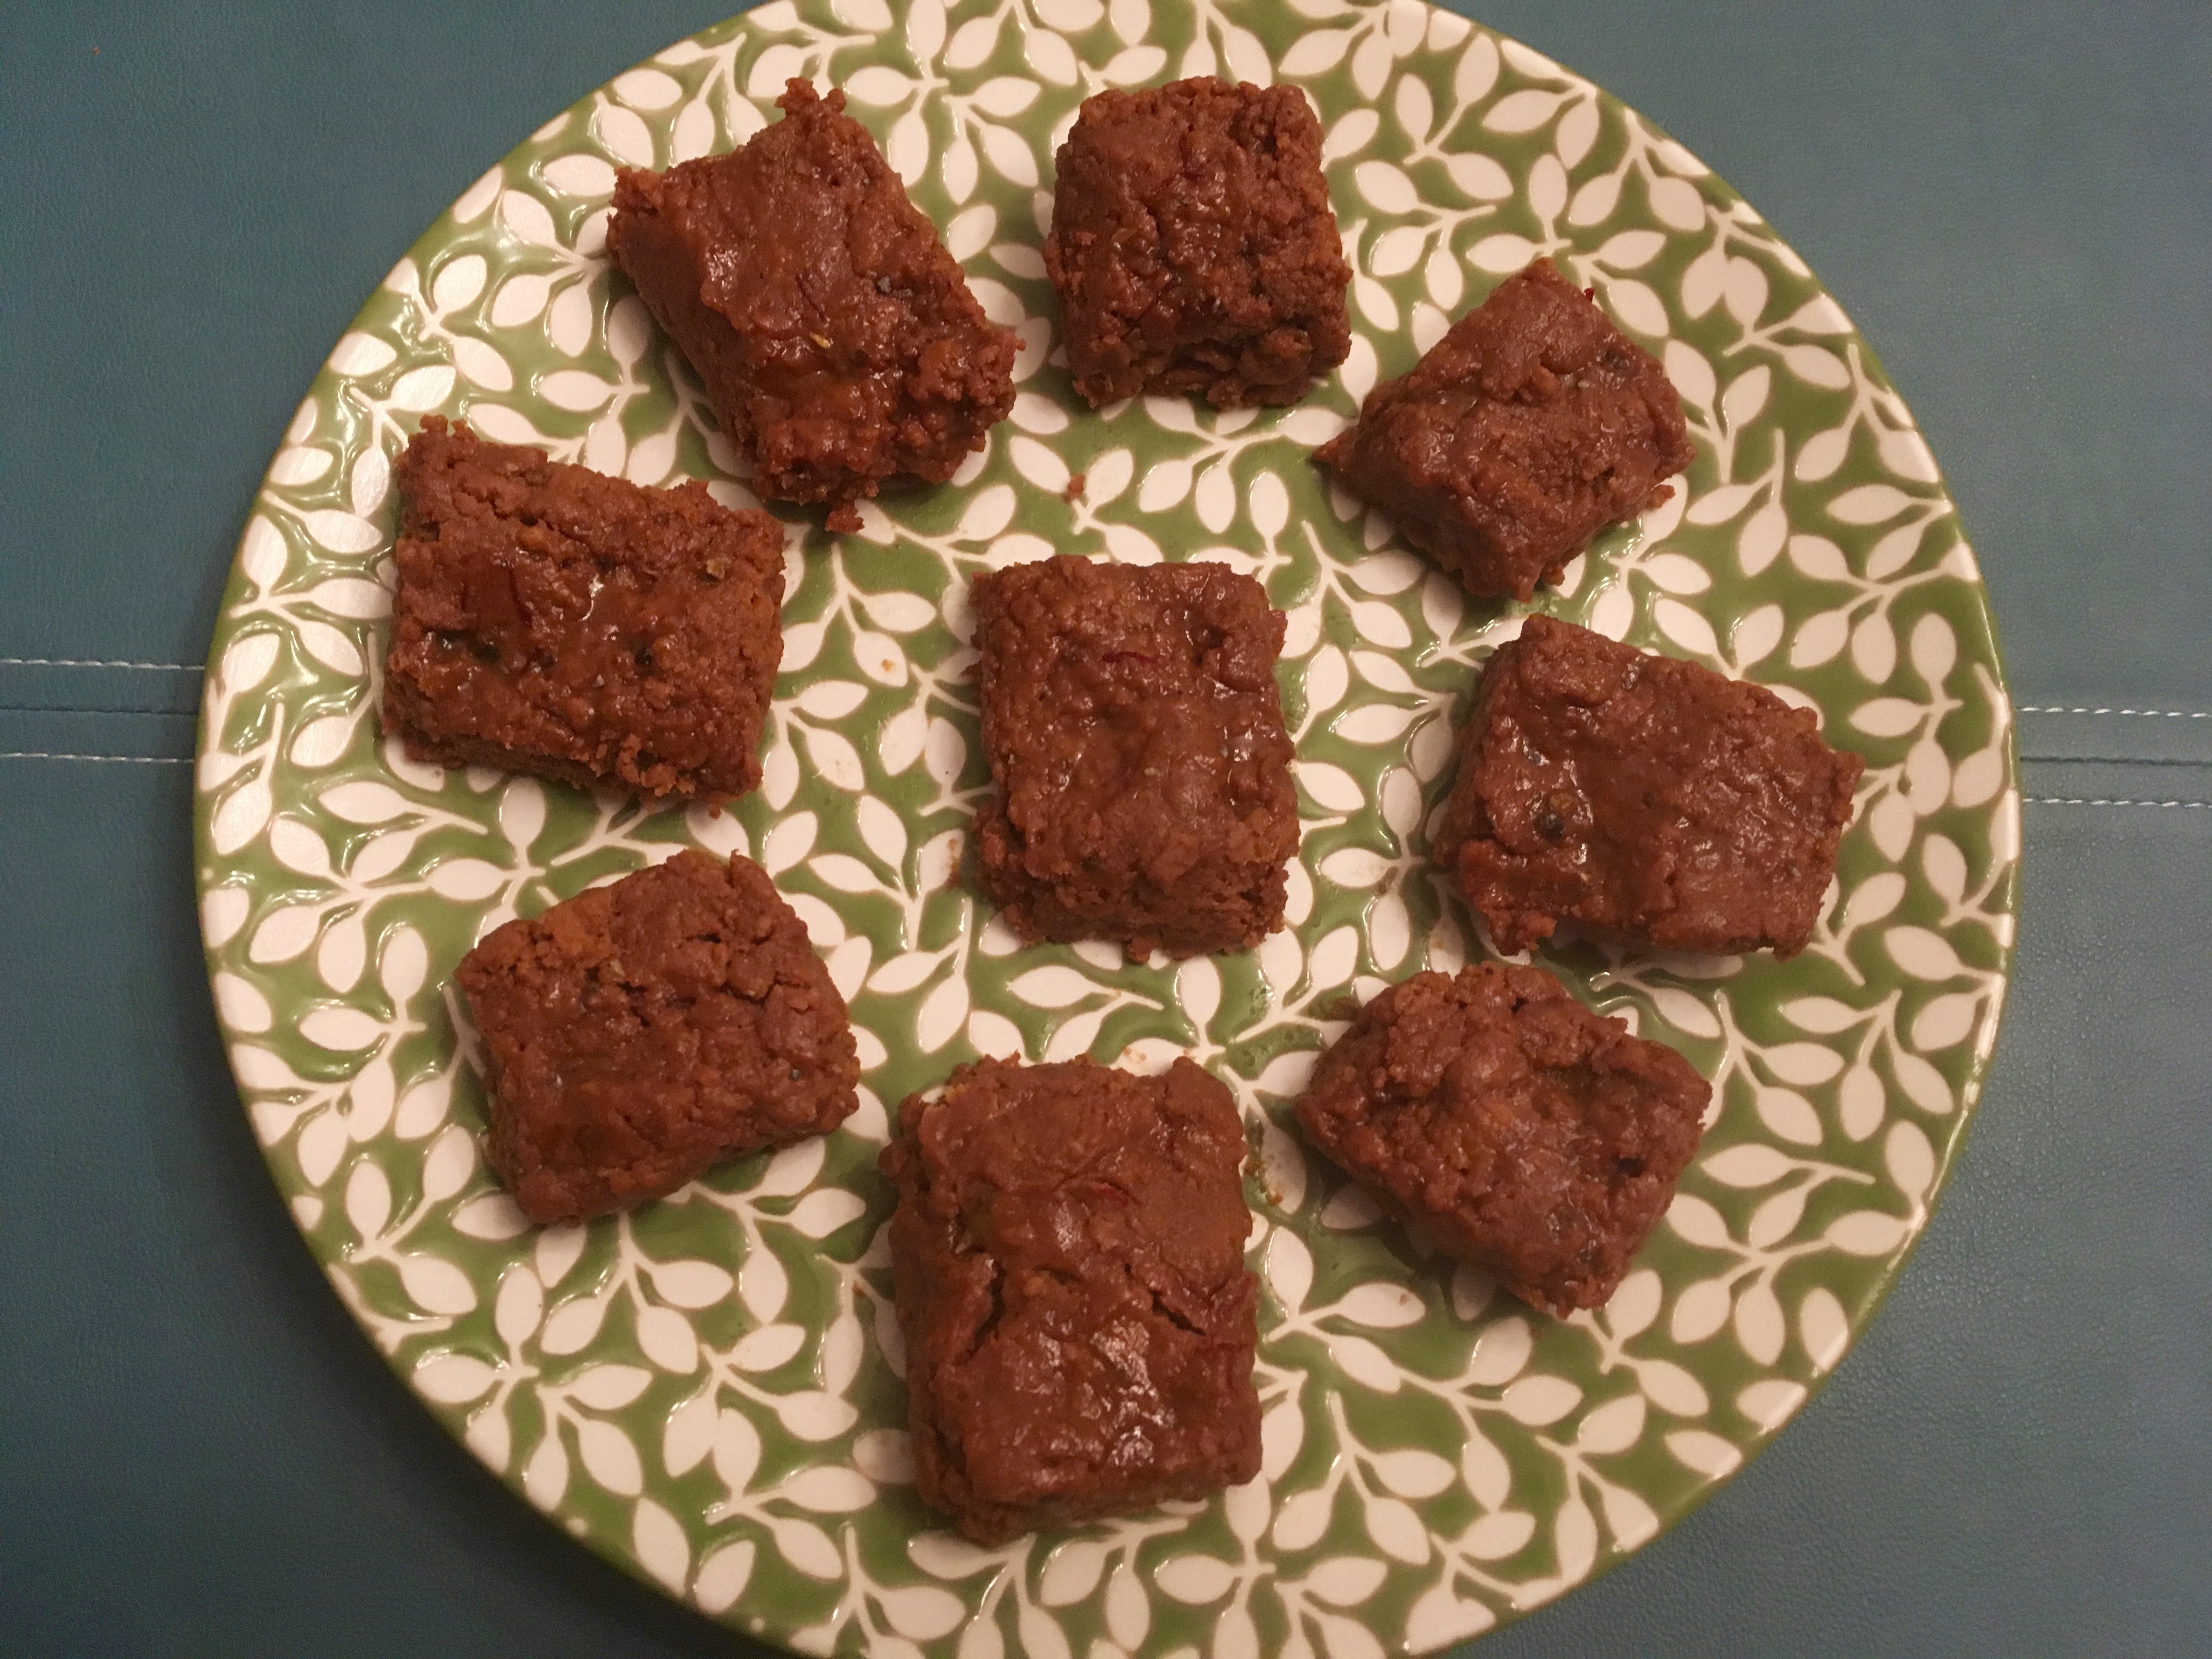
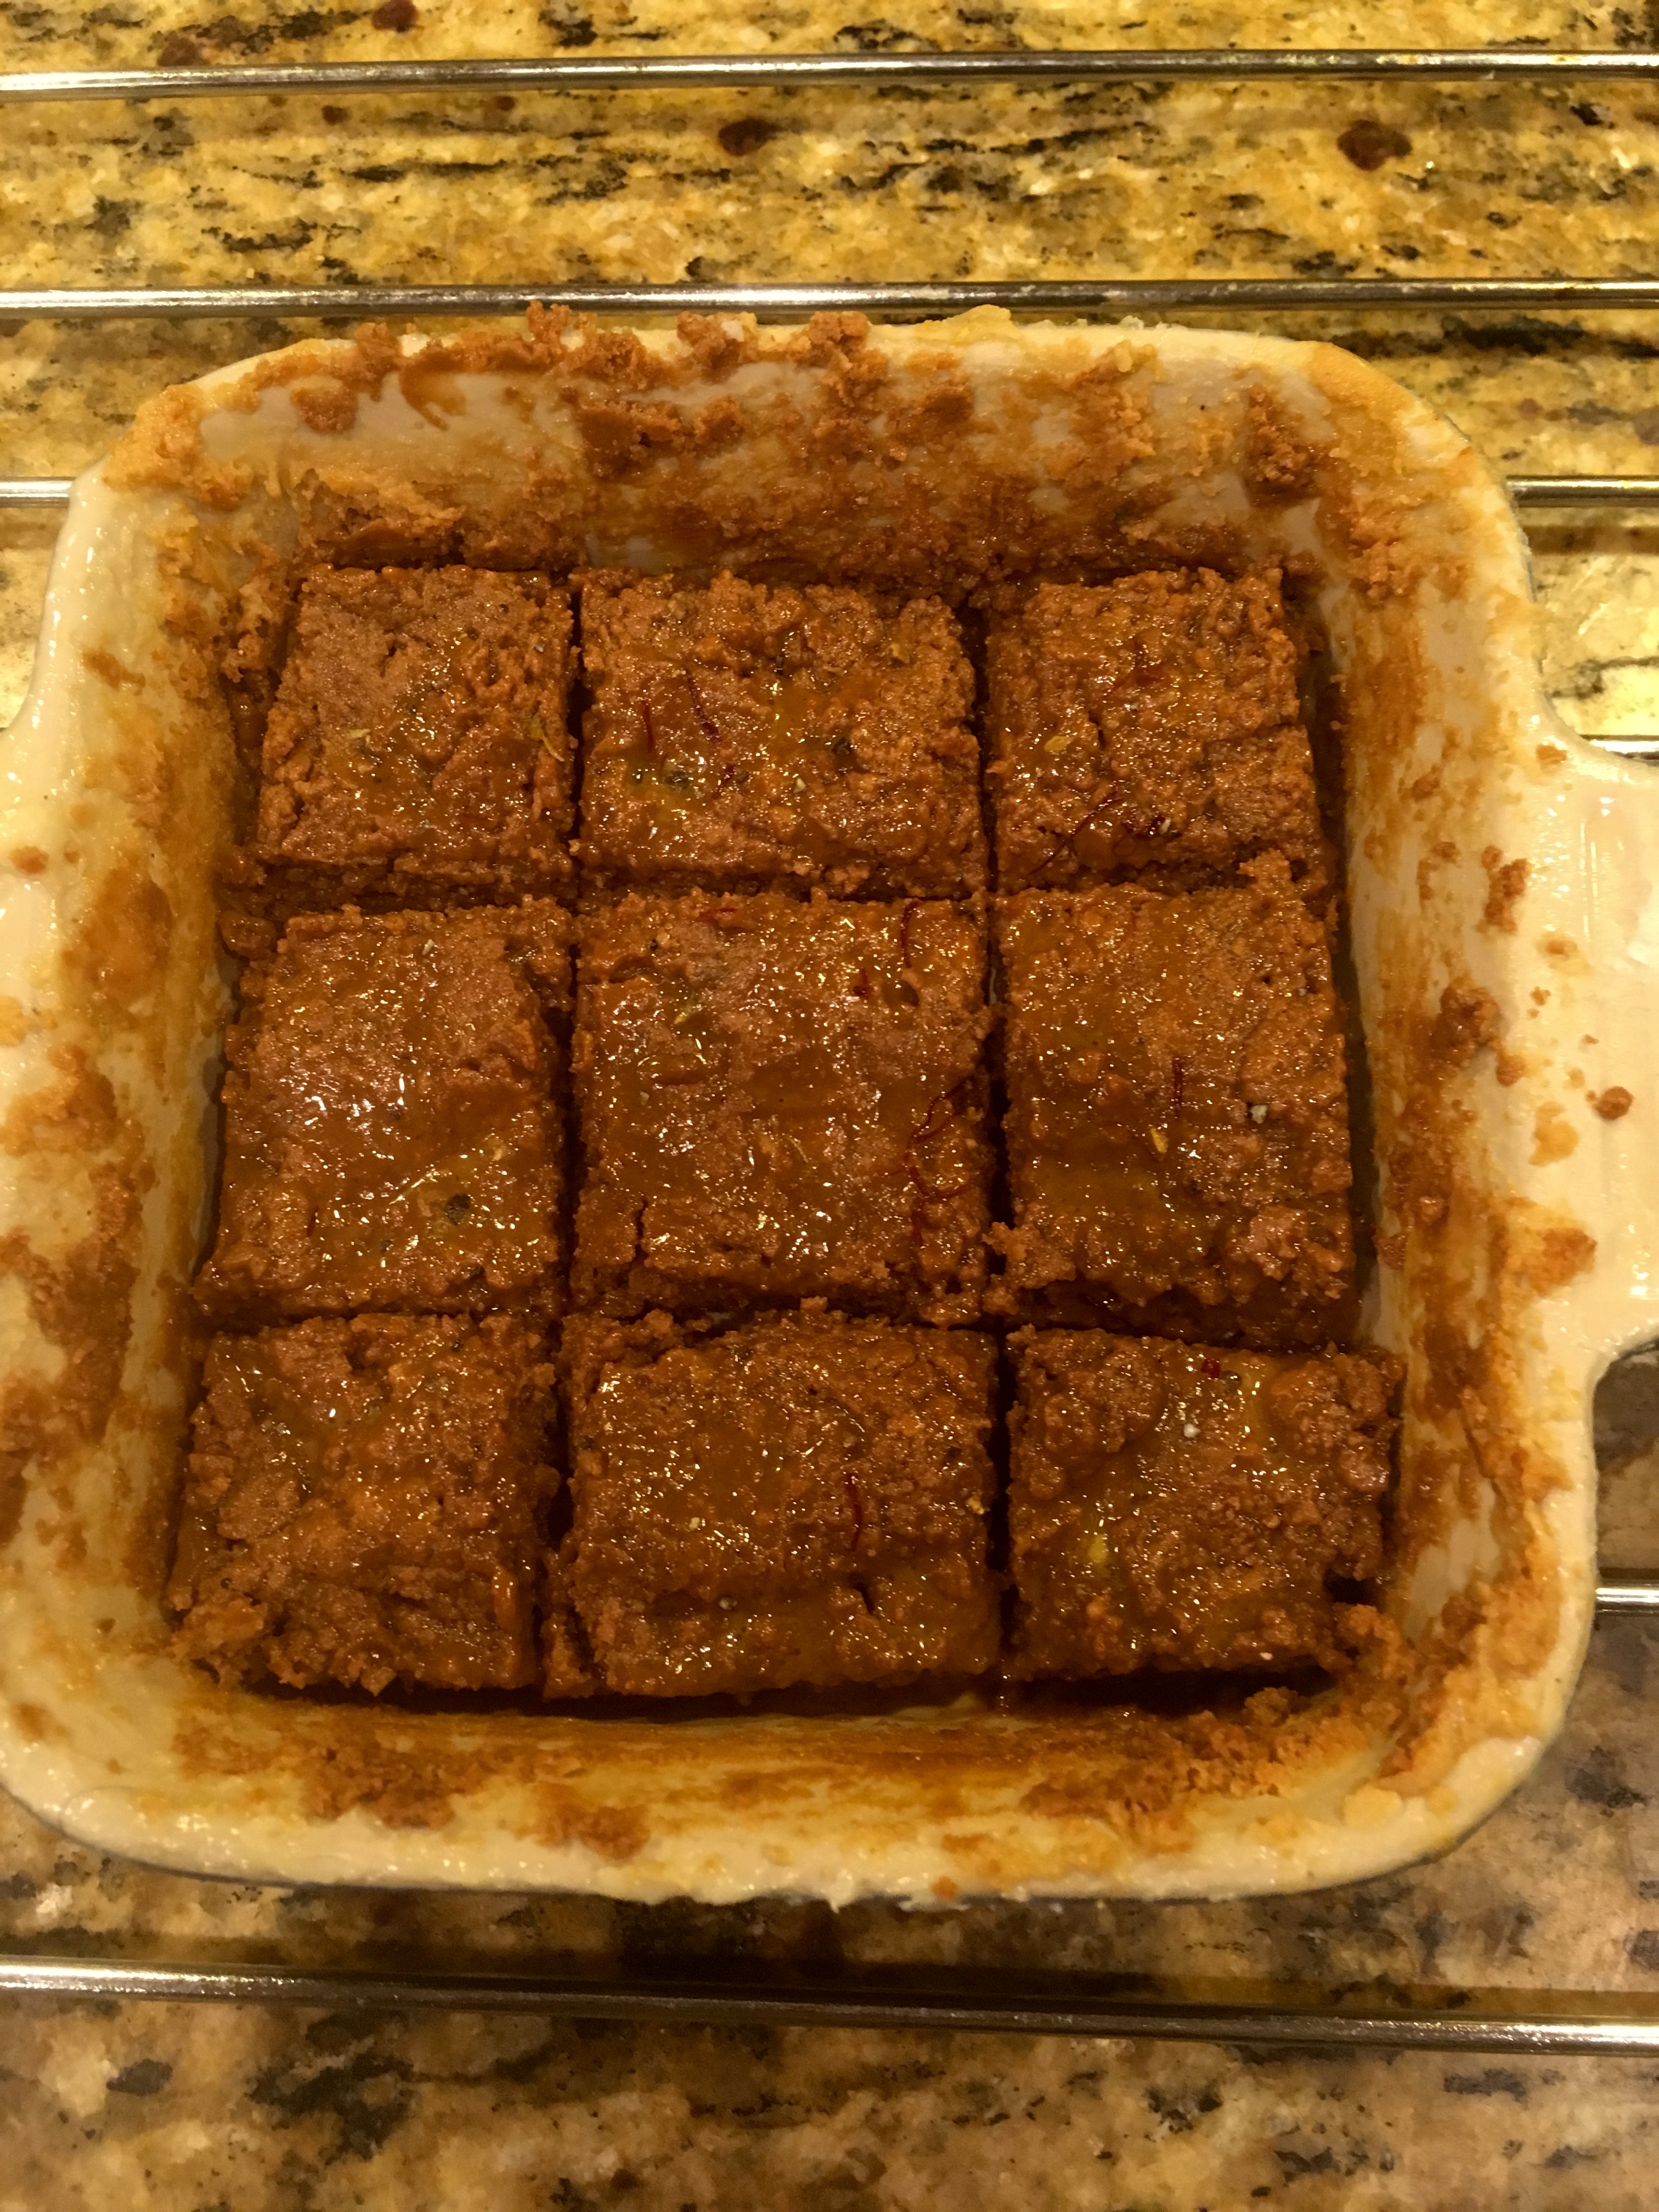
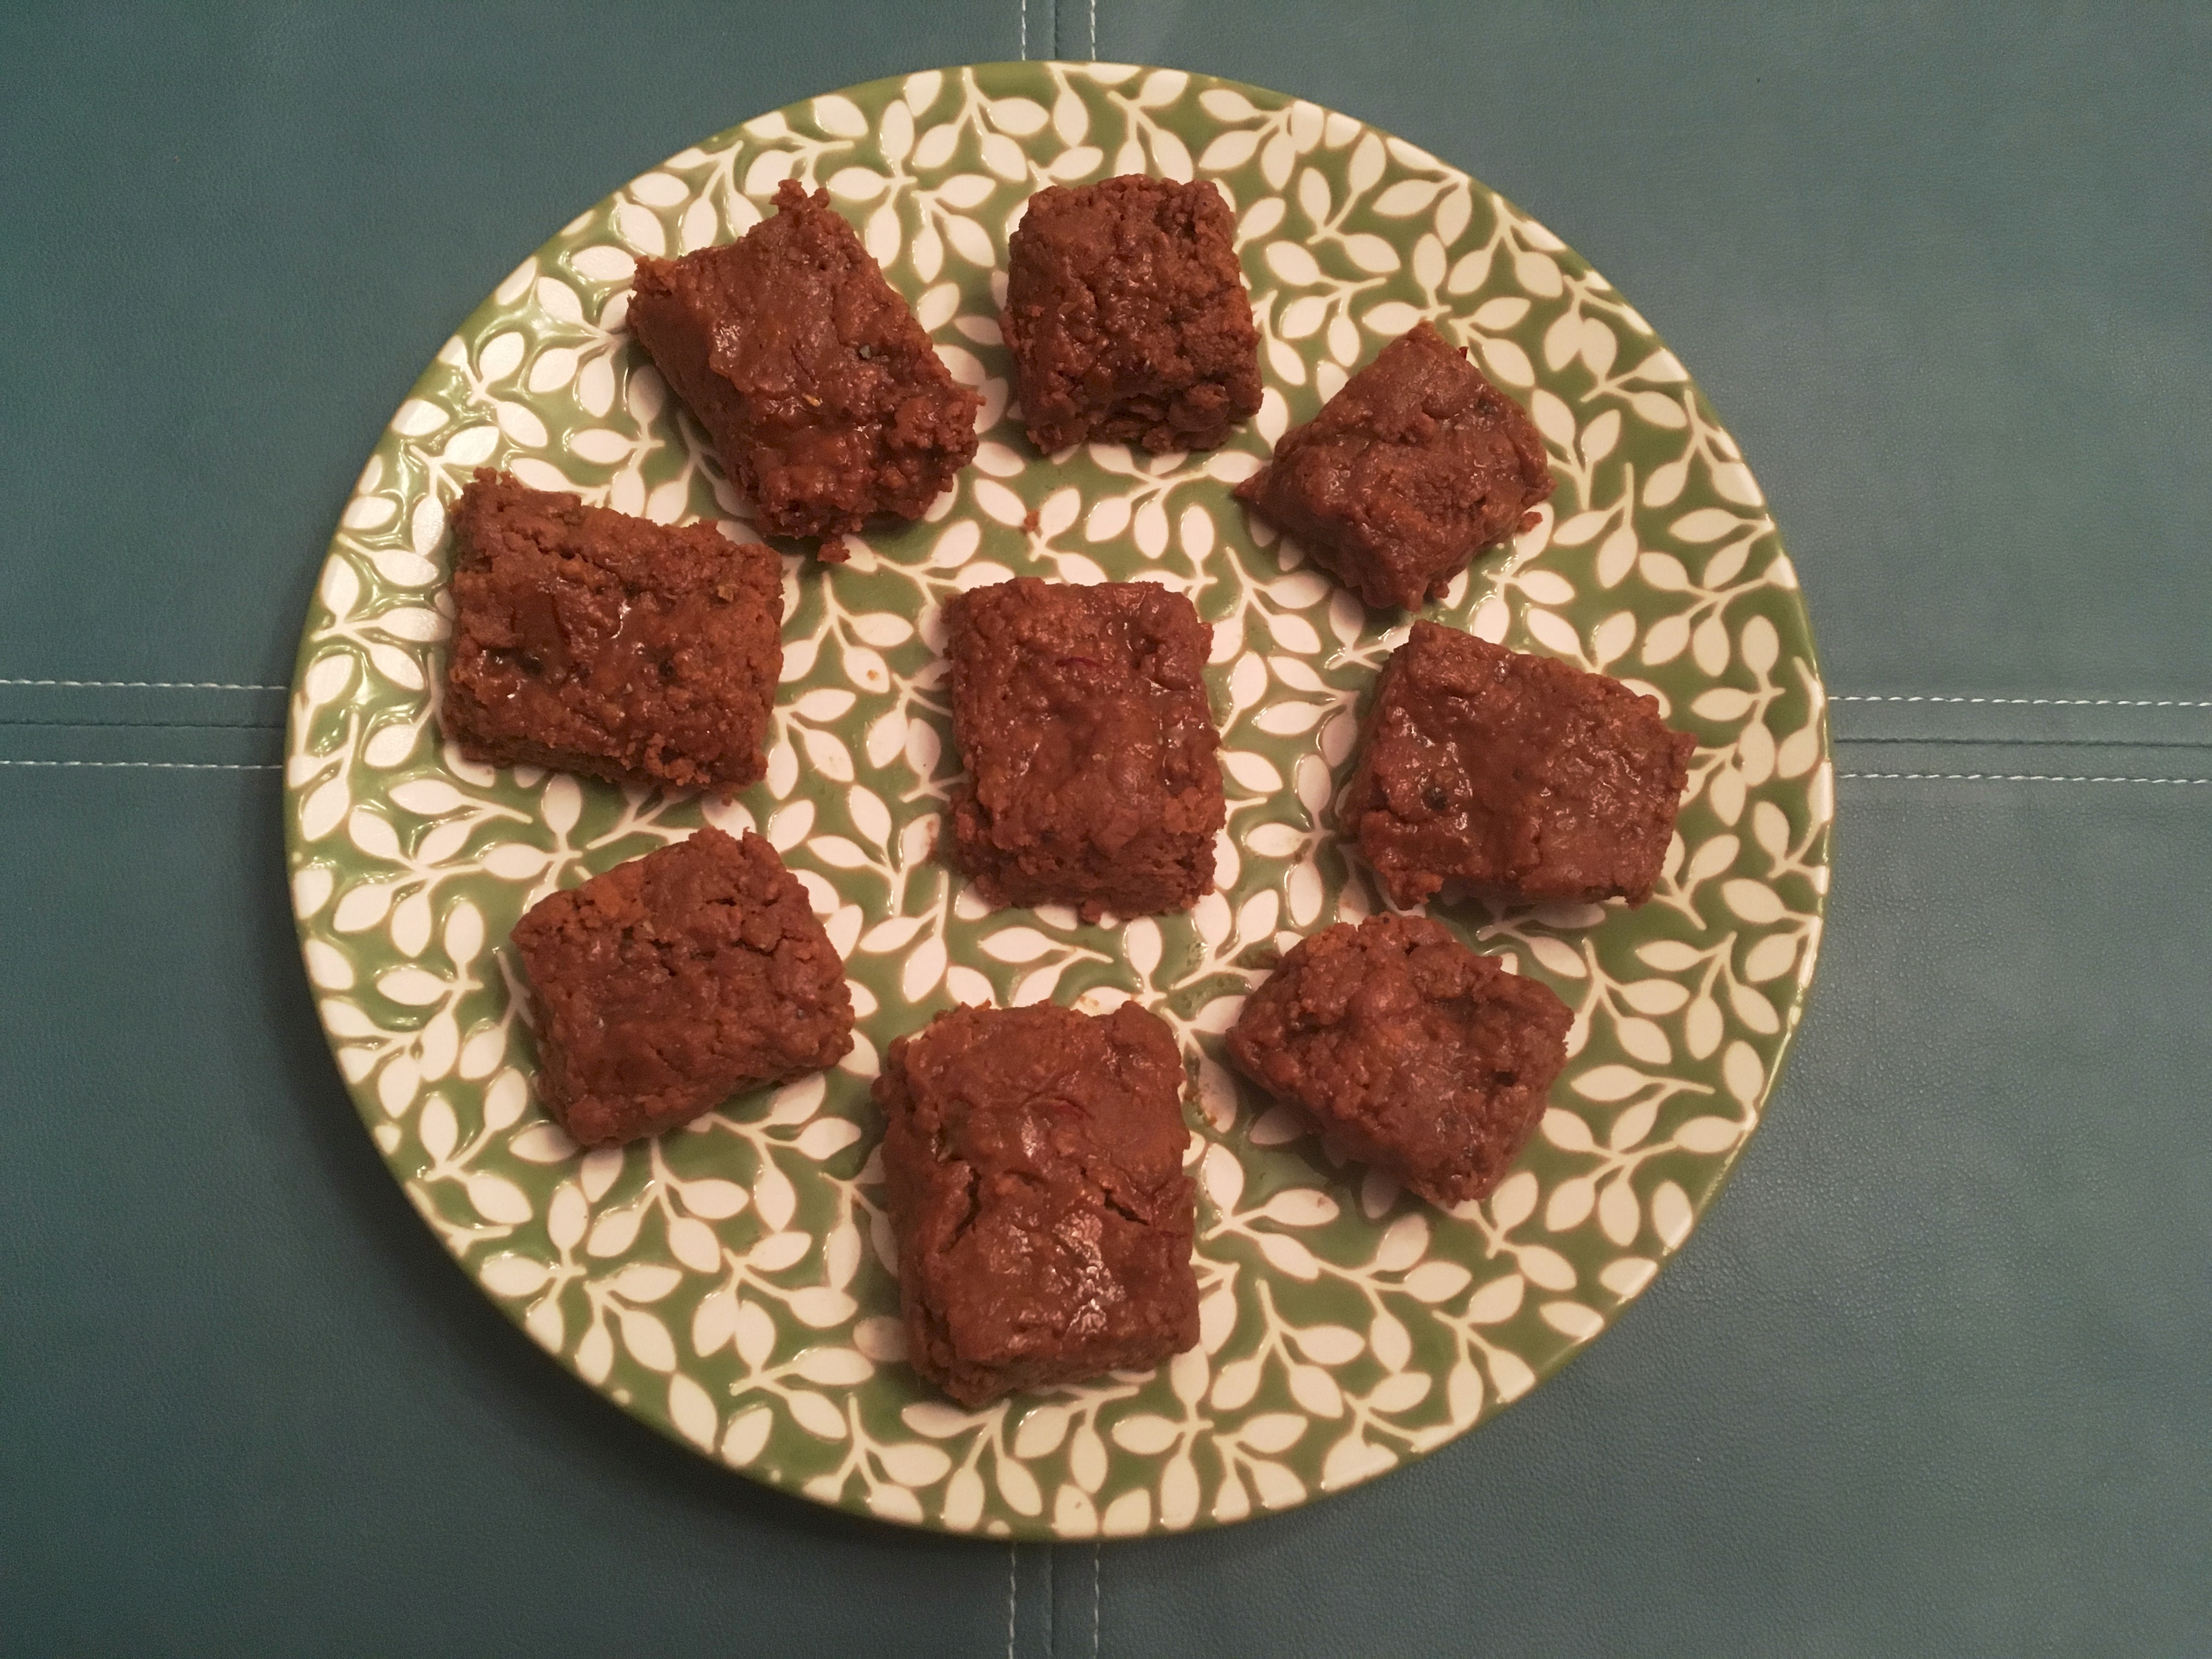
So wishing a belated Happy Earth day to all with Theratipal Thabdi Milk Cake, and hoping that many of you may have planted some nice flowers for the birds and bees or trees for the shade and shown appreciation in one way or the other for our planet earth- home of all and very happy to display this on leaf dish with blue earth background in true spirt of Earth Day!
Theratipal Thabdi Milk Cake Recipe
Recipe makes 9 pieces of 2*2 inches
Ingredients
1 can condensed milk
3 tbsp yogurt( Not sour)
3 tbsp ghee (unmelted)
3-4 cardamom seeds crushed finely
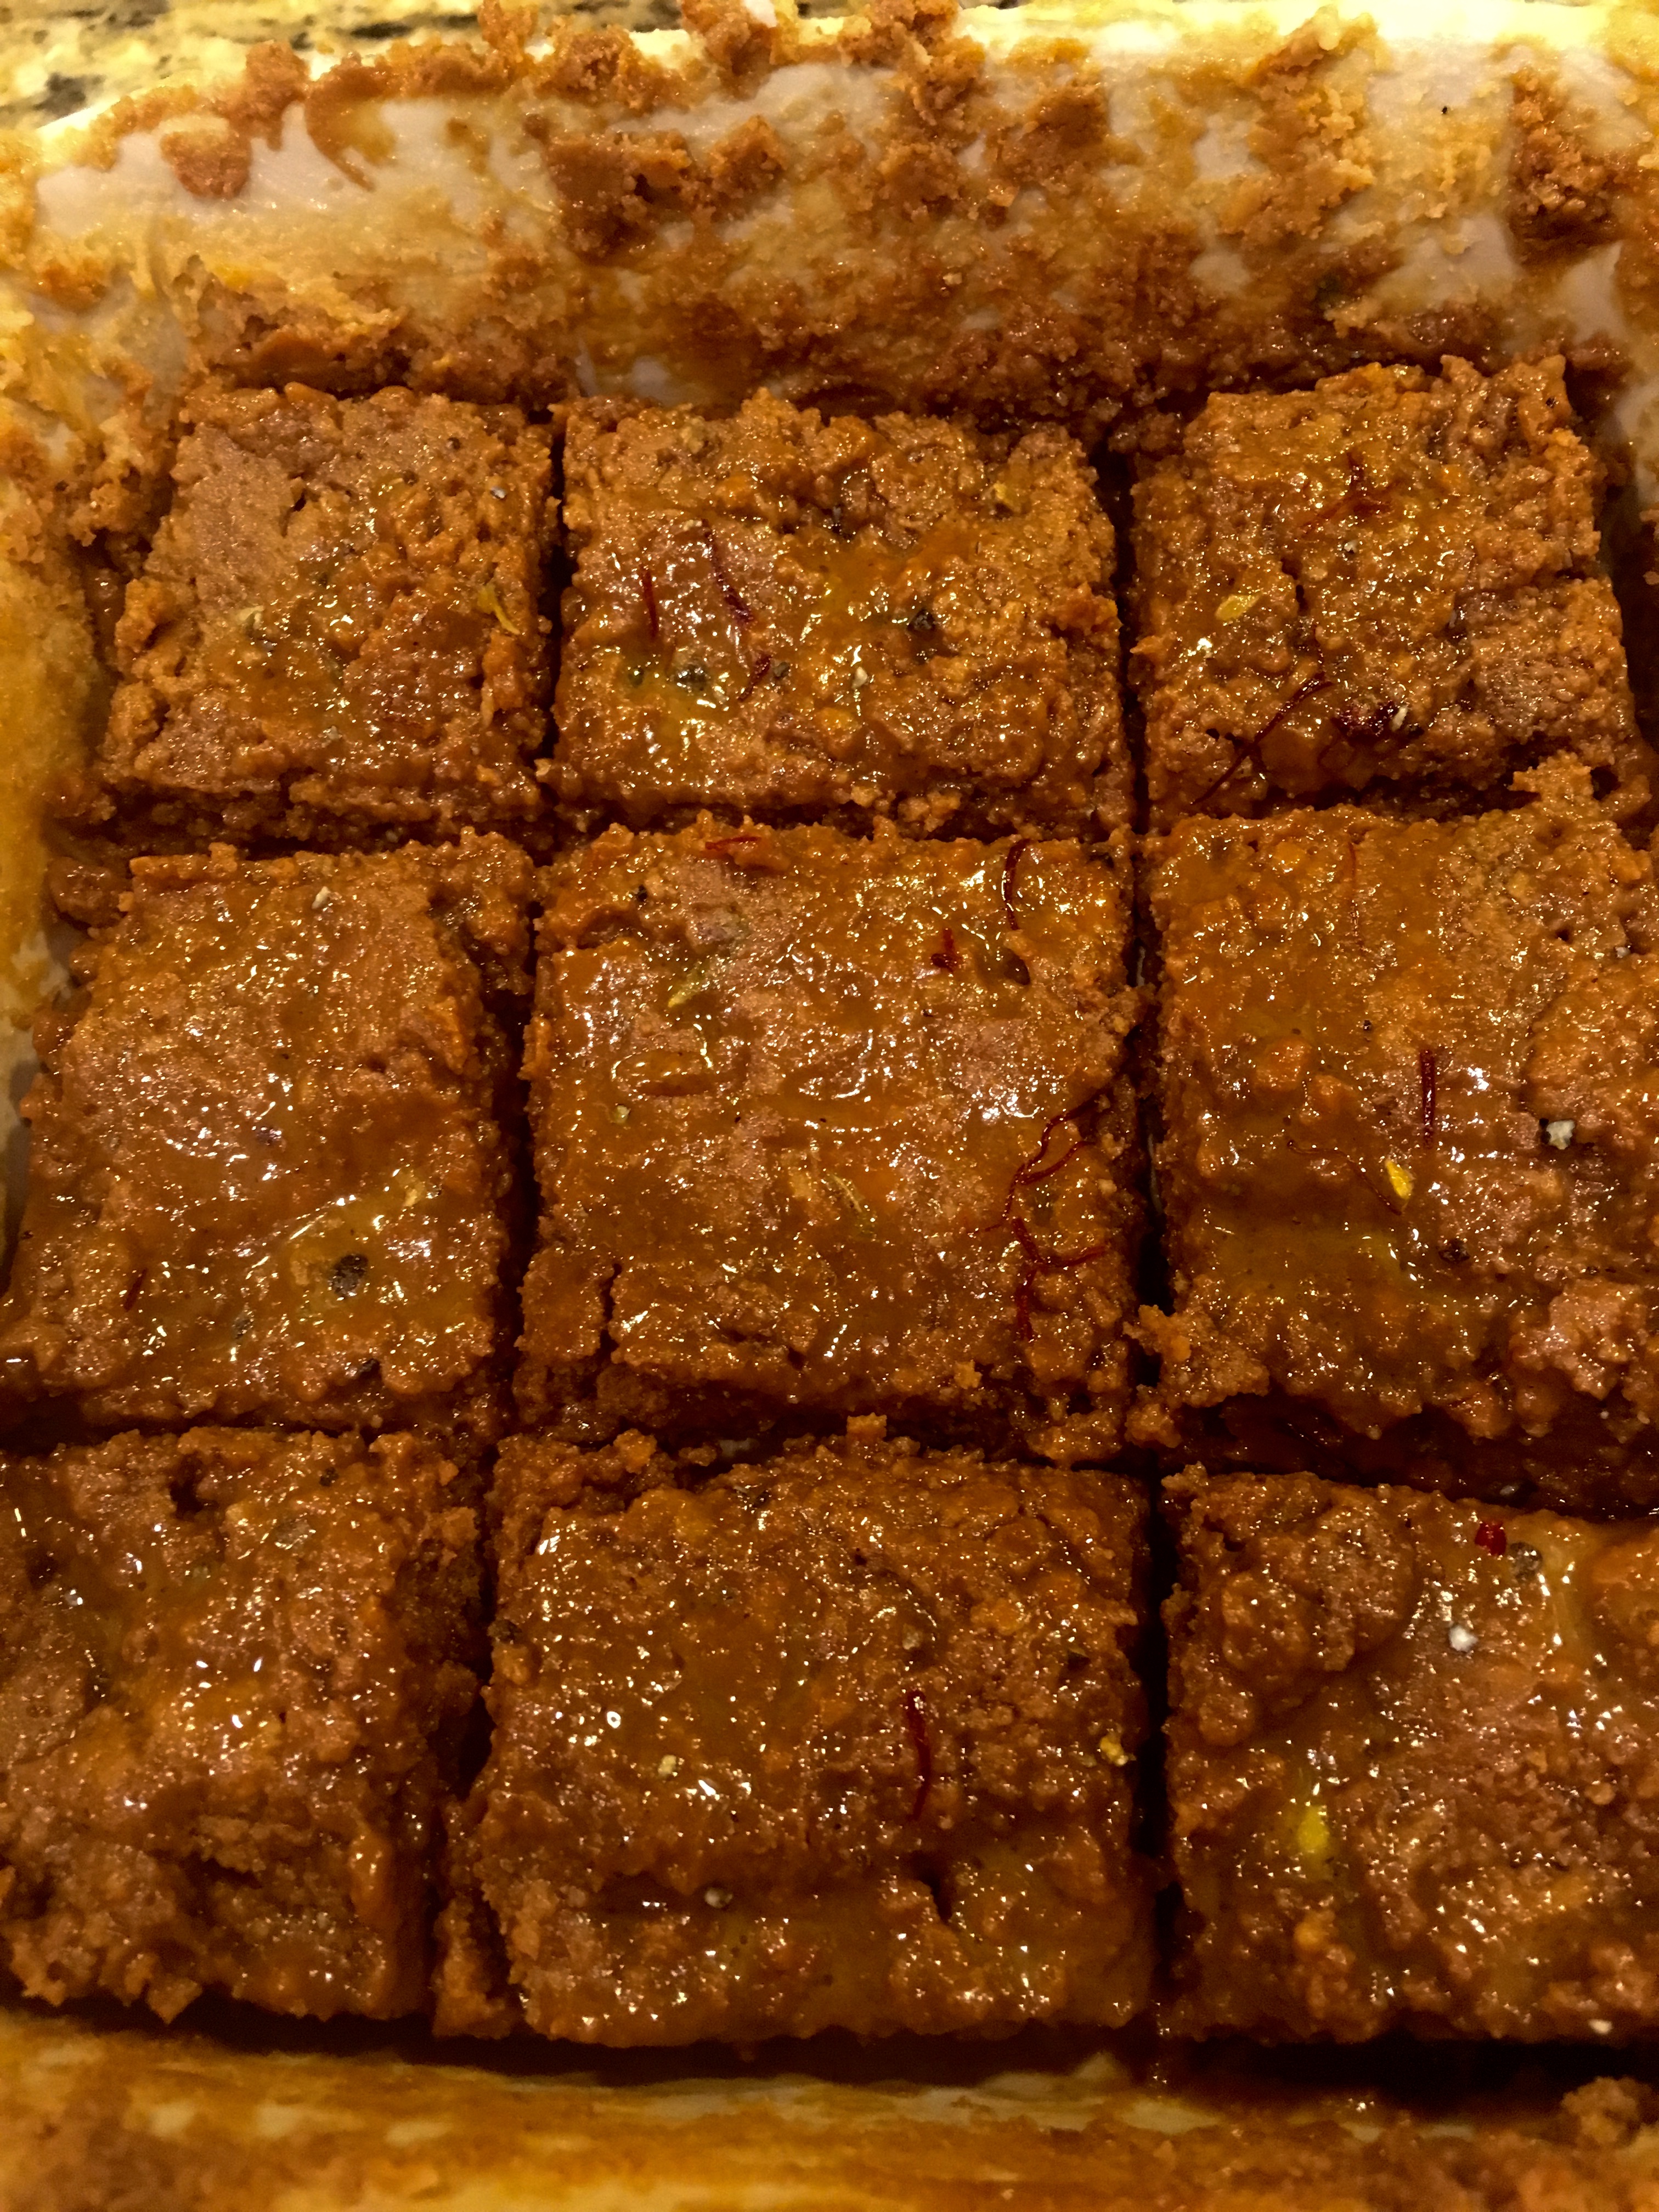
Pinch of saffron
Method
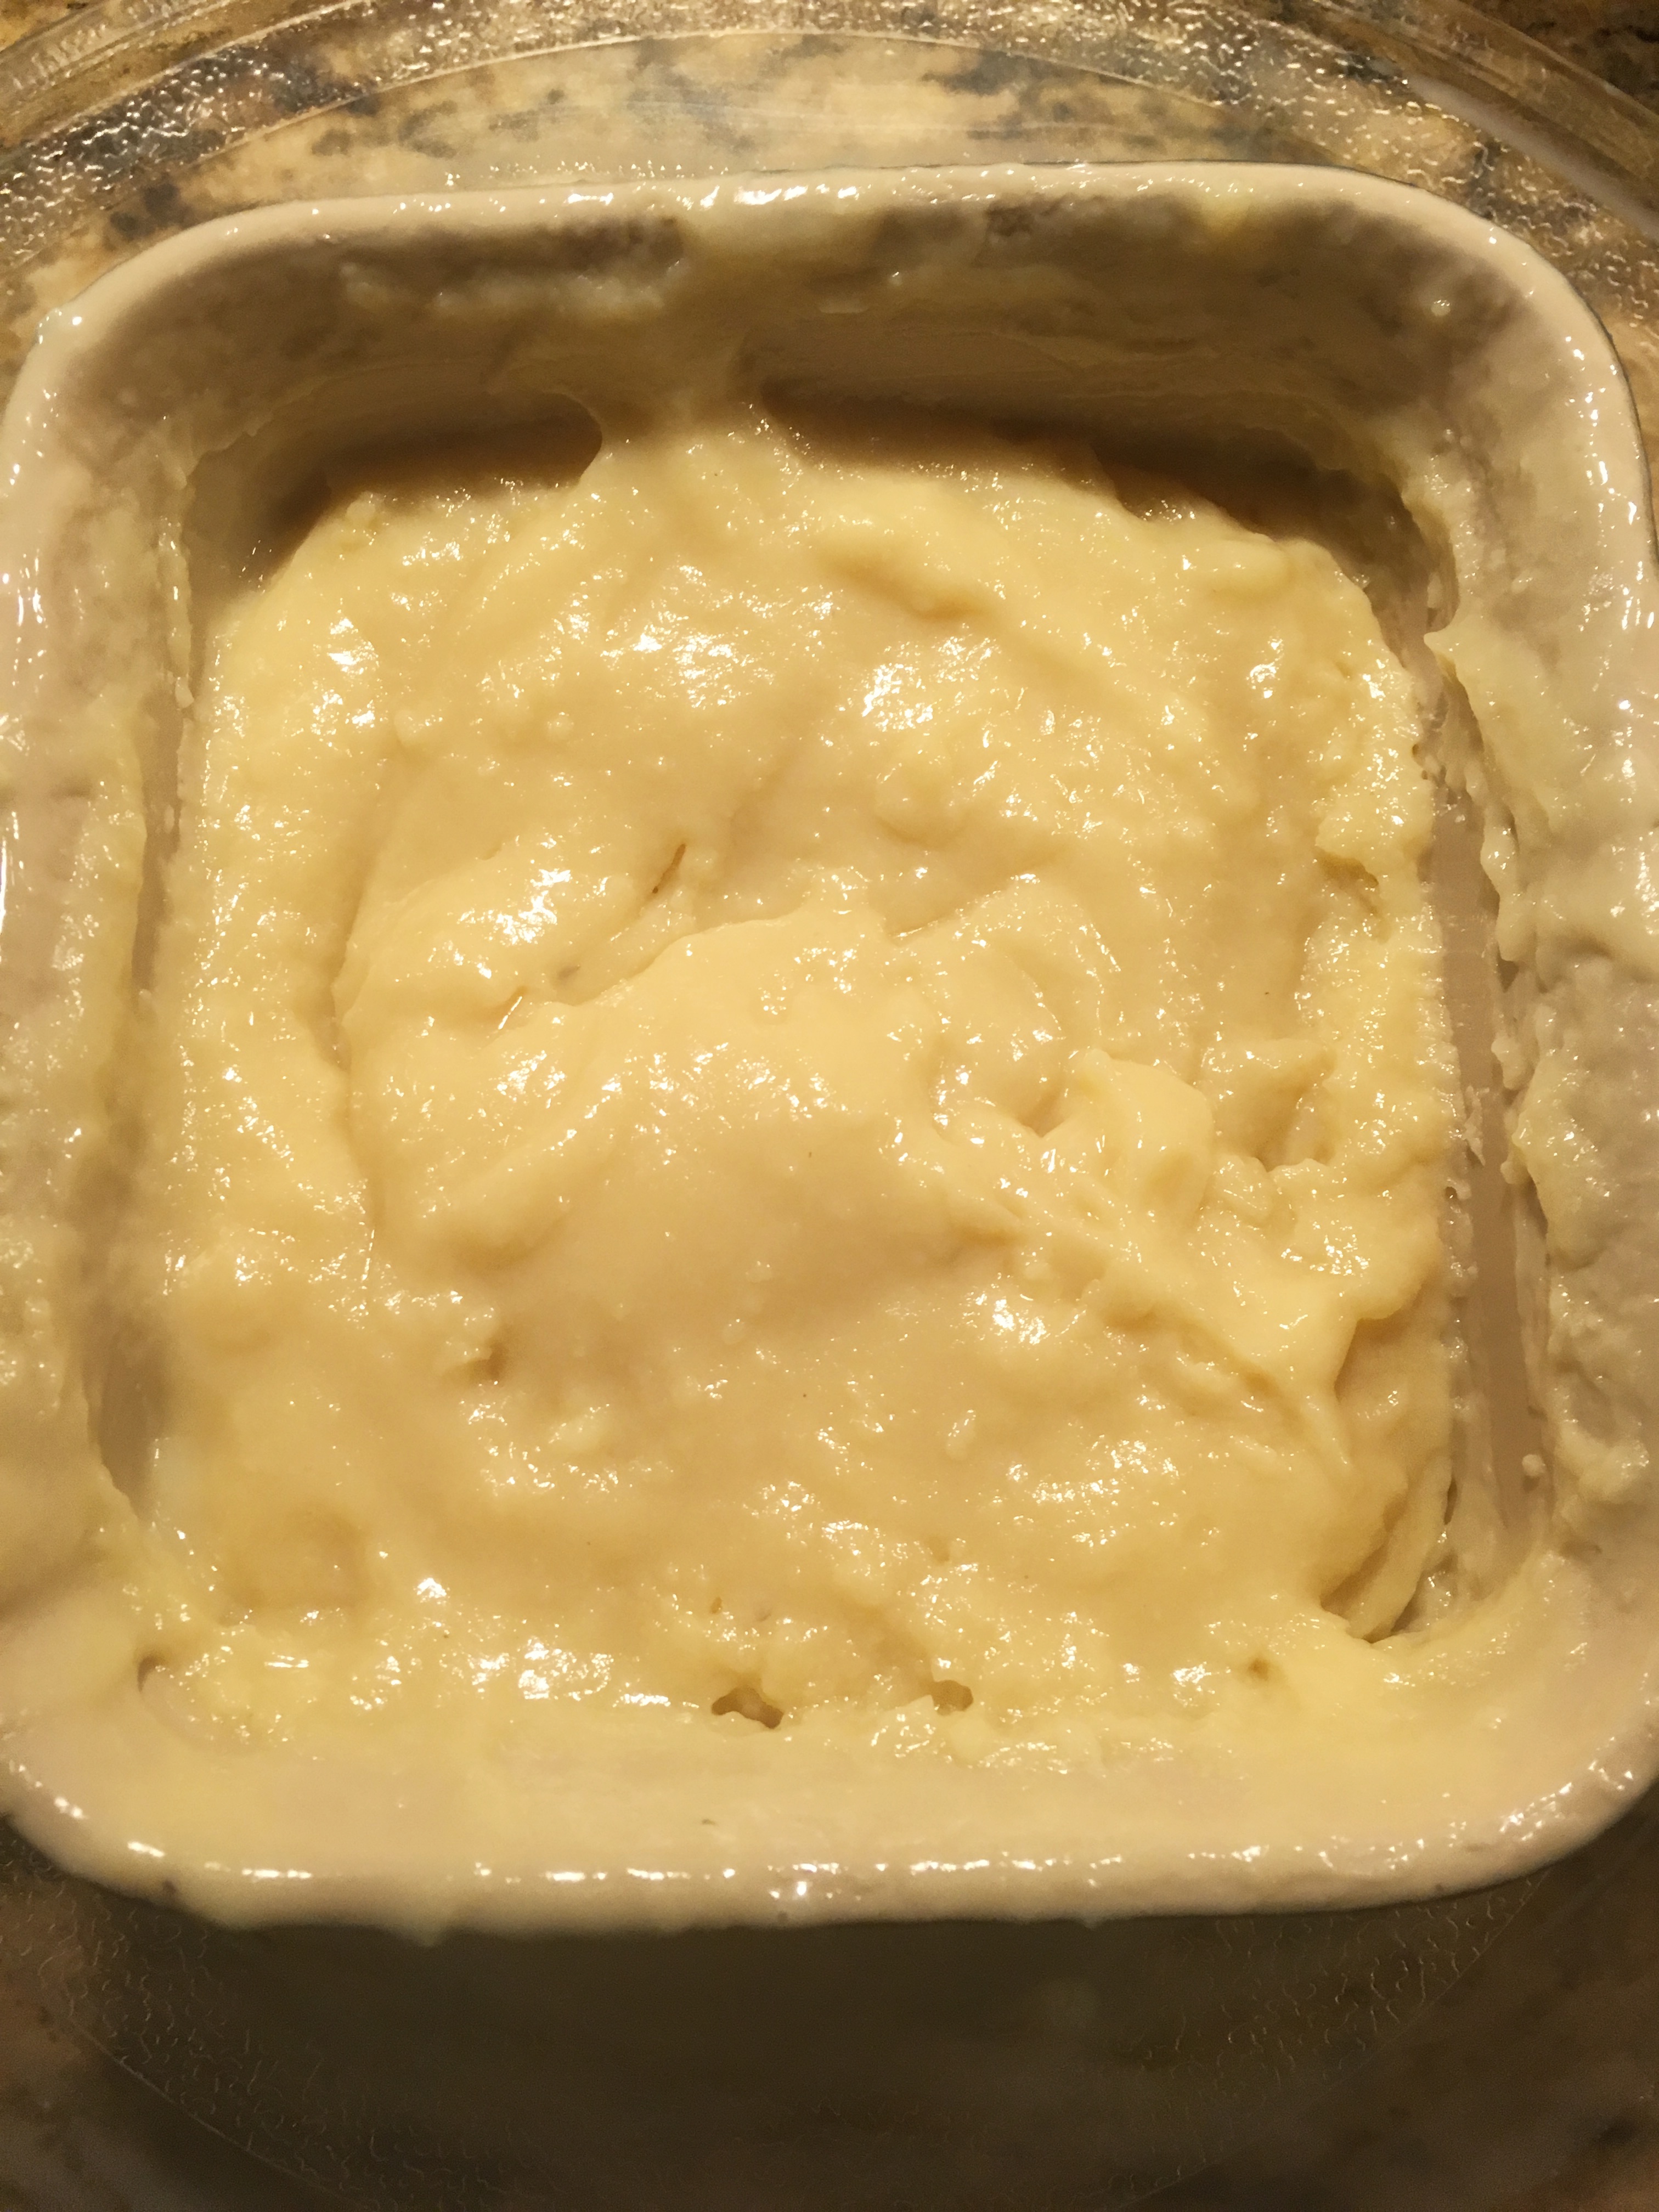
Use a deep microwave container if possible, as while cooking, the milk tends to overflow.
Grease the microwave bowl with some ghee
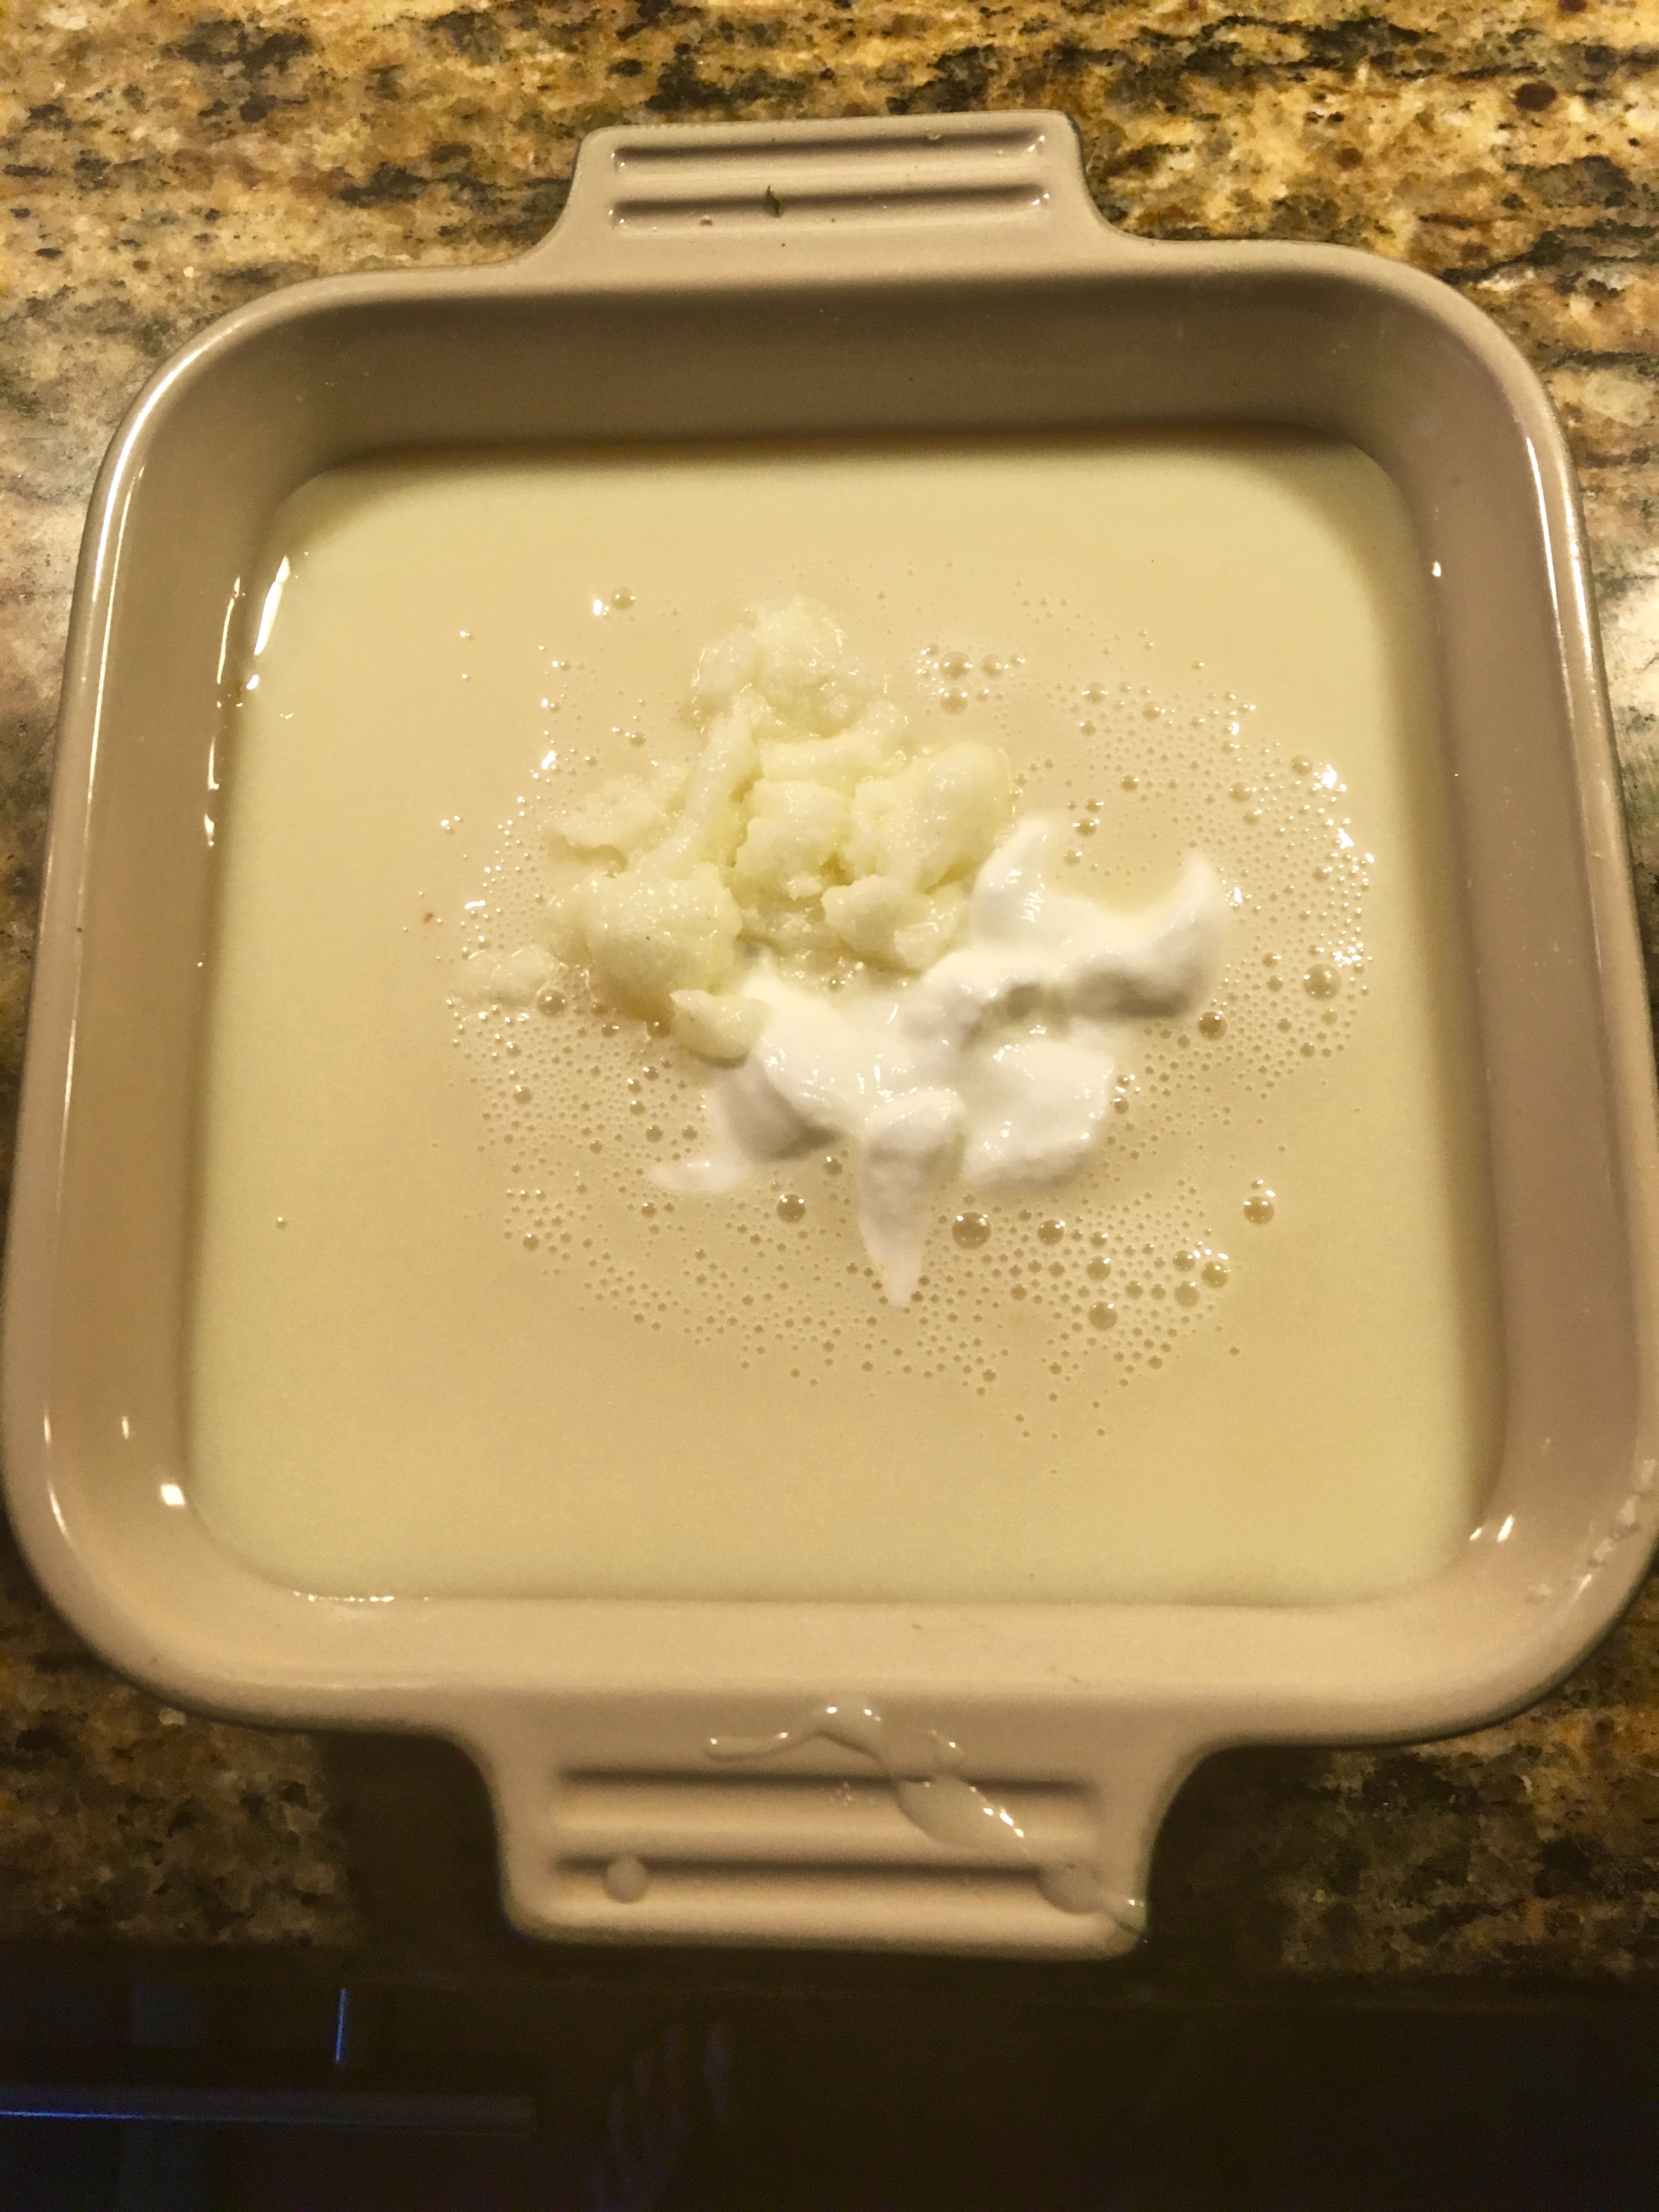
Mix yoghurt and 1 tbsp ghee into condensed milk.
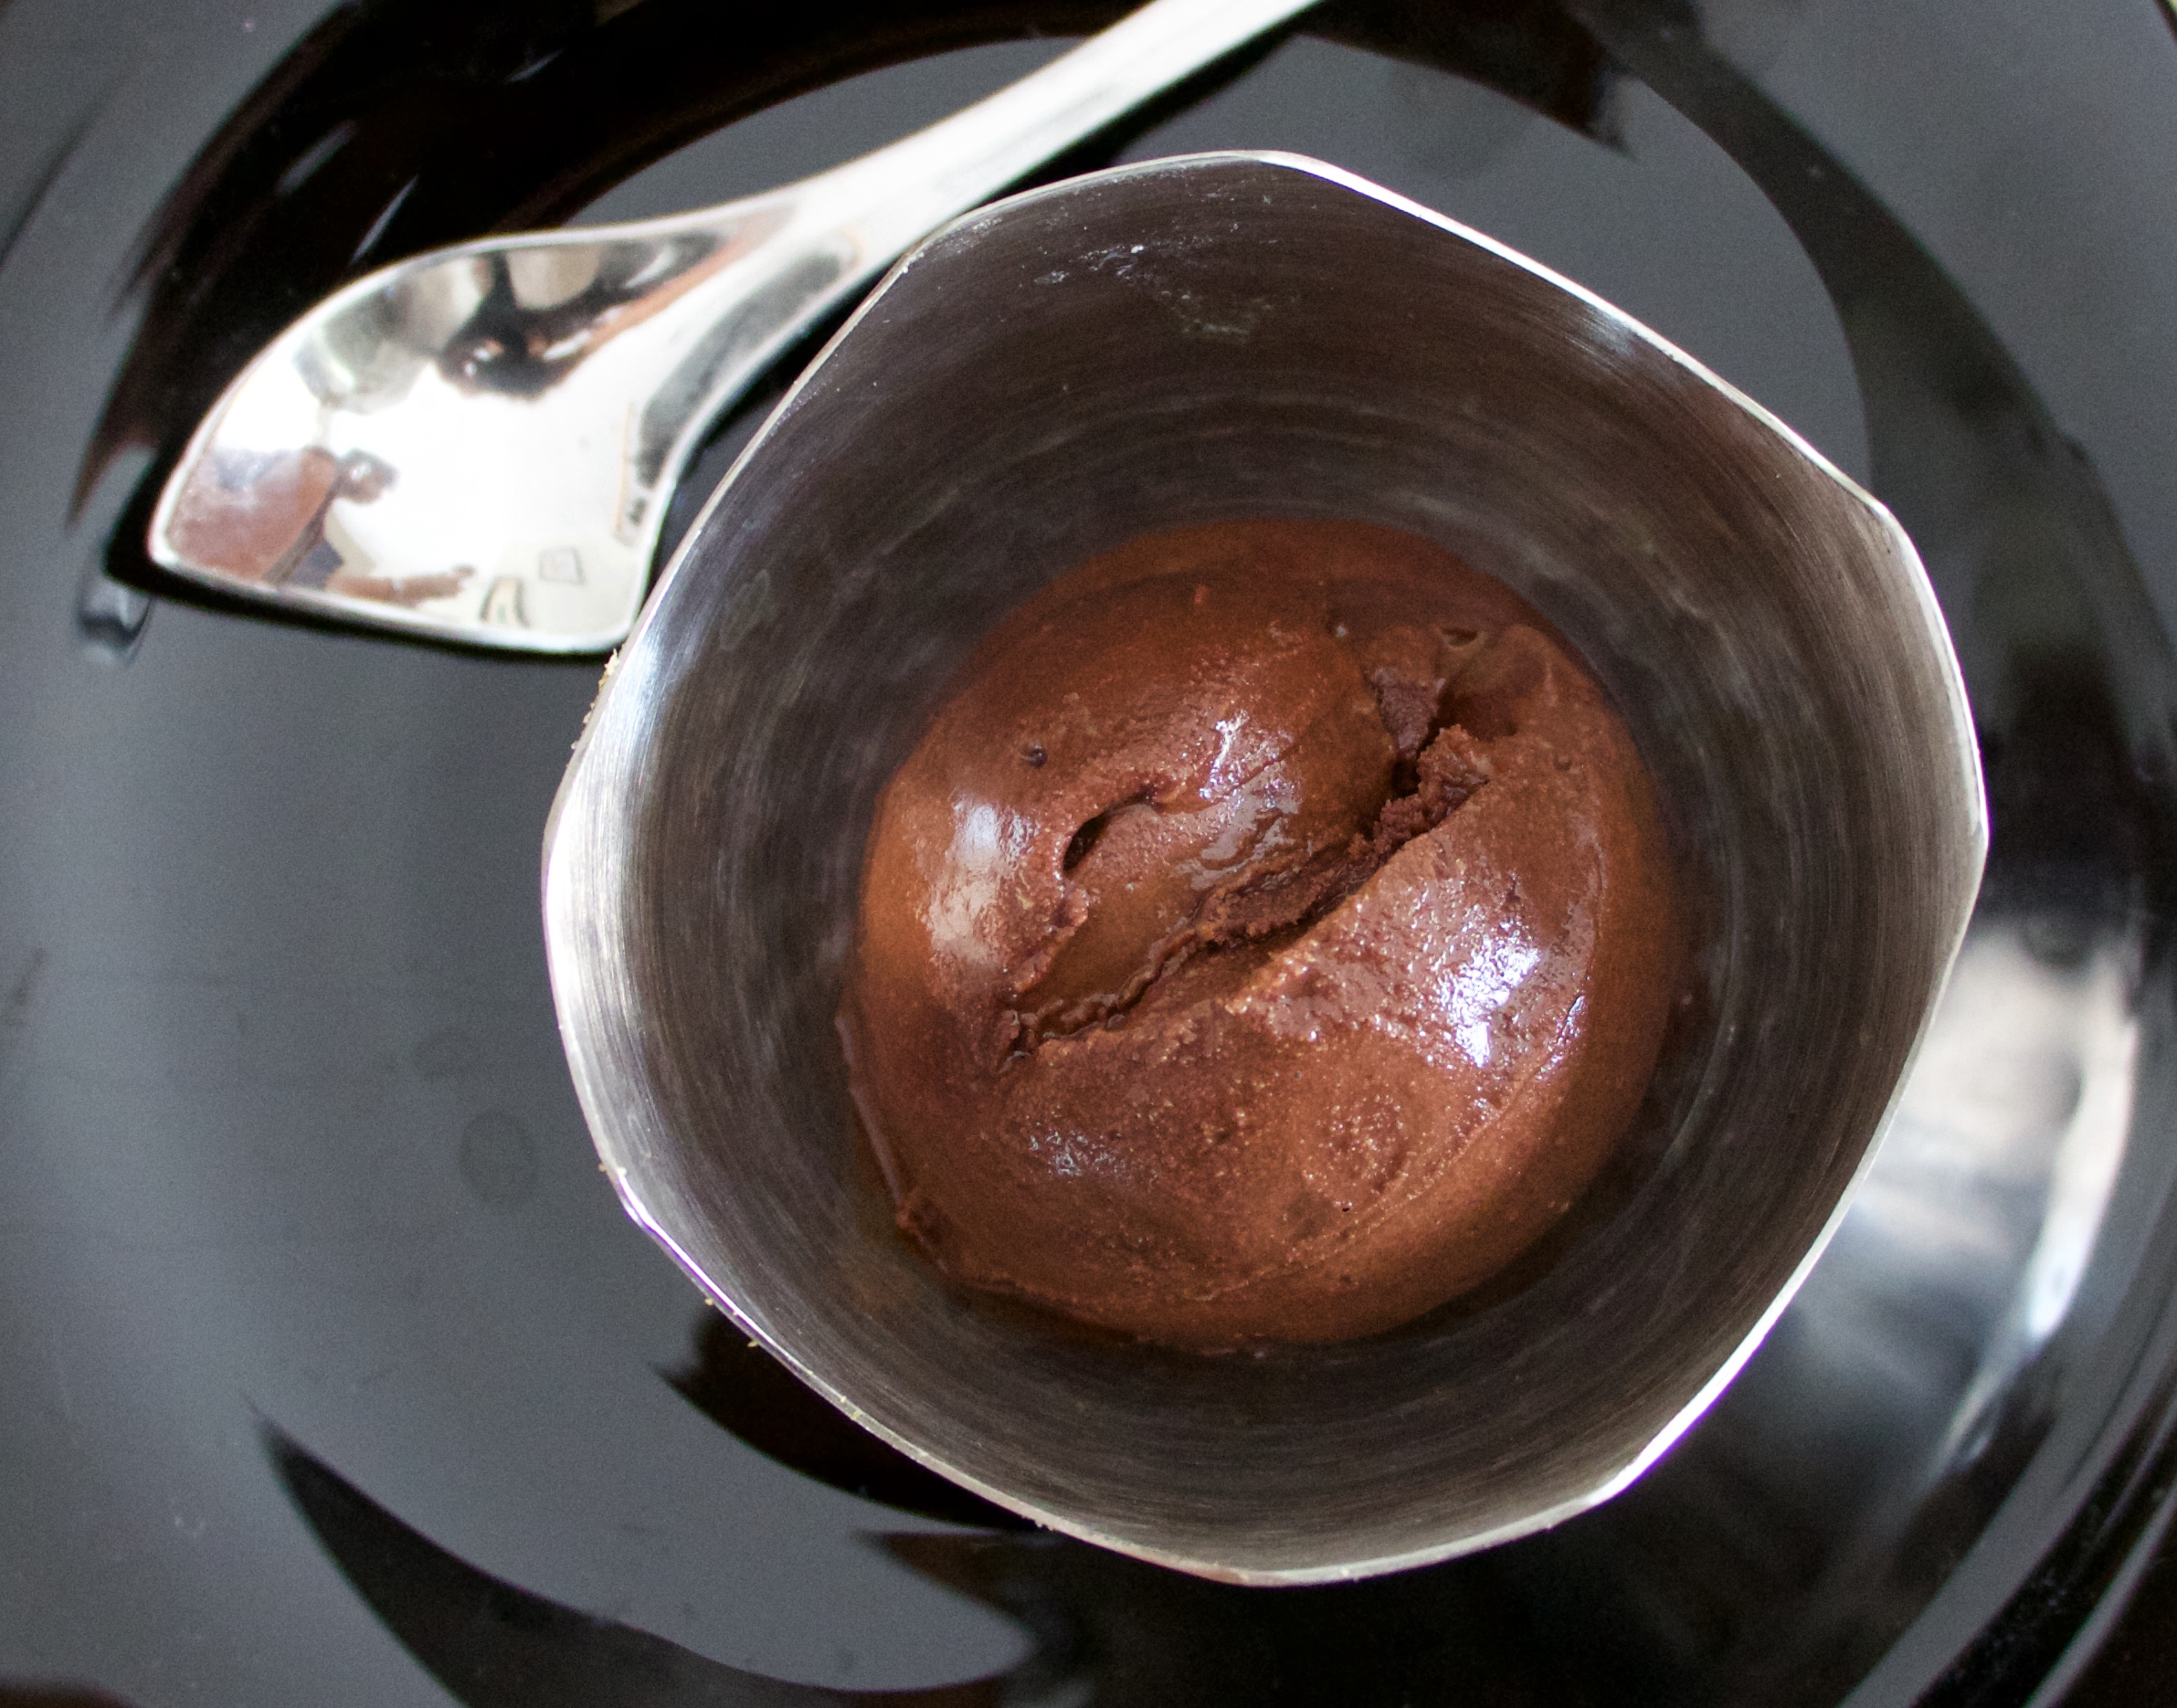
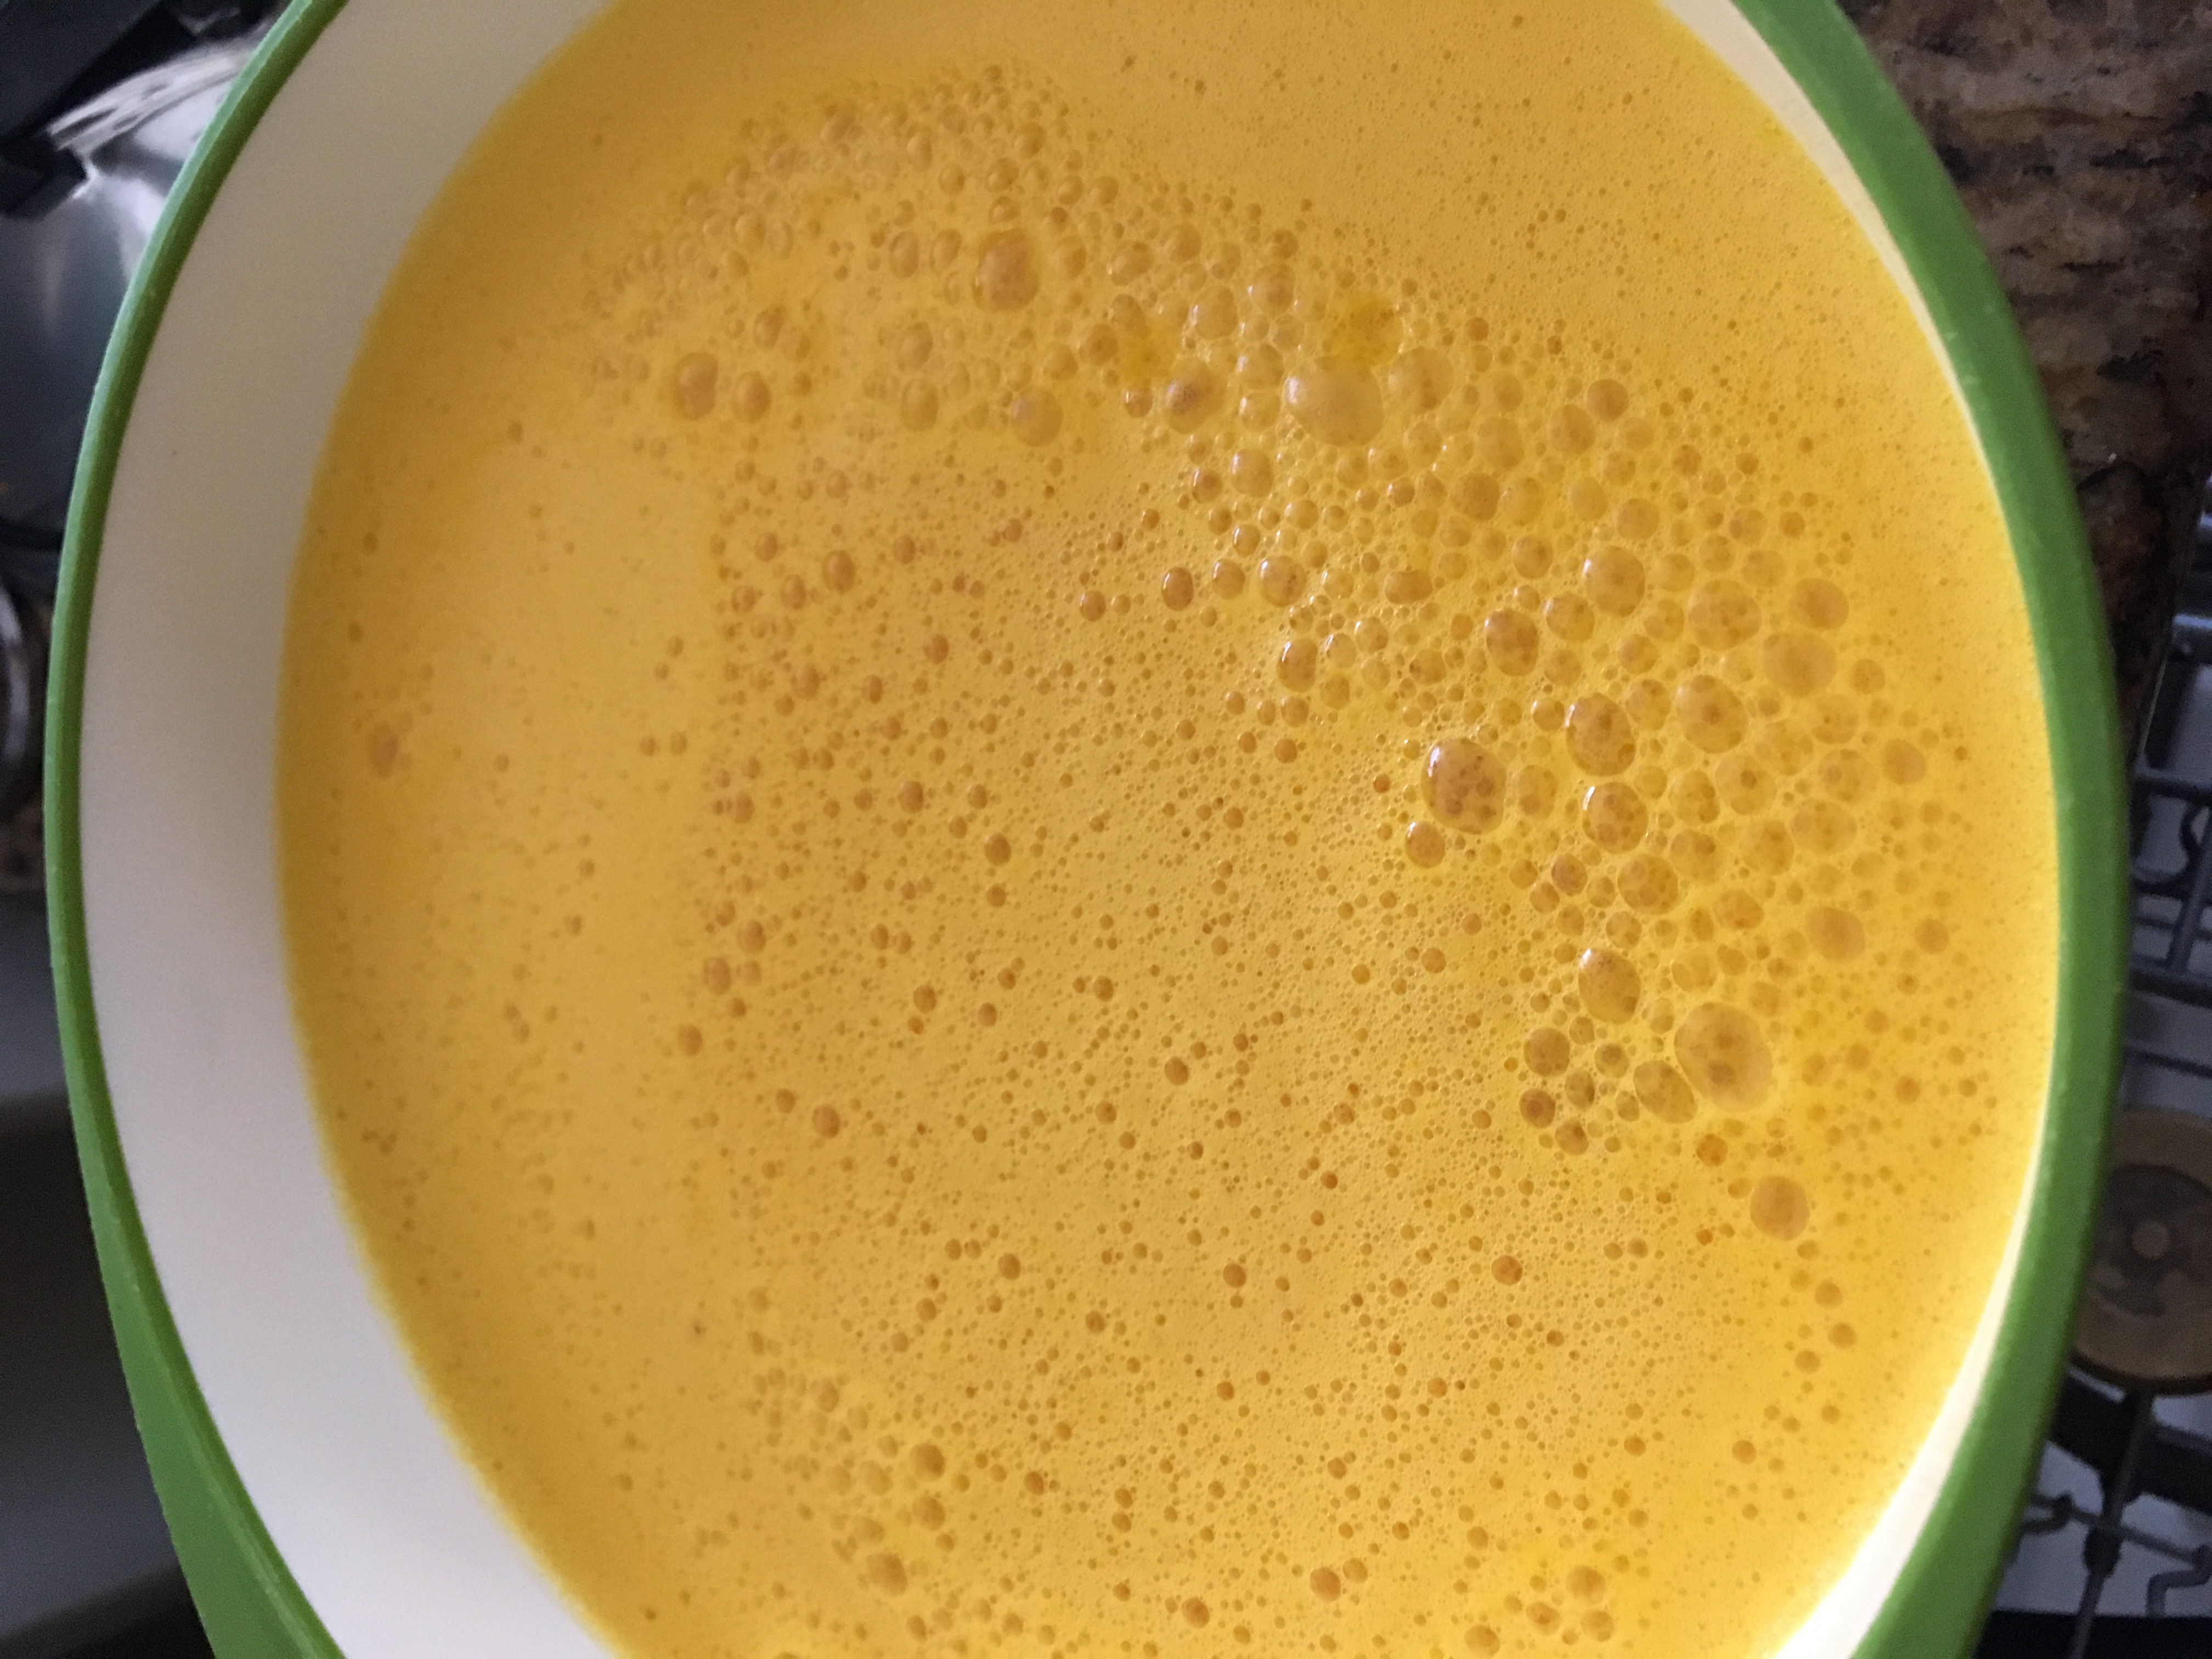
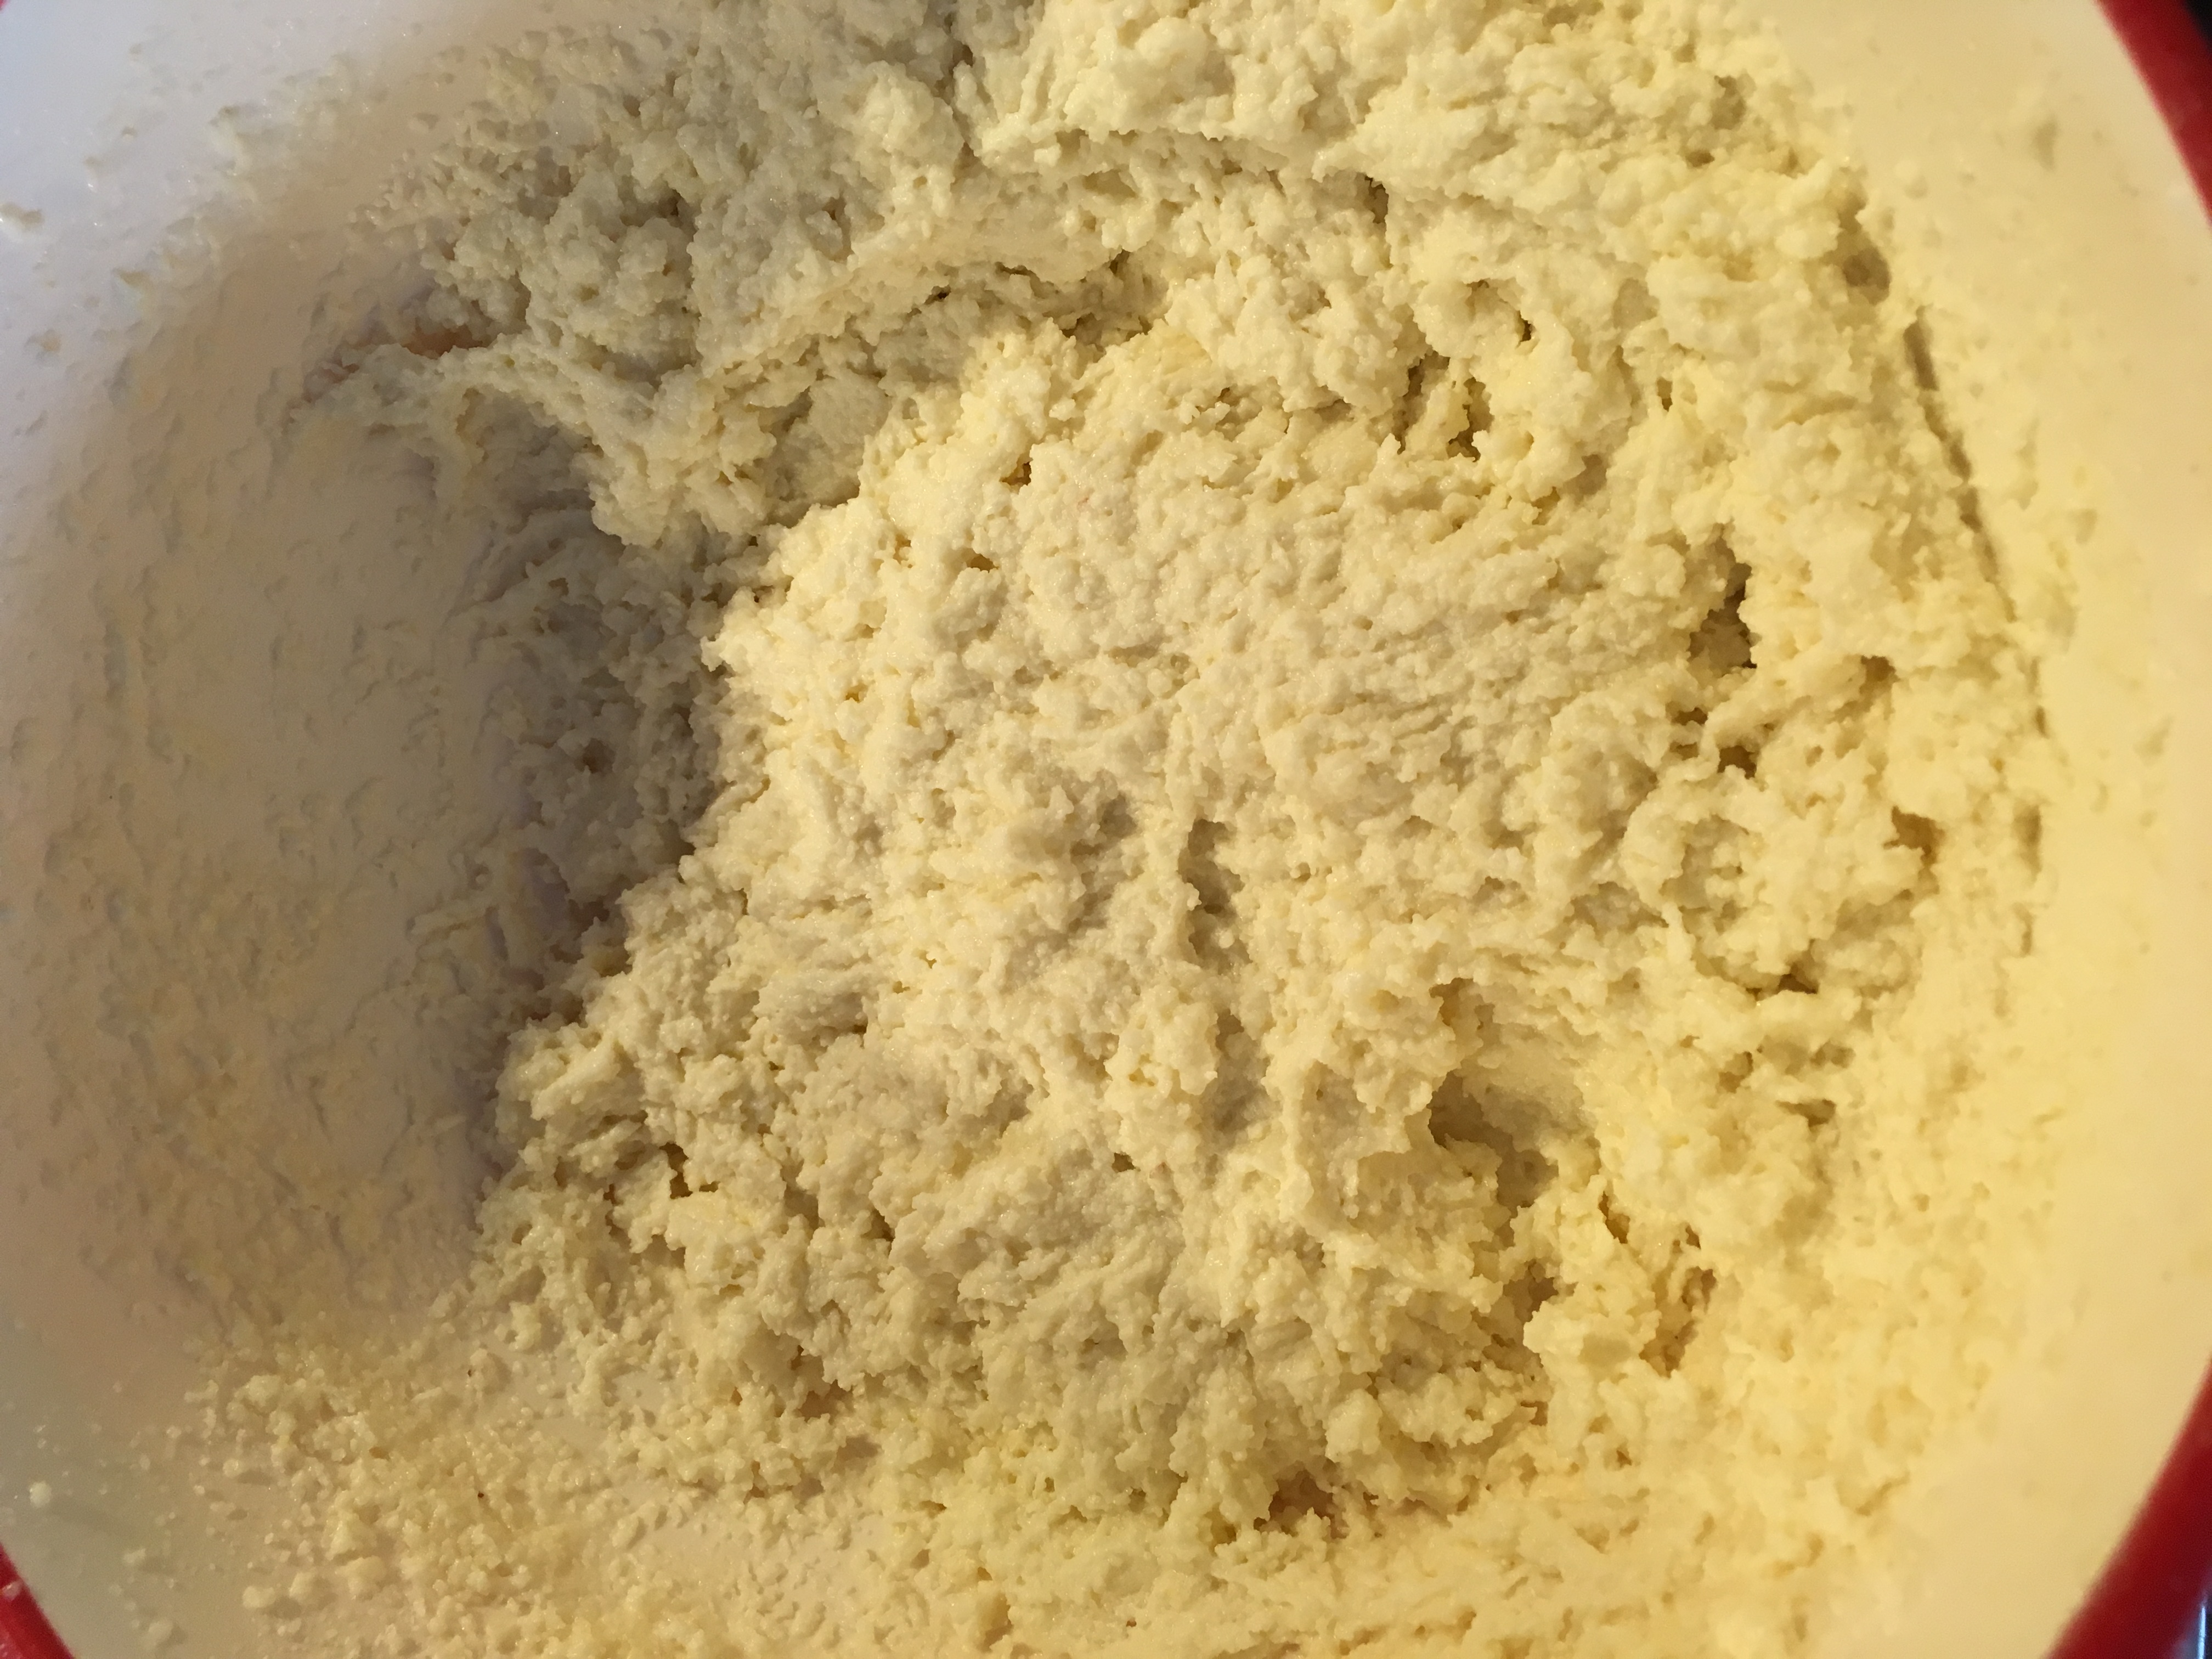
Heat for about 3 minutes monitoring it consistently. if the milk rises too close to the brim of bowl, take it out and mix well.
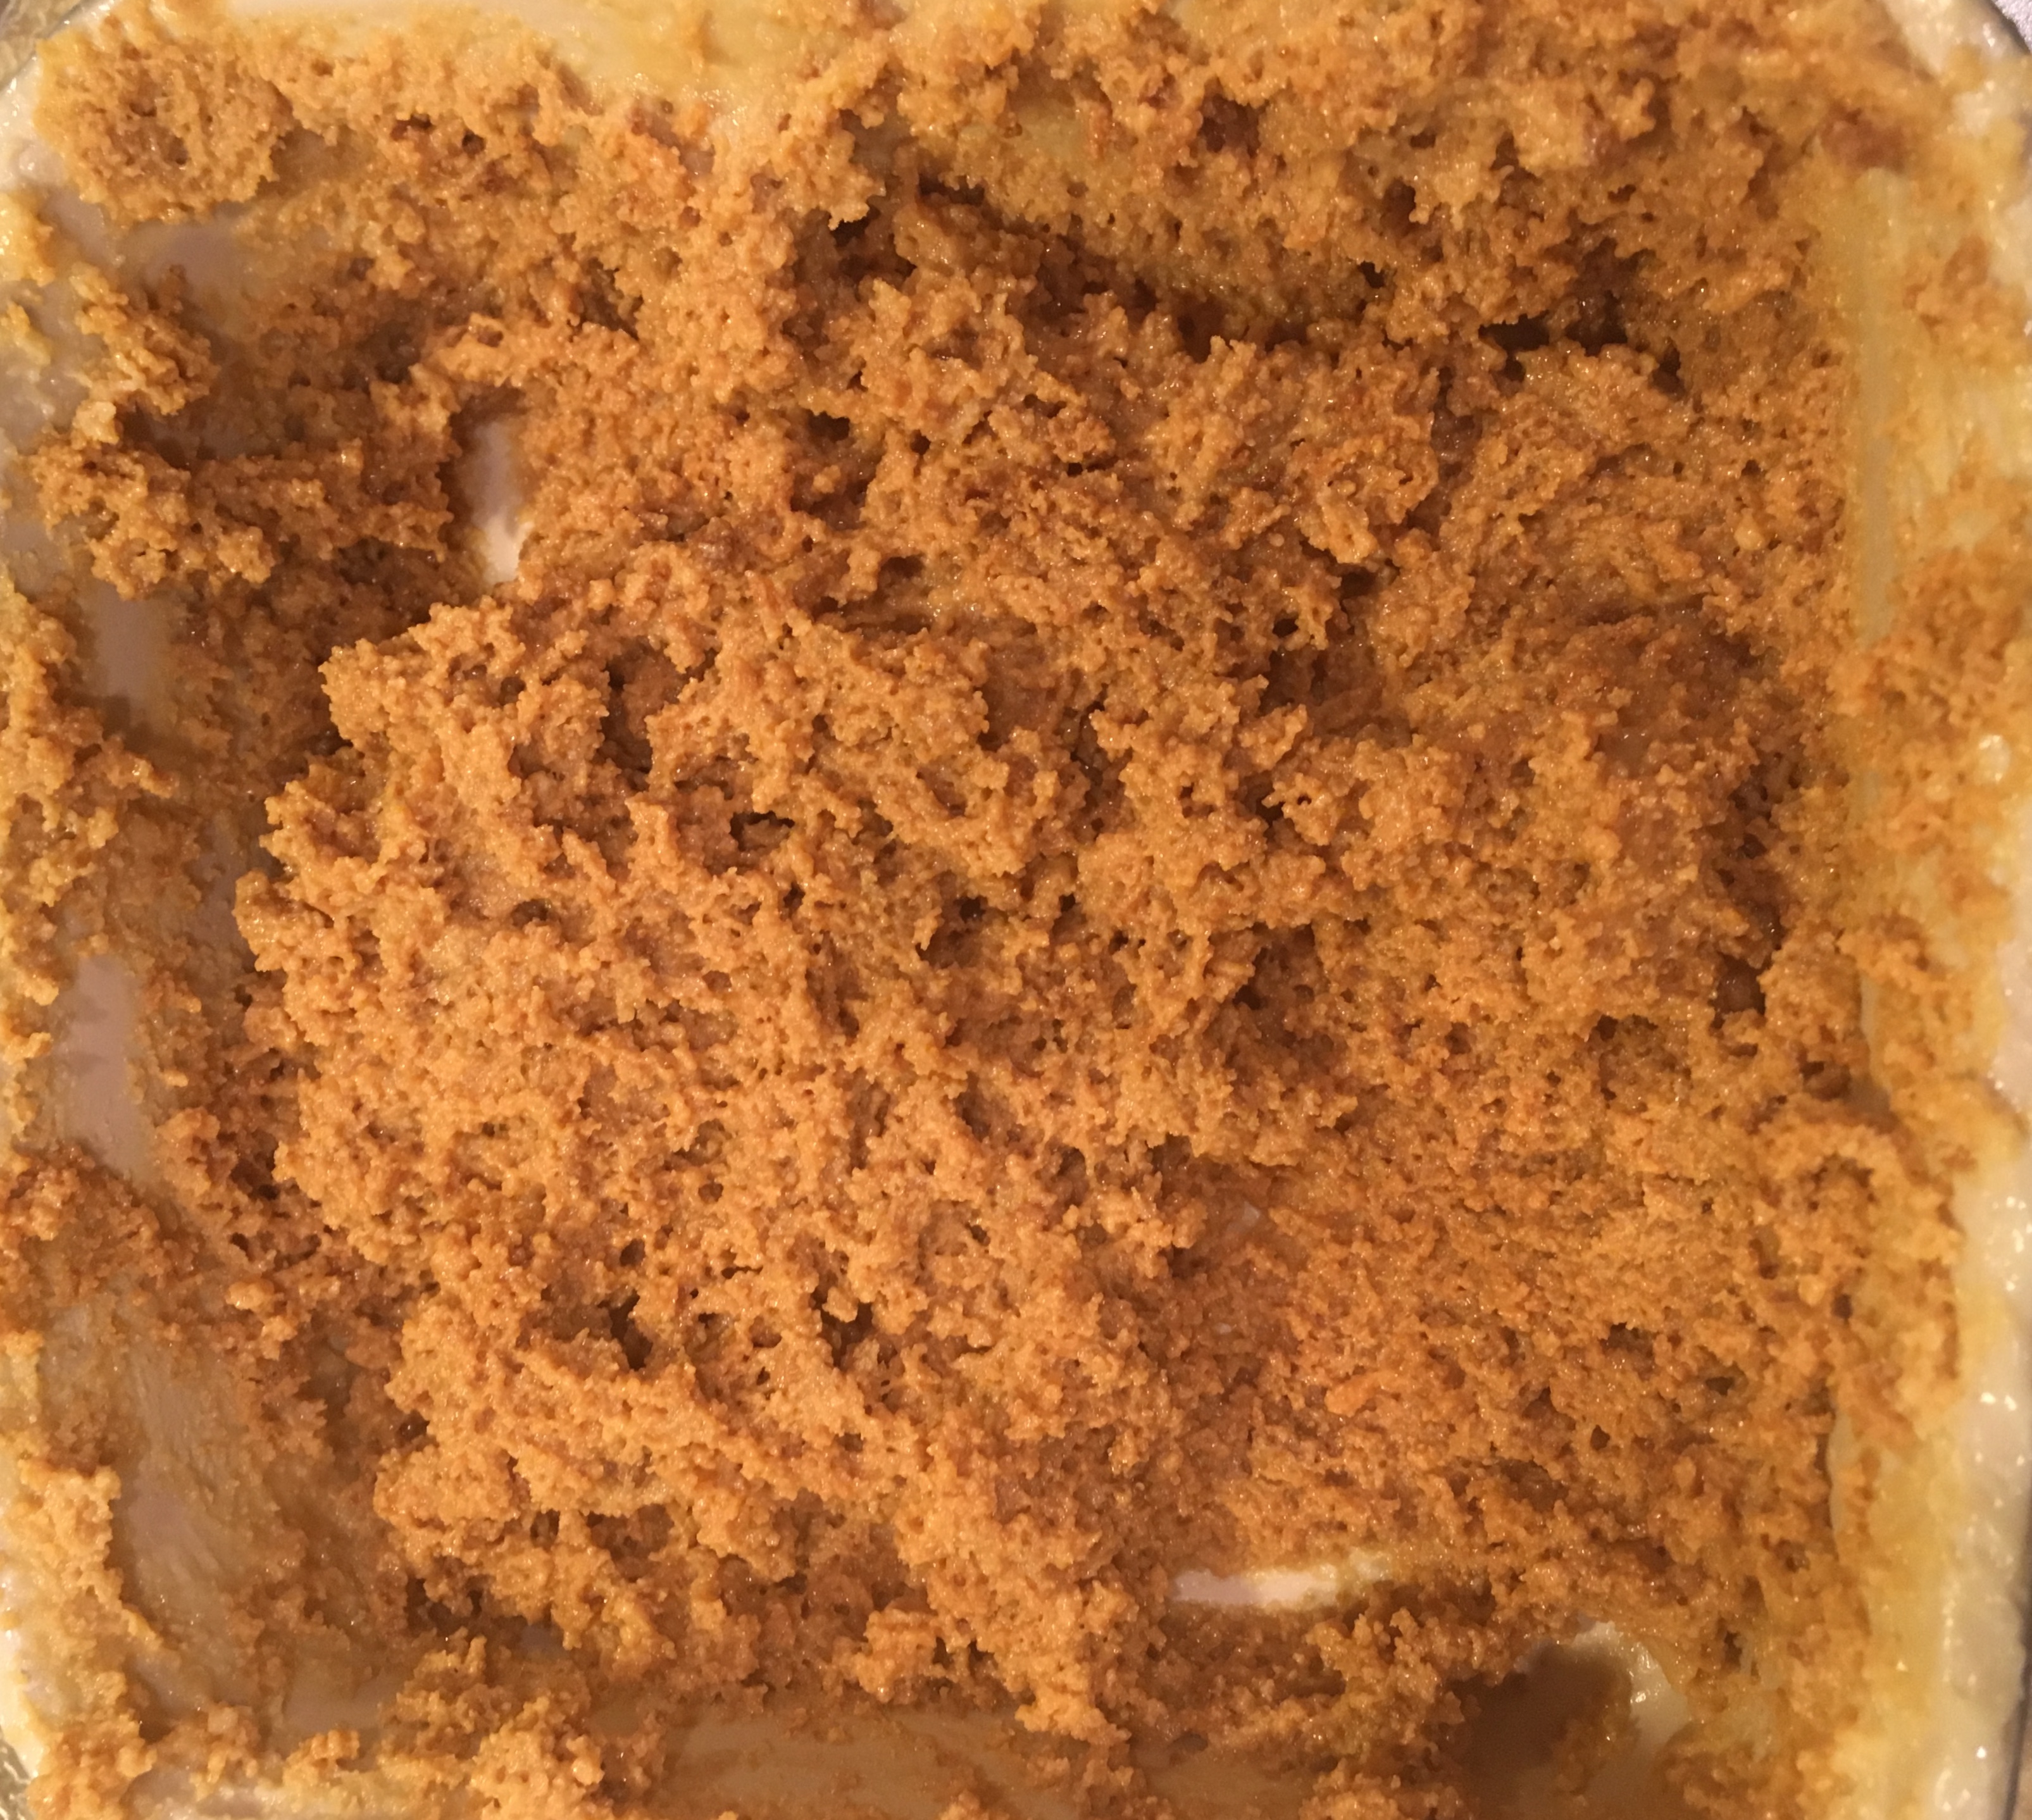
This is how it would look around 4 minutes..
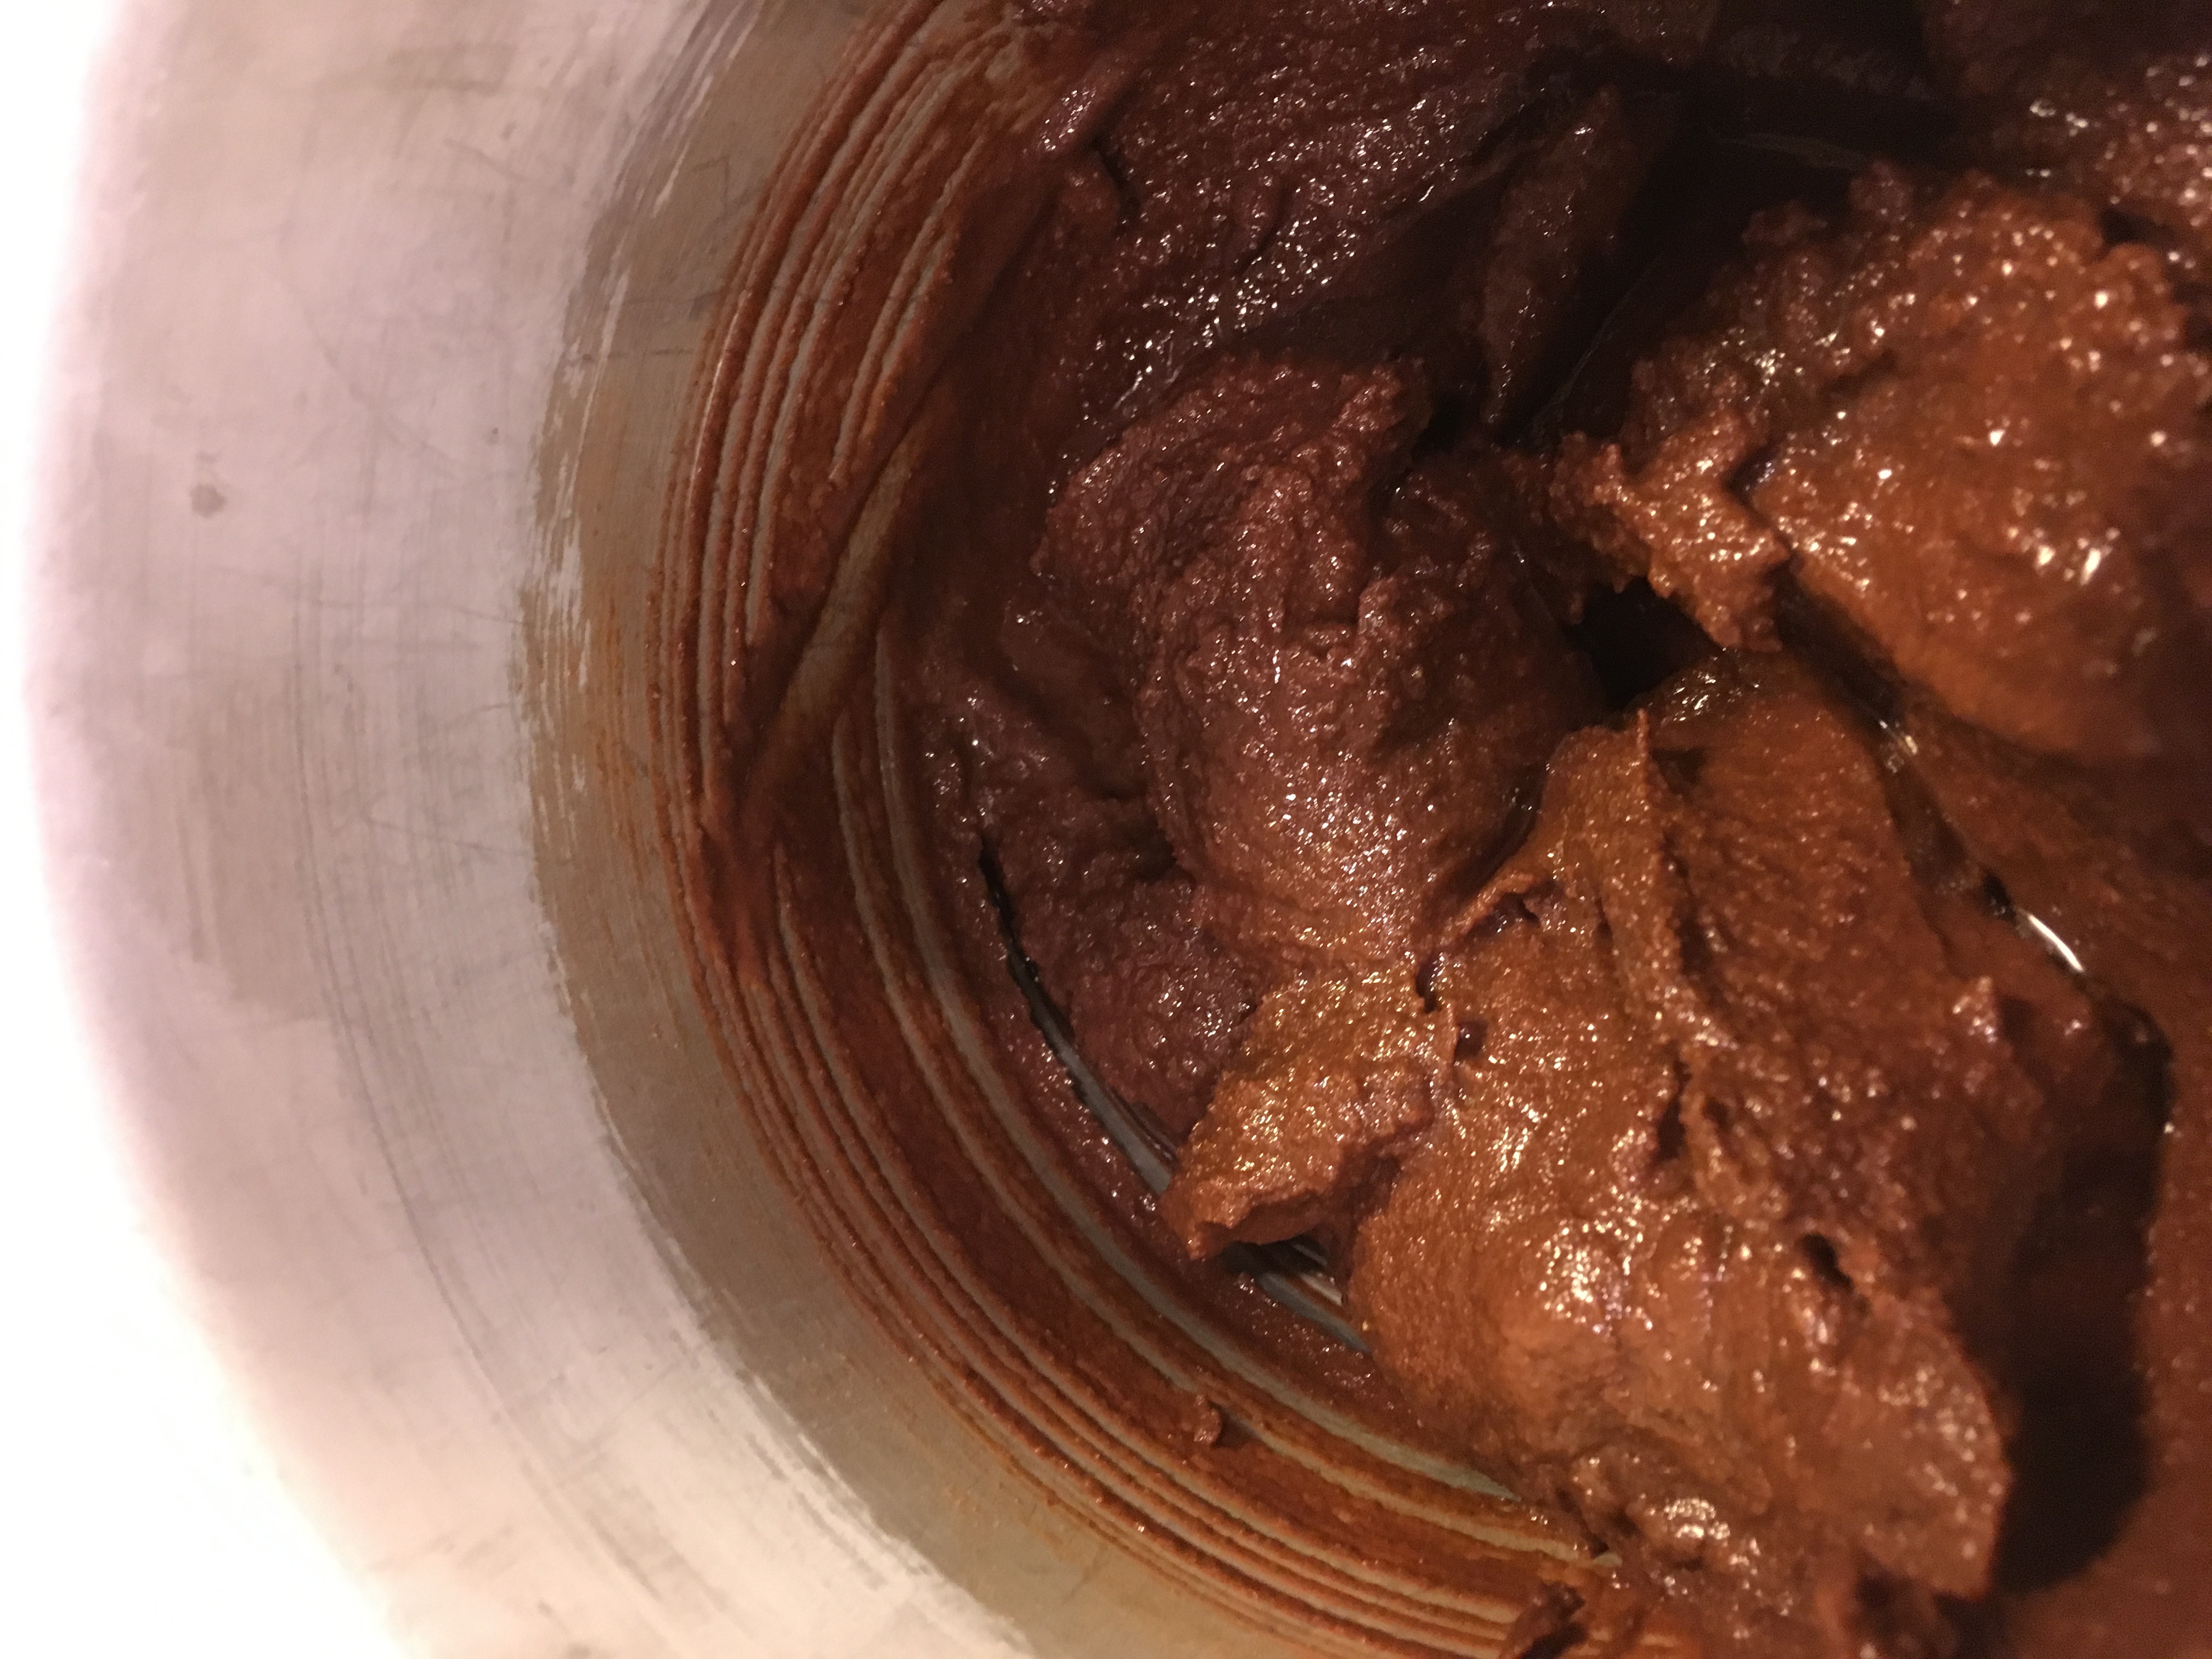
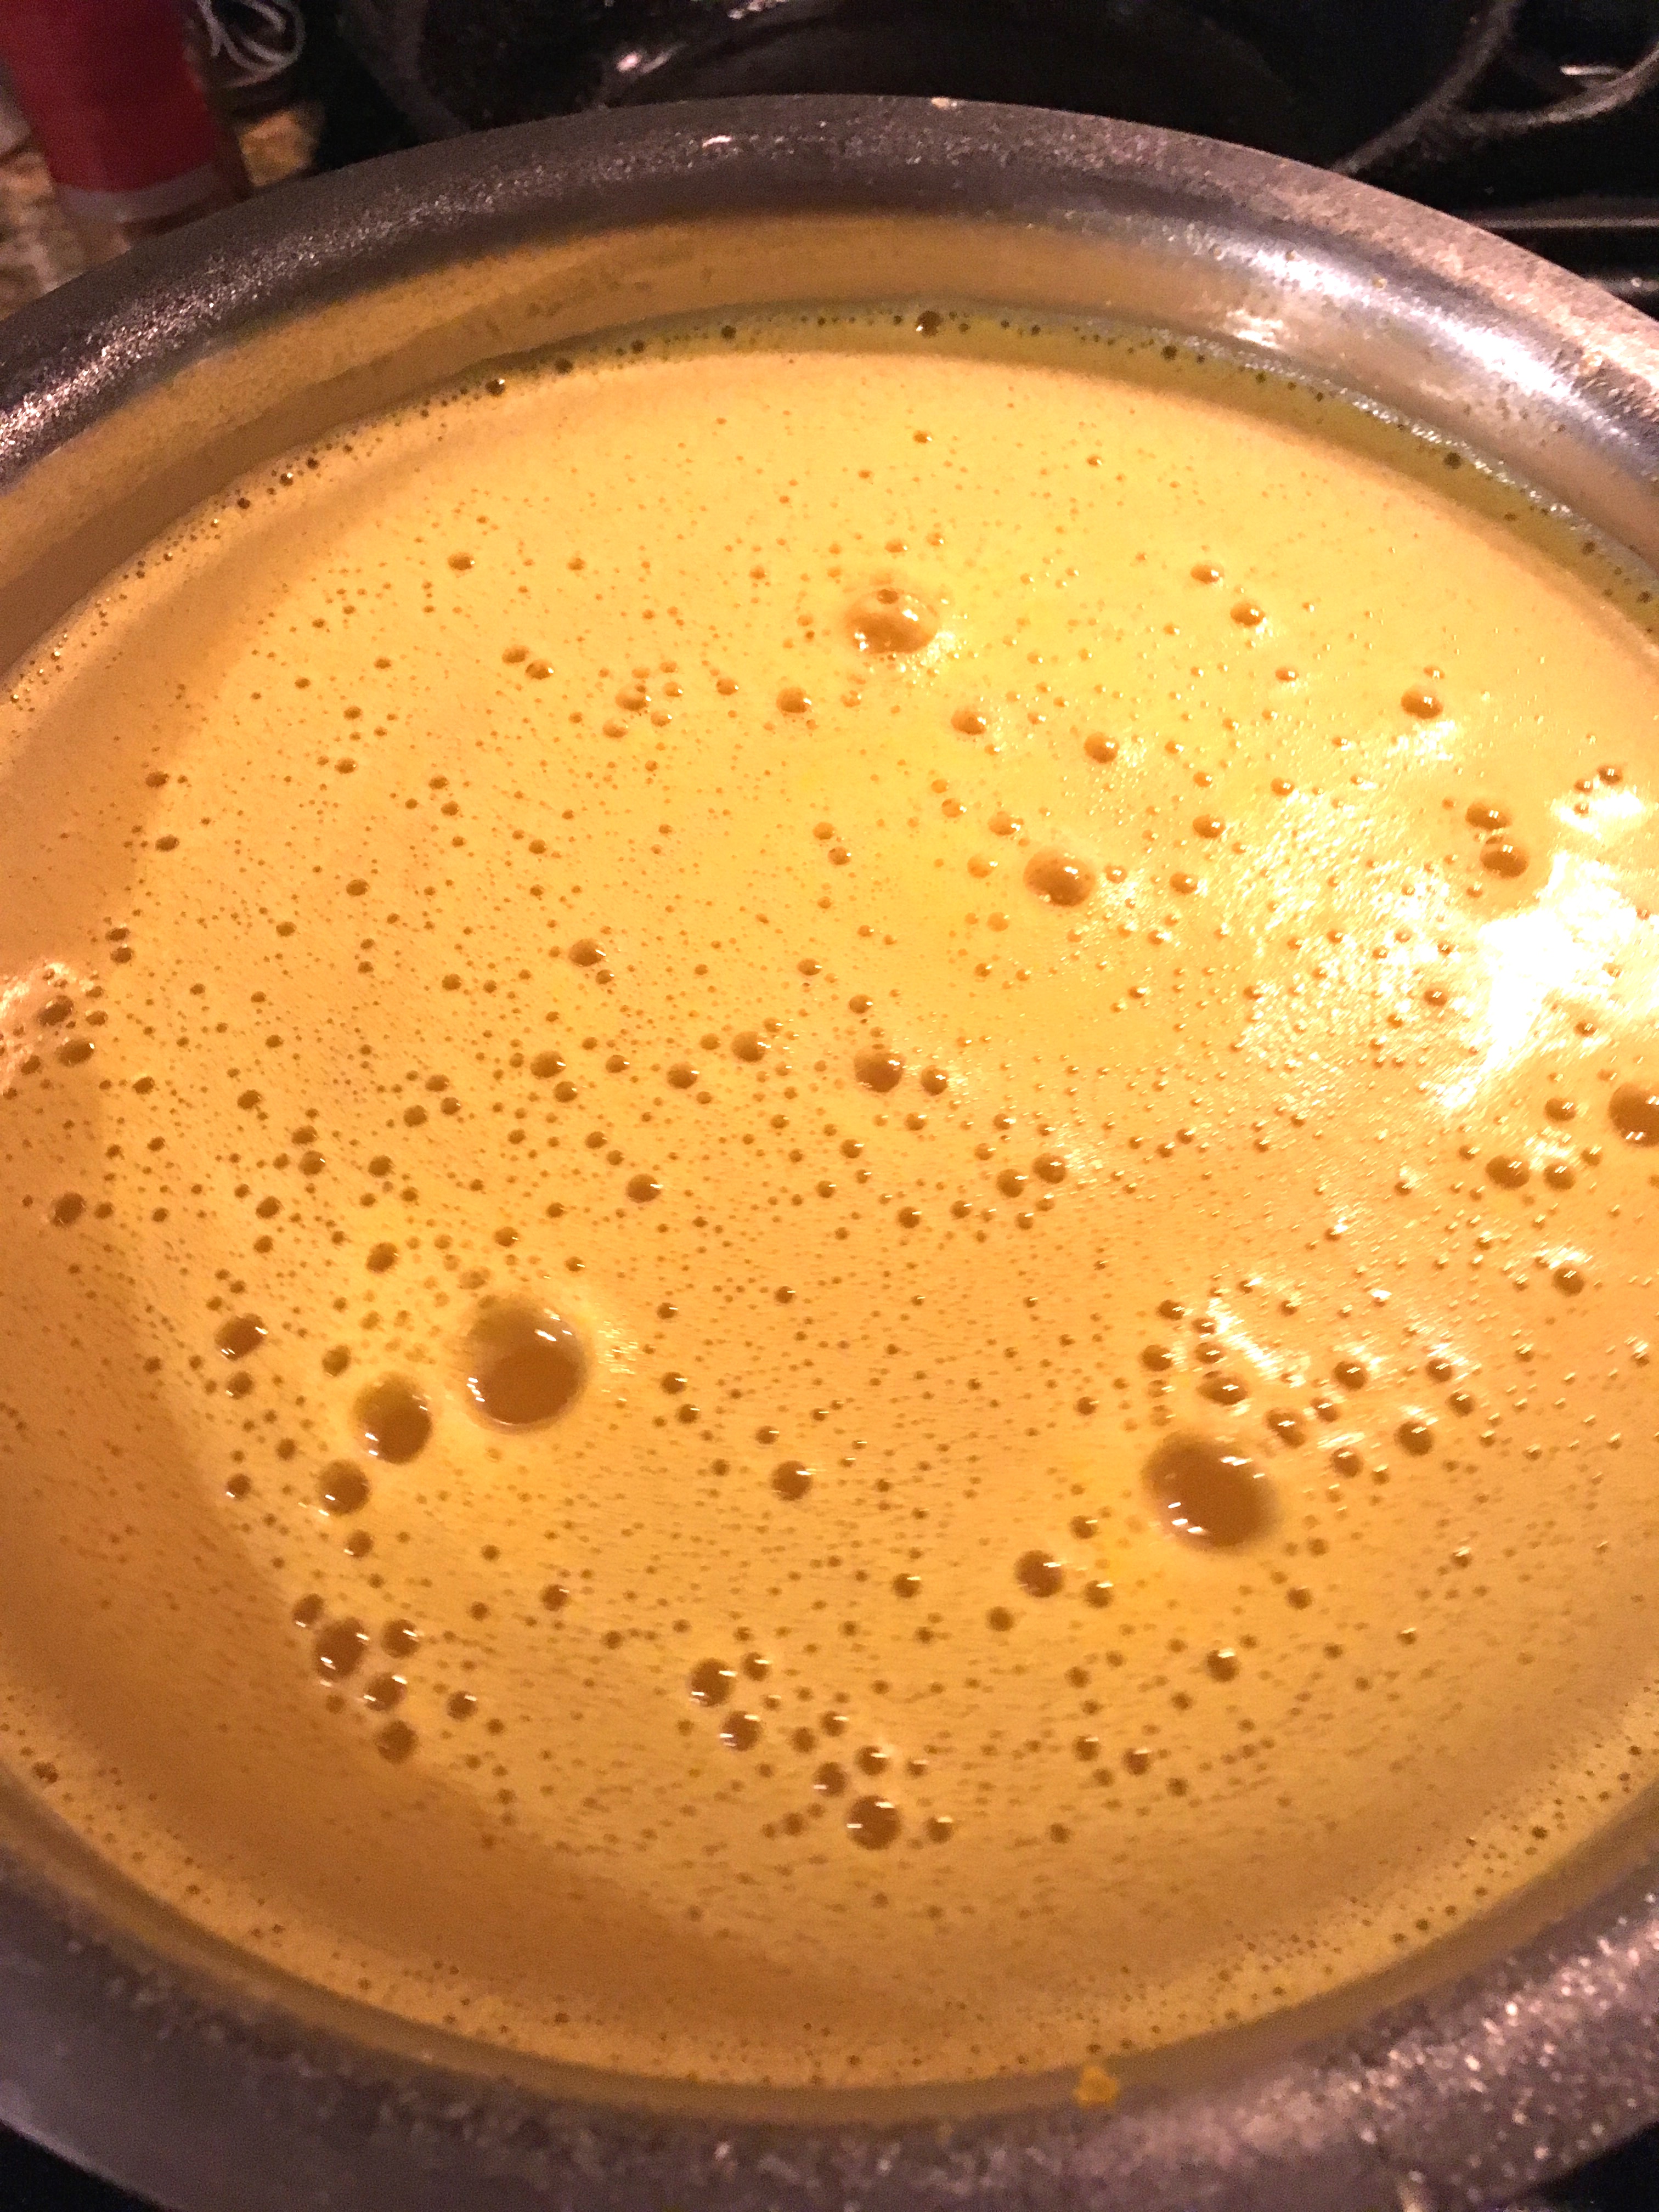
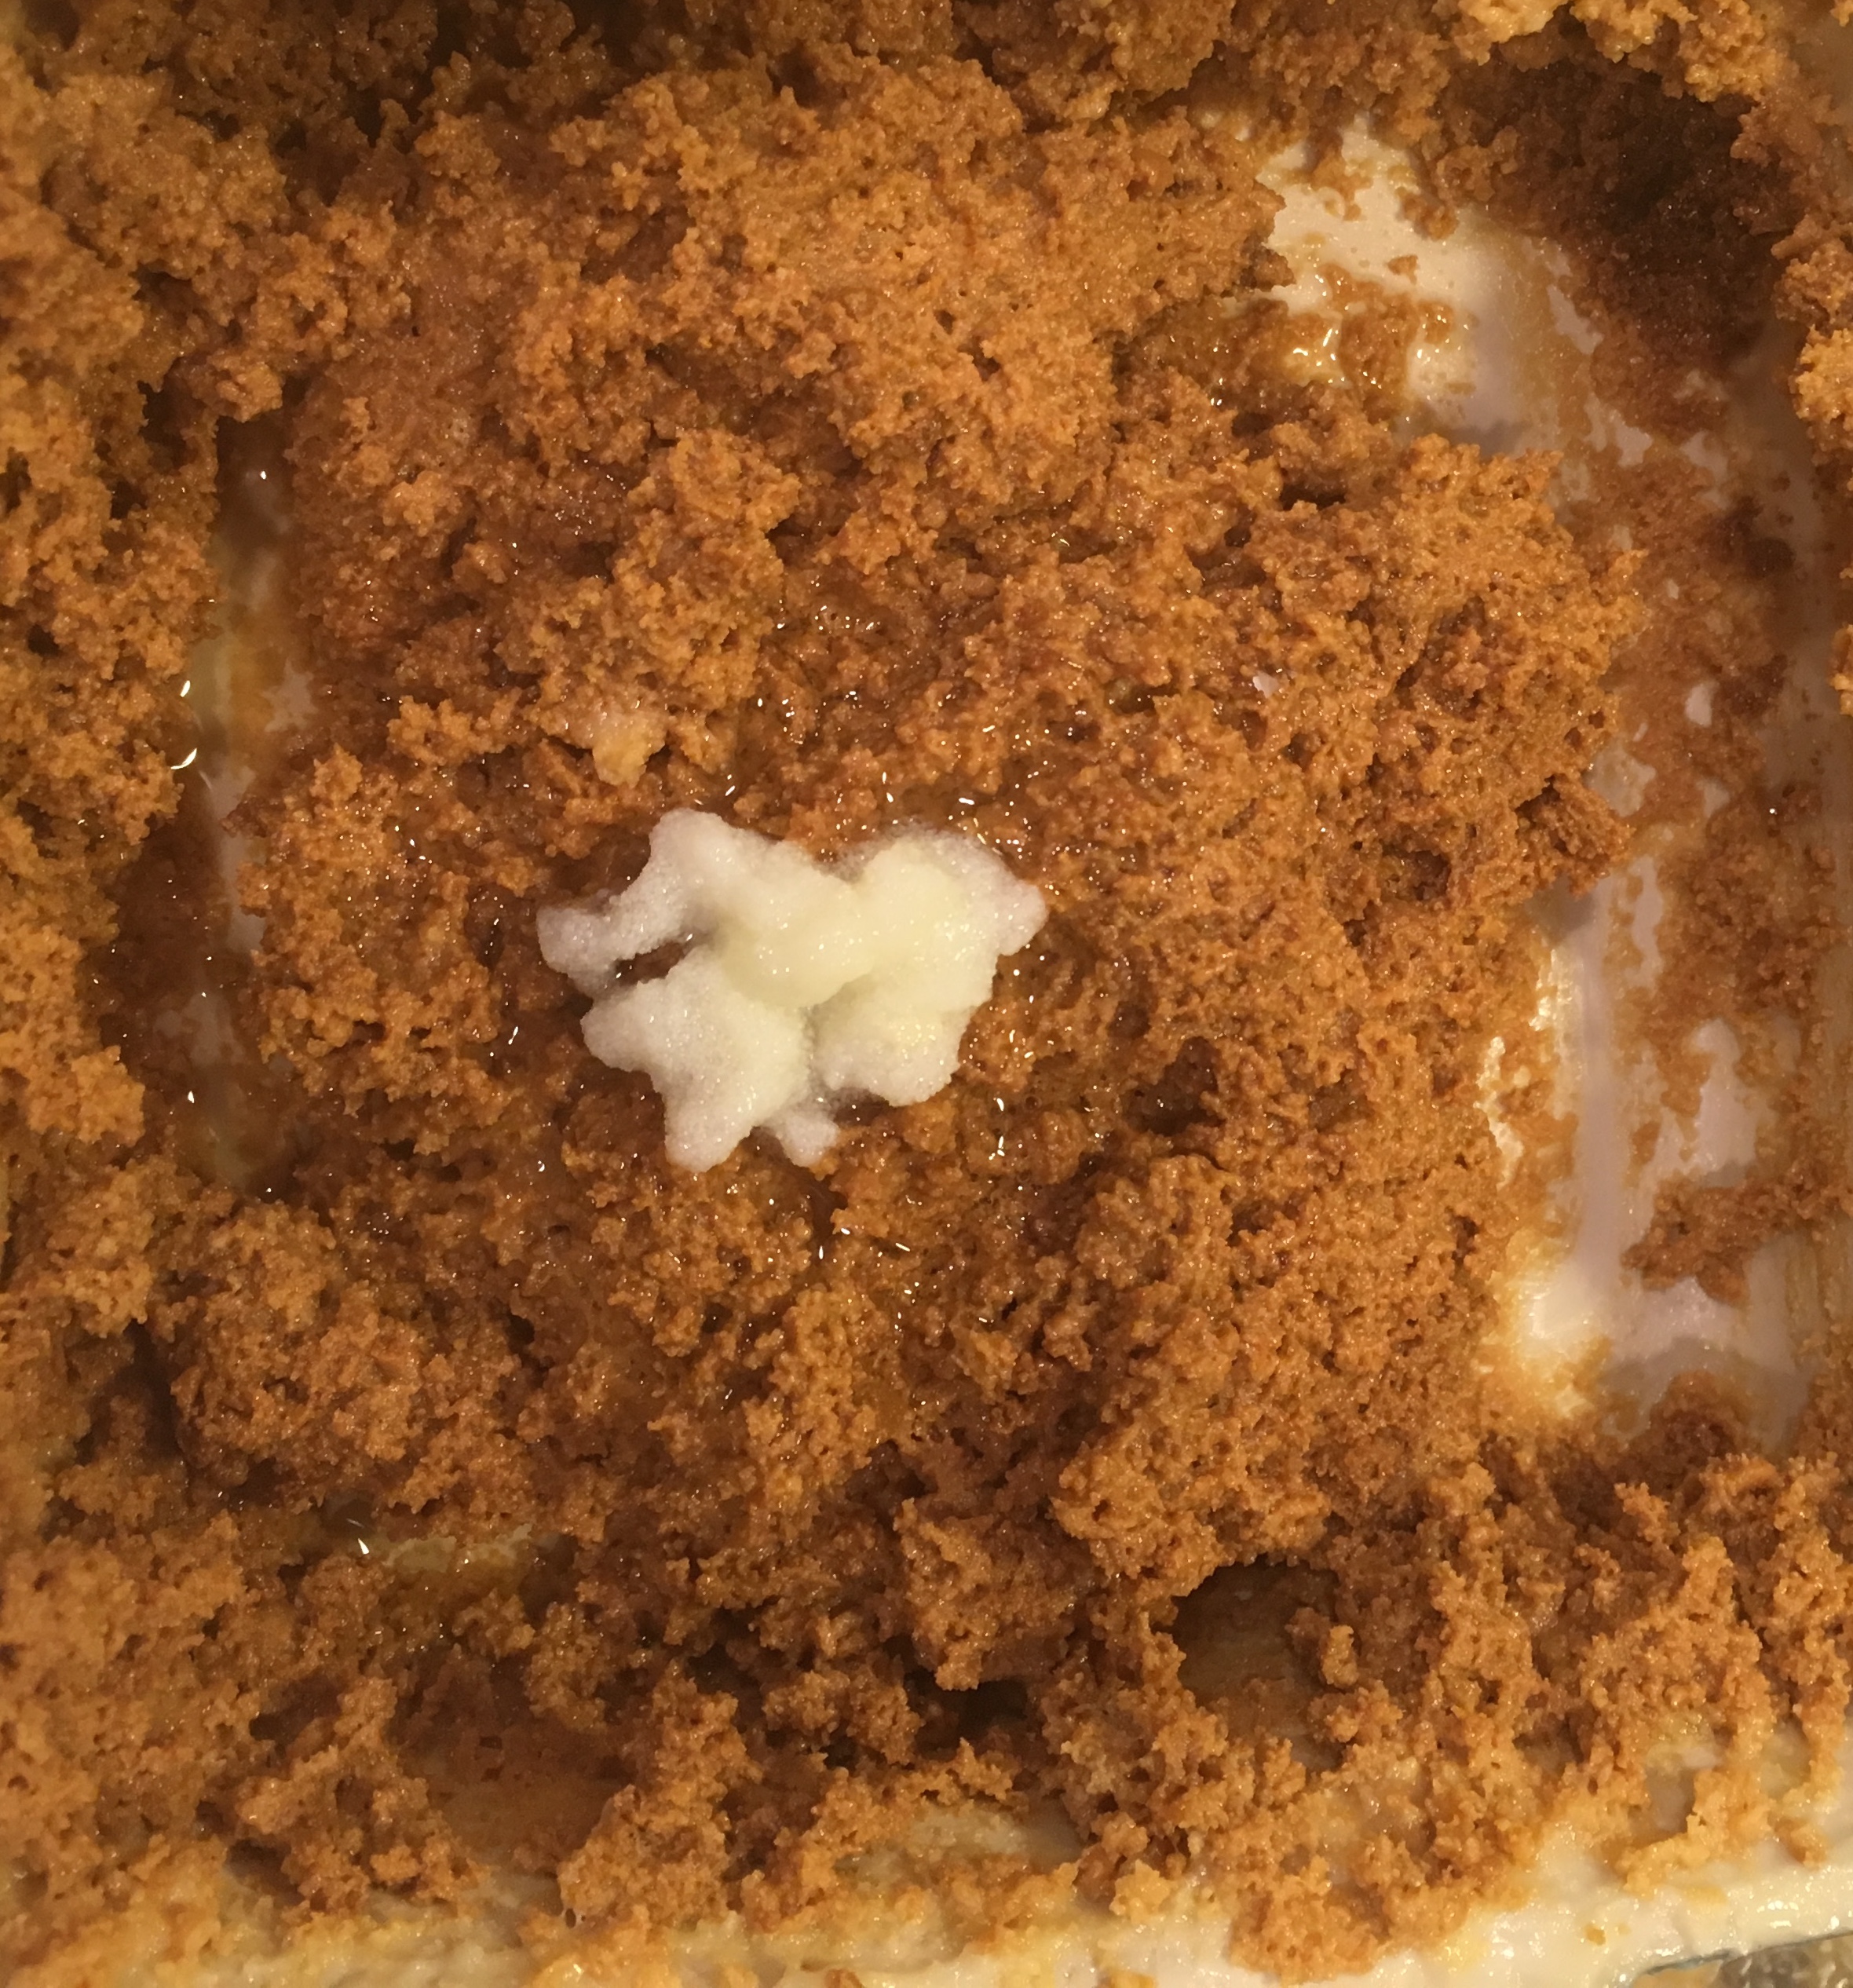
Continue heating the mixture for another 3 minute but take it out every 30 -40 seconds or so and stir thoroughly, till the mixture is brown and the grain becomes finer. and consistent enough to form it into balls. It should not become too hard, it should be pliable
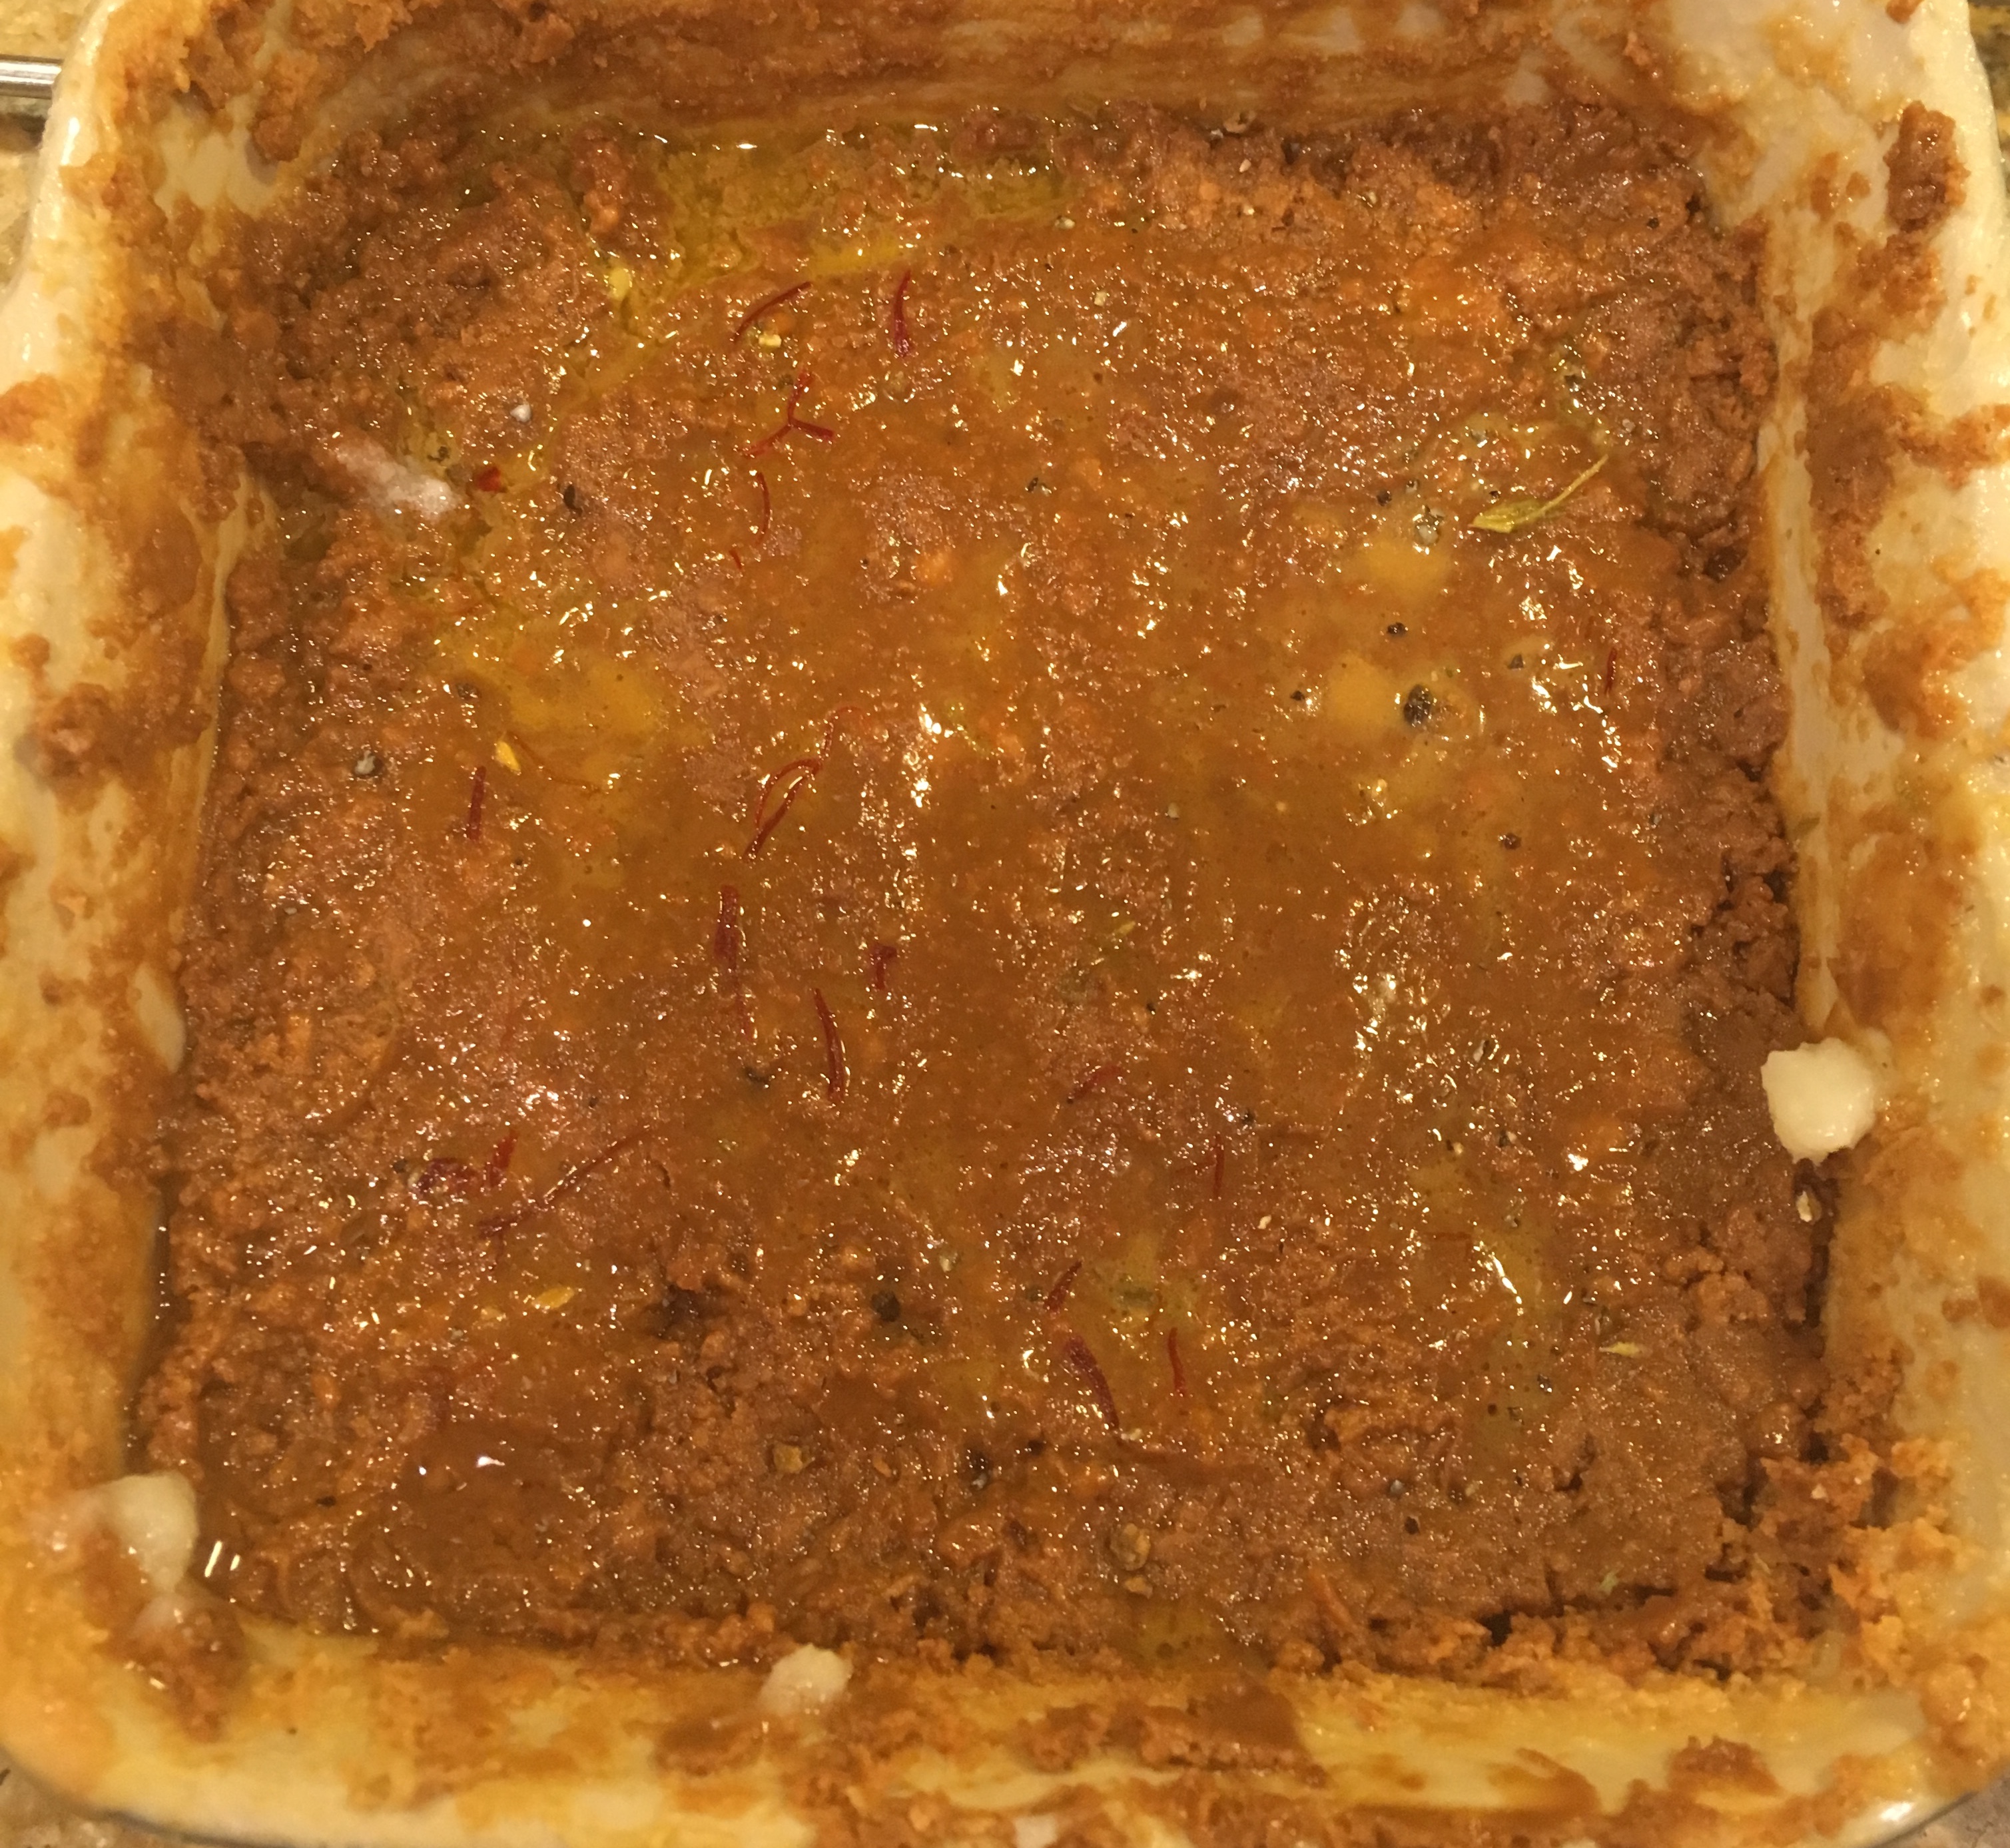
Remove from microwave and fold in the ghee, and cardamom powder.
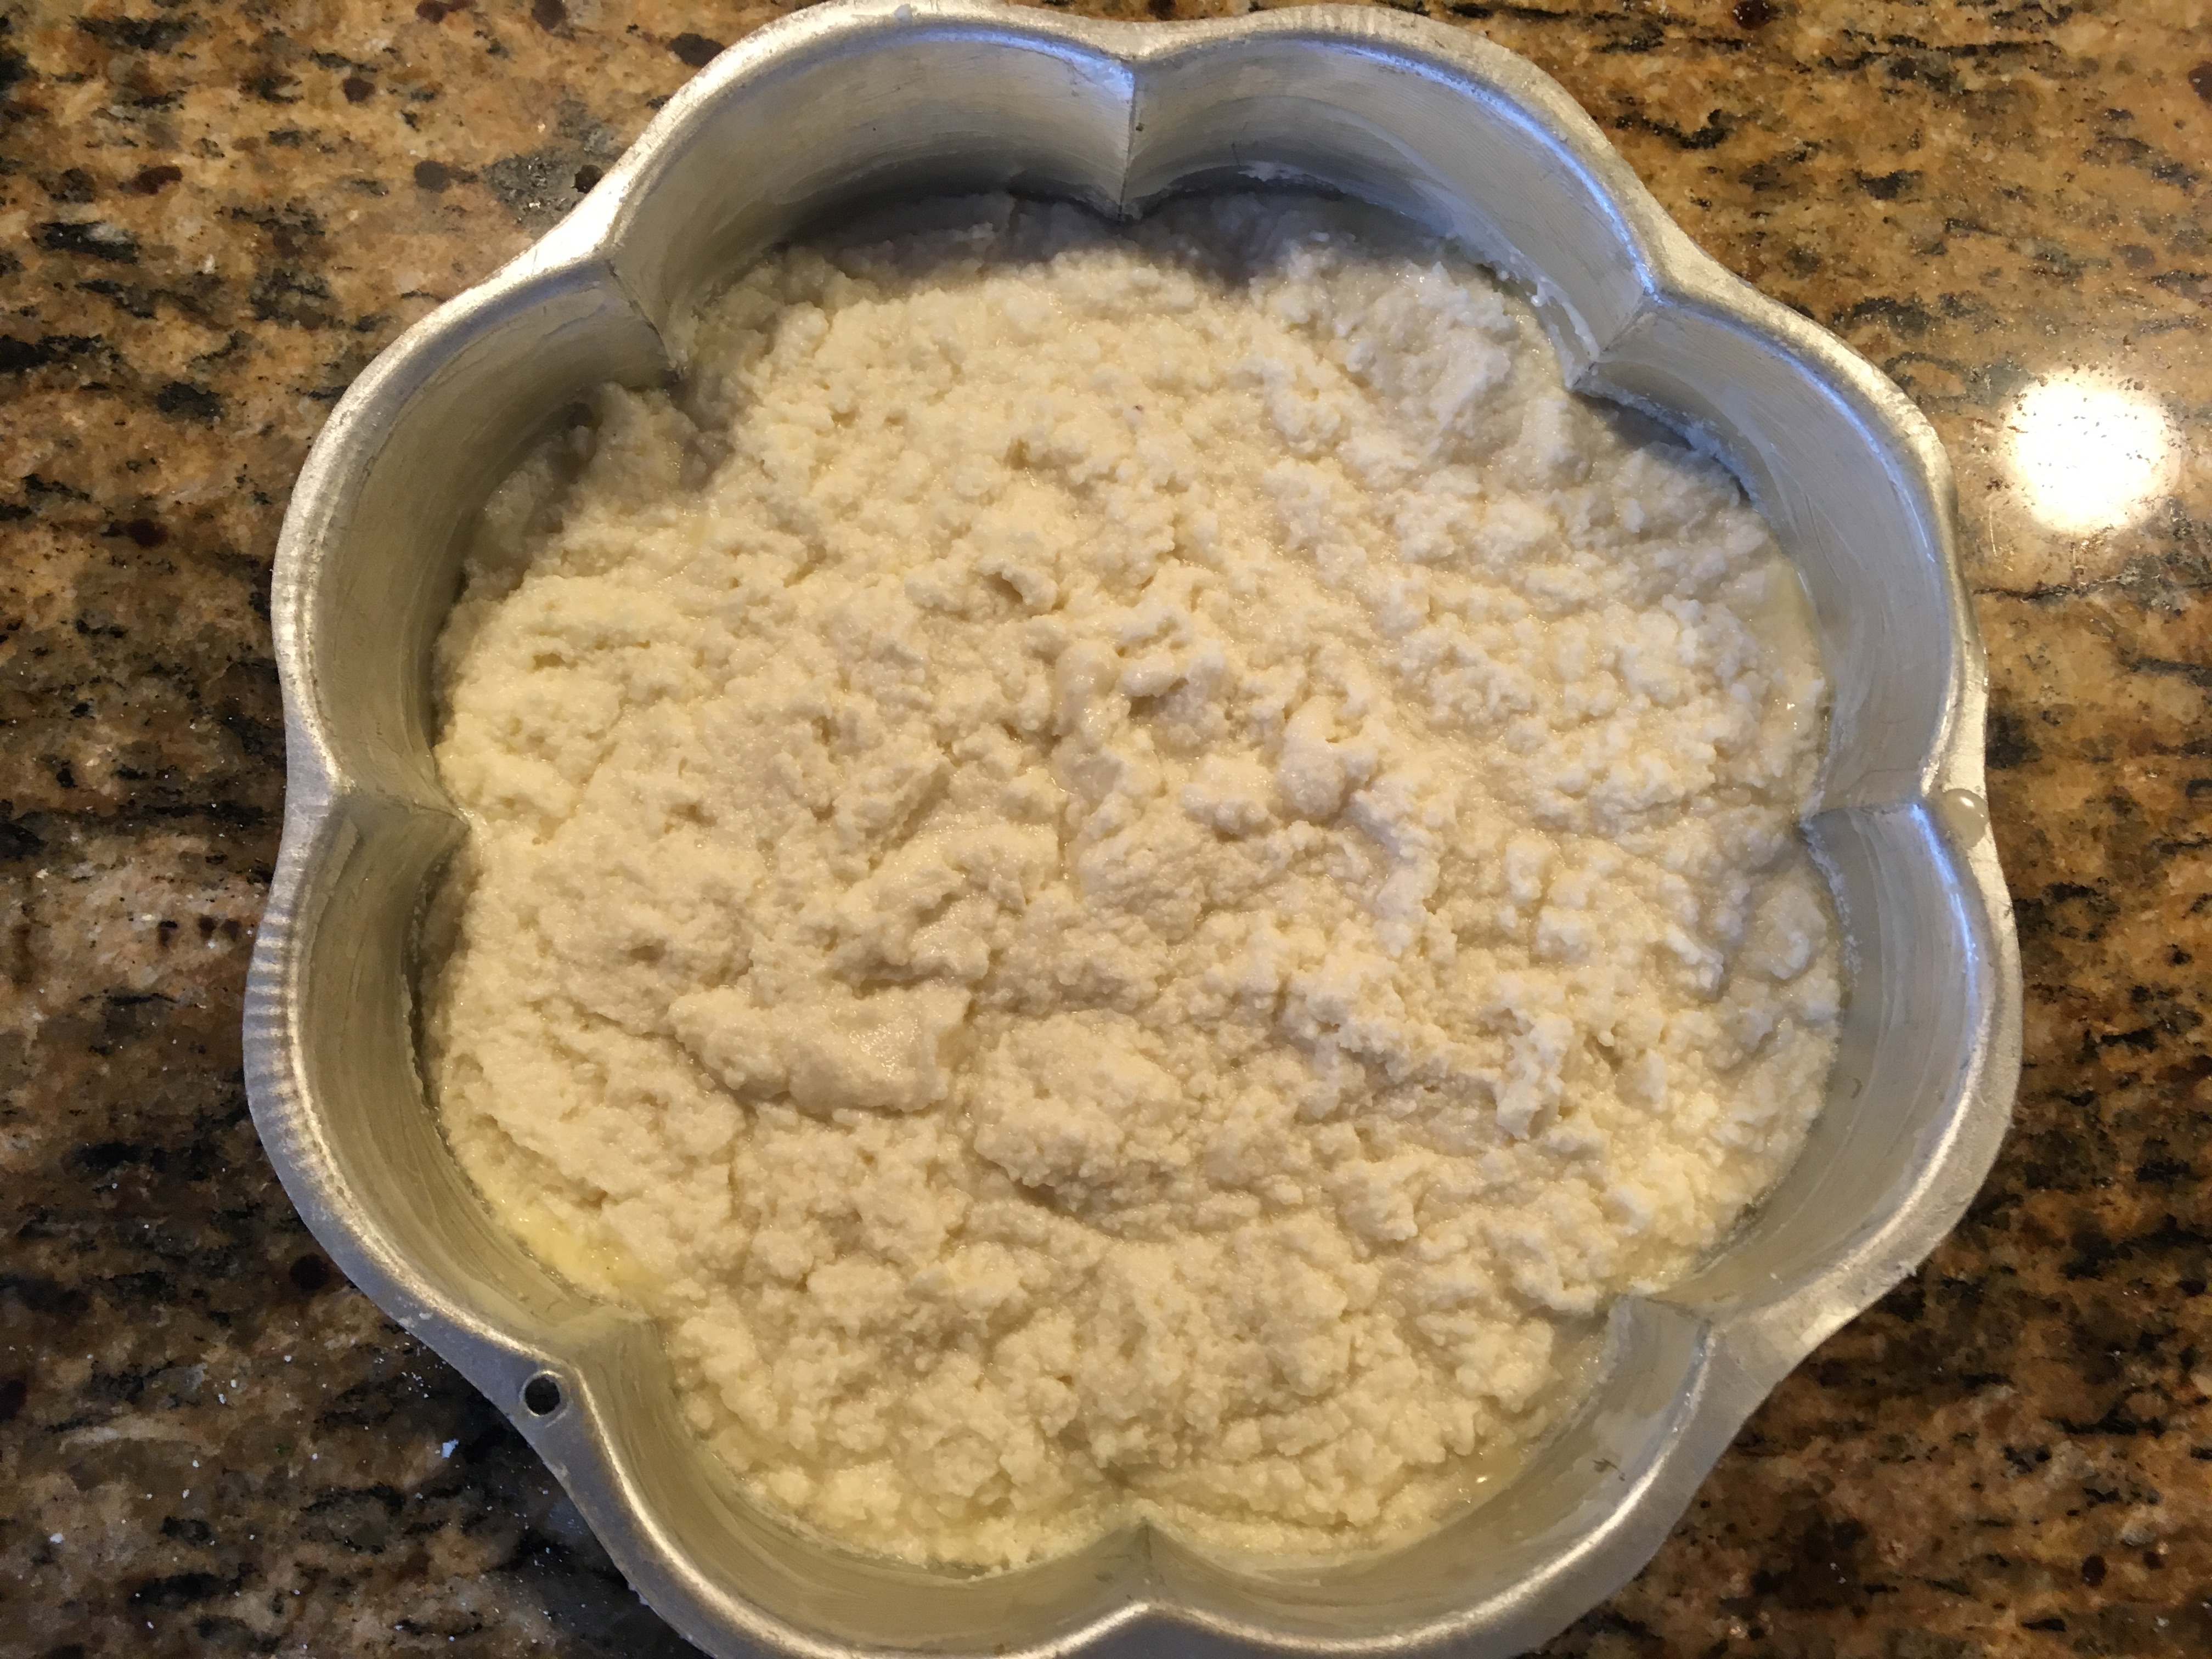
Set the mixture to cool in a deep dish by spreading it evenly and smoothening the top using a spatula or back of a small steel bowl. I used my microwave container only to set, as it was the perfect depth and shape.
Using a sharp knife or spatula makes pieces.
Cool for about 5 minutes and store in an airtight container.
Enjoy the taste of home sweet home!! This should stay fresh for about 2-3 days, but best when eaten fresh.
Tips
If the mixture gets too stiff, add some ghee and a bit of yogurt and mix it in, to make it more pliable. Alternatively a tbsp of milk also might help to make it more soft.
The consistency will harden after some time, so keep that in mind.
For vegan options, please use appropriate condensed milk from soy or almond.
Instinct Factor
Instinct factor is totally at work to recreate this delicacy and tweak the recipe that was more suited to what was more common in Tamil cuisine.Trusting your tastebuds works the best! So feel free to do what dictates your heart! Make sure that yogurt is not too sour, and if you like it more sweeter, add some sugar.
Feel Factor
Theratipal Thabdi Milk Cake is a simple ten minute recipe using condensed milk and the end result is a filling, soulful sweet that reminds you of mother earth. The fact that some people refer this as a milk cake, gives an indication to the texture of this delicacy, however it is not as soft as how one would expect a cake is. It is slightly more gooey and with some texture too it. If you like yogurt, milk and caramelized flavor, this might be just a new discovery for you to fall in love with and for me to continue my liking for this sweet. I did find out that I like the yogurt flavor in this sweet, and am extremely happy to share this earth looking sweet, around Earth Day which may be called as Theratipal from Tamilnadu or Thabdi from Gujarat. Great thing is, both start with the same syllable, “Th” and both are part of the this planet earth and this sweet also will be equally enjoyed by people from different part of earth, as did my neighbors!
Falafel Sandwich will definitely “fill” you up with all the protein you need and make you “feel” healthy for sure! How I wish there were more Falafel sandwich options as there are Subway sandwich options! That would be a real nice addition for those watching weight and trying to lose weight once you hit the middle age! Falafel has a very confused origin, but it favours Egypt, to be the most likely place from where it came, and there it is traditionally known as Tamiya. the word coming from Tam,meaning plenty, and tamiya is also a prominent part of the meals of Gujaratis of Sudan and East Africa! Tamiya though are made purely from Fava bean base. I took some time to cultivate this taste, as I definitely did not like the sesame taste as a young kid, as well as the taste of fava beans. My journey to becoming a Falafel fan started with the Cheap Food Eats at Mamoun’s Falafel. The college kids in SOHO district in Manhattan, which housed the all night open joint of Mamoun’s Falafel are always on the lookout for good cheap eats. I have an old school friend of mine to thank for introducing us to this gem.
Mamoun’s is an extremely small joint with hardly 2-3 tables to sit at MacDougal St in Manhattan. A video on the store can be seen at Mamoun’s at MacDougal. They claim to be one of first ones to introduce Middle Eastern cuisine and Falafel to New York. And their Falafel comes from chickpeas base, and hence I can see why it got such a vast popularity, that it has now four new locations in New Jersey and Connecticut! Way to go for a cheap filling, healthy food place, that 15 years back charged just $2.50 a falafel sandwich, and now is just $3:50! The quality has remained consistent over the years, and this is one place we really miss not going to.
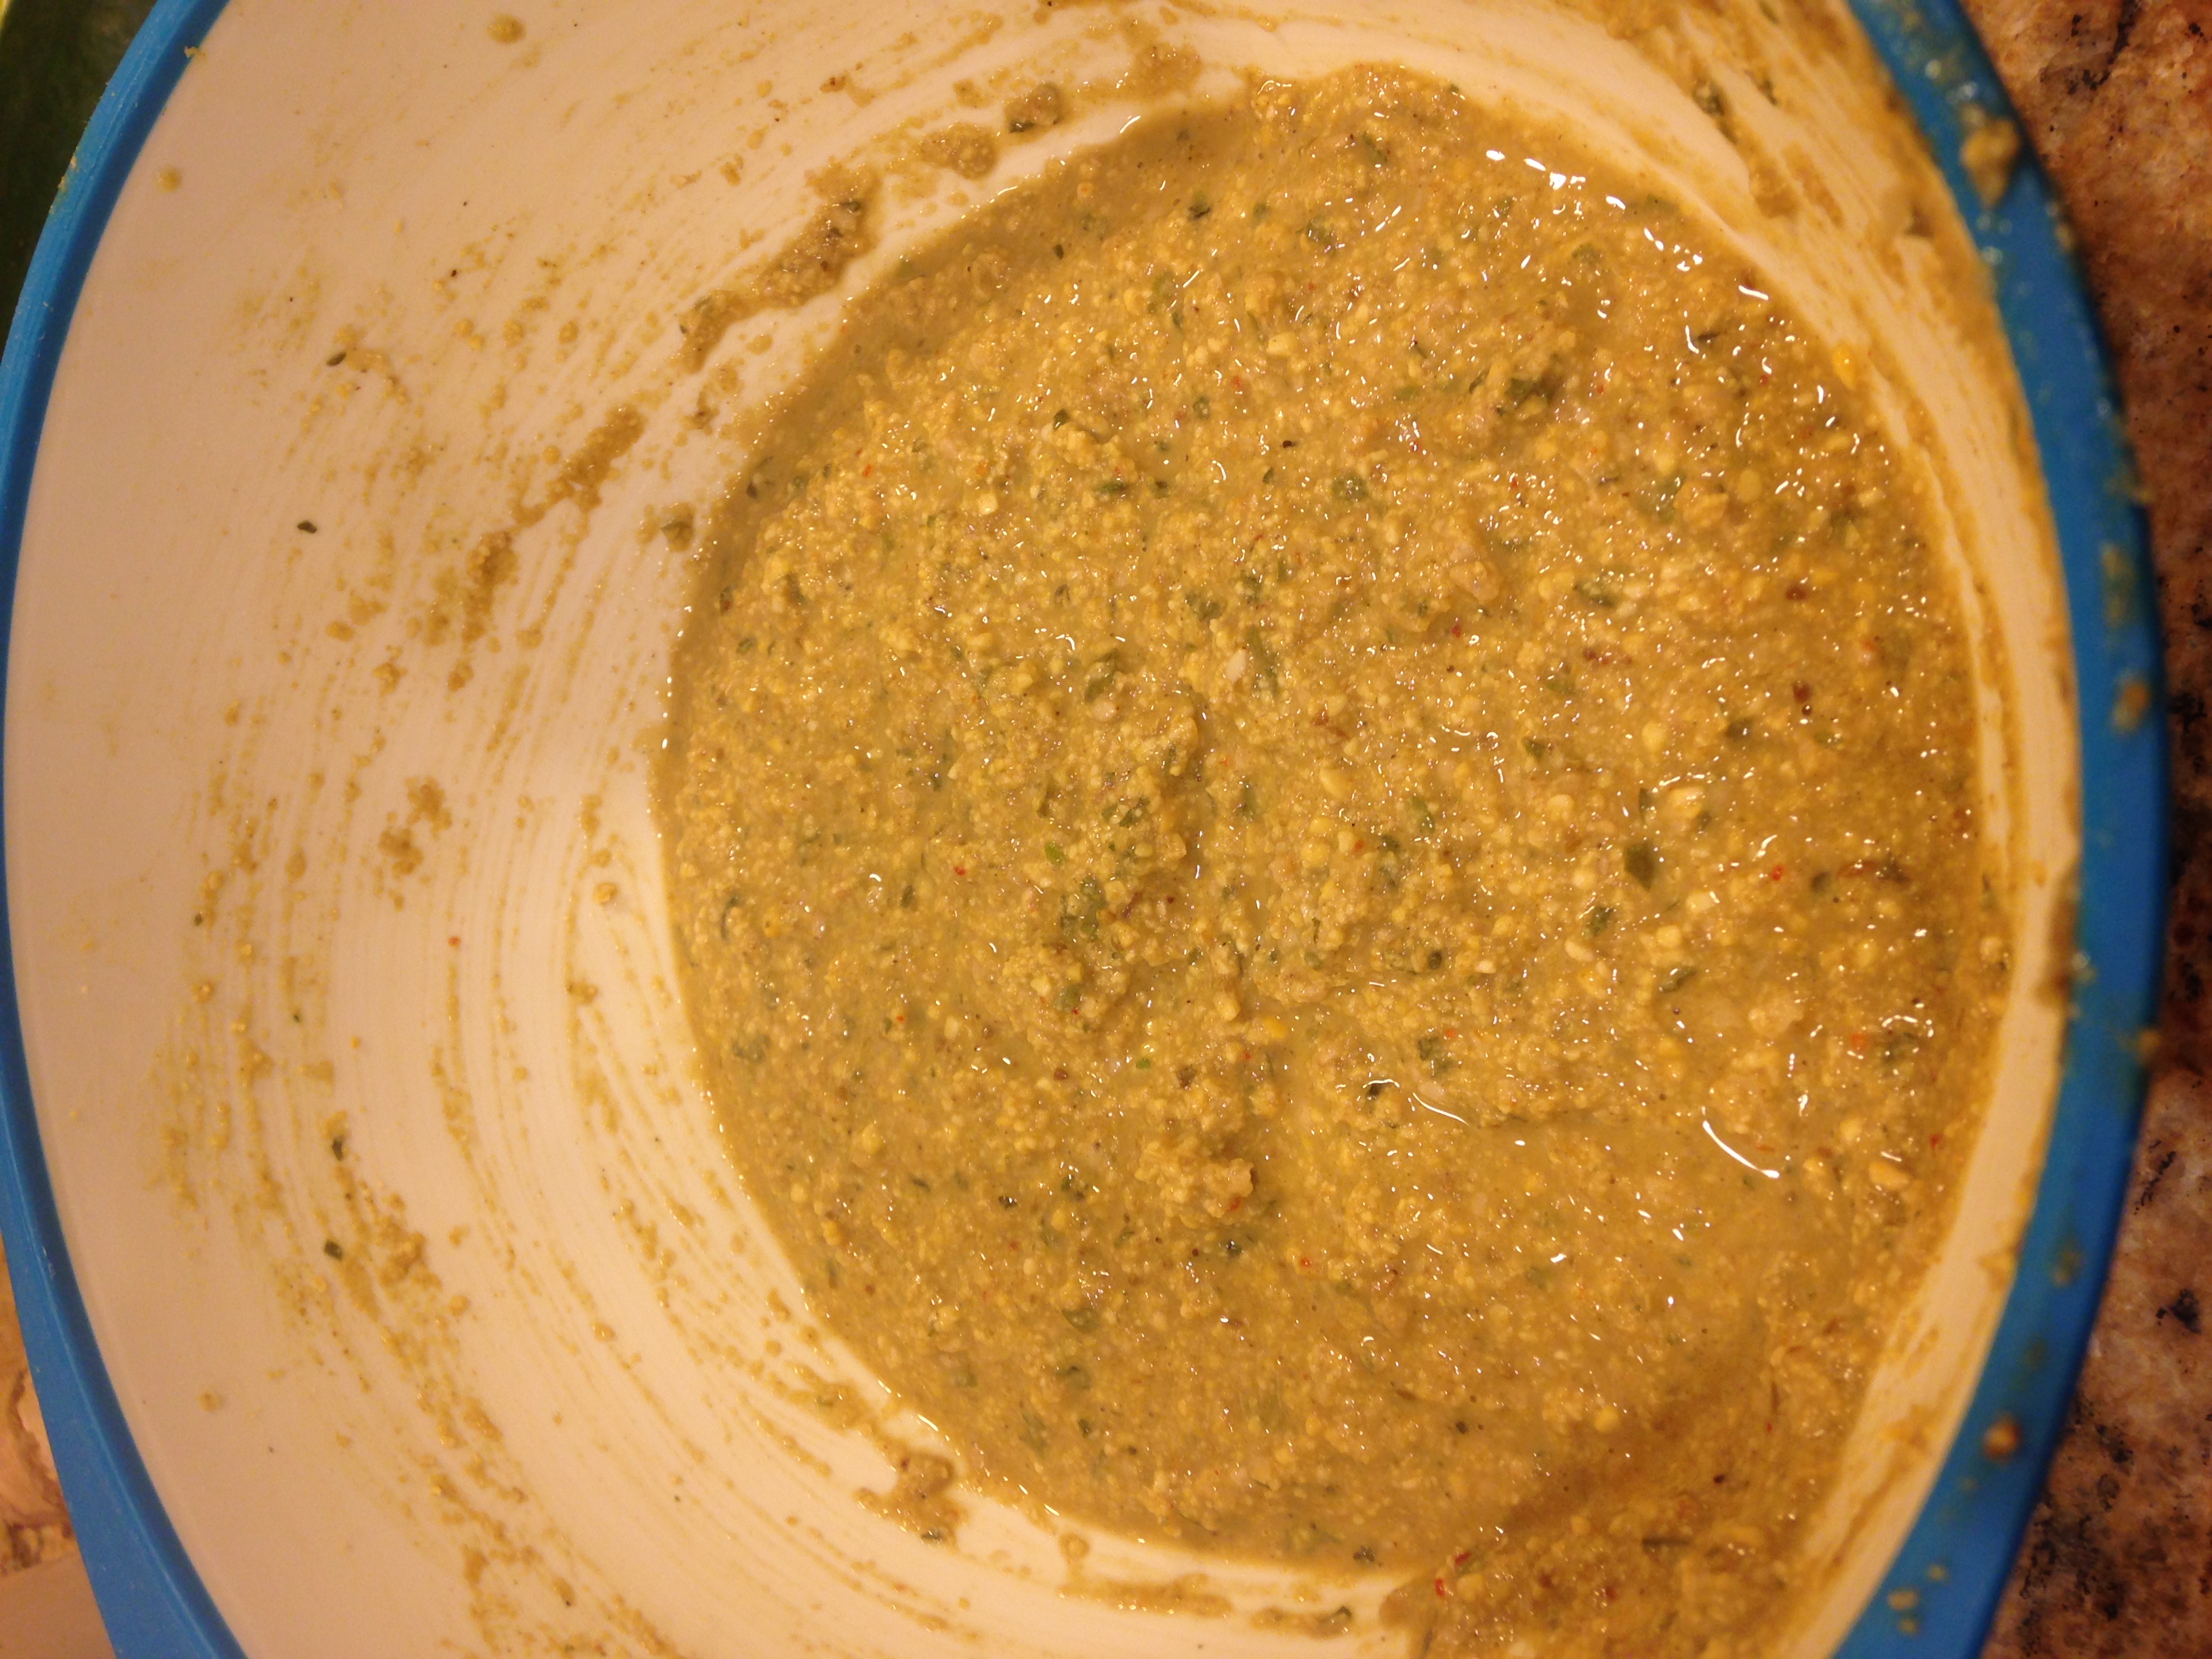
So had to resort to making the same at home, and much easily done when using instant mix of Nirav’s Falafel mix, easily available at Indian Grocery store. The ingredients in the pack include, chickpeas, fava, sesame, onion, garlic and parsley and spices and salt. The whole story of the various versions of falafel as well as the making of falafel from scratch is well explained on this blog http://toriavey.com/toris-kitchen/2011/01/falafel/ where she mention how originally this started as vegetarian base food only!
This is a very healthy recipe that satisfies your tastebuds, mind and replenish your body and muscles with the great amount of protein in chickpeas, fava beans and yogurt, and the ease with which this is made. makes it a much frequently had meal in our house. Another great point about it is, it]S rainbow color meal, a principle I try to follow, to ensure the different nutrients are consumed via the different color of foods.
Check out the tips section for more options to the balls and sauces to get more unique flavors or get original and try the various version from scratch as detailed in the blogs mentioned above! This can be a very easy party menu, as it is simple to fry the balls before hand and then slice everything and guests can assemble the falafel sandwich according to the sauces and garnishes of their choice. So why not have a fulfilling Falafel flavoured full on party at home?!
FALAFEL SANDWICH
Recipe makes 9 falafel balls
Time to cook 20 min
Ingredients
[/shopeat_ingredients]
1 1/2 cup of Nirav Falafel Mix
Oil for frying
1 1/4 cup of water
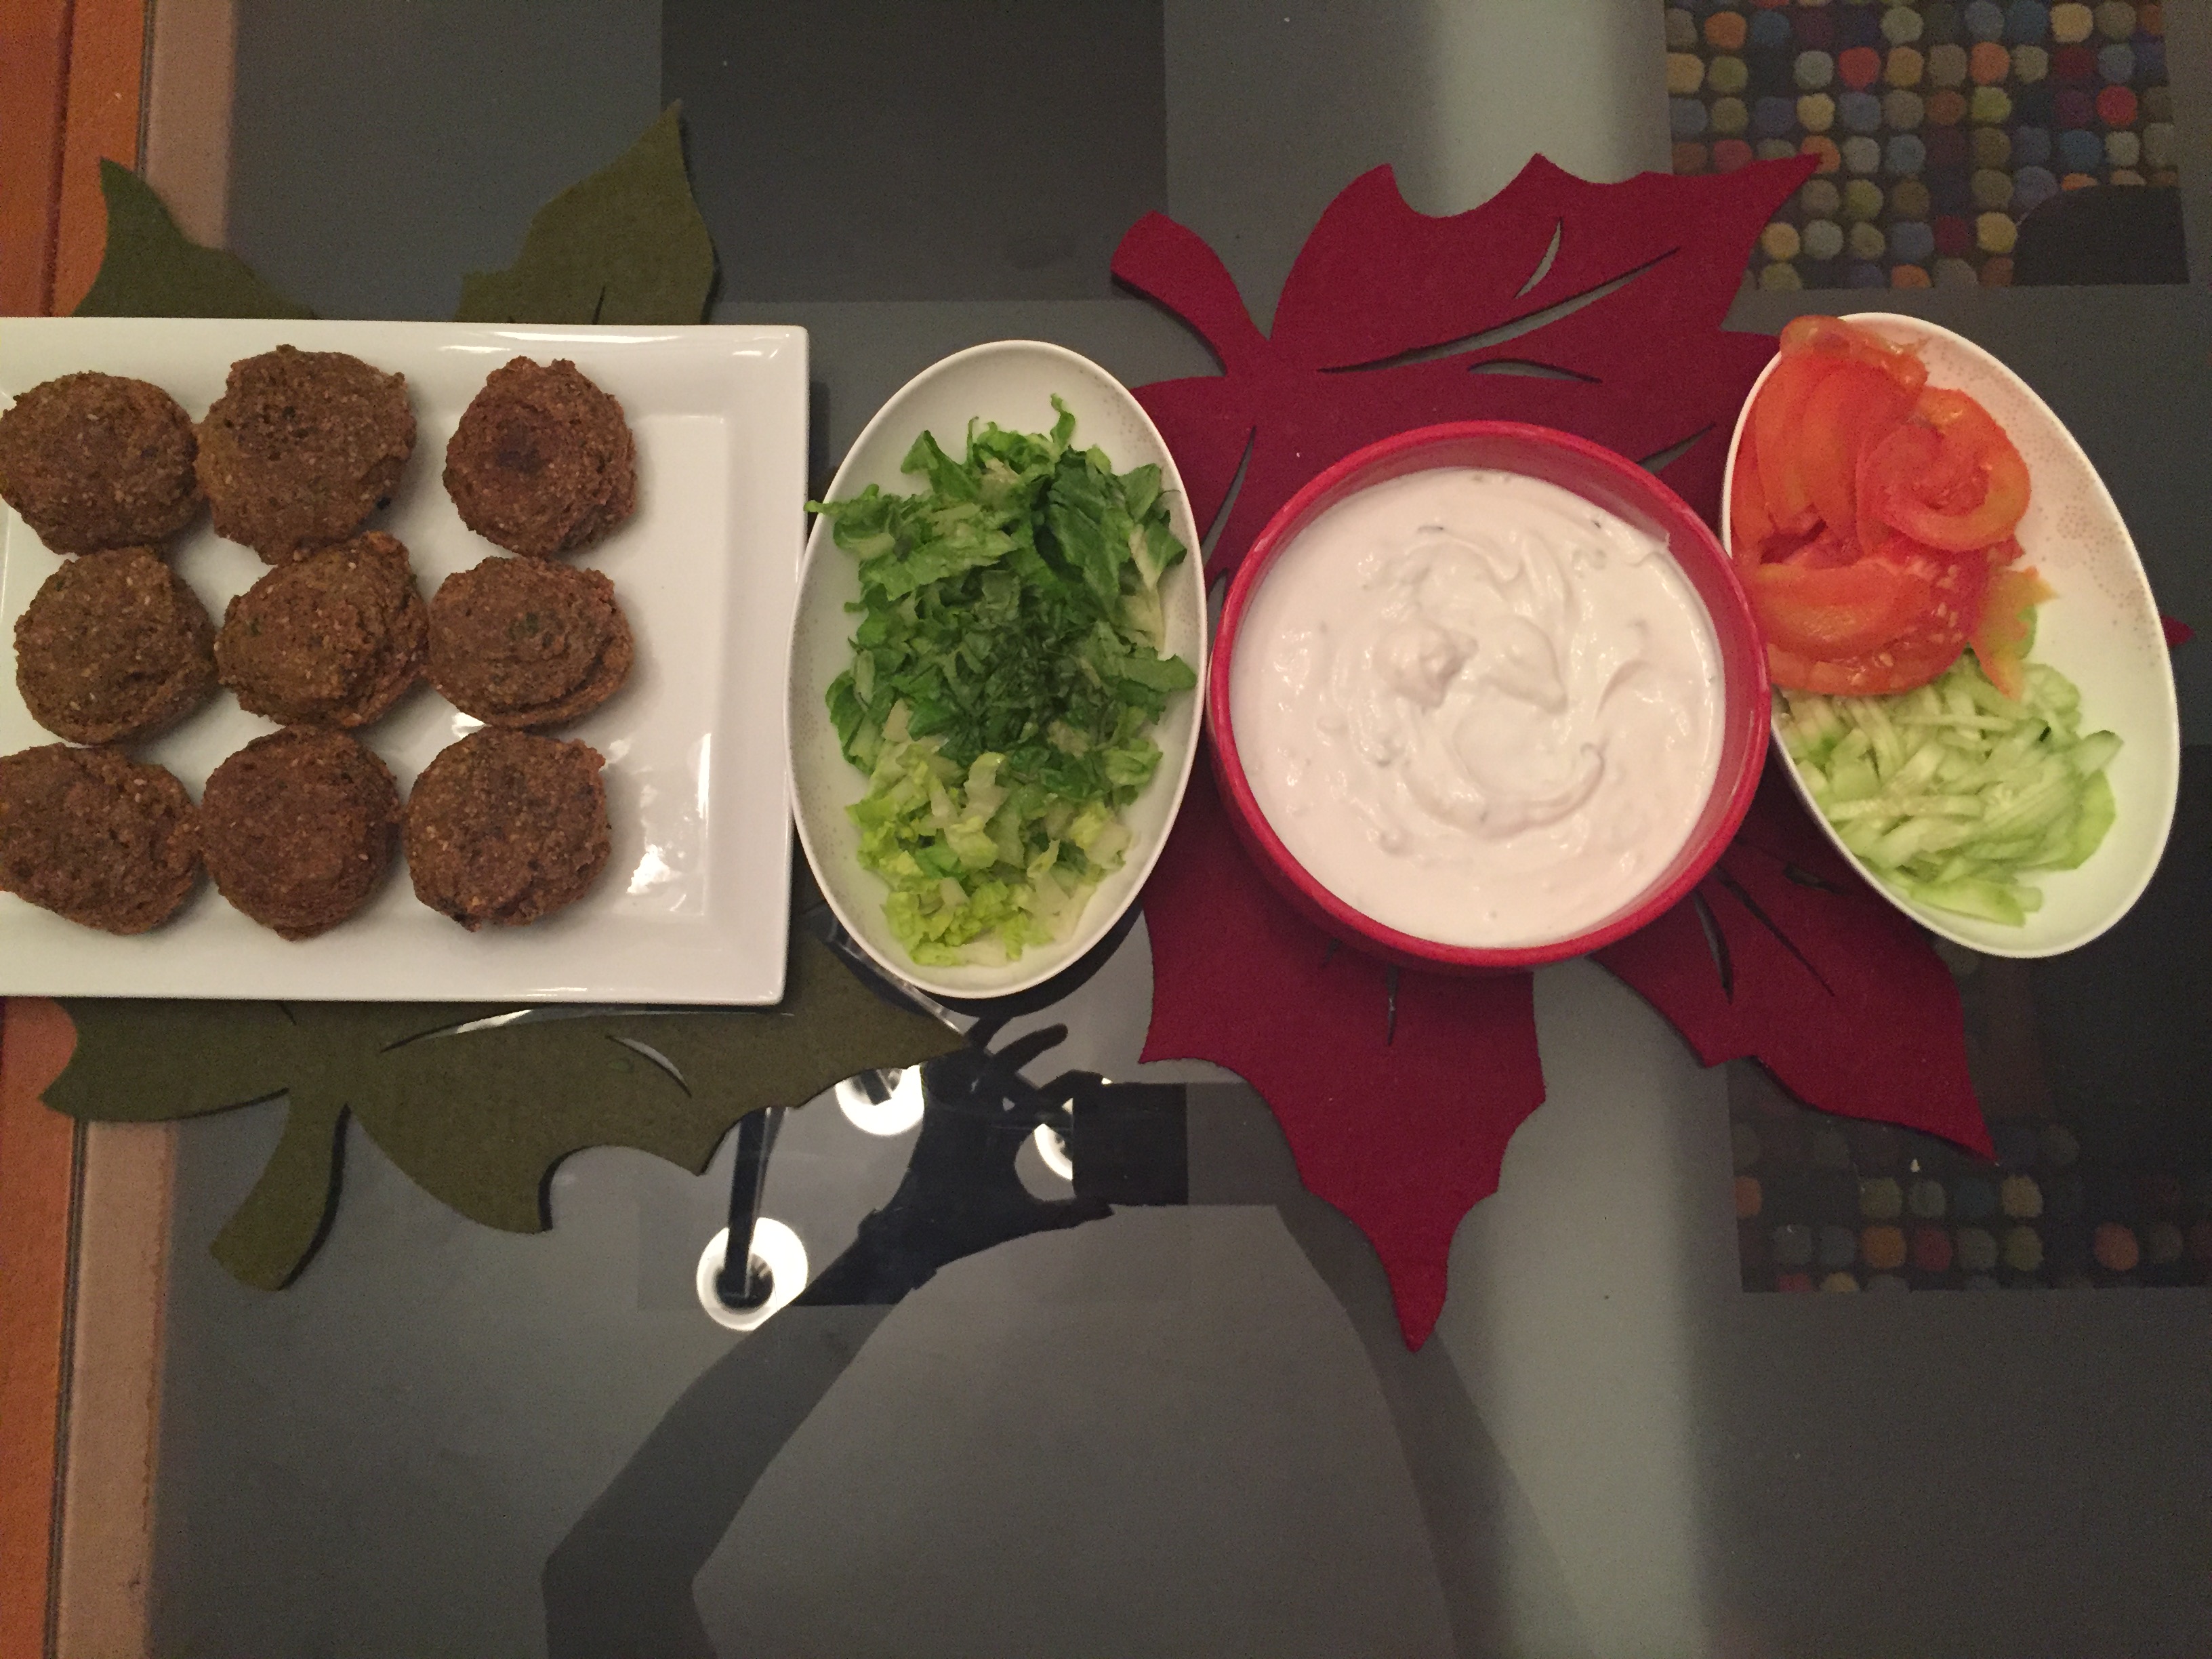
1 cup shredded lettuce
2 tomatoes thinly sliced into half circles
1/2 cup cucumber sliced thin and then further sliced vertical like strips
Soak 1 cup of Falafel mix with 1 cup of water and leave it to rest for 30-45 min.
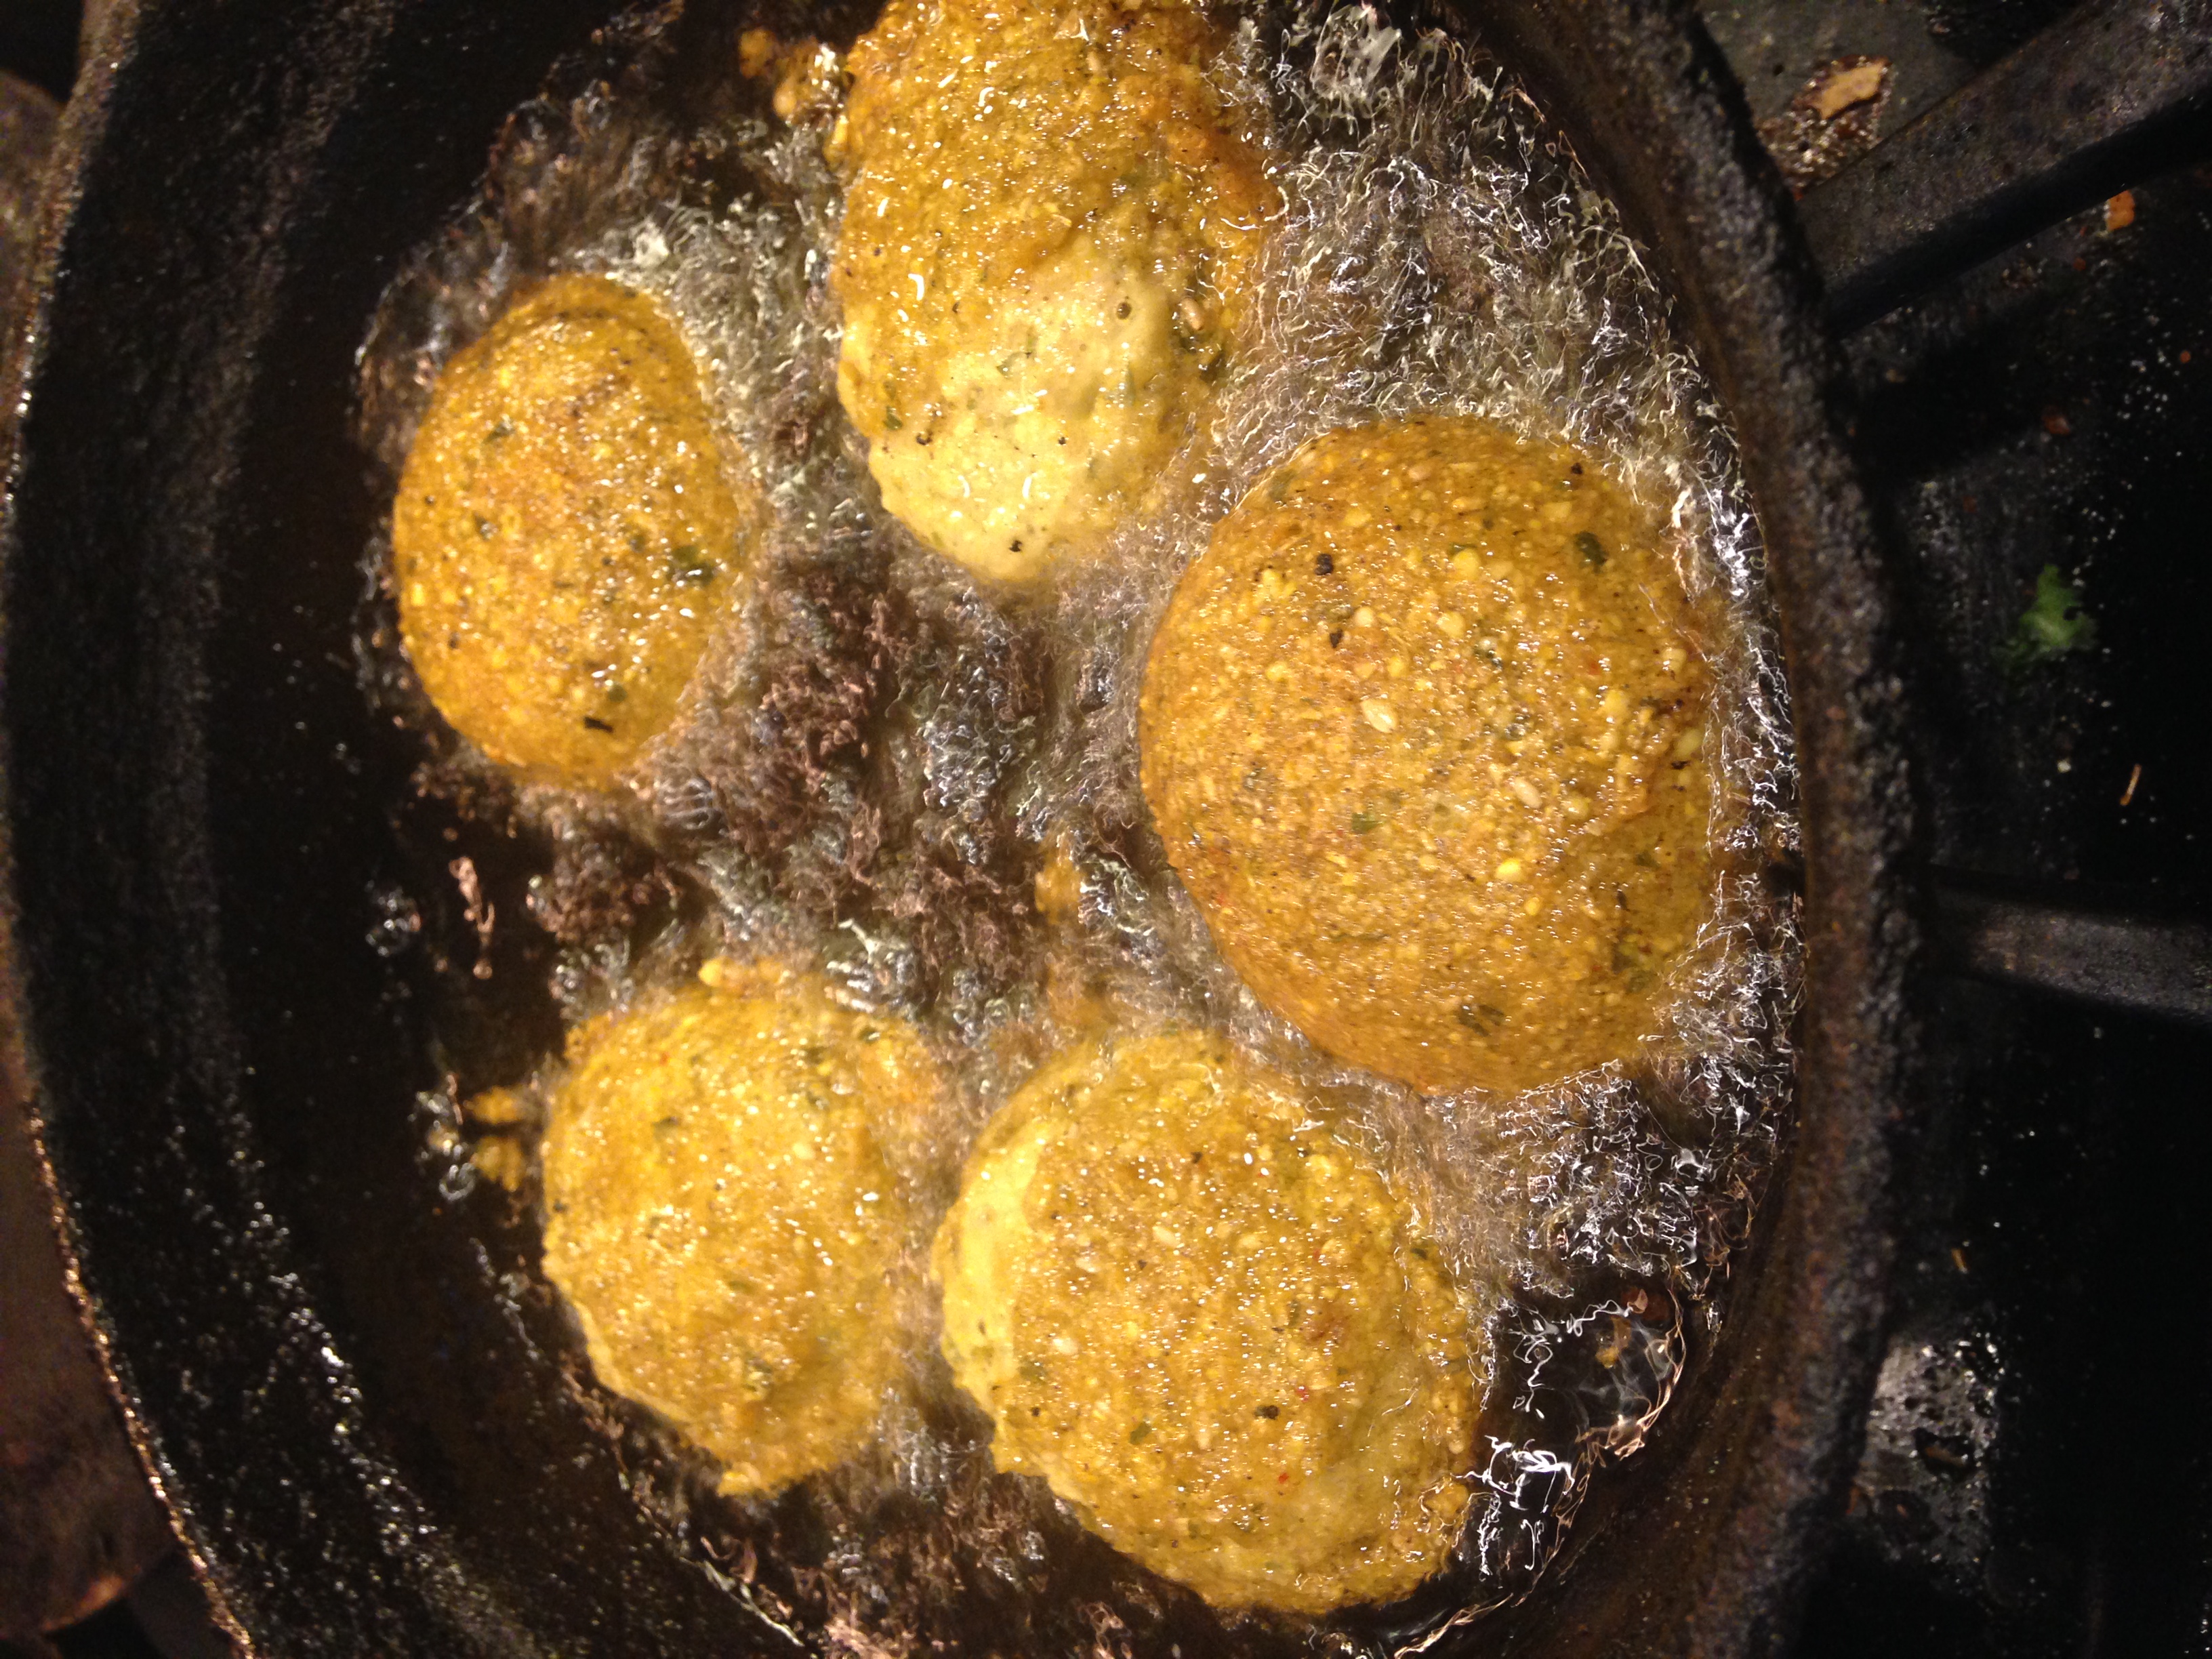
Heat oil for frying on high flame and then reduce it to medium
Using an ice cream scoop drop scoops of mix into the oil.
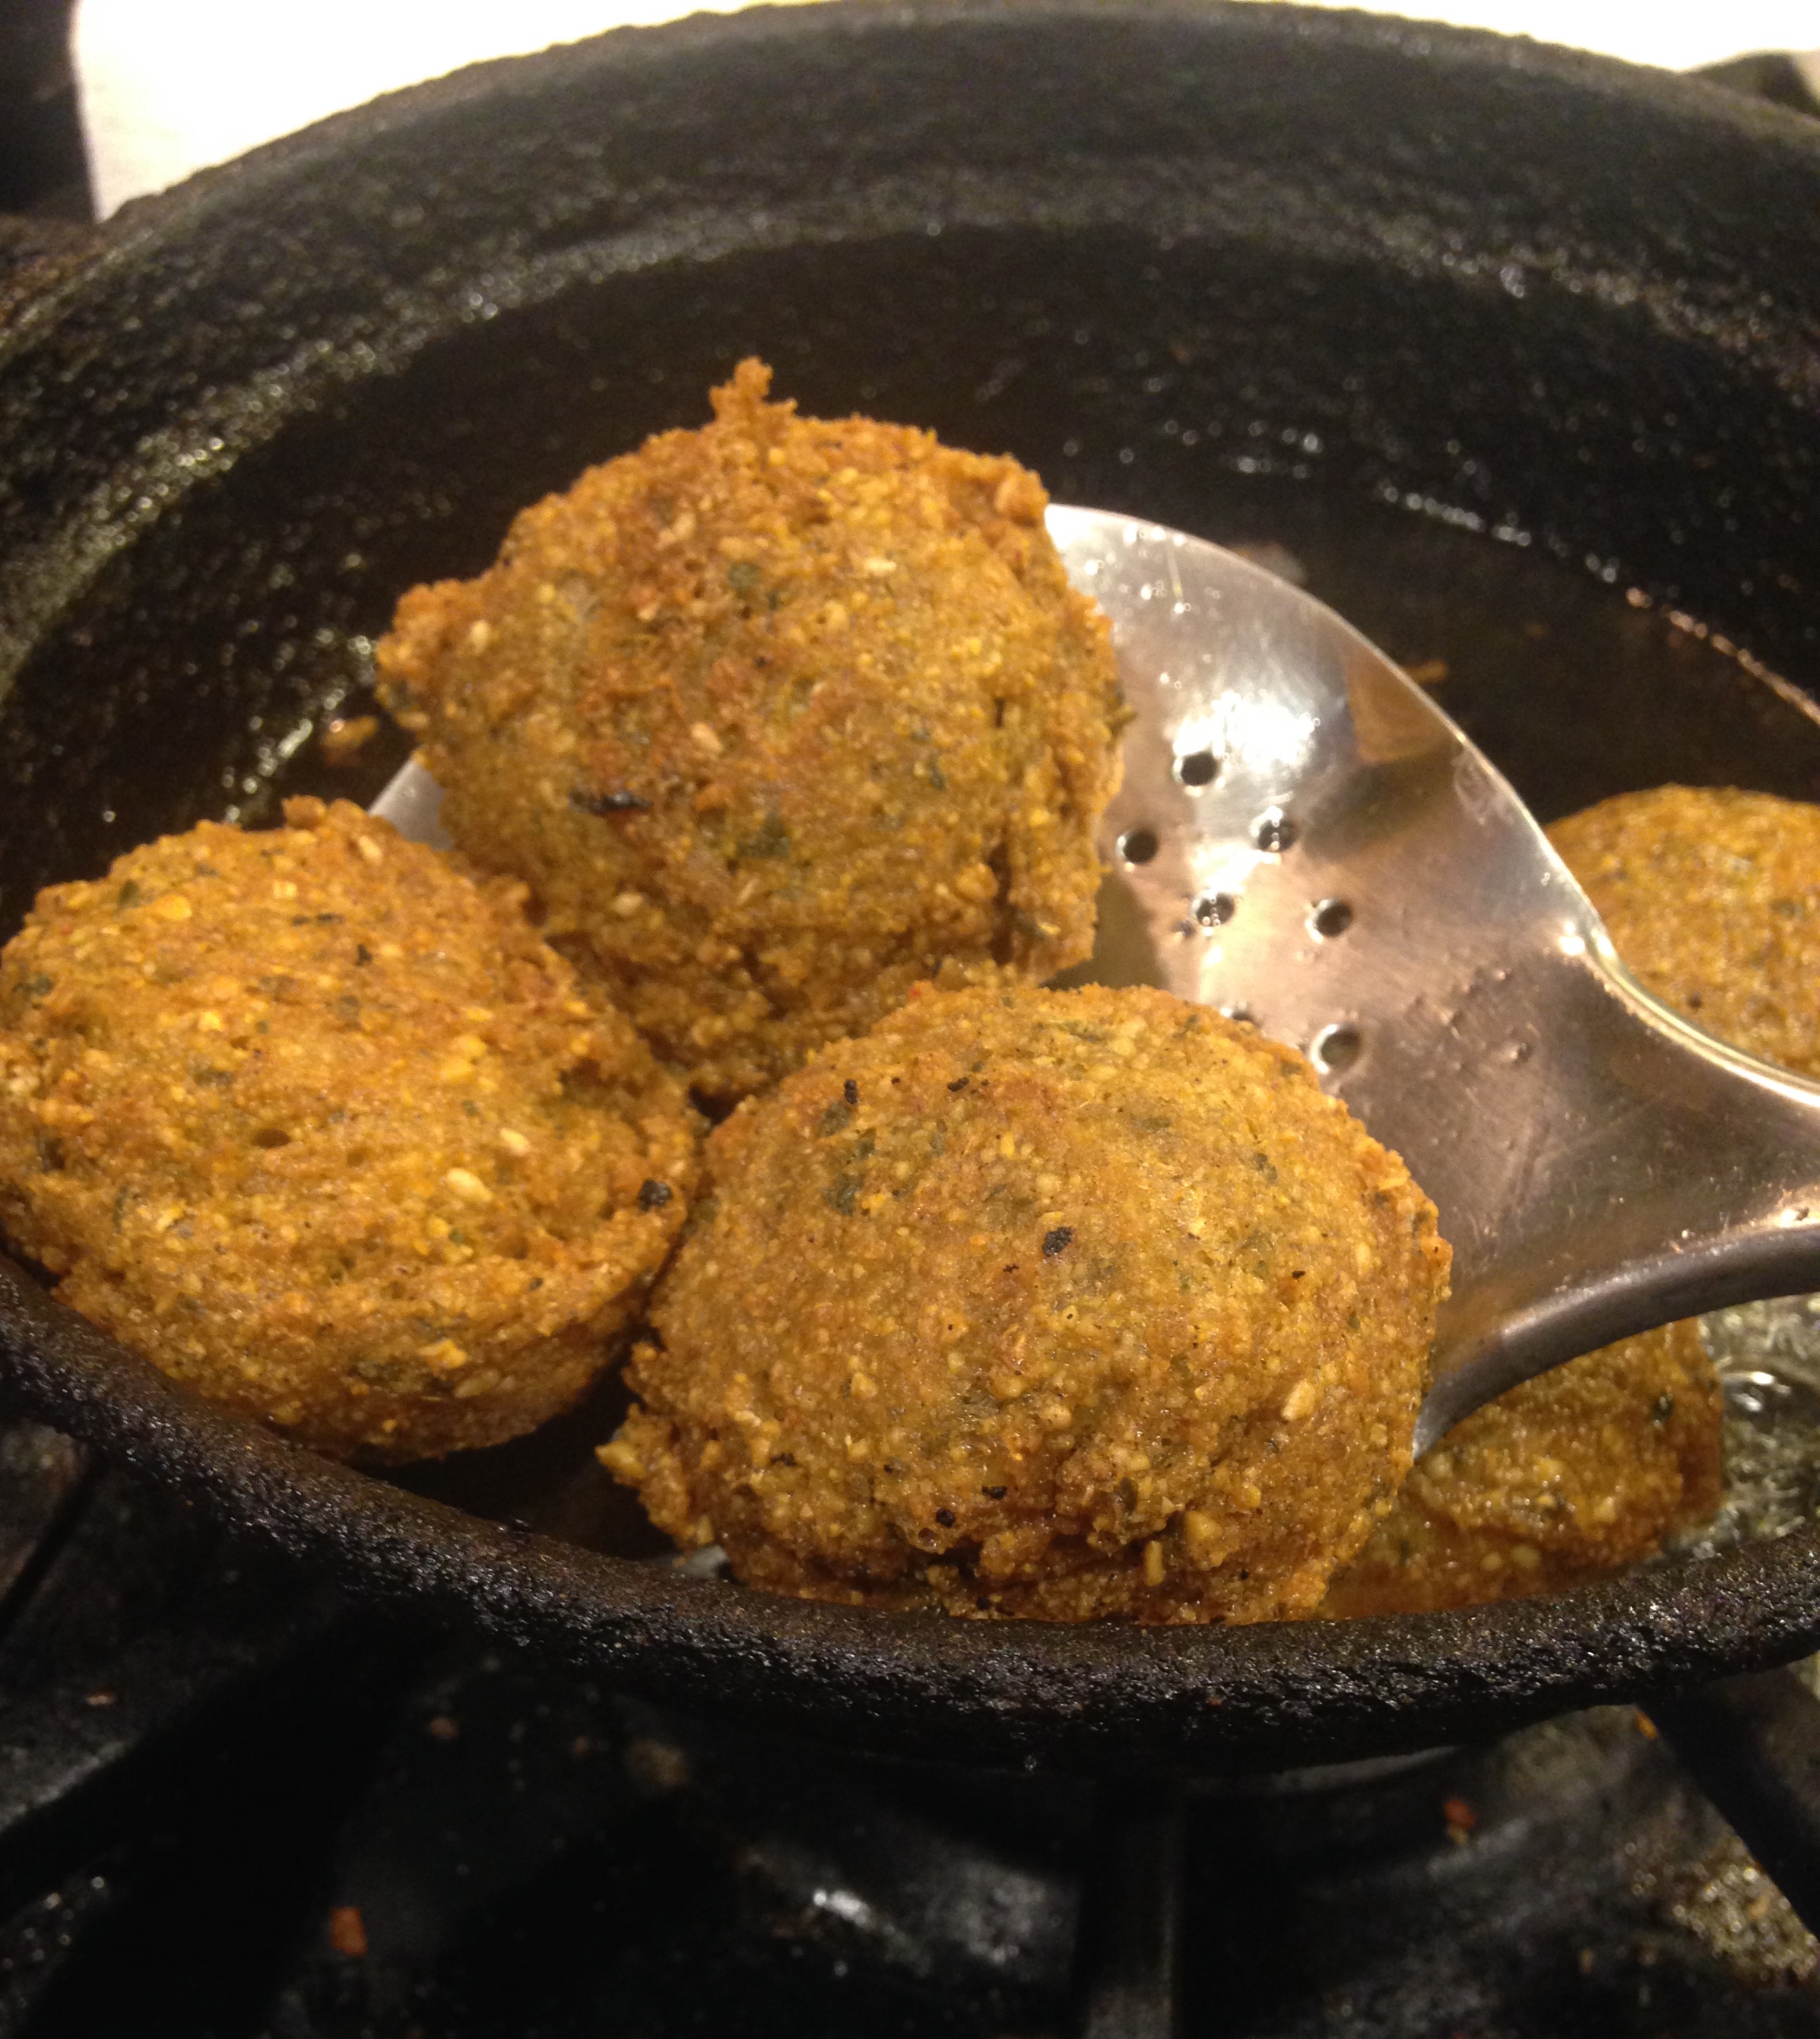
Fry till golden brown and then flip and cook the other side.
Using a slotted spoon, remove the falafel balls from oil and drain.
For making Tzatziki Sauce
Mix all ingredients and serve.
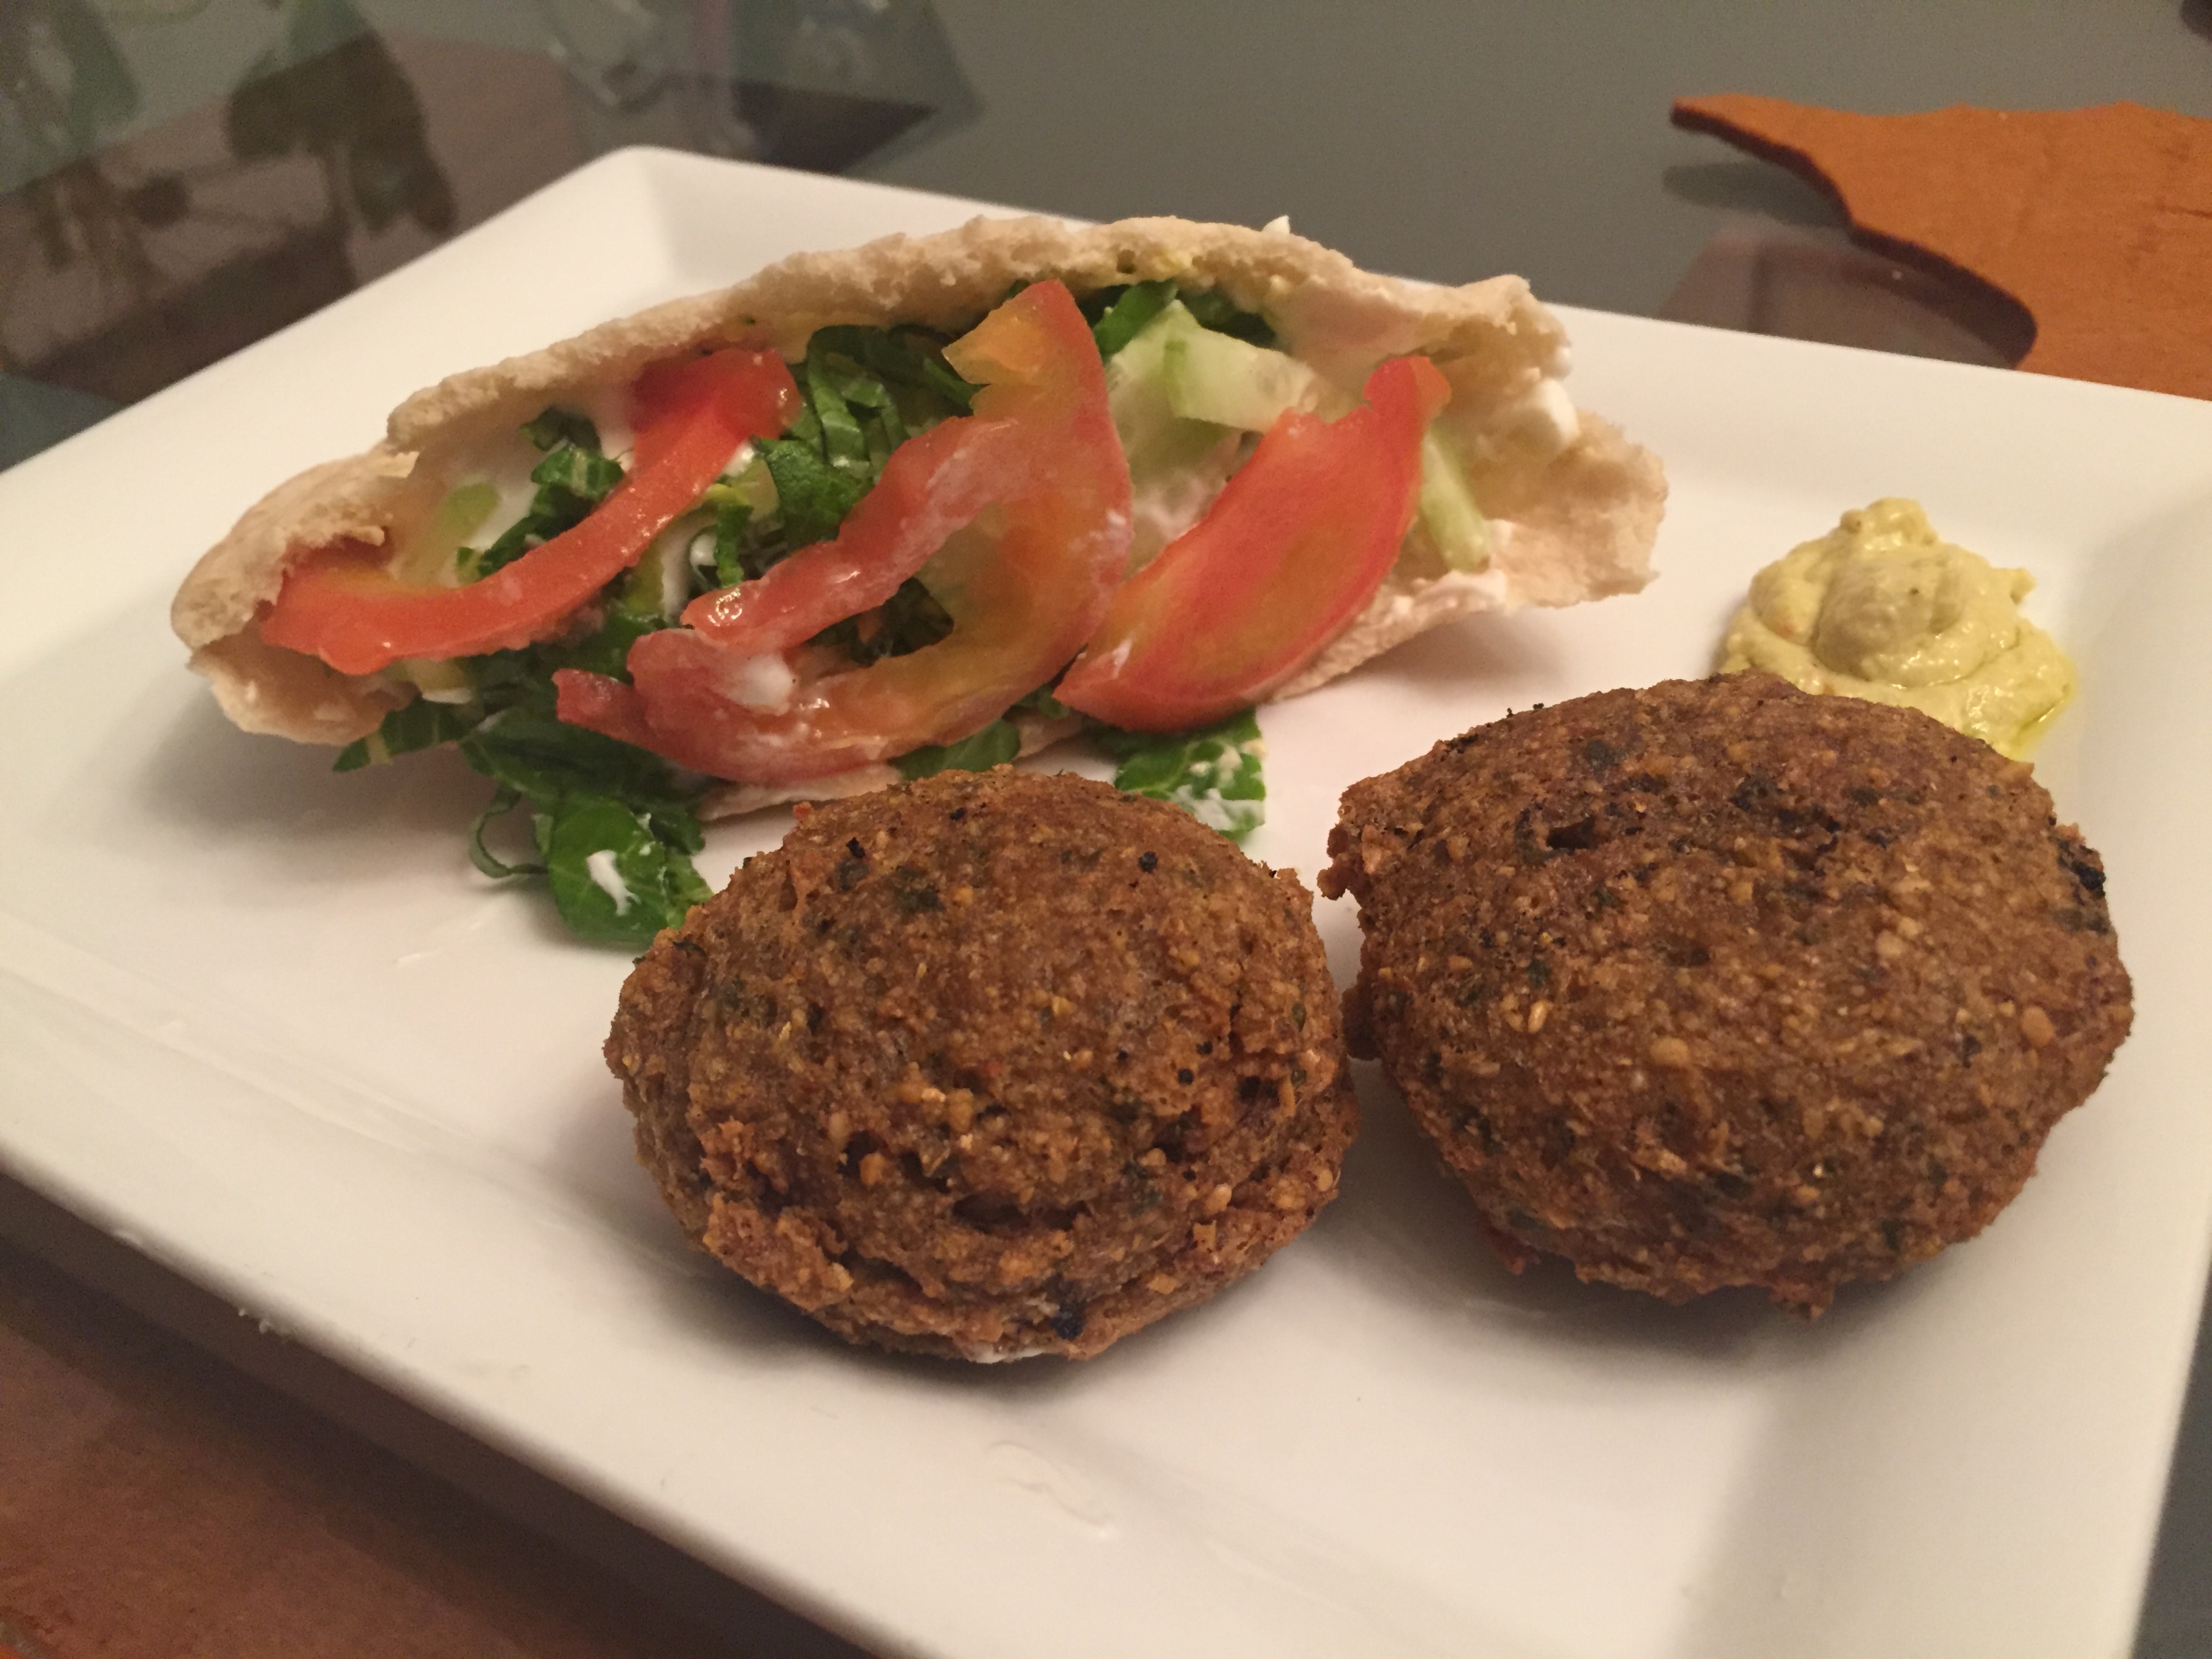
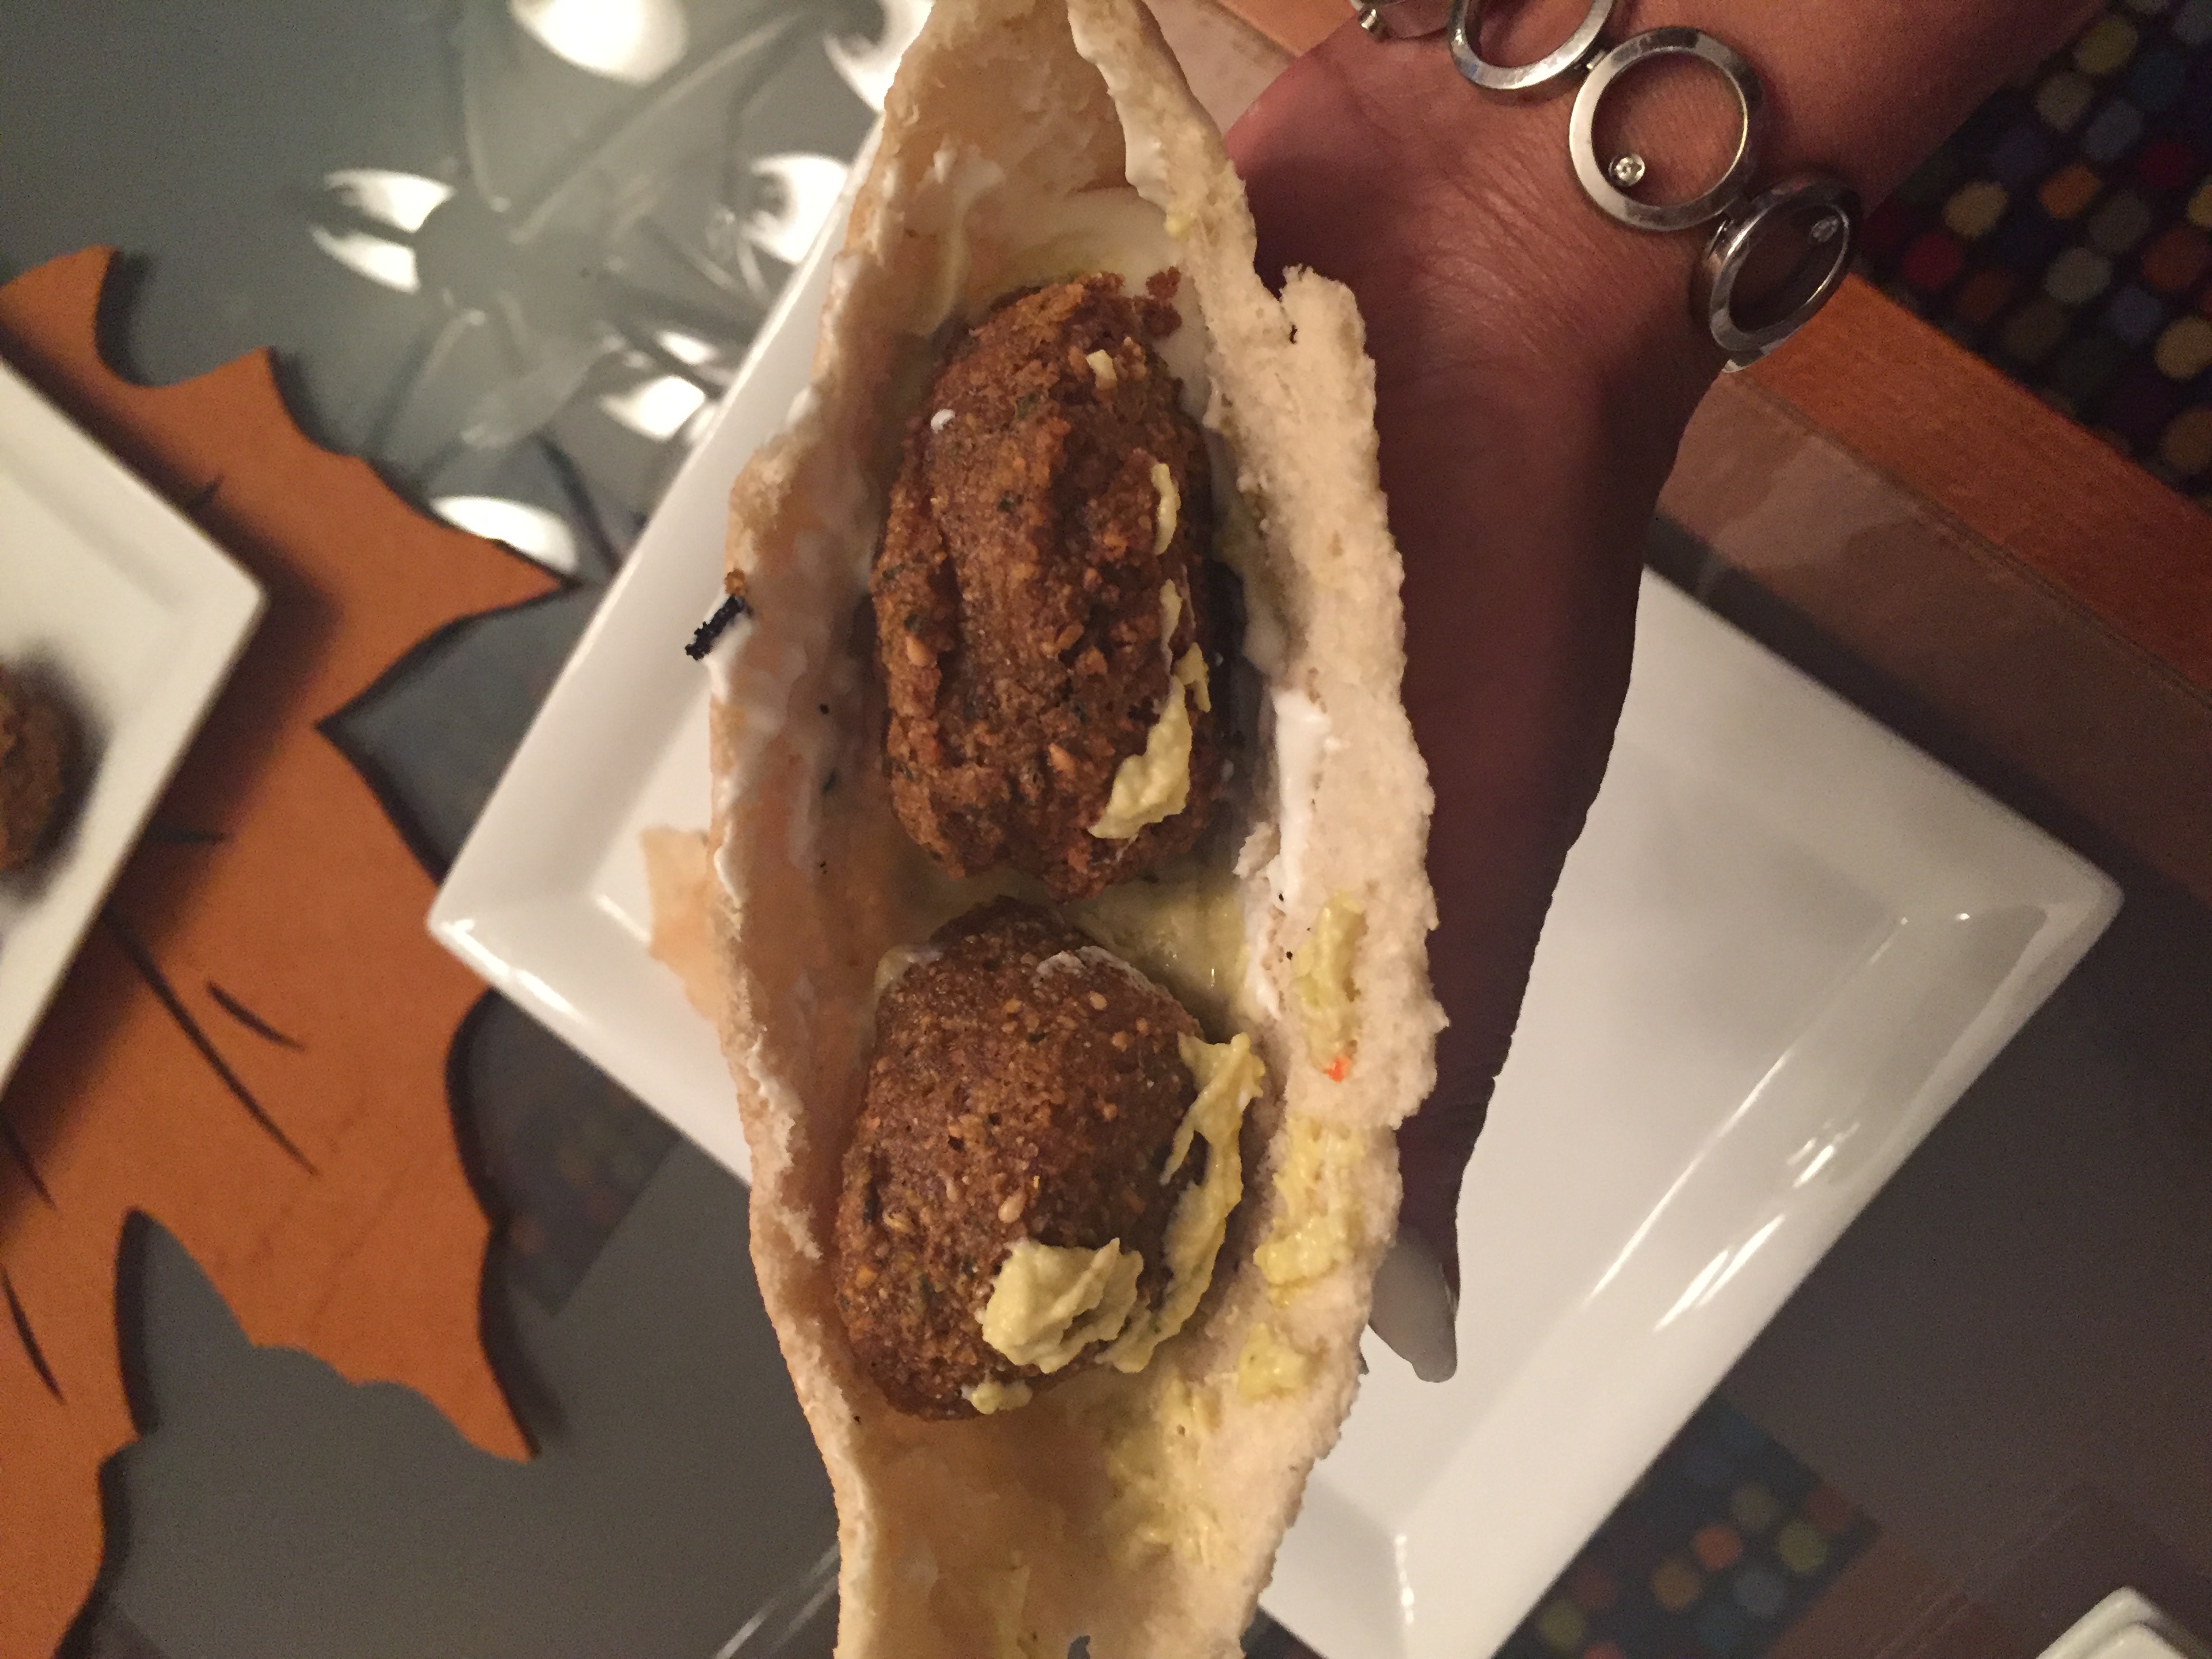
Serving the Falafel
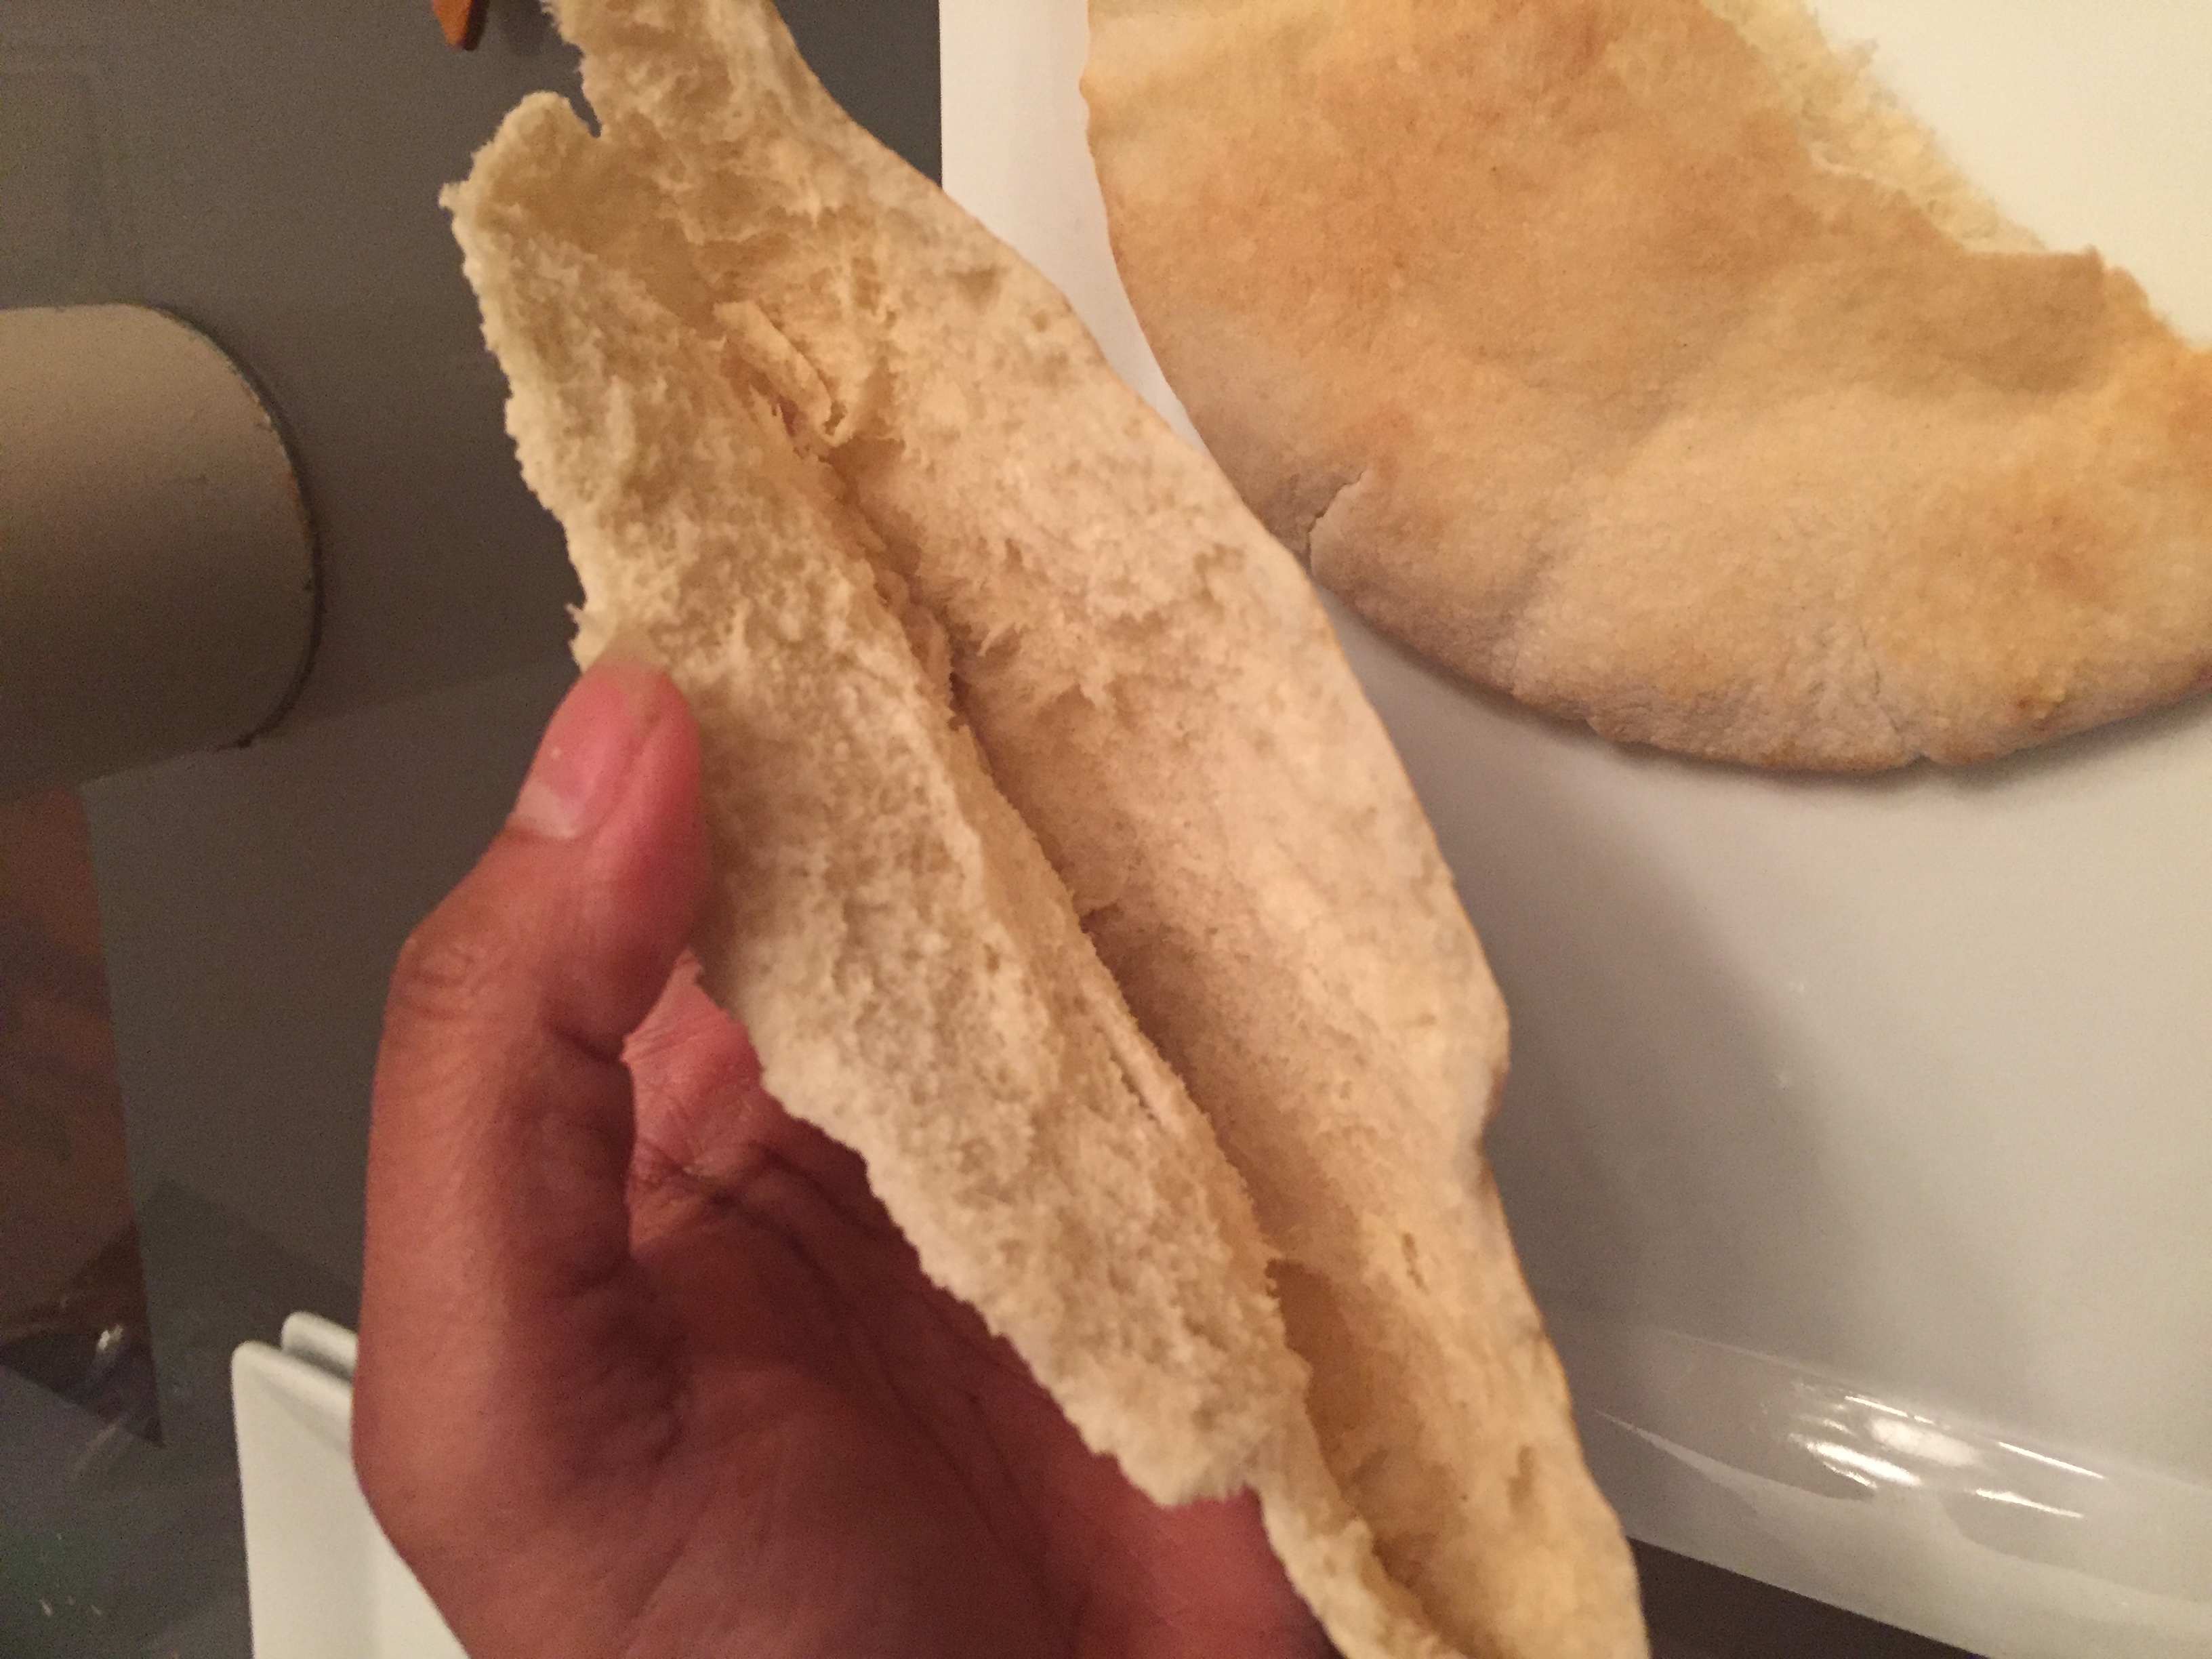
Cut the pita into halves, and insert your fingers in the half to create a pocket in the middle.
Layer the bottom of the pocket with some hummus.
Layer some tzatziki sauce on top.
Insert couple of falafel balls.
Top it with chopped lettuce, sliced tomatoes and thinly sliced cucumbers.
Layer it again with some tzatziki and hummus and sprinkle of salt. Another way of serving is on flat whole pita bread. with falafel , veggies and dressing and fold over and eat.
Or serve just the falafel balls with hummus and tahini sauce. Bon Appetit!!
Tips
If the oil temperature is not right, the falafel balls will be uncooked, and not crispy on the outside and soft to bite. So medium heat, while cooking is essential.
If the mix is too dry, add little water to make it to dropping consistency.
Instinct Factor
If you like sesame seeds on top, use 1 cup water only, and form balls with your hand and then roll it in sesame seeds and fry.
Additional toppings of pickled cucumber, spicy Sriracha sauce are good additions to the falafel sandwich.
I like the pocket pita sandwich but it is also served on a flat pita bread and layer things on top and then folded like a wrap.
Feel Factor
A sandwich of a different kind that is more protein based, cooling, healthy, and tasty as well! It is colorful, makes you feel like you are eating a pakora and yet feel healthy! Crunchy taste of the pakoras with the dressings of hummus, and yogurt based tzatziki is an interesting combination. A definite addition to my monthly menu for the huge protein components that are of high importance for vegetarian diet. And interesting enough. Falafel originated as a vegetarian sandwich and not a meat based so a definite another plus point for me!
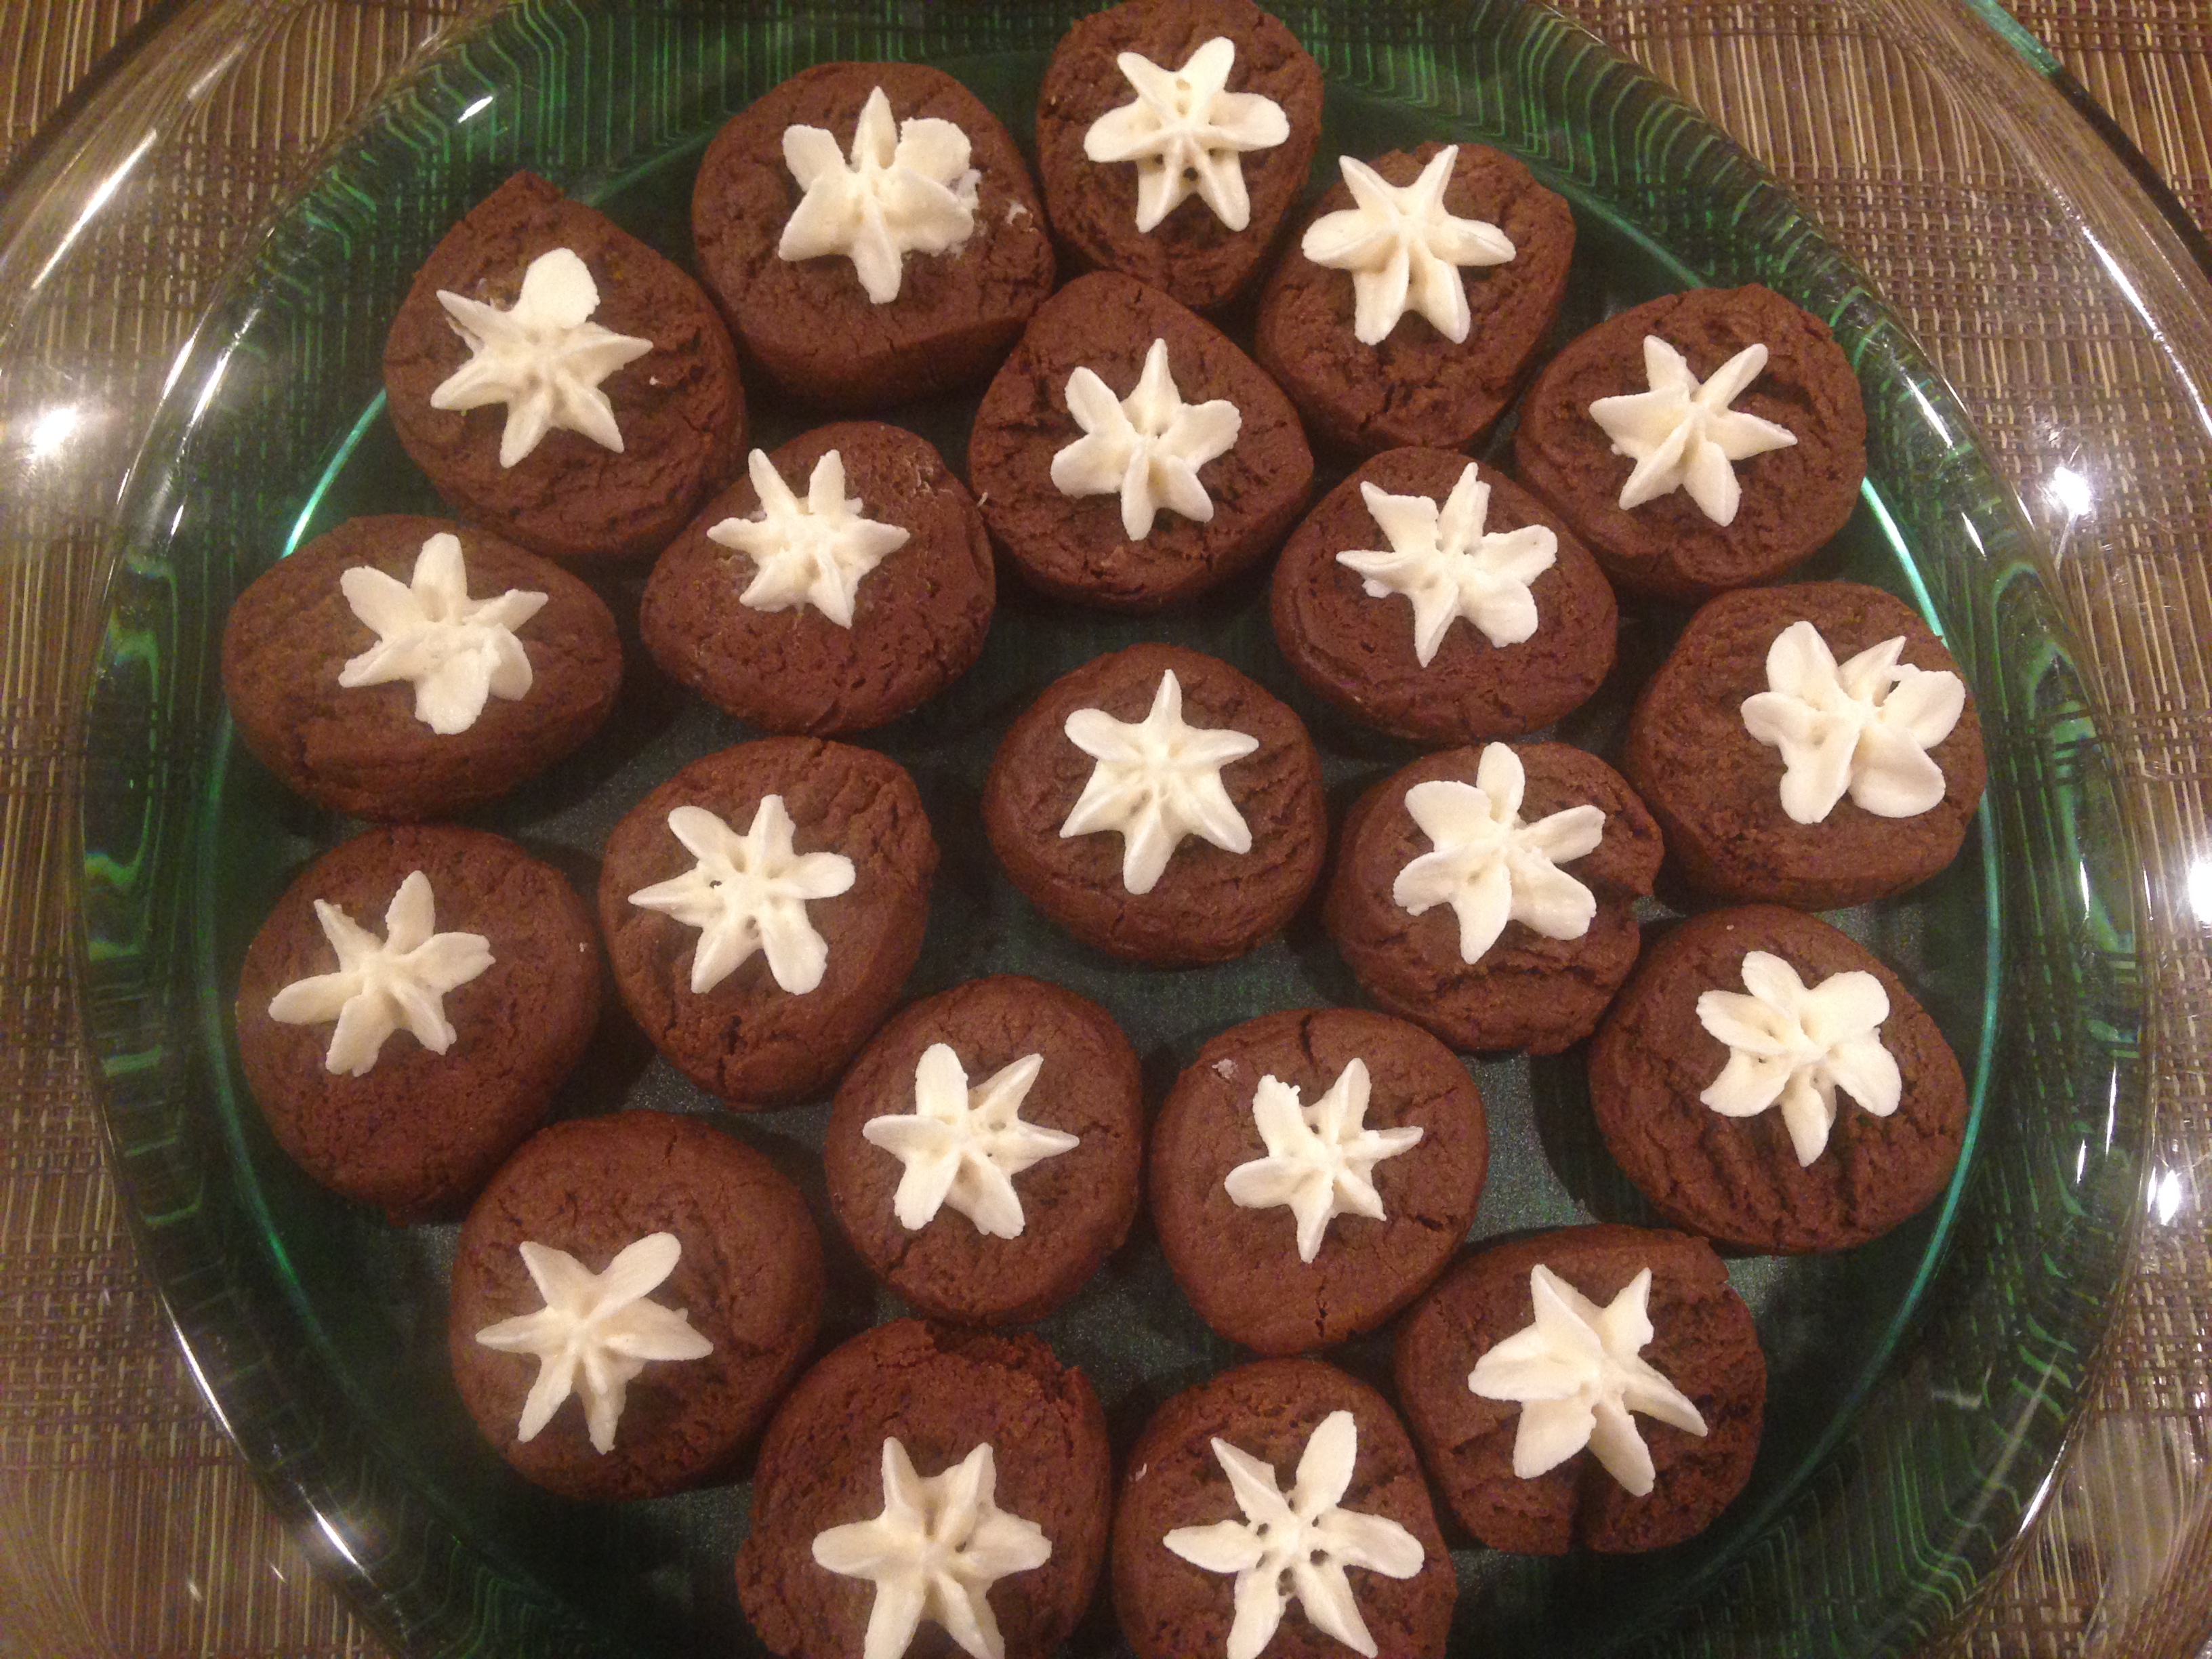
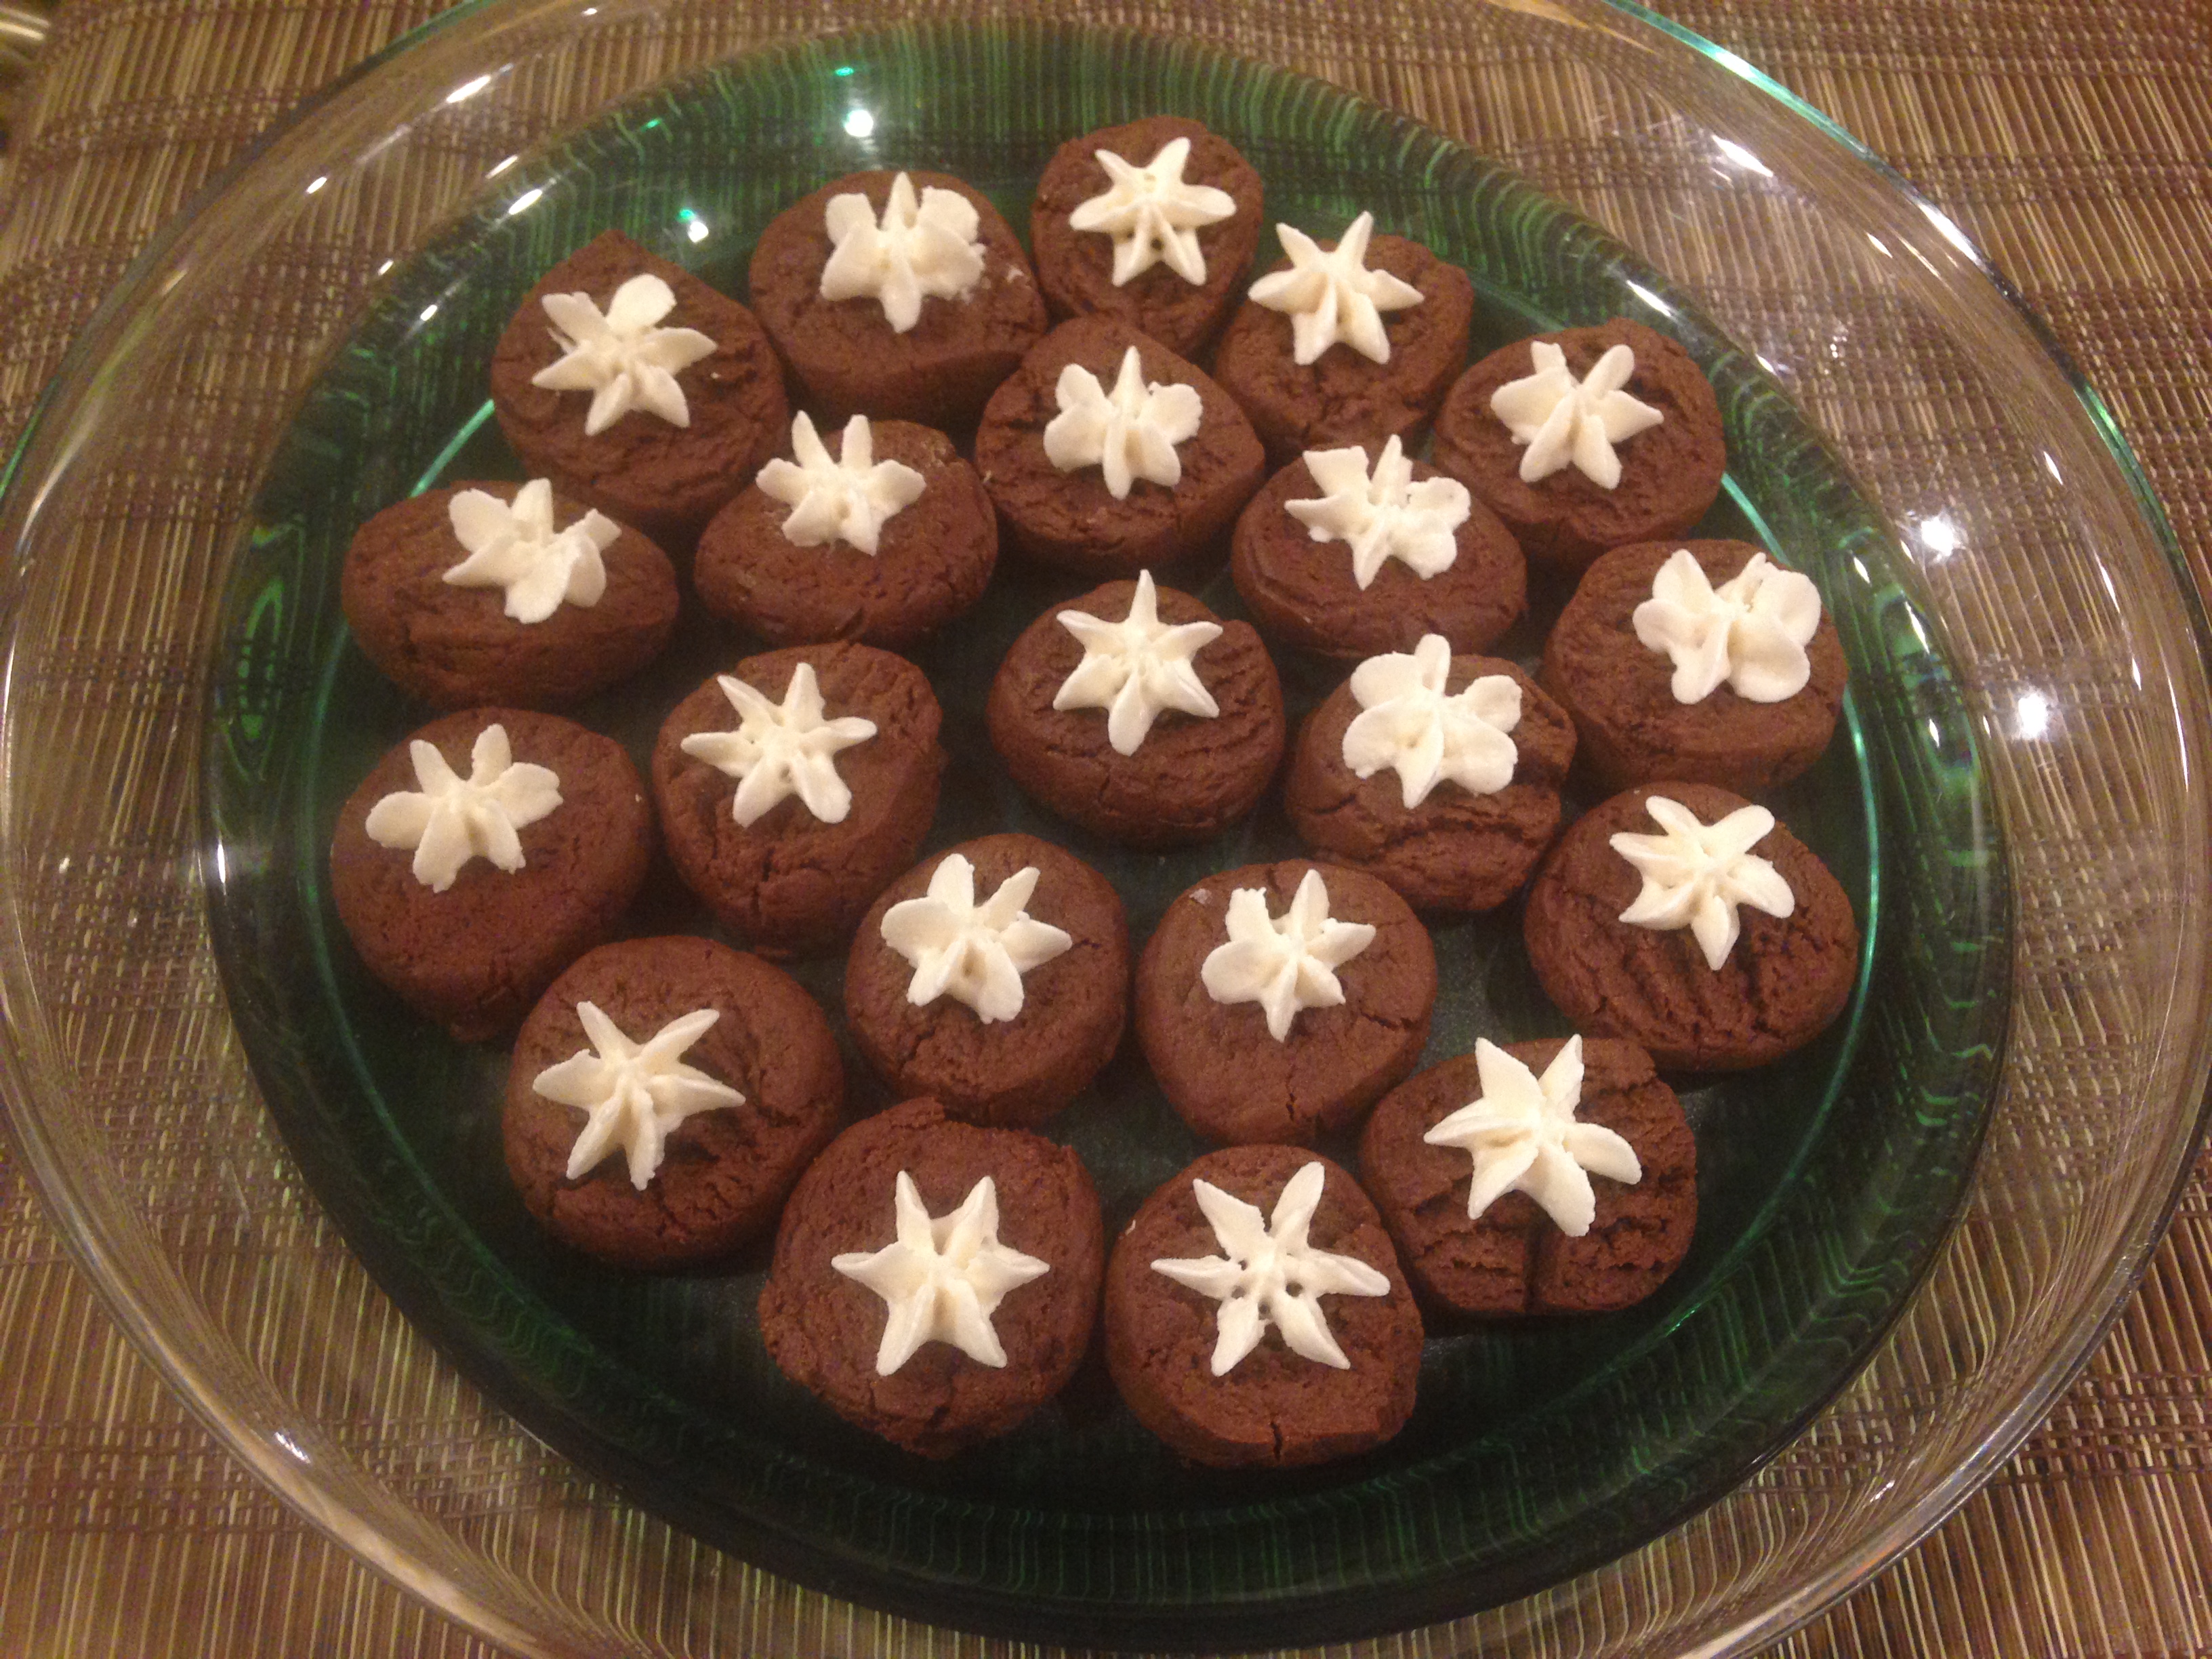
Chocolate Cookie Bites Eggless is adapted from Southern Living, whose recipes I am finding quite interesting and quite reliable and works well as I recently have discovered. Though the final output was not the same as shown in the image provided in the magazine, it gave me a chance to create something that I was happy with, as well as the kids for whom it was made!.The interest in this recipe was out of desire to create an Oreo look, but since that did not work for me based on the original recipe, it led me to something different. Inspired by the recent cherry blooms on the neighbourhood trees(a picture of a which I am happy to share), I gave the chocolate cookies a decorative look and feel!.
My personal favourites are the weeping pink cherry blossoms and the Yoshino White Cherry trees in DC , and watching the extreme white blooms glisten in sunlight is a sight of pure joy! If I am lucky to make it to see the peak of cherry blossoms in DC next week, that would be great, if not, I will just have to make do with my own cherry blossom inspired chocolate cookie bites that are firm and yet soft, delicious and stays fresh for a week or so if stored in an airtight container. Bring the beauty of nature within the house and have interesting conversation with your family and friends over this chocolate cookie bites!
CHOCOLATE COOKIE BITES EGGLESS
Recipe Makes about 45-50 pieces of Chocolate Cookie Bites
Time to Cook : 25 min
Time to Prep : 30-60 min
Ingredients
[shopeat_button]
1 2/3 self raising unbleached flour(King Arthur brand) or
3/4 cup unsweetened cocoa
3/4 cup granulated sugar
3/4 tsp salt
1/2 tsp baking powder ( 1 tsp baking powder if using all purpose four)
3/4 cup plus 1 tbsp butter softened
4-5 tbsp water
parchment paper for lining the baking tray
Filling
1/2 cup shortening at room temperature
1/2 cup butter at room temperature or softened
3 1/4 cups powdered sugar
1 tsp vanilla extract
food color(optional)
Method
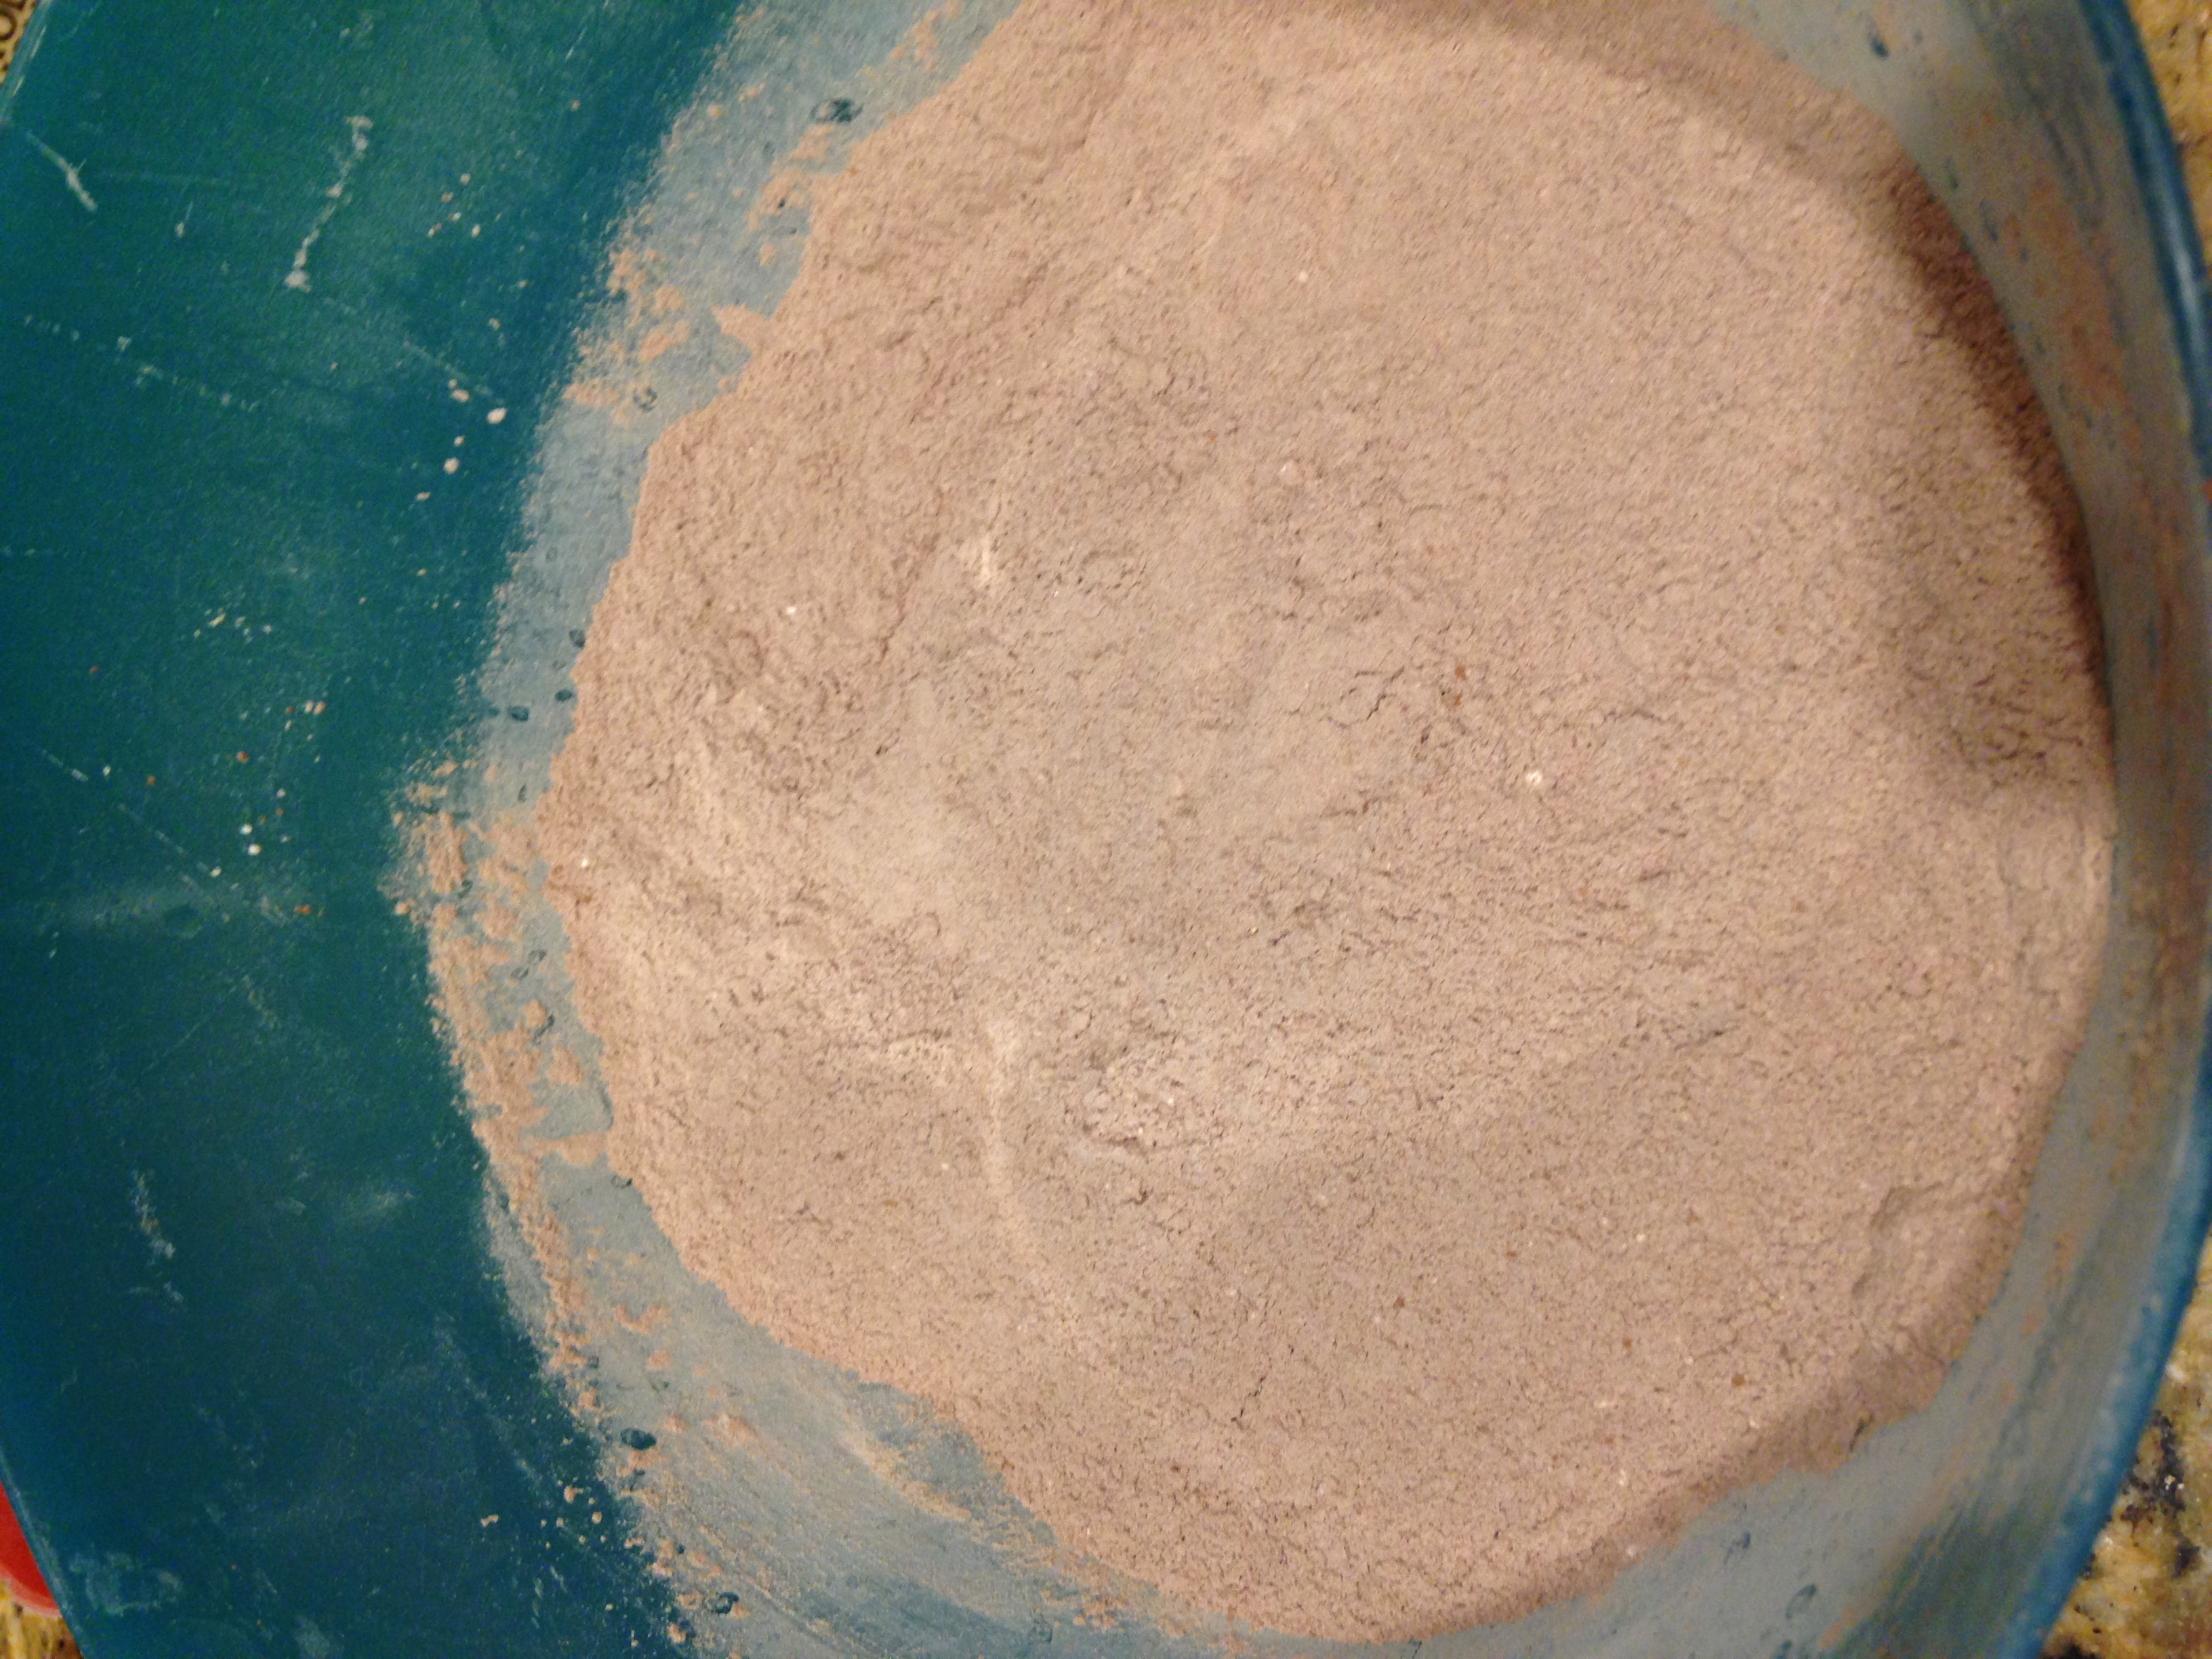
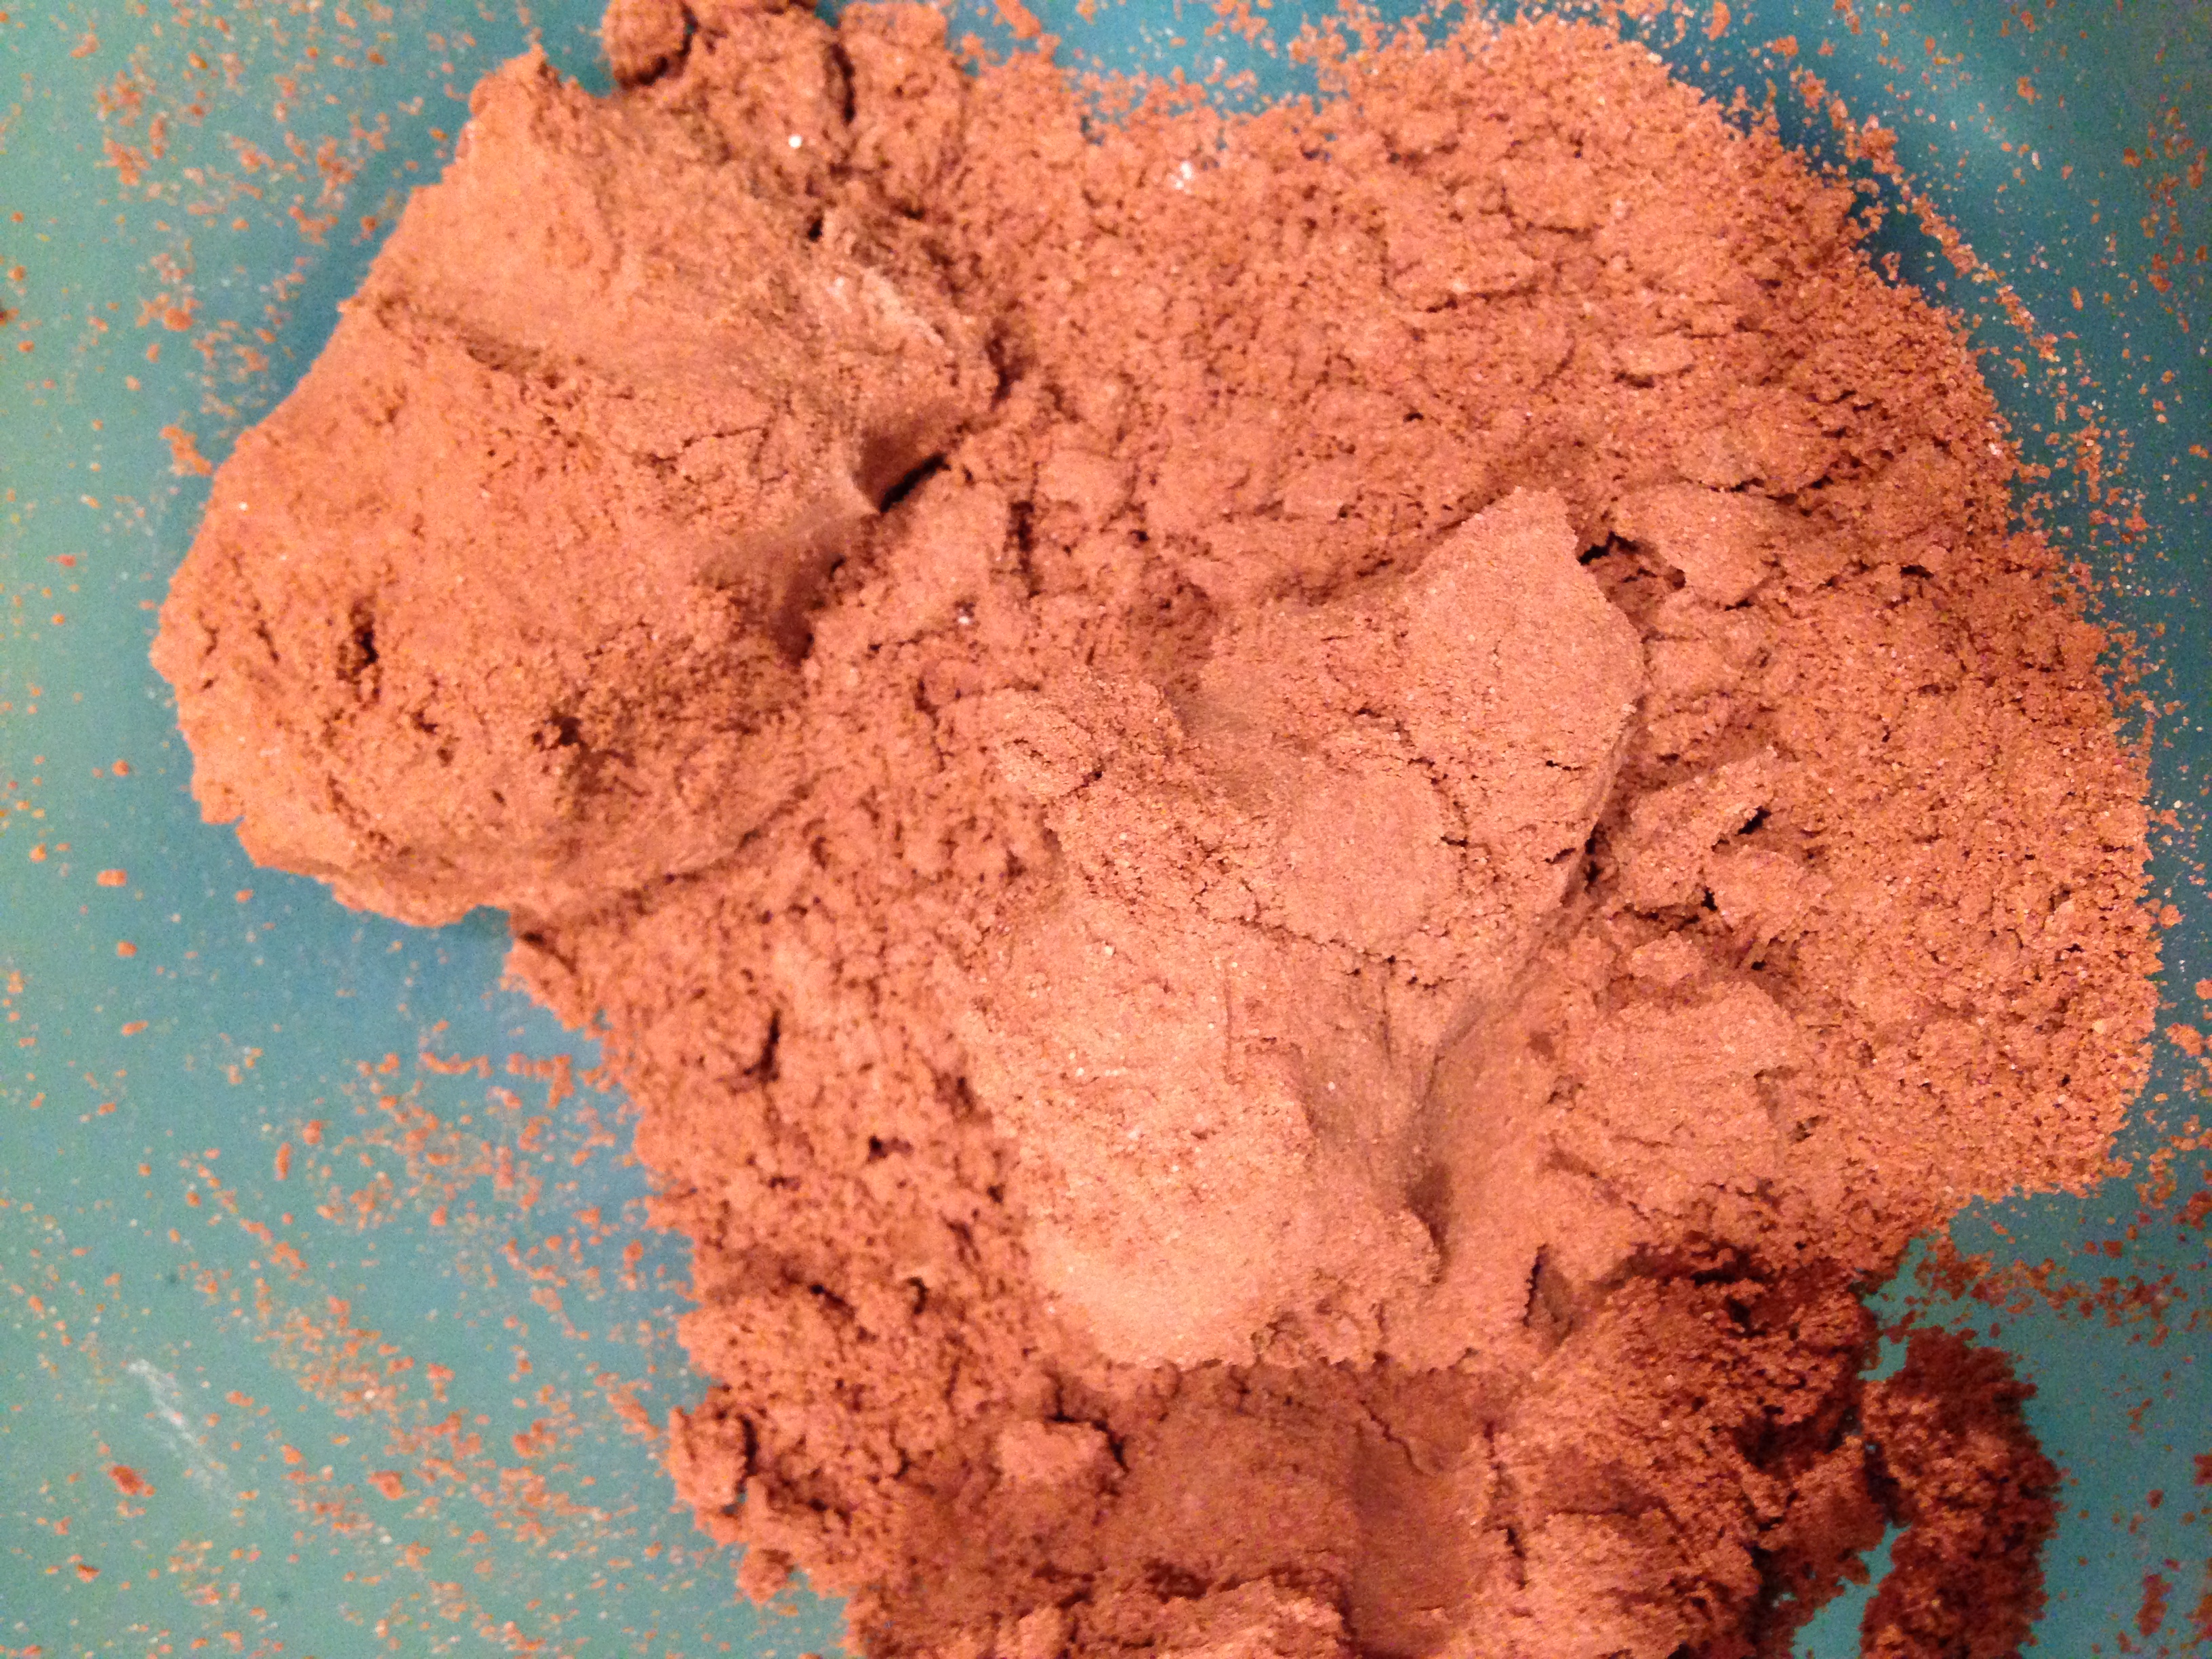
Sieve cocoa, salt, flour together.
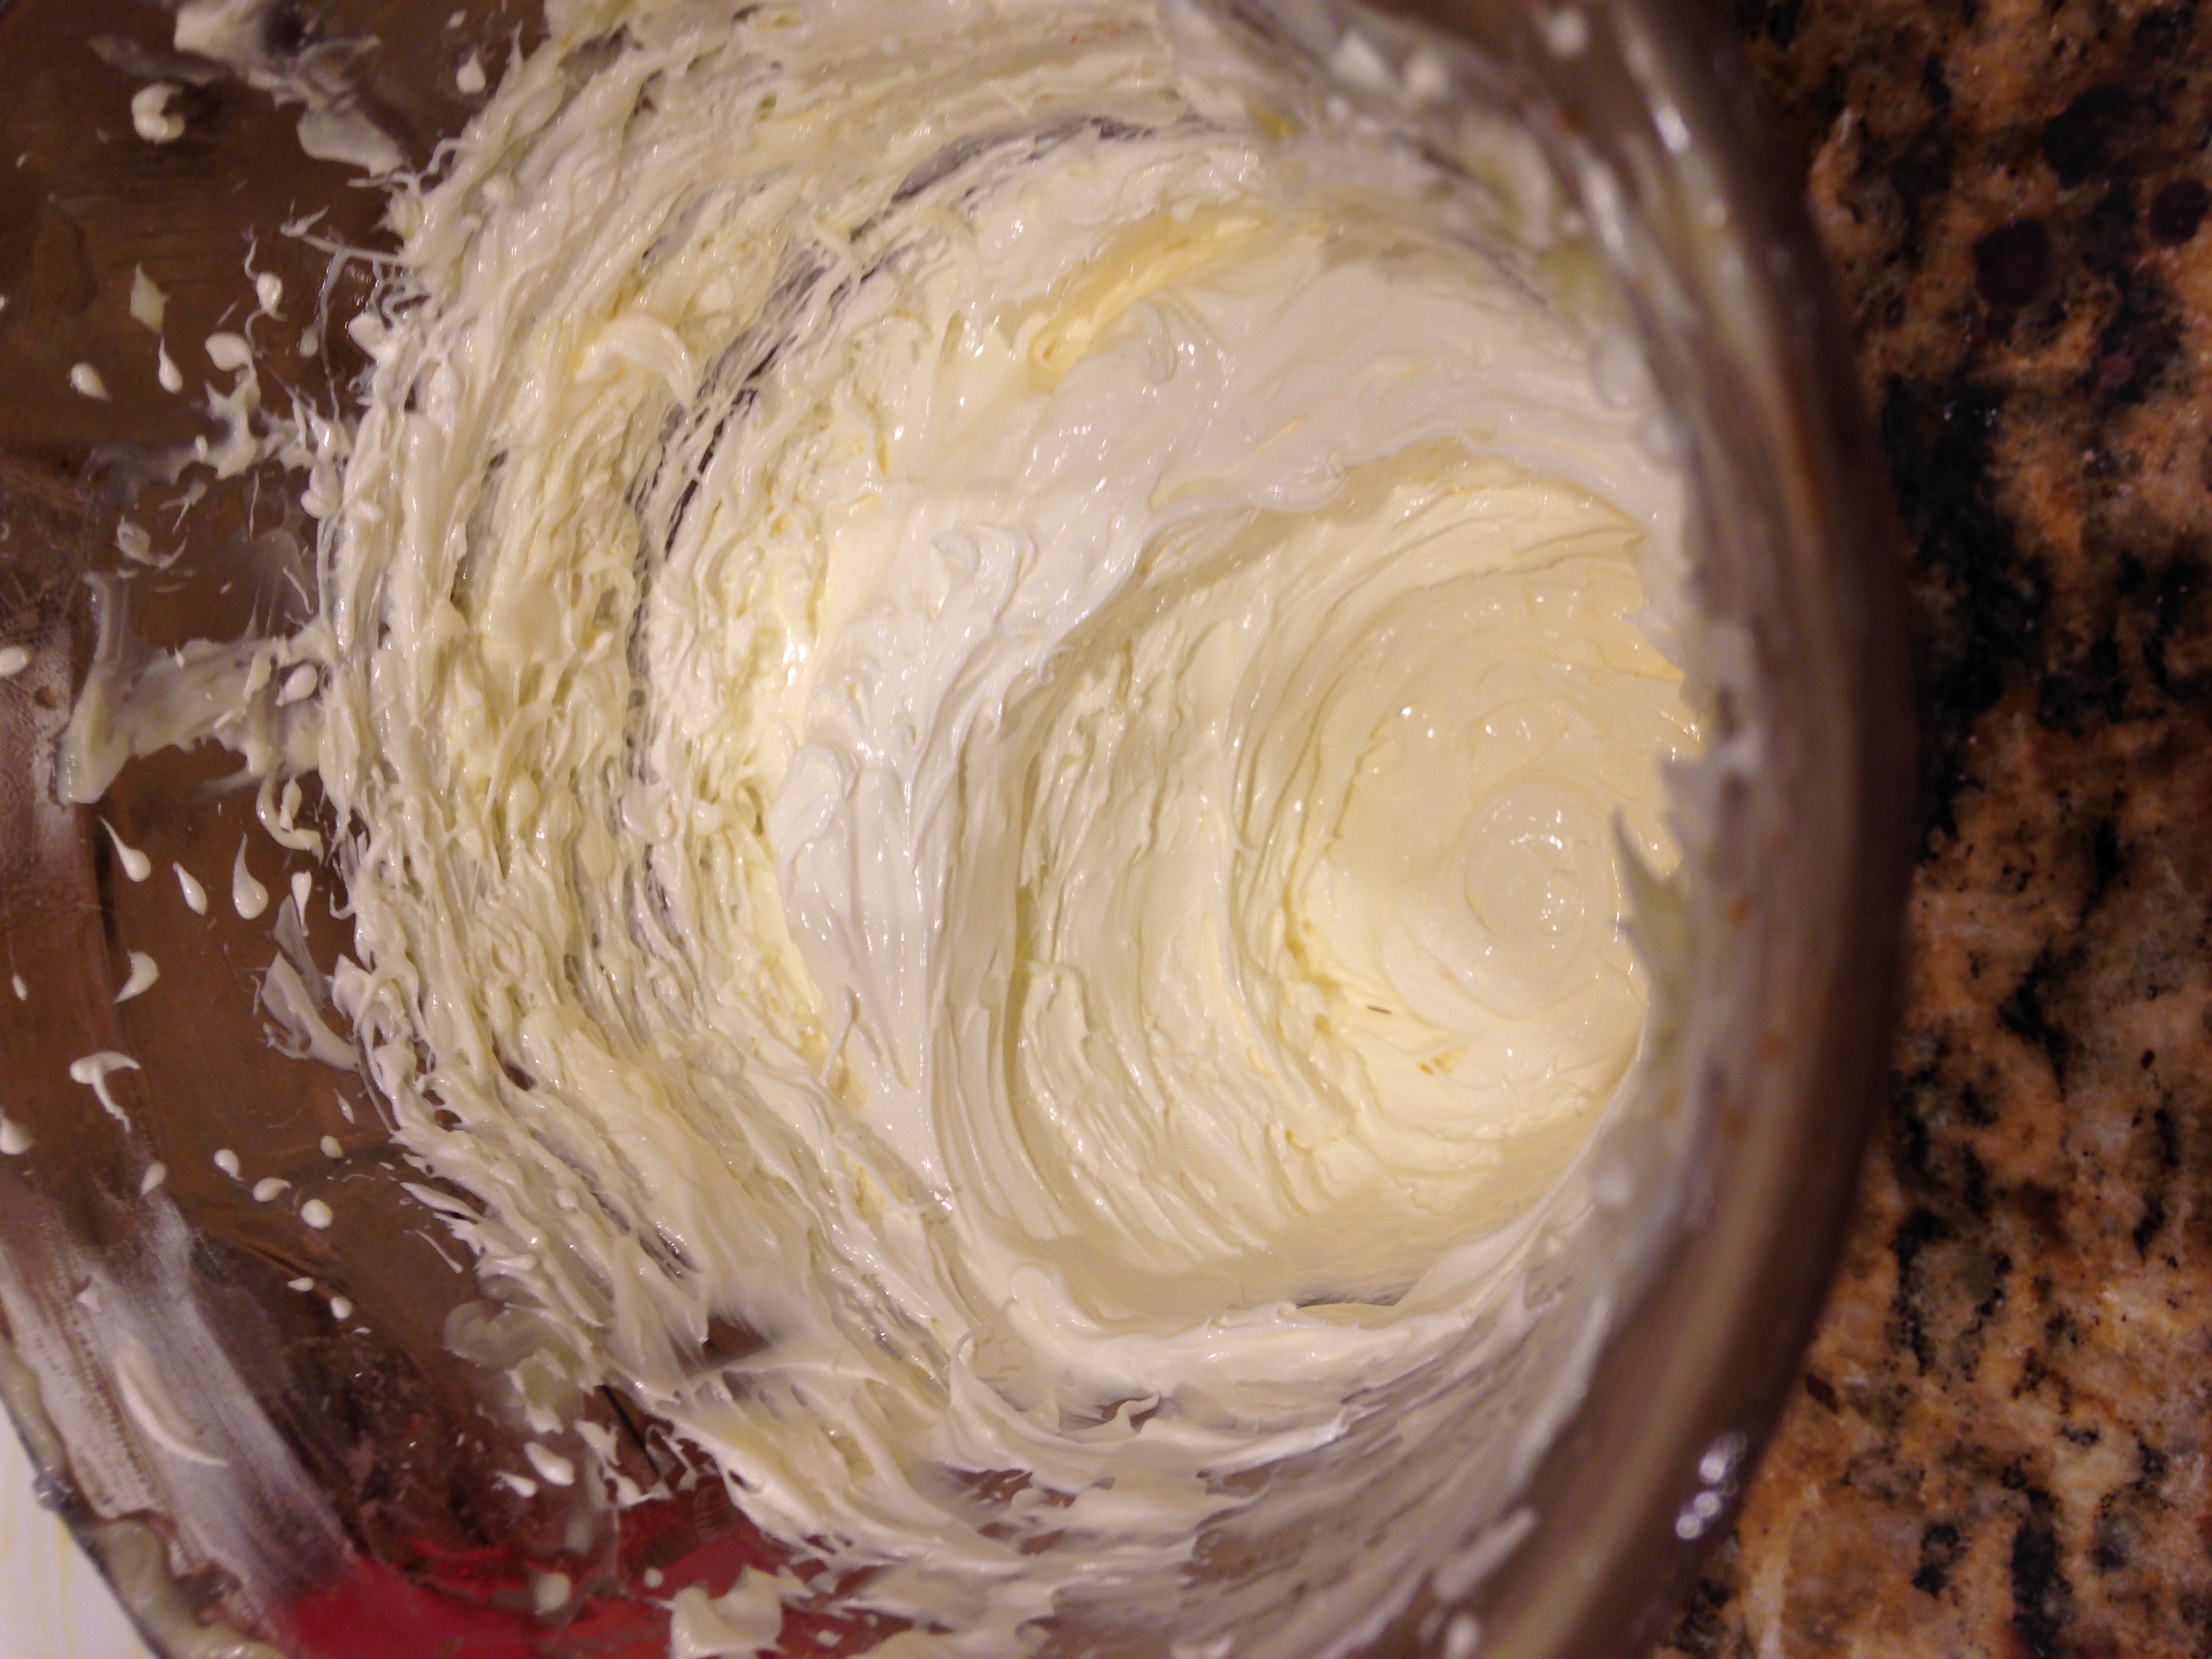
Beat sugar and butter for about 4-5 minutes, until extremely fluffy and white.
Combine the flour and butter mix.
Using 4-5 tbsp water, bind the flour and butter mix into a soft pliable dough
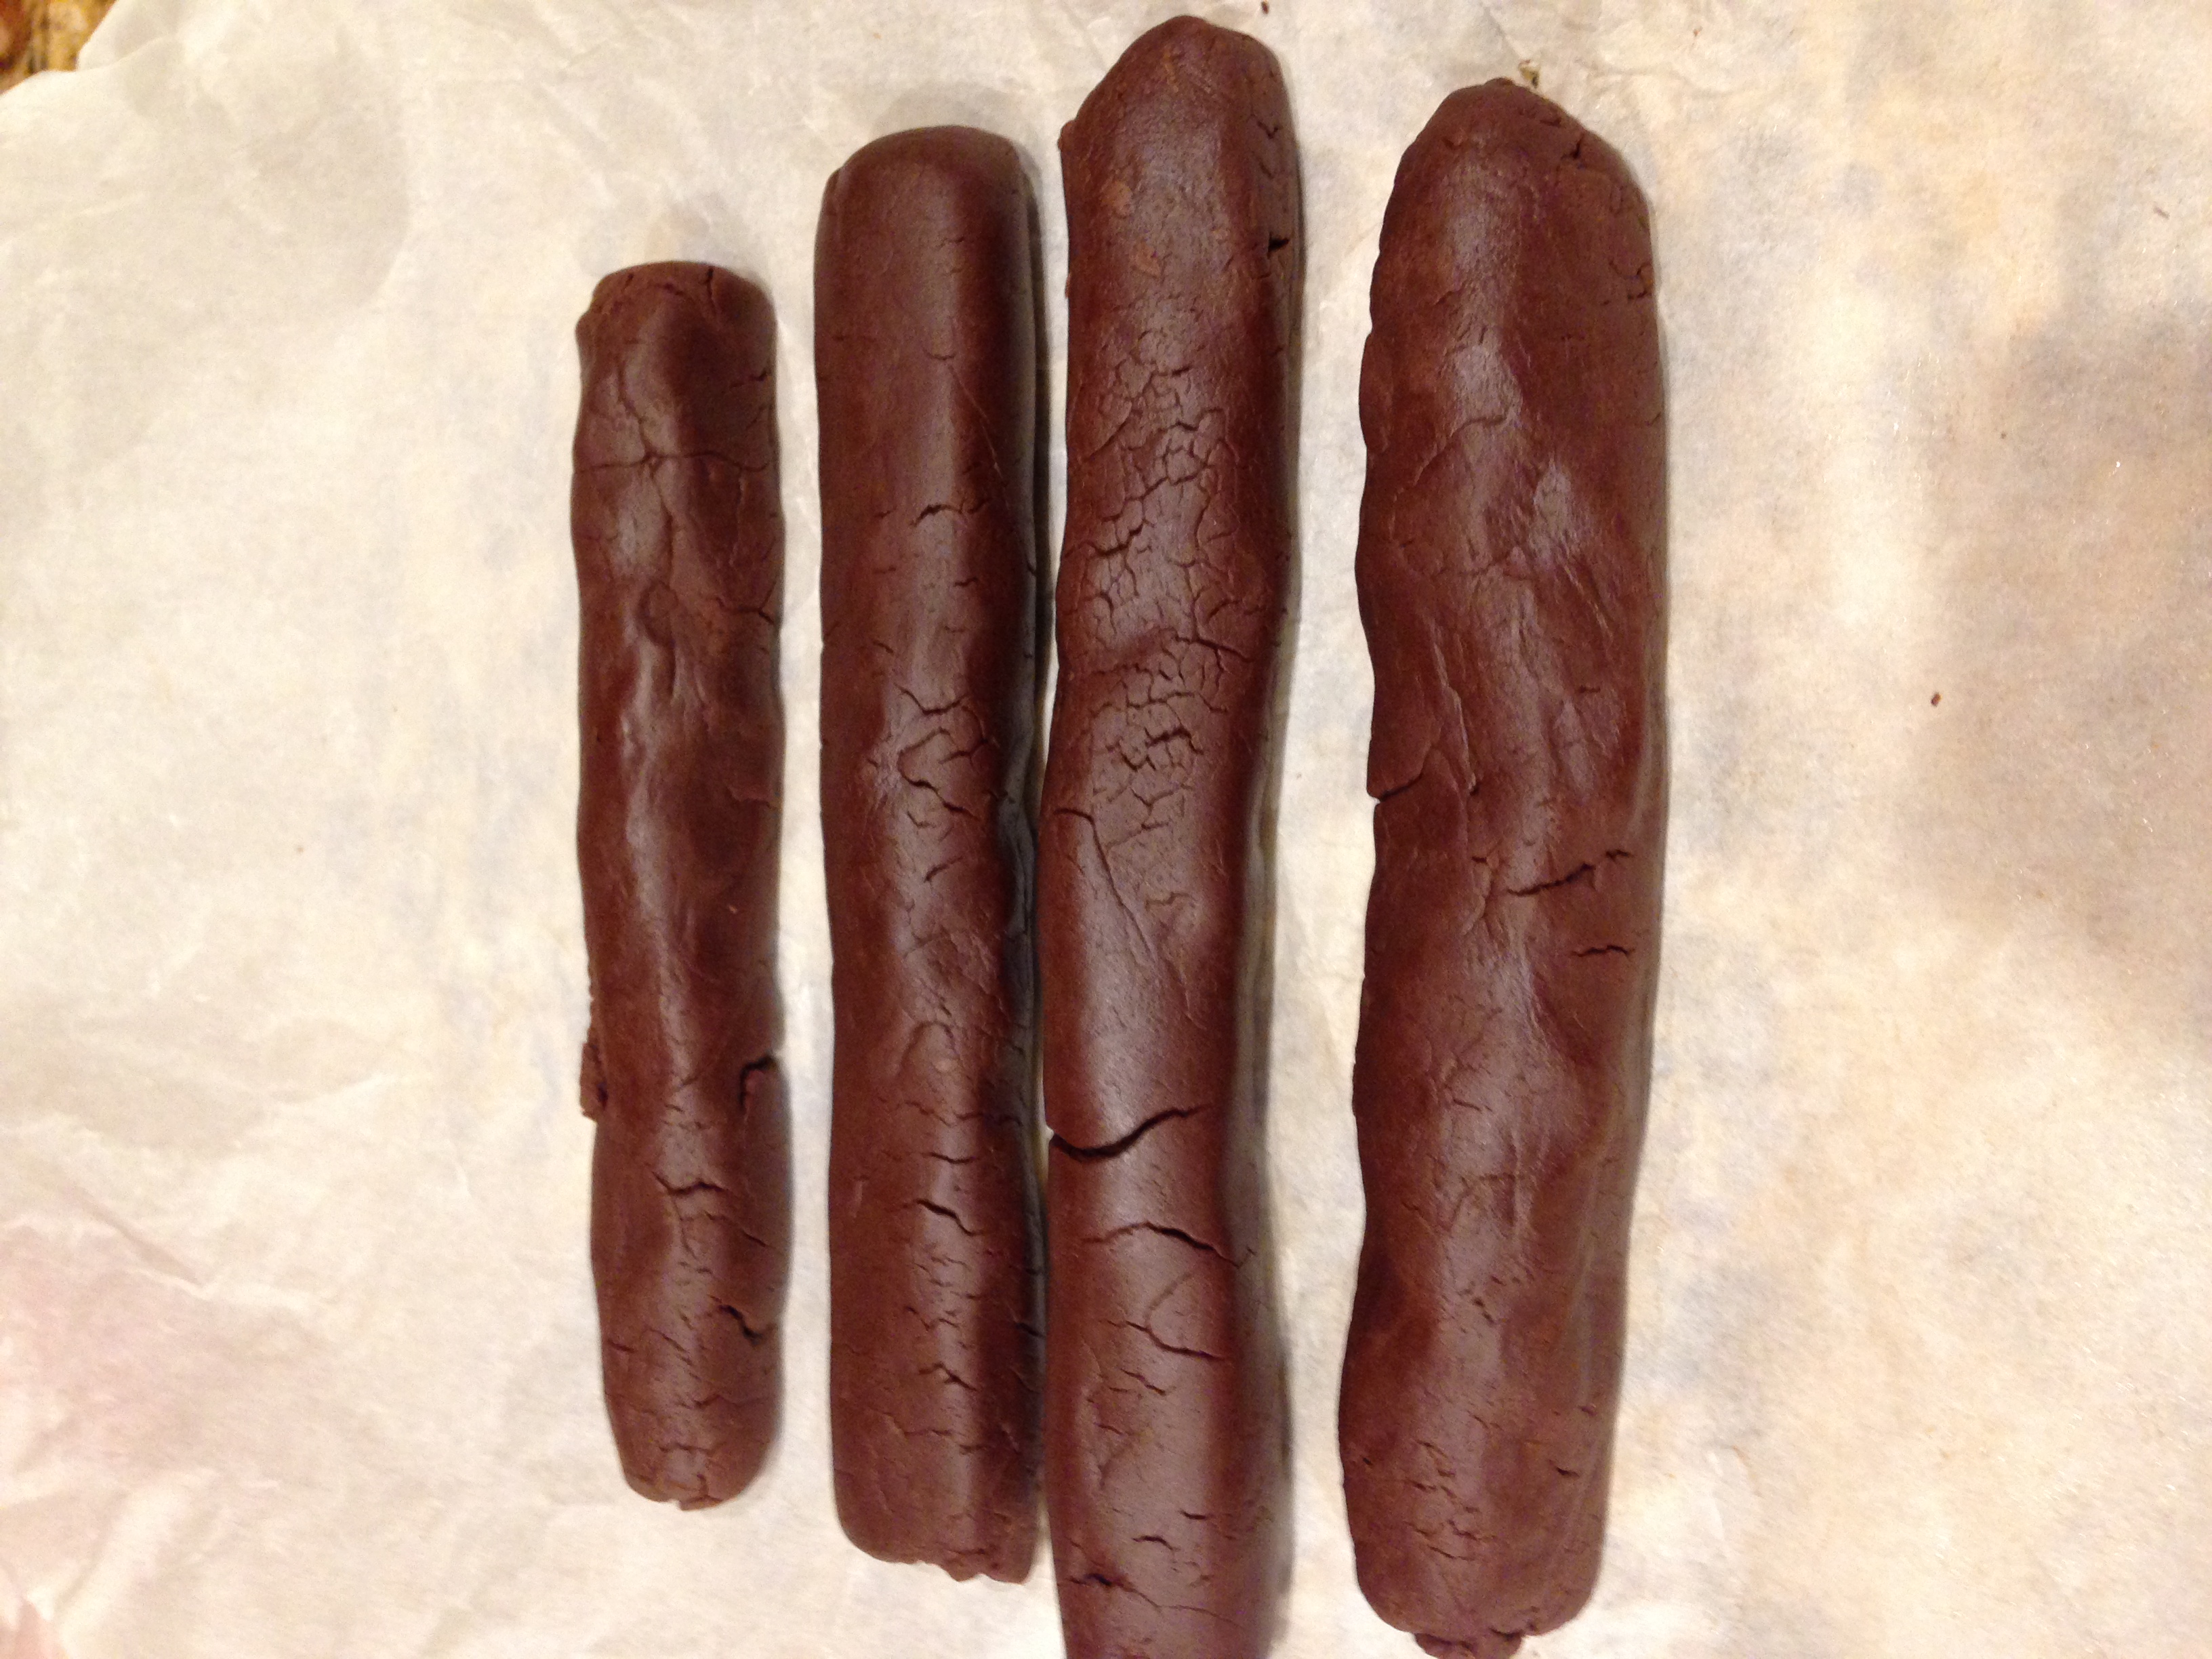
Divide the dough in 4 parts.
Roll the dough into a long cylindrical shape about 1 1/2 inch thick approx.
Cover the rolls in parchment paper and chill in the refrigerator for 30 min.
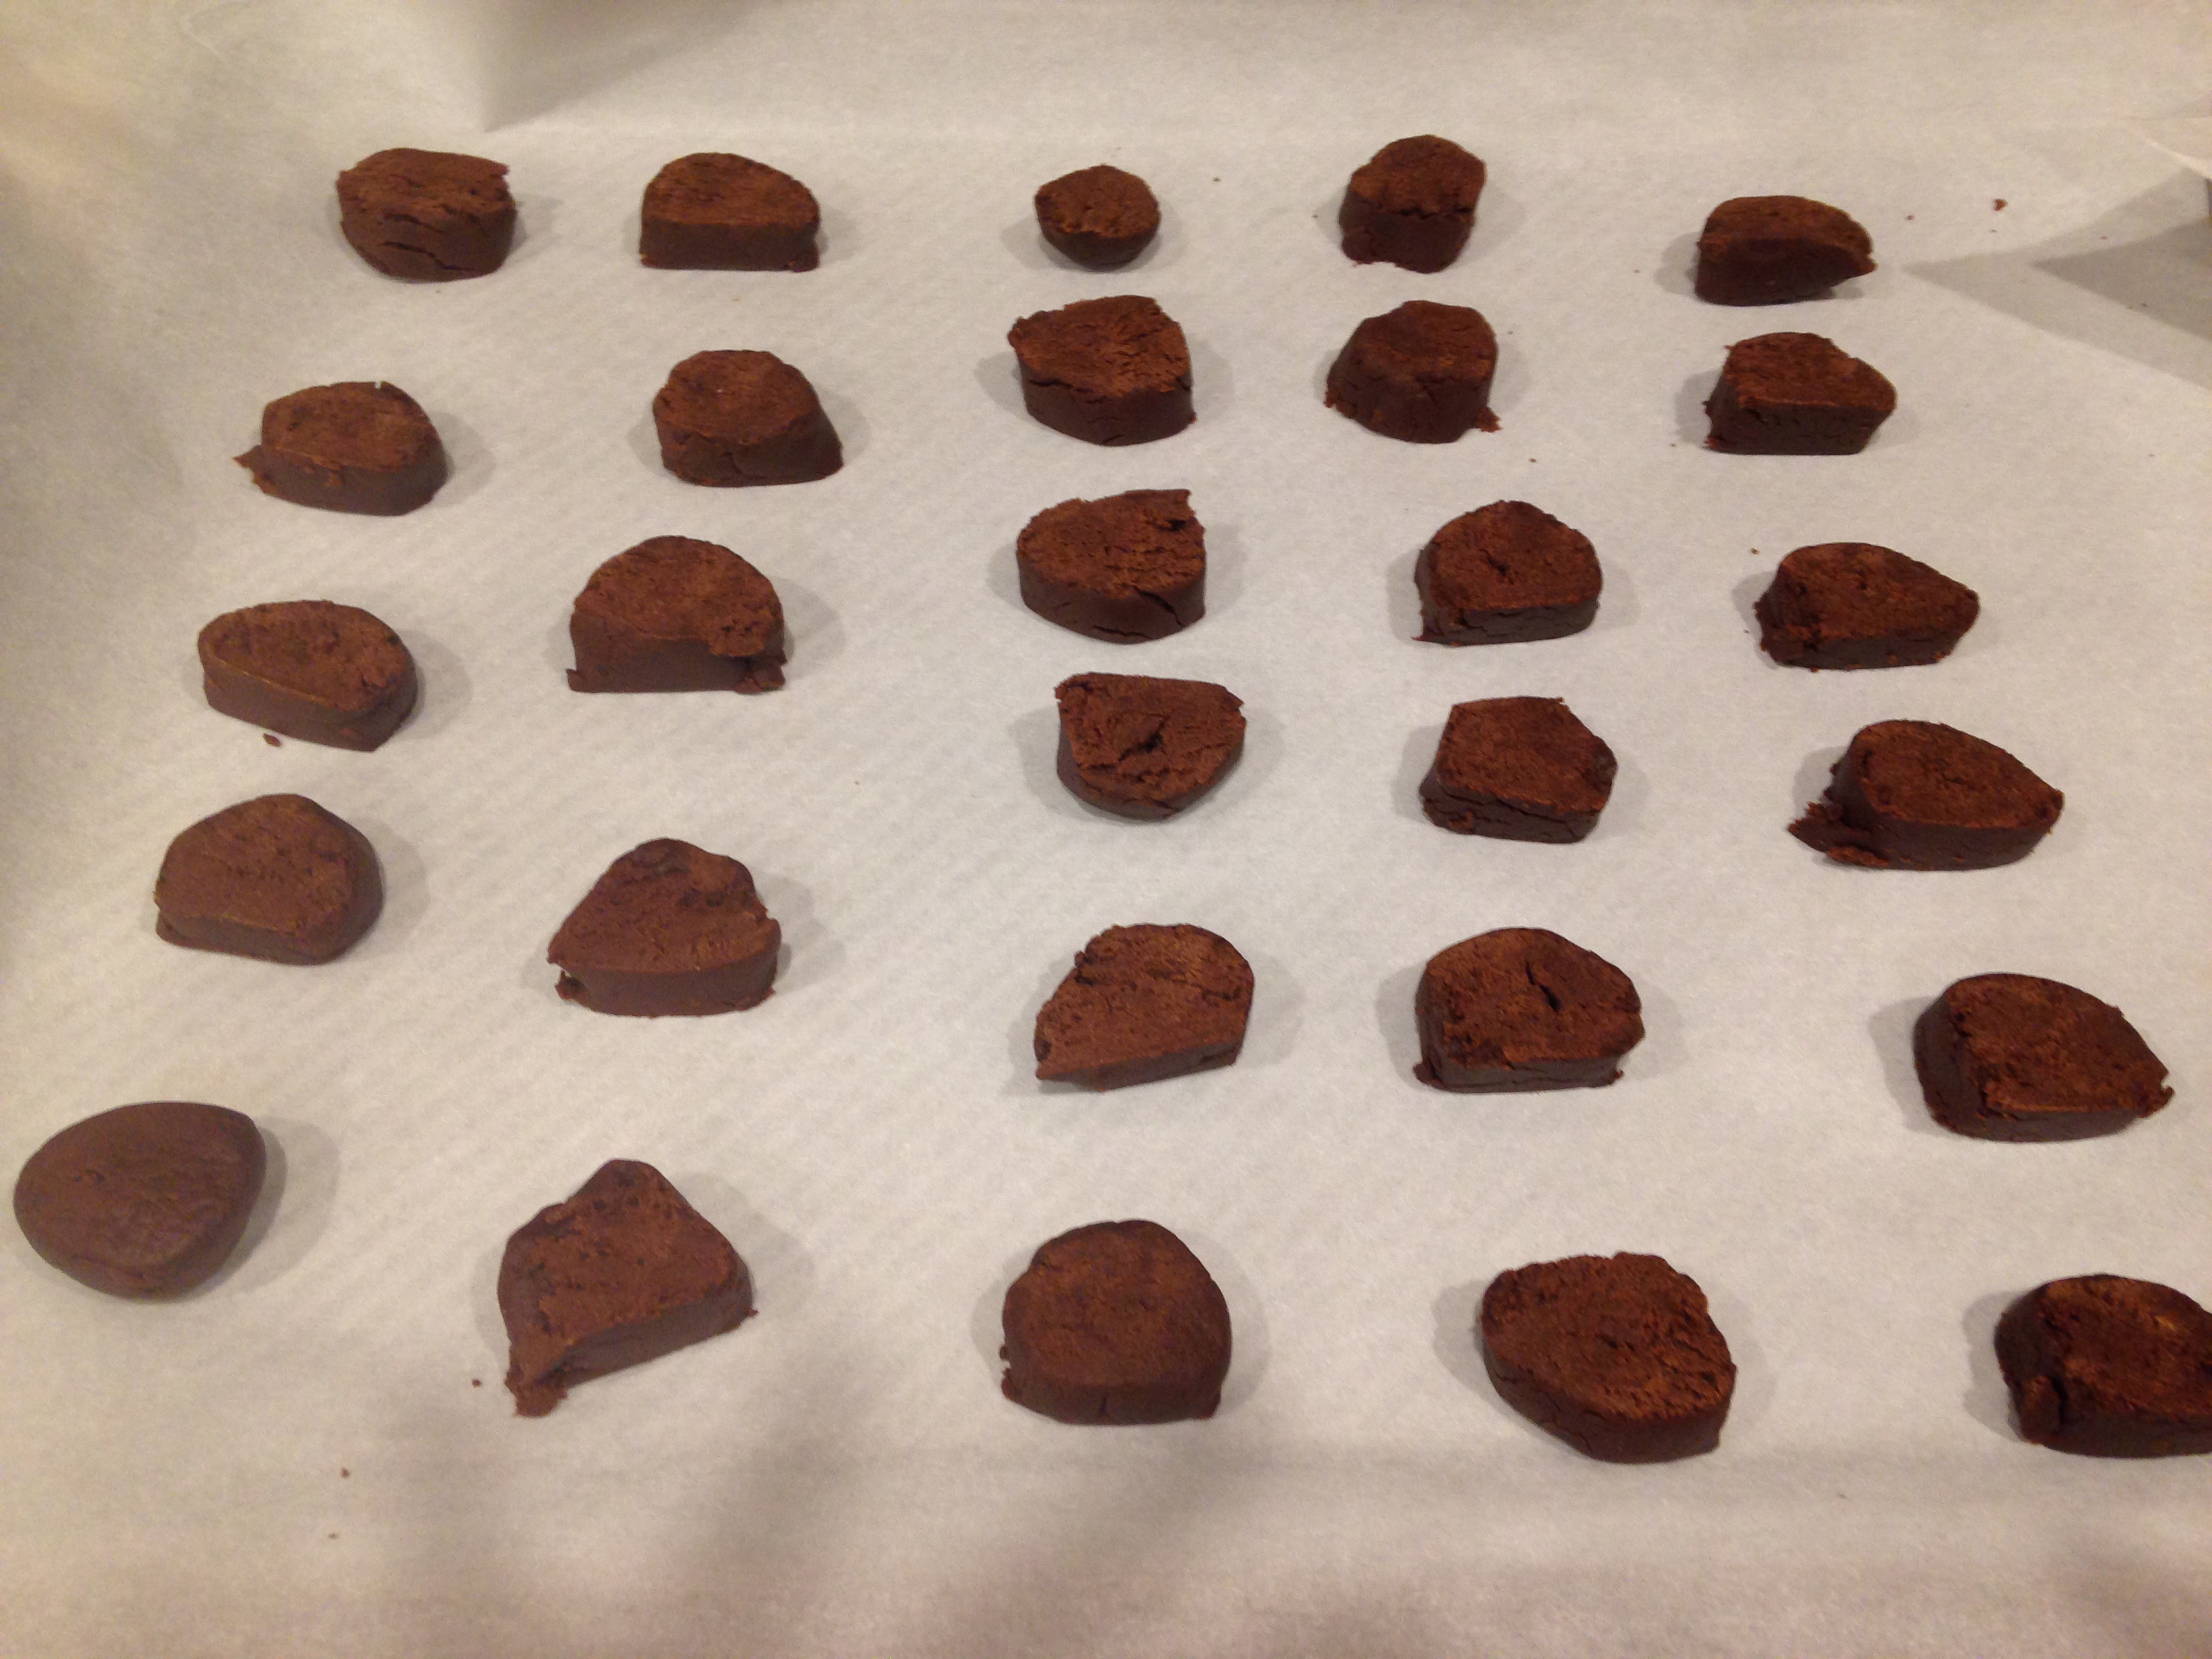
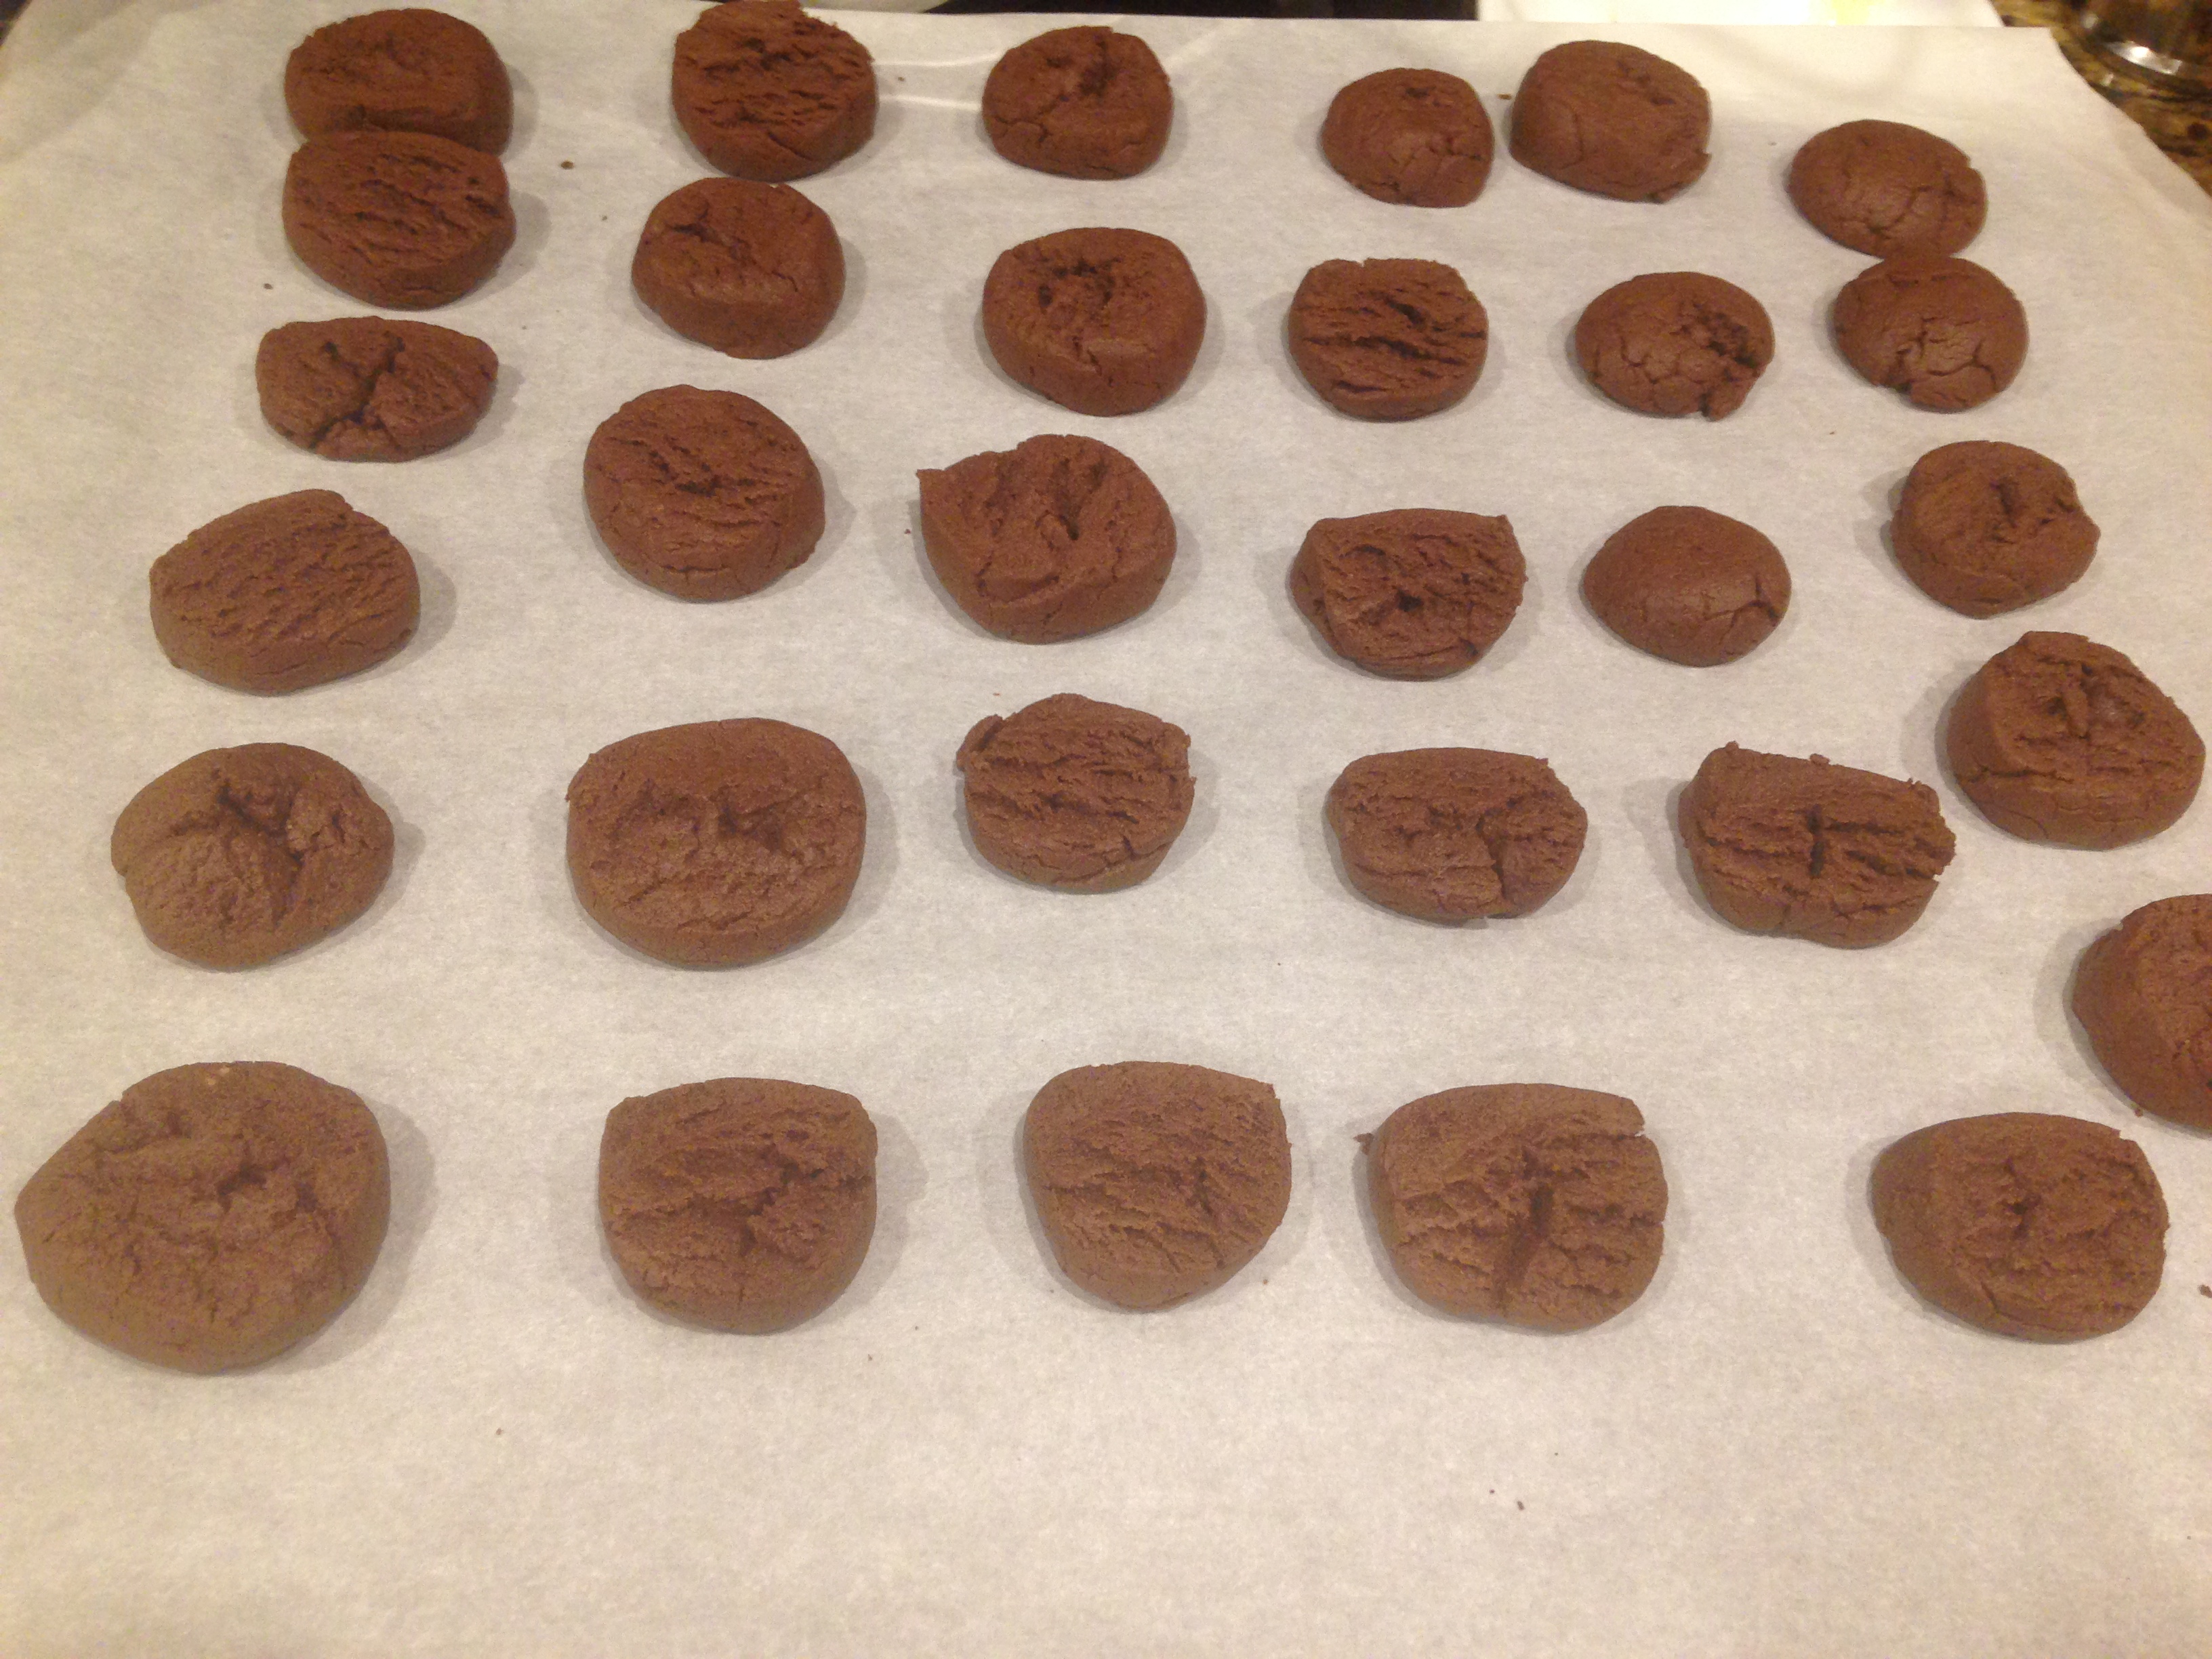
Remove and slice the roll into about 1 inch thick cookies
Arrange the chocolate cookies on a parchment paper on a baking tray.
Pre heat the oven to 350 degrees or convection 375 degrees.
Lay the baking tray on mid higher level for 6 min.
Turn the baking tray front to back and insert at the lower level in the oven and bake for 6 min.
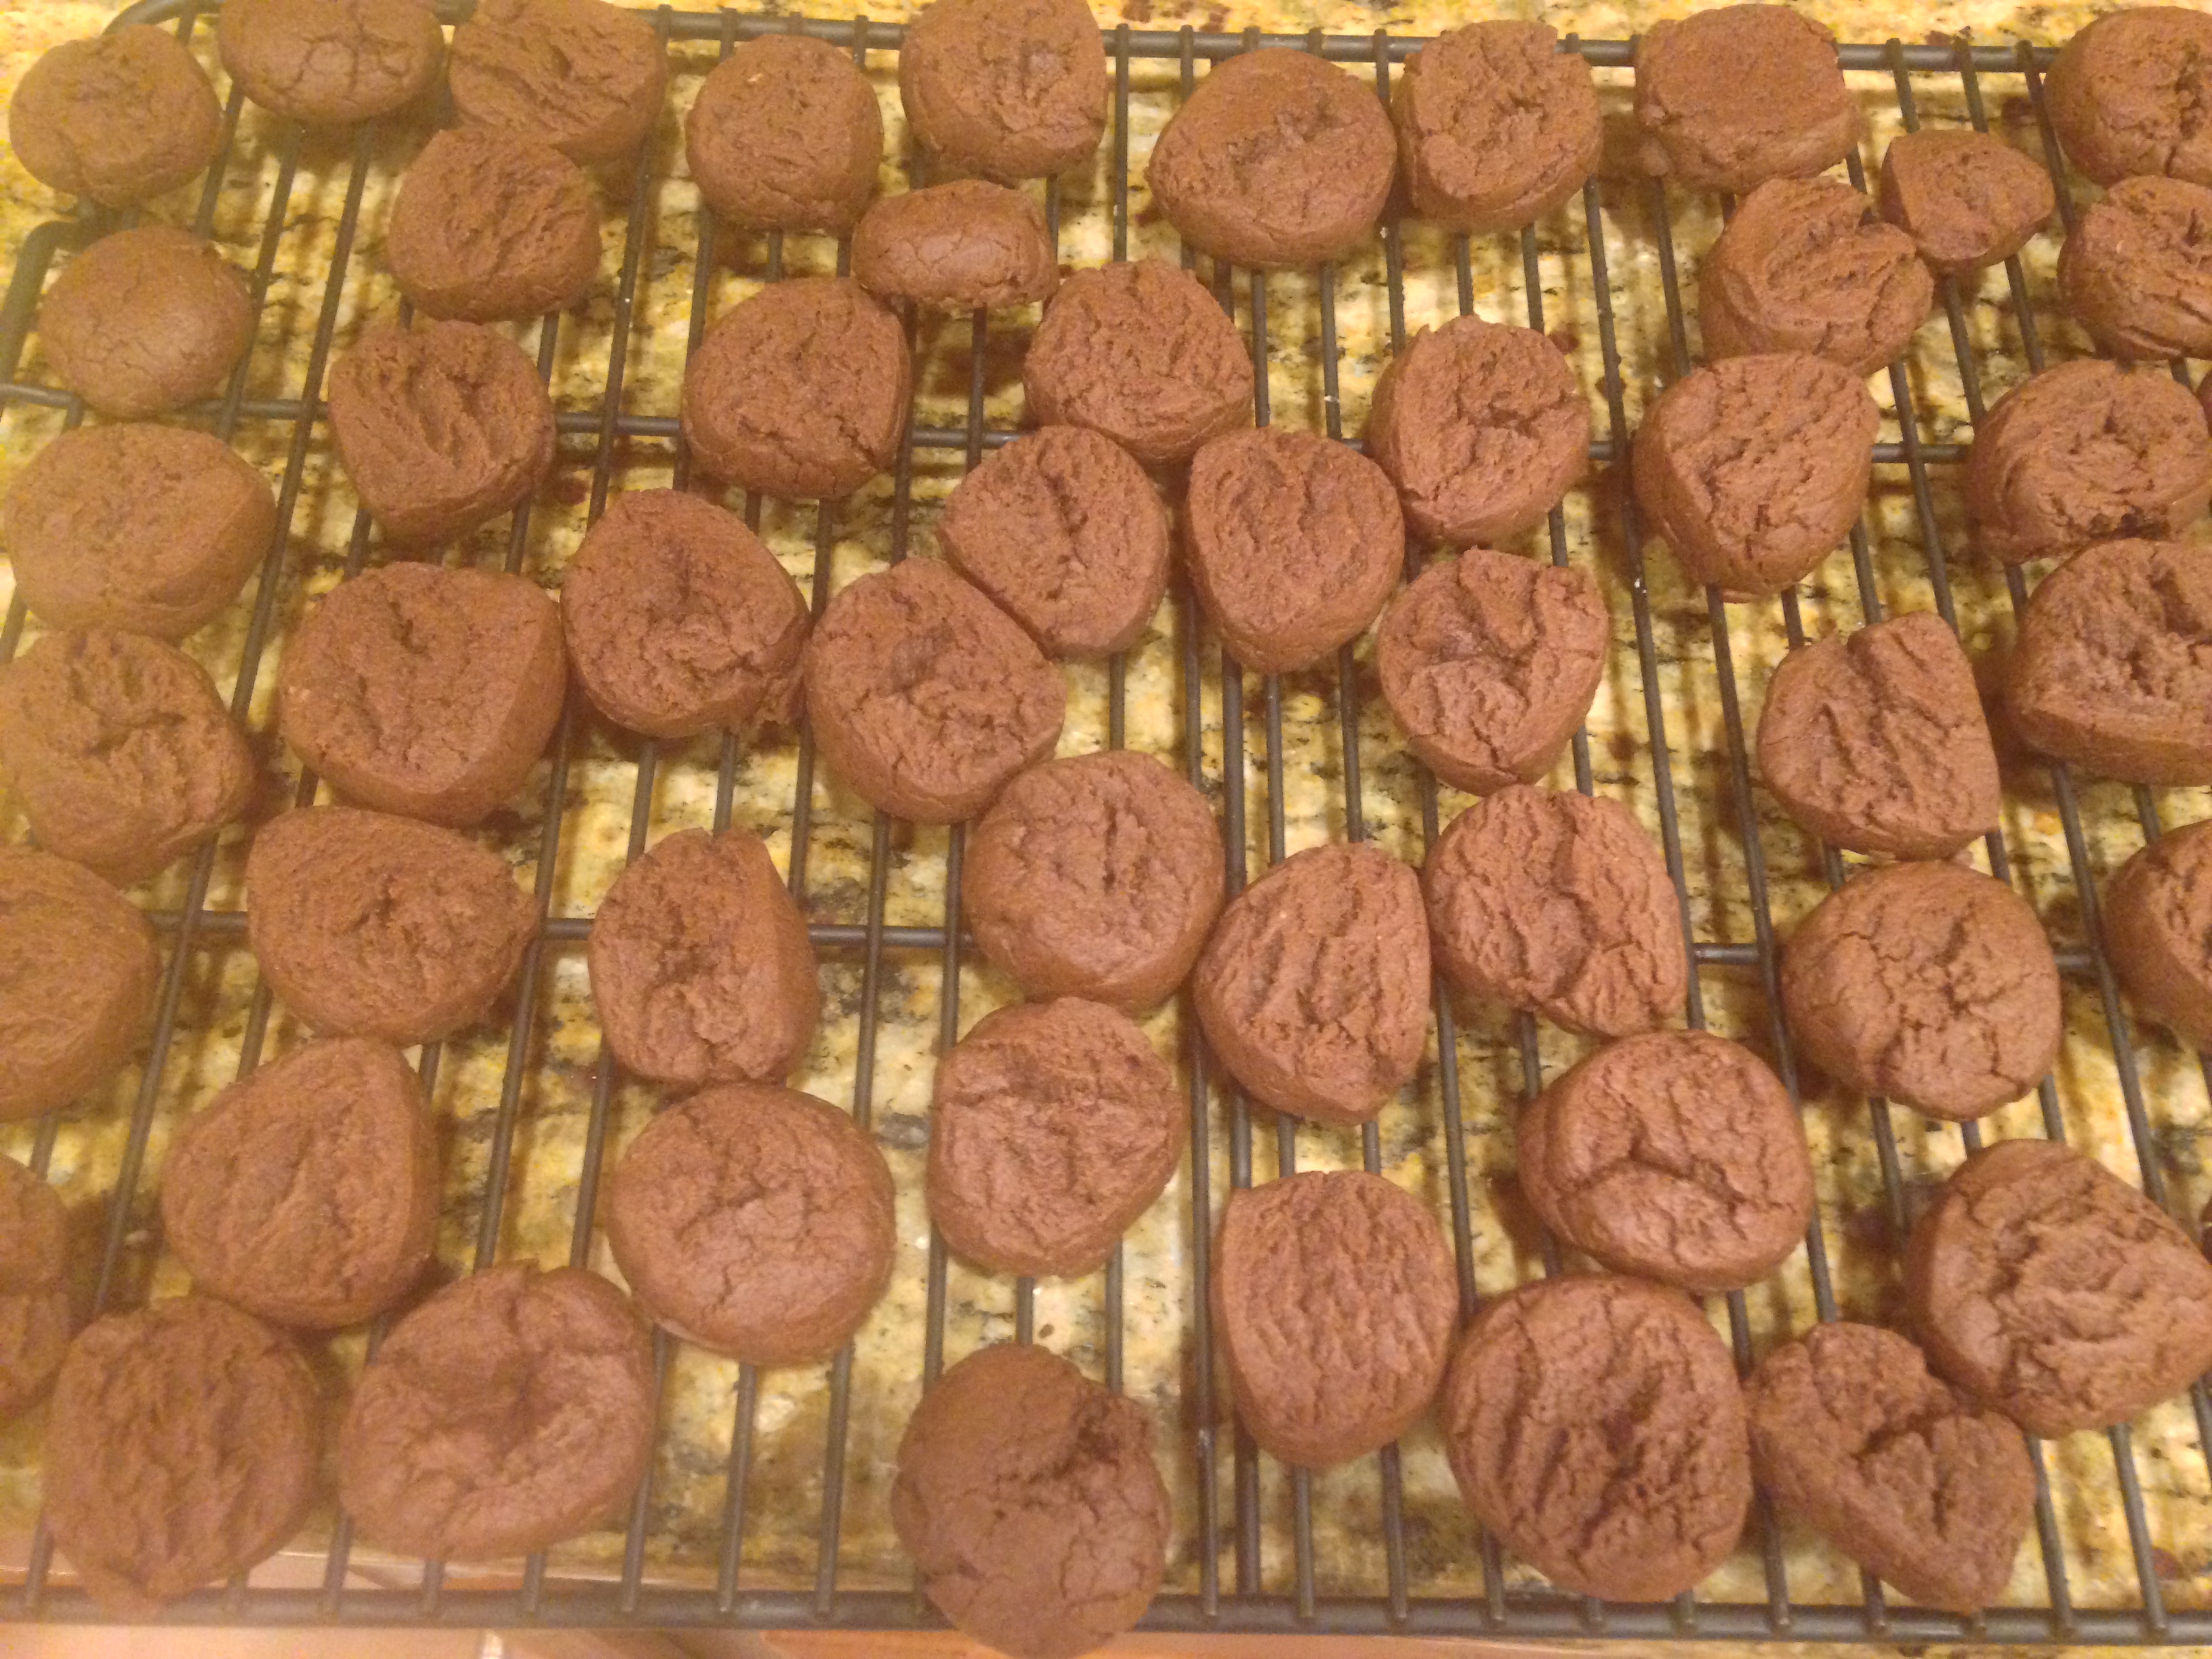
Remove from the oven and cool on the cooling rack for 5-7 min.
Decorating with filling
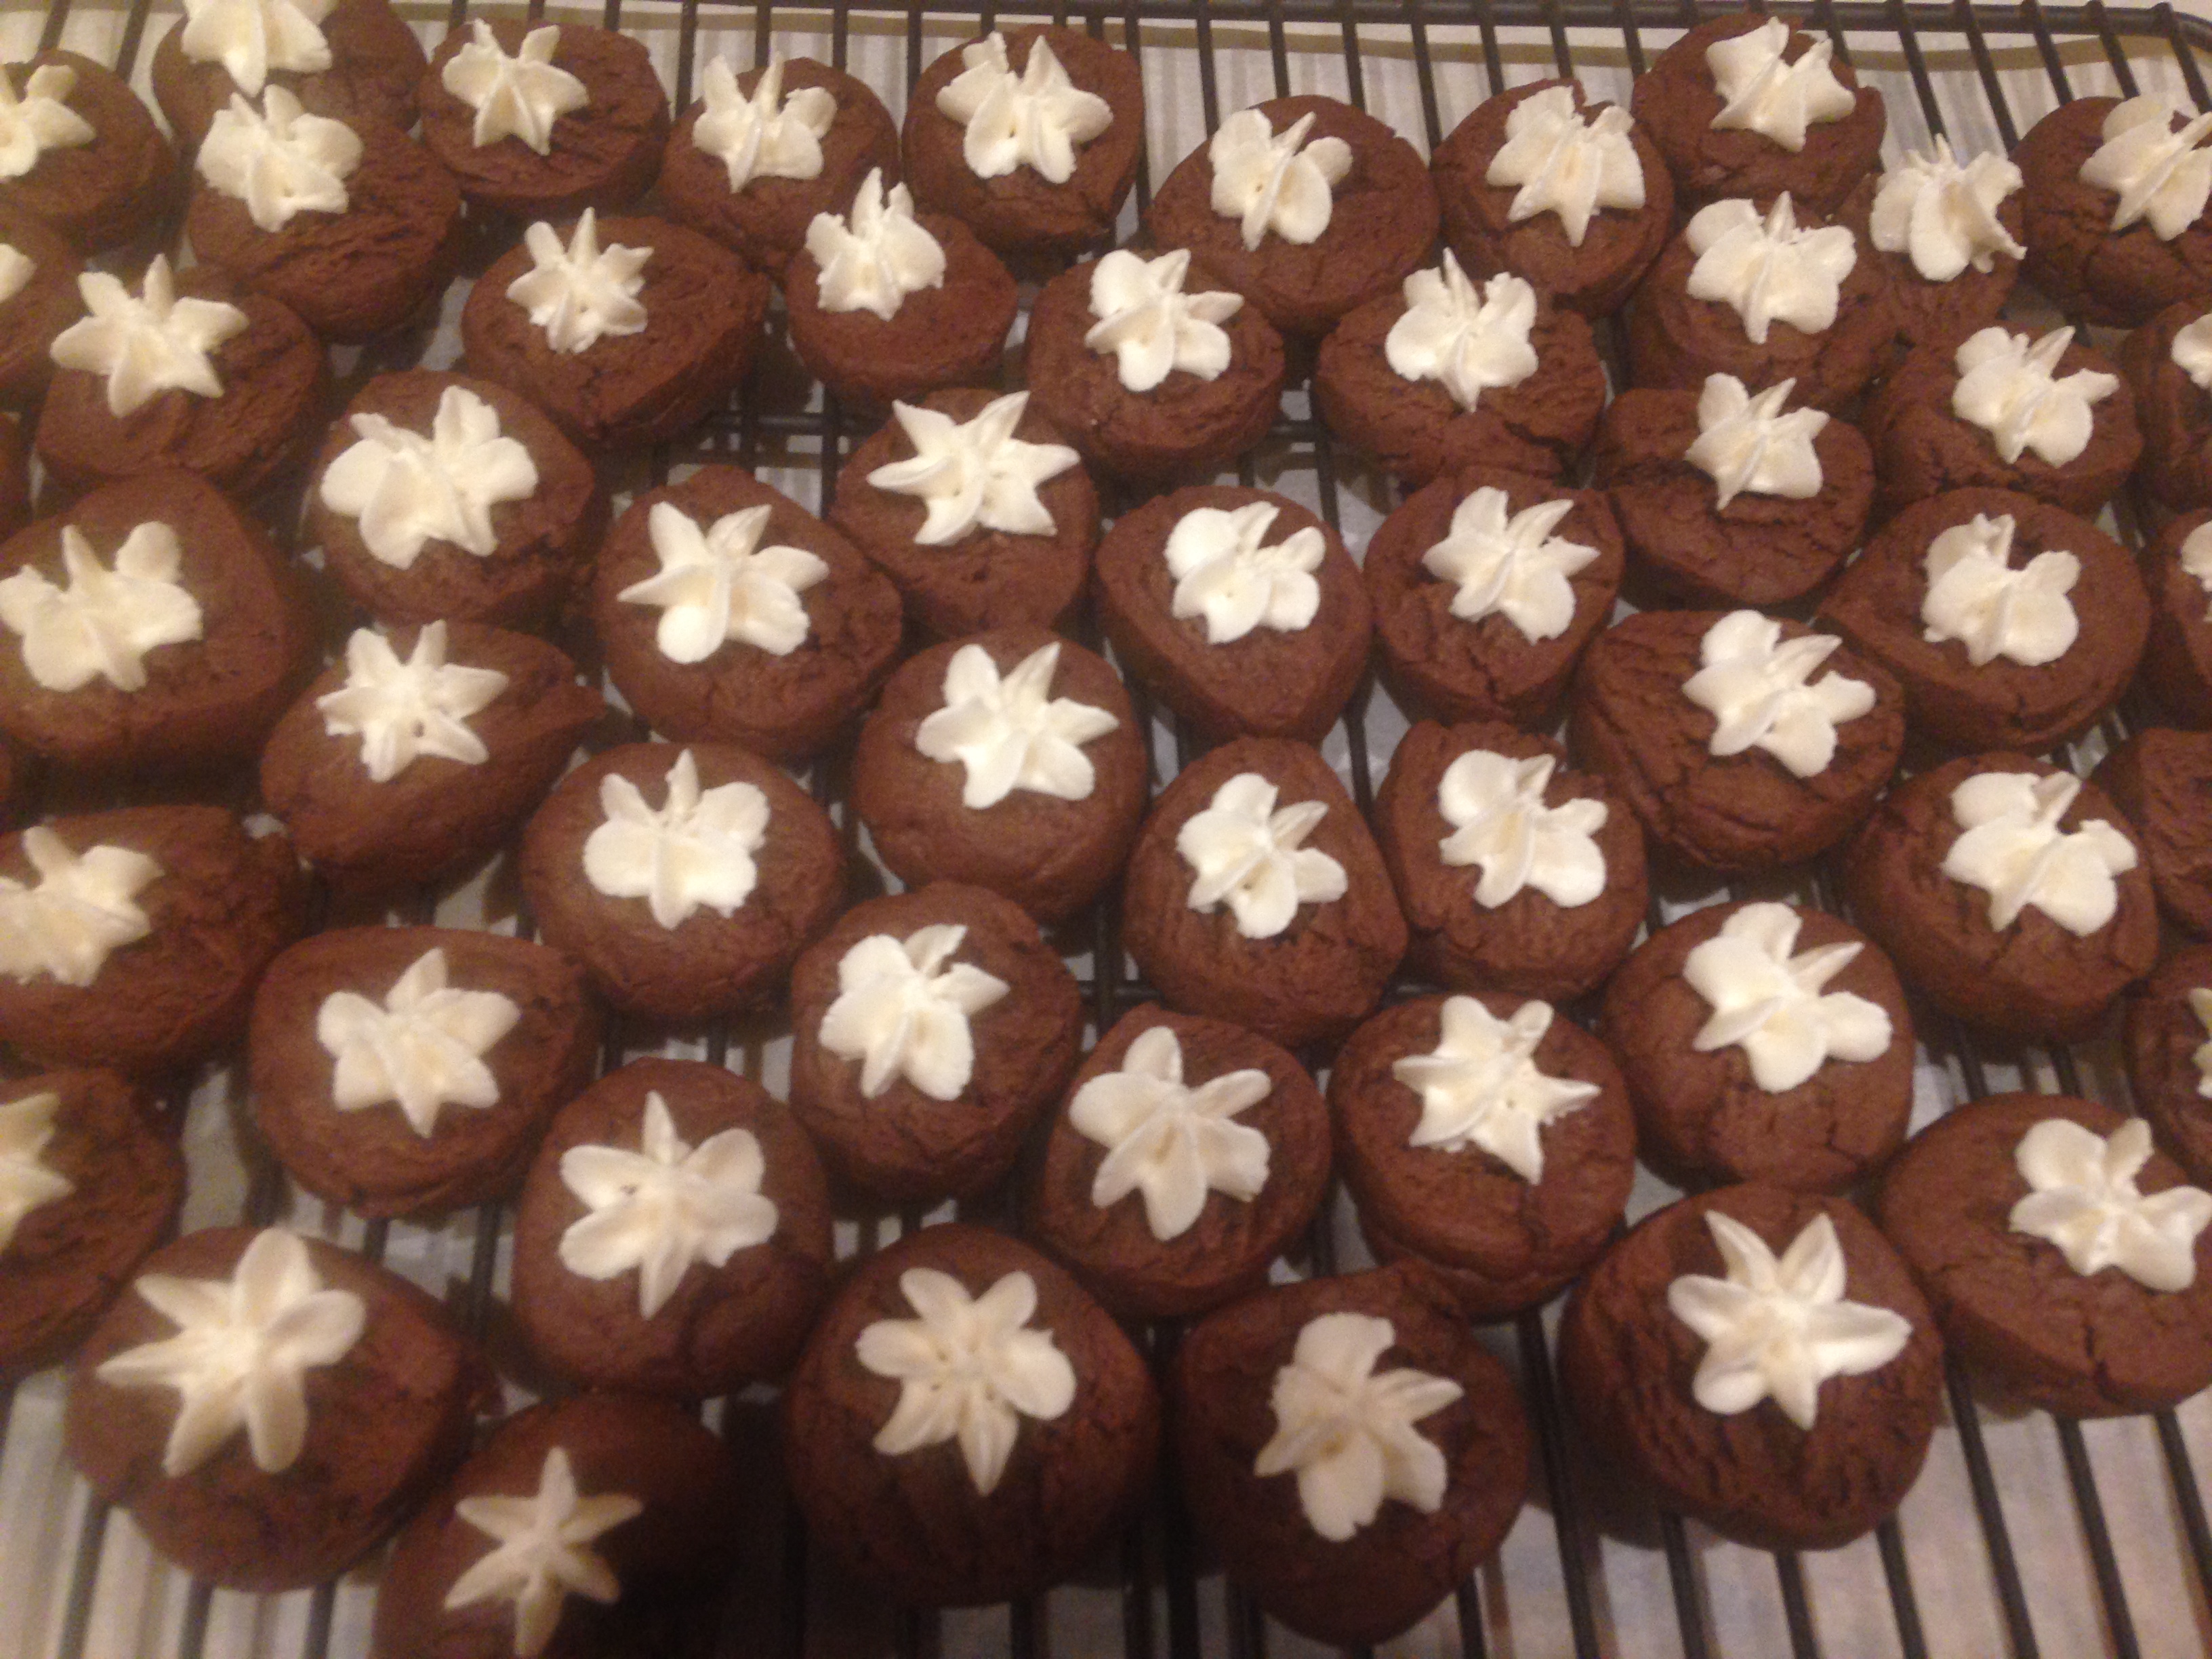
Beat shortening and butter for 5-6 min till fluffy.
Gradually add vanilla and sugar and 1-2 tbsp water to make icing consistency.
Using an icing star nozzle, make star/flower shapes on the cookies.
Store in an airtight container and enjoy a piece at a time over a week or so!!
Tips
Using an unbleached and self raising flour does give a great texture to the chocolate cookie bites.
One can variate the color of the flowers on the top using food color, sprinkles etc
Instinct Factor
If complete round shape is preferred, then roll a ball and press it flat. Then make thumbprint into the cookies to create a space for filling or decorations.
To give oreo look , make round balls and then flatten it a bit. Take two baked cookies and then spread the filling, on one and top it with another.
One can also pair two cookies and spread the filling in between – to create “Oreo” look and feel.
Feel Factor
White cherry flowers atop a bit sized chocolate cookie, in sync with nature and not too high on calories! The taste is heavy on the cocoa, it is firm to hold , but soft on bite, and the icing on top gives it a nice festive look! So even if this is for a regular school bake sale, it catches everyone’s attention because of the size and the decorations on top. So worth the effort, for the taste, looks and just pure fun! The secret in baking is the flour, and the beating of the butter in my opinion, and an happy to continue to explore more on the baking front. Chocolate Cookie Bites are perfect to start a conversation over tea/coffee, or just to satisfy that nagging need to eat something sweet coz you know it is good for the soul!