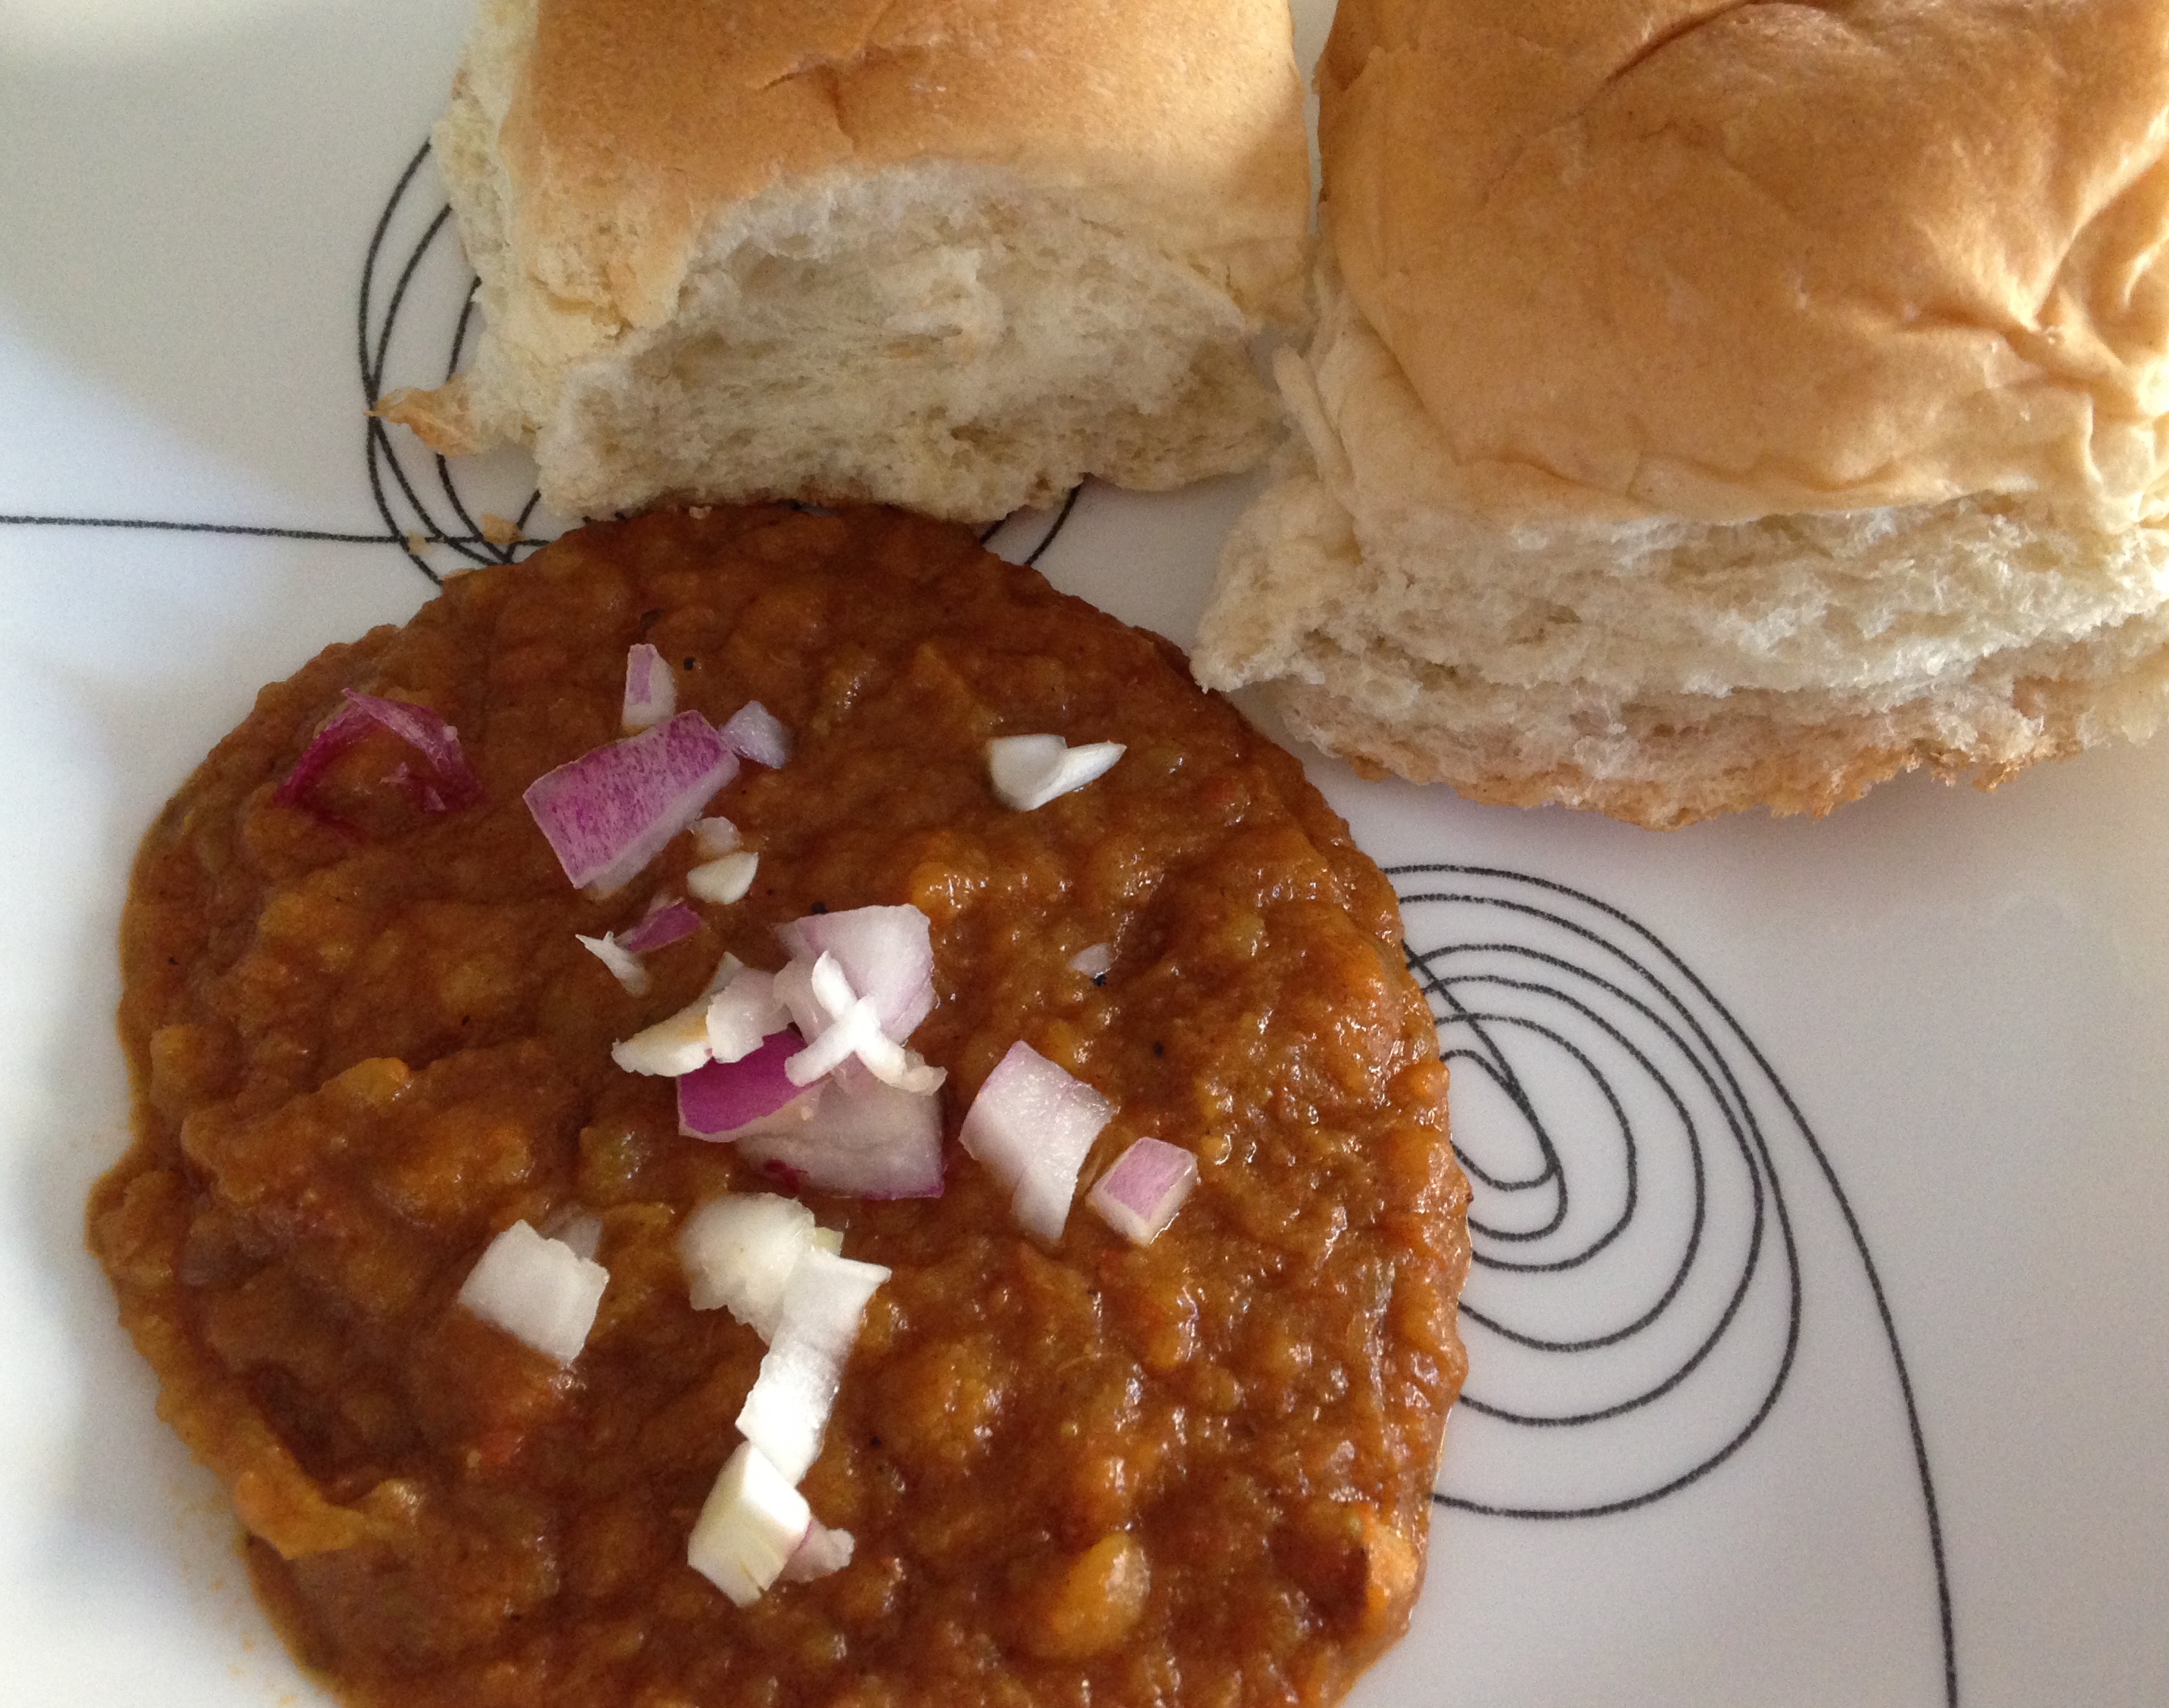
Posted on

Hummus Recipe using Canned Chickpeas

Hummus

Hummus is the most popular addition to the American food landscape in the 20th century, that has also been a great part of the vegetarian and vegan cuisine. Though originally a part of Egyptian cuisine, it is now prominently known as a part of Middle Eastern, Lebanese cuisine. In Palestine  hummus is made of yogurt and butter instead of tahini and olive oil. Per Wikipedia, the oldest record in the history shows a dish of hummus made with cooked chickpeas, lemon, salt, olive oil, herbs and nuts, but no garlic and tahini. This non-garlic version is what I also prefer, as somehow garlic seems to be a recent addition to the dish, that, in my opinion takes away the original flavour. Lots of herbs such as parsley, red pepper, cumin powder, can be used to garnish the hummus.

I found an interesting link about a travelogue of a vegetarian foodie while visiting Middle East Jordan that I found quite entertaining. One can read more about it here Middle Eastern Vegetarian Options. The article talks about household recipes, which in my opinion are the backbone to any great cuisine. Hummus is used as a peace symbol in some middle eastern cartoons, where one of them stated “Make Hummus, Not War” which I thought was quite apt!

This recipe is for my brother, who fell in love with the hummus from California Pizza Kitchen, which incidentally is made from Fava Beans. And I may just try the fava bean base on the third thursday in May, which is celebrated as “Hummus Day”

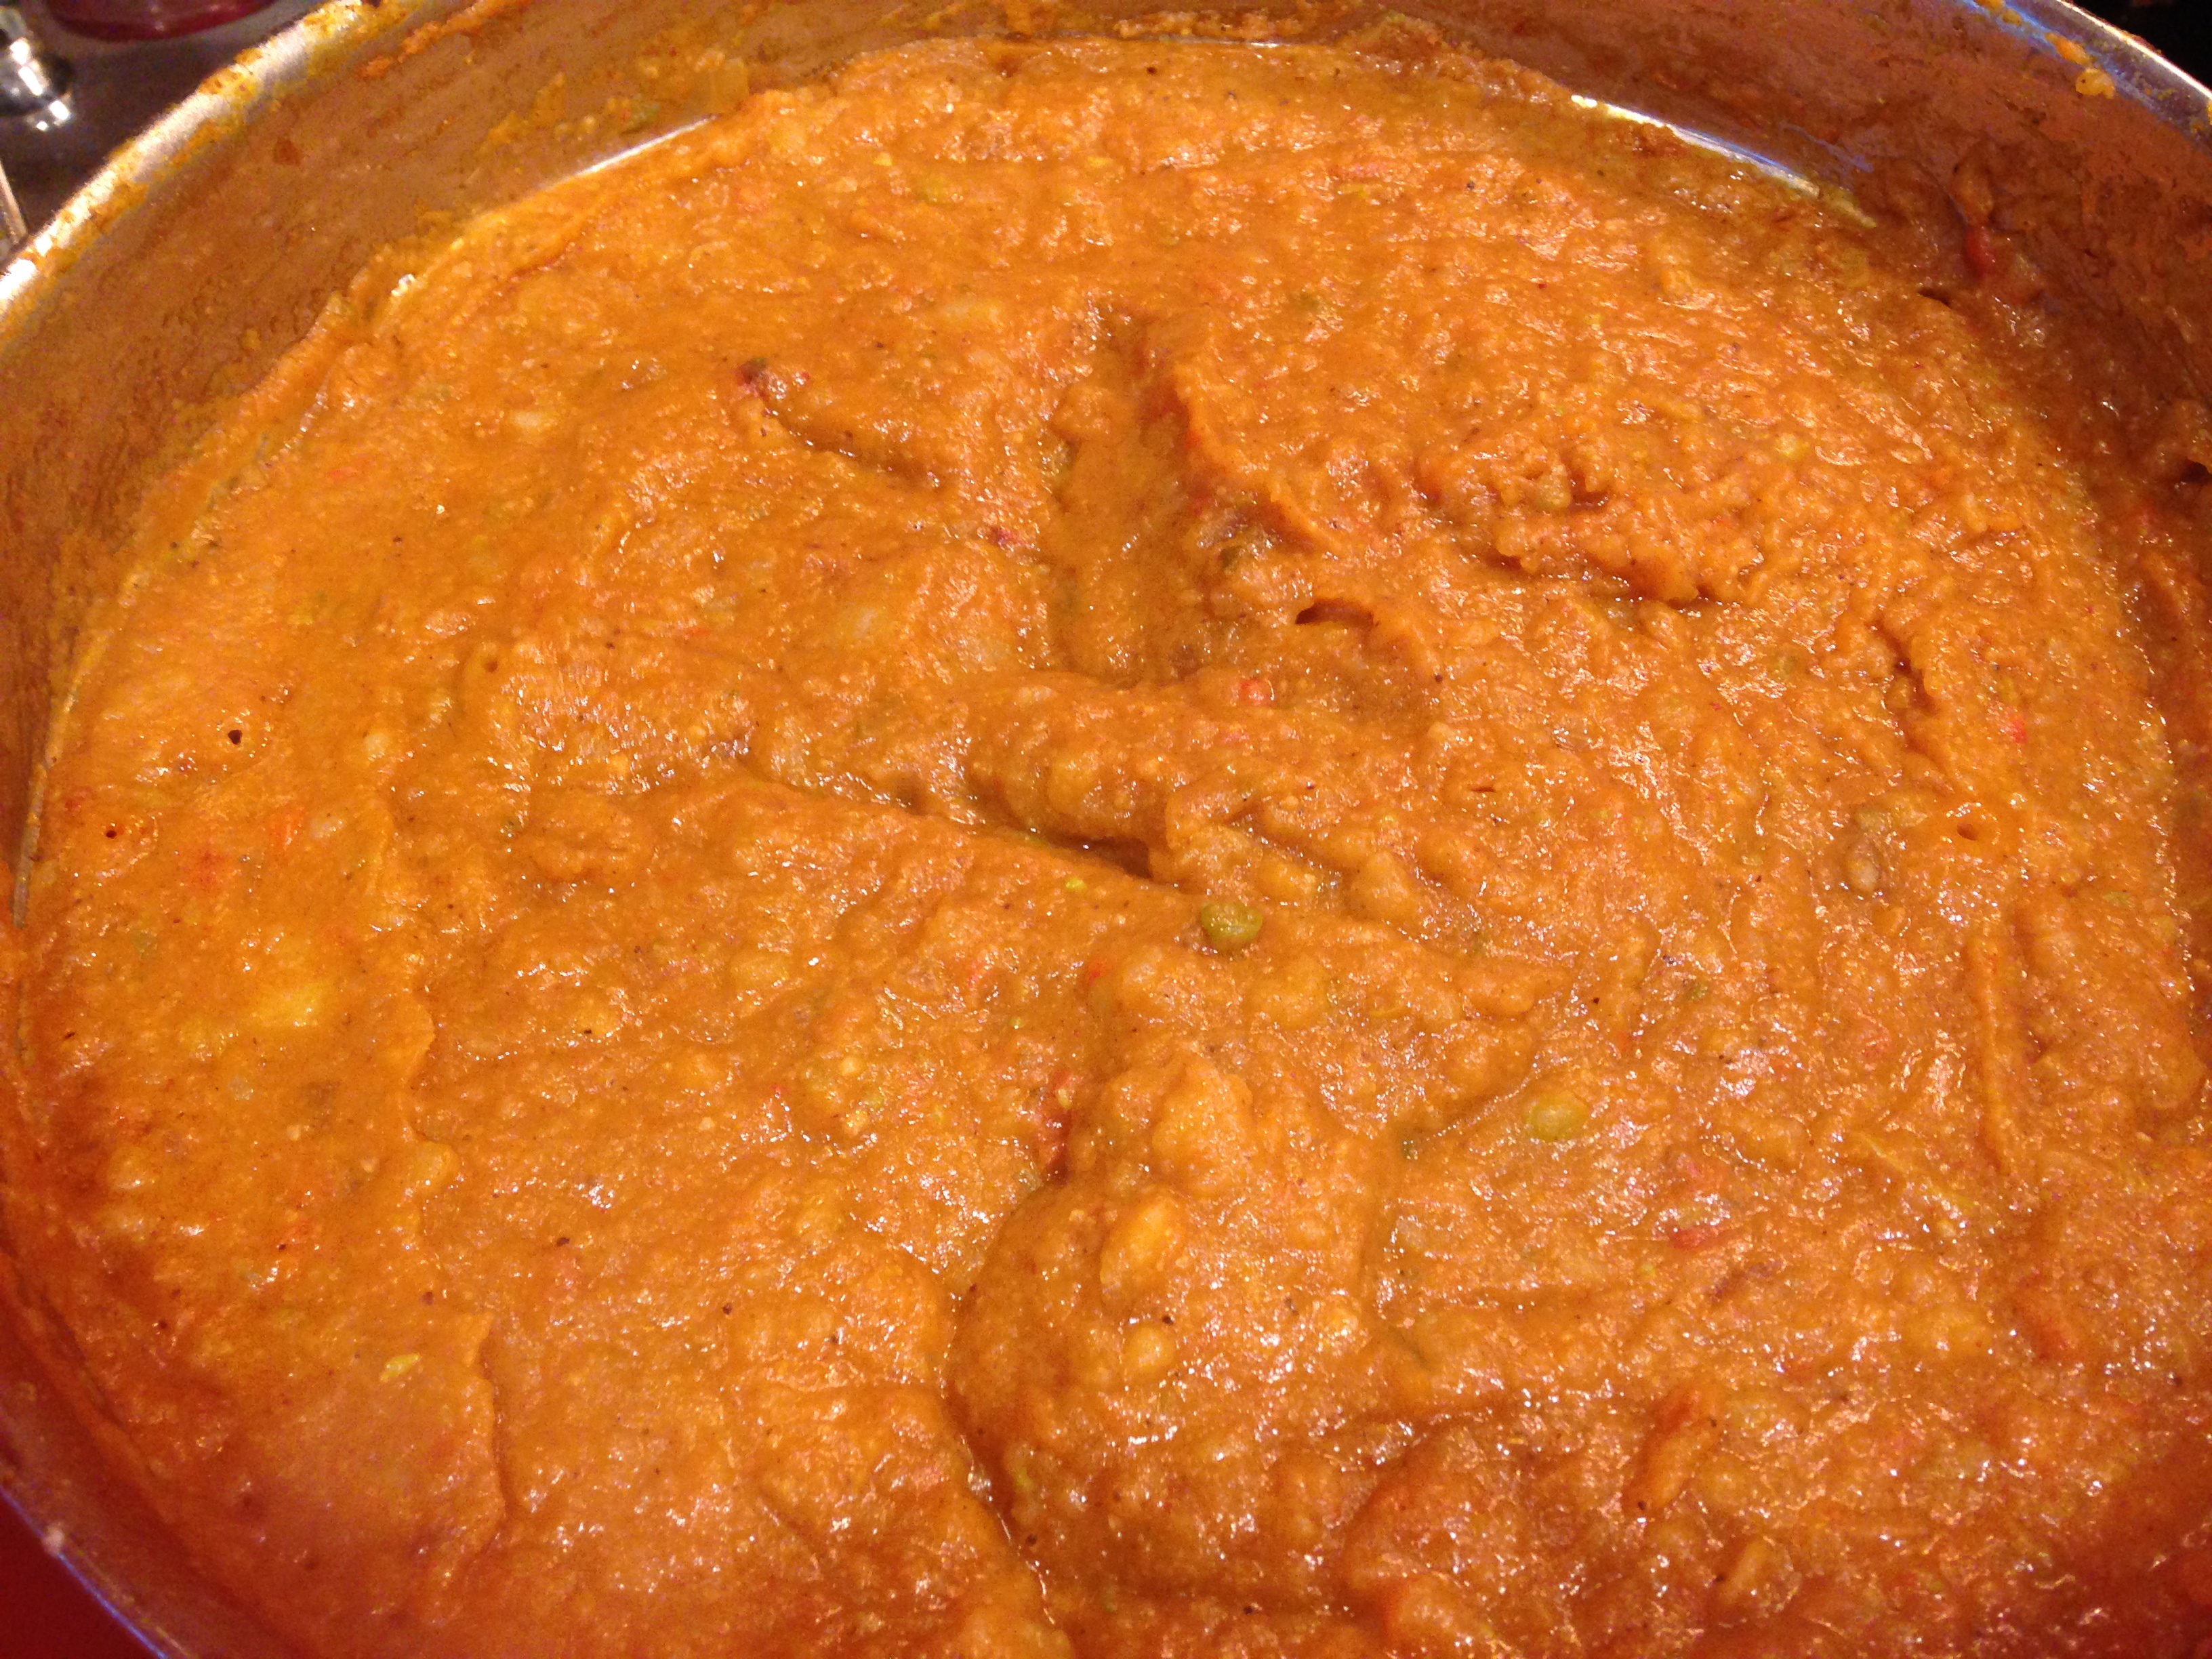
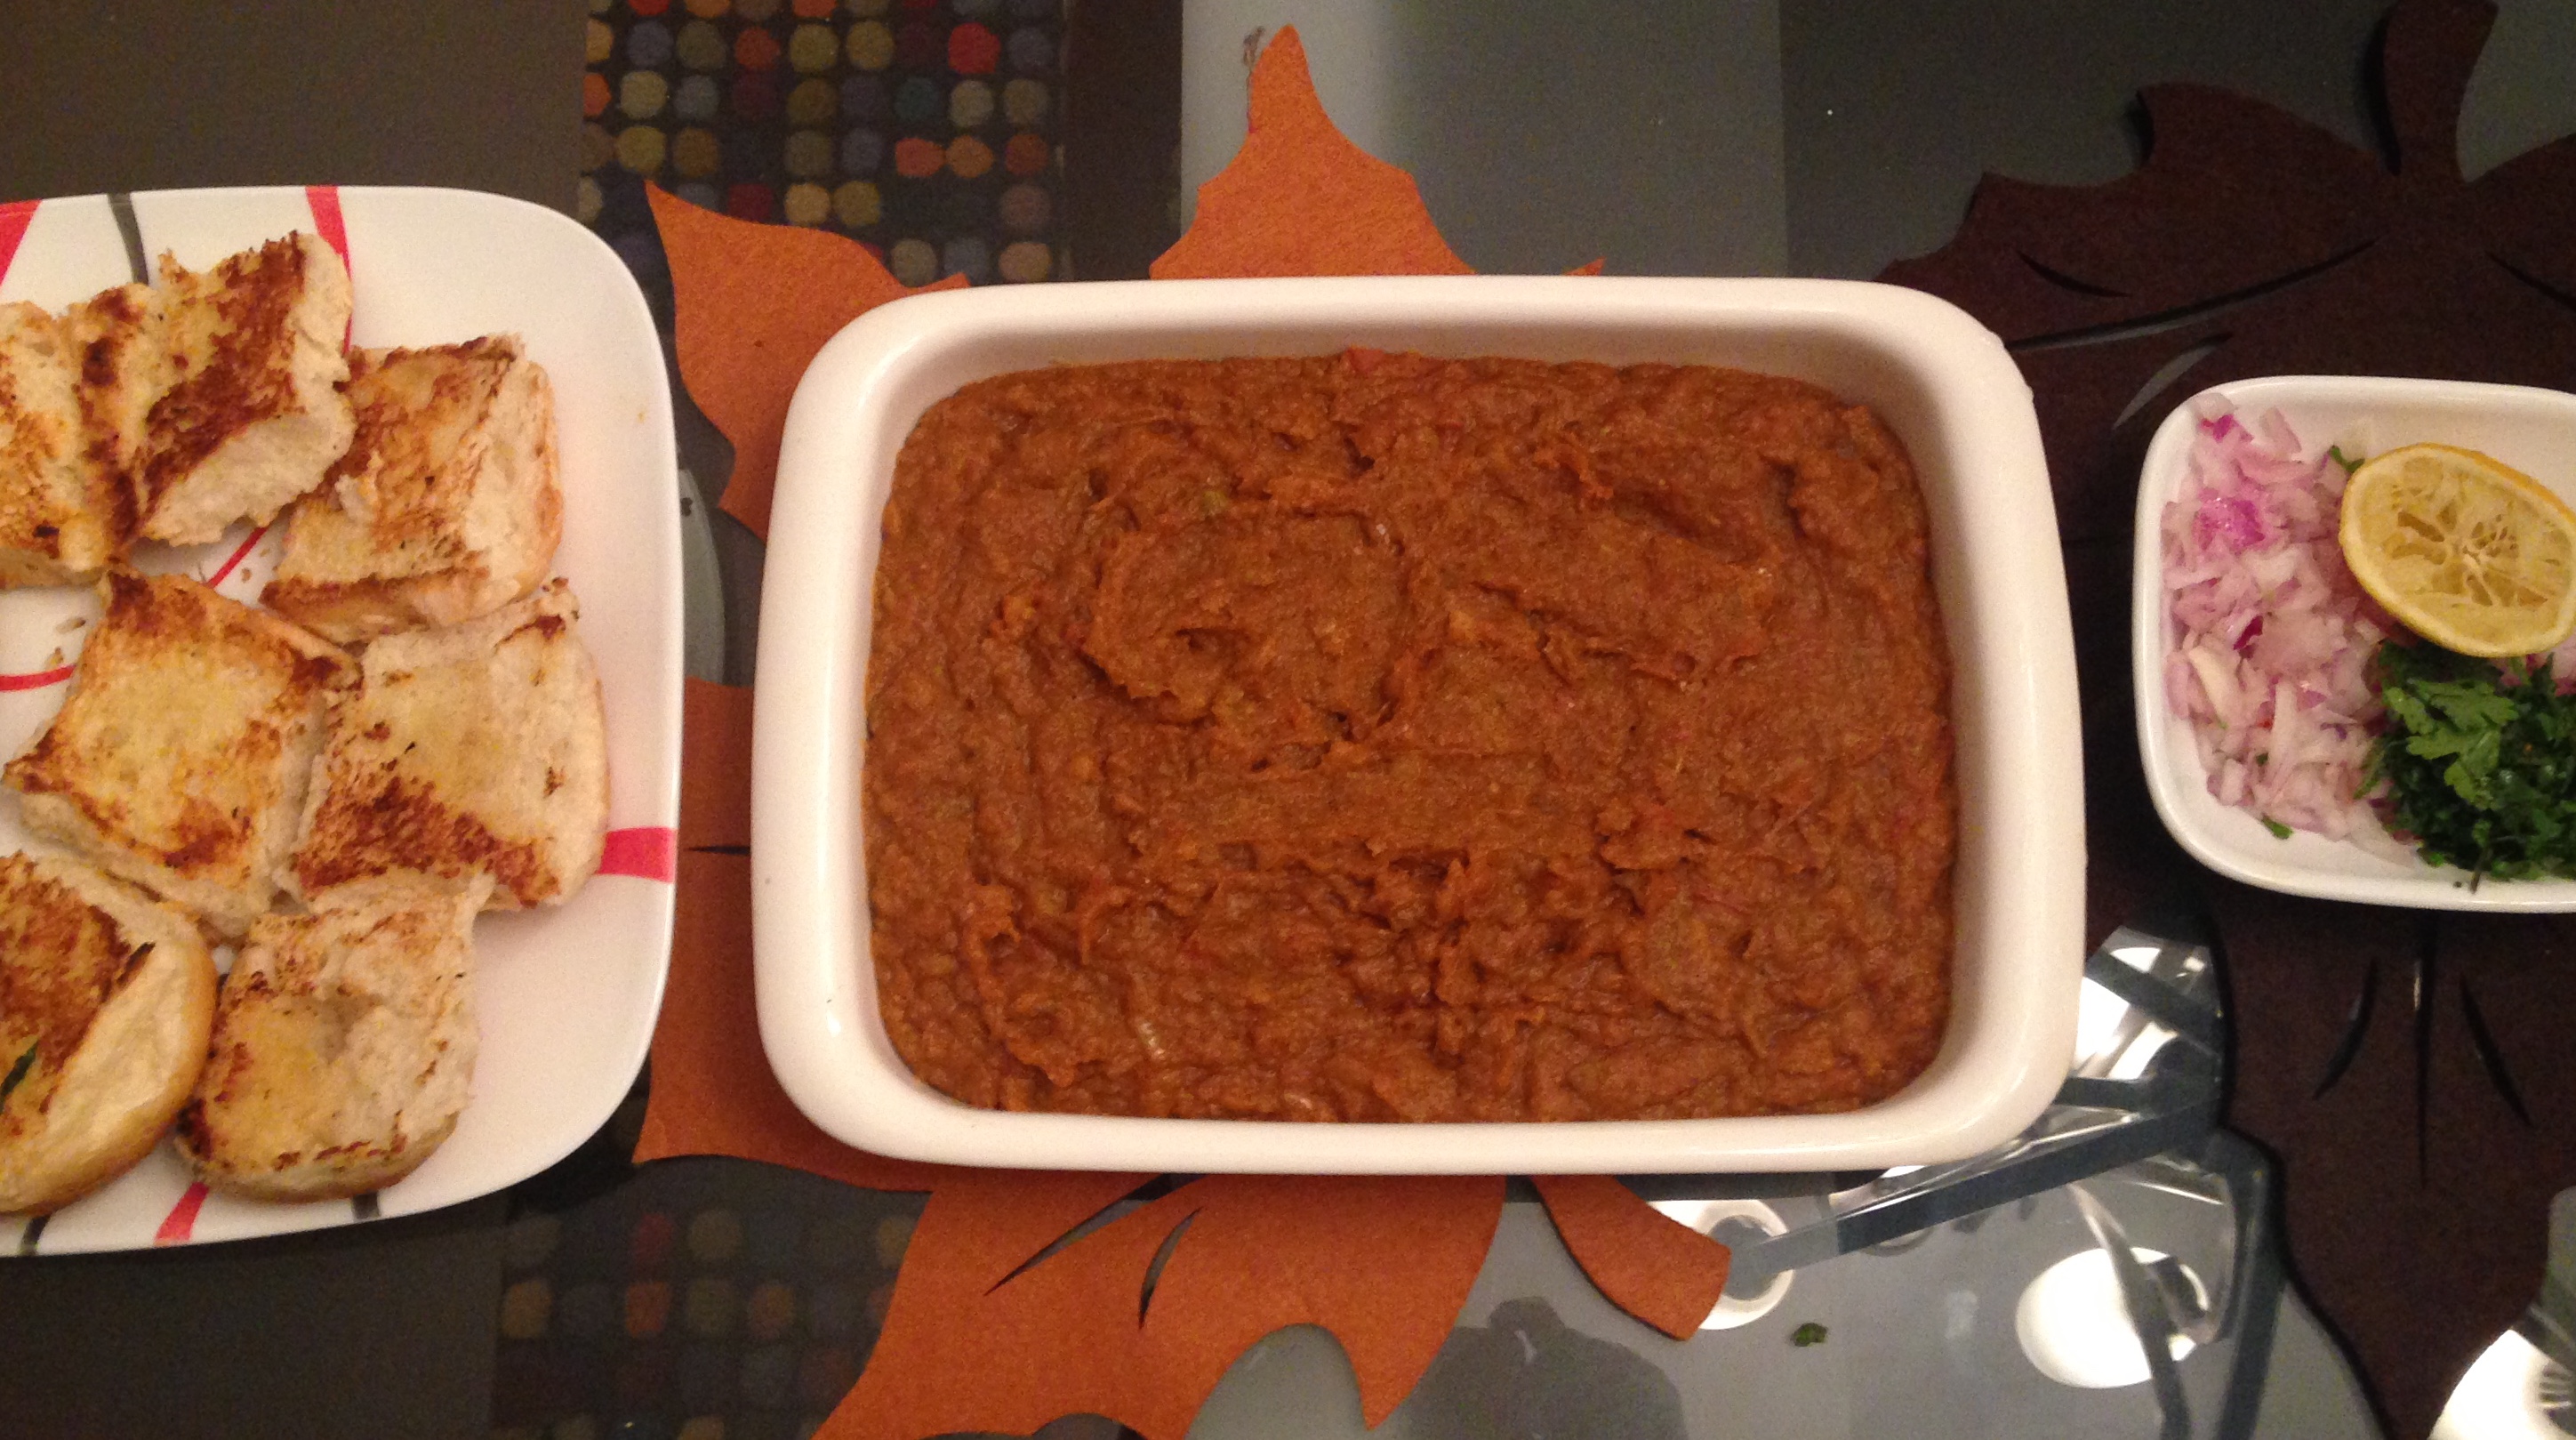
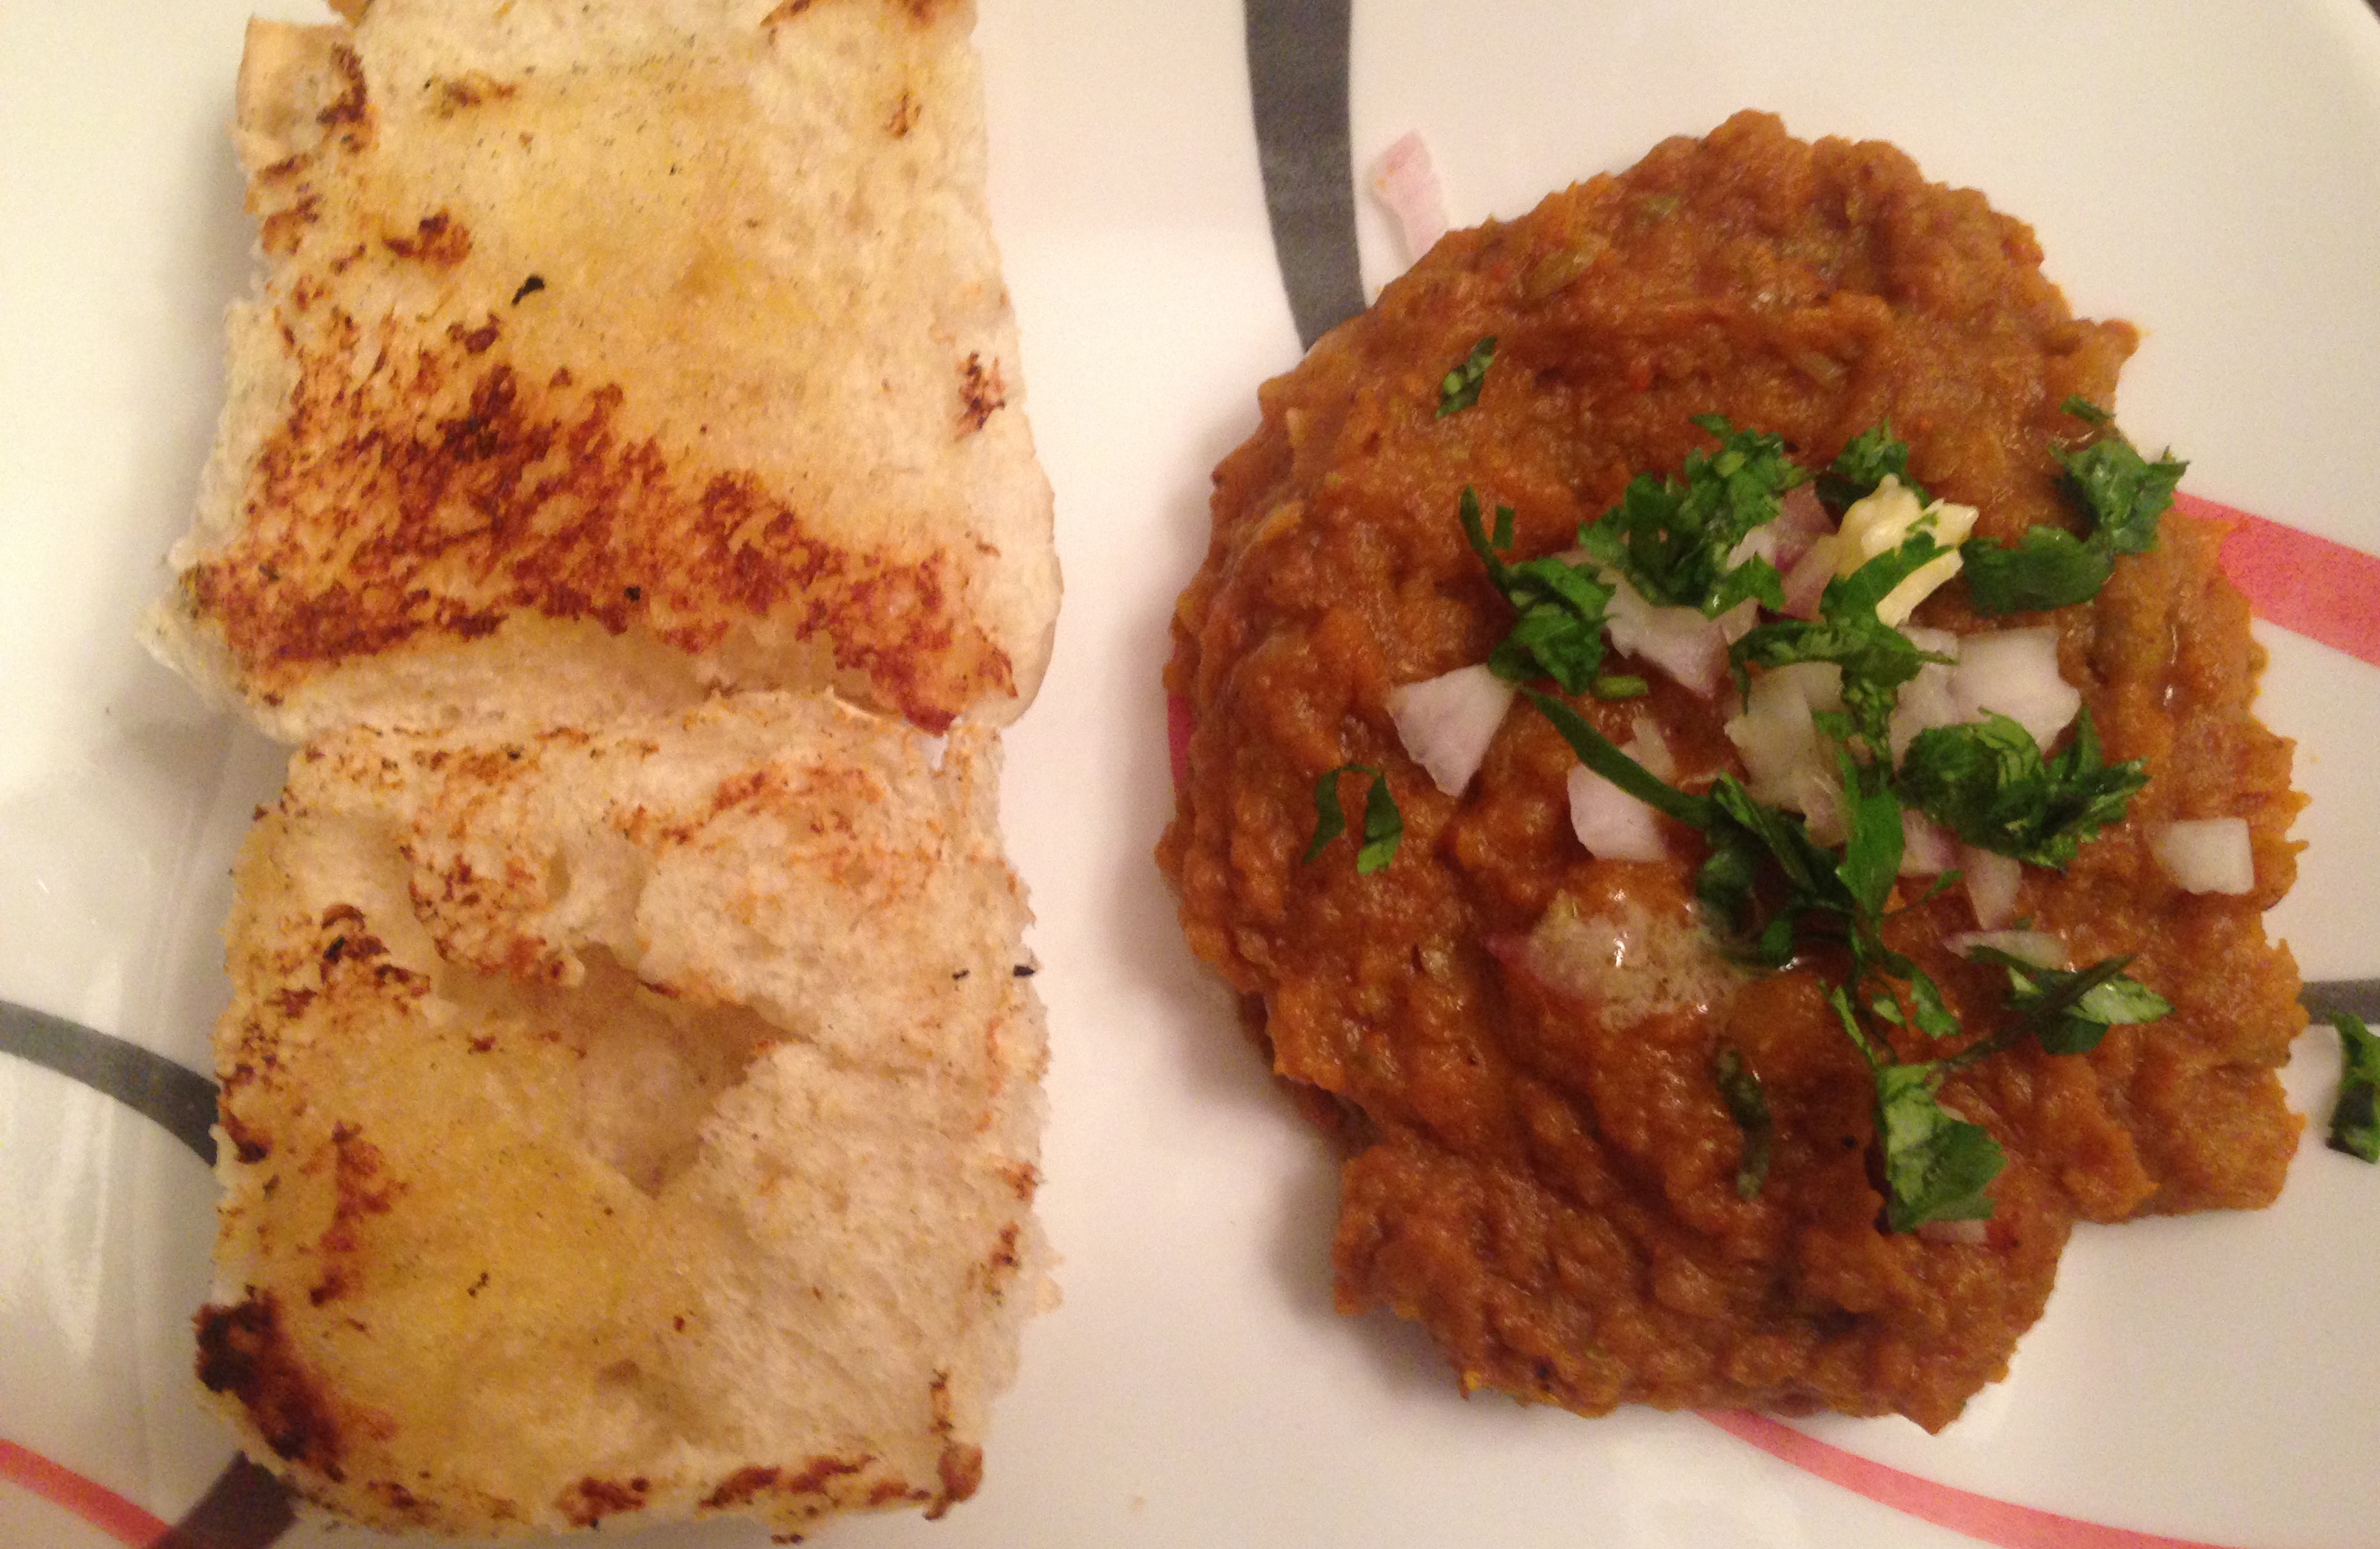
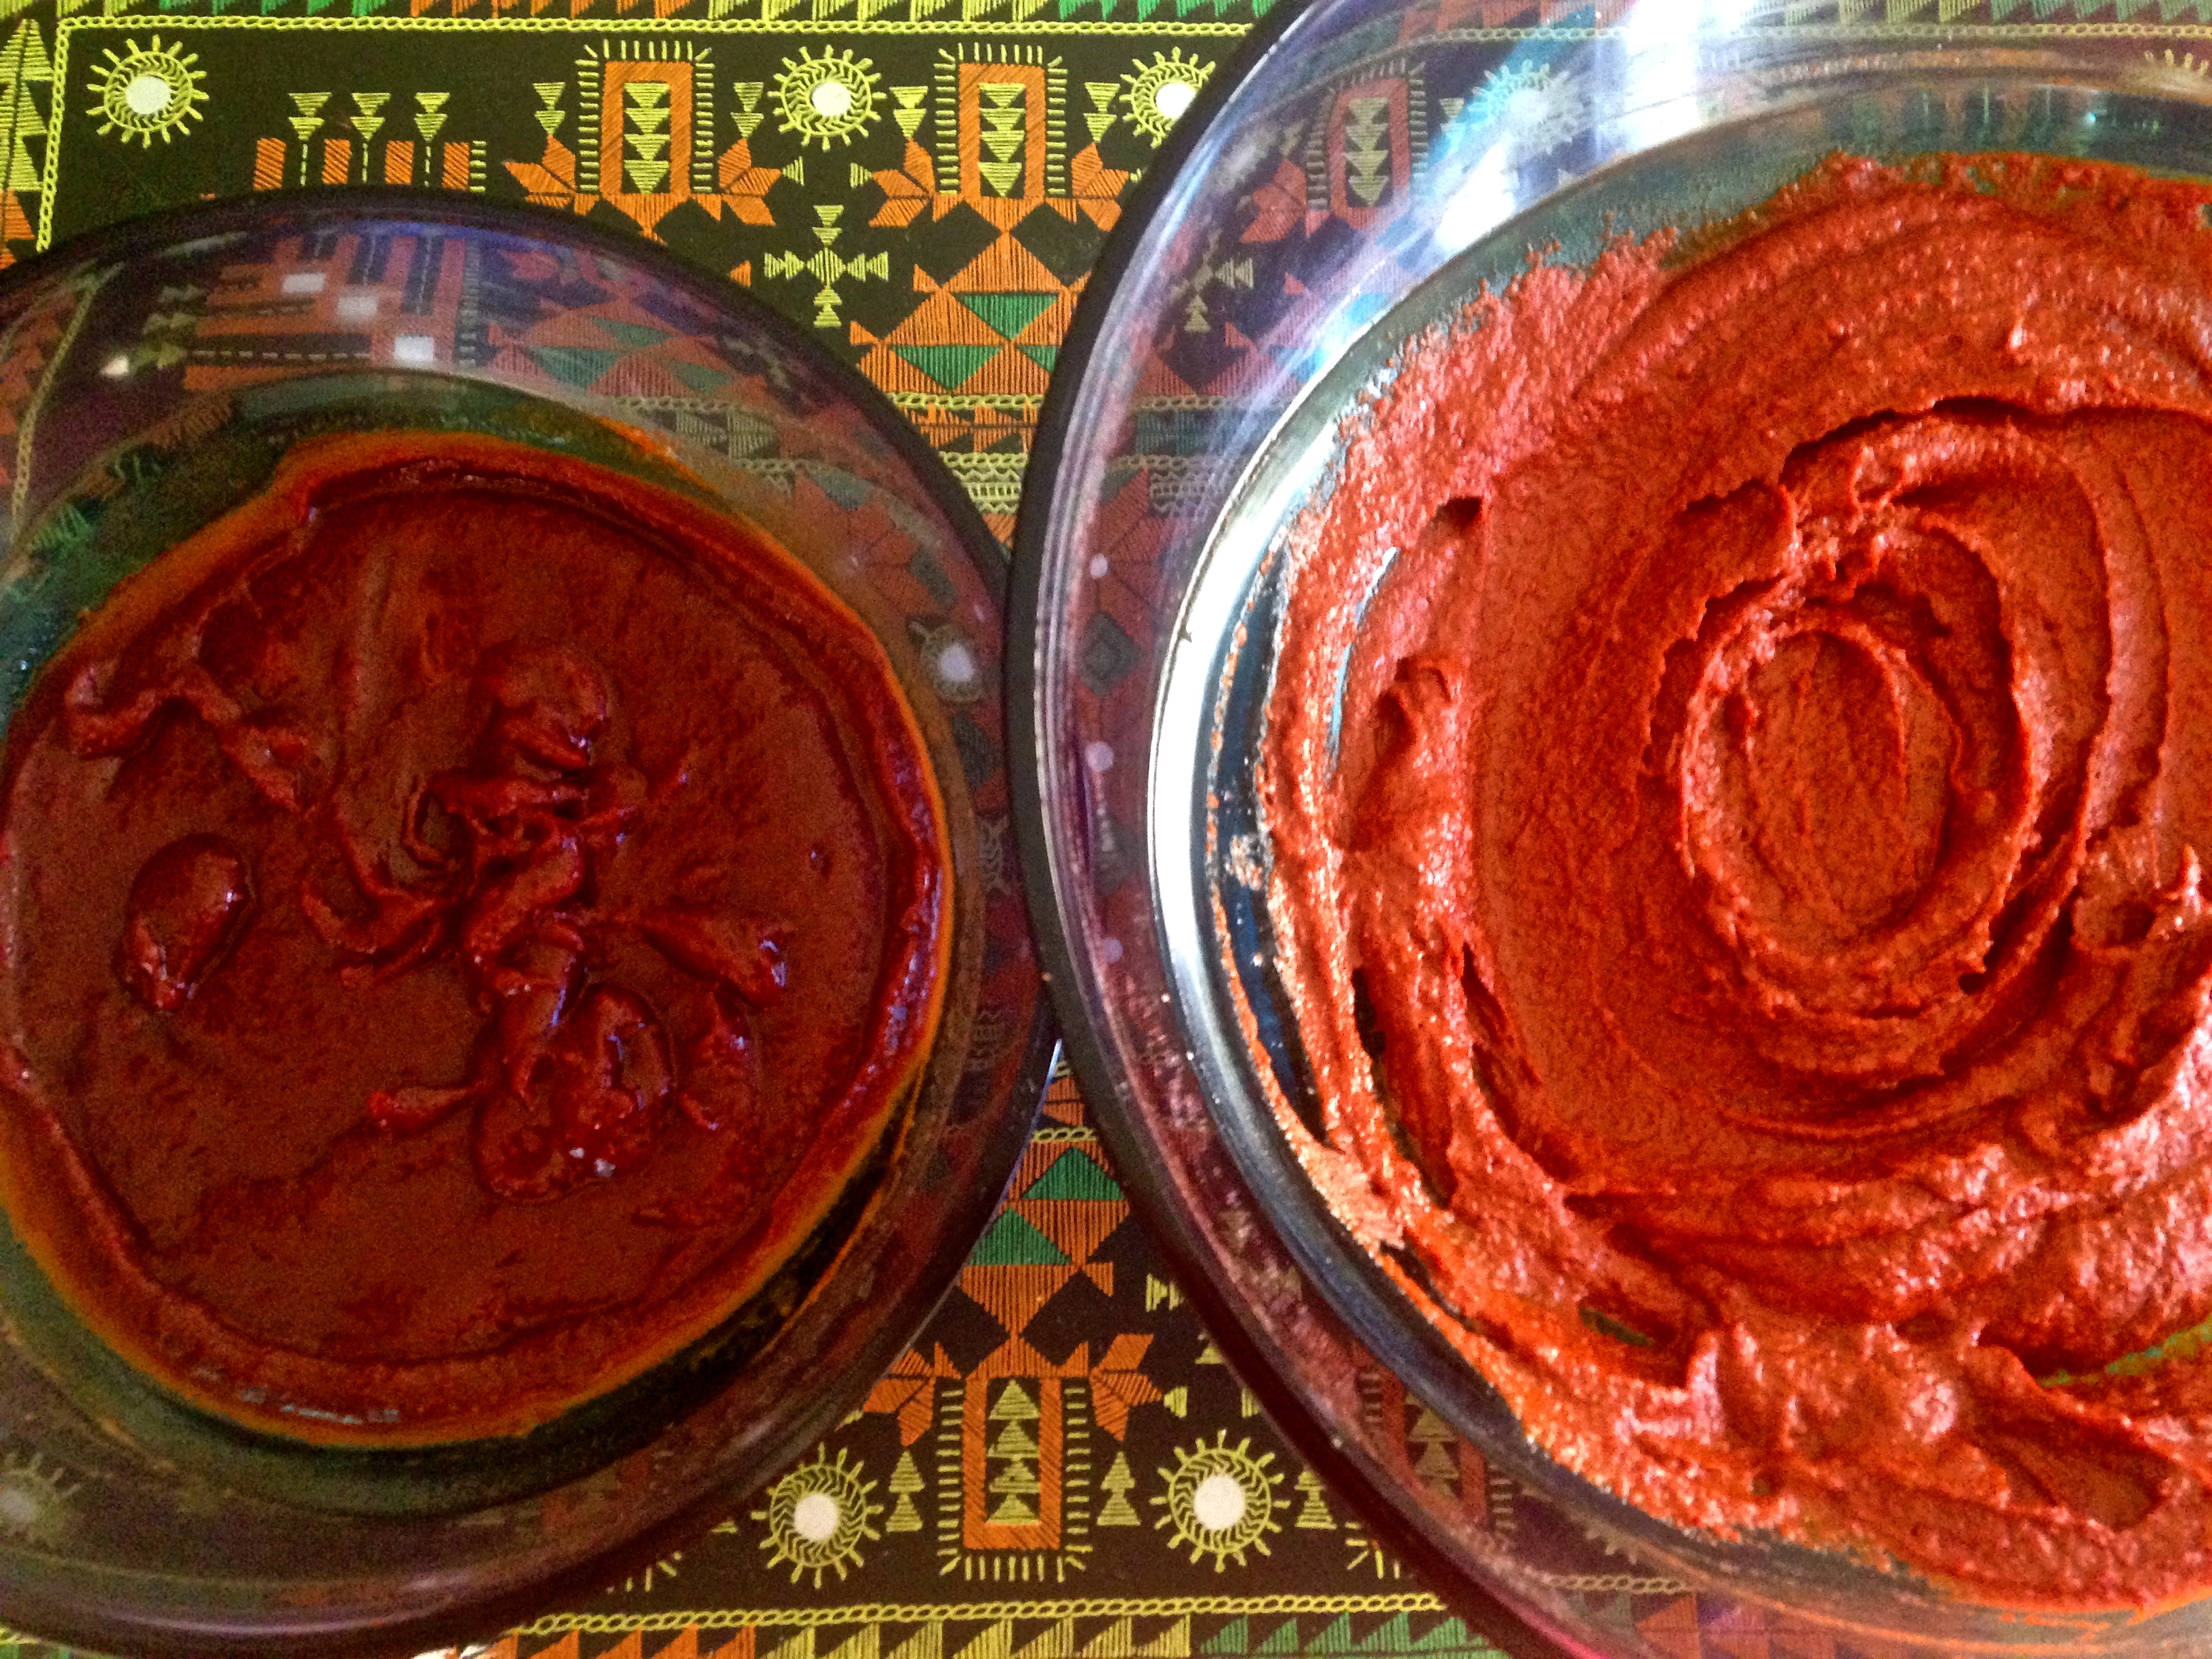
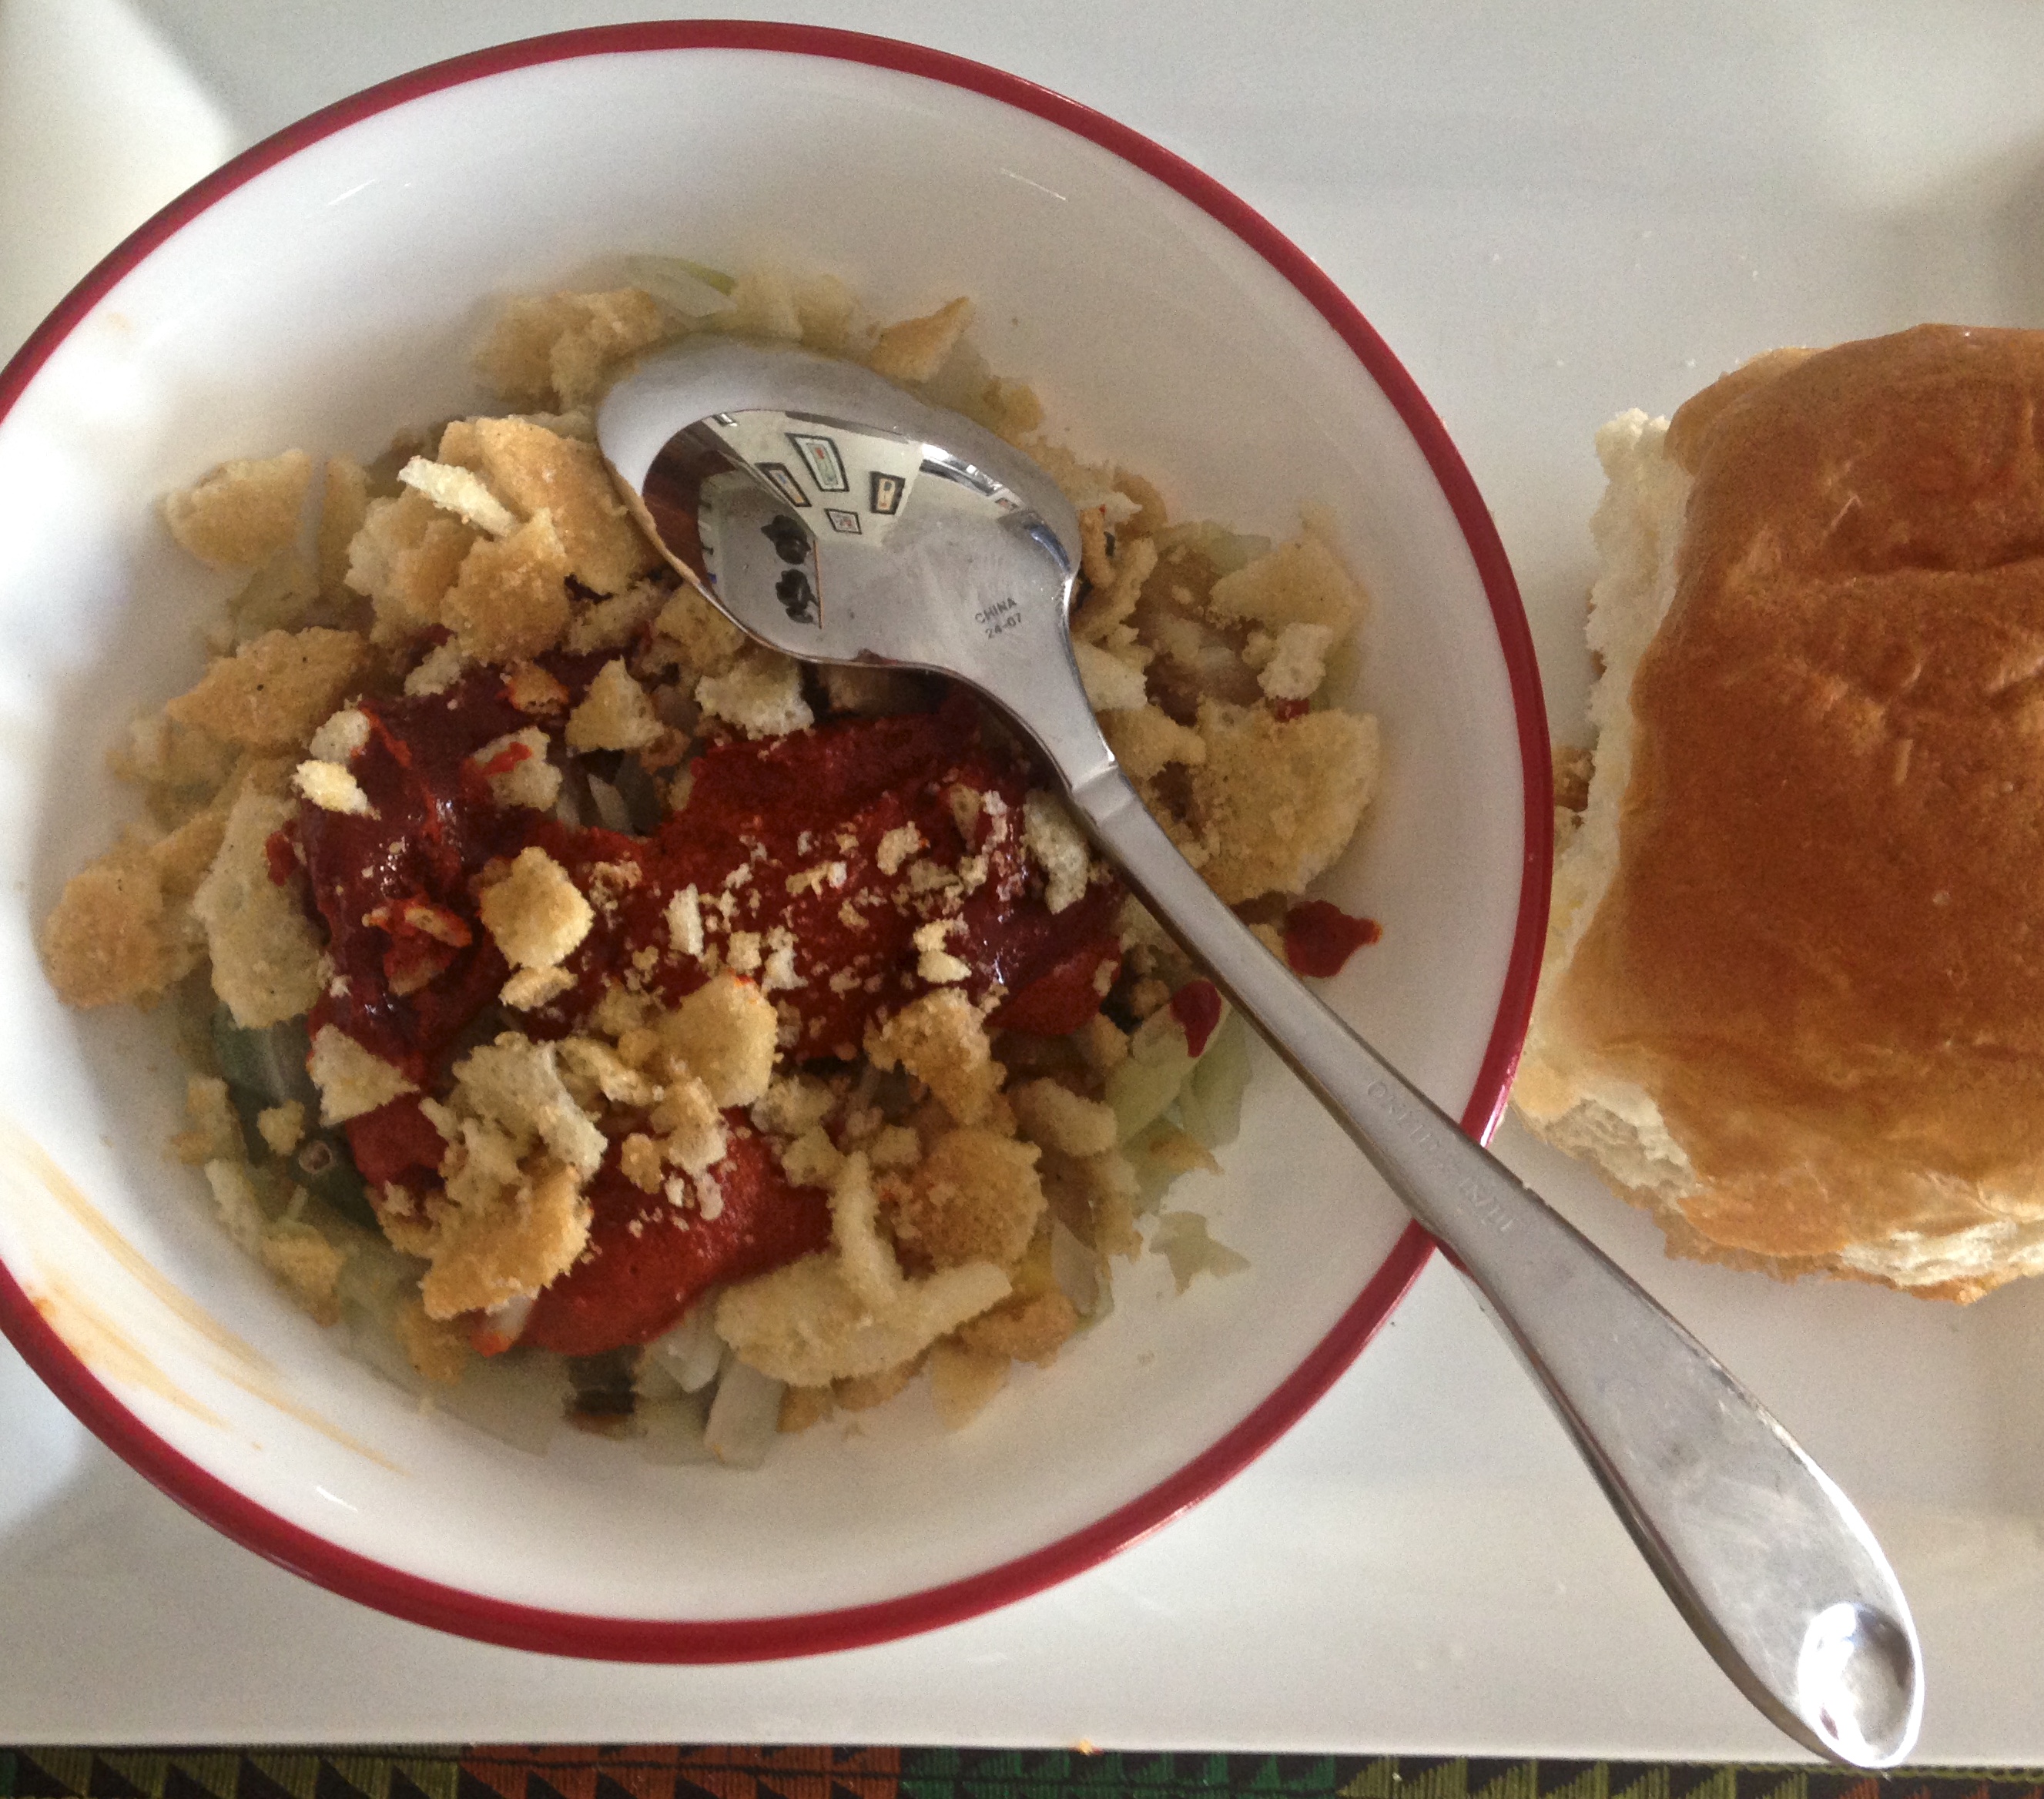
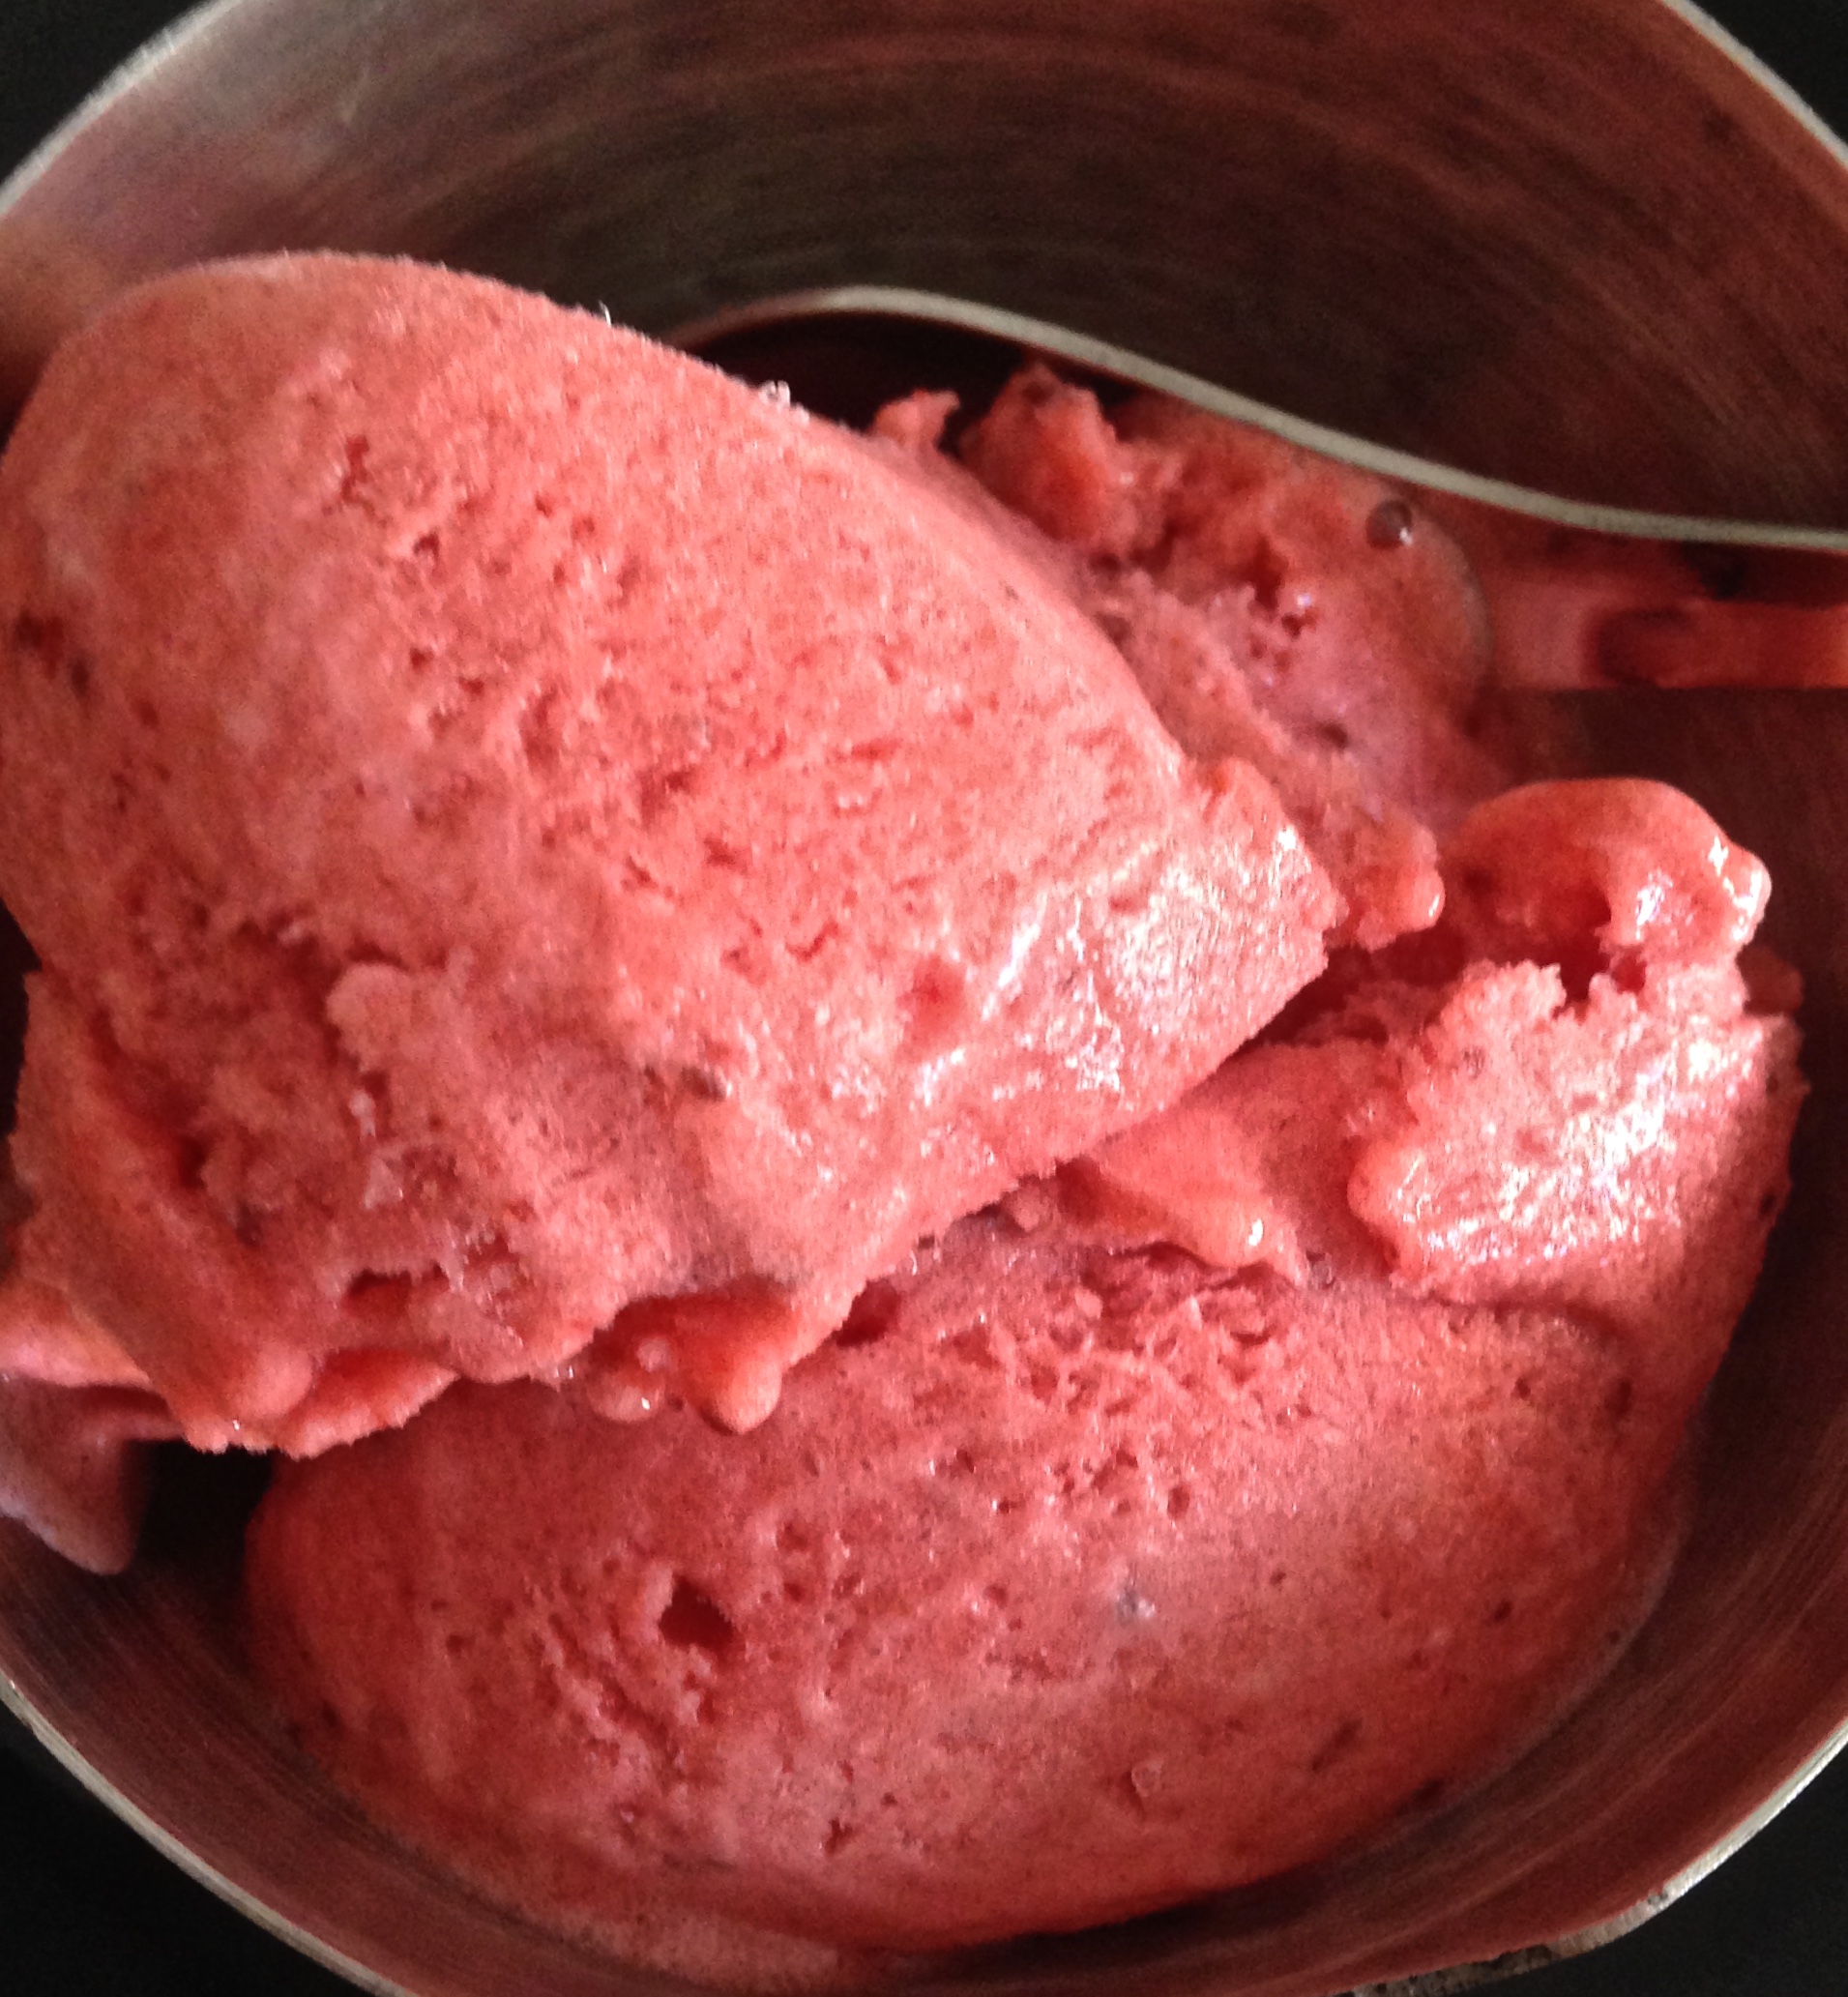
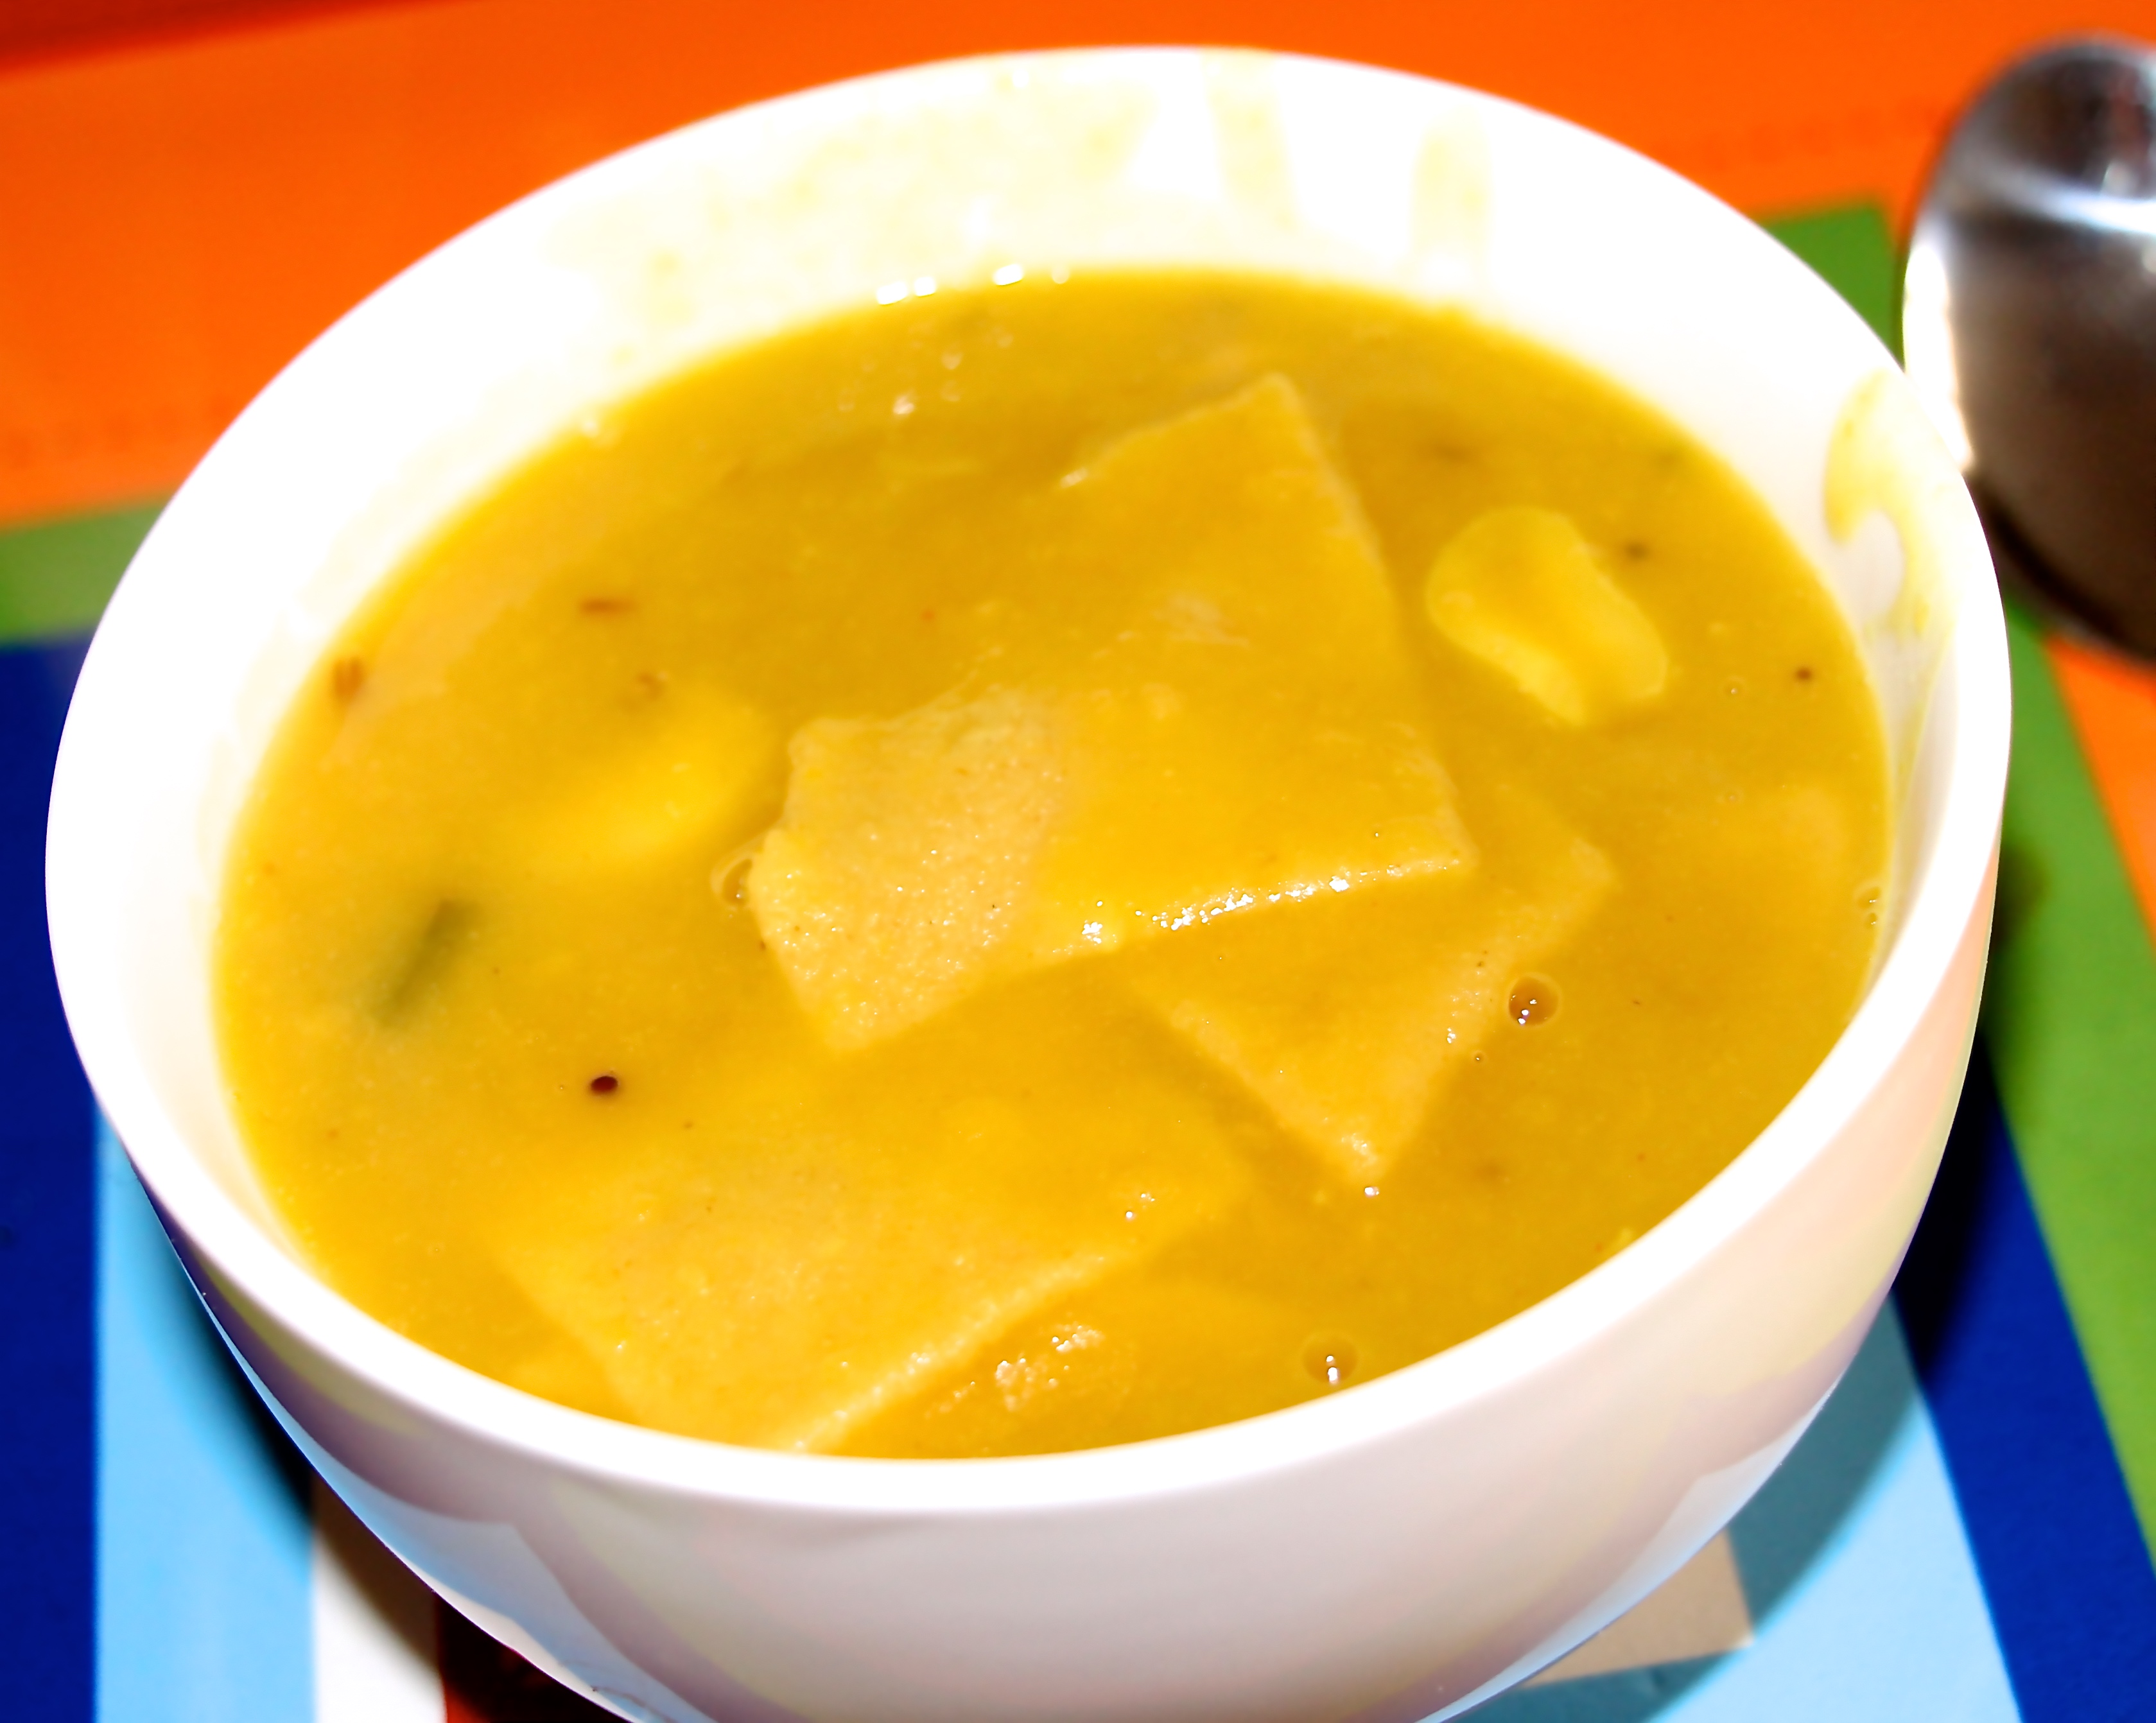
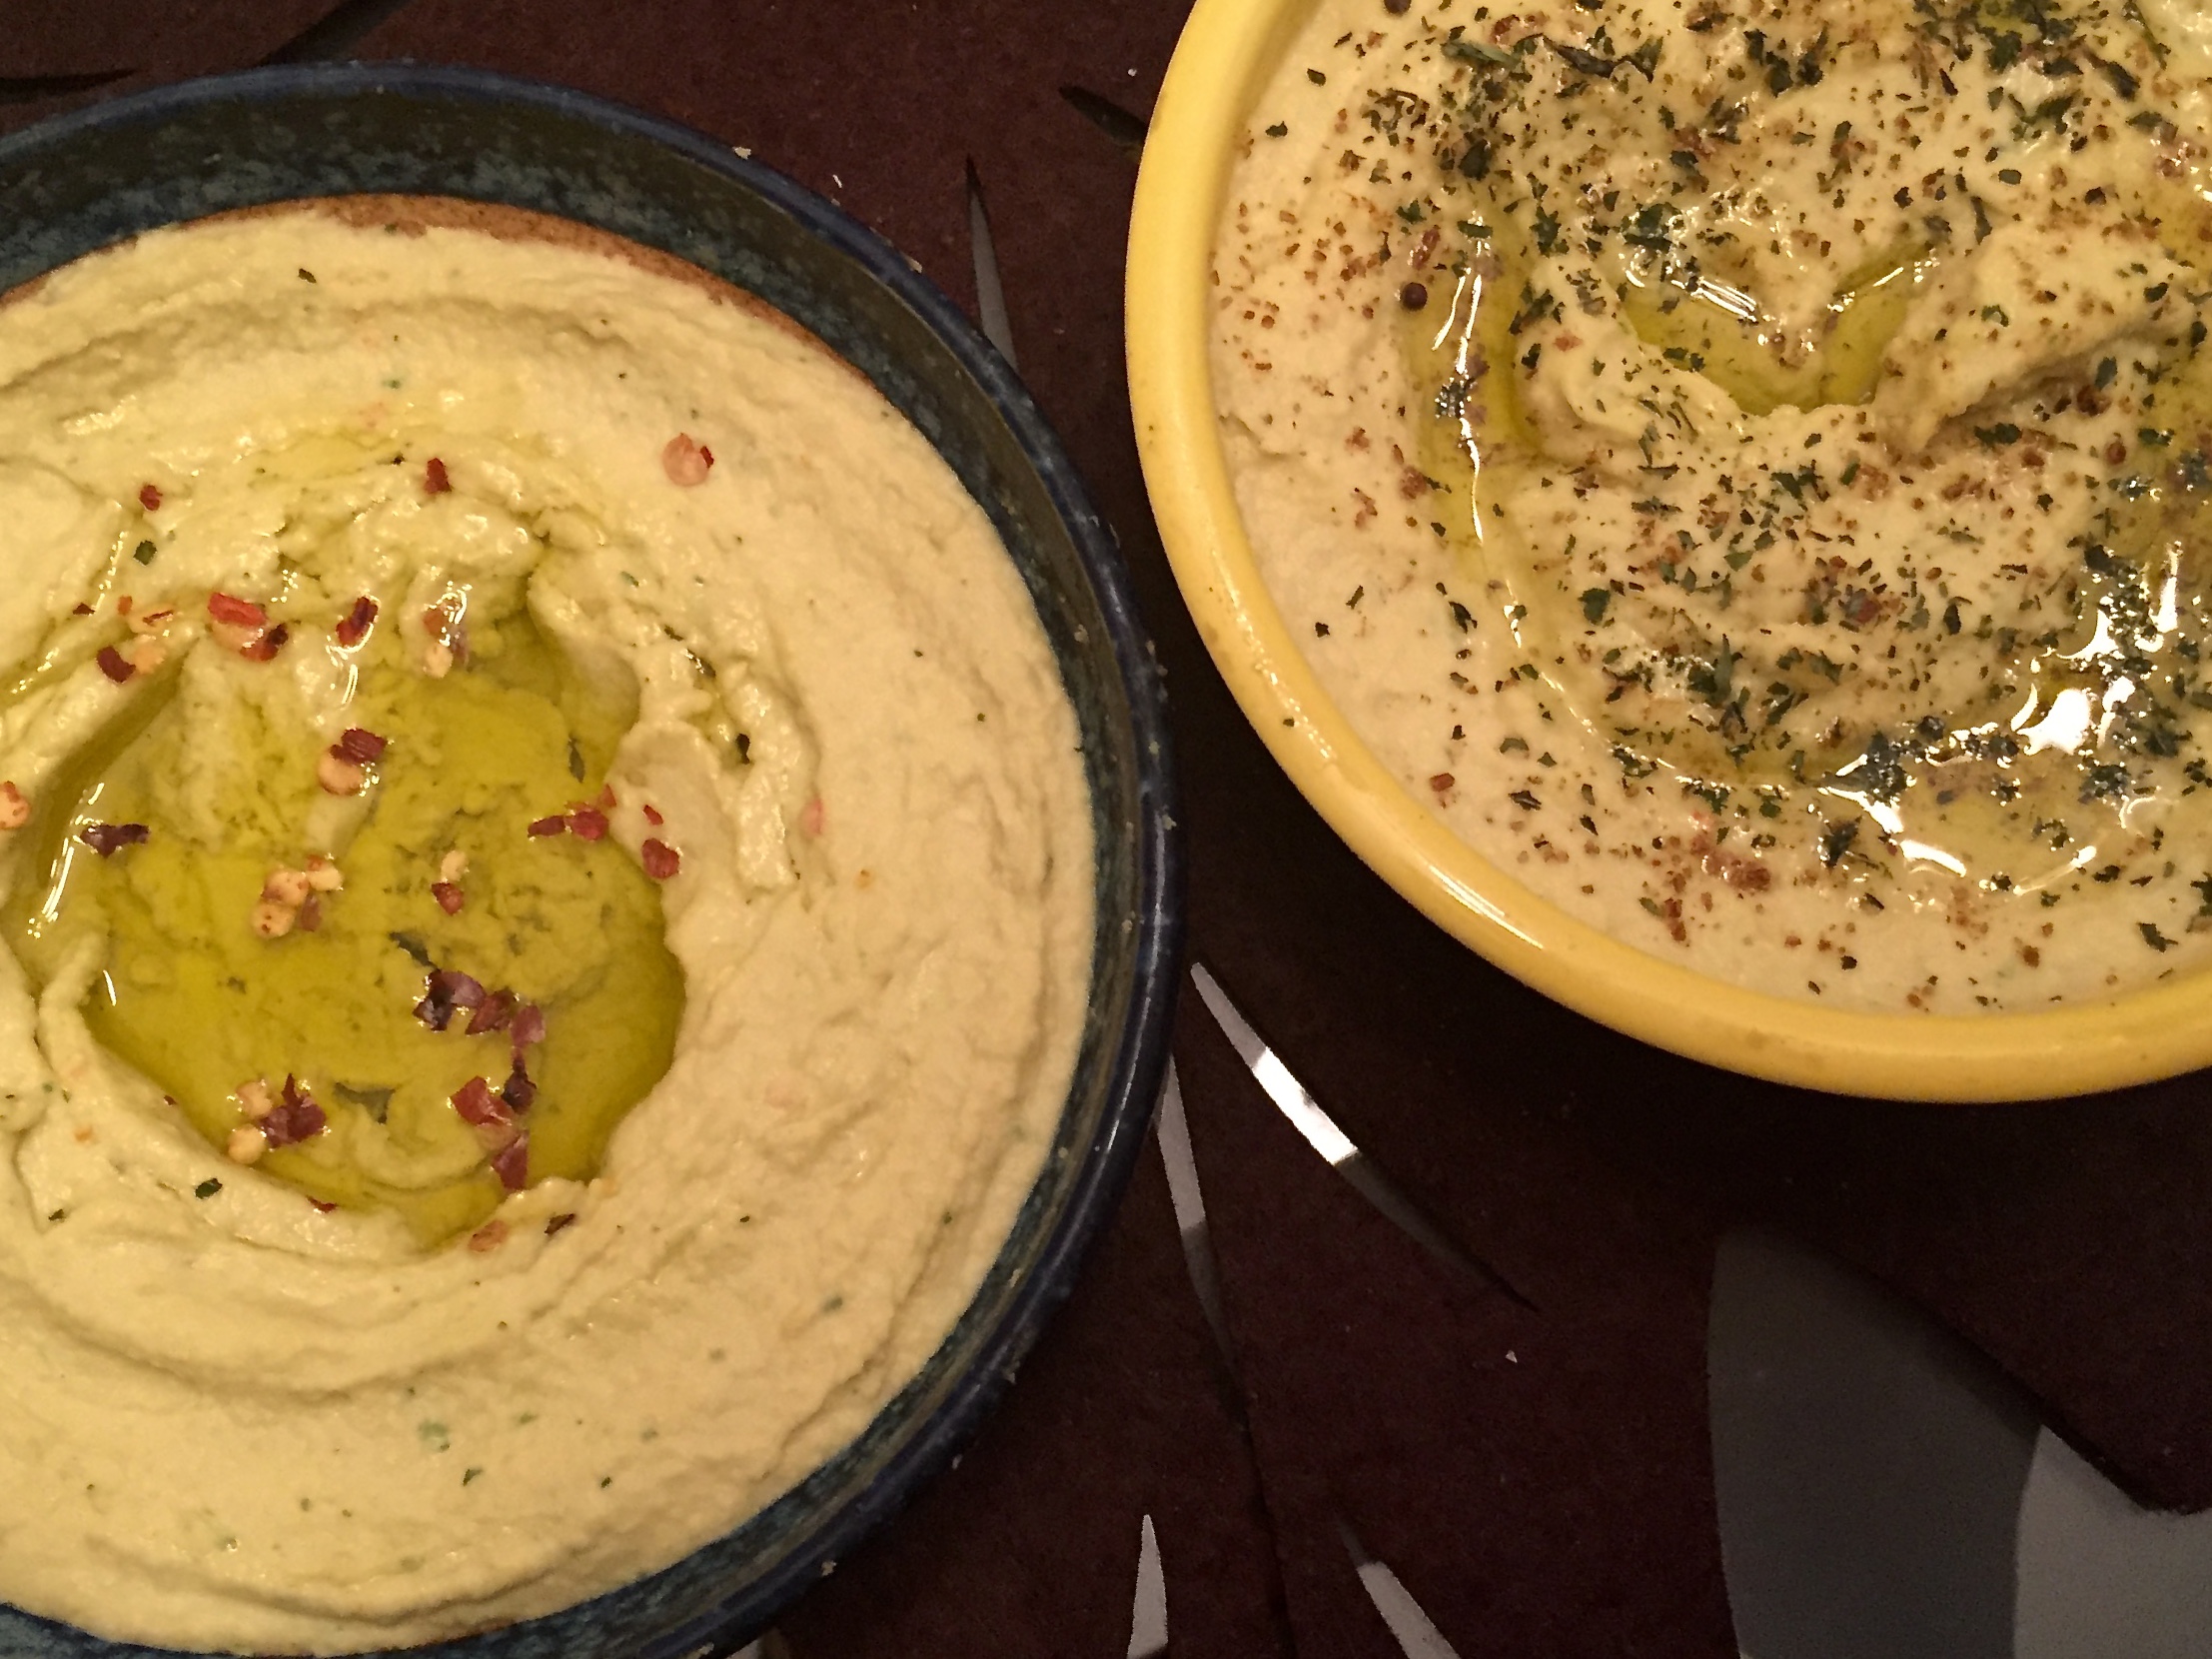
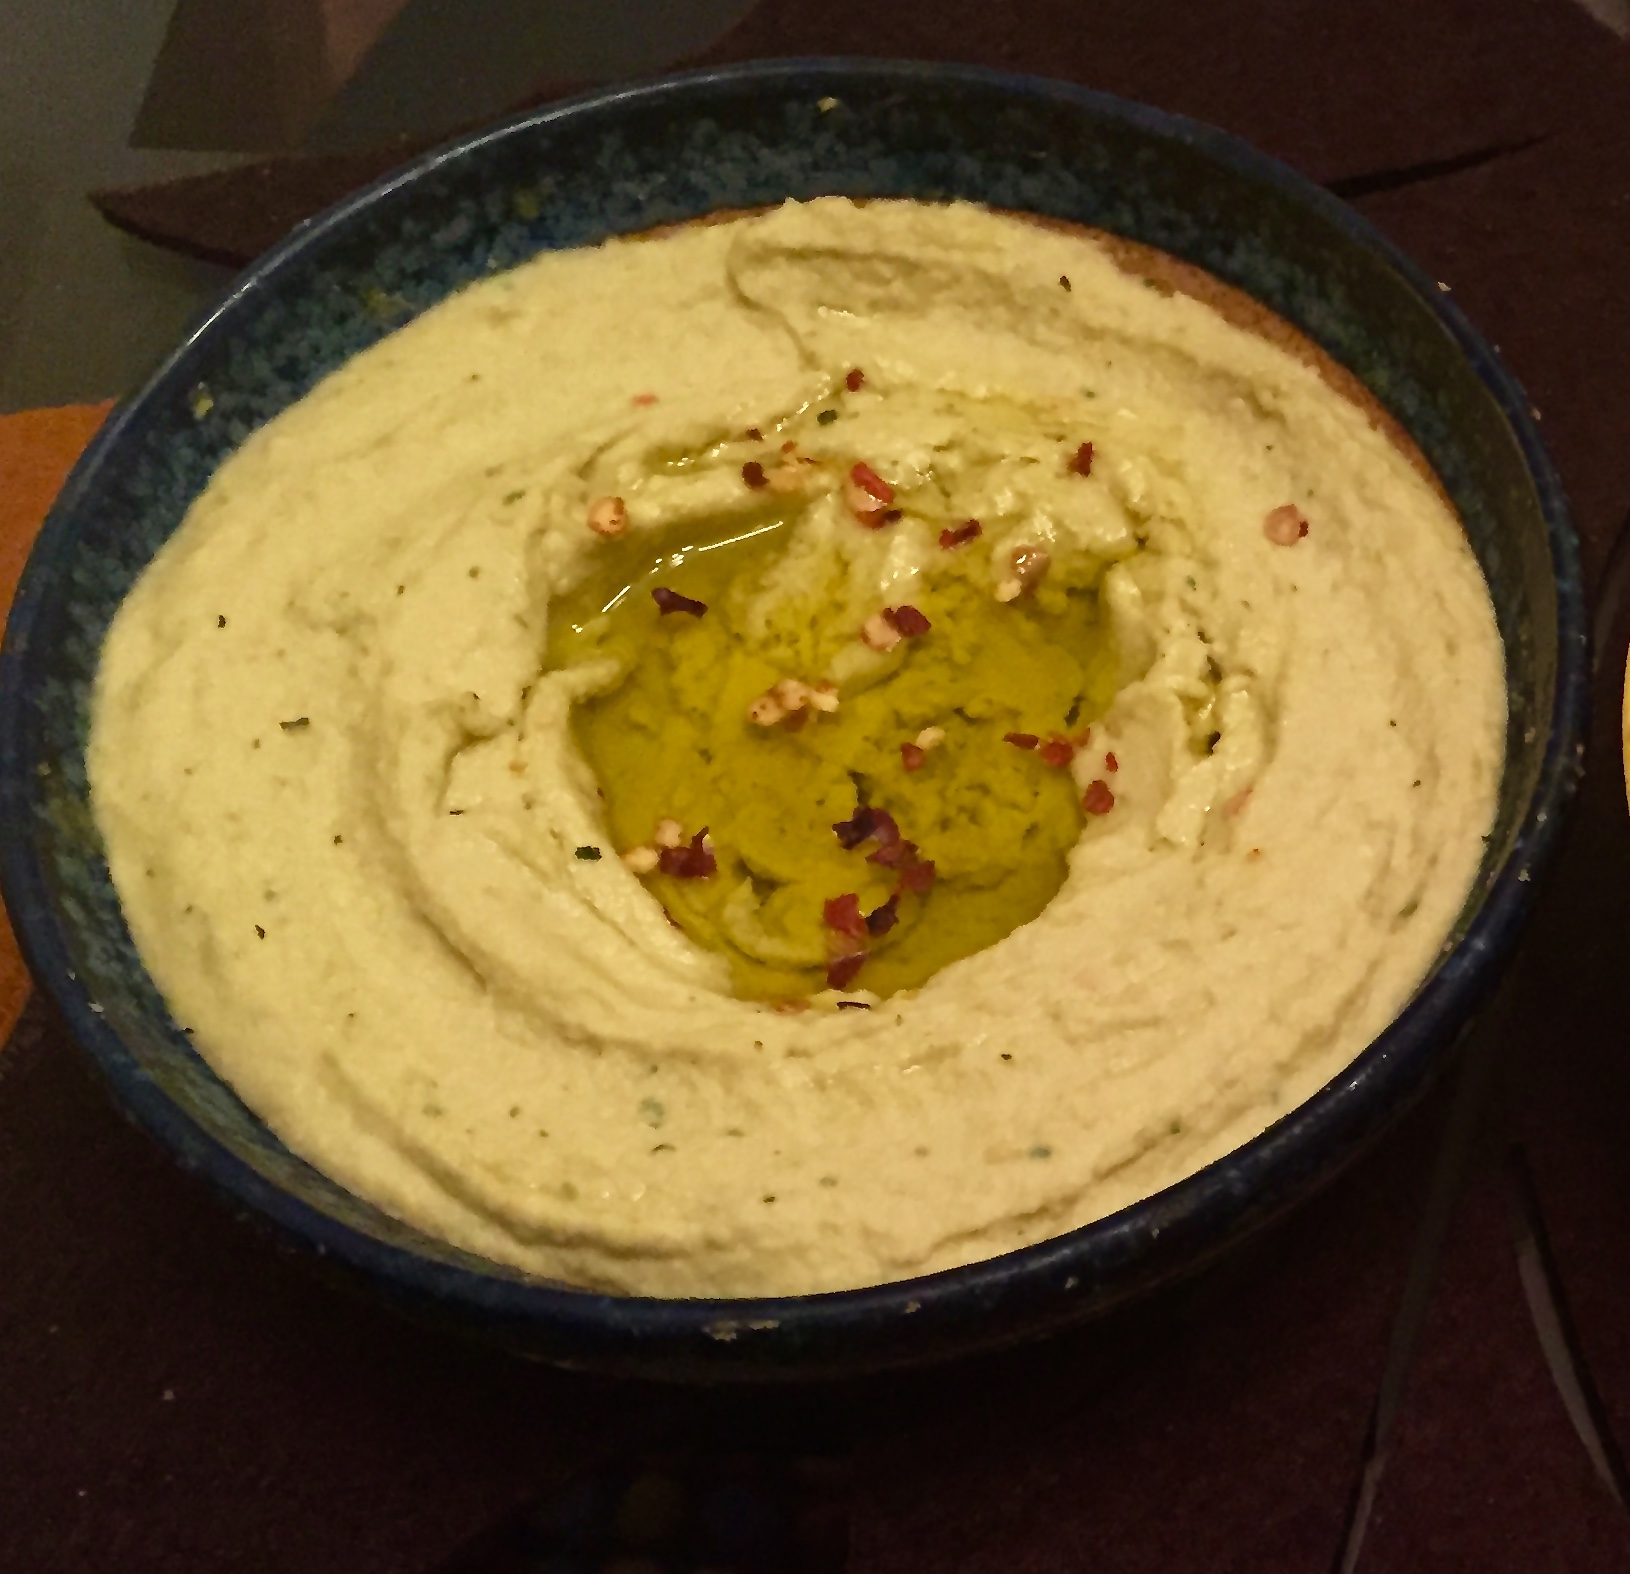
Hummus is one delicious recipe that is very easy to make under 15 minutes, using canned chickpeas, and so should be your go to recipe for those in-between meal moments of hunger !! Am looking forward to seeing an Israeli movie Hummus released in 2015, that was intended to set a Guinness Book of World Record for biggest quantity of Hummus made by a group of people. The featured image on the top shows garnishes of olive oil and red chilli flakes in the picture on the left, and dried mint leaves and roasted cumin powder and olive oil  in the picture on the right. For vegetarian and vegan eaters, this is a very easy, fancy and highly nutritious recipe that should become part of your everyday menu as it gives a great protein booster. It tastes great whether it is cold or slightly warm. Its varied uses can be as accompaniment to pita, falafel, or as spreads in sandwiches or as dips with salads and veggies. Many many ways to eat this Hummus!!

Hummus Recipe

Recipe makes  for 10-12 people

Prep Time 12 min

Ingredients
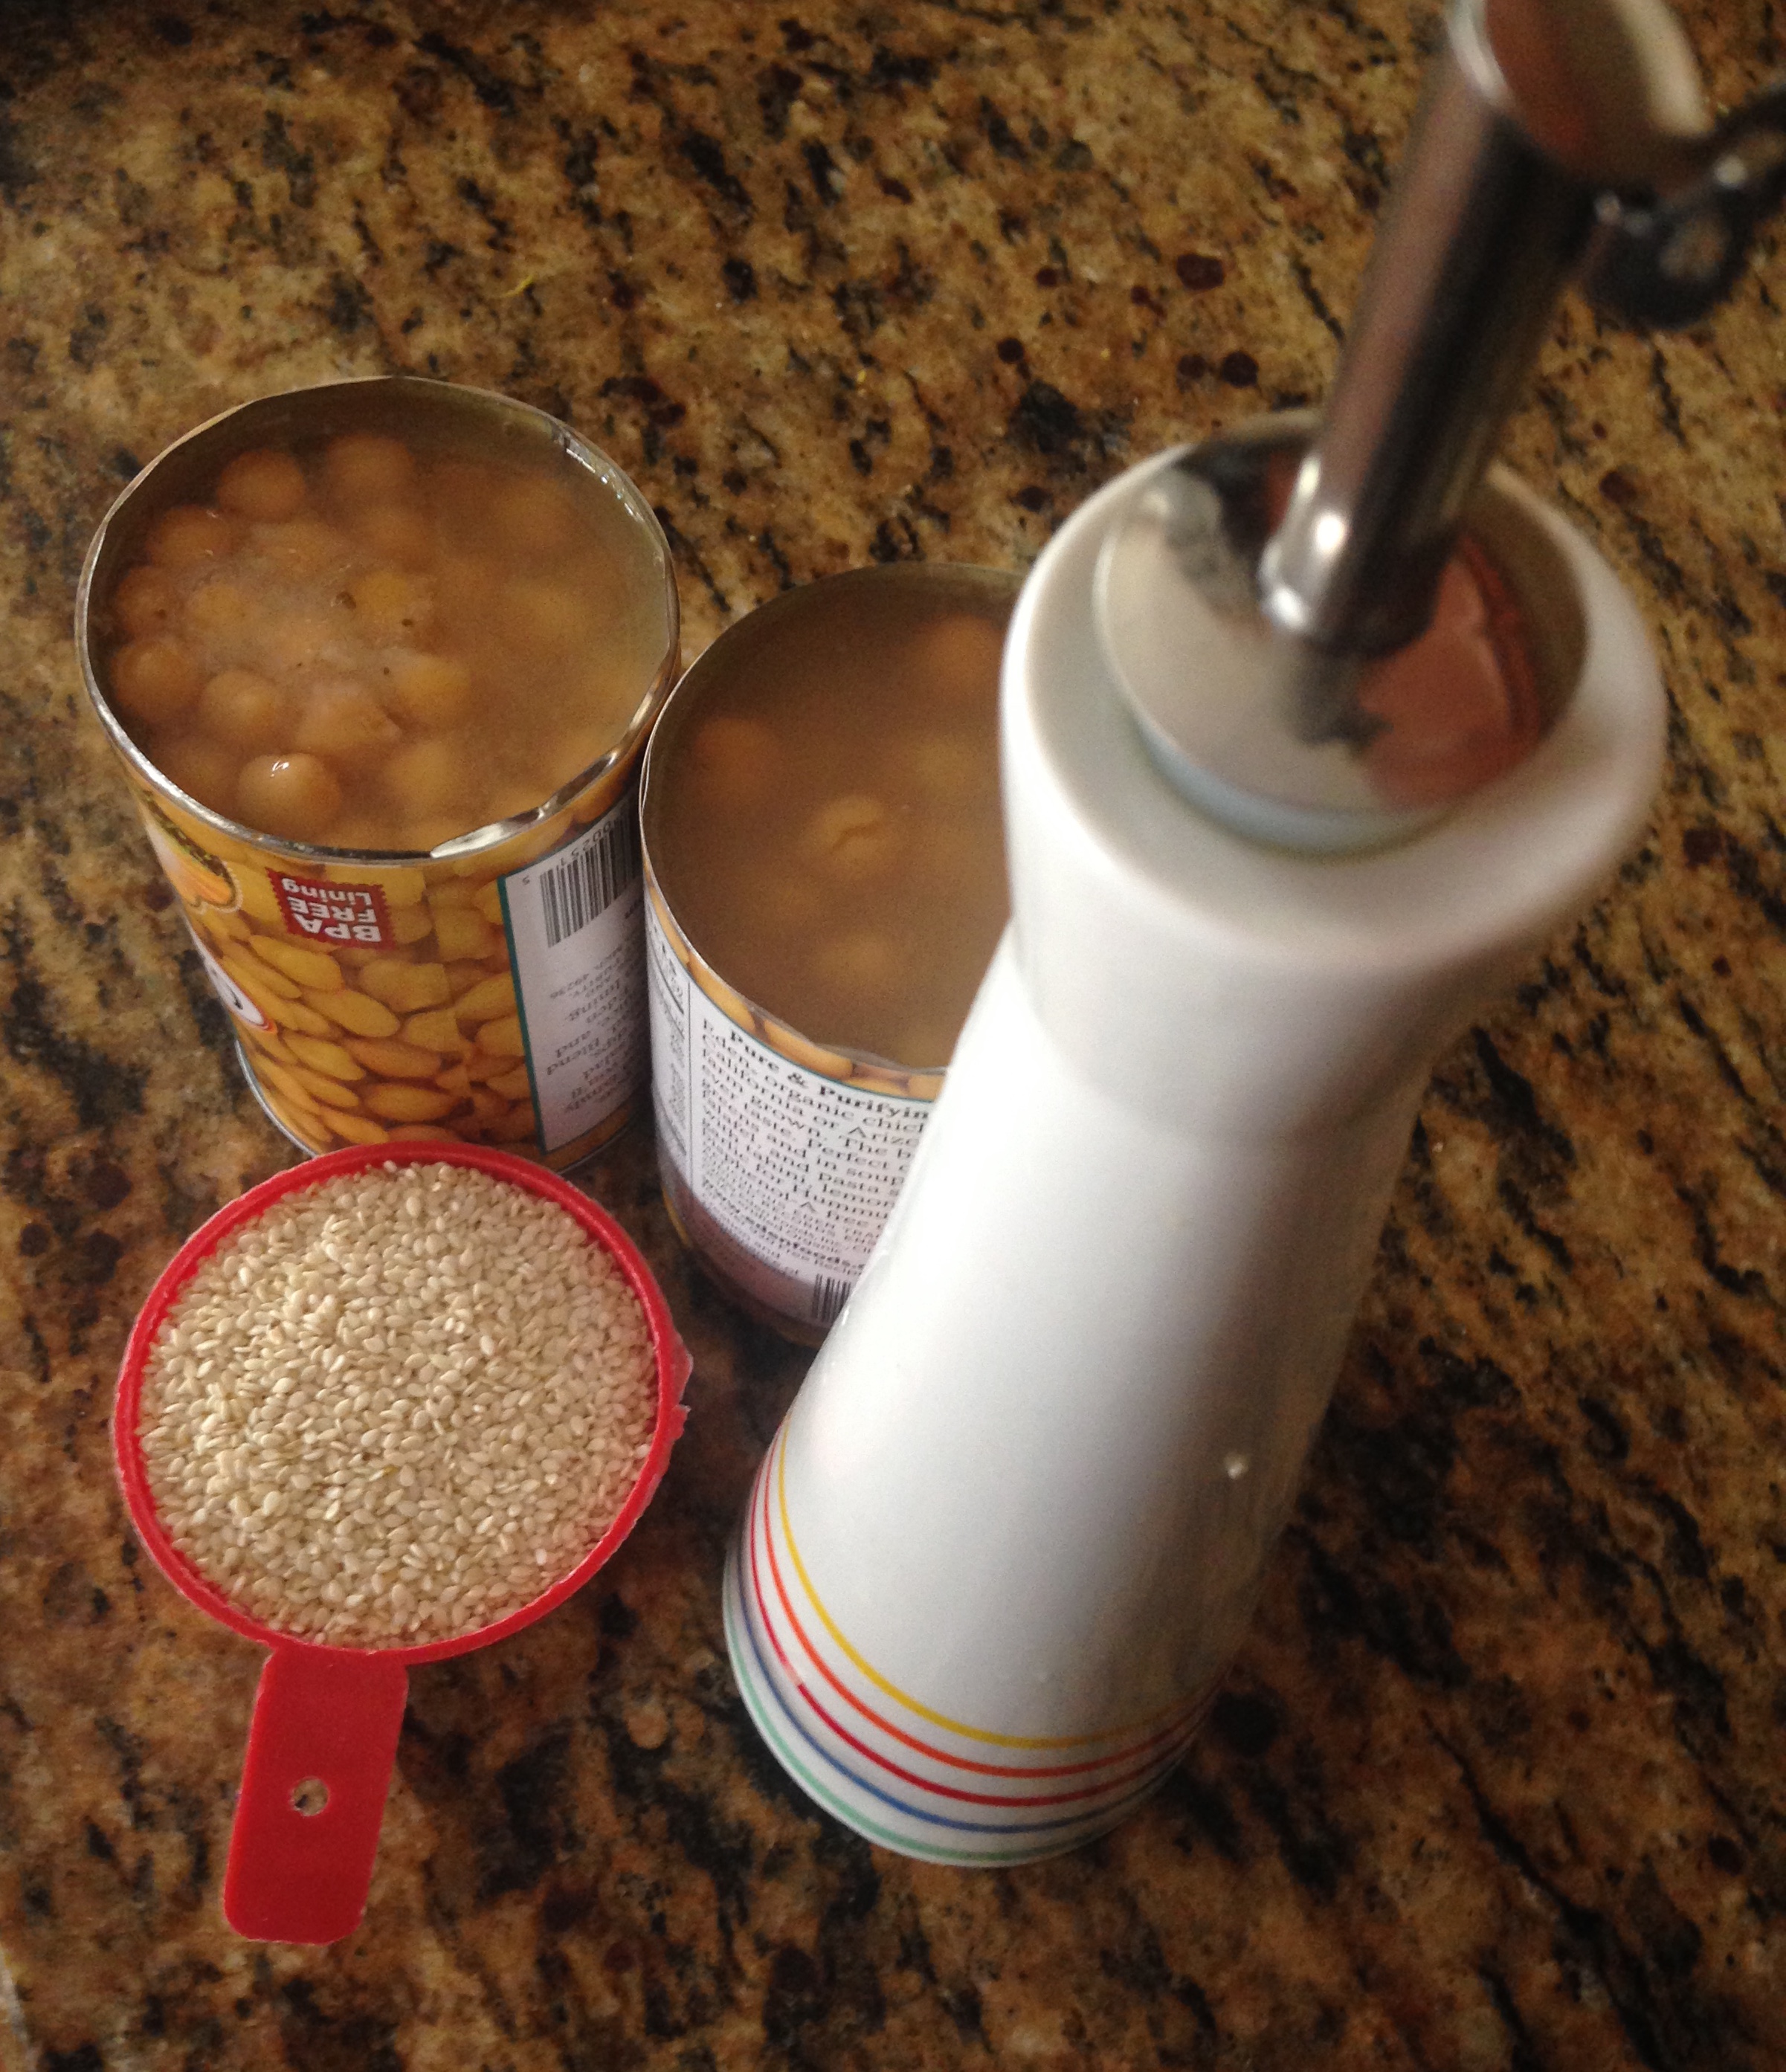
  • 2 cans of  540 ml of garbanzo/chickpeas beans, or four cups of soaked and semi cooked chickpeas
  • 1/2 cup white sesame seeds or 1/4 cup tahini paste
  • 6 tbsp lemon juice

IMG_6166

  • 6 tbsp olive oil ( extra virgin olive oil preferable)
  • red chilli powder /red chilli flakes or roasted cumin powder
  • 3/4 cup-1 cup water based on the consistency needed
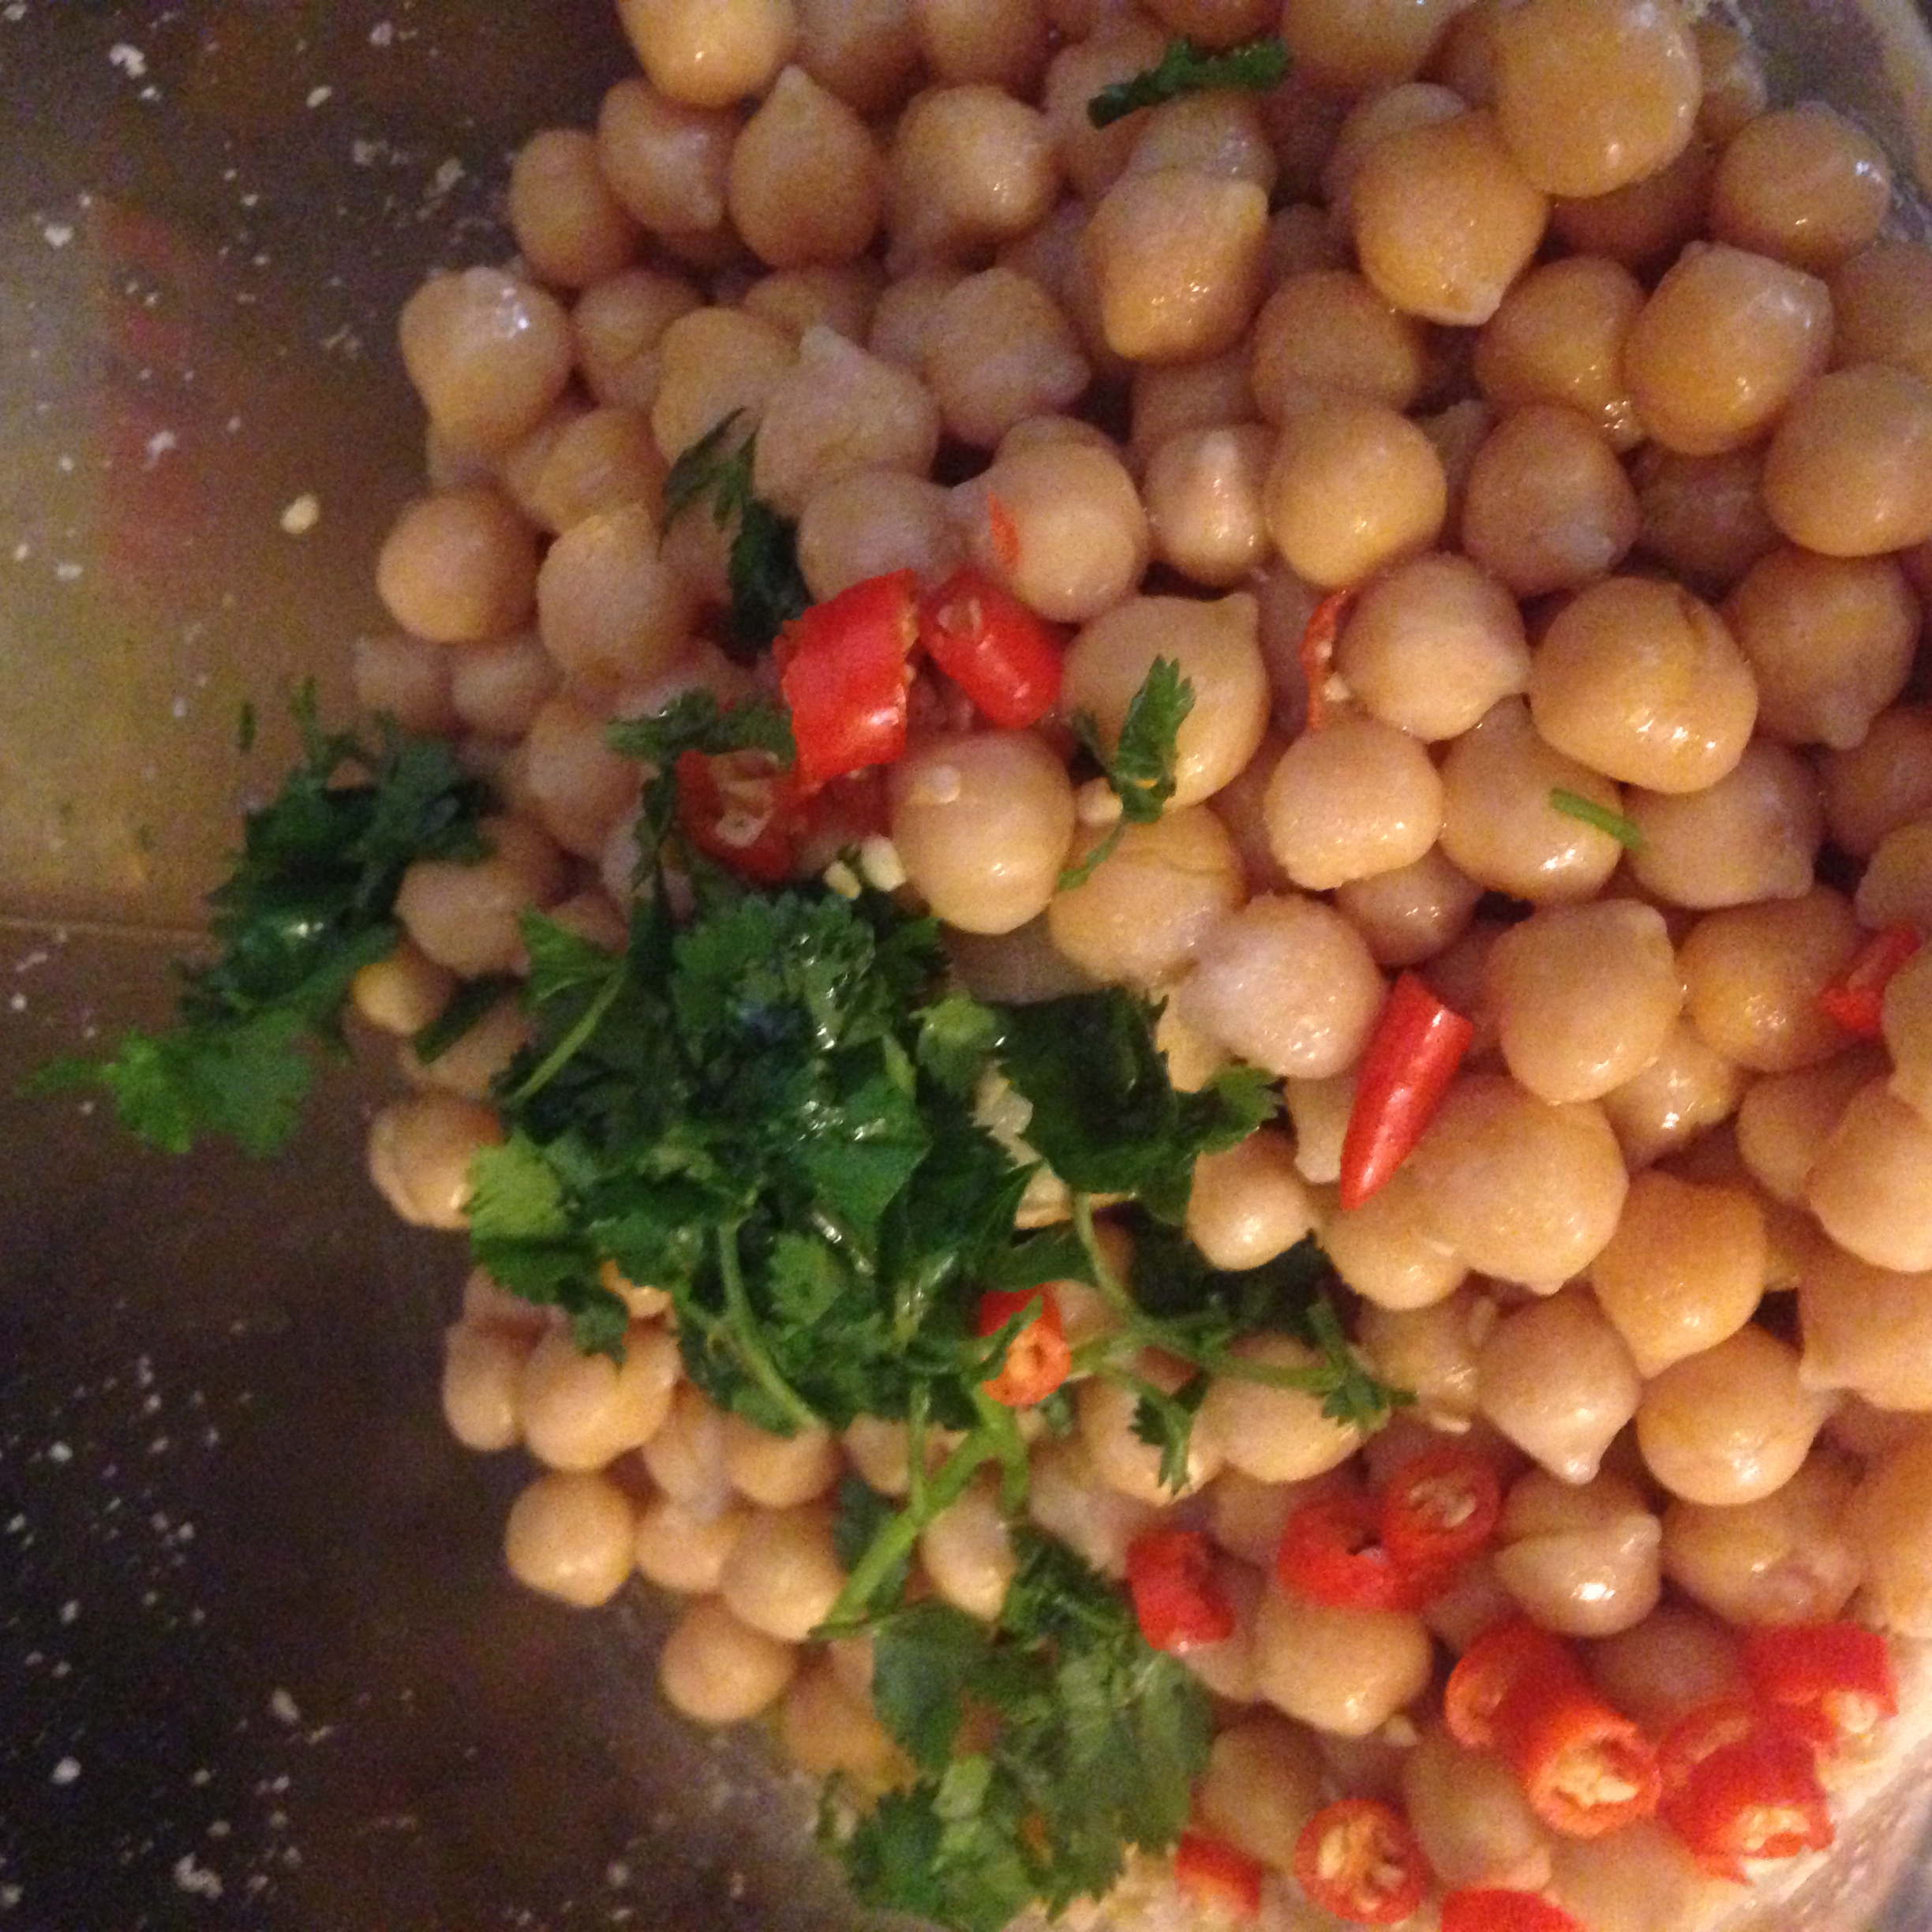
  • 3 finely chopped thai hot red chillies(optional)
  • 2 tbsp chopped coriander/cilantro leaves(optional)
  • a pinch of baking soda to be added while cooking soaked chickpeas
  • salt to taste

Garnishing Choices

  • Roasted cumin powder,crushed dried mint leaves
  • Olive oil , red pepper flakes
  • Parsley leaves
  • Cilantro leaves
  • All the garnishing choices can be used alone or in combination,

Method

  • Drain the chickpeas off its liquid
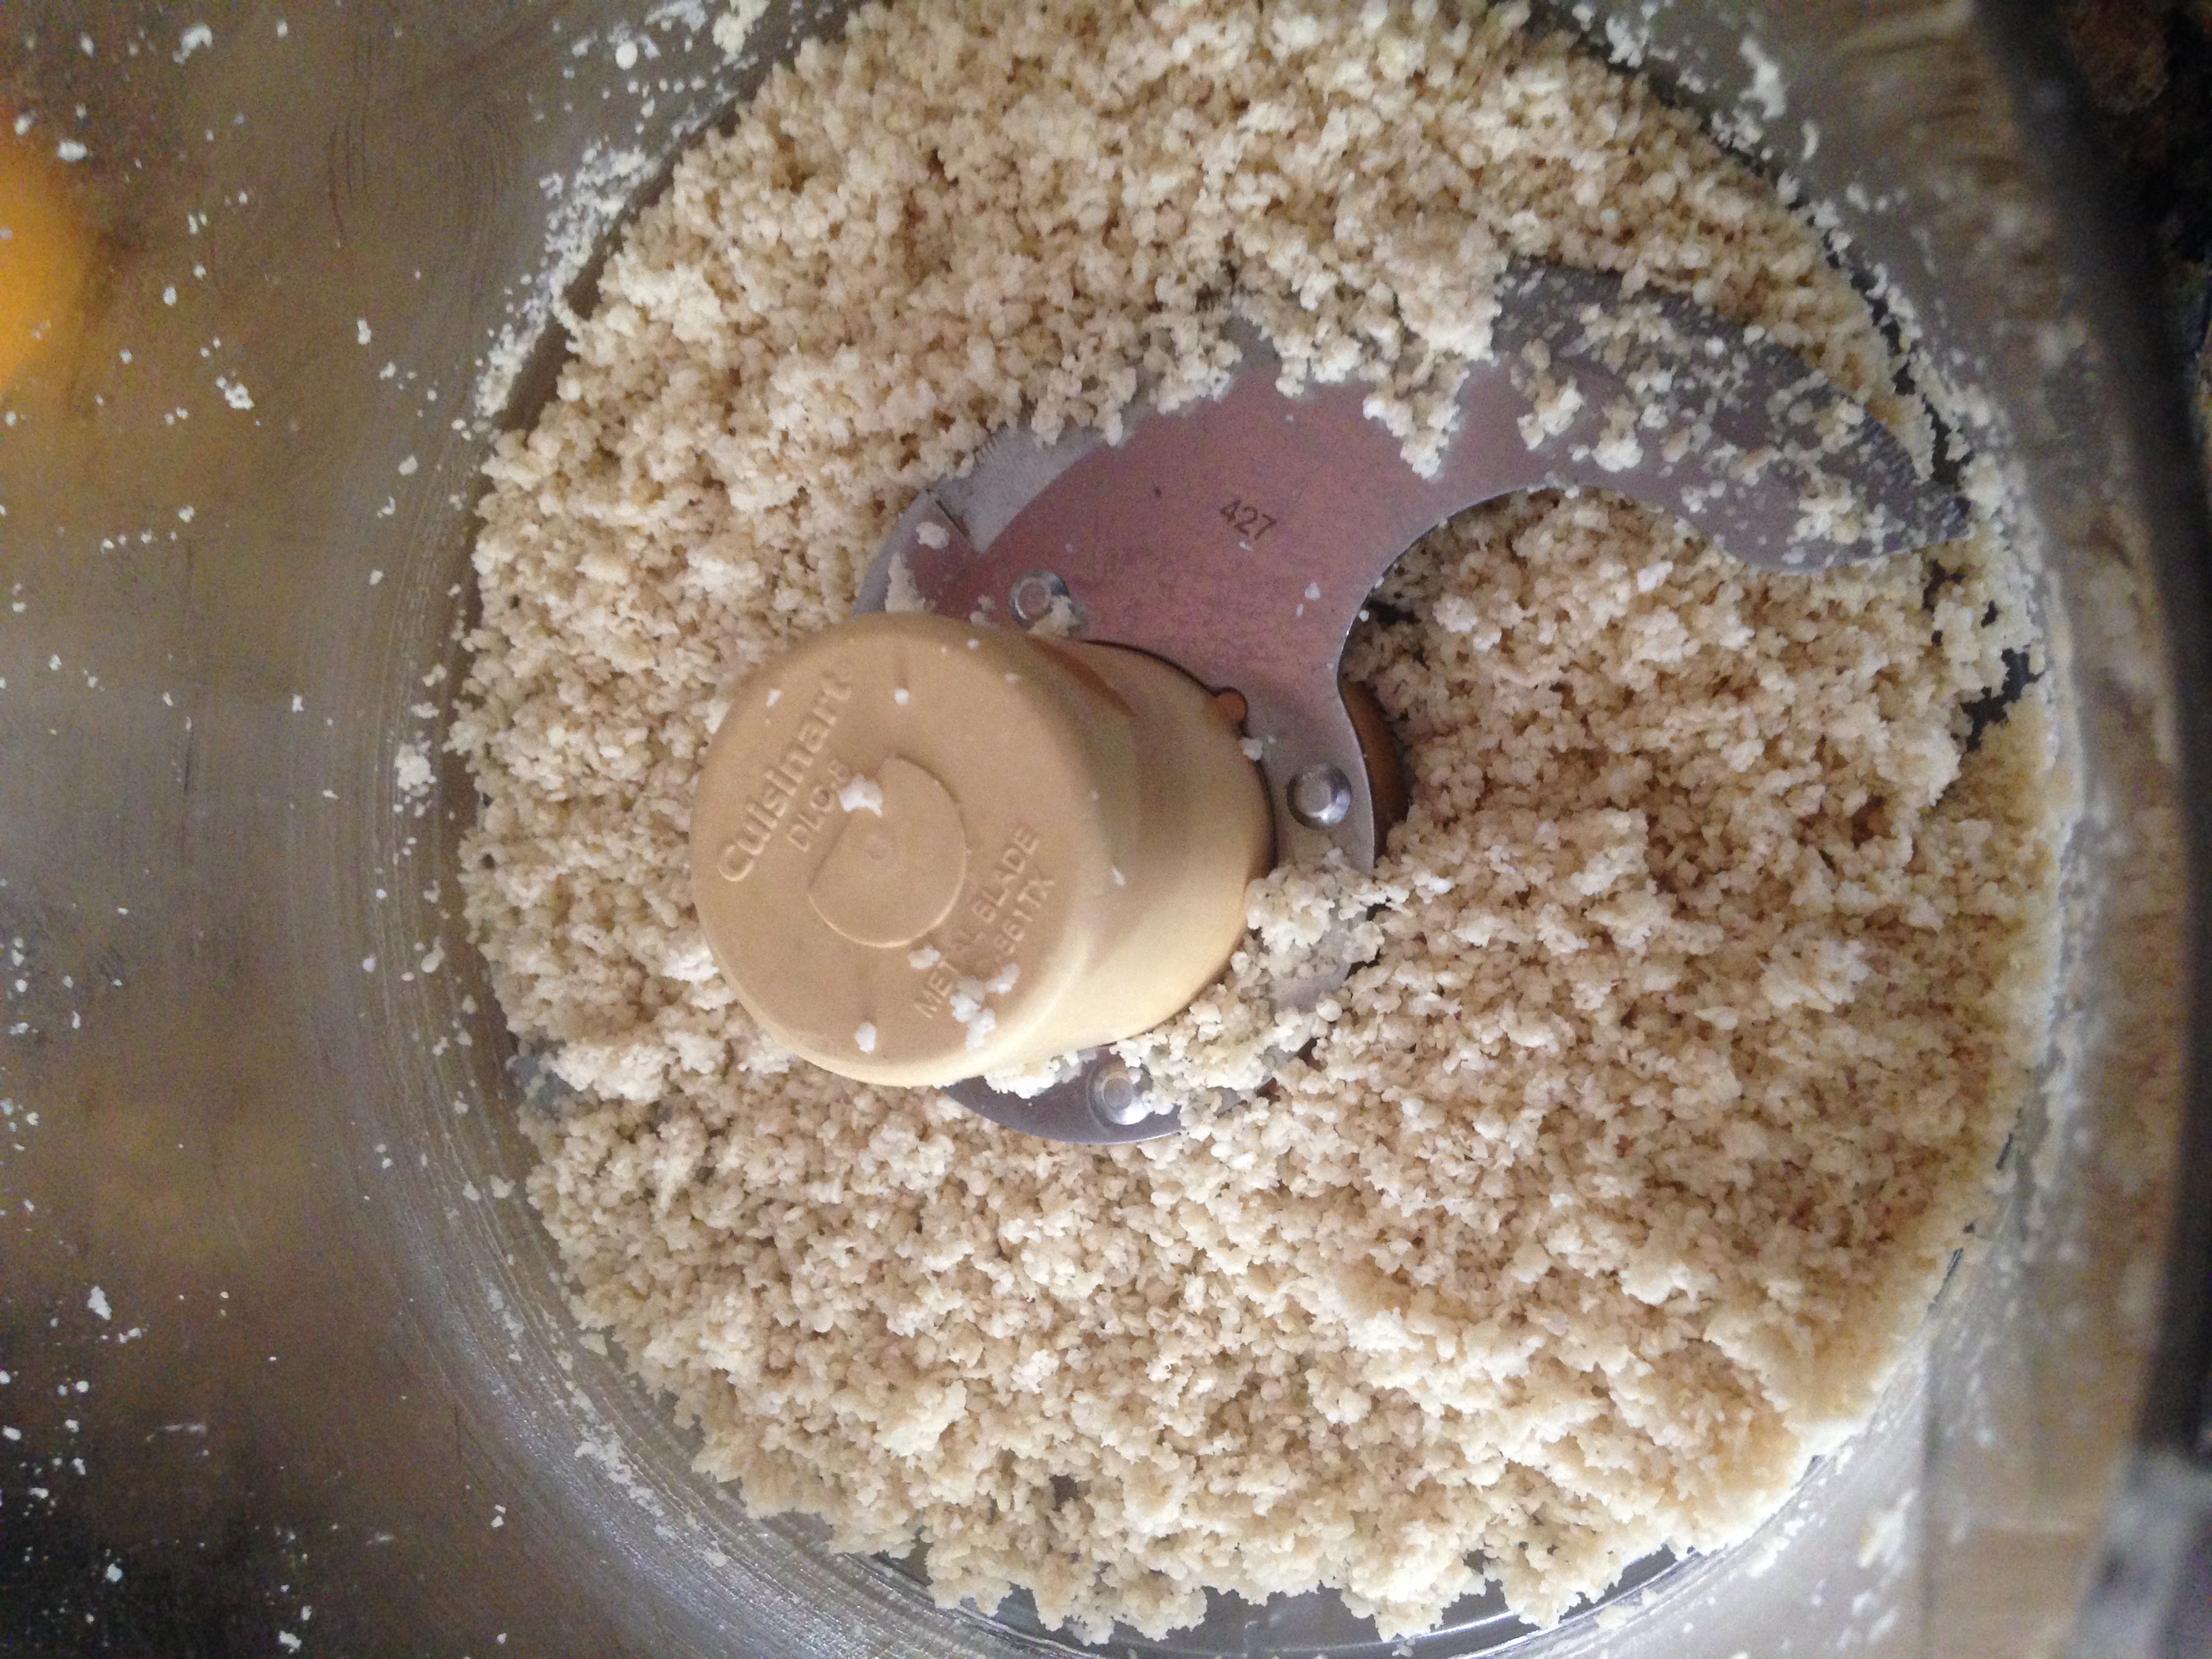
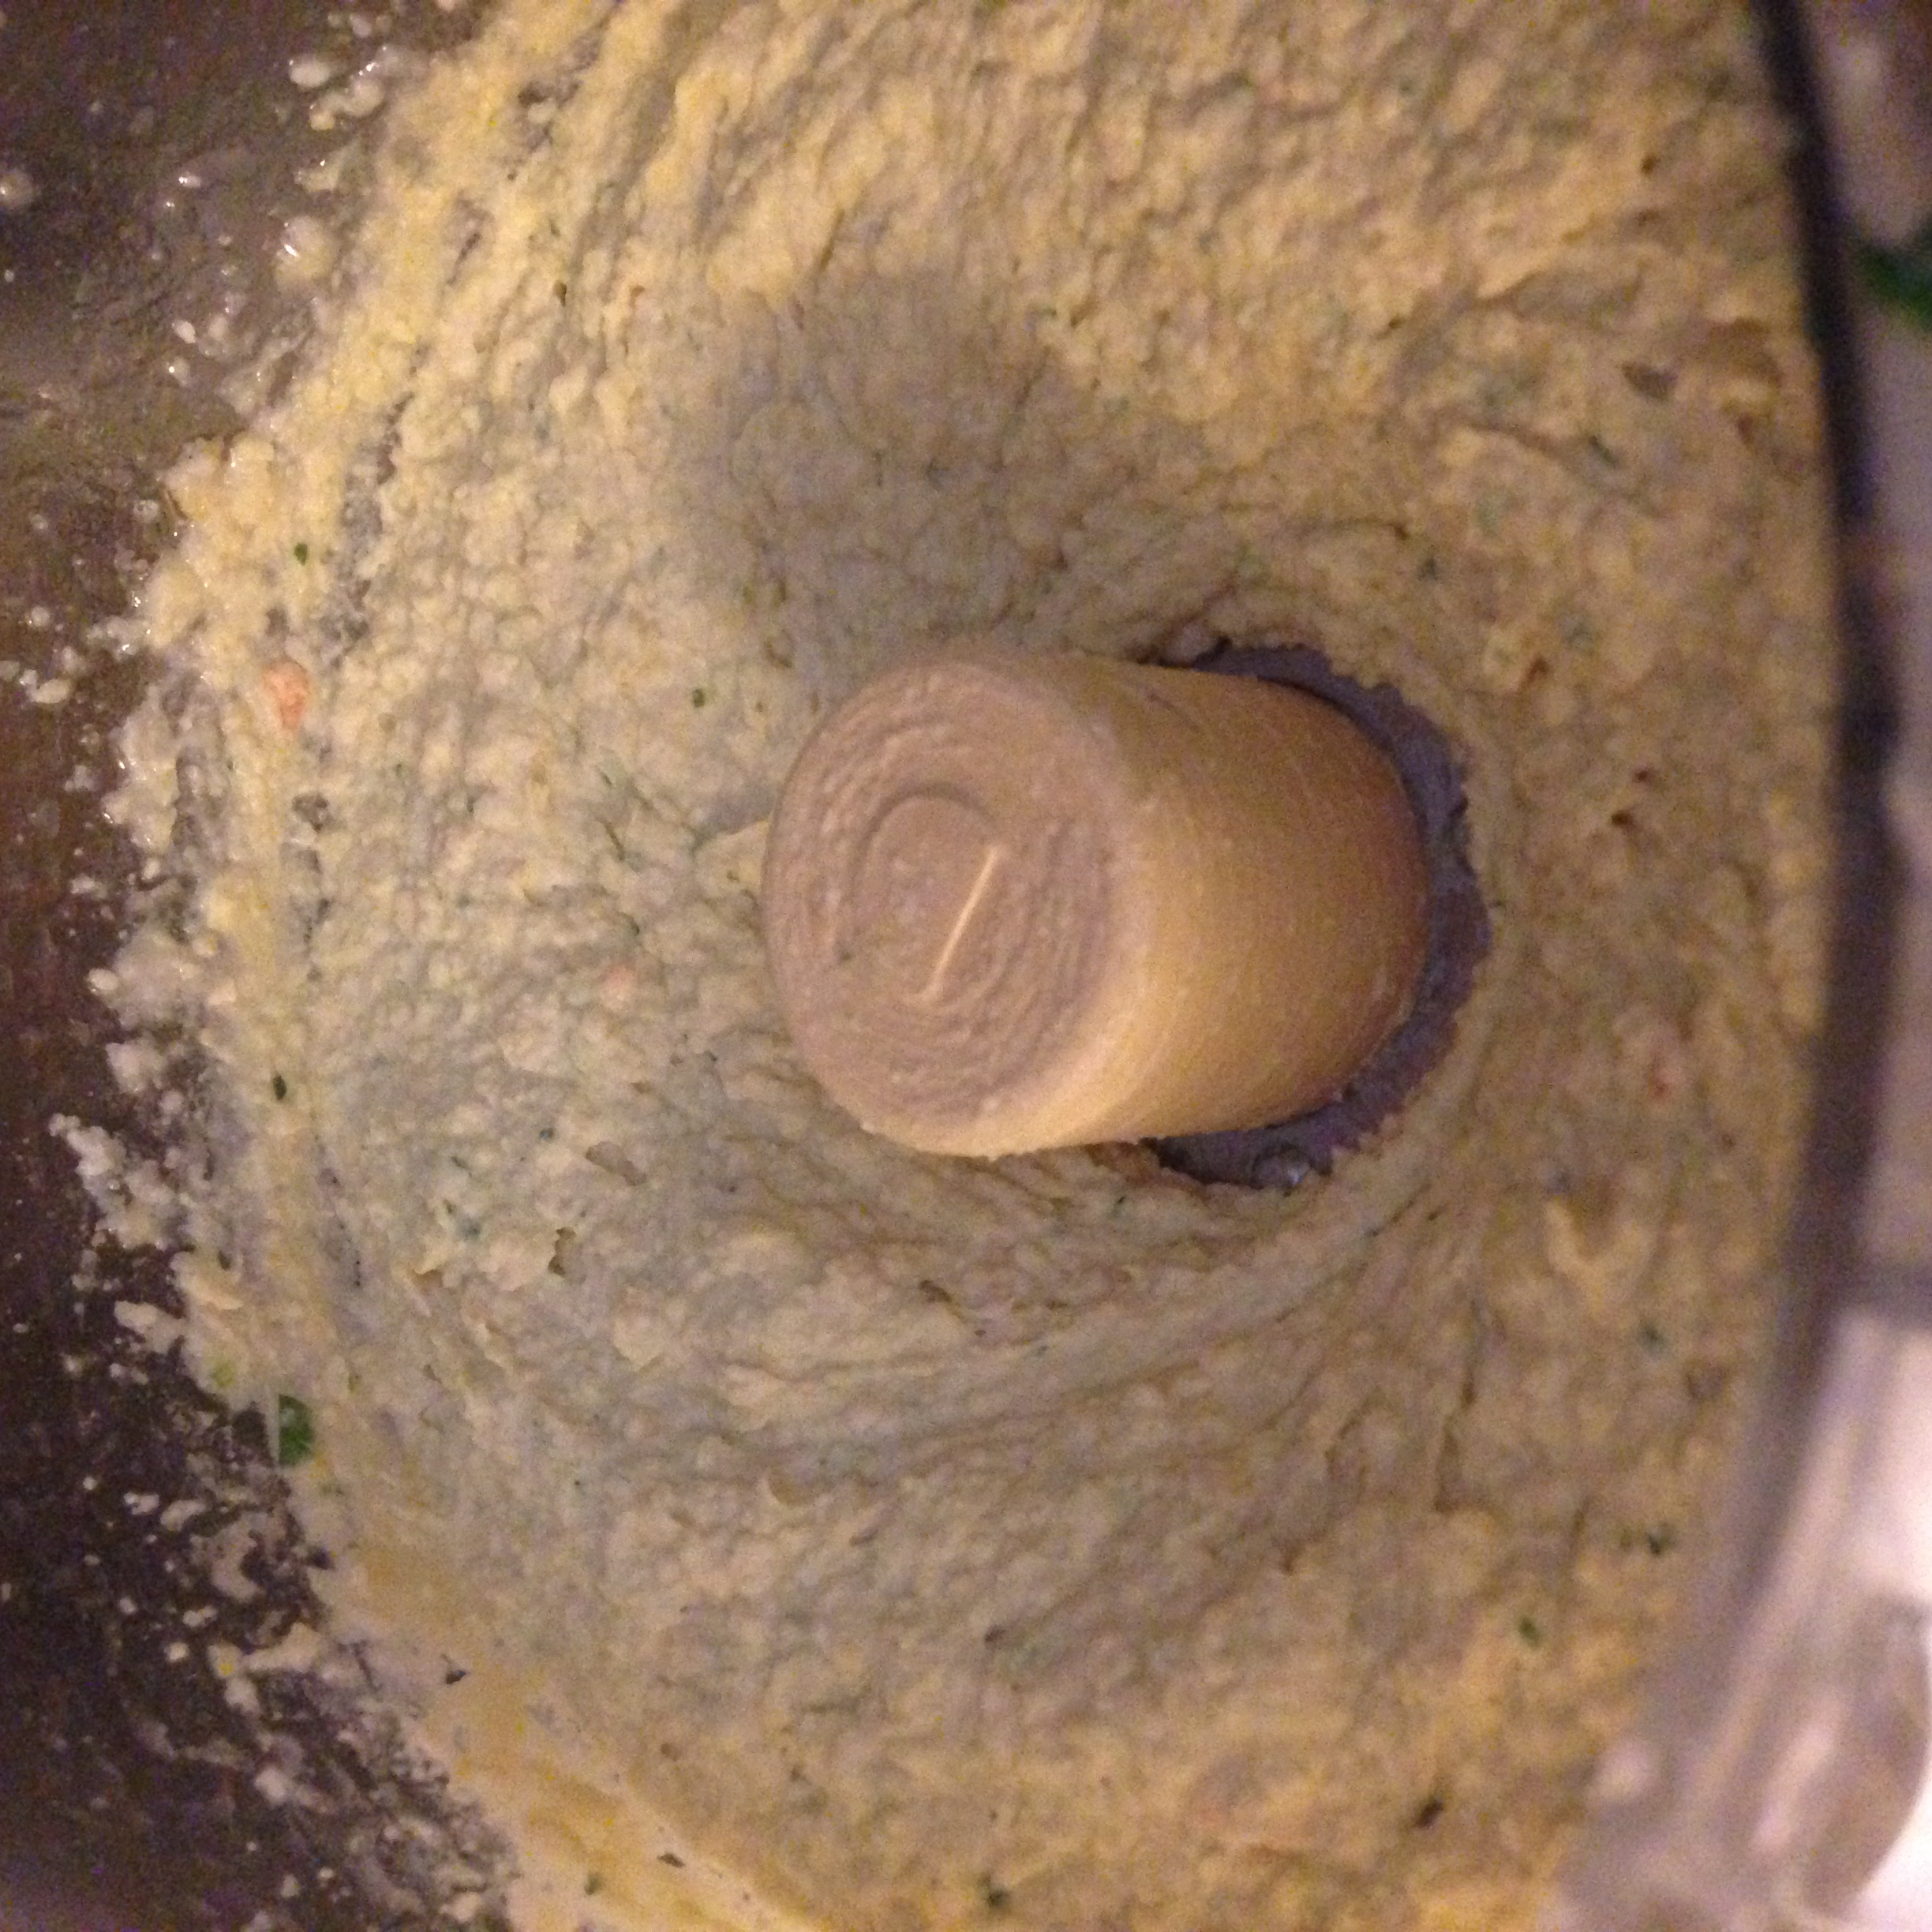
  • Grind the sesame seeds into fine powder in an electric blender.

IMG_6167

  • Add red chillies, chickpeas, cilantro,  lemon juice, olive oil and salt,

IMG_6170

  • Churn for 4-5 min on high speed.

IMG_6171

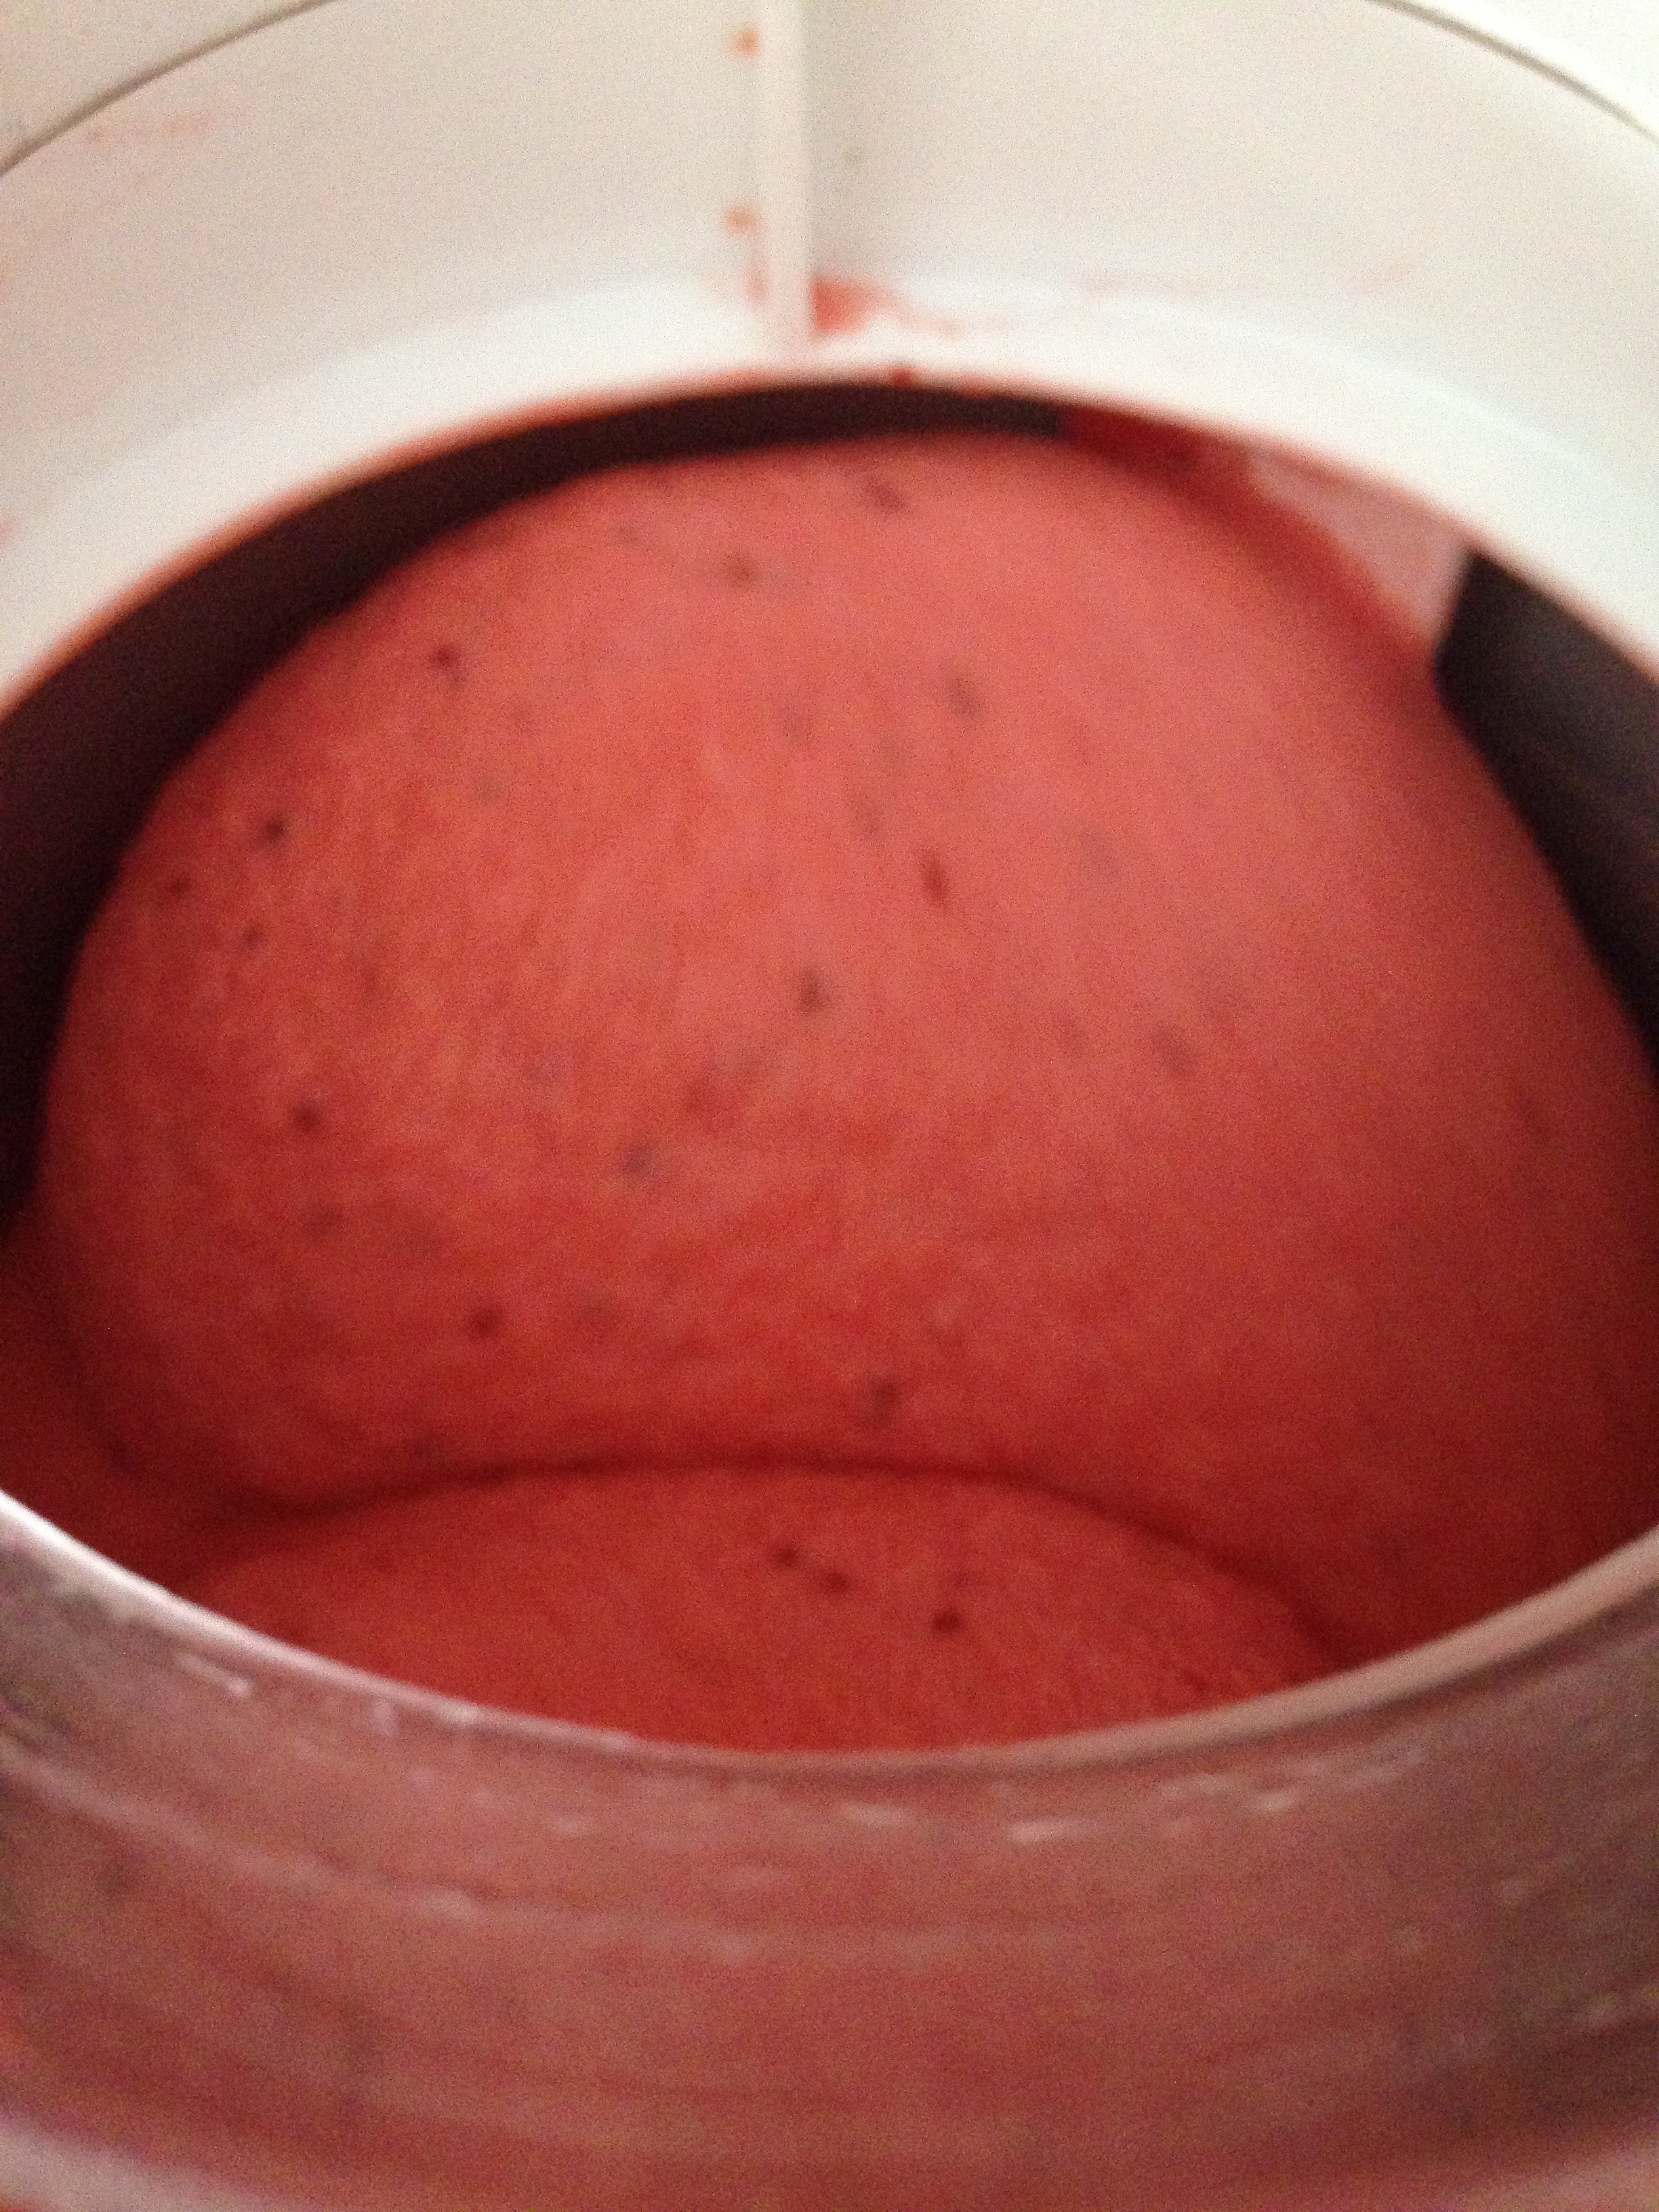
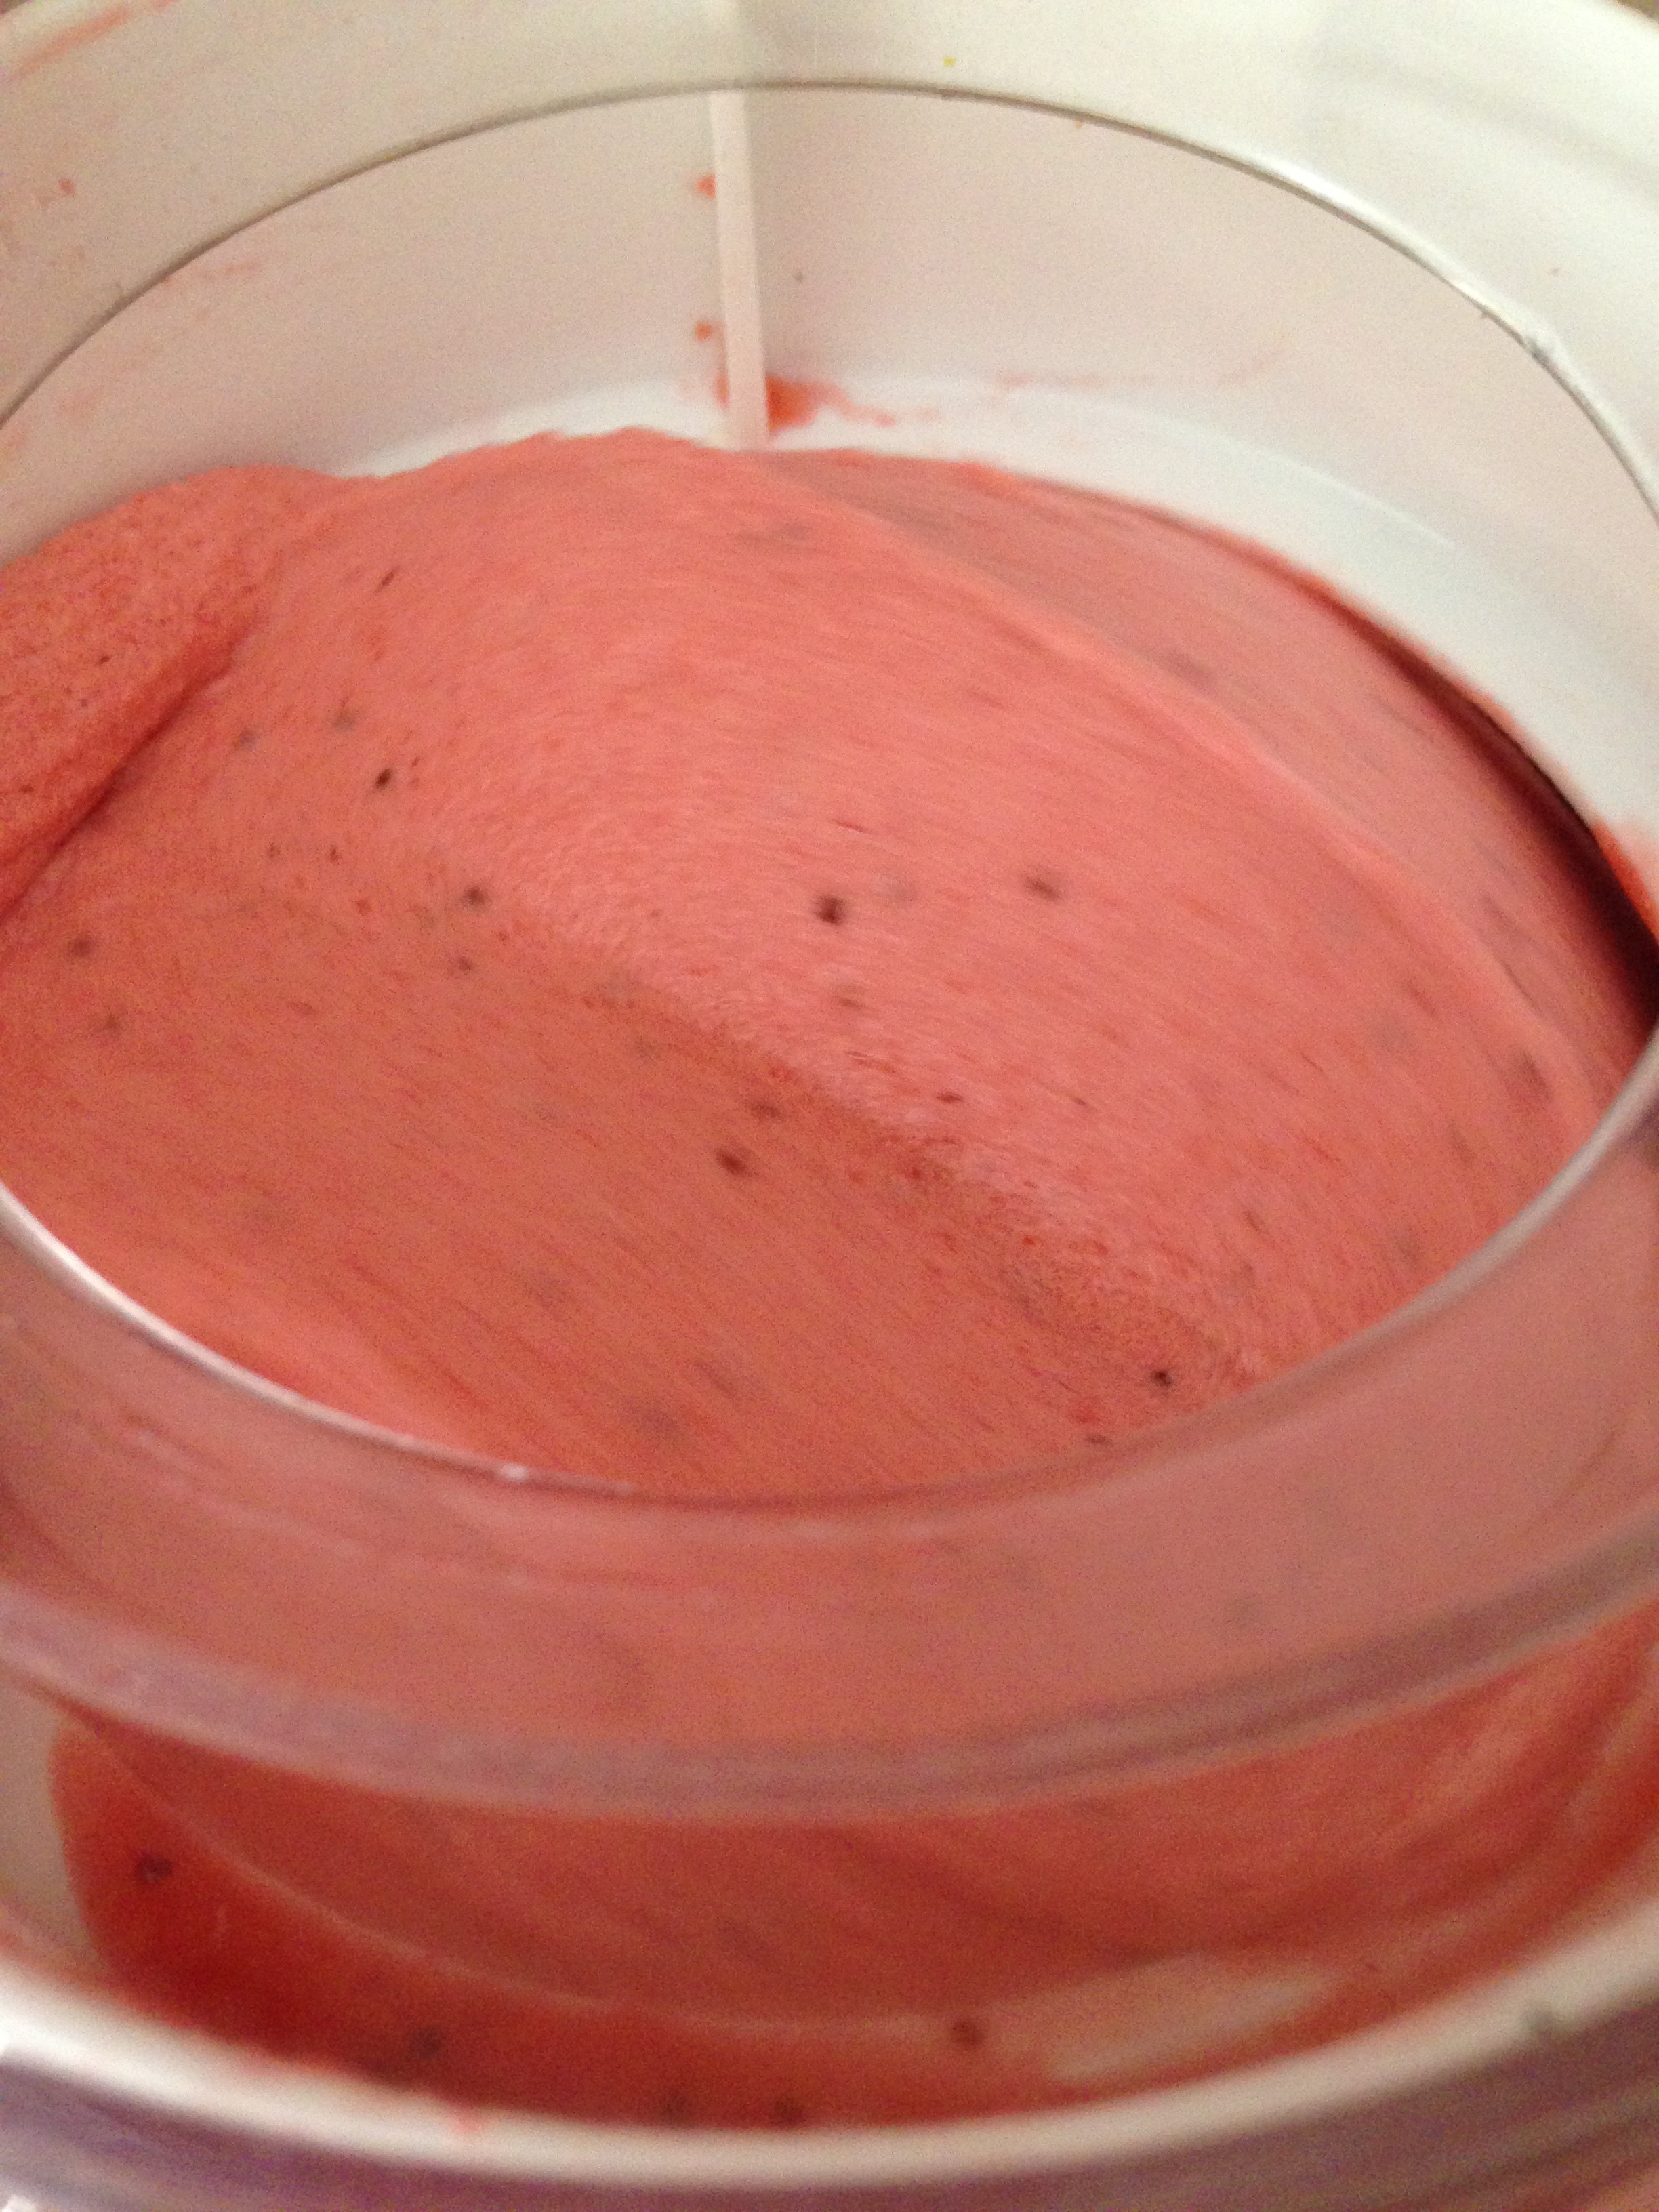
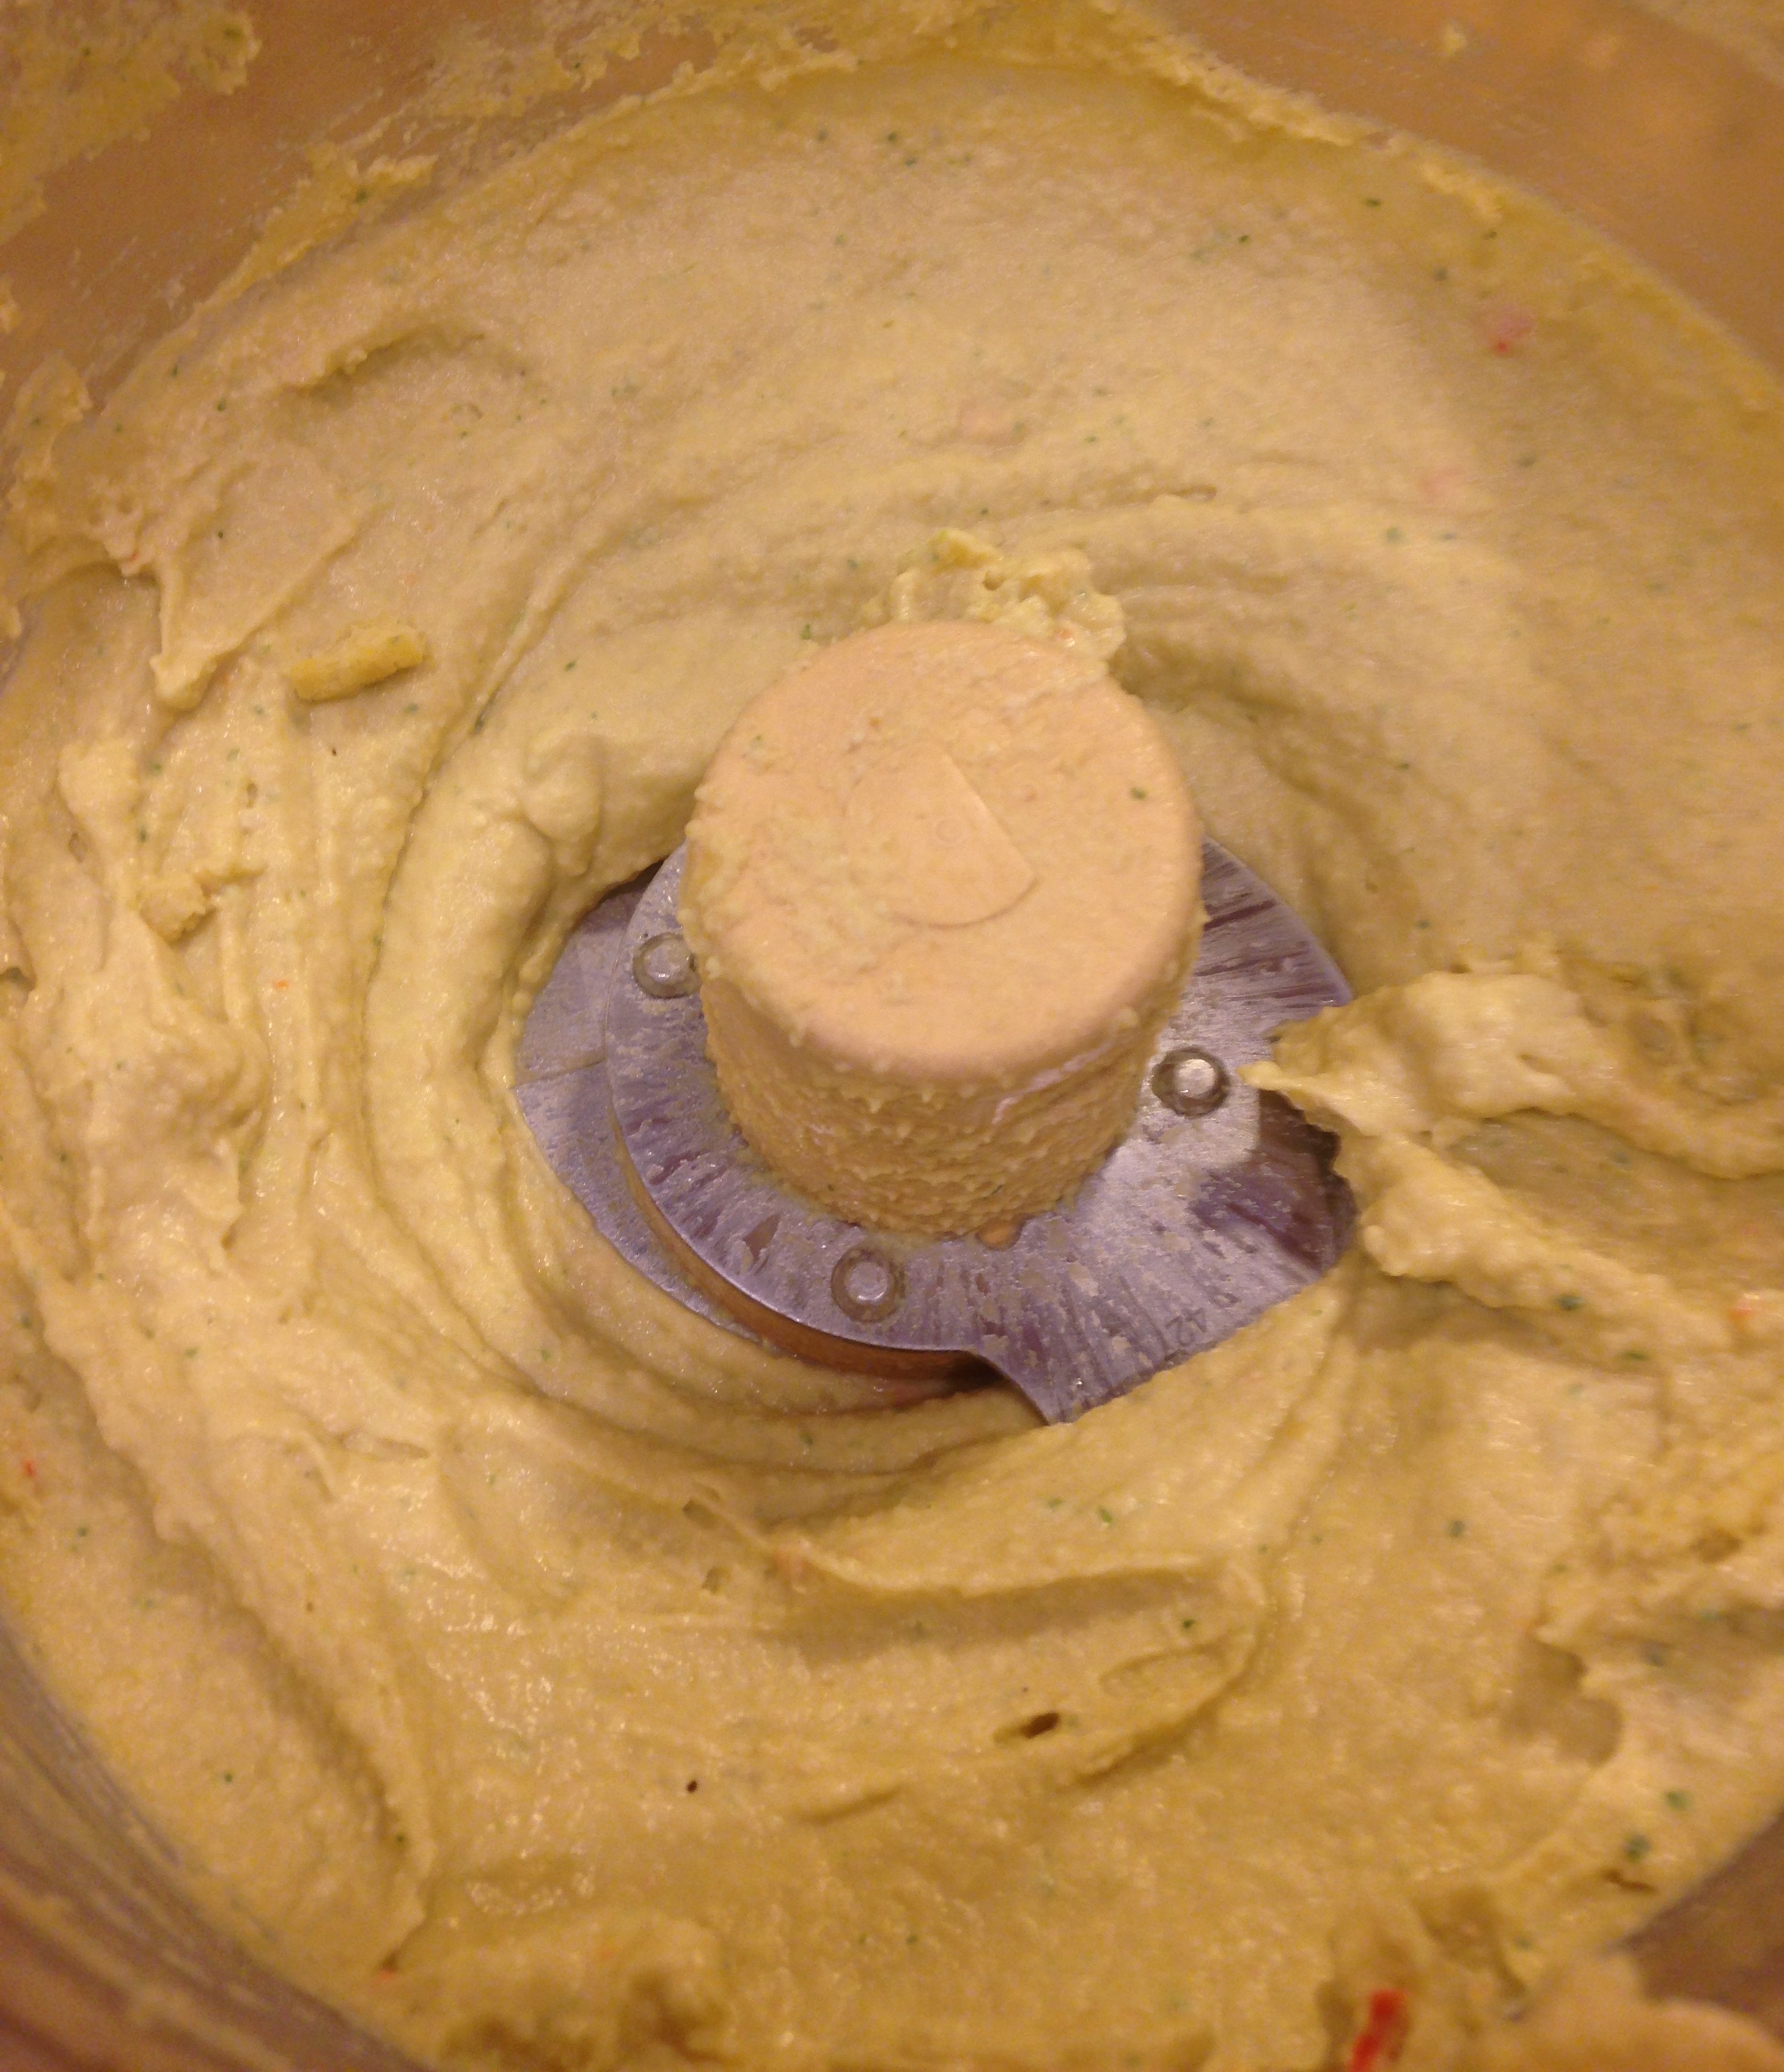
  • Add water and blend for another 4-5 minutes, till the paste is extremely smooth.

IMG_6180

Garnishing

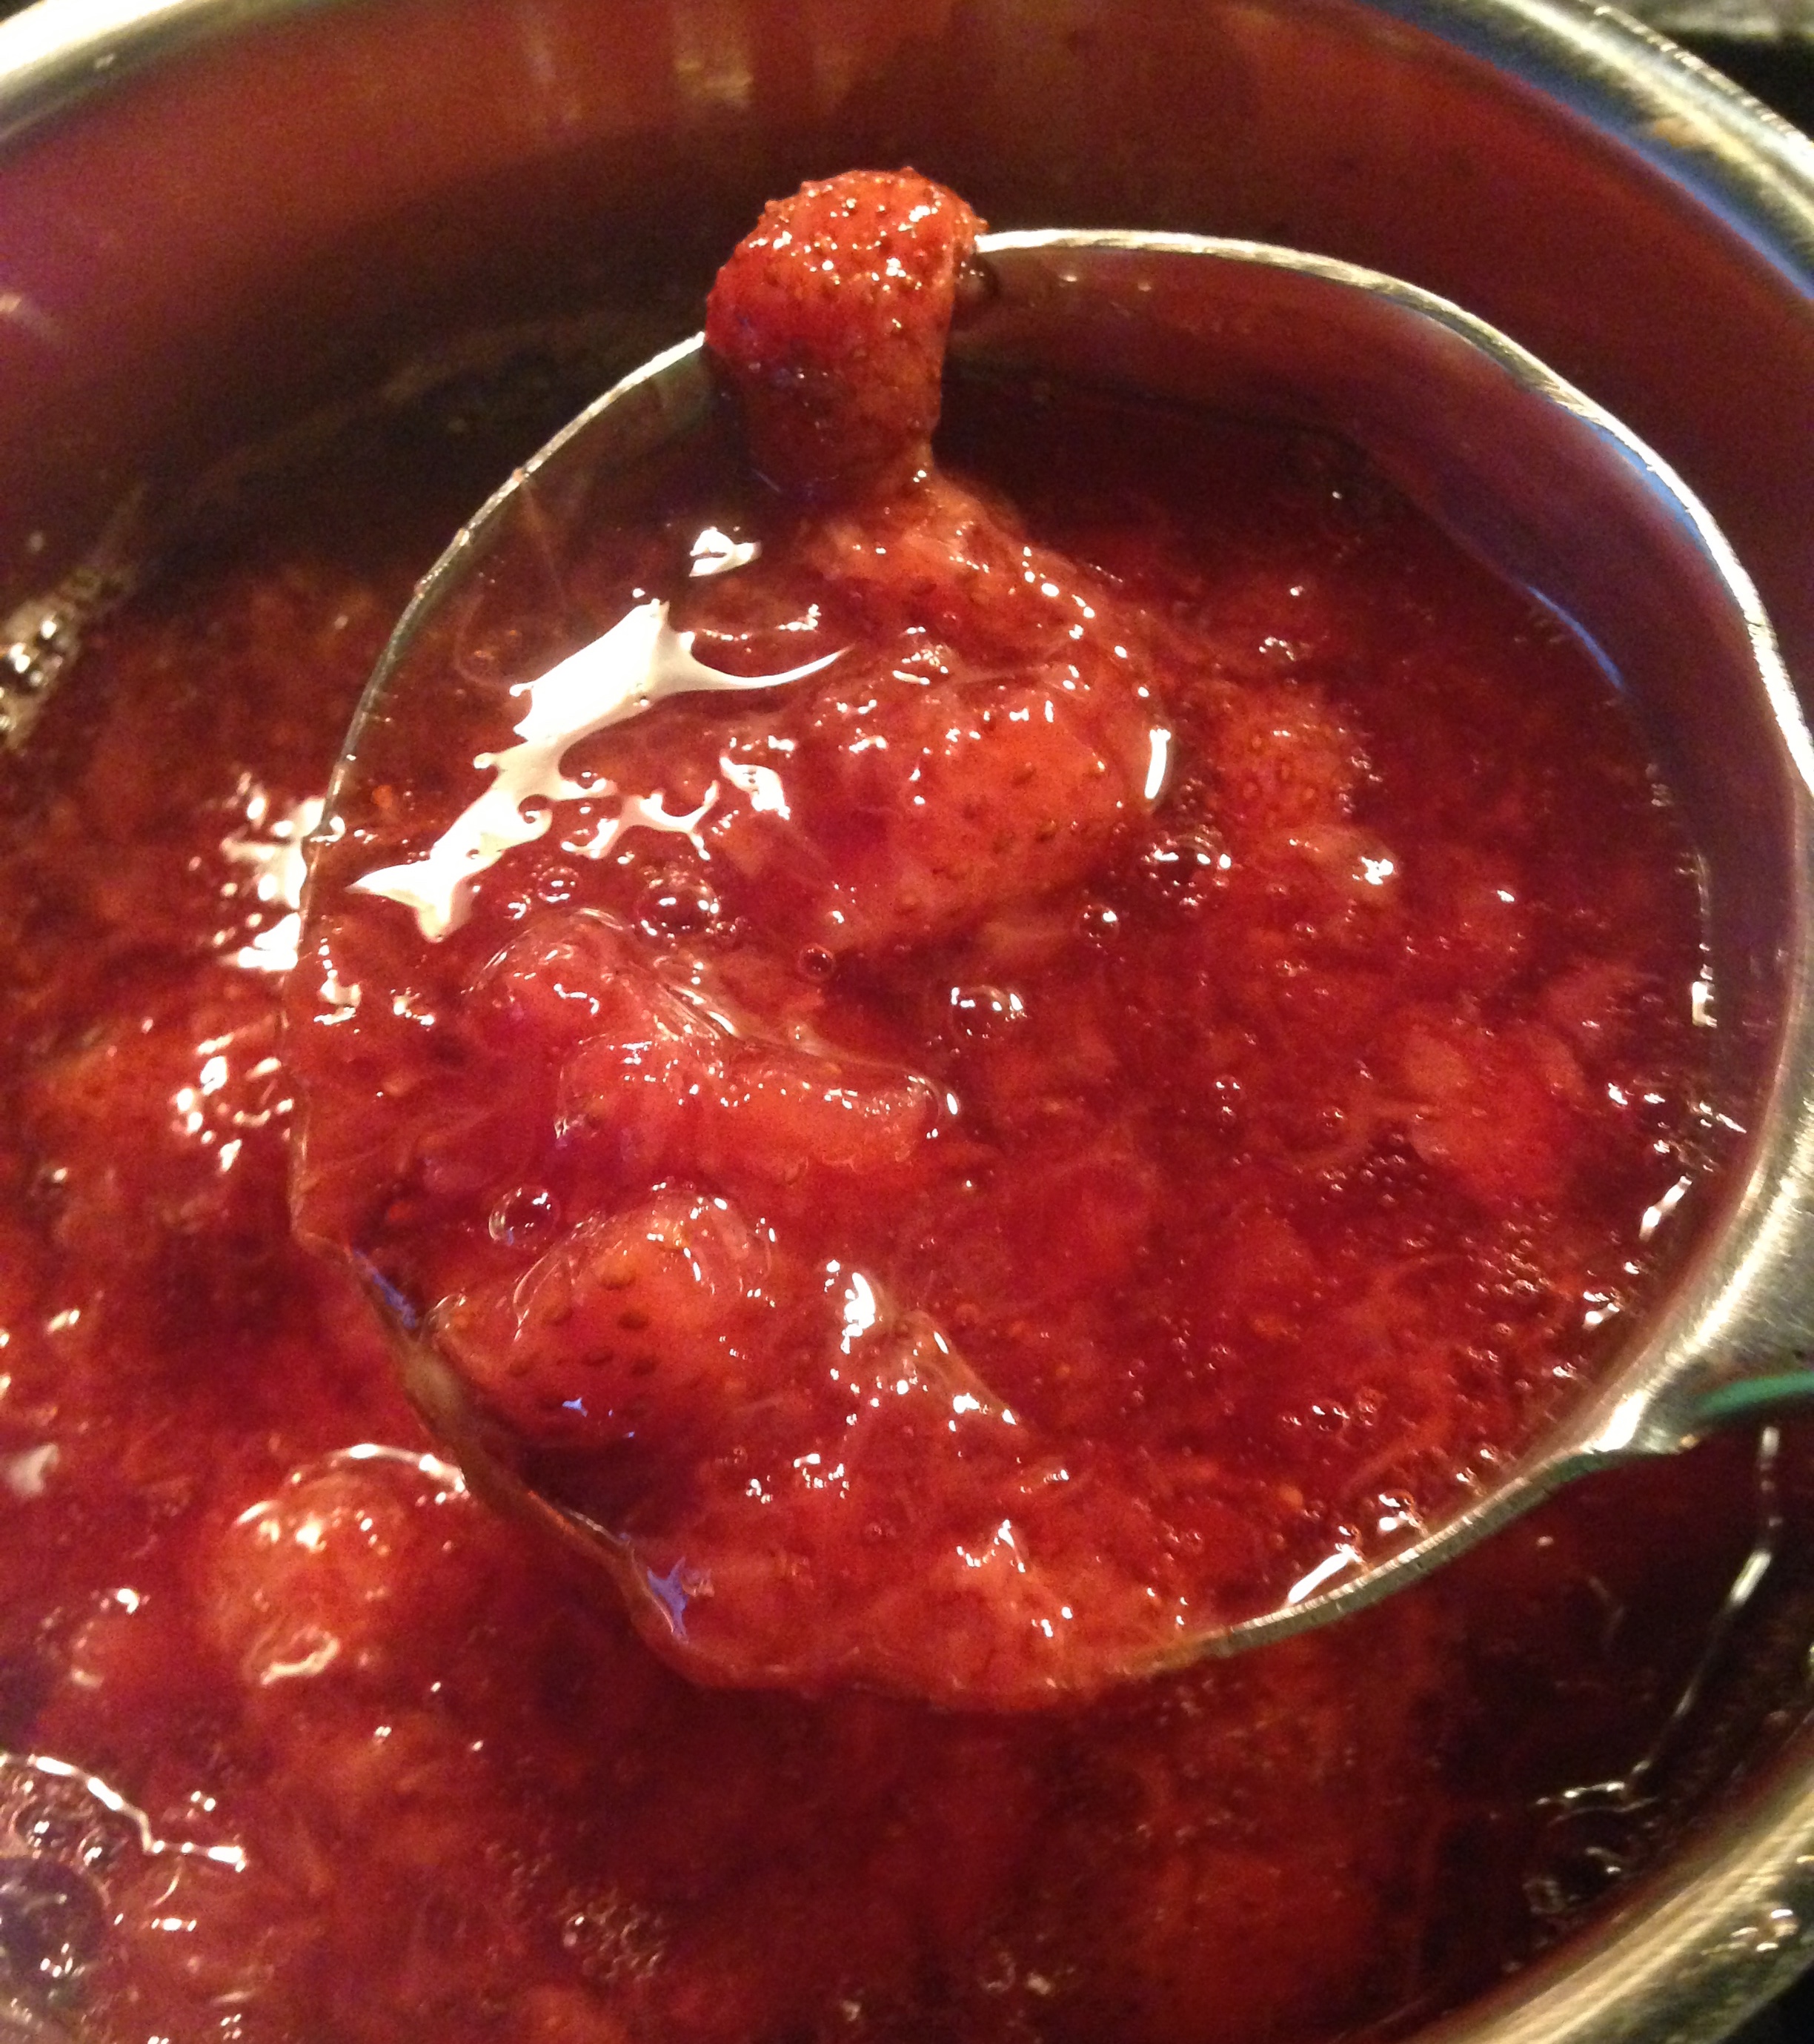
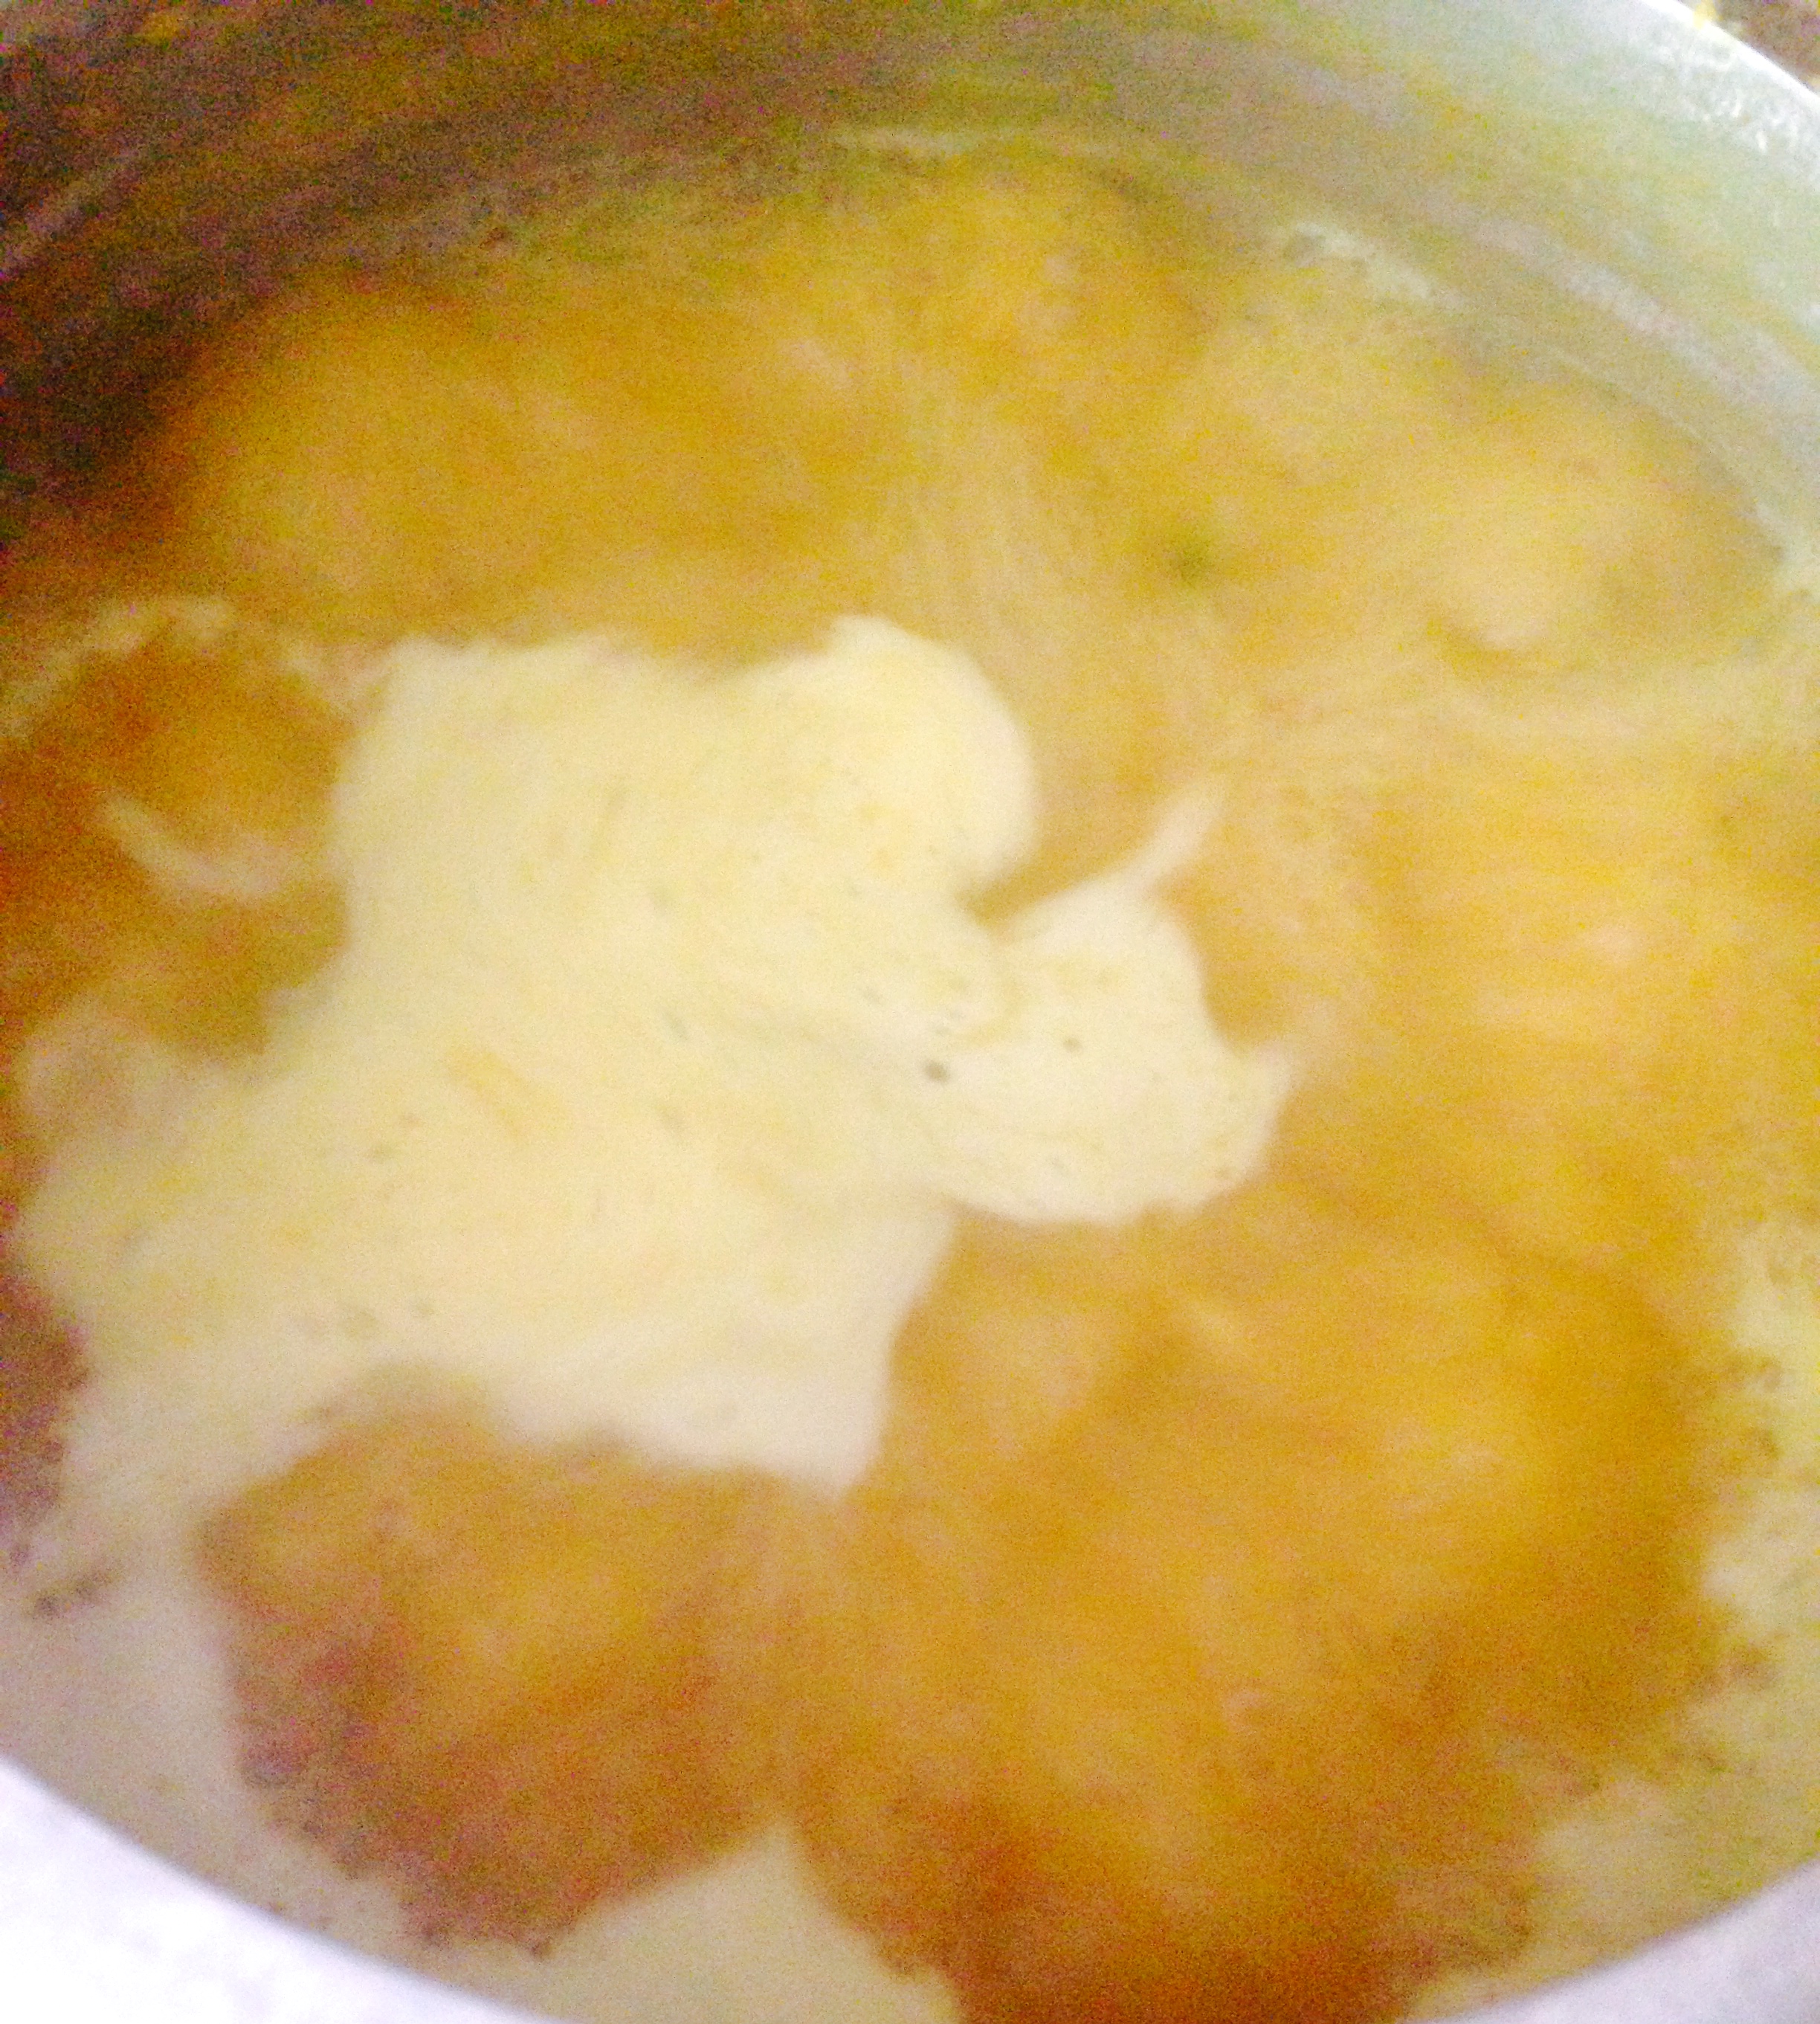
  •  Make a hole in the center and pour some olive oil on top and sprinkle some red chilli flakes
  • Alternatively garnish it with some olive oil and dried mint leaves and roasted cumin powder.

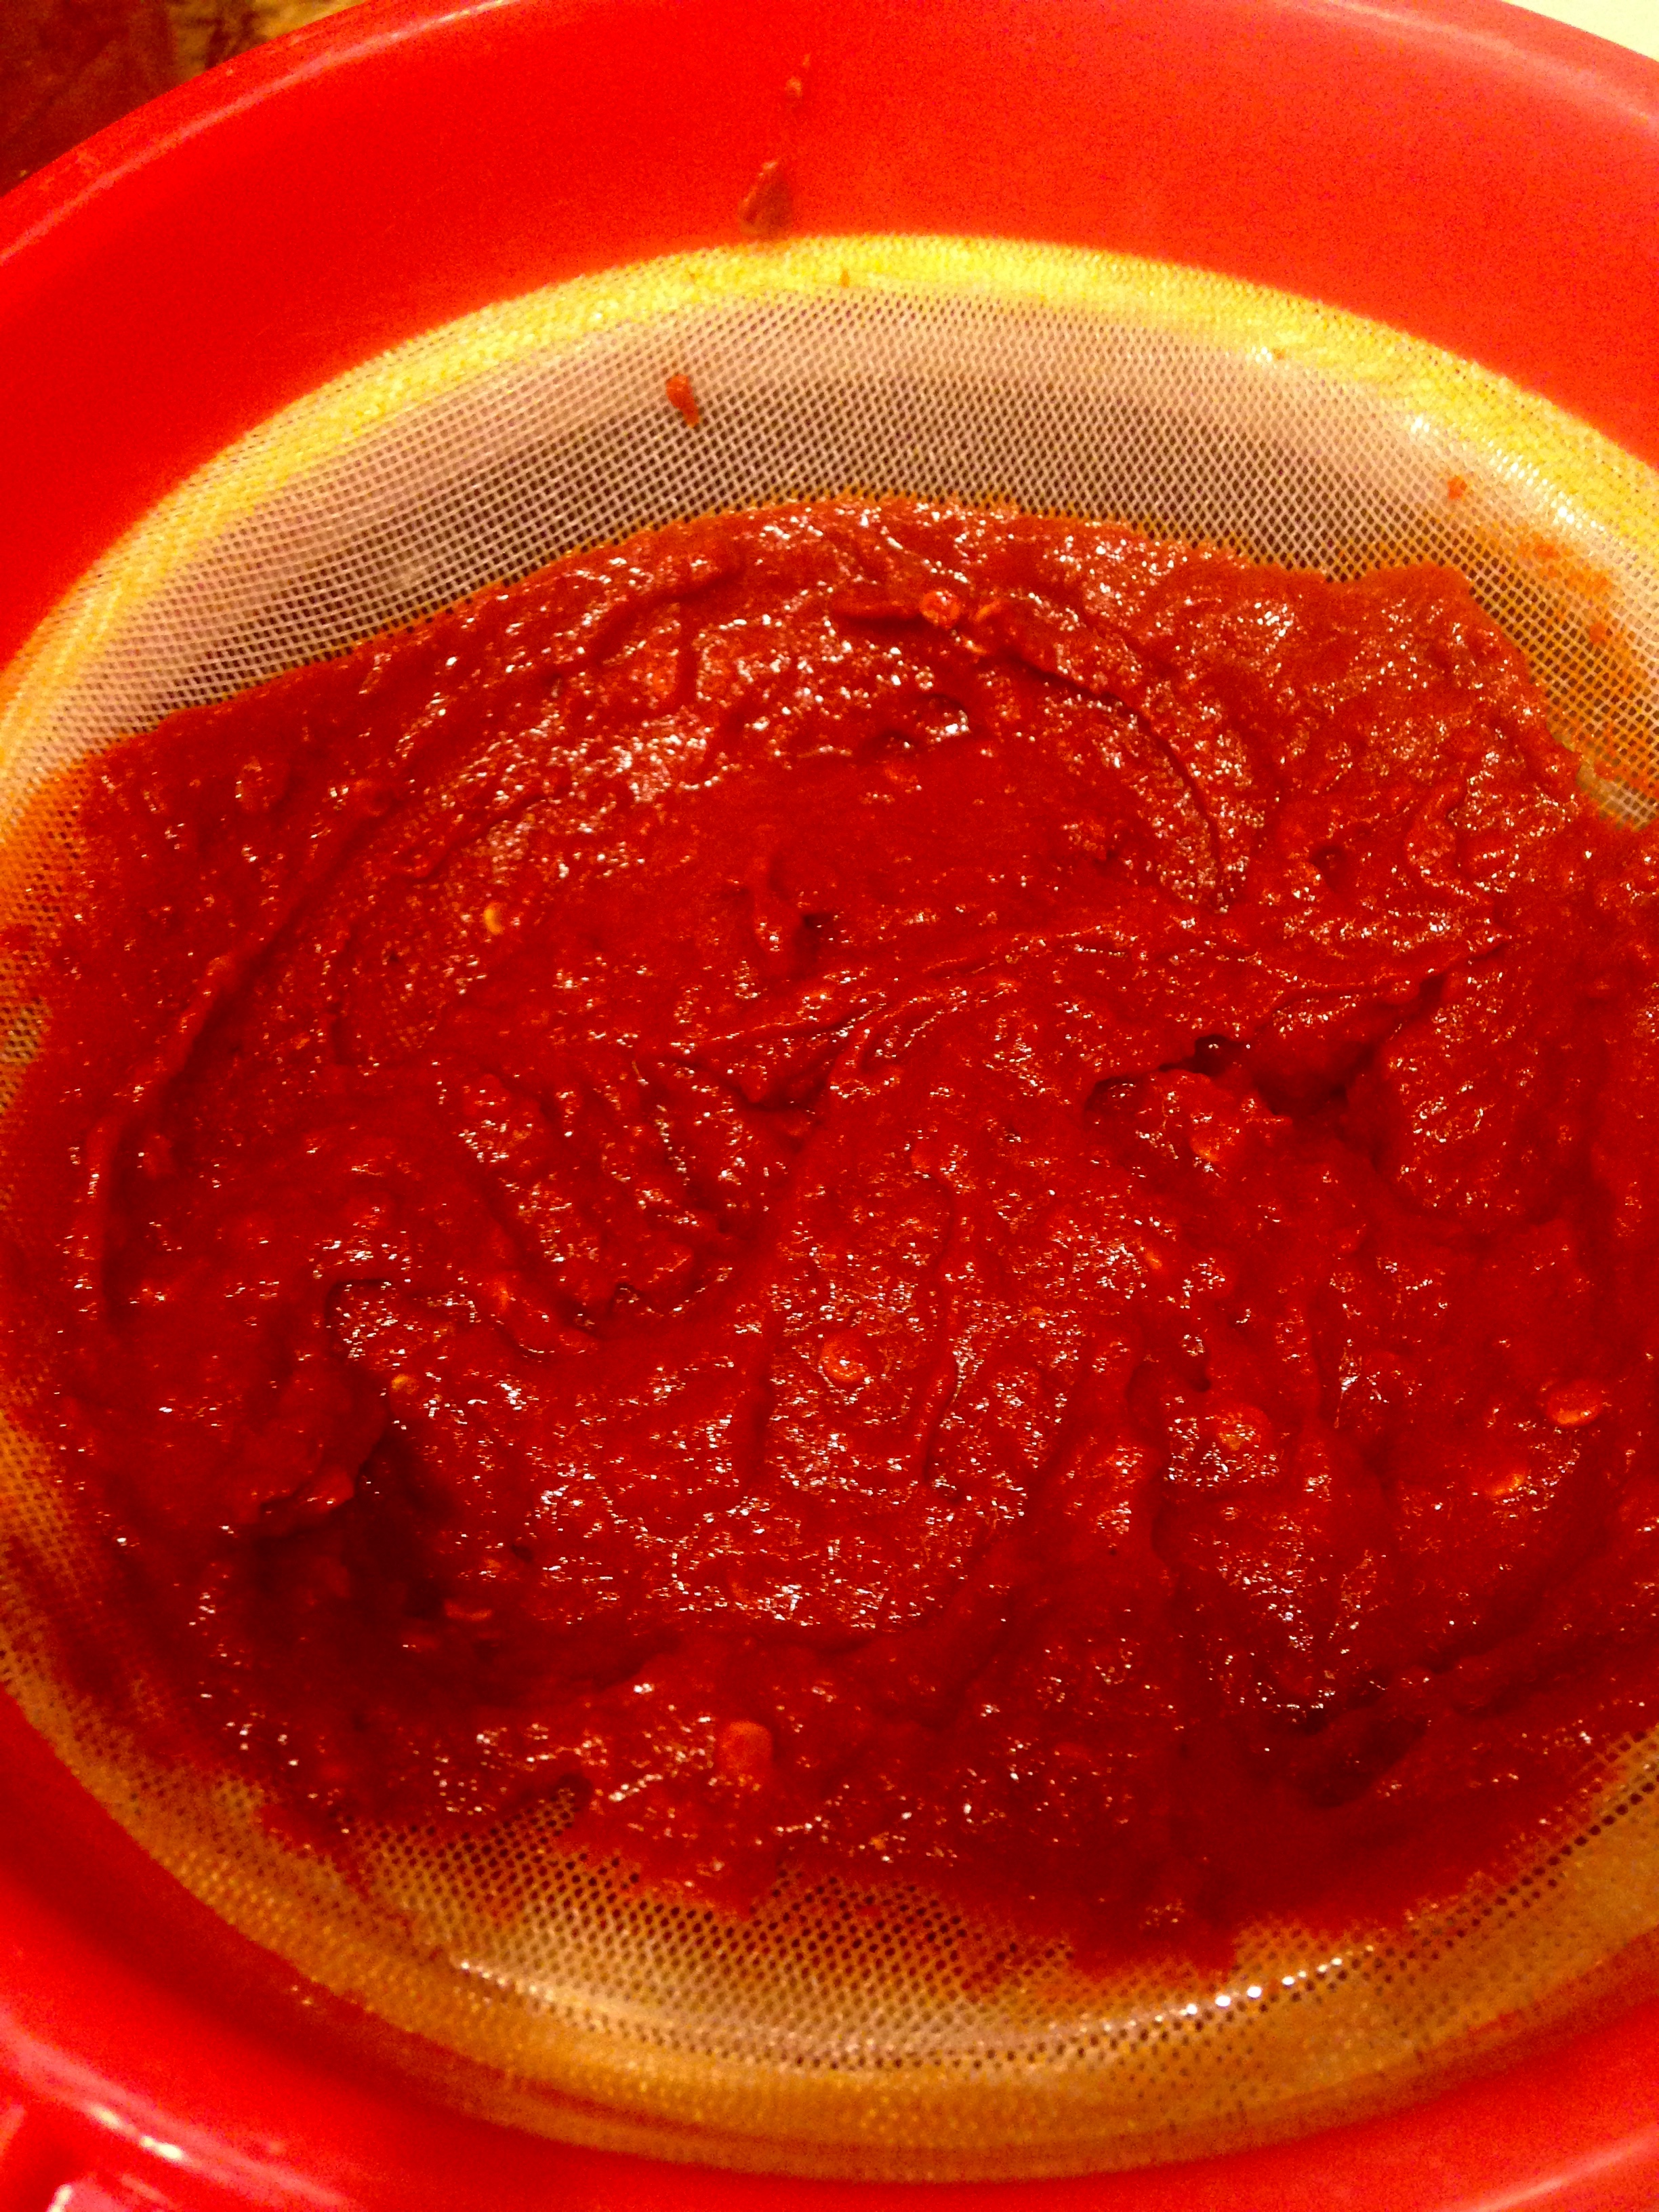
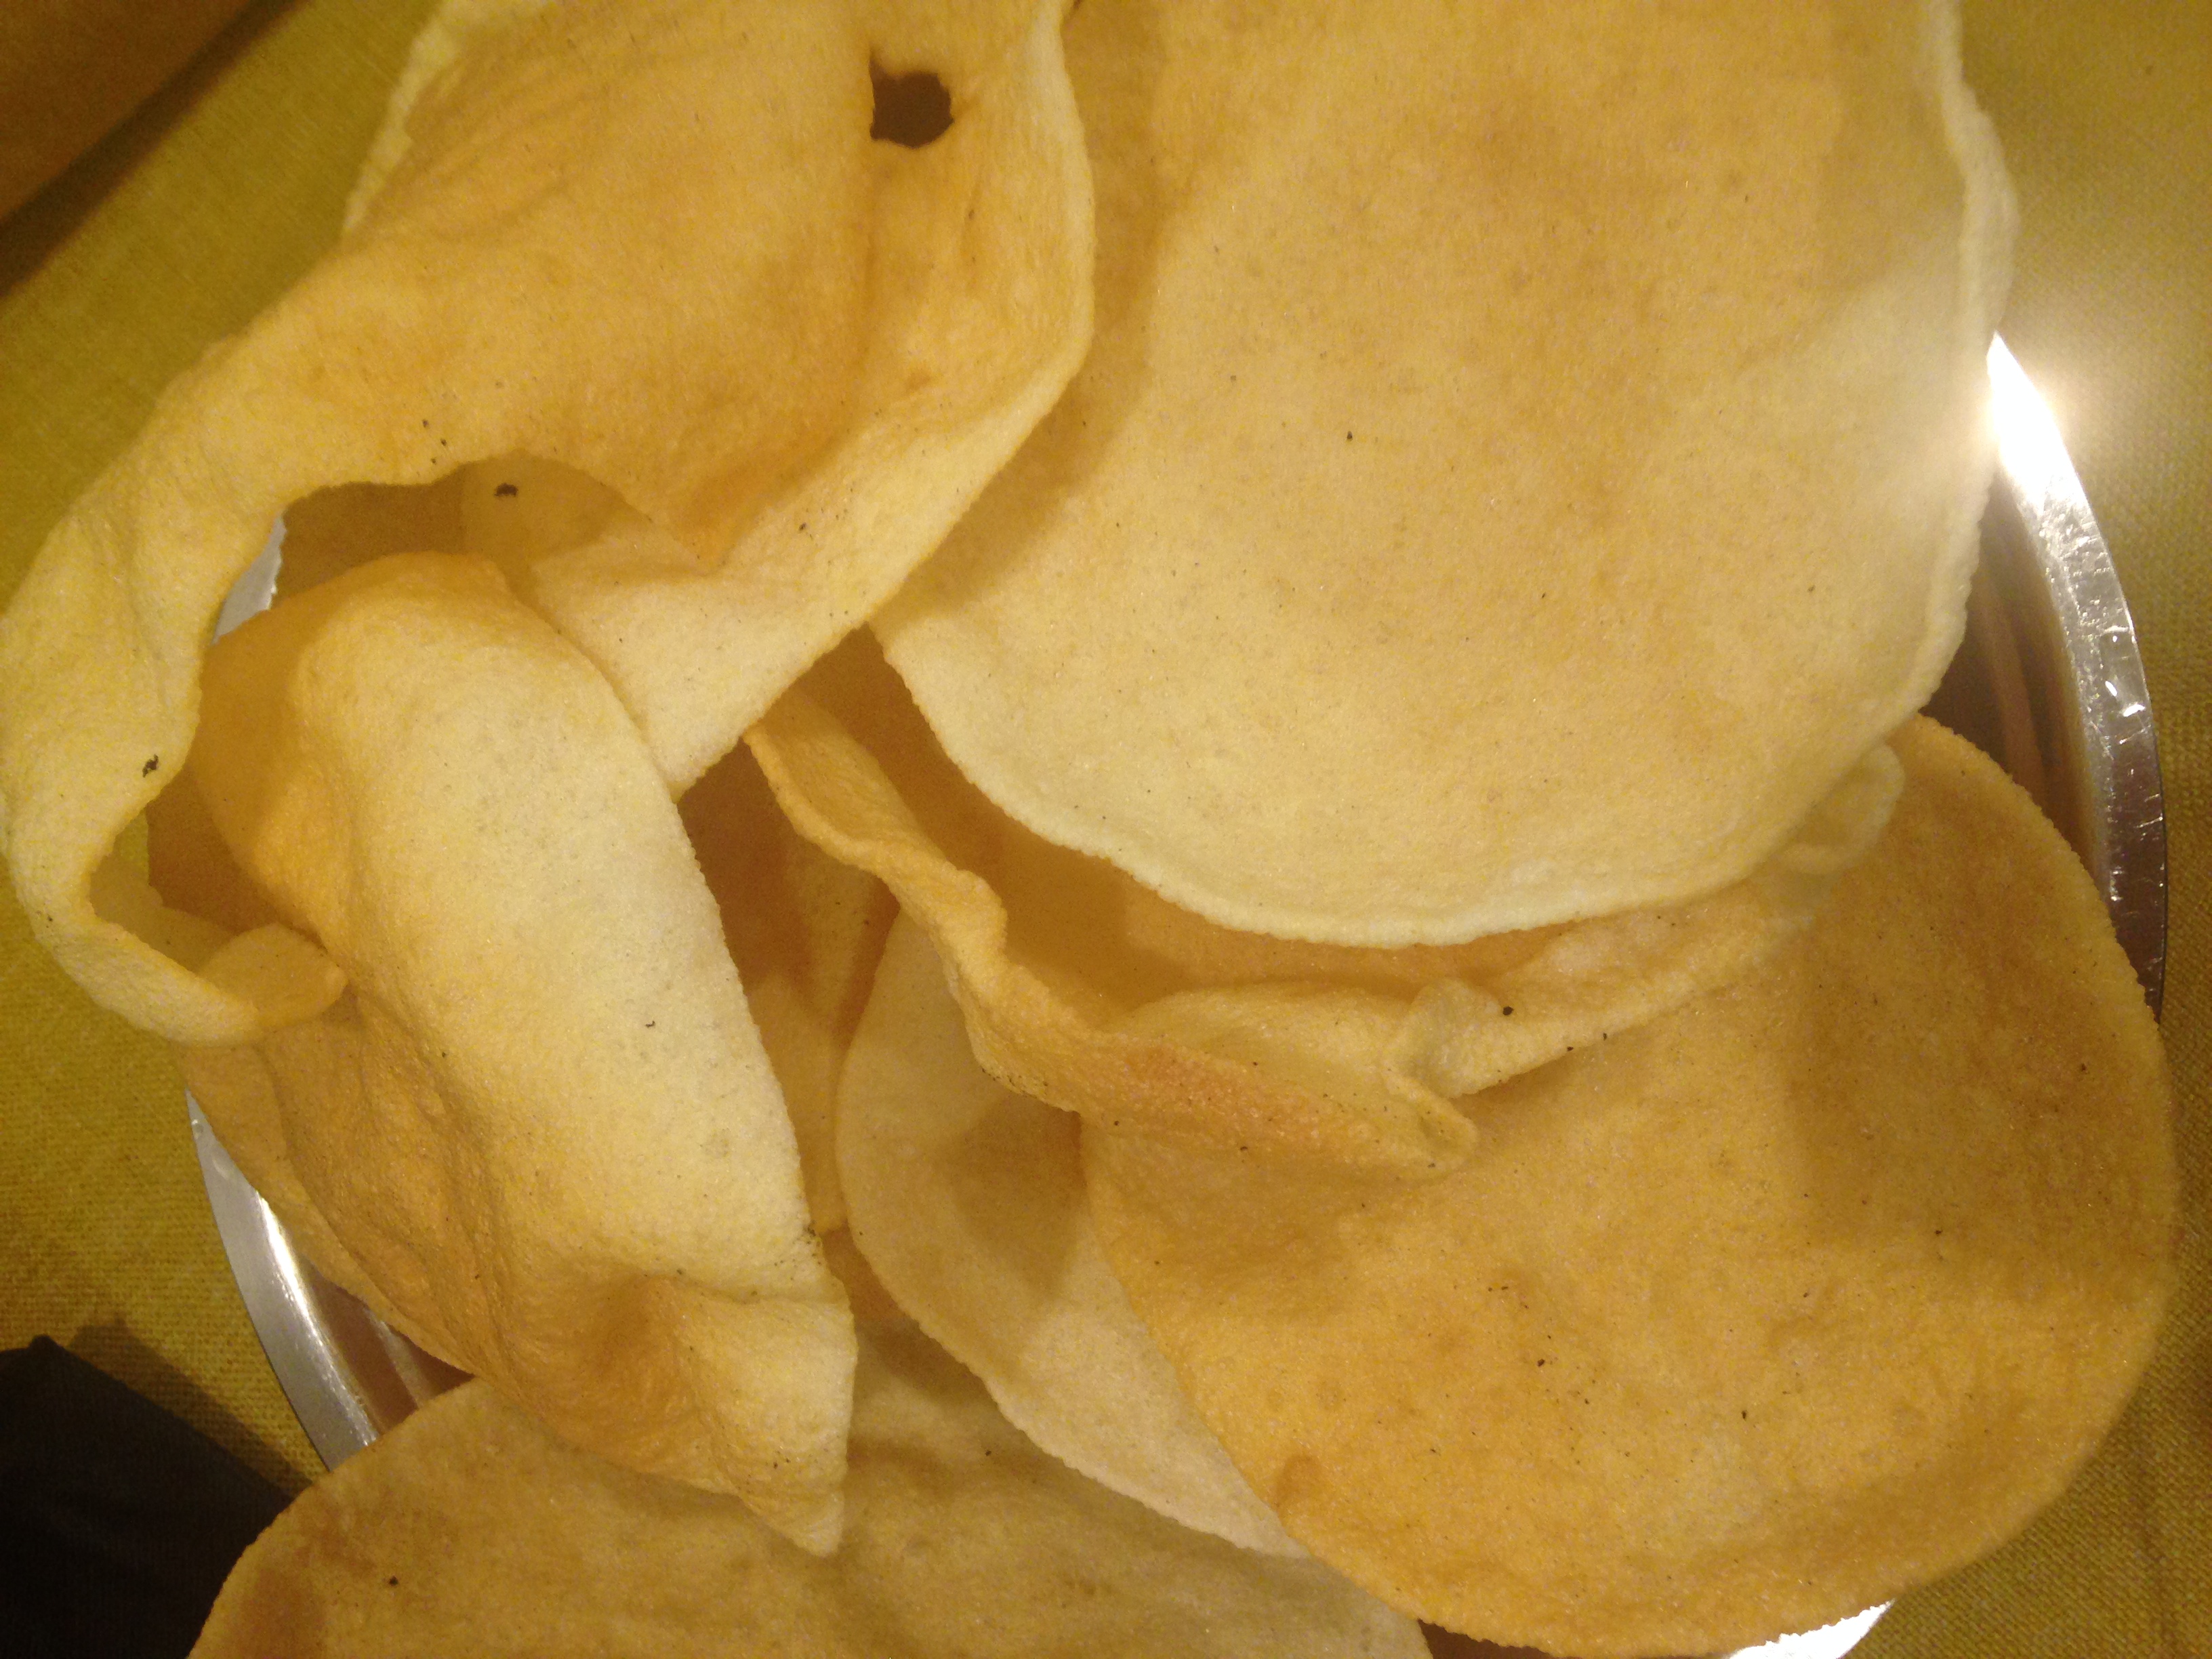
Enjoy with some warm pita or pita chips ! The image below shows the toppings of olive oil and red chilli flakes.

Hummus Recipe usiing canned chickpeas

Tips

Using extra virgin oil gives it a rich taste. I have used both the thai red hot chillies and cilantro in this recipe as well as cans of organic garbanzo beans.

Ensure that soaked chickpeas are soft to bite, alternatively, cook them to 1-2 whistles. The texture of the soaked chickpeas should be whole but soft to bite.

Other flavours of hummus include plain, roasted red pepper, cilantro and hot peppers.

Instinct Factor

Continue blending till the paste is extremely smooth.

With correct amount of lemon, water and olive oil, the hummus will have a slight shine on the top.

Feel Factor

Now Middle Eastern cuisine can be cooked way more often than earlier, as there is the extra satisfaction that the hummus was made at home. The homemade hummus is free from all preserving chemicals added to store products to increase the shelf life, plus its cheaper and equally tastier too. We enjoyed this spicy hummus and could taste the lemon and olive oil, both, while relishing the falafel meal at home. The smooth and thick texture  was just right, and one can get addictive to this highly nutritious snack dip!

[contact-form-7 404 "Not Found"]


Posted on

Masala Puri Spicy Puffed Bread

MASALA PURI SPICY PUFFED BREAD

Masala Puri Spicy Puffed Bread is a recipe from a close family friends, where both the husband wife duo are excellent cooks! It’s always a joy to have a meal at their house. On one of our family outings, my friend had got this, and I immediately took a liking to it. The taste was spicy, texture was soft yet crispy, can be enjoyed hot or cold and with a unique flavour of coconut, ginger, green chillies, red chilli powder and optional garlic

Surprise factor was that it did not have wheat flour but rice flour and all purpose flour powder. Gujarati cuisine also has masala puri but it is made of wheat flour and has the common spices of turmeric and red chilli powder as this one.

You know the saying goes, when the time is right or when you need something, you find the right stuff and bingo! I had misplaced this recipe since past 3-4 years and rediscovered it while deleting old pictures on the computer just last week! And the timing was perfect, as my husband and a friend were planning 5 day long road  trip down south in the USA, where food for vegetarians is kind of a question mark! This version of Masala Puri Spicy Puffed Bread was much appreciated by the guys who nicknamed themselves as “Two Guys and a Truck”! The puris will stay fresh for at least 3-4 days so it is a perfect for long journeys.

Enjoy this spicy, crispy soft coconut flavoured puri that can be great as a breakfast, snack, tea/coffee accompaniment! You will like it for the fact, that so many different tastebuds will be satisfied from just one piece of Masala Puri Spicy Puffed Bread and possibly  you will not miss home cooking that much when on a long journey away from home!

Masala Puri Spicy Puffed Bread

Recipe makes about 30 Puris

Prep TIme 10 min
Cooking Time 20

Ingredients

  • 1 cup of all purpose flour or maida
  • i cup of rice flour
  • 1 tbsp chopped coriander
  • 11/2 tbsp white til or sesame seeds
  • 5-7 thai green chillies finely chopped
  • 1 1/2 inch ginger minced
  • 1/2 cup finely shredded dry coconut powder
  • 1/4  tsp turmeric powder
  • 1 tsp red chilli powder
  • 2 tbsp oil
  • Salt to taste
  • 1/2 cup of water to bind
  • 6 garlic pods minced(optional) See Tips section for Jain version
  • Oil for frying

IMG_5922

Method

  • Mix everything and bind into a medium soft dough using up to 1/2 cup water.

IMG_5923

  • Divide the dough into two parts and roll it into a long cylindrical shape.
  • Further divide each roll into approx 15 pieces each and make small flat rounds.

IMG_5925

  • Using rice flour as dusting, roll each piece of small ball into a flat round, about 4 inch in diameter

IMG_5926

  • Heat oil for deep frying.
  • When the oil smokes, reduce the flame to medium level and insert the rolled puri after upside down.
  • Try to gently press the puri into the oil, to puff it up, in case it does not.

IMG_5927

  • Once the puri puffs up, flip it over and drain after frying it to golden red color.

IMG_5928

  • Serve warm or  store for later use, either by wrapping in foil or container.

Masala Puri Spicy Puffed Bread


IMG_5937


Tips

If the puri is rolled too thin, it will not puff and taste crispier. To get it puffed up, high to medium heat is needed as well as the puri needs to be slightly thick.

The puris will stay puffed only if served warm, as they cool, they are likely to collapse but stay soft.

Jain version instead of garlic and ginger, add an extra tsp of green chillies, 1 tsp of sesame seeds and i tsp of red chilli powder.

Instinct Factor

Had to use my instinct, as the recipe did not call for oil,( just an oversight in the recipe I guess) so I relied  on my measurement of 1 tbsp per cup of  flour  and it worked well. One can also warm the oil  and mix in for more crispier taste.  So trusting your instincts is the first thing to success!

Even if the shape is not perfectly round, and the edges are not smooth, the taste is just delicious, so not to worry about the looks, but be excited about the taste!

Feel Factor

A great find from a friend at the perfect time, a quick recipe for some tea time moments with near and dear ones. Enjoy some sweet, spicy conversations with a hot cuppa of tea and Masala Puri Spicy Puffed Bread that has unique flavour of rice, coconut, sesame, green chillies and ginger!

Posted on

Thalipeeth Multigrain Flatbread

Thalipeeth Multigrain Flatbread is a traditional Indian flatbread that is grilled crispy on a griddle and served with homemade butter,  pickles and yogurt. My first exposure to Thalipeeth was in a very famous vegetarian restaurant in Mumbai, called Swati Snacks. They served this with accompanying gravy dish called Pitla, which is similar to Gatte ki sabji of Marwari cuisine or Dhokli nu shaak in Gujarati cuisine.

After leaving India, the luxury of eating some great Indian local food is very much gone. And whenever one visits India, it always feels you are short on time, and not able to go all the places you want to visit! So with a sudden urge and nostalgia to eat one of the favourite meals in Swati Snacks from its highly varied, filling and consistent tasty meals,  I decided to try the instant mix available in the Indian Grocery Store.

The Bhajani or the flour of Thalipeeth, contains roasted and coarsely ground flours from Sorghum, Pear Millet, Bengal Gram, Wheat, Rice and Black Grams. Roasted coriander seeds are also added to the mix while grinding. So when one opens the packet, you get a rich aroma of  coriander seeds. In India Thalipeeth flour or Thalipeeth Bhajani is easily available specially in Maharashtra. For overseas readers, I found an authentic cooking blog focussing on Maharashtrian cuisine, which talks about authentic recipes from Maharashtra and Thalipeeth flour break up. Next time, I will have the Thalipeeth Multigrain Flatbread with Gatte ki Subzi to revisit my experience of eating this the first time at Swati Snacks!!

This instant version is quick, highly nutritious as it is uses many grains,  and one can flavour it with some extra vegetables like shredded cabbage, carrots etc,. Hence for me it is the super power of the many grains in this recipe that motivates me to say Go Thalipeeth Multigrain Flatbread, and not Go Panthers or Go Broncos!!

Recipe makes 4 pieces

TIme to Cook 15 min

Time to Prepare : 7 min

Ingredients
  • 1 cup Thalipeeth Mix Flour (K-Pra Brand)

IMG_5898

  • 1/2 cup chopped cabbage
  • 1/3 cup chopped fresh cilantro/coriander leaves
  • 1/2 tsp red chilli powder
  • 3-4 green chopped green chillies(optional)
  • 1/2 cup chopped onions ( optional)
  • 1/2 tbsp yogurt
  • 1/2 cup water
  • Oil to grease
Method
  • Mix everything except oil and taste for salt and spice levels.

IMG_5848

  • Bind into a medium stiff dough with very little water and cover the dough and let it rest for 20 minutes.

IMG_5849

  • Make 4 equal parts.
  • Roll into a round shape, with slight thickness like in a bhakhri feel. while using a little dusting flour to roll.Punch some holes into the rolled thalipeeth, so that it cooks better. Alternatively one can roll this with hand on a plastic sheet, make holes, which is the traditional way of doing it. I am also learning as I research more  on the recipe!

IMG_5850


  • Heat a griddle, and put the rolled thalipeeth to cook, by flipping it over, so that side you punched holes is the first to get cooked.

IMG_5851

  • Put the flame on medium and drop some oil on the sides.
  • Using a rolled up paper towel, or muslin cloth, put pressure from the top and cook like a bhakri.

IMG_5852

  • When golden brown, flip it over and cook the other side.
  • Serve warm with a drop of butter, pickles, yogurt. It tastes good with these three accompaniments, but the way I really like it is the way I originally had it, and this is with Gatte Ki Subzi. As the spicy yogurt gravy of Gatte ki Subzi goes well with this crispy Thalipeeth and also makes the meal complete.

IMG_5859

Tips

The dough will feel dry when rolling so using dusting flour, and the edges will break, which is normal.

If you like spicy, go ahead and add the green chillies. In some other recipes, I have also seen  additions of 2 tbsp sesame seeds and 1/2 cup of ground peanuts. So if you feel like it making more rich, you have some options!

Instinct Factor

Crispy cooking requires medium slow cooking and patience, so give time while cooking on the griddle and the result will be worth it. If the rolled thalipeeth is difficult to remove from the rolling board, use a flat spatula with sharp edge  to help you flip it over from the rolling board to the griddle.

Also as many grains are involved, it is better to cook medium, so that all grains blend well and give a nice aroma.

Feel Factor

Crispy multi grain flat bread that is spicy and extremely nutritious and the fun part, made from instant mix and  that makes it truly  an under half an hour recipe! Now this can be easily added to weekend brunches to have something warm on a chilly day or otherwise. The accompaniment of butter is great and I did feel as if I was half way to India, after eating this! In Thalipeeth, incidentally peeth means flour, so I guess a plate full of flour is the literal translation of Thalipeeth.  The reason I like this recipe is also as all the flours are pre-mixed and hence avoids stocking of various different flours to arrive at the basic Thalipeeth mix flour!


Posted on

Pav Bhaji Vegetable Curry With Dinner Rolls

Pav Bhaji  Vegetable Curry with Dinner Rolls is a common street food of Mumbai, the city known as the business and finance capital of India, inviting millions to come and try their future. It is the needs of the old mill workers in and around Tardeo, that led to the creation of this epic street food that is loved by the poorest to the millionaires in India. Sardar Pav Bhaji at Tardeo holds the creation genius behind this super delicious dish that is curry based, has vegetables and is accompanied by bread. The key ingredient in the Sardar Pav Bhaji is the loads of Amul Butter used for the richness in the recipe. Its just sinful to not only eat the butter in your dish, but watch it melt alway in front of you! Almost a quarter stick per serving!!  The nearby theaters gave the Pav Bhaji more prominence, as people would often go there for dinner after watching a movie. The rate of Pav Bhaji has gone from 12 Rs to more than 100 Rs. now. More interesting information on Sardar Pav Bhaji can be read at Sardar Pav Bhaji This place also has been mentioned in Trip Advisor as well as as the top 10 places to visit for yummy street food in Mumbai. No wonder it still has about 30 minutes waiting. The place has remained the same in terms of size and scale since I started visiting 20 years back!! And I took my daughter to visit this place and it has made it to  her list of places to visit in Mumbai, every time she makes a trip to Mumbai!

The Pav Bhaji Vegetable Curry with Dinner Rolls is spicy with buttery gravy and garnish of lemon, coriander and shallots and a grilled butter roll to accompany. This makes it a wholesome, spicy, filling and one meal recipe that we had over the last thanksgiving! Hope that hints how important and how well appreciated is this recipe in our family!

Recipe makes for 4-5 people

Time to Cook 1 hours

Prep Time: 15 min

Ingredients

  •  5 cups of chopped cauliflower
  • 1 1/2 cups chopped green bell pepper
  • 1/2 cup chopped red bell pepper
  • 1/4 cup chopped orange bell pepper
  • 1/2 cup chopped carrots


IMG_4973

  • 3/4 cup green peas
  • 5 potatoes

IMG_4971 IMG_4972

  • 1 cup chopped tomatoes
  • 1 can of tomato puree/sauce(Hunt brand)
  • 2 1/2 cups chopped onion
  • 3-4 garlic pods
  • 1 1/2 inch ginger
  • 4 thai green chillies

IMG_4975

  • 1 cup oil
  • 1 big bay leaf
  • 2 tbsp pav bhaji masala(Everest Brand)
  • 1 tbsp garam masala(Everest Brand)
  • 2 tsp red chilli powder
  • 3 tsp black salt
  • 1 tsp turmeric powder
  • 1/8 tsp asafetida powder
  • 1 tbsp lemon juice
  • 1/2 cup frozen butter(Amul brand)
  • Dinner rolls or pav from Indian Store
  • 2 cups of water or more if needed.

Method

  • Boil the potatoes in a pressure cooker with about 4 cups water upto 5-6 whistles on medium high flame.
  • Soak the cauliflower in water and a pinch of salt for 15-20 min.

IMG_4974

  • Cool and skin the potatoes  and cut into cubes.
  • Boil the drained cauliflower, carrots, peas(if fresh) and capsicums to upto 3-4 whistles on medium high flame.
  • Heat the oil in a big deep pan
  • Add the bay leaf and asafoetida.
  • When the bayleaf turns brown, add the ginger and chillies and saute for a 2-3 min.

IMG_4976

  • Add chopped onions and garlic and saute till golden brown.

IMG_4978

  • Once the onions are golden brown add the potato cubes, and boiled vegetables.
  • Add tomato puree, fresh tomatoes, salt, frozen peas , red chilli powder, turmeric powder, pav bhaji masala, garam masala, and water and  butter. lemon juice and simmer for about 20 minimum with occasional stirring so that it does not stick at the bottom.  Once well cooked, you can blend it with potato masher, or hand blender.

IMG_4979

  • Grill the dinner rolls or pav in butter and serve the warm Bhaji with the Pav( Dinner Rolls)

Pav Bhaji Vegetable Curry with Dinner Rolls

  • Garnish  the Bhaji with with onions, fresh coriander, wedges of lemon/lime and added butter and serve them warm.Pav Bhaji Vegetable Curry with Dinner Rolls


Tips

The reason to soak the cauliflower for a few minutes in salt water, is so as to remove tiny insects that may be inside the cauliflower( following the Jain principle of least harm possible). Also it is always better to cut the potatoes in half and then pressure cook it.

I once observed someone using a Ragu’s tomato paste also as a base sauce gravy!

Jain Version-Replace potatoes with equal amount of boiled and grated raw bananas. Also replace carrots with red/orange bell peppers if possible. and add another cup of water to get enough liquidity and garnish just with coriander and lemon

Instinct Factor

Add brinjals, or any other vegetables to make it your version of Pav Bhaji Vegetables Curry and butter it up to the extent your instinct indicates !!

The consistency is neither thick nor thin- somewhere in between, so blending will be based to your liking. Generally I like to see some parts of vegetables rather than it be all blended.

Feel Factor

To recreate a recipe that is was invented in 1850 by Sardar Pav bhaji in Mumbai, is like trying to re-create a Mona Lisa in my home!! Needless to say that any version of Pav Bhaji Vegetable curry with Dinner rolls will bring a much wider smile than that of Mona Lisa! But am pretty happy that having lived next to that area for a long period and having visited often to this place, I was able to come close to the flavour that I remember of Pav Bhaji from this place. I often end up cooking this dish, when I have sudden guests, and I can only cook one meal. In that case it has to be Pav Bhaji Vegetable Curry with Dinner Rolls, as just throw in the vegetables and make a curry and accompany with bread!

Posted on

Vegetarian Gado Gado Salad

Vegetarian Gado Gado Salad with Spicy Peanut Sauce comes from the cuisine of Indonesia, specially Java. A distant aunt of mine now no more,  was born and brought up in Java and she introduced  this recipe which  fits even the strict Jain diet! Gado Gado literally means “Mix Mix” so the dish involves mixing of a lot of vegetables and coating this with spicy peanut sauce! As I did some more research about this dish, I came to know that original version had many more vegetables such as spinach, green beans, cucumber, carrots, onions etc.. This recipe seems to be in the highlight, as even Bon Appetit, a prestigious cooking magazine talked about it recently, as I pleasantly so discovered. Read more about it at Bon Appetit Gado Gado.

Traditionally this dish contains tofu, tempeh, shrimp, but the version listed below is purely vegetarian which I have grown up eating and relishing and I just made this for a lunch event at my place, and everybody was super impressed with the color, texture, taste and health benefits of this dish,as well as the crunch from the fried rice papads, and not to mention something totally different from the usual menu!

The spicy peanut sauce is the key ingredient for this recipe to be so famous! The best peanut sauce is made from fresh red hot chillies, which at least in USA is not easily possible through the year! My mother in India often makes this in the winter months as the chillies are fresh then and stock it for year long consumption and the base recipe of the spicy peanut sauce comes from her! I have used dried red chillies, which also turned out pretty close to the original flavour and well worth the time! Eat it just as a salad, with brown rice or with bread and butter, or use it as a quick mix recipe!!

Enjoy this version of  Vegetarian Gado Gado Salad – a gem from the land of Indonesia and lose weight without losing taste and color in 2016!

Recipe makes for 10 people

Prep Time 1 1/2 hour

TIme to cook 1 hour

Ingredients

For the Gado Gado Salad

  • 2 kg cabbage chopped

IMG_5112

  • 2 1/2 cups long bean diced long (approx. 400 gems of long beans)

IMG_5101

  • 4-5 raw bananas boiled and skinned and diced

For the Spicy Peanut Sauce

  • 200 gms Kashmiri Red Chillies dried or  500 gms fresh

IMG_5094

  • 1 1/2 cups peanuts fried with skin
  • 1 cup plus 2 tbsp jaggery thinly diced or powdered
  • 5 big lemons
  • salt to taste

For the toppings

  • 12 Rice Papads ( Khichiya) Fried and crushed
  • Oil for frying

For accompaniments

  • Dinner Rolls and butter

Method

For the Salad

  • Put 7 cups of water to boil in a deep vessel and add salt.
  • Once the water starts to boil,add four fistful of vegetables of cabbage at a time and cook for about 8 min covered with lid. Strain the cooked cabbage with slotted spoon. Repeat till all cabbage is cooked.
  • After boiling all the cabbage, add the long beans with a pinch of sodium carbonate and salt. Open cook for 10 min.
  • Cut the raw  bananas to half and pressure cook them  with salt and 1 tsp turmeric powder for 5-6 whistles.
  • Cool the bananas.
  • Long slice the bananas into  halves  and then the halves into further three parts. Remove the center black part of the banana and then  dice them.

IMG_5117IMG_5120

  • Once all the vegetables have cooled, mix them.IMG_5142

For the Spicy Peanut Sauce

  • If using the dried chillies, soak them for couple of hours in lots of water so they become soft.
  • Remove the stems from the chillies and the seeds.
  • Fry the peanuts in hot oil with skin to brown color and drain will.
  • Once the peanuts have cooled,  first blend the peanuts with  skin red chillies.
  • Then add one and  half cup of water and chillies and blend for 6-7 min.
  • Then, add jaggery, salt and lemon juice and blend some more till the texture is smooth.

IMG_5098


  • If the texture is uneven or if you have missed out on removing the seeds, like I did,  sieve the mixture through a strainer and retrieve the smooth textured chutney, throwing away the dried seeds and extra fibre.

IMG_5105

  • Extra chutney/sauce can be preserved for long in the refrigerator for future use. The spicier version of this chutney is shown in the below pic in the bigger bowl to the right.

IMG_5157

For the sweeter version of this peanut sauce

  • Take about a 1 cup of the above mixed chutney and add 3 tbsp of jaggery powder, 2 tbsp sugar and  1/2 cup of water, juice of 1 lemon and mix well. The sweeter version is what I am used to having it since childhood, is shown on the left side in the above picture.

Frying Rice Papads

  • Heat oil to smoking level.
  • Fry the papads by pressing them with a slotted spoon on a medium high flame.

IMG_5123

  • Drain and cool for 10-15 min.
  • Using the pressure of flat palms, crush the papads gently.
  • Then crumble and gently and make smaller pieces.

IMG_5125

  • Store in air tight container till serving.

How to Serve

  • In a bowl put some mixed boiled vegetables, pour some spicy peanut sauce chutney and top it with crushed papads. Alternatively you can make put a little of both the versions of peanut sauce, which also tastes good.
  • Serve this with buttered dinner rolls or atop cooked brown rice

IMG_5143


Tips

While chopping cabbage, remove the thick inner white portions and buy a cabbage that is more green than white.

Remember to add salt while boiling all vegetables and turmeric while pressure cooking raw bananas.

One can also serve this with rice and the peanut sauce needs to be thick but pourable consistency and all the vegetables need to be coated with it to get the perfect taste,

Instinct Factor

Try any mix of vegetables instead of the above mix, to suit your taste.  The peanut chutney makes more quantity then needed, and this can be frozen for future use. Just add a tiny bit of water when re using it.

There are lots of other vegetables that one can add as also listed in the original non-vegetarian version in Indonesia. These include bitter melon, spinach , tofu,  french beans.

Feel Factor

A warm salad, a warm vegetable bhel, or a truly innovative crunchy colorful  healthy appetizer /entree, are some of the names that came to my mind while cooking and relishing this. My most favorite ingredient in this recipe is the spicy peanut sauce. for its color, taste and texture. The whole recipe gets a whole new spice kick because of this sauce and the dish has an extreme healthy look and feel. One can eat this alone or one can eat this with buttered bread or even rice, and I prefer the second option as it goes well and gives it a touch of a complete meal. The true taste of this delicious Vegetarian Gado Gado Salad from Indonesia lies in the steamed vegetables coated with the spicy peanut sauce, so for anyone having a  taste of Thai food, will find this appealing too and the fried rice papads giving an extra depth and taste to the salad! Musical name with a spicy kick is what makes Vegetarian Gado Gado Salad a truly delicious meal!

Posted on

Palak Pulao Spinach Rice

Something simple, colorful, quick and nutritious is what easily describes the Palak Pulao Spinach Rice! This is a delicious rice dish that has some crunchy peanuts, peas, cherry tomatoes and spicy seasoning of dried red chillies, cinnamon and bay leaves.

When I first had this Palak Pulao Spinach Rice at a friends place, many years back, I took an instant liking to the spicy and crunchy taste in the brilliant green colored rice, arising from the well blended spinach. To me, this appeared to be a great recipe to have spinach in a different way. We often make Palak Pulao with chopped spinach, but the blended spinach served as a colorful paintbrush with which the long grains of rice were colored.  The cherry tomatoes were last minute addition and added a great flavour and contrast. You can taste the influence of Maharashtrian and South Indian cuisine due to the spice and peanuts in it.

With the Jain Festival of Paryushan round the corner, and many Jains excluding onion and garlic at the very least for a week, this  Palak Pulao Spinach Rice recipe is a wonderful menu item during such time.

Enjoy this nutritious colorful meal that was easily made in the rice cooker!

Recipe serves for 4-5 people

Prep Time: 20 min

Cooking time 30 min

Ingredients
  • 1/3 cup oil
  • 4-5 large cinnamon sticks
  • 5-6 Dried Red Chillies big size
  • 4-5 Bay leaves medium size
  • 1/3 cup peanuts
  • 2 1/2 cup rice
  • 1/2 cup frozen peas or fresh peas
  • 6  big heaps of trimmed spinach leaves
  • salt to taste
  • 1 tbsp garam masala
  • 1/2 cup cherry tomatoes
Method
  • Wash the rice thrice in plenty of water, and soak the rice in 4 cups of water, for 30 minutes.
  • In a pan,  put 2 litres of water to boil.
  • As it boils, add half the  spinach and keep on medium high flame.
  • Cook for about 7 minutes and remove. Cook the remaining spinach the same way.
  • Using an immersion blender or normal blender, blend the spinach to almost fine texture and keep aside.
  • In a pan, put oil to heat and add bay leaves and saute till golden brown.
  • Add cinnamon sticks and wait for it to be well sautes, till it increases in size and flattens out.
  • Add dried red chillies to the oil.
  • Once the chillies are well sauted, add the peanuts.
  • Keep on medium to high flame, and saute the peanuts till they are dark brown.

IMG_3679

  • Add the blended spinach, frozen peas, salt , and cook for-8 minutes.
  • Sprinkle Garam Masala on top and cook for 2 more minutes.

IMG_3682

  • Add this mixture  and cherry tomatoes to the rice and cook in the rice cooker.

IMG_3686

  • Serve hot, with pickle, yogurt and papad.

Version 2

Tips

  • I used the triple cleaned spinach huge box from Whole foods for this purpose which is quick and easy to use.( approx 2/3 of the box)
  • Alternatively, the rice can be cooked on the gas, using the same measurements, but cooked at low flame, so as to not burn.

Instinct Factor

  •  Variate with additional seasonings as fried cashews to add more crunchiness.
  • The color will stay green, so long as the spinach is not over cooked.

Feel Factor

Palak Pulao Spinach Rice is a combination that is spicy, quick, colorful, highly nutritious and easy to please with!! A wholesome meal that can be a easy TV dinner too!

Posted on

Eggless Strawberry Sorbet

Sorbet, has a musical tone to its name and quite a varied meaning as I found on researching more about its origin.Sorbet, a dessert typically made of sweetened water flavoured with normally fruit puree, but could include wine and liqueur at times. According to Wikipedia, the word Sorbet is often confused with Sherbet or Italian or Water Ice. Some Italian Ice may also include egg white and Sherbet has some butter fat according to American usage. Whereas in UK, the sherbet refers to a powder, very similar to what is meant by that in India too. In Central Asia it is a solid sweet!!

One folklore holds that Nero, the Roman Emperor, invented sorbet during the first century A.D. when he had runners along the Appian way pass buckets of snow hand over hand from the mountains to his banquet hall where it was then mixed with honey and wine.

One word many different meanings, in Sorbet! To me it is a non-fat alternative to Dairy Ice Creams and perfect to cool your system on a hot summer day! Its very easy to make, is colorful, can be made with almost any fruit puree. Its texture is smooth and soft, and was able to achieve this without the need for any liqueur! And as a family member commented- I hate strawberries, but I loved the eggless strawberry sorbet! So if you have a member who does not like the sour after-taste, that one sometimes finds in strawberries, this is a very good alternative for such people as also for people with milk allergy.

Eggless Strawberry Sorbet can be made upto 3 days in advance, but best is when eaten fresh in 6-7 hours! It is so tempting and delicious, mostly you will not have it last for three days, once it is made!!


[shopeat_button]

Recipe makes 1 1/2 quart sorbet

Prep time 15 min
Churning time: 25 min
Chilling time : 6-7 hours
Ingredients[shopeat_ingredients]
  • 2 quarts hulled fresh strawberry
  • 2 cups sugar
  • 4 cups water

[/shopeat_ingredients]

Method
  • Put the sugar and water to boil in a deep pan
  • Once the sugar melts, add the strawberry and cook for about 10 minutes on medium flame

IMG_4164

  • Let it cool completely and chill it for about two hours in a refrigerator
  • After adequate chilling , blend the strawberries into a puree and put it in a ice cream maker to churn for 30 min.

IMG_4130


IMG_4131

  • Remove the sorbet and refrigerate for about 6 hours before serving .


IMG_4160


Tips

Taste the sugar strawberry puree for sweetness, as this is dependent on the strawberry.

Instinct Factor

A lot of recipes suggest churning the sorbet every couple of hours to ensure that it does not get icy, however I did not have any problems of ice forming when left as it is in the refrigerator for 4-5 hours.

Feel Factor

Discovering the true strawberry pink was a joy by itself that will remain in the mind for many days!! When the puree was blend for 5-6 minutes on high speed, it was just absolutely magic to see the rich pink color develop. The taste of this eggless strawberry sorbet was simply amazing!! This is definitely a success at the first attempt and it was very widely appreciated too by neighbors, family and friends! An easy, light dessert which is perfect for the summer, enabling you to cool the heat, enjoy the summer fruit and admire the rich pink strawberry color.A true treat for all senses!!


Posted on

Gujarati Dal Dhokli Lentil Soup with Dumplings

Gujarati Dal Dhokli Lentil Soup with Dumplings is a delicacy to be enjoyed on a rainy cold day.  Having this on cold day or when you are down with cold, warms up your body, clears the sinus and stuffed up feeling and brings in energy in a lethargic body. Various kinds of dal dhokli exist in India. The  version presented here is the famous Gujarati Dal Dhokli made in Yellow Pigeon Lentil. This dish is a highly authentic gujarati menu item and a dish found in most rural cuisine in Gujarat.

When this is being cooked, the whole house fills up with aroma of fragrant cinnamon, cloves, lemon and jaggery. This must be in my opinion one of the oldest dish of dumplings from India. It is easily a complete meal by itself. So when you are in the mood of lazing around and also want to have a wholesome meal that is quick and less taxing, try this option. The other version of Dal Dhokli that I have had is from Rajasthan and that too has multiple varieties, which I shall be sharing soon.

This is also very frequently cooked, during the Jain Paryushan when one gives up green vegetables. And the dish is so delicious, you will not feel that you are missing out any green vegetables on that day. The taste of this dal dhokli is sweet, sour, spicy, and is  fragrant and slurpy. The trick to fragrant lentils is in the seasoning of the dal lentils which needs to be done at the appropriate temperature and with patience.

A must try recipe for soup, lentil, dumplings and gujarati cuisine lovers!! And a special earth day celebration the Jain way, respecting  and protecting earth and omitting the green vegetables, a routinely concept for certain days of the month

Wishing all the readers a Very Happy Earth day, for our dear Planet ,we all call HOME SWEET HOME!

Recipe makes for 3 people

Cooking time 1 hour

Prep time: 20 min

Ingredients
  • 1 cup yellow pigeon lentils
  • 2 tbsp ghee clarified butter
  • 2 medium cinnamon sticks
  • 1 dried red whole chillies
  • 4-5 cloves
  • 1/4 tsp mustard seeds
  • 1/4 tsp cumin seeds
  • 3/4 tsp turmeric powder
  • 1/8 tsp asafoetida powder
  • 8-10 peanuts, without the skin
  • juice of half a lemon medium sized
  • 1 ripe banana
  • 5 tbsp sugar
  • 1/4 cup size jaggery piece
  • 8 cups of water
  • salt to taste

Optional ( To be avoided when making it for Jain Atham or Paryushan Festival)

  • 1/2 tbsp finely diced ginger
  • 1 1/2 kashmiri green chillies diced
  • fresh coriander for garnishing

For the dhokli or dumplings

  • 1 1/2 cup whole wheat flour
  • pinch of asafoetida
  • 1/8 tsp red chilli powder
  • 1/8 tsp turmeric powder
  • 1/4 tsp white sesame seeds
  • 1 tbsp oil
  • 1 1/4 cup of water to knead dough
  • salt to taste
  • dusting flour
Method
  • Wash the toor dal yellow pigeon pea lentils thrice, in water, and soak in  2 1/2 cups of water for about half an hour.
  • Pressure cook the soaked dal lentils along with water for 6-7 whistles on medium flame and let it cool.

IMG_2203

  • In a deep pan, put the ghee melt on  medium flame.
  • Add mustard to the ghee and let it crackle.
  • Add cinnamon sticks and let them expand in size.
  • Add cloves and again let them expand.
  • Add asafoetida.
  • Add cumin seeds and let them brown.
  • Add the boiled lentils to the seasoning.
  • Add salt, water,  peanuts, sugar, jaggery lemon , and let it boil on slow-medium flame for about 40 min.

IMG_2211

  • If using the optional items, add these ingredients to boiling along with water and sugar etc,
Making the dhokli/ dumplings
  • Combine all the ingredients for the dhokli to knead into a soft dough.

IMG_2206

  • The kneaded should feel soft and pliable
  • Refrigerate the dough for about 20 min.
  • Take a quarter cup size dough ball, and roll it into a circle about 9 inches in diameter, using the dusting flour.

IMG_2212

  • Using a knife make diamond/square shape cuts and shift it to a broad plate.

IMG_2209

  • Repeat for 3 more dough balls.
  • After the lentils have boiled for about 40 min, add the diamond shape dhokli dumplings to the lentils and boil for another 20 min

IMG_2215

  • Add banana halves about 5 min before serving.

IMG_2214

  • Garnish with a spoon of ghee and serve.

IMG_5410


Tips

While boiling the dumplings or dhokli, make sure that the lentils are boiling and then add.  Also stir in a few minutes, to ensure that the dhoklis are not sticking.

When the dumplings or dhoklis are cooked you will see them floating easily.

Instinct Factor

Why not variate with a different shape of dhokli?

Feel Factor 

Wow, a dish from one of the oldest grains known split pigeon peas, and that also cooked following the principles of respecting the environment and earth, and celebrate the earth day, made this super delicious dish rise few notches higher in my view!! The taste is just yum, with the appetite already whetted by the fragrant aroma of the spices, and the tongue getting the taste of spice, lemon, sugar , sweet and slurpy. Would not be surprised if this becomes a frequent item on your quick menu list. Enjoy this truly simple, highly delicious and wholesome healthy Gujarati Dal Dhokli Lentil with Dumplings.


Posted on

Vermicelli Upma Noodles with Vegetables

Vermicelli Upma Noodles with Vegetables is a southern Indian cuisine. This Upma can also be made with Barilla Cut Spaghetti which is also of similar size and thinness.  Vermicelli Noodles, are commonly known as” Sevaiya,  Sevia, Semiya Seviyan” in India.   Seviyan Kheer, is a popular dessert  made out of  Vermicelli Noodles. The world of Pasta is a fascinating world for me, and I was excited to find an interesting comparison of the various pasta based on their thickness , courtesy Wikipedia, and a visually appealing comparison is displayed below:

640px-Pasta_2006_1


Vermicelli Upma Noodles with Vegetables ia a healthy sumptuous, spicy and colorful and popular breakfast dish that is low fat, pasta based and very quick to make too! Easy,lemony, colorful, with in between crunch of nuts, vegetables, makes it a nice addition to everyday breakfast or quick meal option. This recipe is primarily shared also for the current generation of pasta loving kids, who also found a liking to this version of Vermicelli Noodles! And for the Upma lovers, it is another version of Upma- the traditional Southern Indian Breakfast!

Recipe Serves 3 People

Prep Time: 5 min

Cooking Time: 15 min

Ingredients [shopeat_button]
  • 2 tbsp oil
  • 1 1/2 cup vermicelli noodles (Pre Roasted Noodles – Bambino Brand- Local Indian Grocery Store)
  • 3/4 cup chopped carrots
  • 3/4 cup peas
  • 2 tsp finely  chopped green chilies
  • 1 tsp diced ginger
  • 1 tbsp peanuts
  • 1/2 tsp mustard seeds
  • 4-5 currey leaves
  • 1/2 tsp urad dal seeds (optional)
  • 1/2 tsp chana dal(optional)
  • 6-7 cashews broken cashews(optional)
  • 2 cups water
  • salt to taste
  • few drops of lemon
  • 1 tbsp coriander for garnish

Method

  • Put oil to heat.
  • Add mustard seeds, and additional chana and urad dal seeds, after the mustard seeds crackle.
  • Add green chillies, ginger and saute for a min.
  • Add peanuts, cashews nuts(optional) at this stage and let them brown.
  • Add turmeric(optional)
  • Add carrots and peas and saute for 2 min.IMG_2450
  • Add 2 cups of water and salt and let it simmer without a lid for 7-8 min, till water quantity reduces to half.

IMG_2453

  • Lower the flame and stir in the vermicelli sevaiya noodles.

IMG_2455

  • After a min add a few drops of lemon, cover and let it simmer for 7 min.
  • Garnish with coriander and serve.IMG_2456

 Tips

If using the Cut Spaghetti, roast the pasta in one tbsp of oil, for 3-4 min.

Broccoli florets will also taste good with peas, as an alternative, and will cook fast enough, and be a good replacement for carrots.

To give a totally southern Indian cuisine flavour, add all optional items along with a diced onion added before the vegetables.

Instinct Factor

A tbsp of oil will help declump the noodles, in the event that vermicelli noodles get sticky.

Feel Factor

Vermicelli Upma Noodles with Vegetables is a healthy, quick, easy, colorful noodles and vegetables with a spicy, tangy flavour and a great breakfast, brunch or quick munch recipe for all pasta lovers!


[contact-form-7 404 "Not Found"]


Posted on

Vada Pav Potato Fritters with Bread

Vada Pav, Pakoras with bread, is a popular street food item in Mumbai, India, and which I strongly believe that you will find very few people in Mumbai, who would have not tasted Vada Pav. The ones who would not have tasted it even once,  would be probably be the traditional Jains who would not consume root vegetables. A bee line queue exists at extremely famous places, such as, at my alma mater NMIMS College in Vile Parle, Kirti College Vada Pav stall, Sion Vada Pav,  or H R College Vada pav place. at Churchgate. Every college going kid would find Vada Pav a quick meal to grab in between lectures, and often these street stalls would be a quick meeting points for the young in love, ,a place to hang out with a special someone and be treated to vada pav and chai. This is something that is easily afforded by a college going kid! Before the Baristas came into the scene, these were the local street baristas for the youngs ones to hang out!

Besides the colleges, one often finds this street food on railway stations in Maharashtra, and some railway stations such as Karjat near Lonavala are famous for their Vada Pavs too! A meal that is quick to eat, tastes yummy and for a native of Mumbai, it  is simply irresistible. It is the vegetarian version of McDonalds Burgers, accompanied with tamarind, green and garlic chutneys.

According to an article in The Hindu, credit for creating this Mumbai Vada Pav Potato Fritters with Bread staple is given to Ashok Vaidya, a snack vendor who set up his stall just outside Dadar station, a major commuter hub in the metropolis. Vaidya reportedly came up with this recipe in 1971 to appease the hunger of the rush of commuters who wanted a snack they could carry and munch on without needing implements or cleansing wipes. He served it up with a fiery red chutney that could include coconut, peanuts, chillies, garlic and tamarind pulp. And it flew off his stall and straight into the eager mouths of the always-rushed daily commuter. More interesting details of the Vada Pav can be read at http://www.thehindu.com/features/magazine/article3657300.ece

On a frigid sub zero fahrenheit temperature day, Vada Pav Potato Fritters with Bread will  definitely give you warmth, sparkle and comfy feeling, as often one tends to eat fried stuff, to beat the cold, My only regret is that one does not get raw green bananas that are easily available in India, and are the easiest substitute for a Jain family not wishing to consume potatoes. Since I am presenting the original version,  I have enlisted all that is needed per the original version.

Recipe makes 9 Vada pavs

Ingredients[shopeat_button]
  • 5 potatoes cut in half or 4 cups boiled and mashed potatoes. ( you can also use raw bananas , boiled and mashed)
  • 4-5 garlic pods
  • 2-3 tbsp of minced green chilies (5-6) and ginger ( 11/2 inch)
  • 1 tsp mustard seeds
  • asafoetida
  • 4 tbsp coriander leaves chopped
  • 5-6 curry leaves
  • 3 tbsp oil
  • 1/2 tsp turmeric powder
  • 1 tsp red chilli powder
  • oil for deep frying
  • Greeen, Tamarind and Dry Garlic Cbutney ( refer recipe at http://www.theguardian.com/lifeandstyle/2013/oct/03/vada-pav-sandwich-recipe-potato-chutney)
  • 9 ladipav, or dinner rolls

For the covering

  • 1 1/2 cup of besan gram flour
  • 3/4  cups water
  • salt to taste
  • 1/2 tsp baking soda
  • 2 tbsp hot oil
  • 1/2 tsp turmeric
  • 1 tsp red chilli powder
  • pinch of asafoetida
  • 1 tsp lemon juice

Method

For the Filling

  • Cut the potatoes/raw  green bananas in half, and boil in a pressure cooker with 3 cups of water  to 6-7 whistles.  A Jain  householder would never boil anything as a whole, as if a vegetable has any worms or insects, it may get get burnt out.

IMG_2400

  • On cooling mash the potatoes/banana.
  • Put 3 tbsp oil to heat.
  • Add mustard seeds when the oil is warm and let it crackle.
  • Add a pinch of asafoetida, curry leaves, coriander leaves minced green chillies, garlic and ginger to the oil.
  • Remove from heat it after a minute.
  • Add the oil flavoring to the mashed potatoes.
  • Add, salt, turmeric and red chili powder, lemon juice and coriander  to the potato/raw banana mix.
  • Let it cool and make 9 balls

IMG_2402

For the covering

  • Mix all the ingredients and make a thick batter.
  • Rest the batter for 1520  minutes, till all lumps are dissolved and the batter is smooth.

Frying the potato/banana fritters

  • Put the oil to heat for frying.
  • Coat the potato/green banana balls with the gram flour batter.

IMG_2403

  • Deep fry the potato/banana balls to golden color and drain the excess oil.
  • The side droppings of the gram flour batter that is found in the fryer are also fried  and used as an insert into vada pav

Preparing the Vada Pav

  • Slice the pav/dinner rolls
  • Put some green chutney and top it with tamarind chutney on both the sides of pav/dinner rolls.

IMG_2405

  • On the lower base of the pav/dinner roll, you can put the excess gram flour droppings that are fried.
  • Put a fried potato/banana vada ball on that.
  • Top this with dry garlic chutney.
  • Close it with the other layer of the dinner roll/pav with the chutney and serve

IMG_5711


 TIps

The gram flour batter needs to be thick so as to have a nice coating. Deep fry on a medium-high flame.

The date tamarind chutney gives a sweet flavour so ensure that you have a tamarind with dates flavour in it.

Jain version of this recipe will be made with raw green banana  and will omit potatoes, ginger and garlic from the recipe.

Instinct Factor

Batter needs to be thick enough to have a well covered potato fritters

Feel Factor

Vada Pav Potato Fritters with Bread is a taste of home, the original Aamchi Mumbai ( my home Mumbai) Vada Pav , a comfort giving street food, that is spicy, filling, inexpensive, colorful and freshly assembled. The crunch of the potato fritter inside a soft dinner roll with the tanginess of the chutney is simply irresistible and such is the demand for the vada pav in Mumbai, that a recent new article says that this inexpensive street food vendors should be open all night long, to feed one and all.